We are currently updating our site; thank you for your patience.
Departments
Set Up
A Department must be set up in order to link invoice items to a specific department, e.g. Sales. A Site must be selected for the Department to pull through on the Sales Order and Sales Invoice item lines automatically. If you have more than one Department, you must select the relevant Department for each line.
Departments need to be set up to categorise Contracts.
If you have a segmented ledger and post general ledger entries based on Departments, you need to ensure that Sales Orders, Sales Invoices, Contracts and employees are linked to a Department.
Each Department and Sub Department must be linked to a Site.
Departments will be used a lot for a segmented chart of accounts. You can slice your chart of accounts by Departments as well. So instead of just having a Sales Account, you can have a Sales Account per Department. Example - they don't sit under Sites, they sit next to it. So you can have Departments across the Sites or Sites across the Departments.
Department Associations shows employees or customers that are linked to a particular Department.
You can create Sub Departments of a Department and link employees and customers to those Departments. When financial postings happen, it will check that and post to wherever it needs to or whatever the transaction is. It is part of a segmented chart of accounts functionality.
An employee can only be linked to one Department type but can be linked to that Department type in more than one site.
| Ribbon Access: Configurator > Departments > Departments |
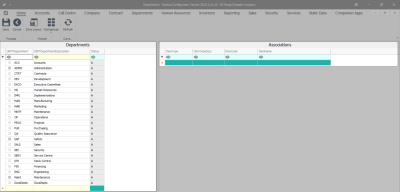
The Departments screen will be displayed. This screen is divided into two Grids:
Departments
Associations
Departments
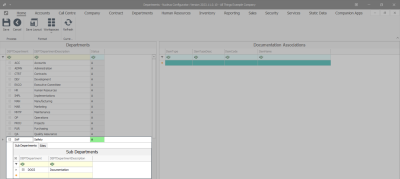
- In this image, you can view the feint and bold expand buttons at the beginning of the department rows.
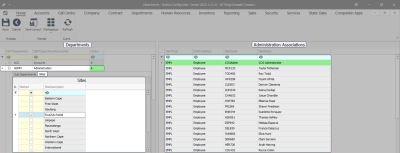
- This image shows an expanded view of the Administration Department showing the Site and the Associations linked to this Department.
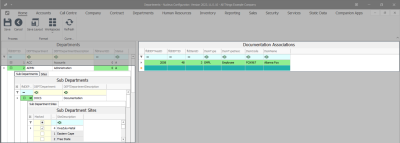
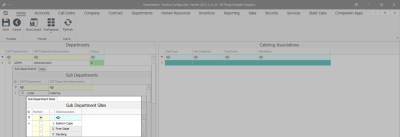
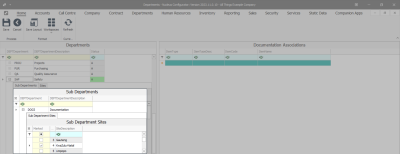
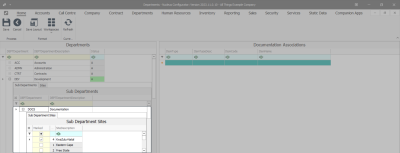
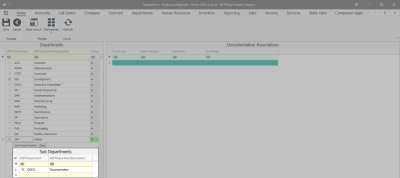
- This image shows an expanded view of a Sub Department and the Sub Department Site and Sub Department Association.
Add a Department
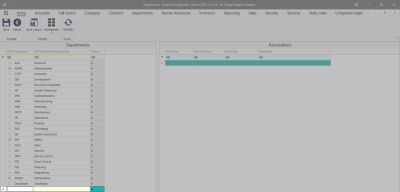
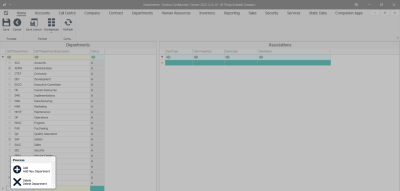
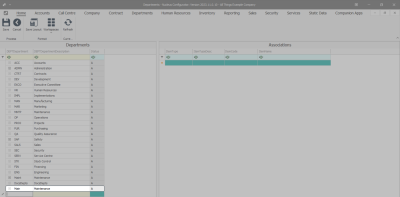
- You have two options to choose from to add a new Department. Either click in the final row of the Departments Grid and a new row will be 'activated' and you can now add the new Department details.
- Or you can right click on the Departments Grid to call up the Process menu. Click on Add New Department. A new row will be 'activated' and you can now add the new Department details.
- DEPTDepartment: Type in the code for this new Department, E.G., Main for Maintenance.
- DEPTDepartmentDescription: Type in a description for this new Department, E.G., Maintenance.
- Status: This will auto populate with A - Active.
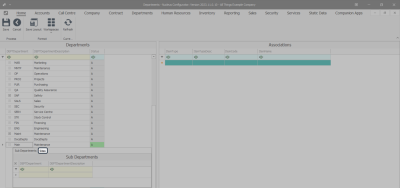
- Tab over to the next row to be able to click on the expand button (+ sign) at the beginning of the newly added Department row :
- This will open the Sub Department and Sites panels
- . Click on the Sites panel.
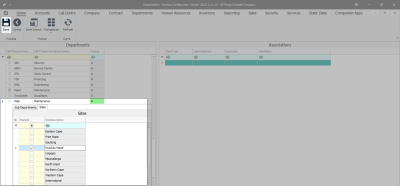
- This will open the Sites list for the new Department. Select the Sites linked to this new Department.
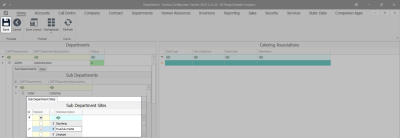
- In this example, KwaZulu-Natal has been selected.
- Once you have selected the Site(s), click on Save:.
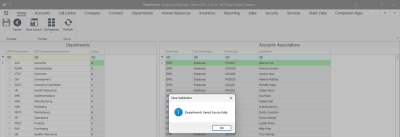
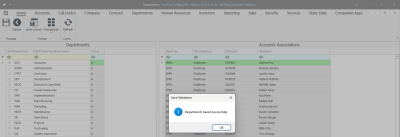
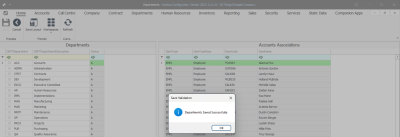
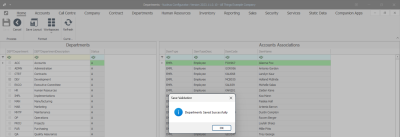
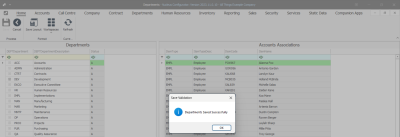
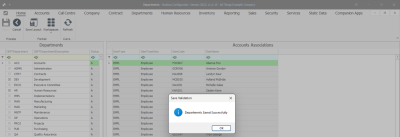
- A Save Validation message will pop up saying -
- Departments Saved Successfully.
- Click on OK.
- You will return to the Departments screen.
- You can add Sub Department(s) and Association(s) to this new Department.
Add a Sub Department
- Click on the row of the Department you wish to add a Sub Department to and click on the expand button (+ sign).
- In this image, Administration Department has been selected.
- Click in the first free row of the Sub Departments panel. This row will now be 'activated' and you can now add the new Sub Department details.
- DEPTDepartment: Type in the code for this new Department, E.G., Cater for Catering.
- DEPTDepartmentDescription: Type in a description for this new Department, E.G., Catering.
- Tab over to the next row to be able to click on the expand button (+ sign) at the beginning of the new Sub Department row.
- This will open the Sub Department Sites menu.
- Select the Site(s) linked to this new Sub Department.
- In this example, KwaZulu-Natal has been selected.
- Once you have selected the Sites, tab over to the next row and then click on Save:.
- A Save Validation message will pop up saying -
- Departments Saved Successfully.
- Click on OK.
- You will return to the Departments screen.
- You can now link Association(s) to this Sub Department.
Associations
- The following Associations can be linked to a Department or Sub Department :
- Asset
- Customer
- Employee
- Functional Location
- Inventory Item
- Project
- Work Order
- An Asset and Inventory Item and Project and Work orderAssociation cannot be deleted or removed from the Department it is associated to.
- If you want to change an Employee's Department, you can do this through the Drag and Drop feature or through Finance/HR Employees Link a Department to an Employee.
Add a Department Association
- In the Departments Grid, select the Department to link an Association to.
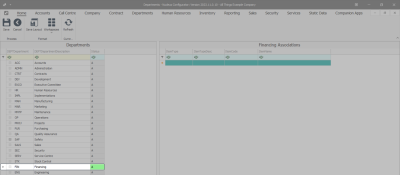
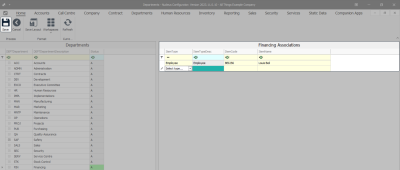
- In this example, the Financing Department has been selected.
- In the Associations Grid - you have two options to add an Association.
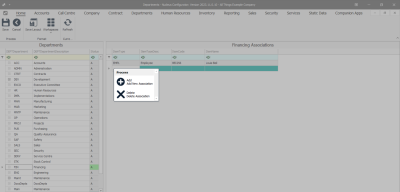
- You can either right click in one of the rows of the Associations panel to call up the Process menu.
- Click on Add New Association. A new row will be 'activated' and you can now add the new Association details.
- Or select the first available row to start adding the new Association details.
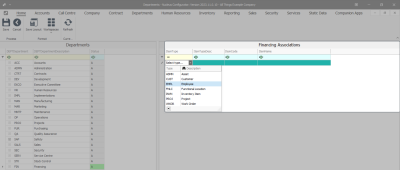
- Click on the drop-down arrow to select the ItemType:
- In this example, Employee will be selected.
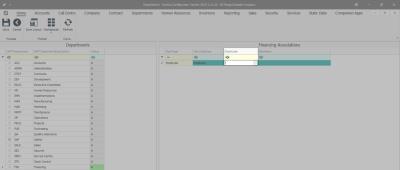
- ItemtypeDescription: This field will auto populate according to the ItemType: selected.
- ItemCode: Click on the Elipsis to call up the menu.
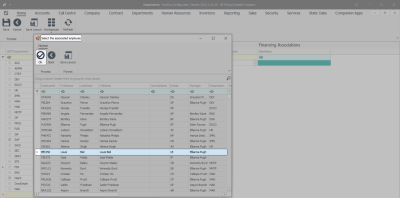
- A screen will pop up where you can select the Association to the selected Department.
- In this image, the associated Employee will be selected.
- Click on OK.
- ItemName: This field will populate with the ItemName according to the ItemCode: selected. In this example, it will be the Employee's name.
- Tab over to the next row and then click on Save.
- A Save Validation message will pop up saying -
- Departments Saved Successfully.
- Click on OK.
- You will return to the Departments screen.
View Department Associations
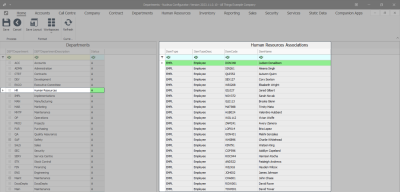
- In the Departments screen, select the row of a Department to display the linked Associations.
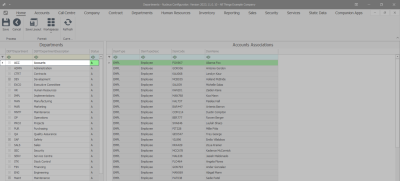
- In this image, the Human Resources Department has been selected and you can view the Associations linked to this Department.
View Sub Departments
- In the Departments Grid, select the row of a Department and then click on the expand button (+ sign).
- Once you have clicked on the expand button (+ sign), the Sub-Departments list will open.
- If you would like to view the Sites linked to this Sub Department, click on the + sign sign at the beginning of a Sub-Departments row.
Delete Department
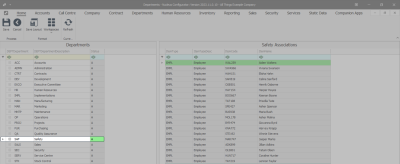
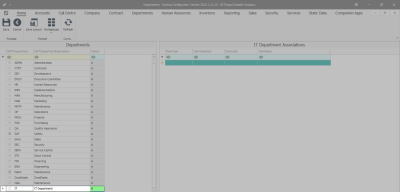
- In the Departments screen, select the row of the Department you wish to delete.
- In this image, IT Department has been selected.
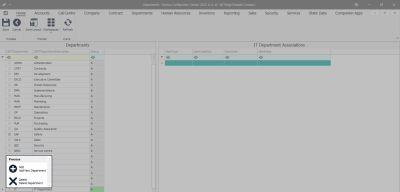
-
On the row of the selected Department, right click to call up a Process menu and select Delete Department.
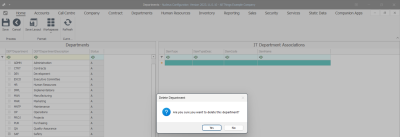
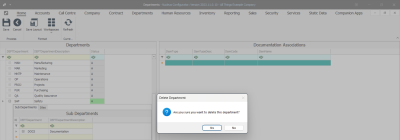
- A Delete Department message will pop up asking -
- Are you sure you want to delete this Department?
- Click on Yes.
- Are you sure you want to delete this Department?
- You will then -
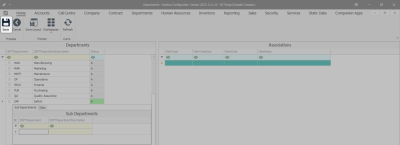
- Click Save to successfully delete the Department.
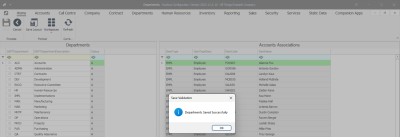
- A Delete Validation message will pop up saying -
- Departments Saved Successfully
- Click on OK.
- You will return to the Departments listing screen.
Delete Sub Department
- In the Departments screen, select the row of a Department you wish to delete the Sub Department from and click on the expand button (+ sign).
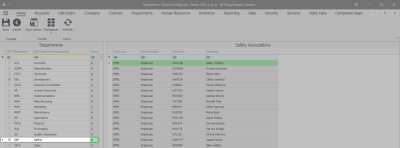
- In this image, Safety Department has been selected.
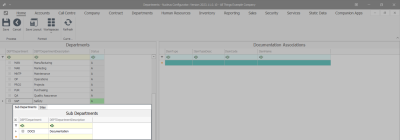
- The Sub Department panel will open.
-
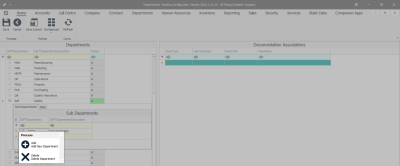
In the row of the Sub Department, right click to call up a Process menu and select Delete Department.
- A Delete Department menu will pop up asking -
- Are you sure you want to delete this Department?
- Click on Yes.
- Are you sure you want to delete this Department?
- To successfully delete the Sub Department -
- Click Save.
- A Delete Validation message will pop up saying -
- Departments Saved Successfully.
- Click on OK.
- You will return to the Departments listing screen.
Sites
There must be at least one Site linked to each Department and Sub Department.
Edit a Department Site
- In the Departments Grid, select the row of a Department you wish to edit.
- In this image, Contracts Department has been selected.
- Click on the expand button (+ sign).
- Once you have clicked on the expand button (+ sign), the Sub Departments and Sites panel will open.
- Click on the Sites panel to open the Site(s) menu.
- This image shows Kwa-Zulu Natal Site is linked to this Sub Department.
- To edit the Site(s), you can tick or untick a Check box.
- In this image, Eastern Cape and Free State been selected. Once you have made the changes, you can either tab over to the following row or click in the blank area next to the Sites panel and then click Save.
- A Save Validation message will pop up saying -
- Departments Saved Successfully.
- Click on OK.
- You will return to the Departments screen.
Edit a Sub Department Site
- In the Departments screen, select the row of a Department that the Sub Department is linked to.
- In this image, Development Department has been selected.
- Click on the expand button (+ sign).
- Once you have clicked on the expand button (+ sign), the Sub Departments menu will open.
- Select the row of the Sub Departments you wish to edit and click on the expand button (+ sign).
- The Sub Departments Sites panel will open.
- This image shows Kwa-Zulu Natal Site is linked to this Sub Department.
- To edit the Site(s), you can tick or untick a Check box.
- In this image, Eastern Cape and Free State have been selected.
- Once you have made the changes, you can either tab over to the following row or click in the blank area next to the Sites panel and then click Save.
- A Save Validation message will pop up saying -
- Departments Saved Successfully.
- Click on OK.
- You will return to the Departments screen.
Drag and Drop Feature - Sub Department
You have the option to make use of the drag and drop feature to drag a Sub Department to a Department.
- Click on the expand button (+ sign) of a Department to open the Sub Department panel.
- Once you have clicked on the expand button (+ sign), the Sub Departments panel will open.
- Click on the arrow at the beginning of the Sub Department row that you wish to move, and drag the Sub Department row to the expand button of the Department you wish to move this Sub Department to.
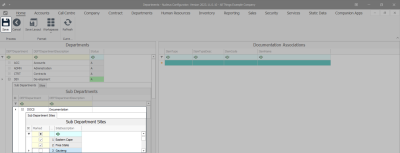
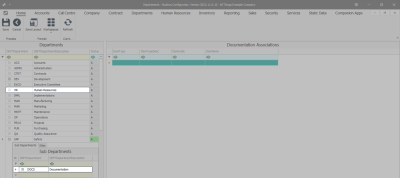
- This image shows the Documentations Sub Department has been selected to be moved to the Human Resources Department.
- If you have not dragged the Sub Department to the correct Department, you will click on Refresh to start again.
- If you are happy that the Sub Department has been moved to the correct Department, you will click on Save for the move to be successful.
- Once you have clicked on Save, a Save Validation message will pop up saying -
- Departments Saved Successfully.
- Click on OK.
- You will return to the Departments screen.
Drag and Drop Feature - Association
You have the option to make use of the drag and drop feature to drag an Association to a different Department or Sub Department.
- In the Departments Grid, select the Department to choose an Association to move.
- In this example, the Accounts Department has been selected.
- Select the Association you wish to drag and drop and click on the arrow at the beginning of the Association row and drag the Association Row over to the Department, or Sub Department, you wish to move this Association to
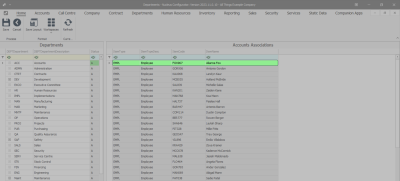
- This image shows that the Employee Alianna Fox has been selected to be moved to the Human Resources Department.
- If you have not dragged the Association to the correct Department, you will click on Refresh to start again.
- If you are happy that the Association has been moved to the correct Department, you will click on Save for the move to be successful.
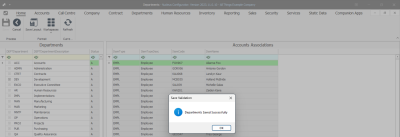
- Once you have clicked on Save, a Save Validation message will pop up saying -
- Departments Saved Successfully.
- Click on OK.
- You will return to the Departments screen.
BPO.MNU.094

