We are currently updating our site; thank you for your patience.
Security
User and Group Security - Edit a User
There could be several scenarios where a user's details will need to be edited. These may include:
- If a user's details have been incorrectly entered into the system.
- If a user needs to be moved to a different User Group.
- You may need to activate a User Login or deactivate a User Login if, for example, an employee leaves the company.
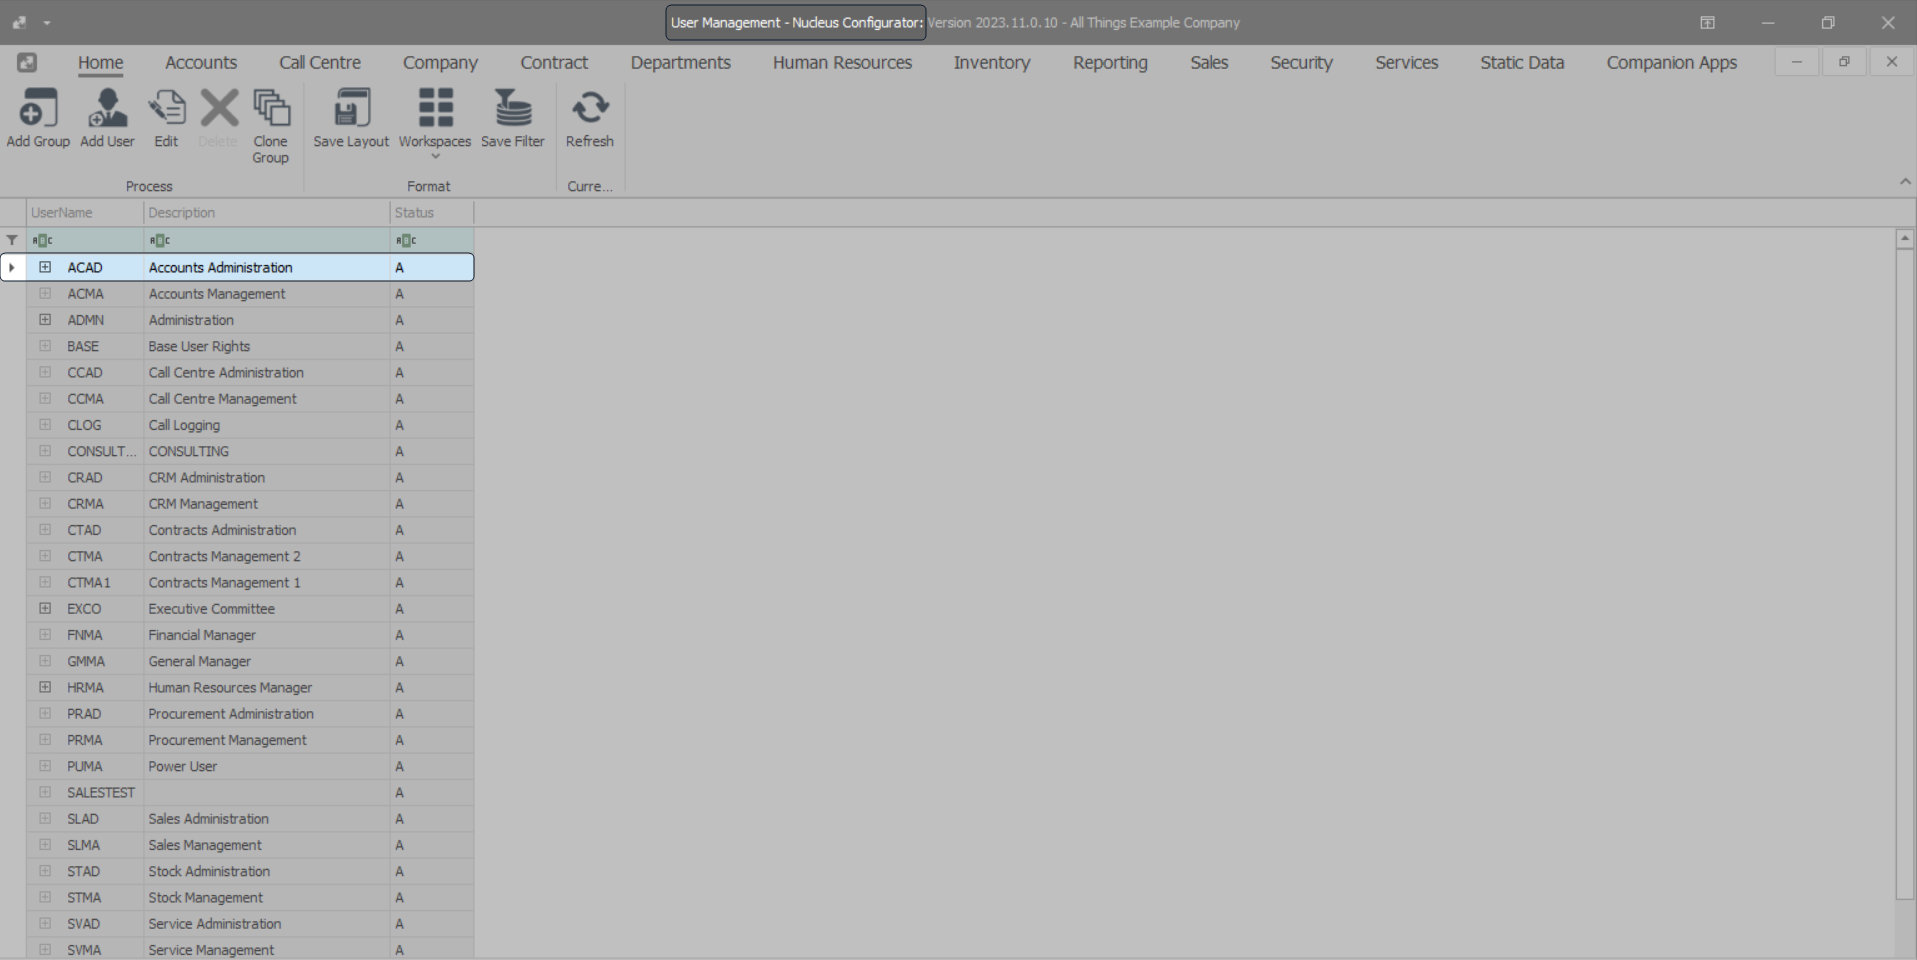
| Ribbon Access: Configurator > Security > User Management |

The User Management screen will be displayed.
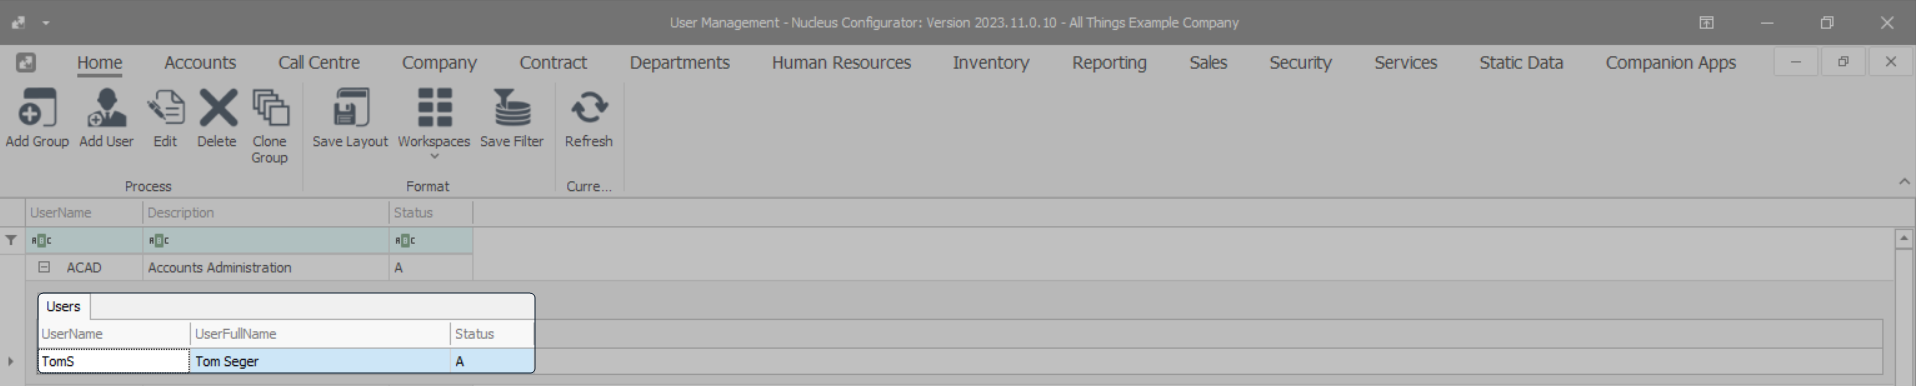
- Click on the expand button in the row of the group which contains the user whose details you wish to edit.
- In this image the Accounts Administration Group has been selected.
- The users frame will be expanded.
- You can either right click on the row of the user you wish to edit and select Edit User from the Process menu.
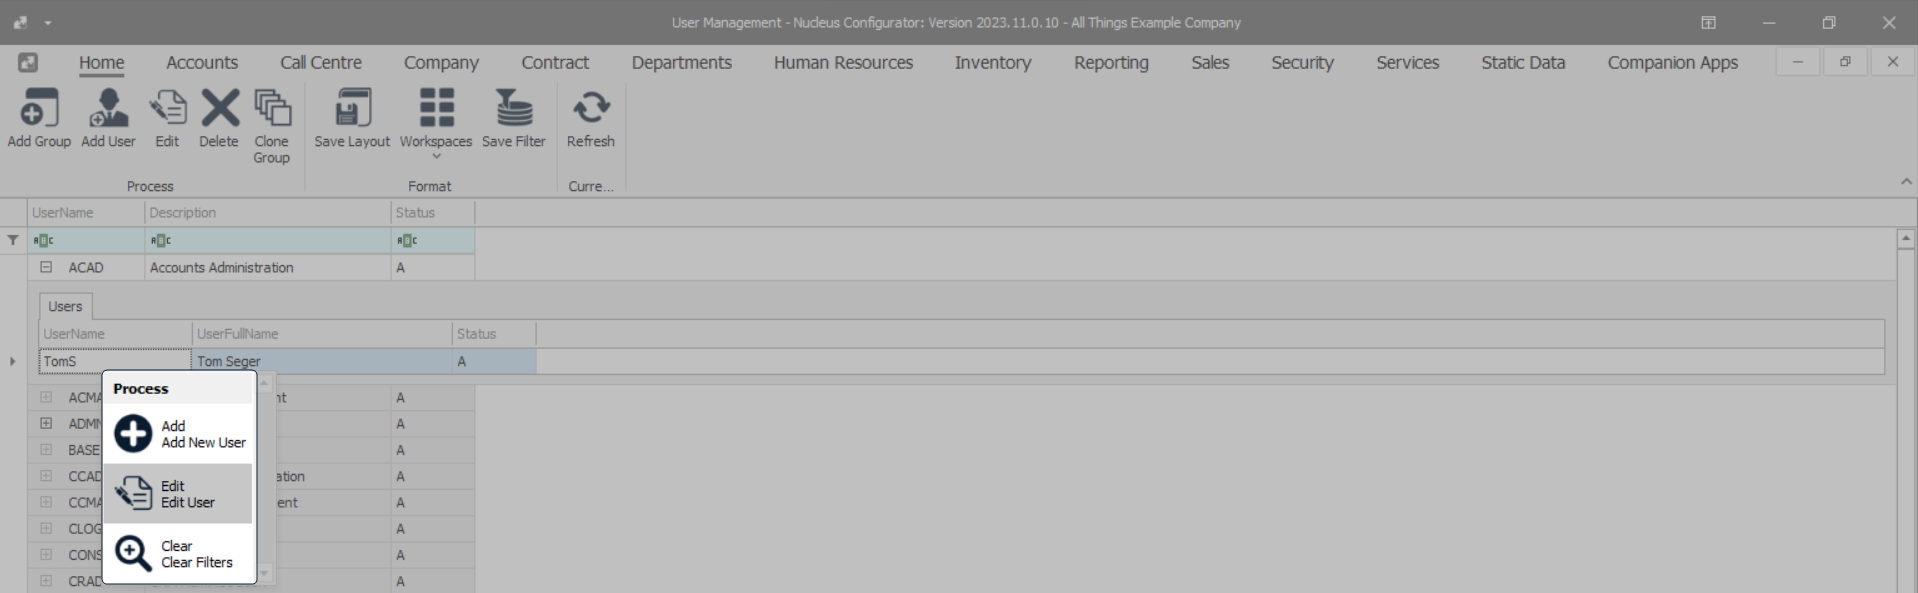
- Or, once you have selected the row of the user you wish to edit, you can click on Edit in the Process ribbon frame.

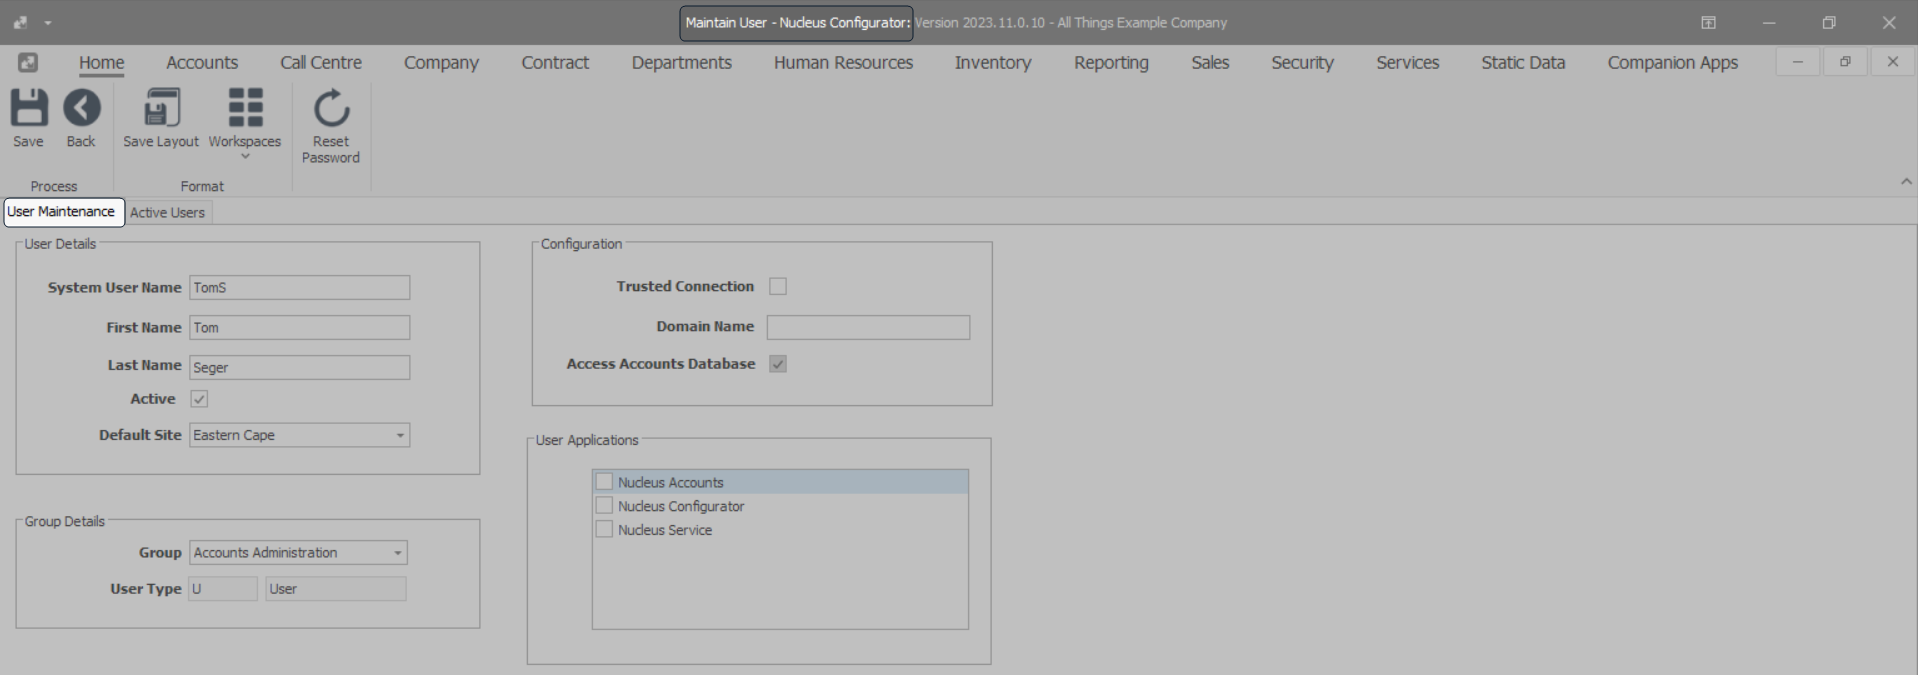
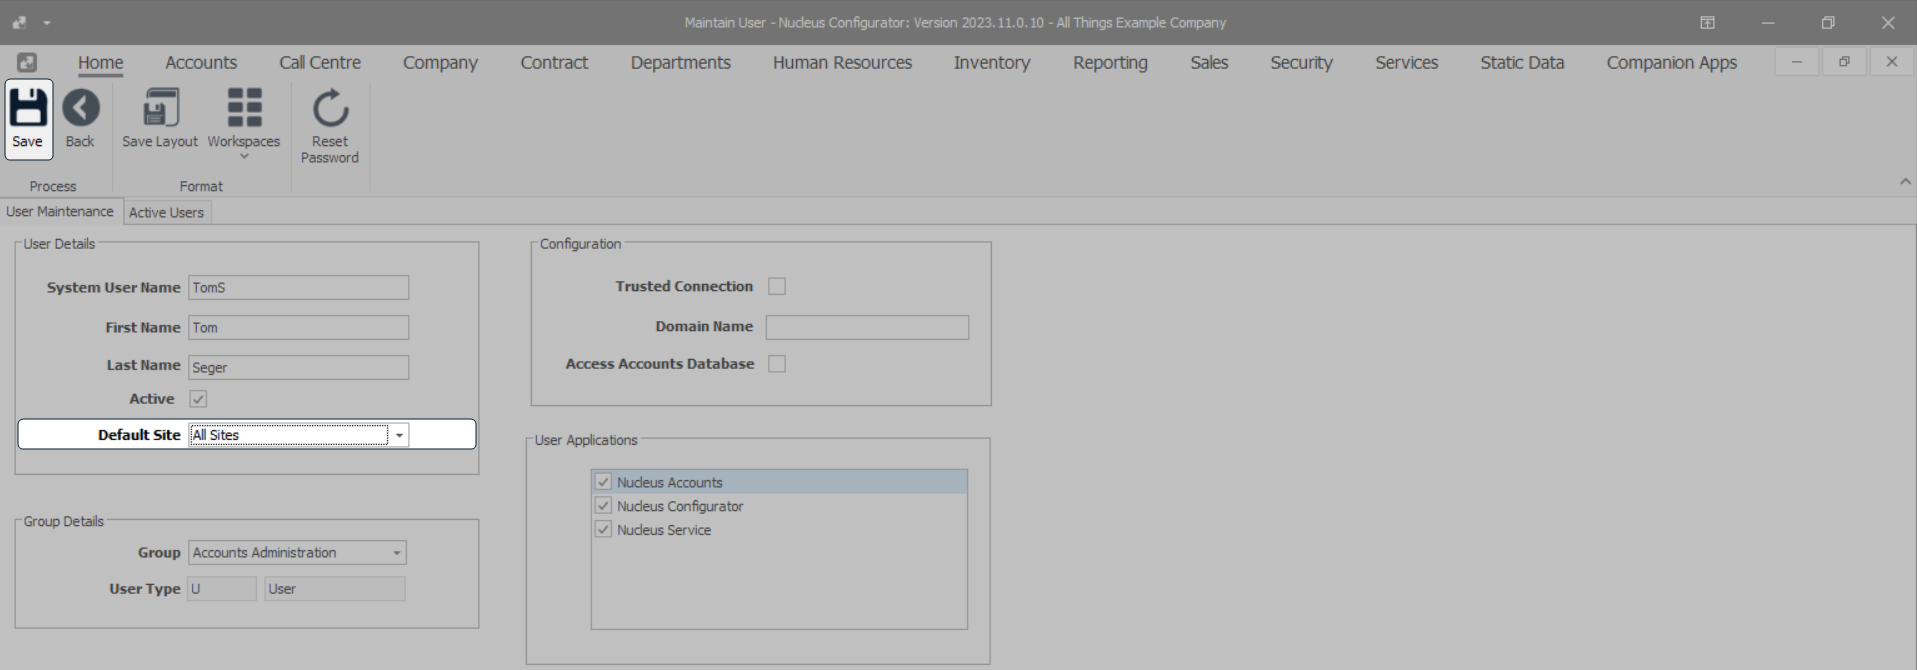
- The User Maintenance screen will be displayed and you can edit user details where necessary.
Edit
- User Details:
- System User Name: Backspace or type over the text in this box to edit it.
- First Name: Backspace or type over the text in this box to edit it.
- Last Name: Backspace or type over the text in this box to edit it.
- Active: Click on this check box to tick it (the user will become 'active'), or click on this check box to untick it (the user will become 'inactive').
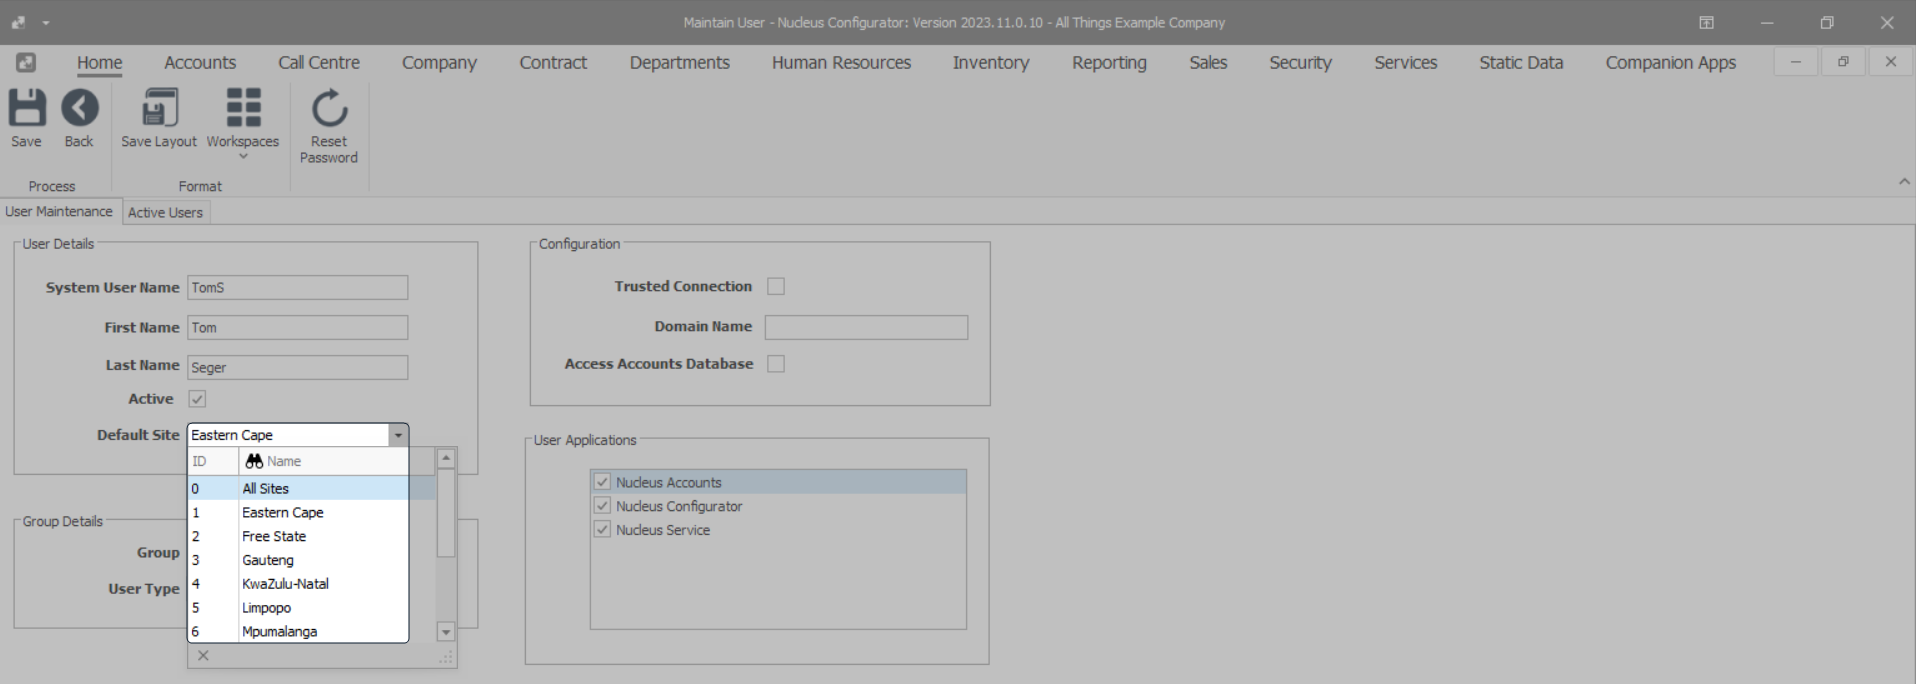
- Default Site: You can click on the drop-down arrow and select from the drop-down list, an alternative Site, if applicable.
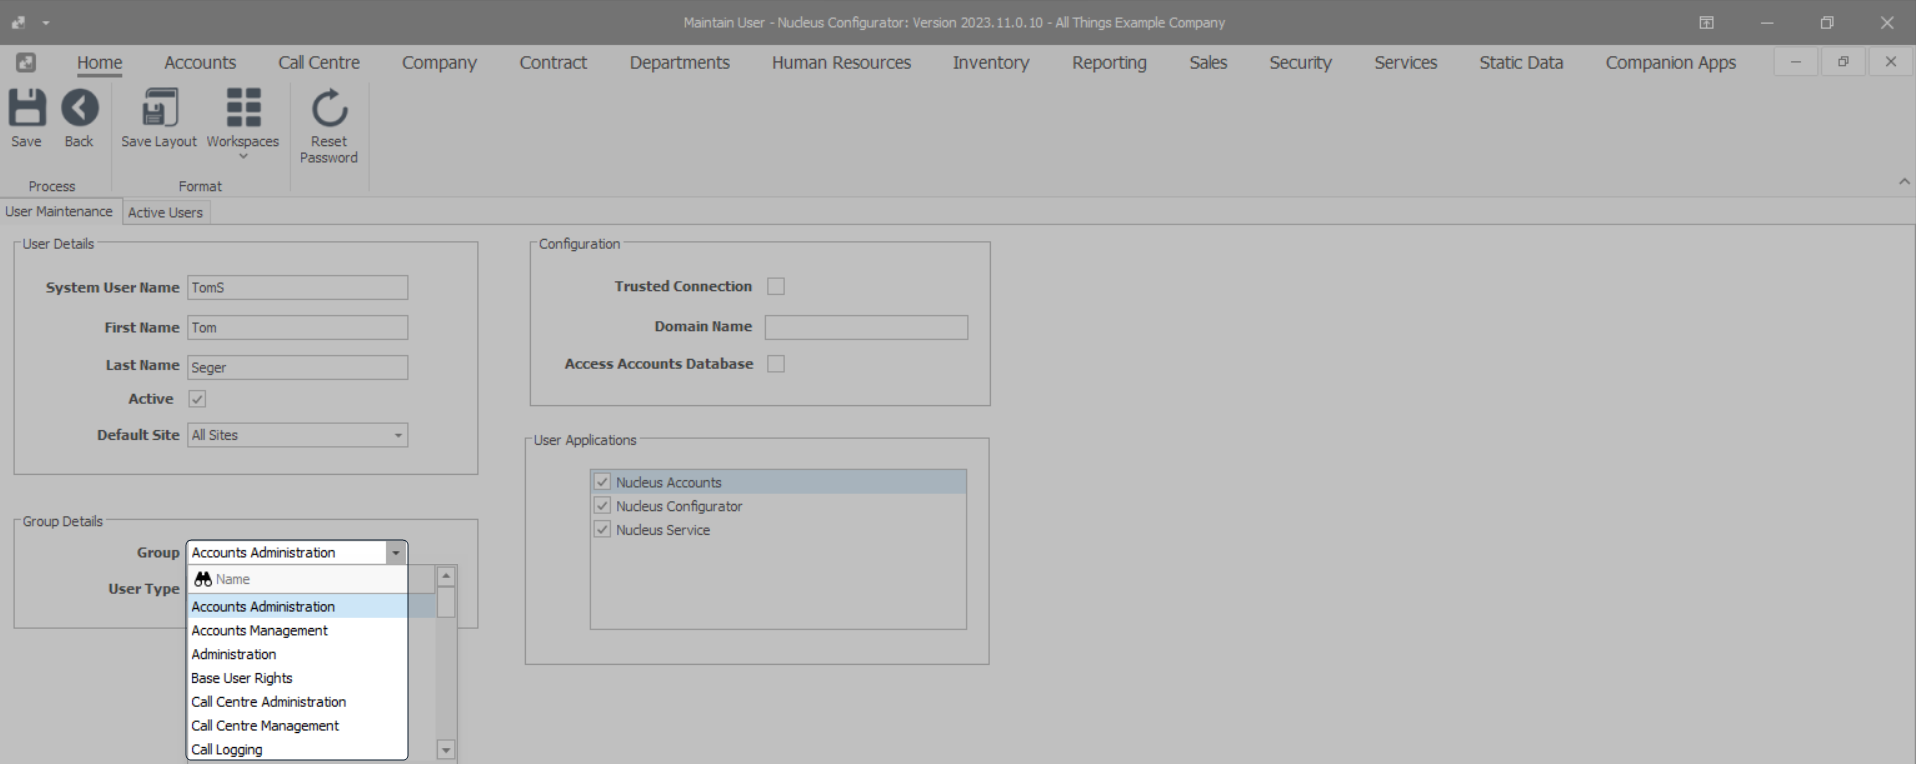
- Group Details:
- Group: You can click on the drop-down arrow and select from the drop-down list, an alternative Group, if applicable.
- User Type: This field is un-editable.
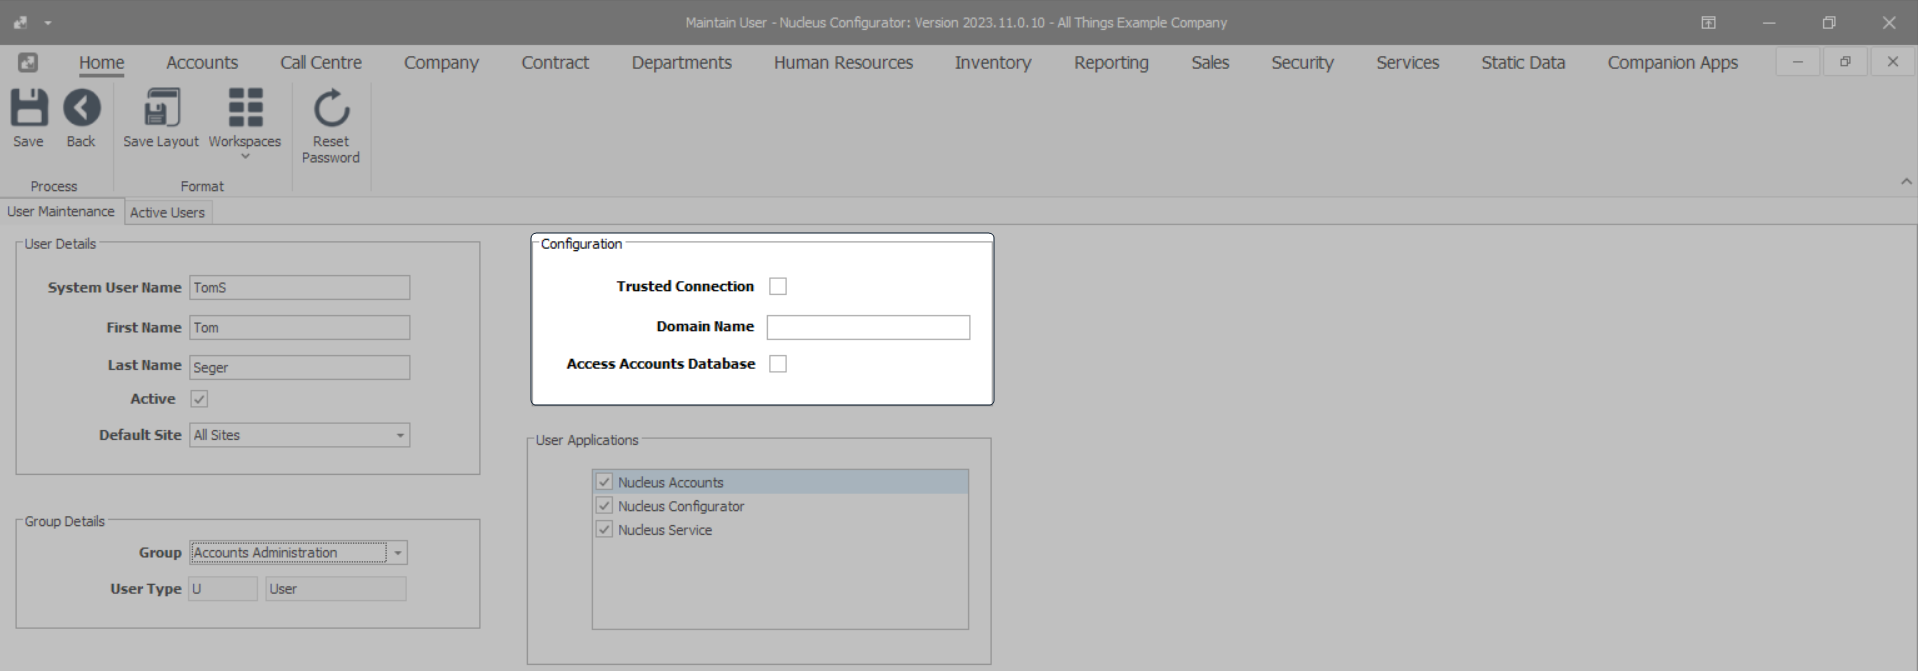
- Configuration:
- Trusted Connection: You can edit this check box if you are going to include a Domain Name.
- Domain Name: You can include or exclude a Domain Name.
- Access Accounts Database: You can tick this check box for the Group: to have access to the Accounts Database.
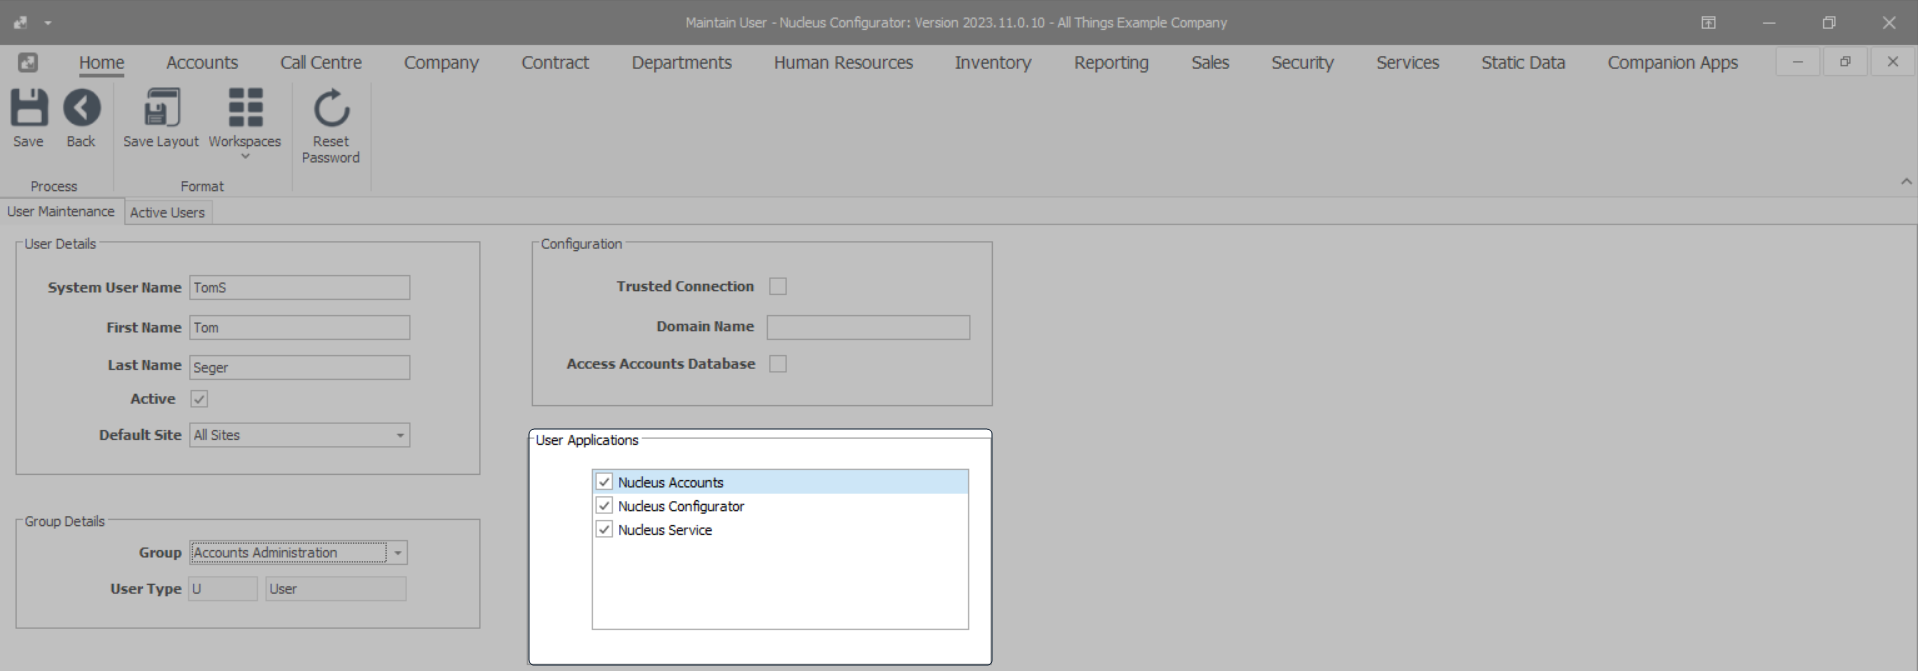
- User Applications:
- Nucleus Accounts: You can untick or tick this check box if the Group: will be allowed access to Nucleus Accounts.
- Nucleus Configurator: You can untick or tick this check box if the Group: will be allowed access to Nucleus Configurator.
- Nucleus Service: You can untick or tick this check box if the Group: will be allowed access to Nucleus Service.
Save
- When you have finished editing the user details -
- In this image the Default Site has been changed to All Sites.
- Click on Save.
- The user record is updated in the system.
- You will return to the User Management screen.
MNU.085.006