We are currently updating our site; thank you for your patience.
Static Data
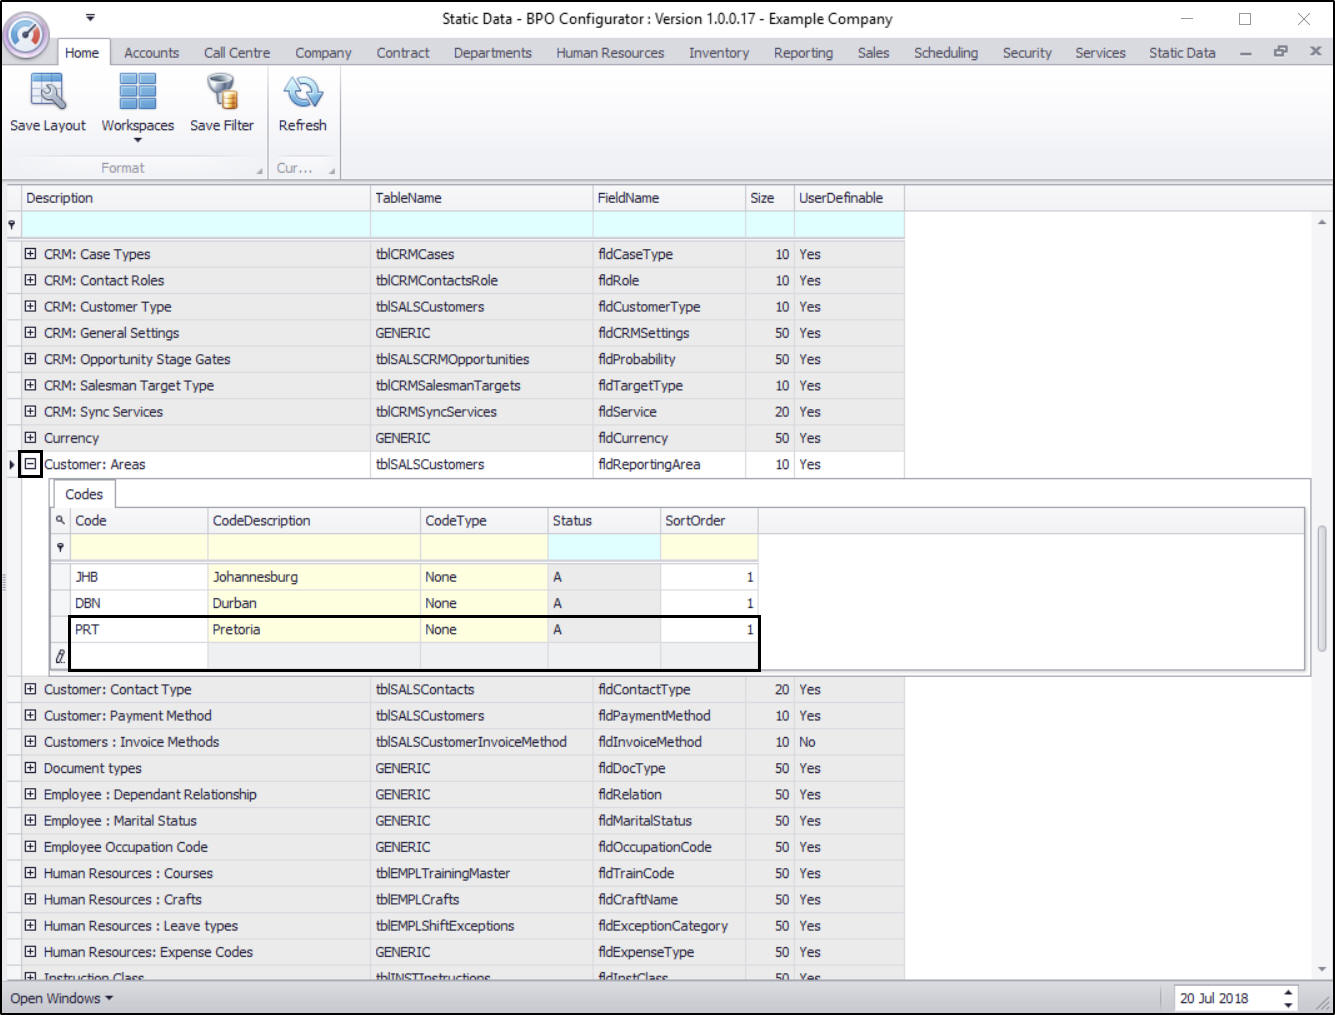
Static Data - Customer: Areas
Reporting Areas are required for Customers in BPO CRM, but can also be used in BPO without BPO CRM.
These Reporting Areas give you the ability to categorise your clients, or group them into specific physical or otherwise pre-defined areas.
| Ribbon Access: Configurator > Static Data > Static Data |
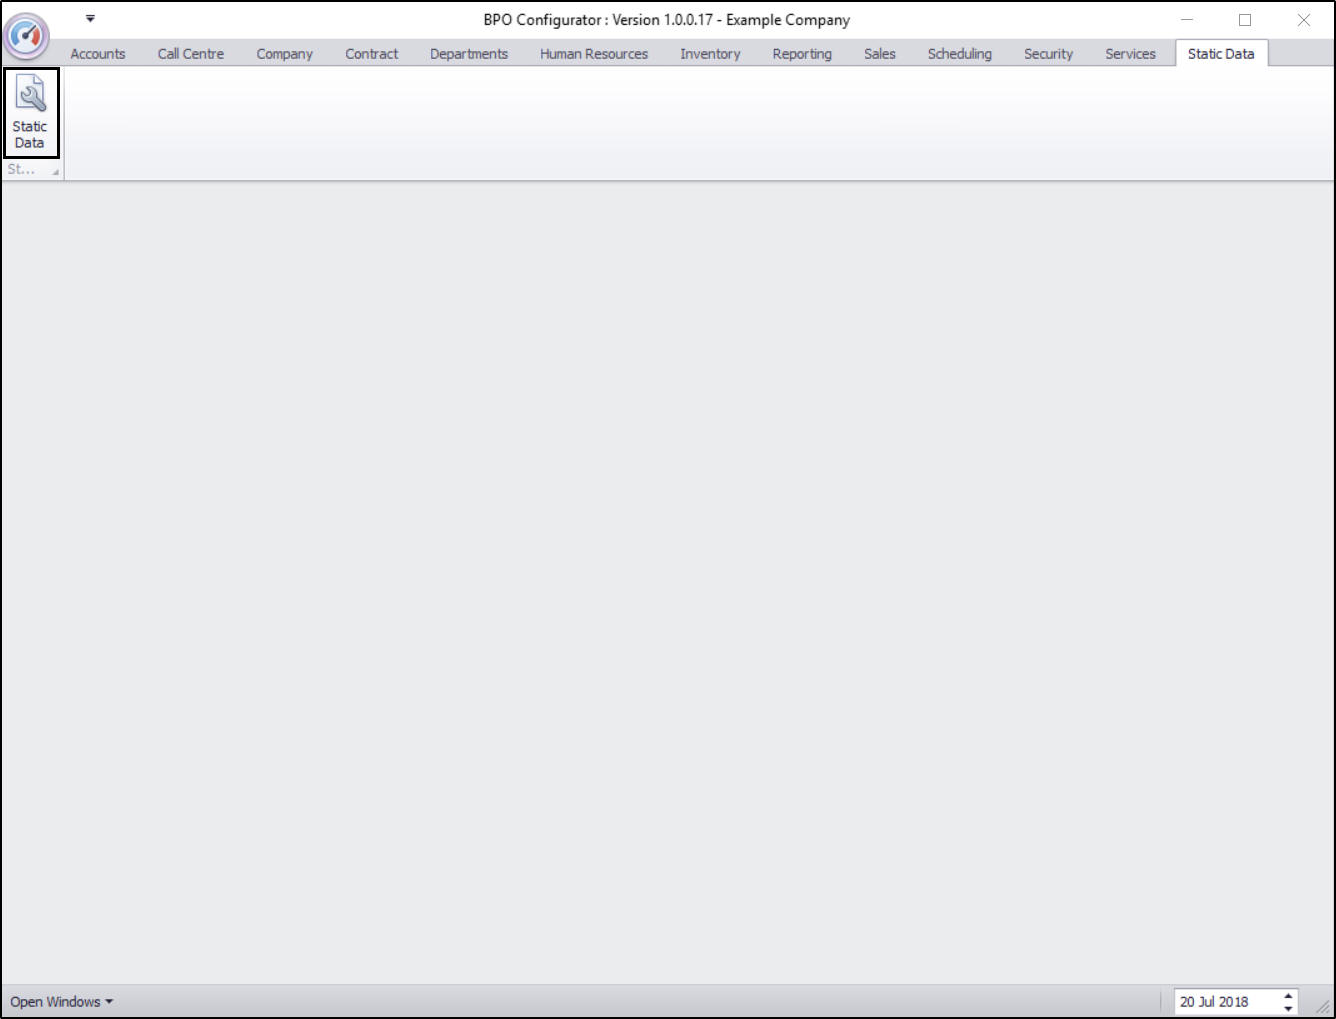
- The Static Data listing screen will be displayed.
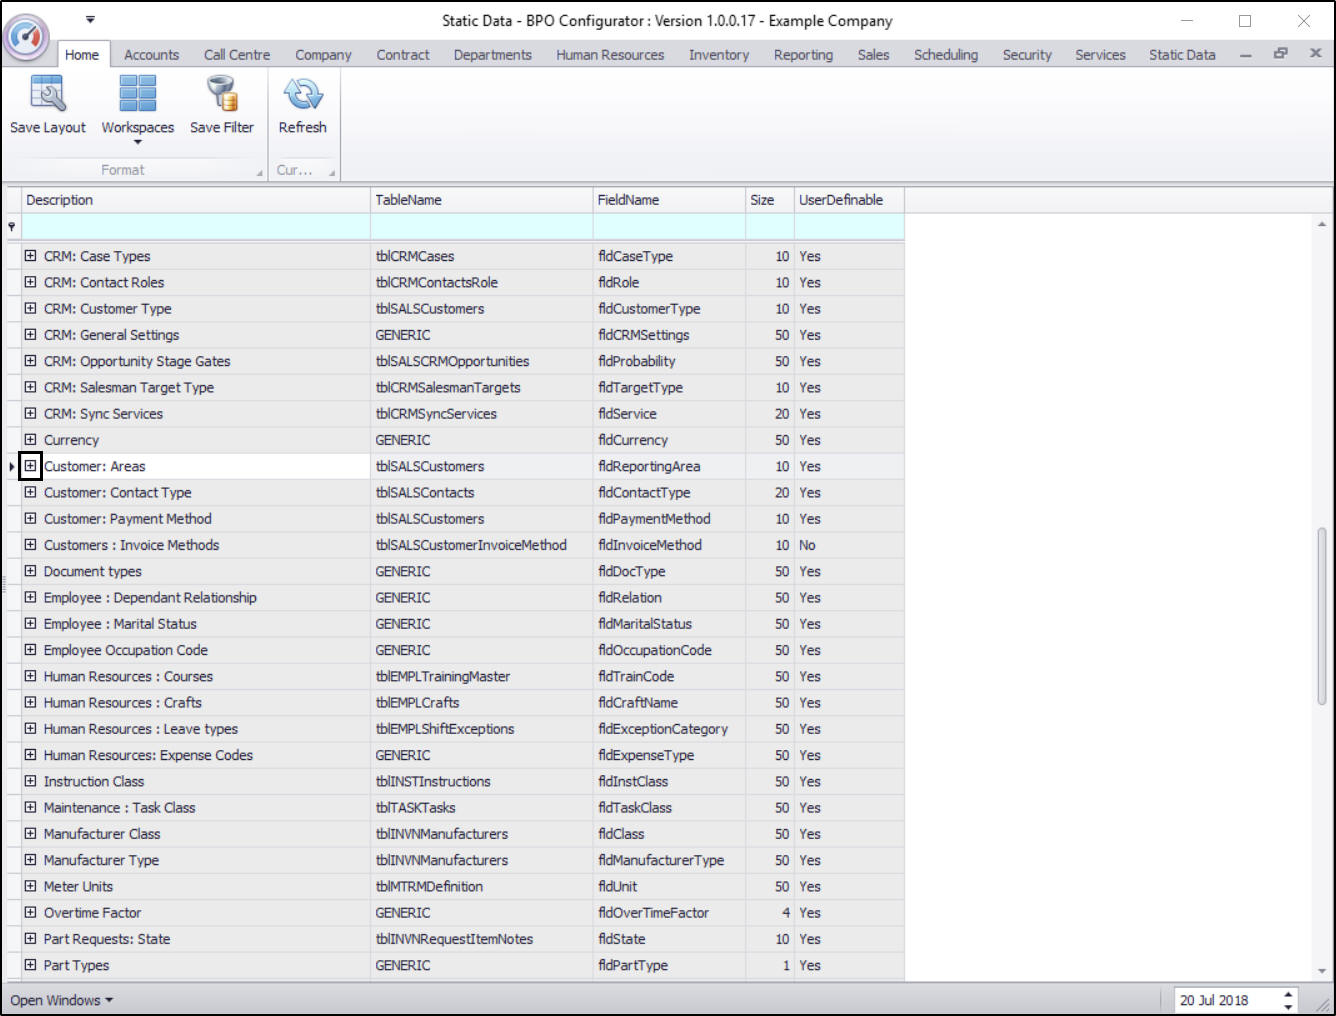
- Use the filter row or scroll down the list until you find the Customer: Areas row.
- Click on the expand icon in this row.
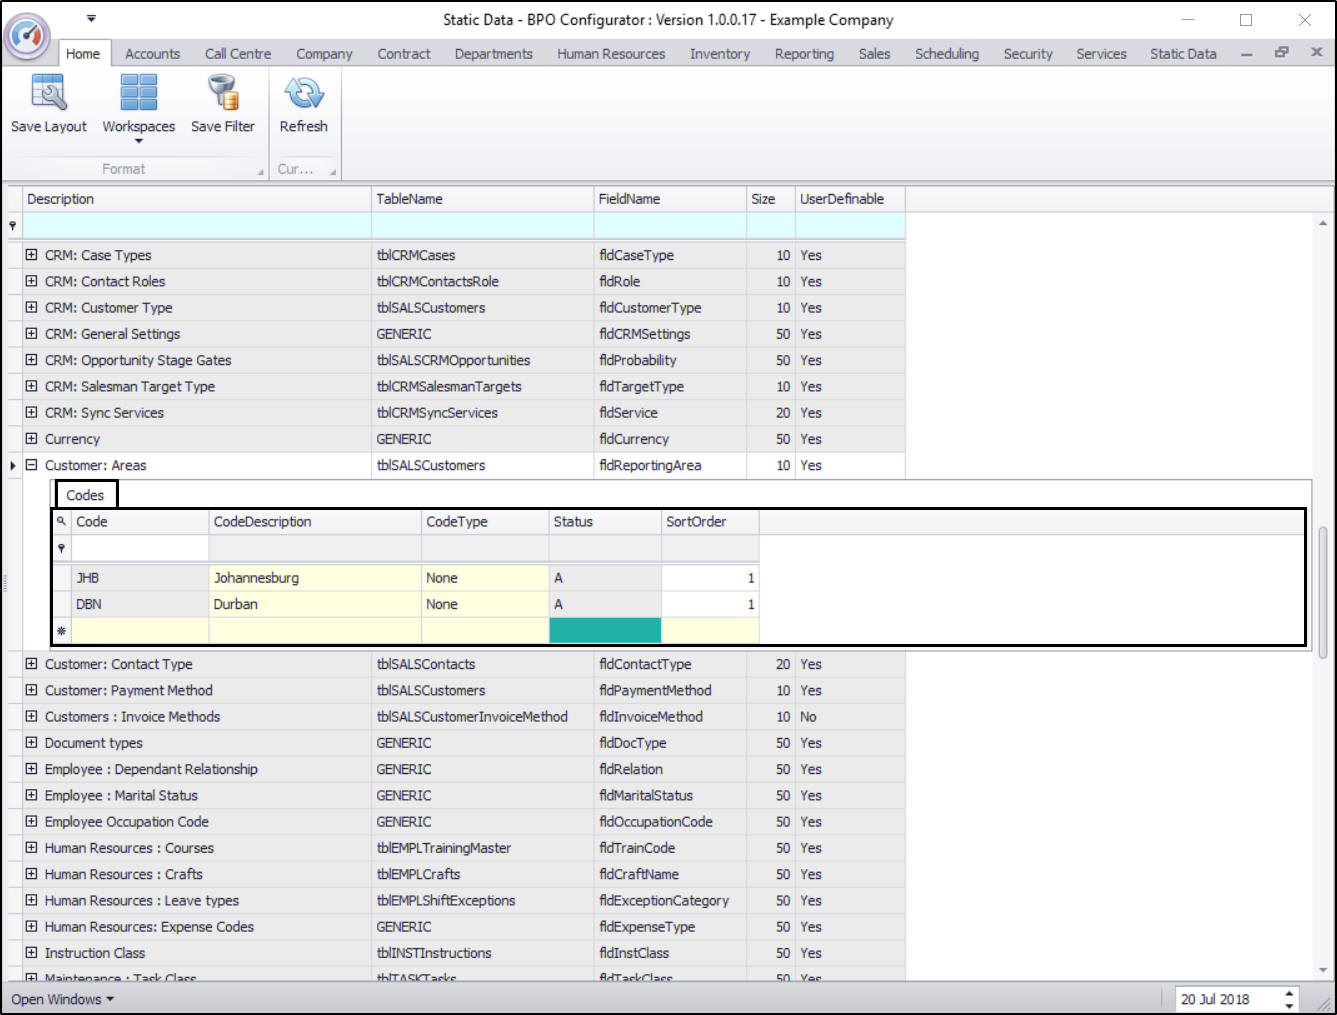
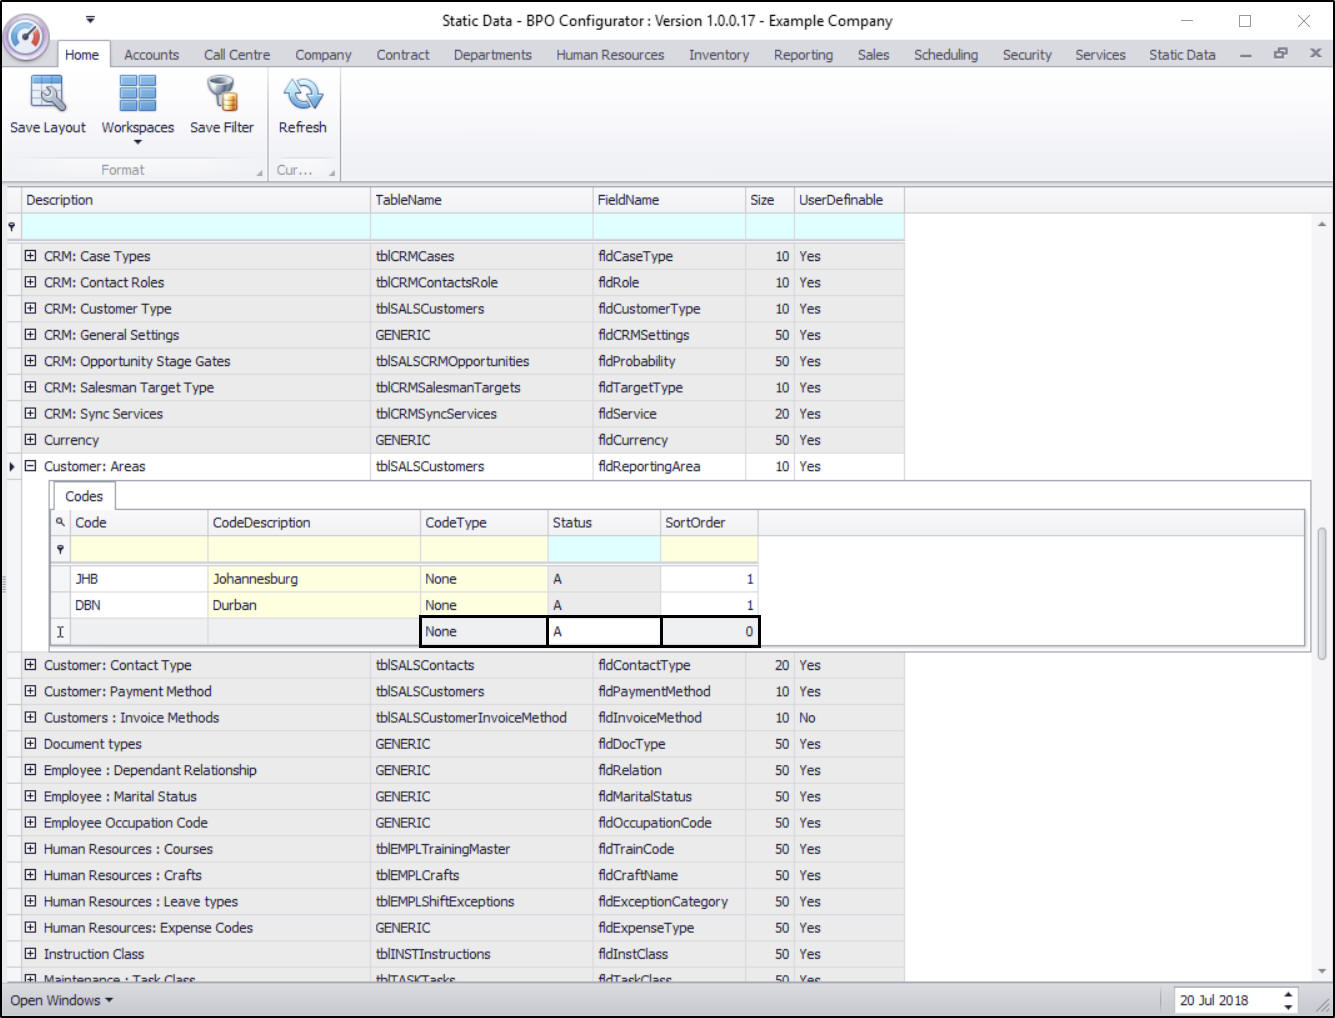
- The Customer: Areas Codes frame will be expanded.
- Here you can view a list of Customer: Areas codes currently on the system.
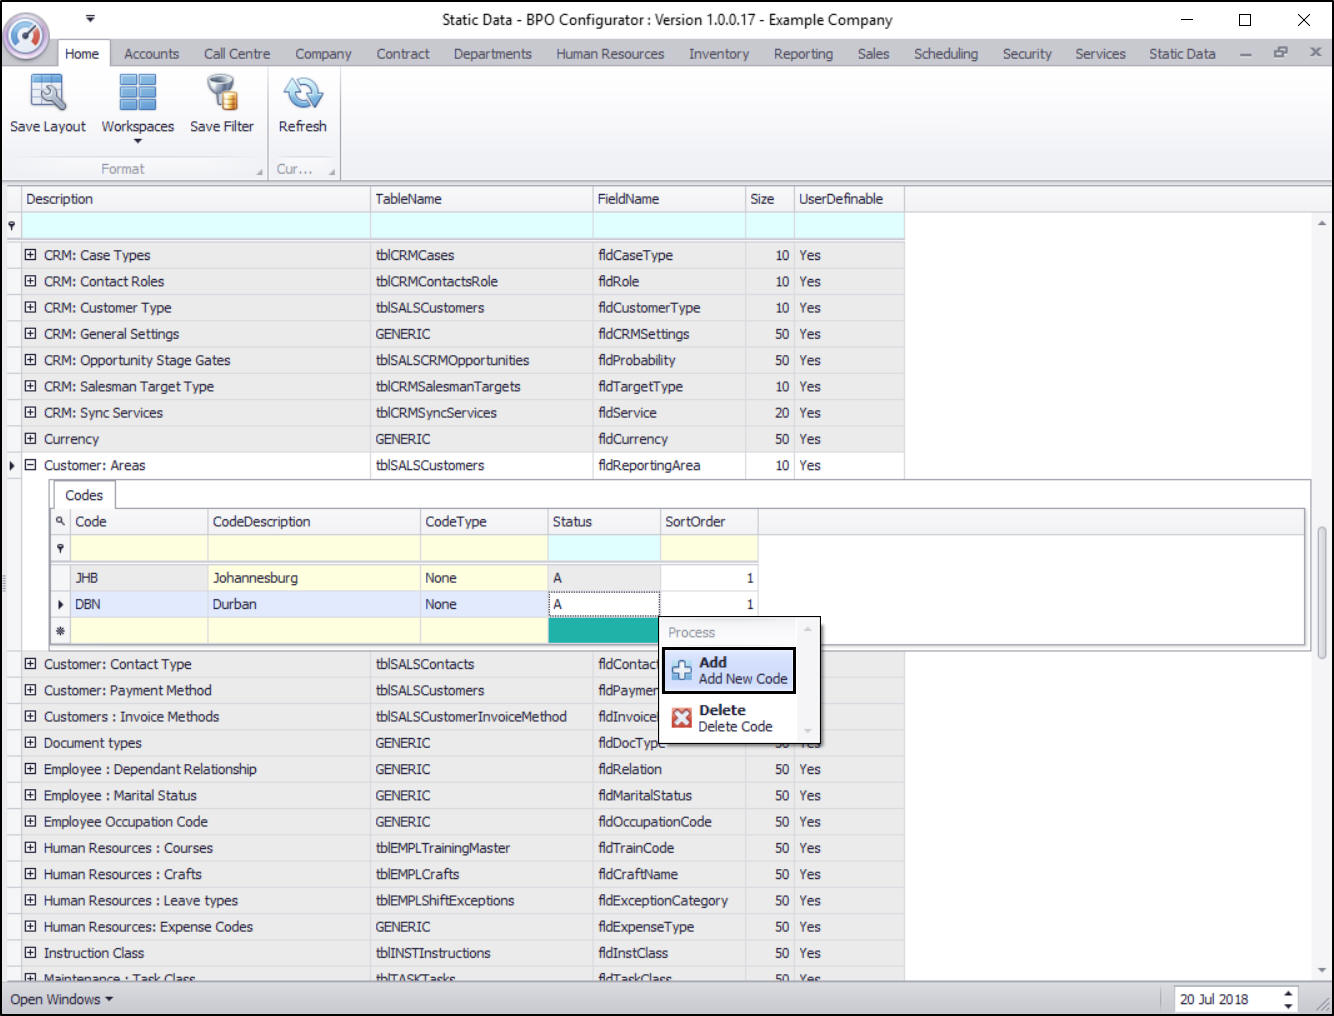
- Right click anywhere in a row of this Codes data grid.
- A Process menu will pop up.
- Click on Add - Add New Code.
- The final row in the Codes data grid will now be 'activated'.
- The Code Type, Status and Sort Order columns will now be populated.
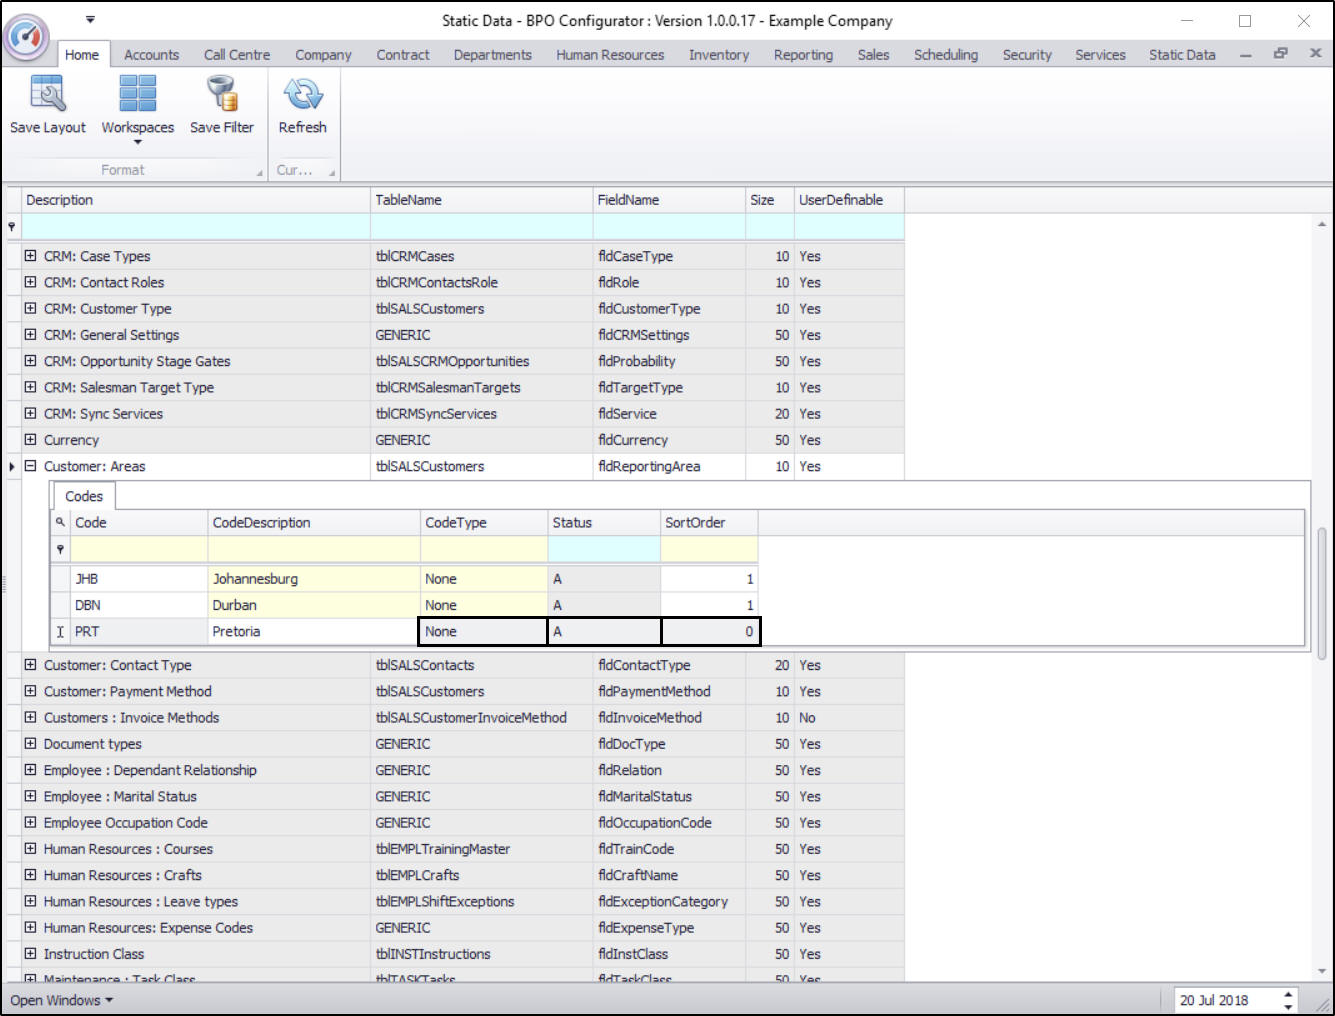
- Code: Click in this text box and type in a code specific for this new Customer: Area.
- Code Description: Click in this text box and type in a description for this new Customer: Area code.
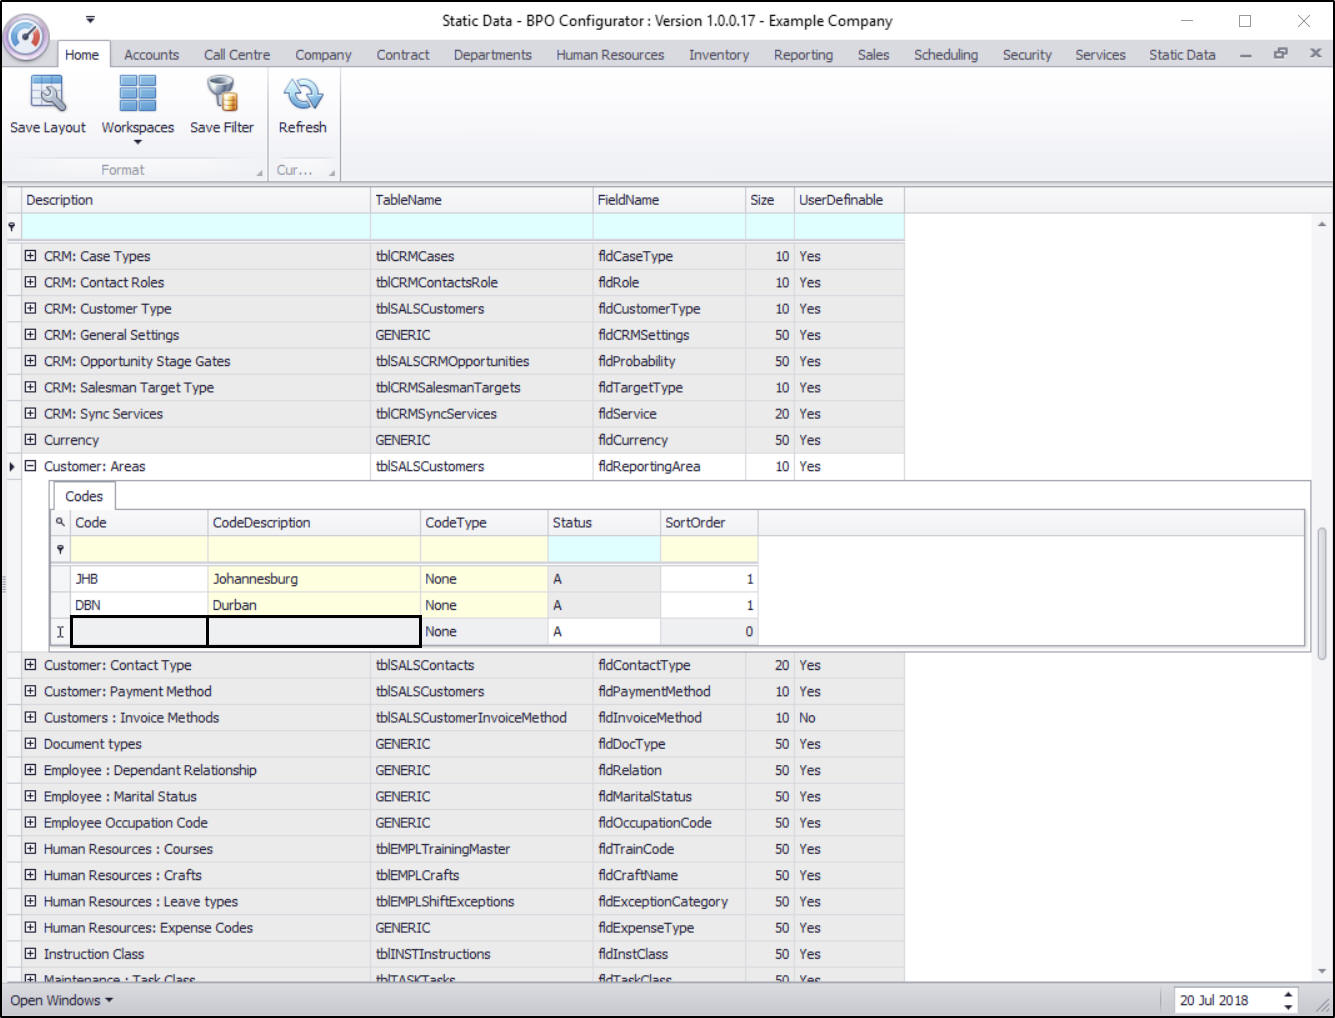
- Code Type: This can remain as None.
- Status: This will auto populate with A - Active.
- Sort Order: Click in this text box and either type in or use the arrow indicators to select the sort order for this new Customer: Area code.
- Note: The sort order is the order in which this will appear in the Customer: Area code drop-down list in BPO. If each Customer: Area code has the number 1, then the drop-down list will usually default to an alphabetical order in BPO. If, for example, it is numbered 2, then it will appear 2nd in the drop-down list in BPO.
- When you have finished adding the new Customer: Area code details, press Enter.
- An Update message box will appear, asking;
- Are you sure you want to save changes to this code?
- Click on Yes.
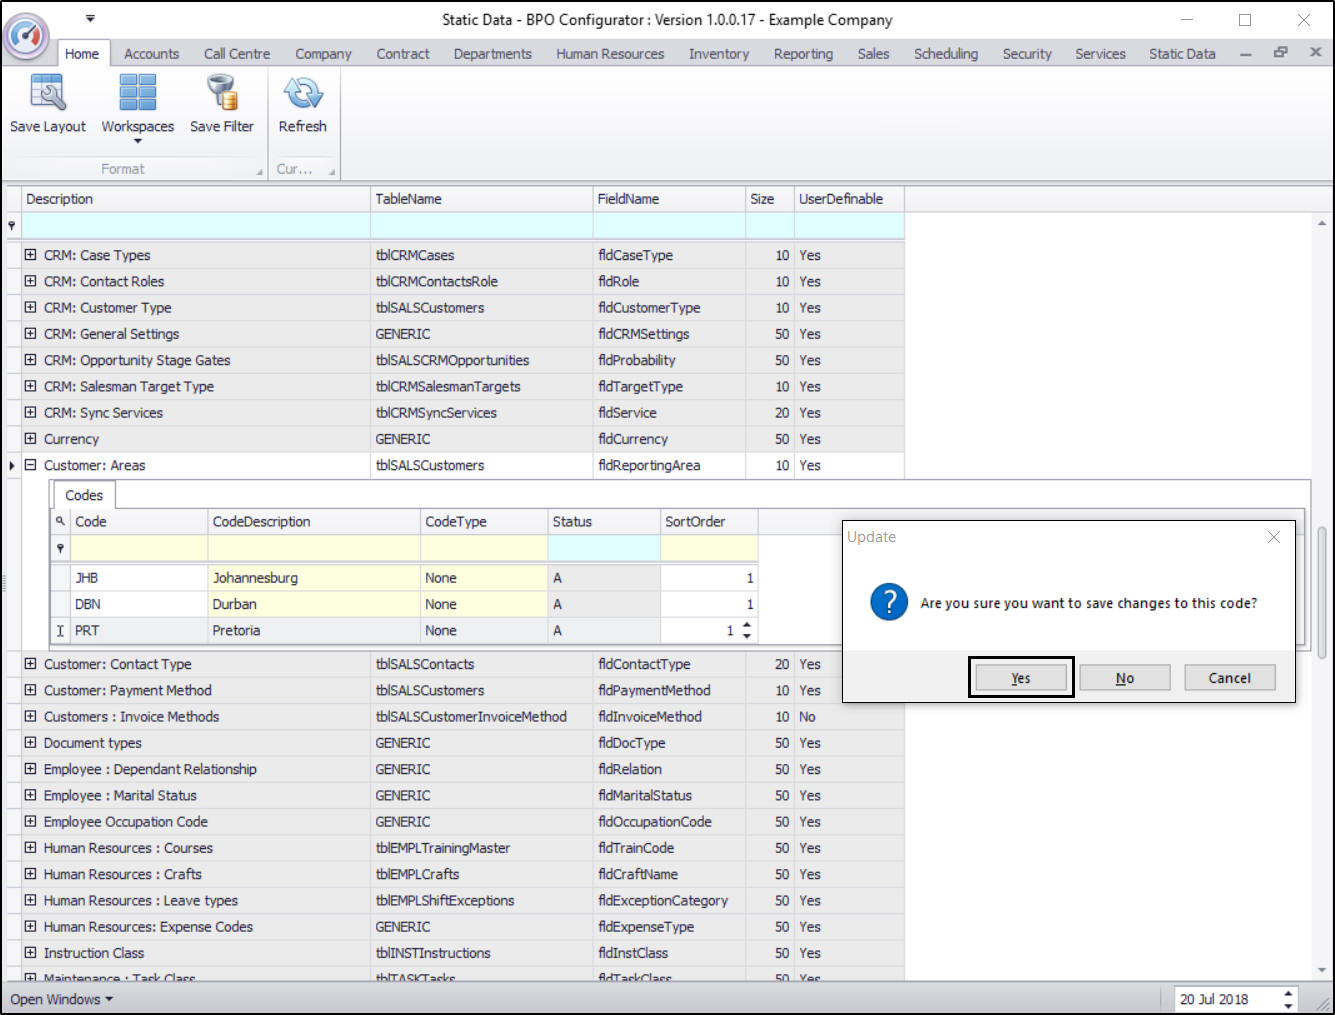
- The new Customer: Area code will be saved and a new row will be added to the Codes data grid.
- Collapse the Codes frame when you are done.
MNU.108.047