We are currently updating our site; thank you for your patience.
Contract
Add Item Inclusions
Item Inclusions are items which are included on a contract and should not be billed separately. These items are selected first by category and then by the item within that category.
Examples of Item Inclusion Category Types are:
- Part Inclusione.g., toner
- BOM Inclusione.g., machine service BOM
- Craft Inclusione.g., technician
- Service Inclusione.g., call out fee
More than one item inclusion can be added from each category type.
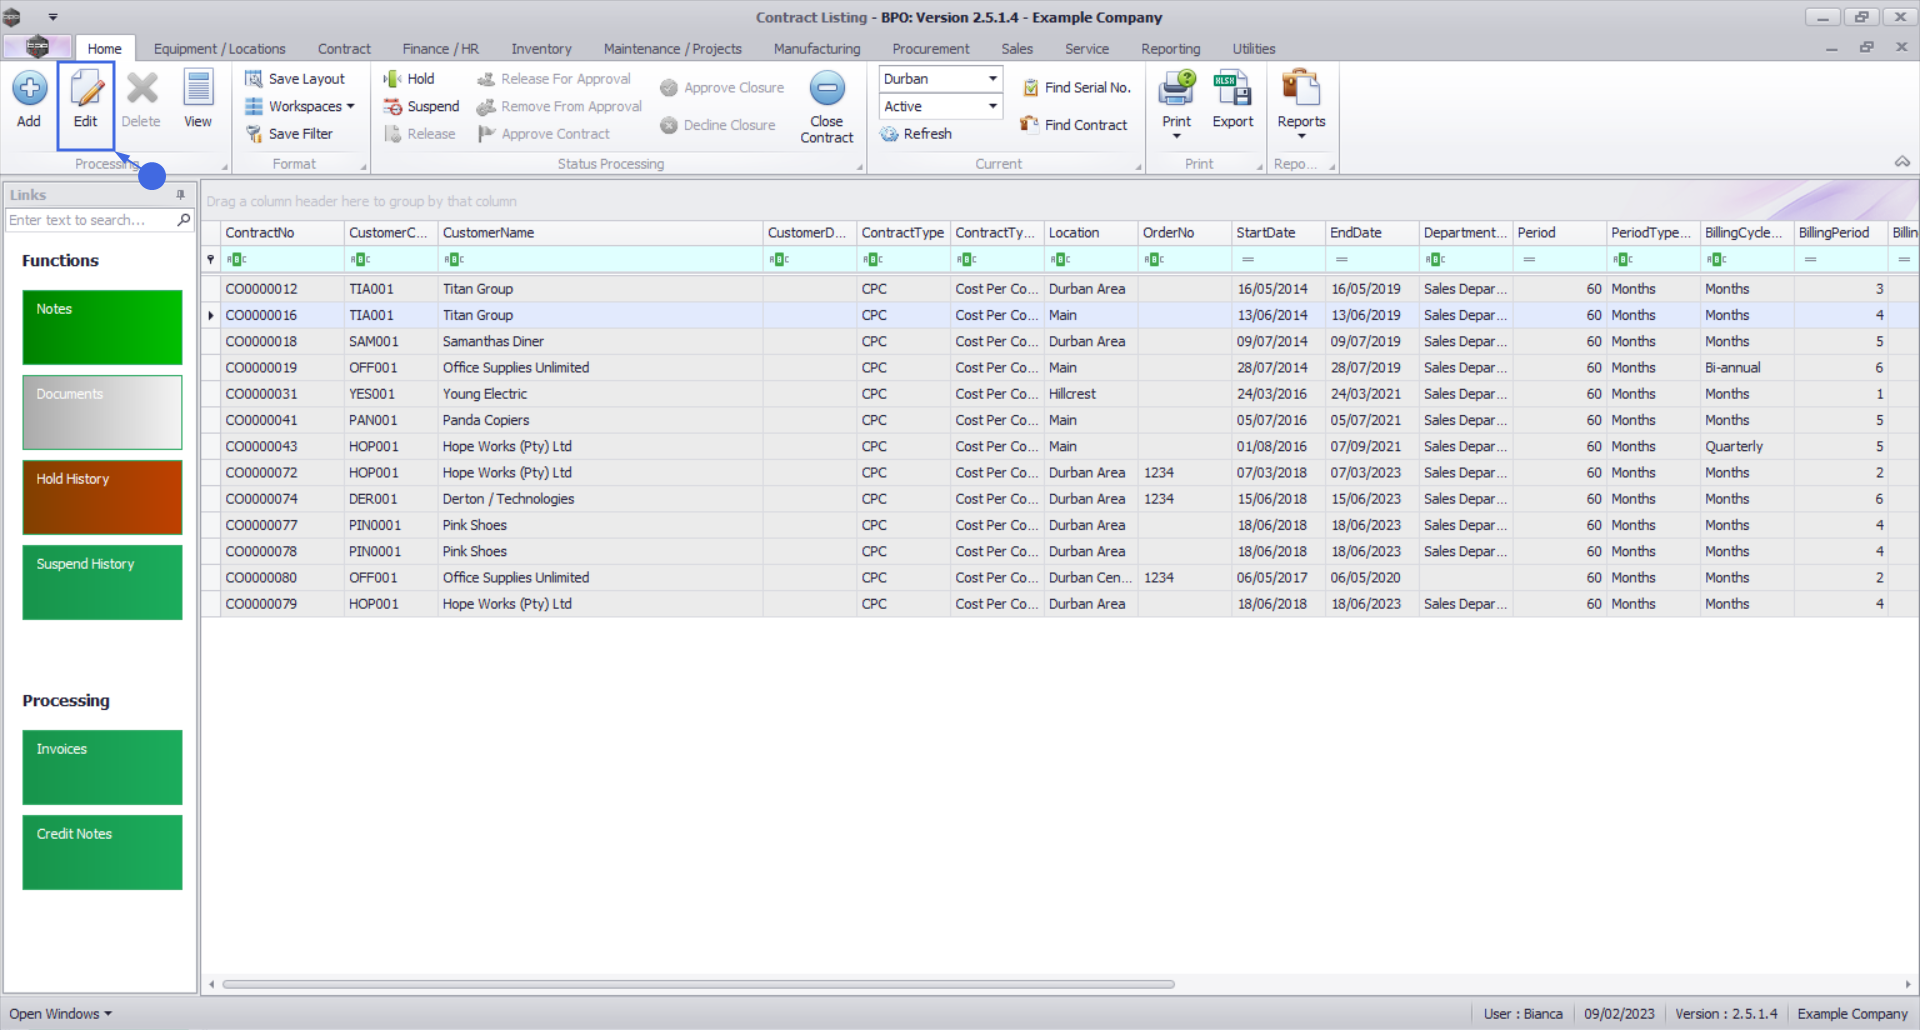
Ribbon Select Contract > Contracts

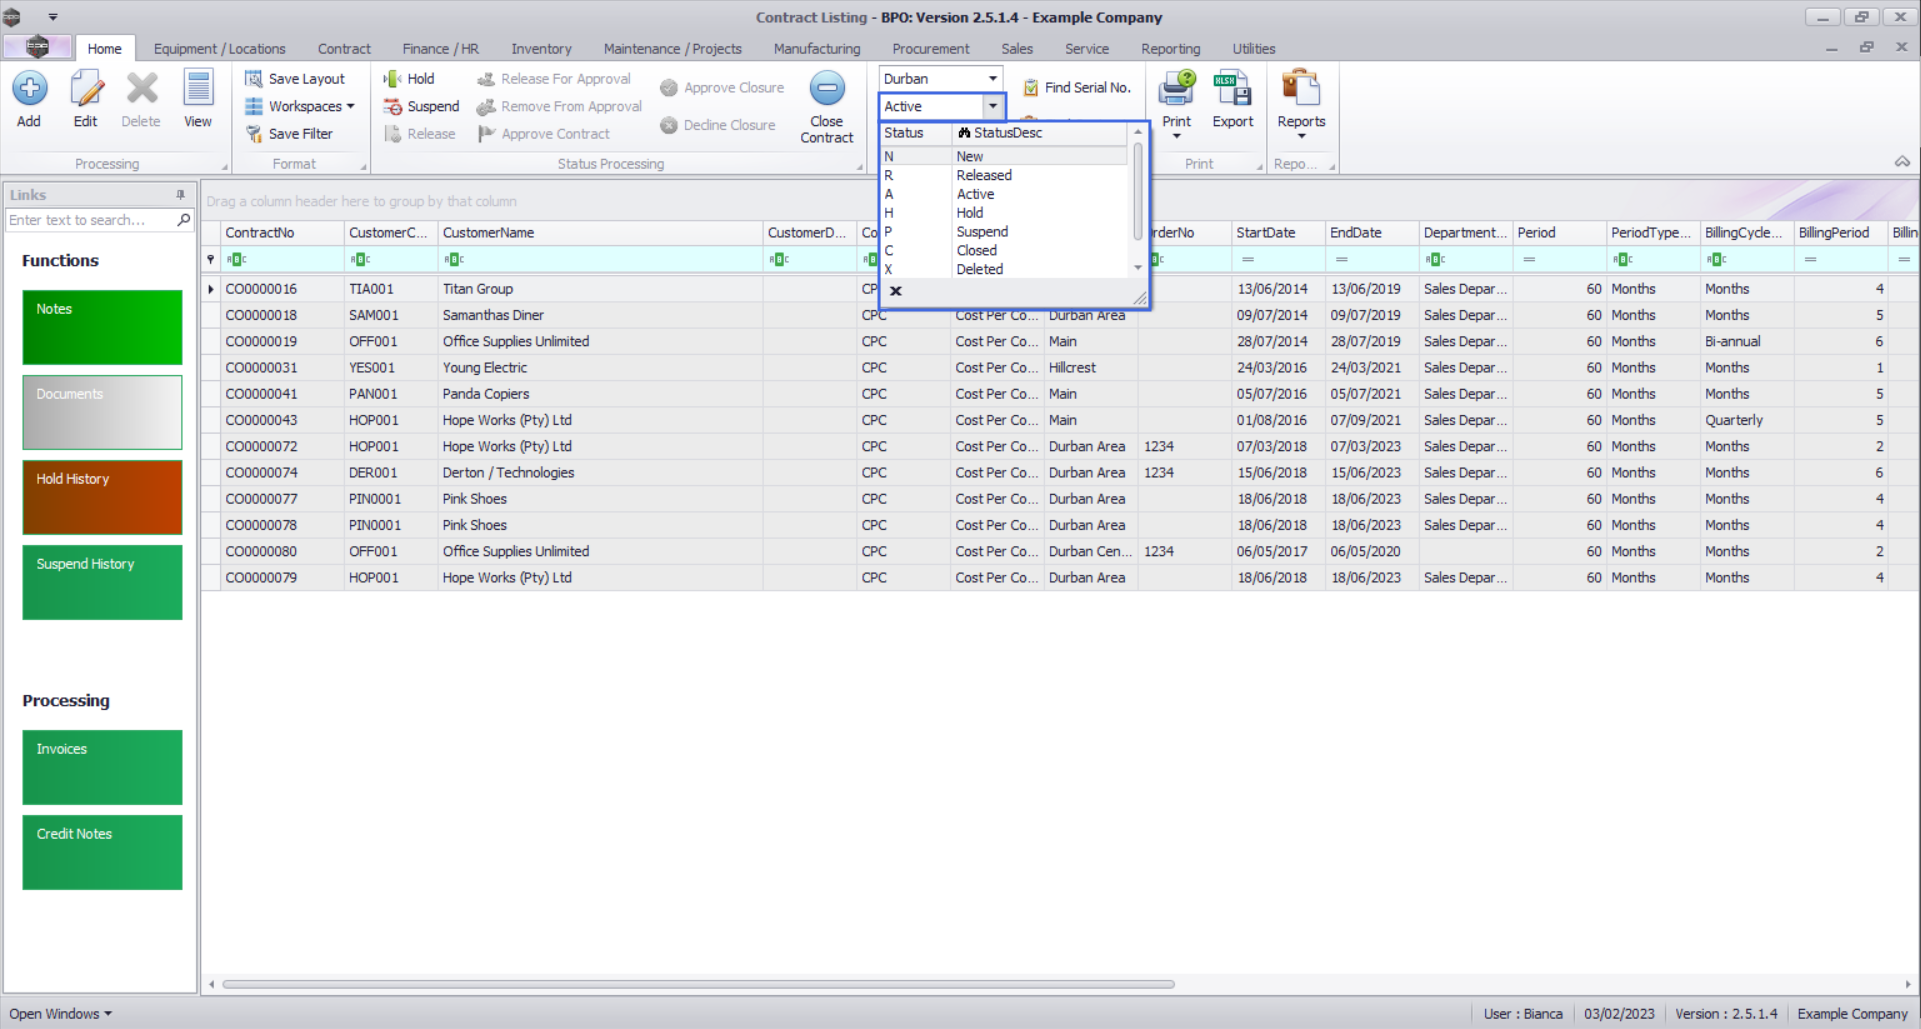
The Contract Listing screen will be displayed.
Your employee user record should be linked to a default site. In this case, the site will auto populate with this default, otherwise the site must be manually selected.
Another site can be selected, if required, and if you have the security rights to access the site.
If All Sites displays here, then you do not have a default site configured on your user record, and need to select the required site.
Upon opening, this screen will default to the Active status, listing all the Active contracts for the selected site.

Select the Contract
- Select the row of the contract that you wish to process.

- Click on the Edit button.
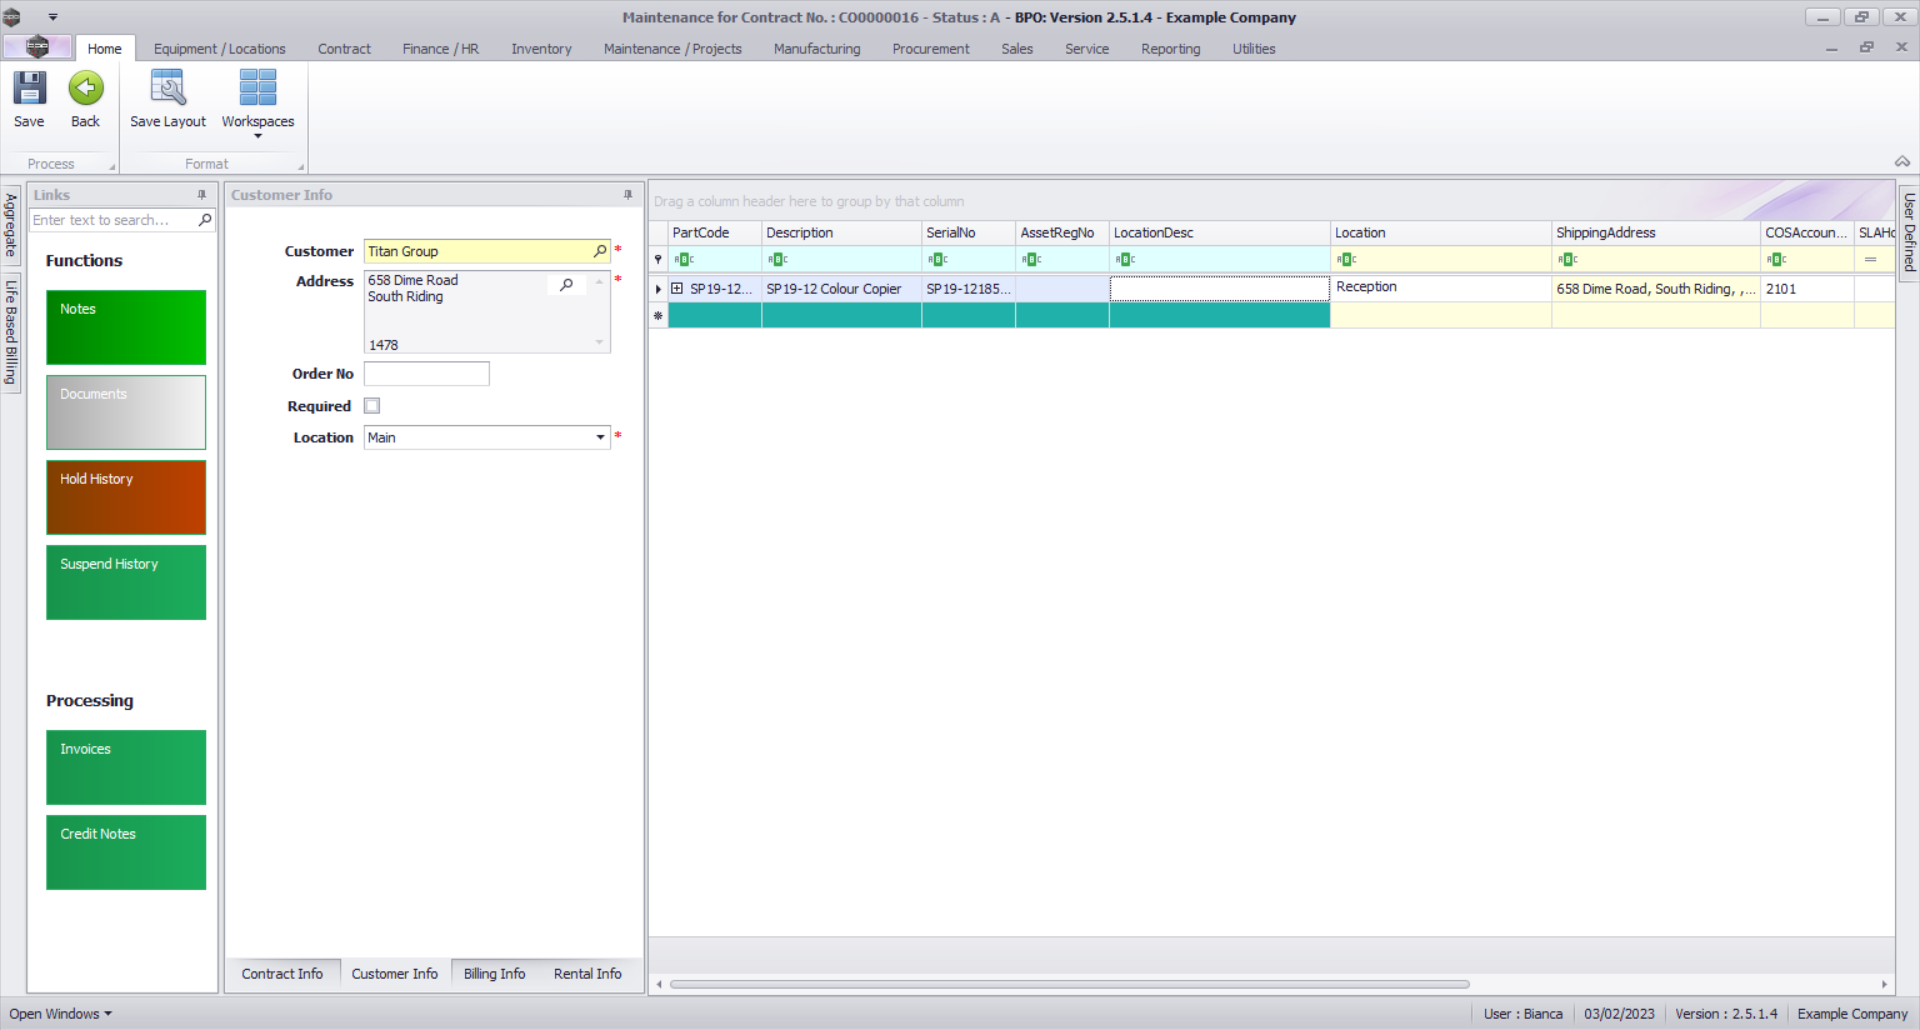
The Contract Maintenance screen will be displayed.
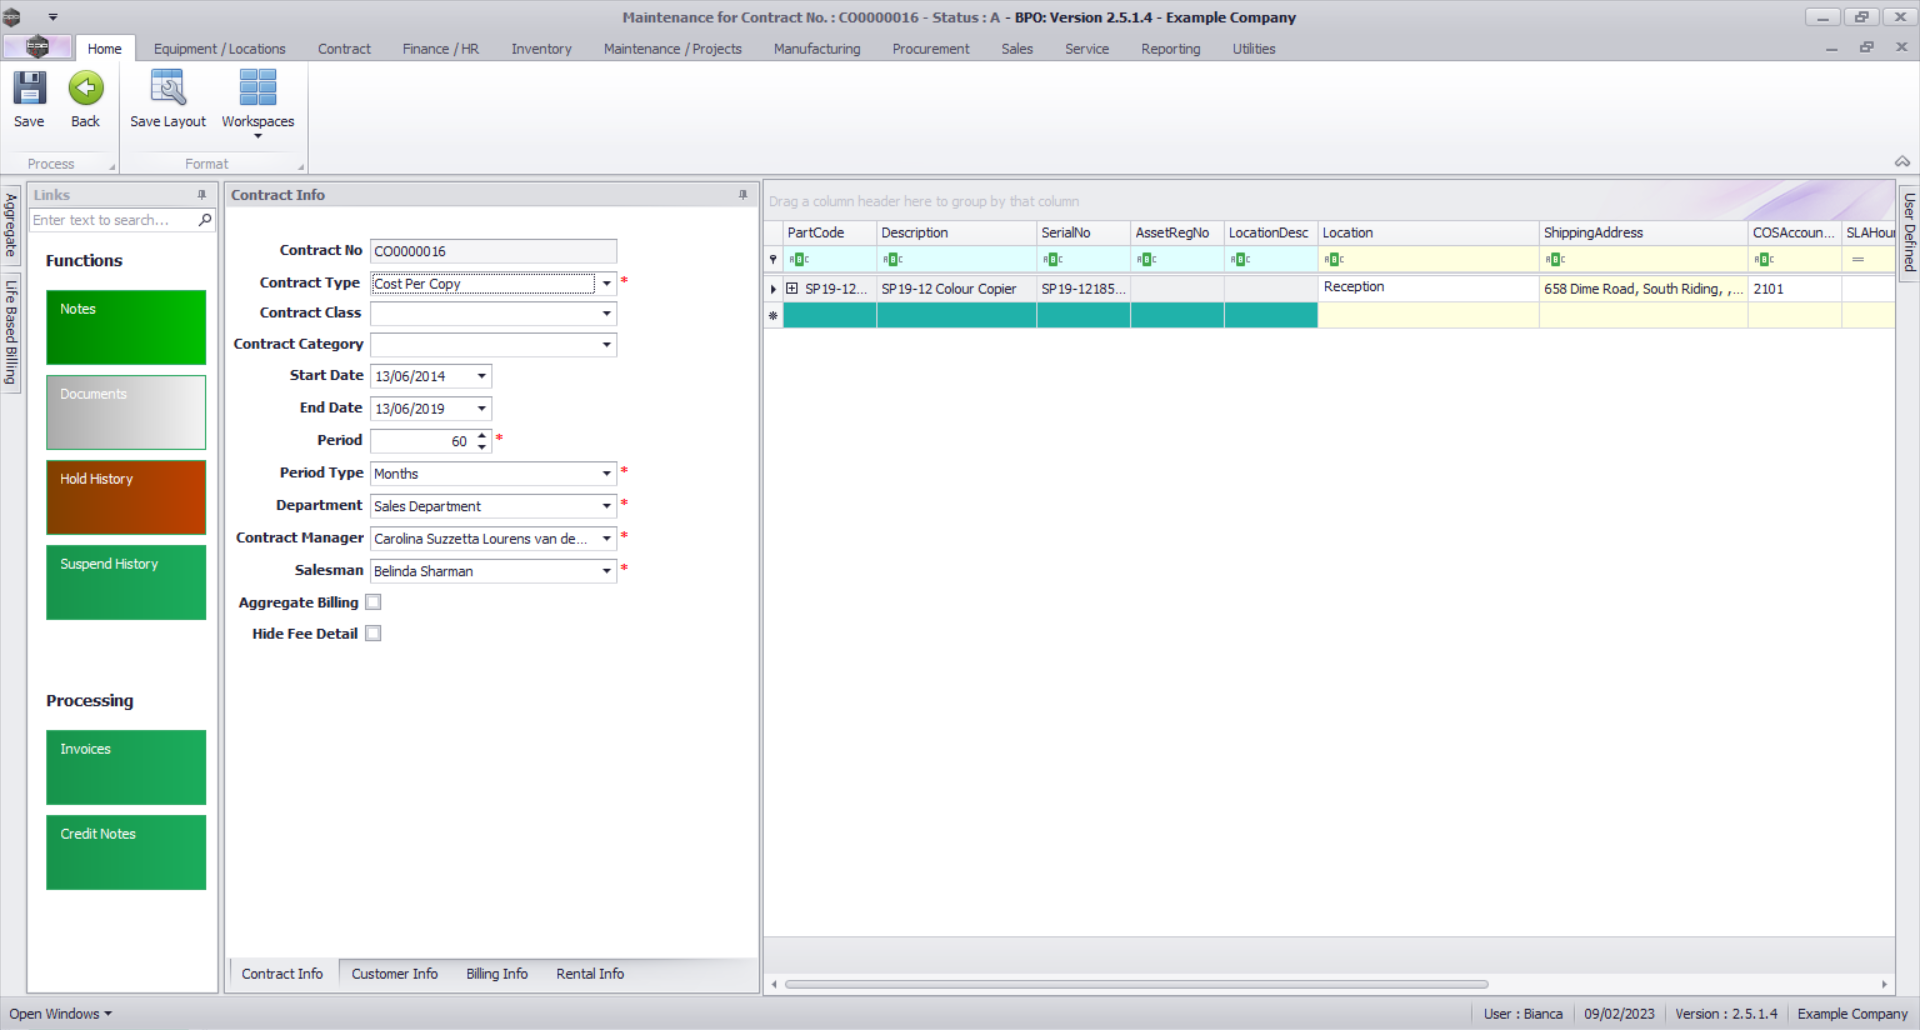
Select the Item
- Click on the row of the contract item you wish to work with.

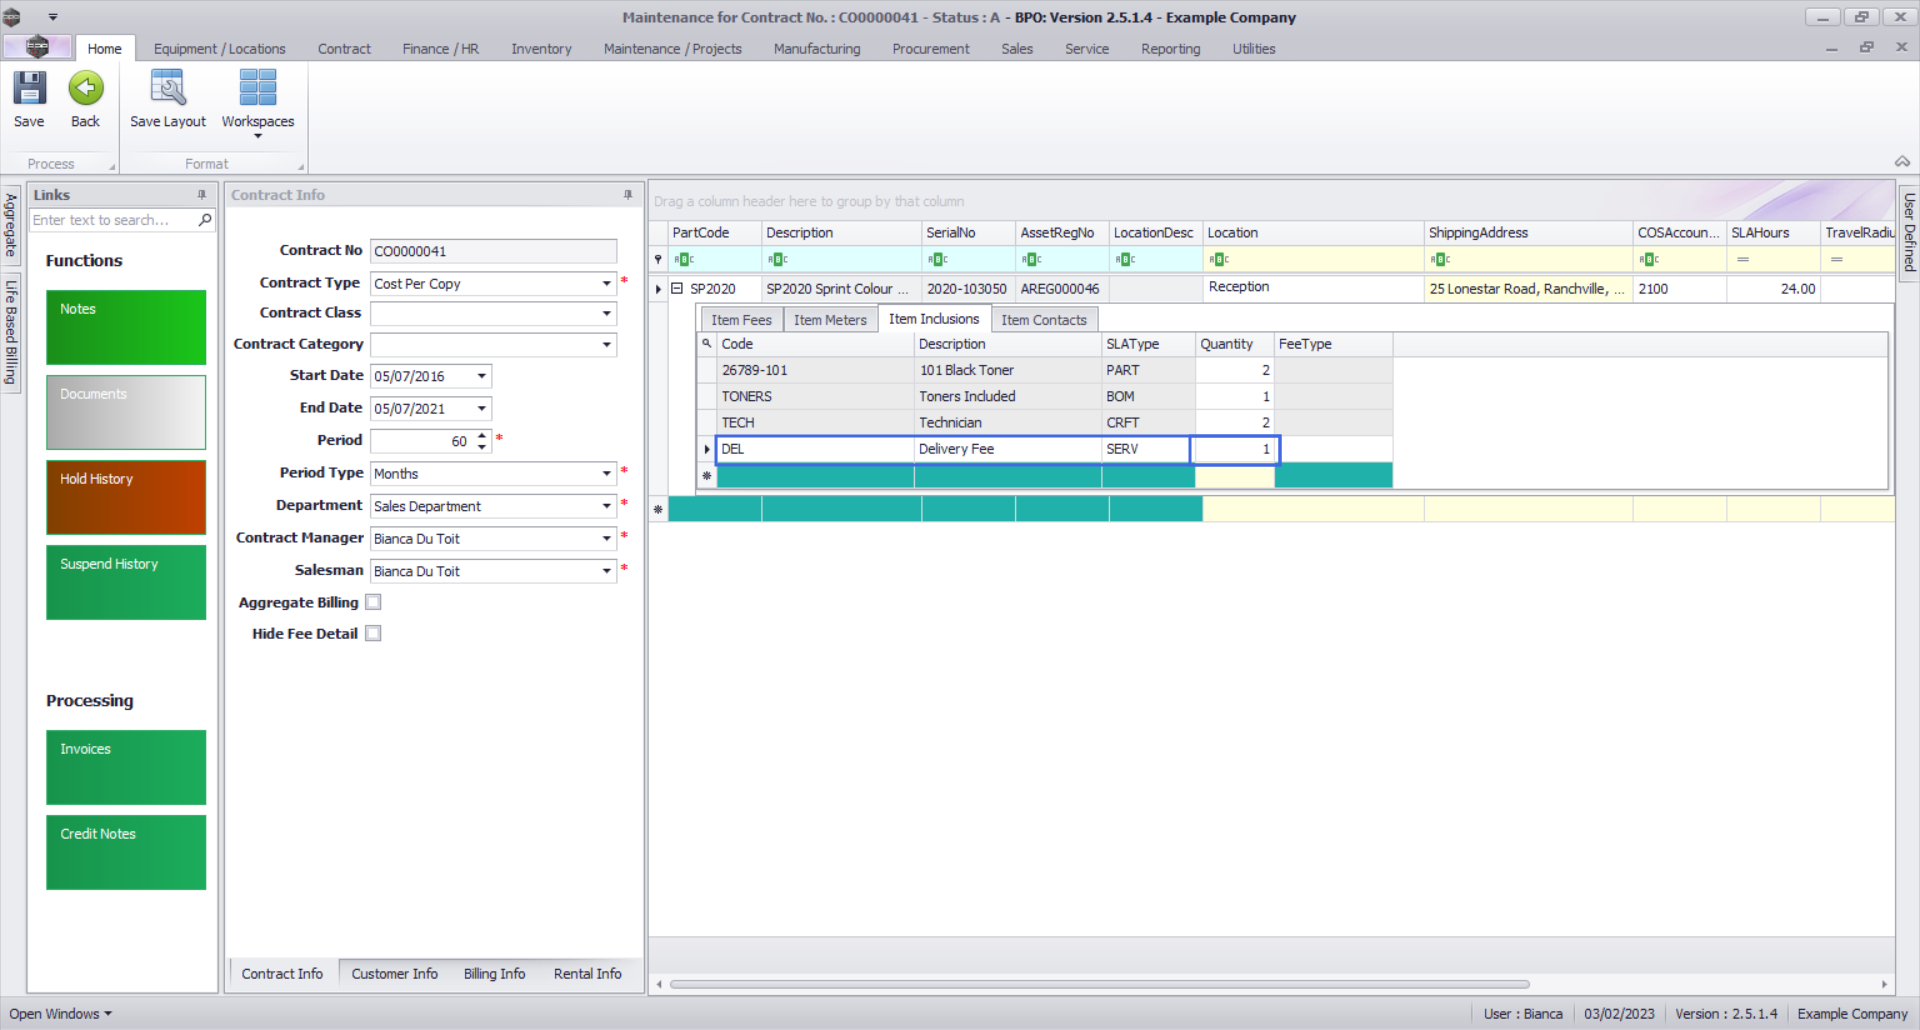
Item Inclusions Frame
- Click on the Item Inclusions tab.
The Item Inclusions frame will be expanded.
- In the Item Inclusions frame, you can add all .png Inclusions (items which are included in the .png and not billed separately).
- These are tasks, items, actions, services, etc. that are specifically “included” in the .png and are covered by a set .png fee agreed between the customer and service provider.
- Although they are included, you can have a breakdown of each individual inclusion. This breakdown is achieved by utilising the Link Fee panel within the Item Inclusion panel. For more information, refer to the Link Fee topic.

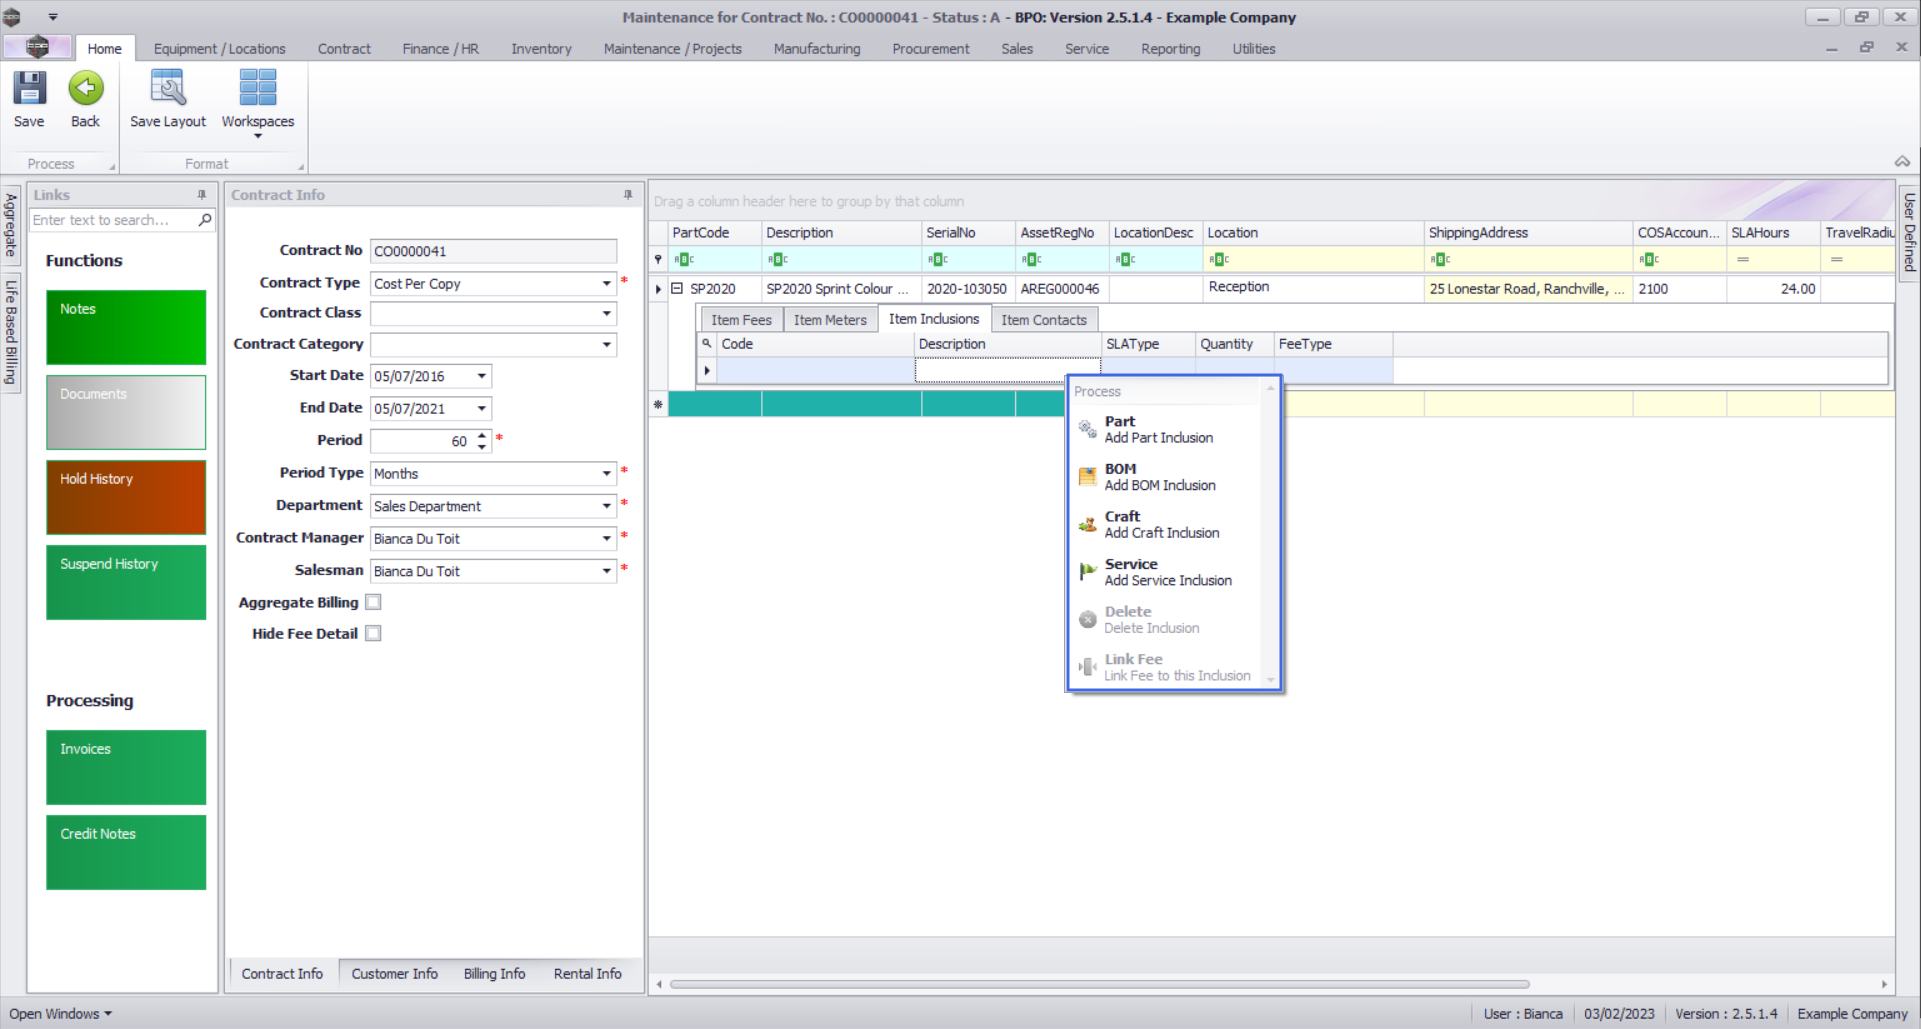
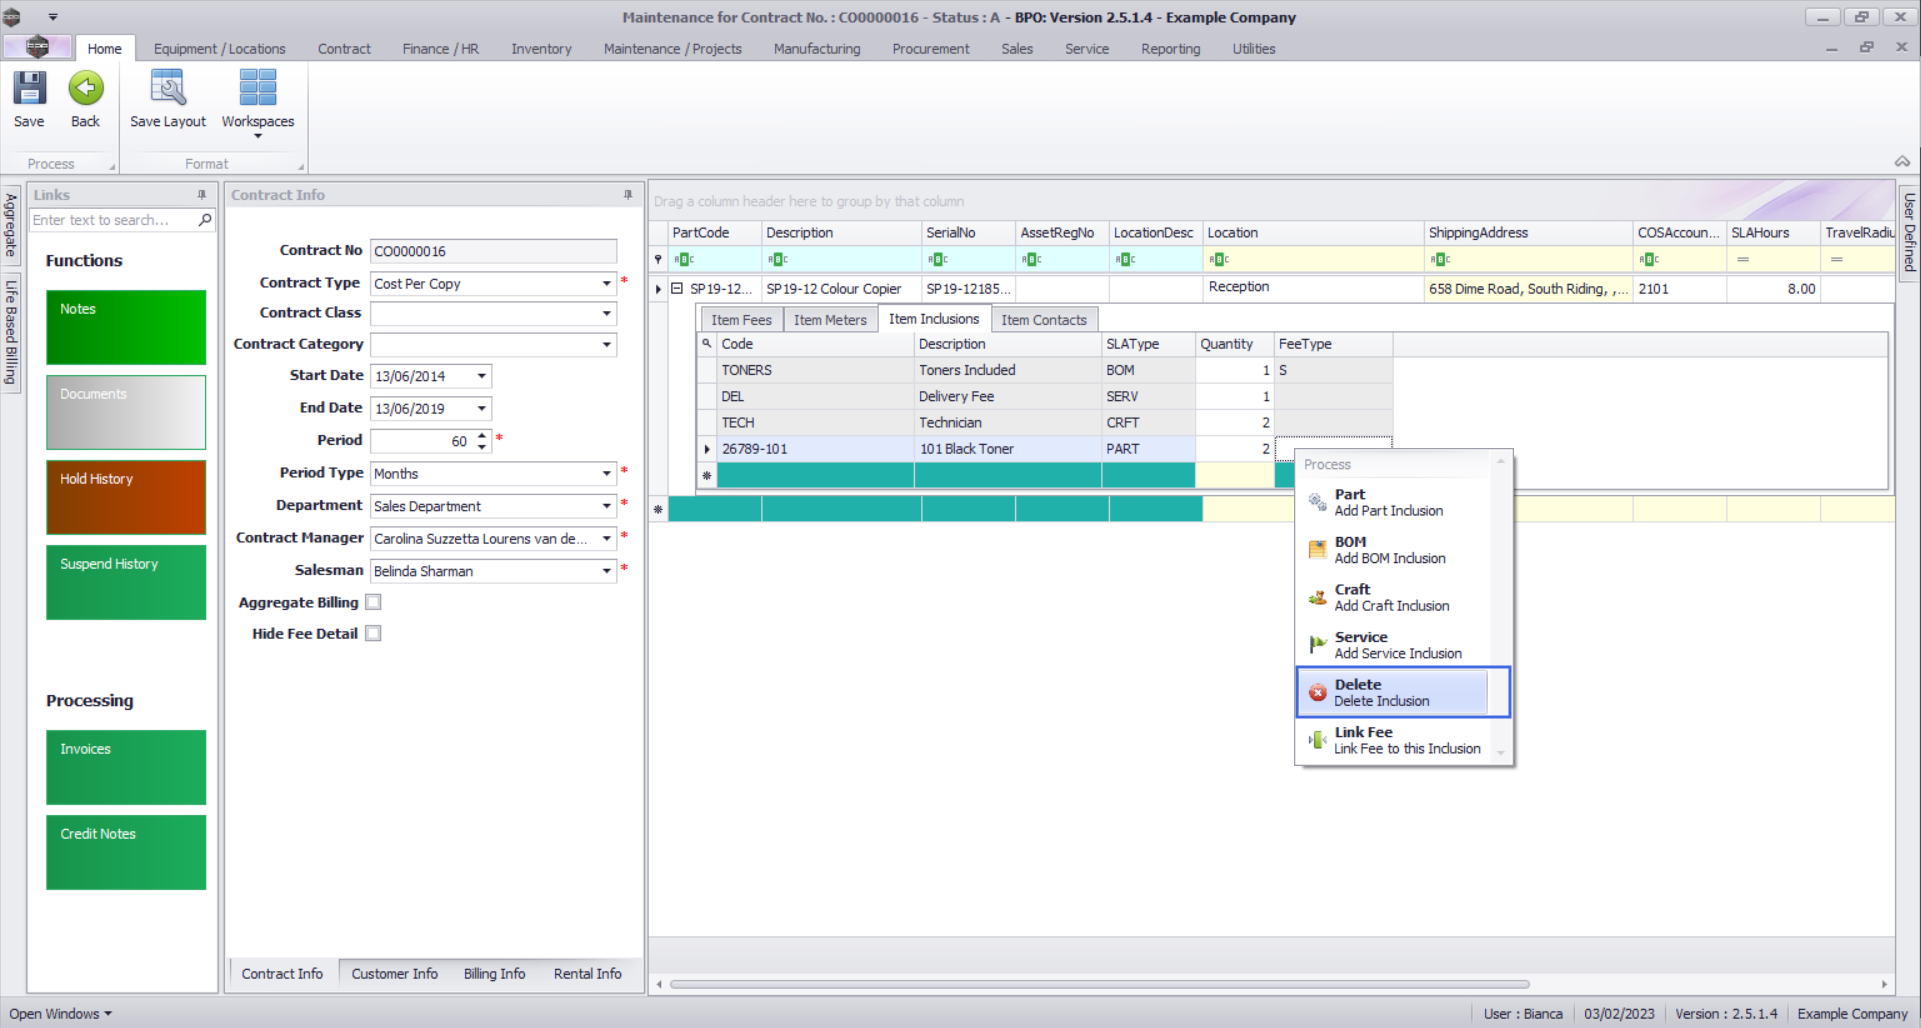
Add Item Inclusions
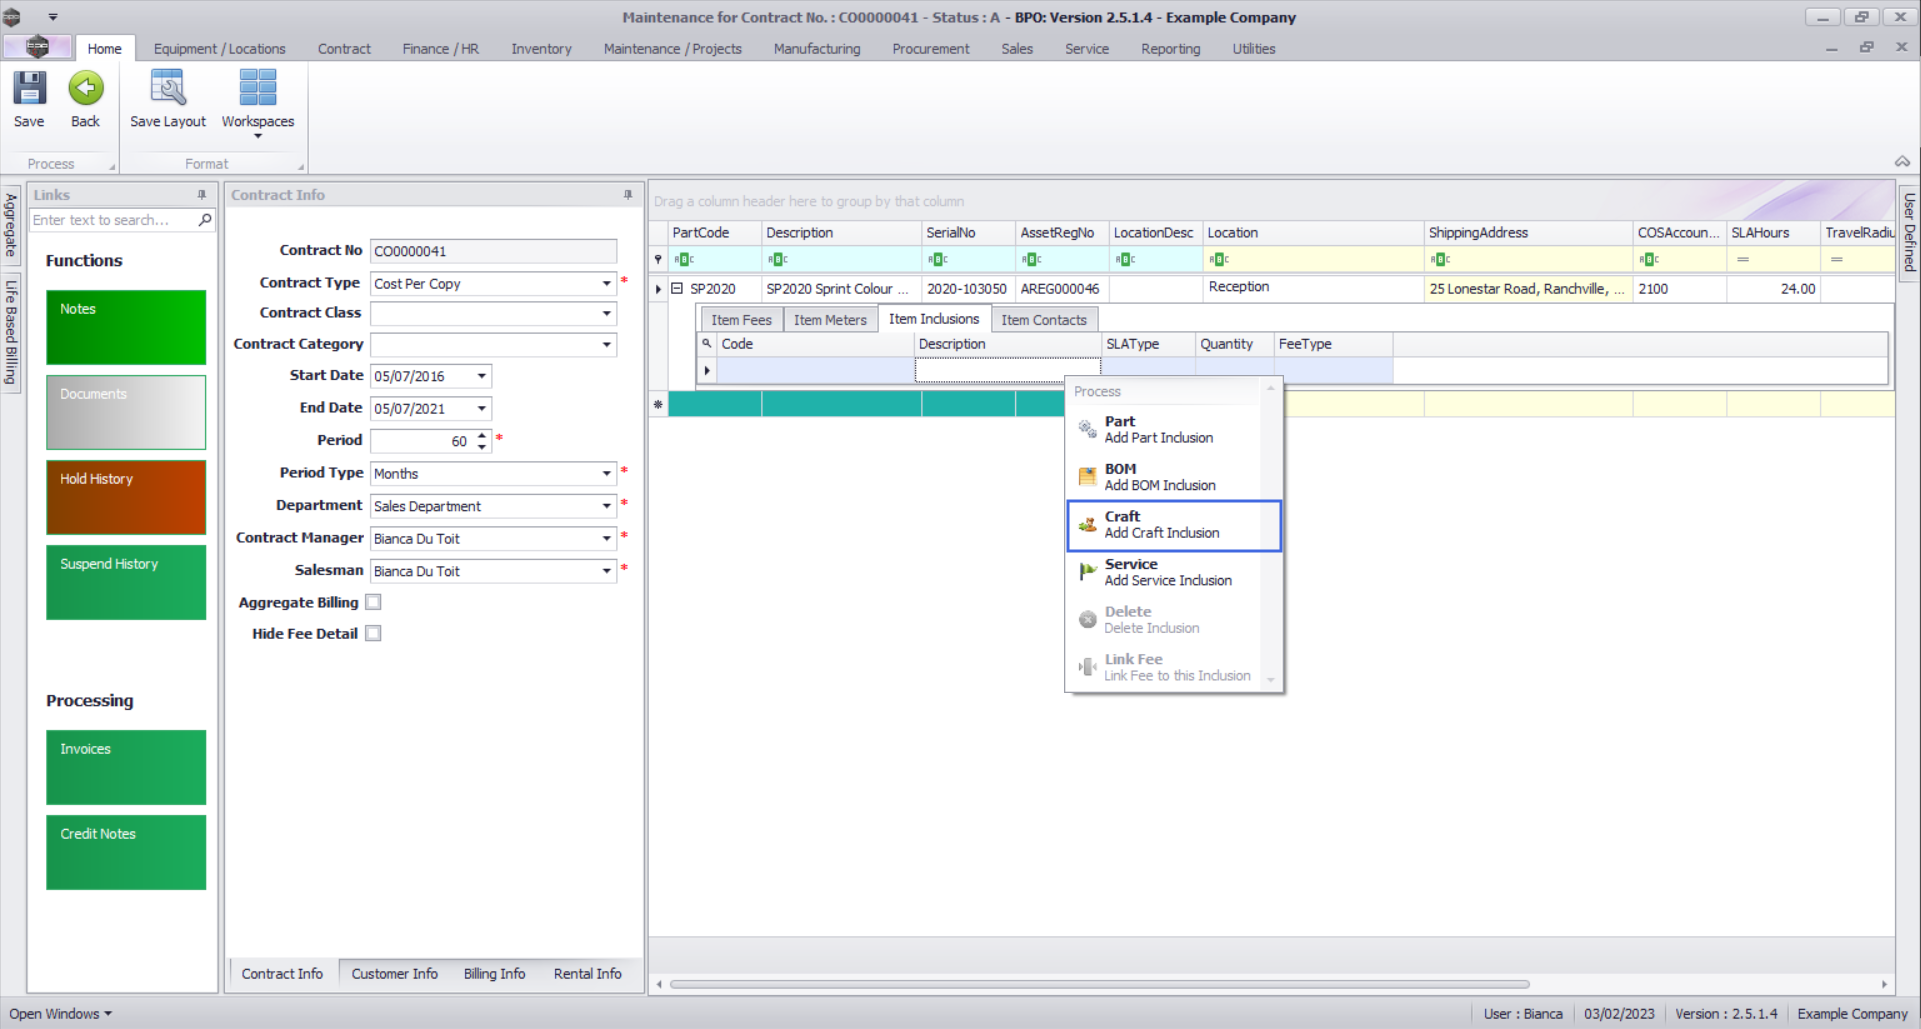
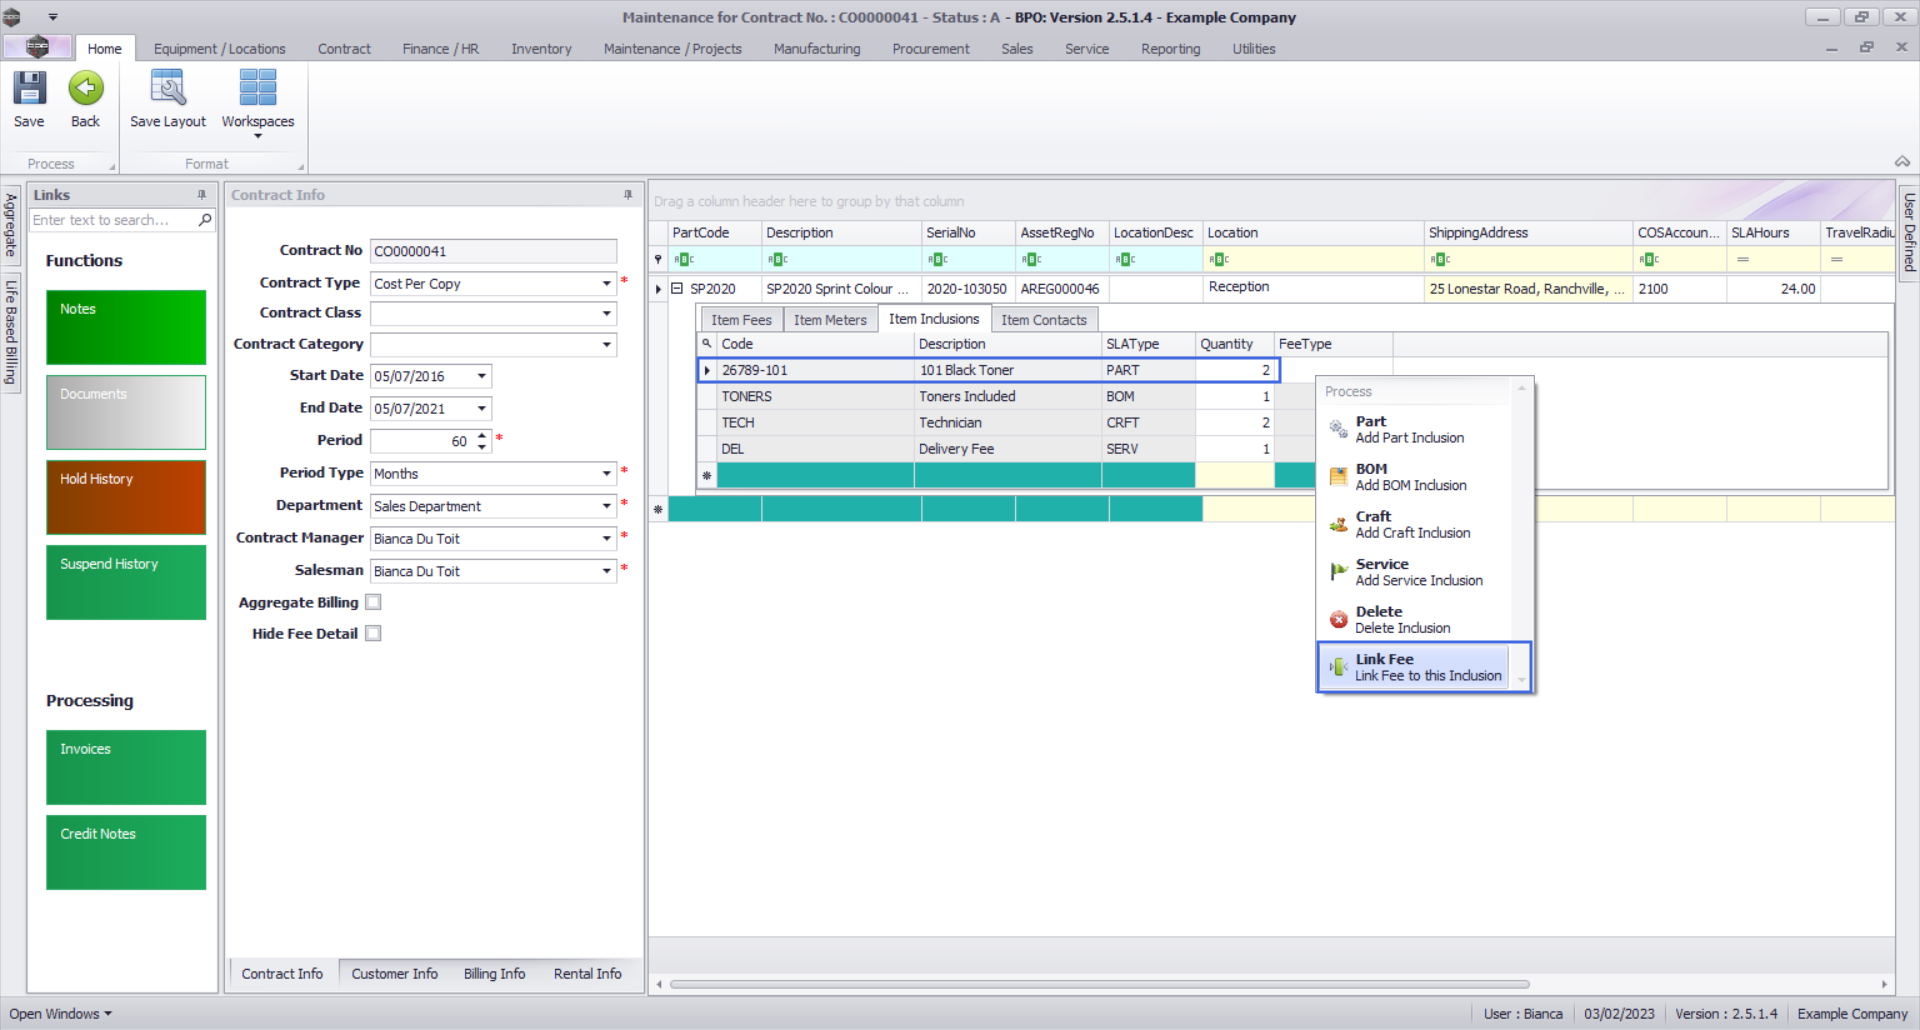
- Right click anywhere in a row of the Item Inclusions frame.
- A Process menu will pop up with the following options:
- Part:Add Part Inclusion
- BOM:Add Bill Of Materials Inclusion
- Craft:Add Craft Inclusion
- Service:Add Service Inclusion
- Link Fee:Link A Fee To An Inclusion
- Delete:Delete Inclusion
Add Part Inclusion
- Click on Part - Add Part Inclusion.

- An Input Validation message box will pop up asking:
- Are you sure you want to add a part inclusion to this item - [Serial Number or Location Description]?
- Click on Yes.

- A Select a part screen will pop up.
- Click on the row selector in front of the part you wish to add to this .png as an inclusion
- Click on Ok.
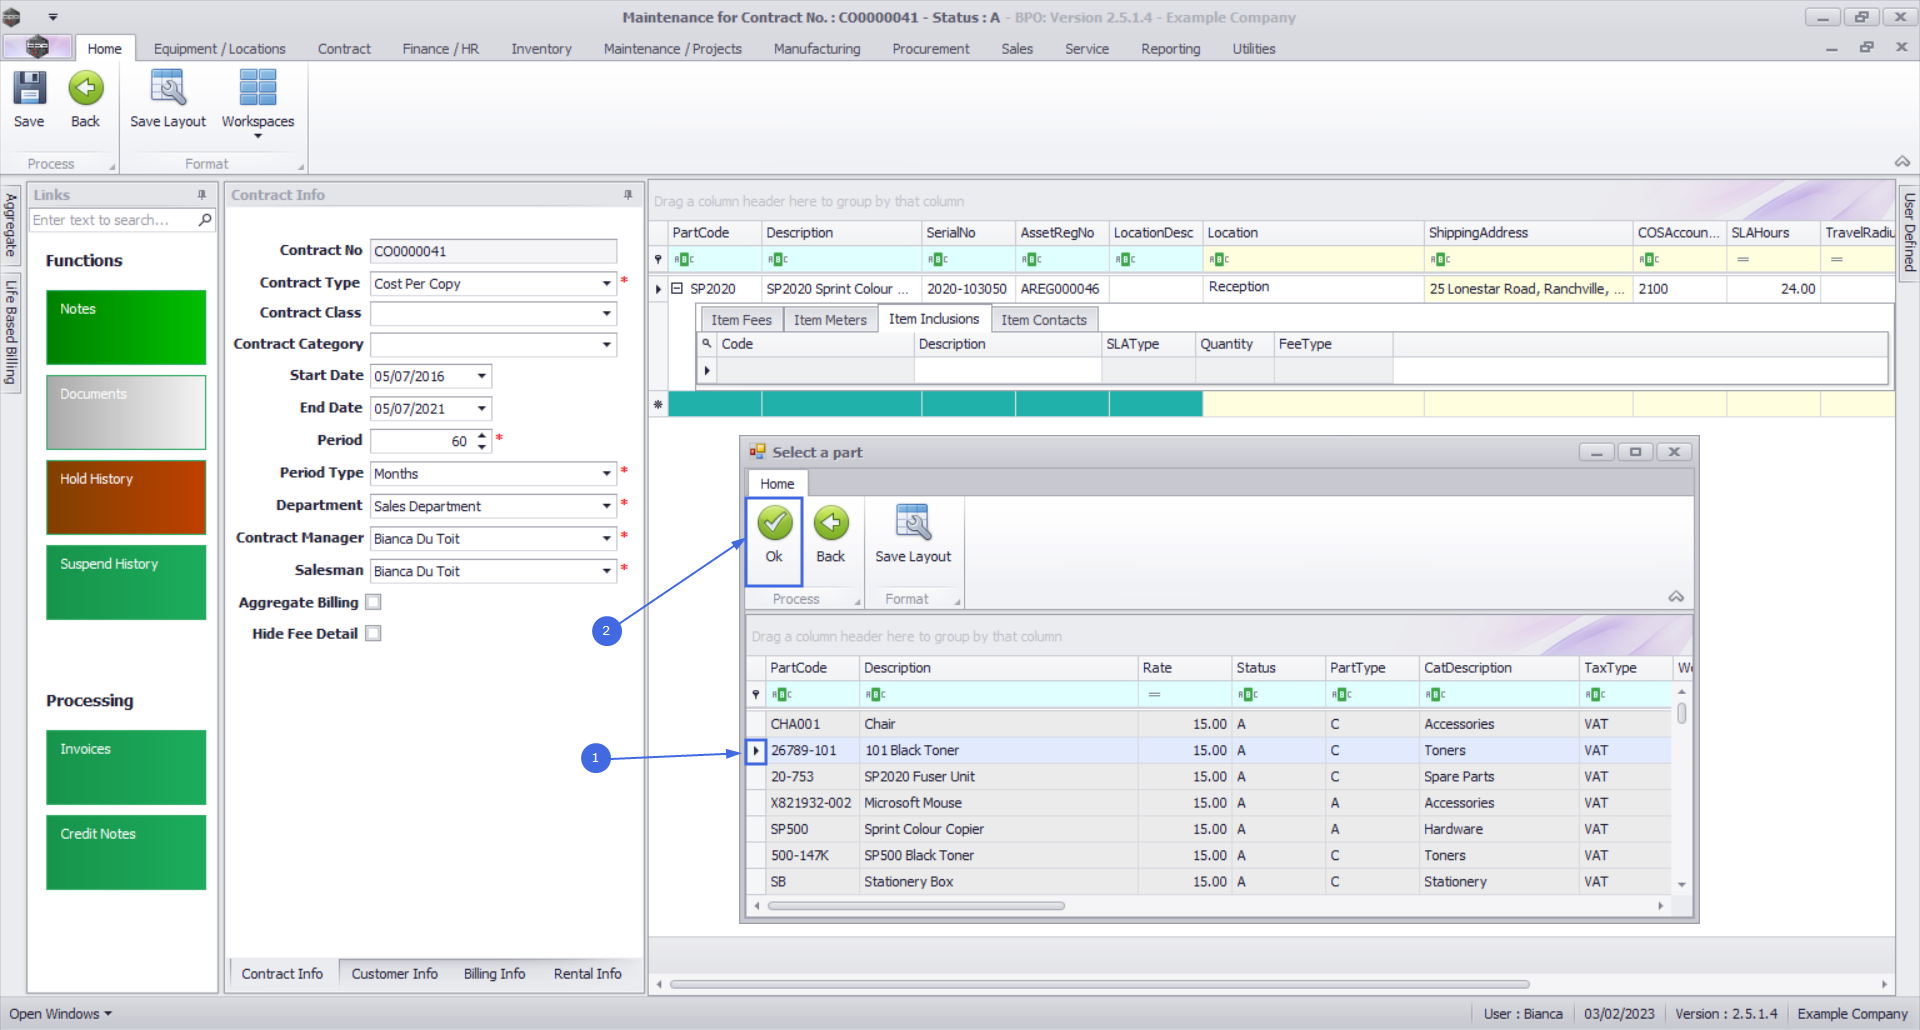
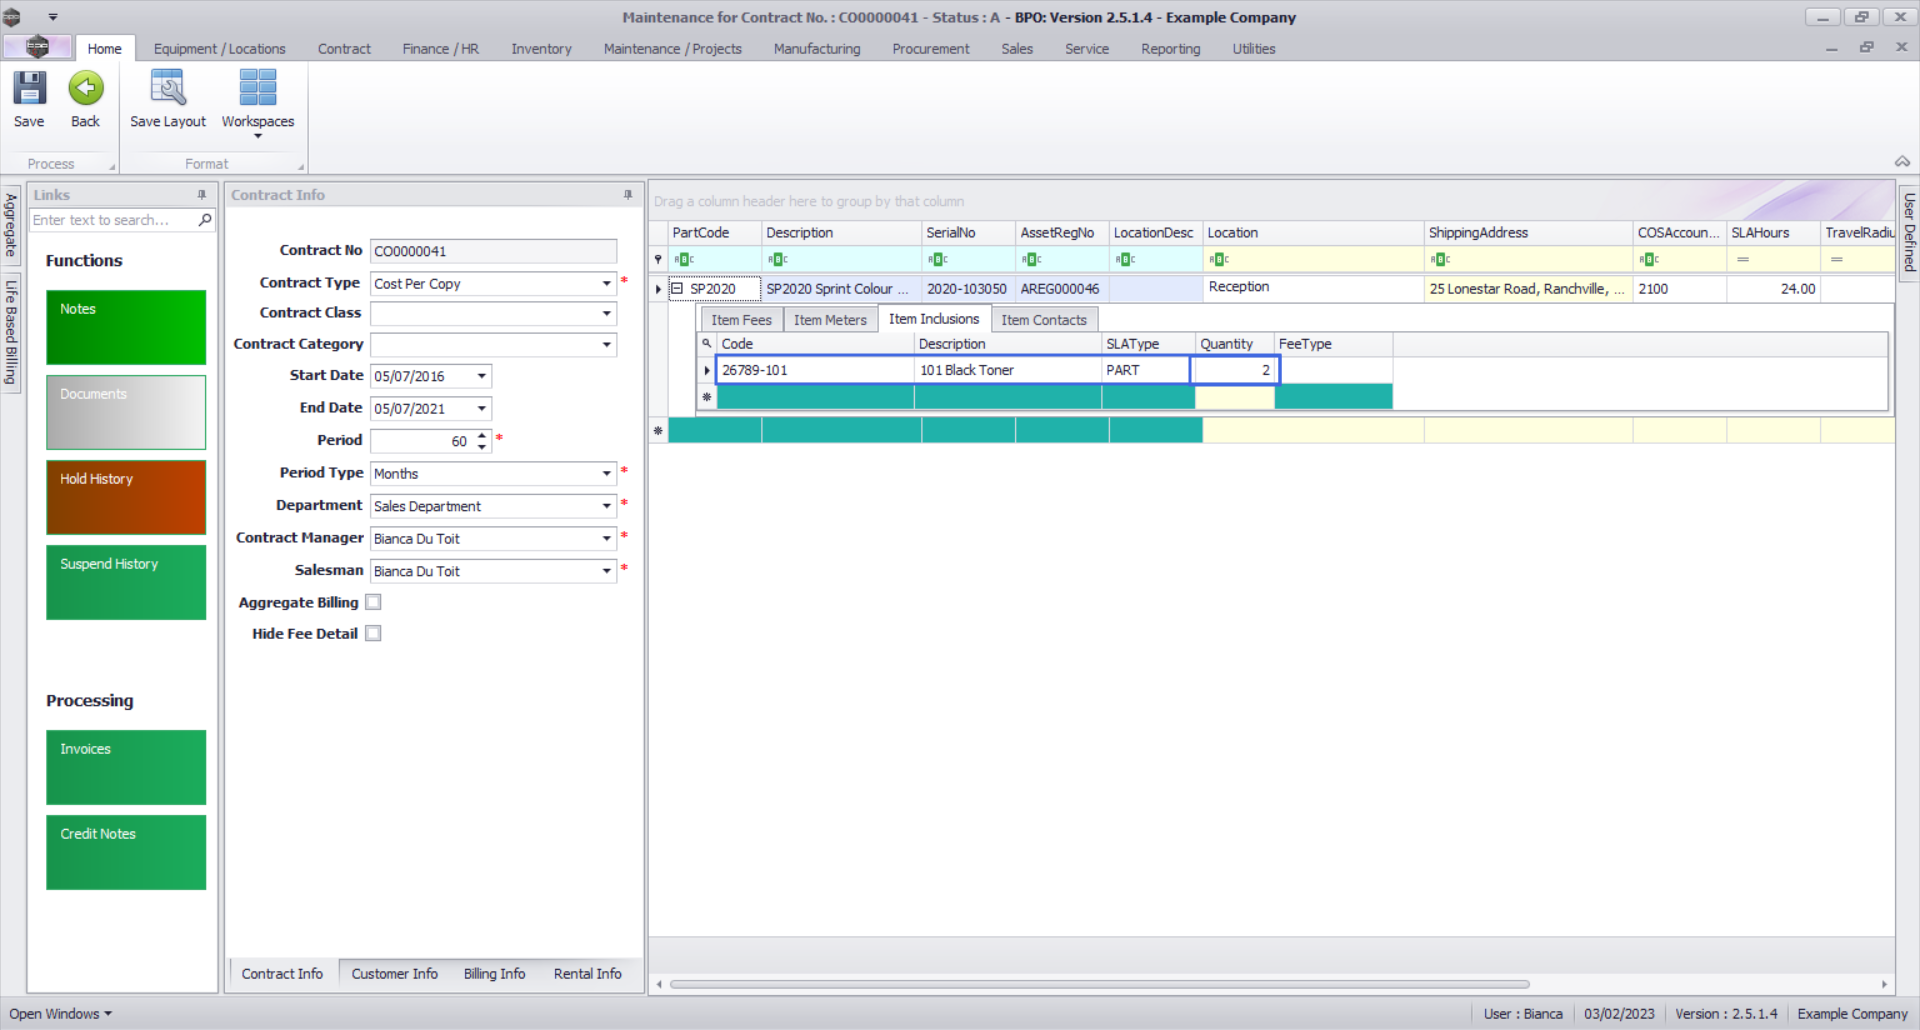
- The selected part will be added to the Item Inclusion frame.
- Code: This field will auto populate with the code of the selected item.
- Description: This field will auto populate with the description of the selected item.
- SLA Type: This field will auto populate with the SLA type of the selected item.
- Quantity: Type in the quantity included for the selected part.
- Fee Type: This field will only be populated if you link a fee to the inclusion.
Add Bill of Materials Inclusion
- Right click anywhere in a row of the Item Inclusions frame.
- The Process menu will pop up.
- Click on BOM - Add BOM Inclusion.

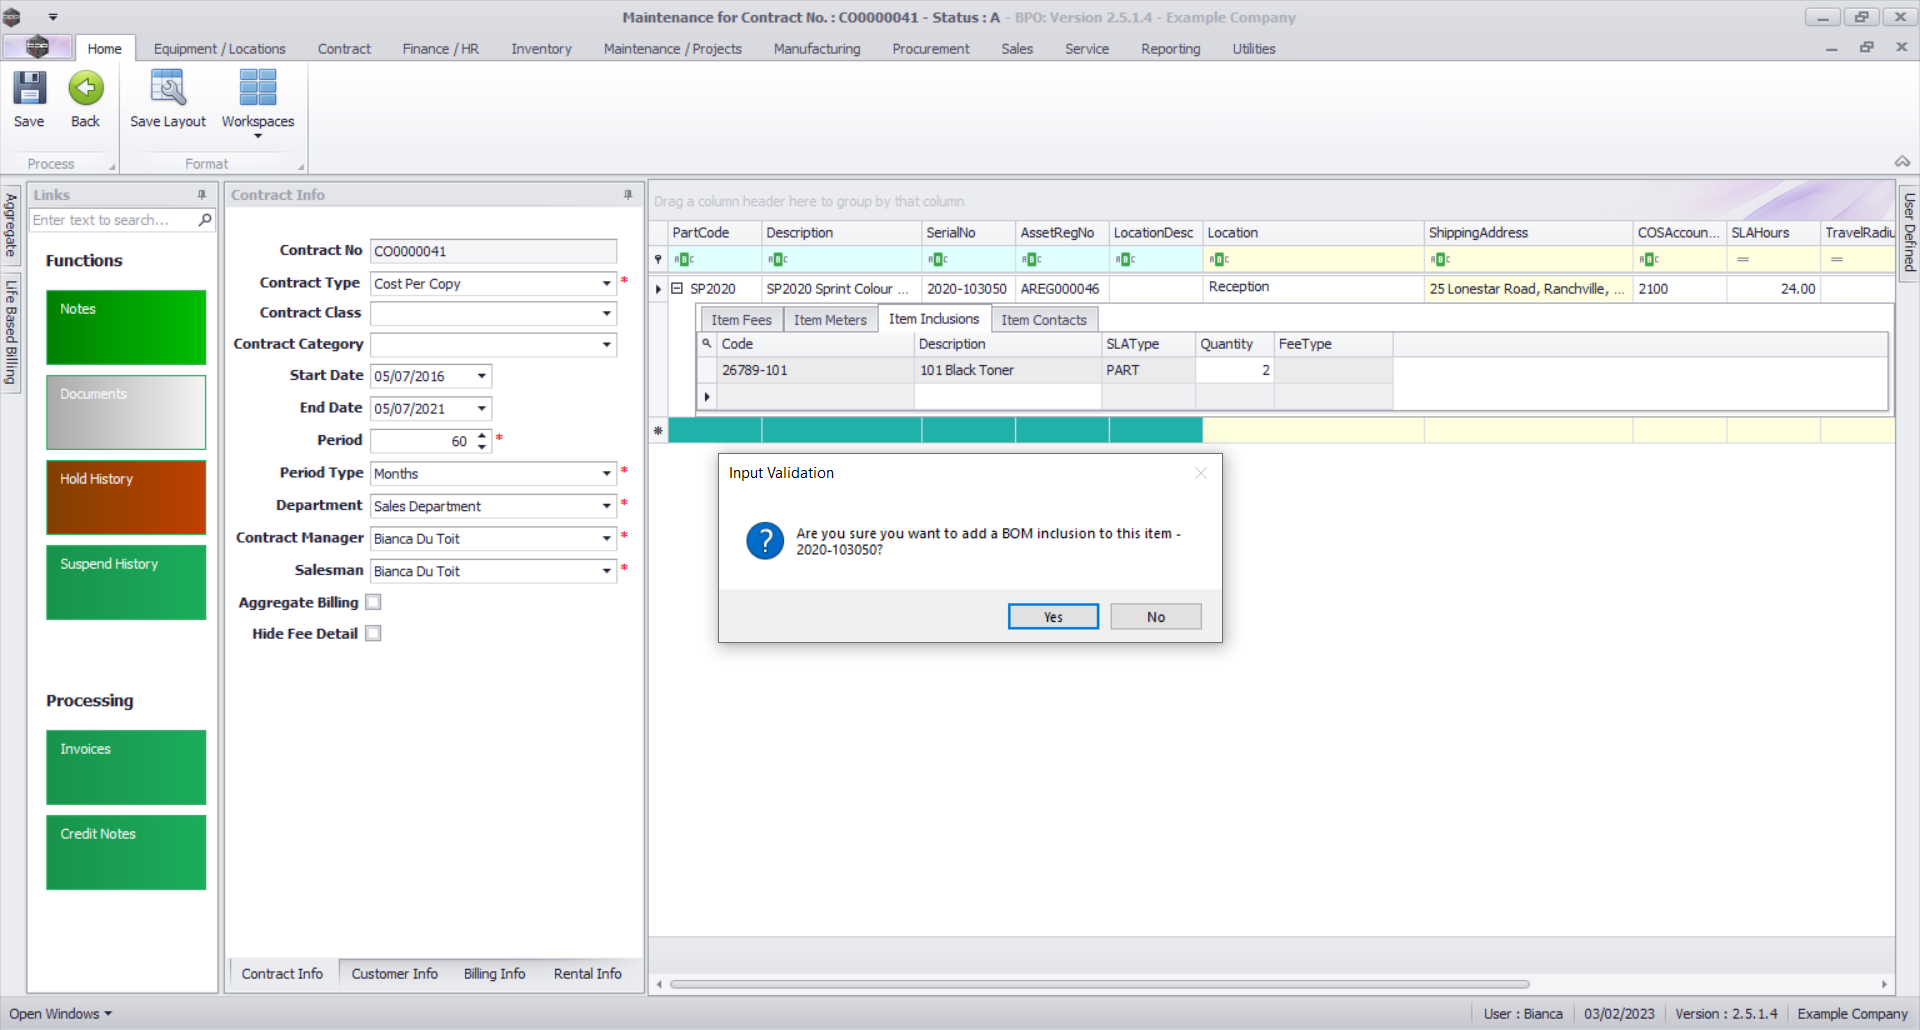
- An Input Validation message box will pop up asking:
- Are you sure you want to add a BOM inclusion to this item - [Serial Number or Location Description]??
- Click on Yes.
- A Select a bill of material screen will pop up.
- Click on the row selector in front of the BOM you wish to add to this .png as an inclusion.
- Click on Ok.
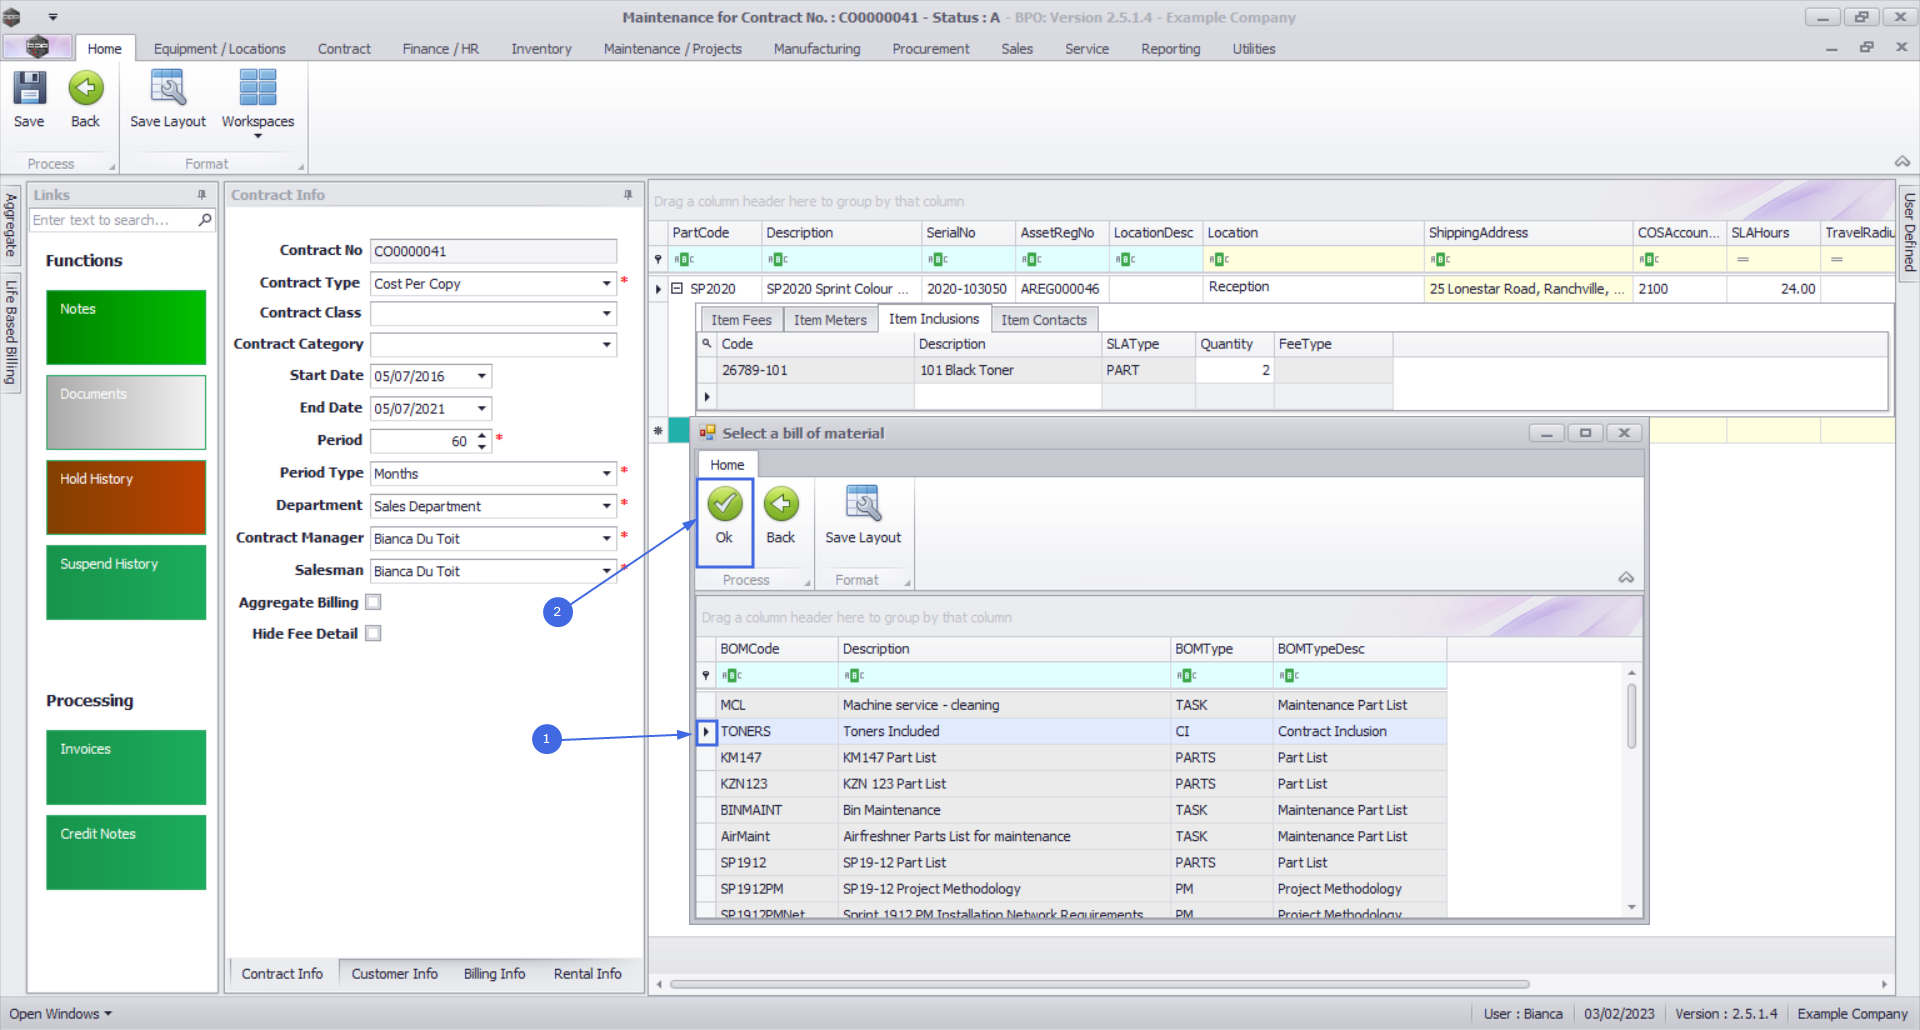
- The selected BOM will be added to the Item Inclusions frame.
- Code: This field will auto populate with the code of the selected item.
- Description: This field will auto populate with the description of the selected item.
- SLA Type: This field will auto populate with the SLA type of the selected item.
- Quantity: Type in the quantity included for the selected BOM.
- Fee Type: This field will only be populated if you link a fee to the inclusion.

Add Craft Inclusion
- Right click anywhere in a row of the Item Inclusions frame.
- The Process menu will pop up.
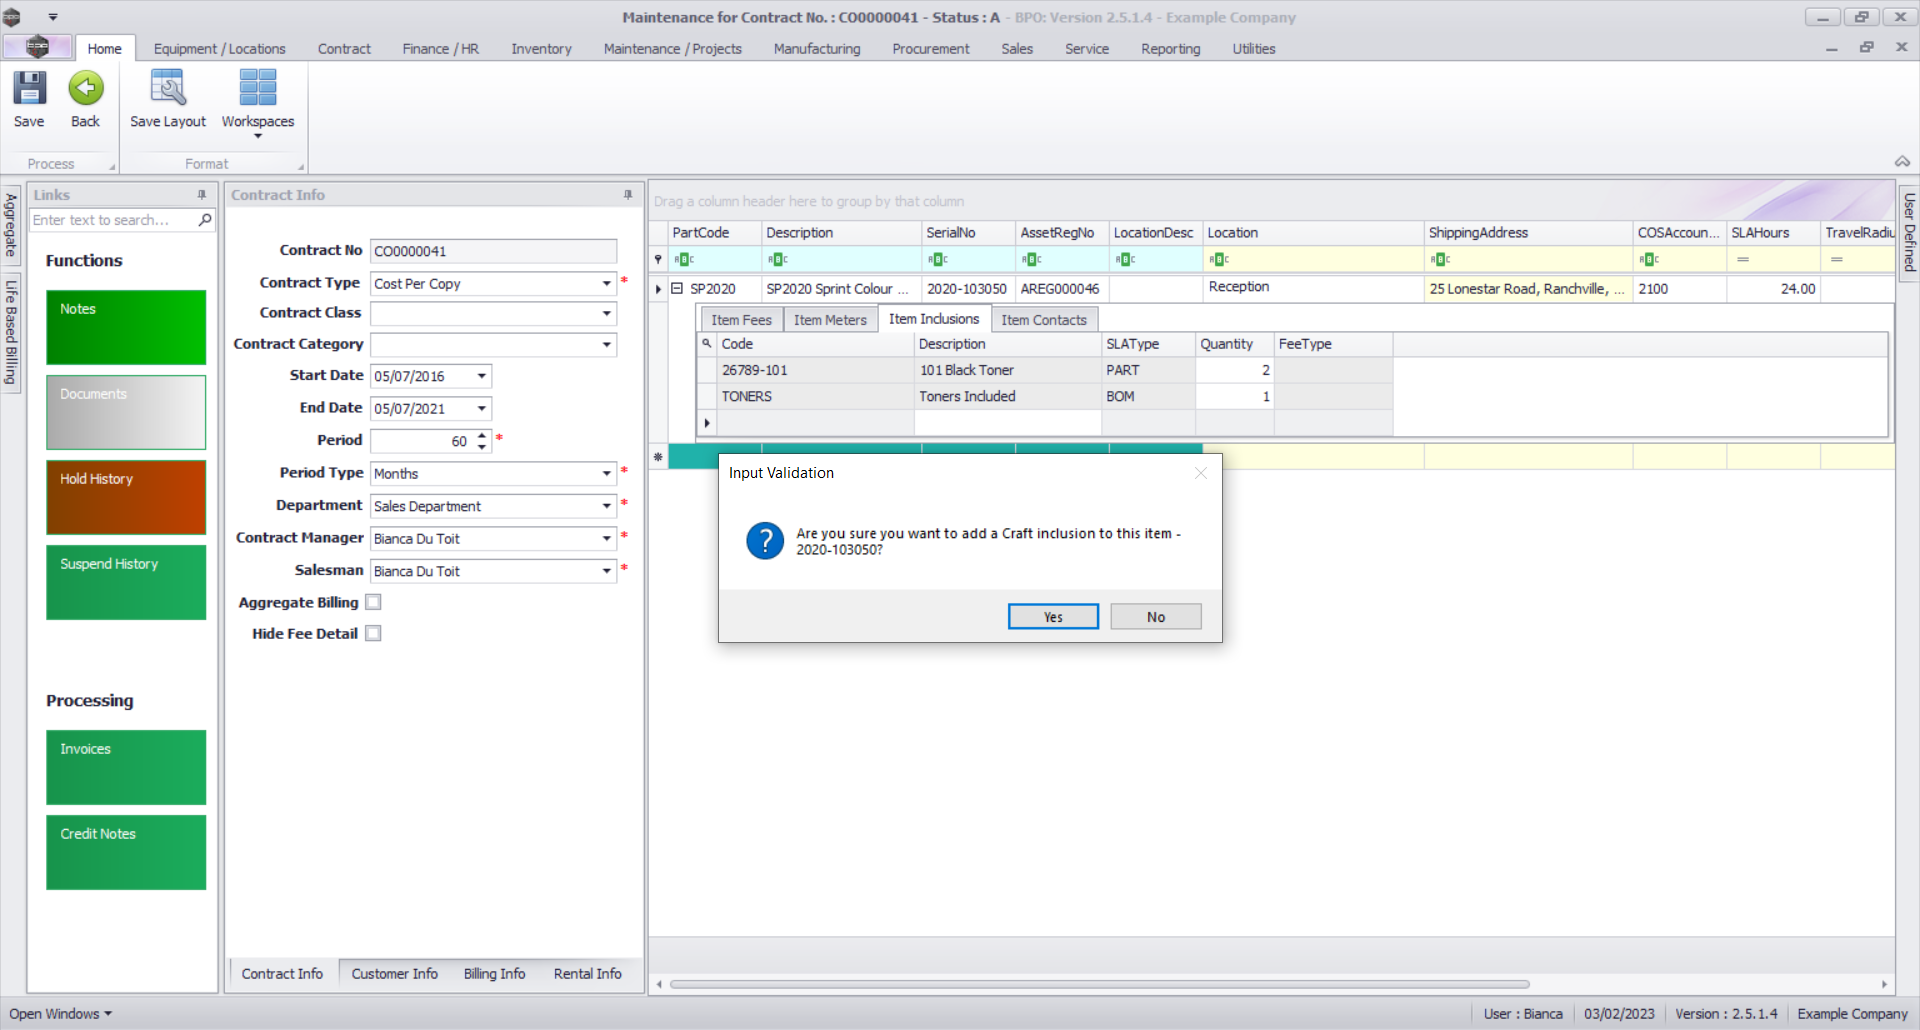
- Click on Craft - Add Craft Inclusion.
- An Input Validation message box will pop up asking:
- Are you sure you want to add a Craft inclusion to this item - [Serial Number or Location Description]?
- Click on Yes.
- A Select a craft screen will pop up.
- Click on the row selector in front of the craft you wish to add to this .png as an inclusion.
- Click on Ok.
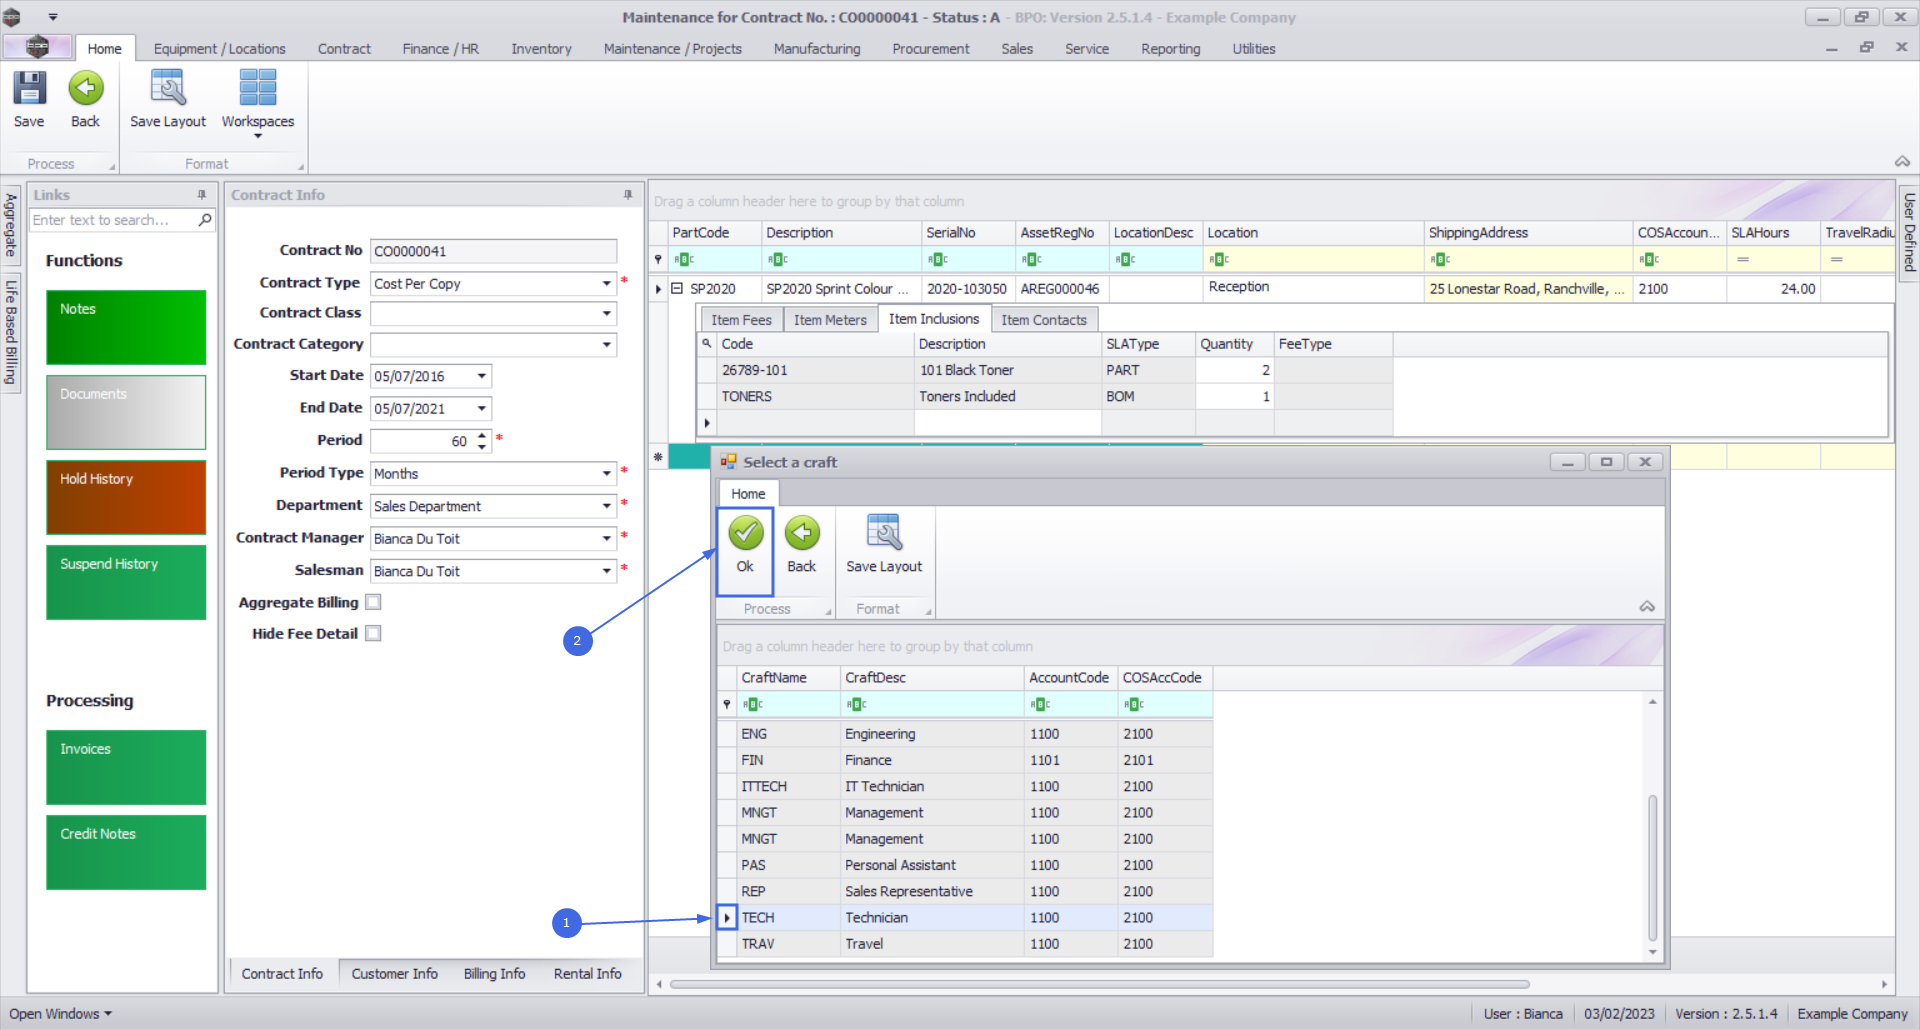
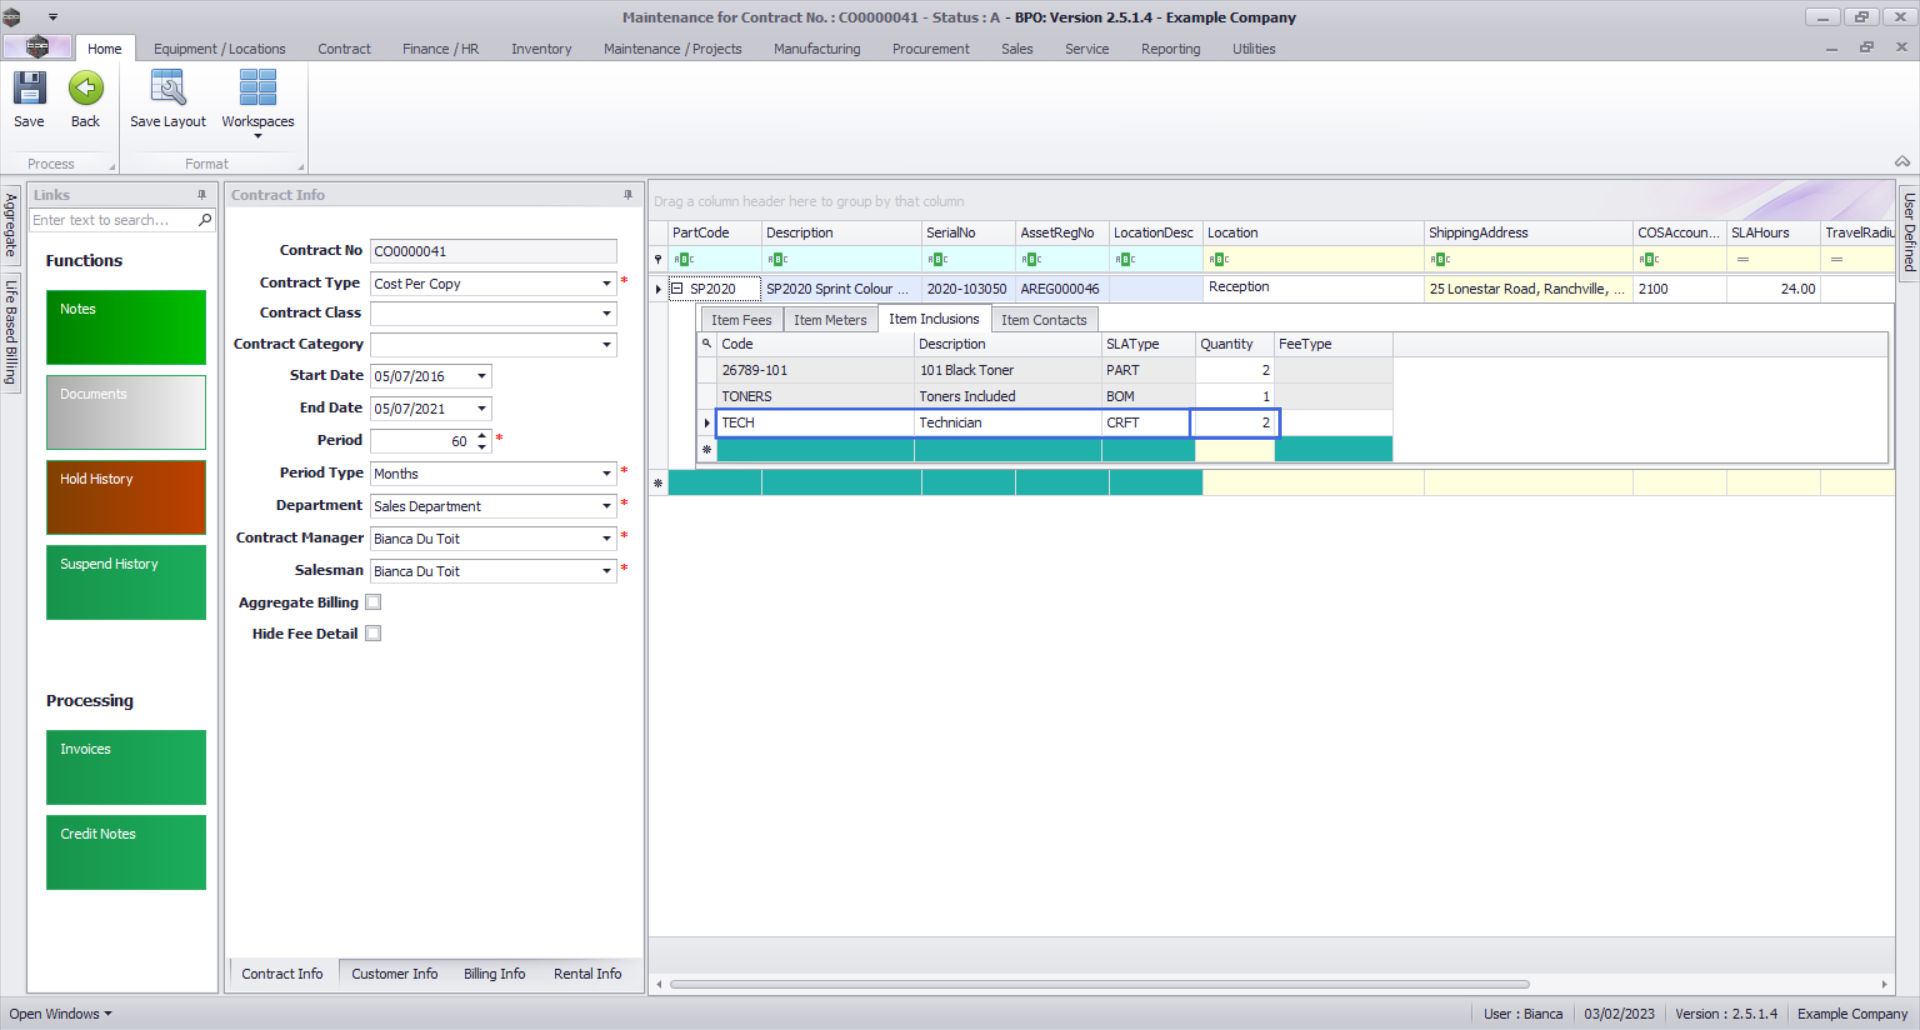
- The selected Craft will be added to the Item Inclusions frame.
- Code: This field will auto populate with the code of the selected item.
- Description: This field will auto populate with the description of the selected item.
- SLA Type: This field will auto populate with the SLA type of the selected item.
- Quantity: Type in the number of hours included for the selected Craft.
- Fee Type: This field will only be populated if you link a fee to the inclusion.
Add Service Inclusion
- Right click anywhere in a row of the Item Inclusions frame.
- The Process menu will pop up.
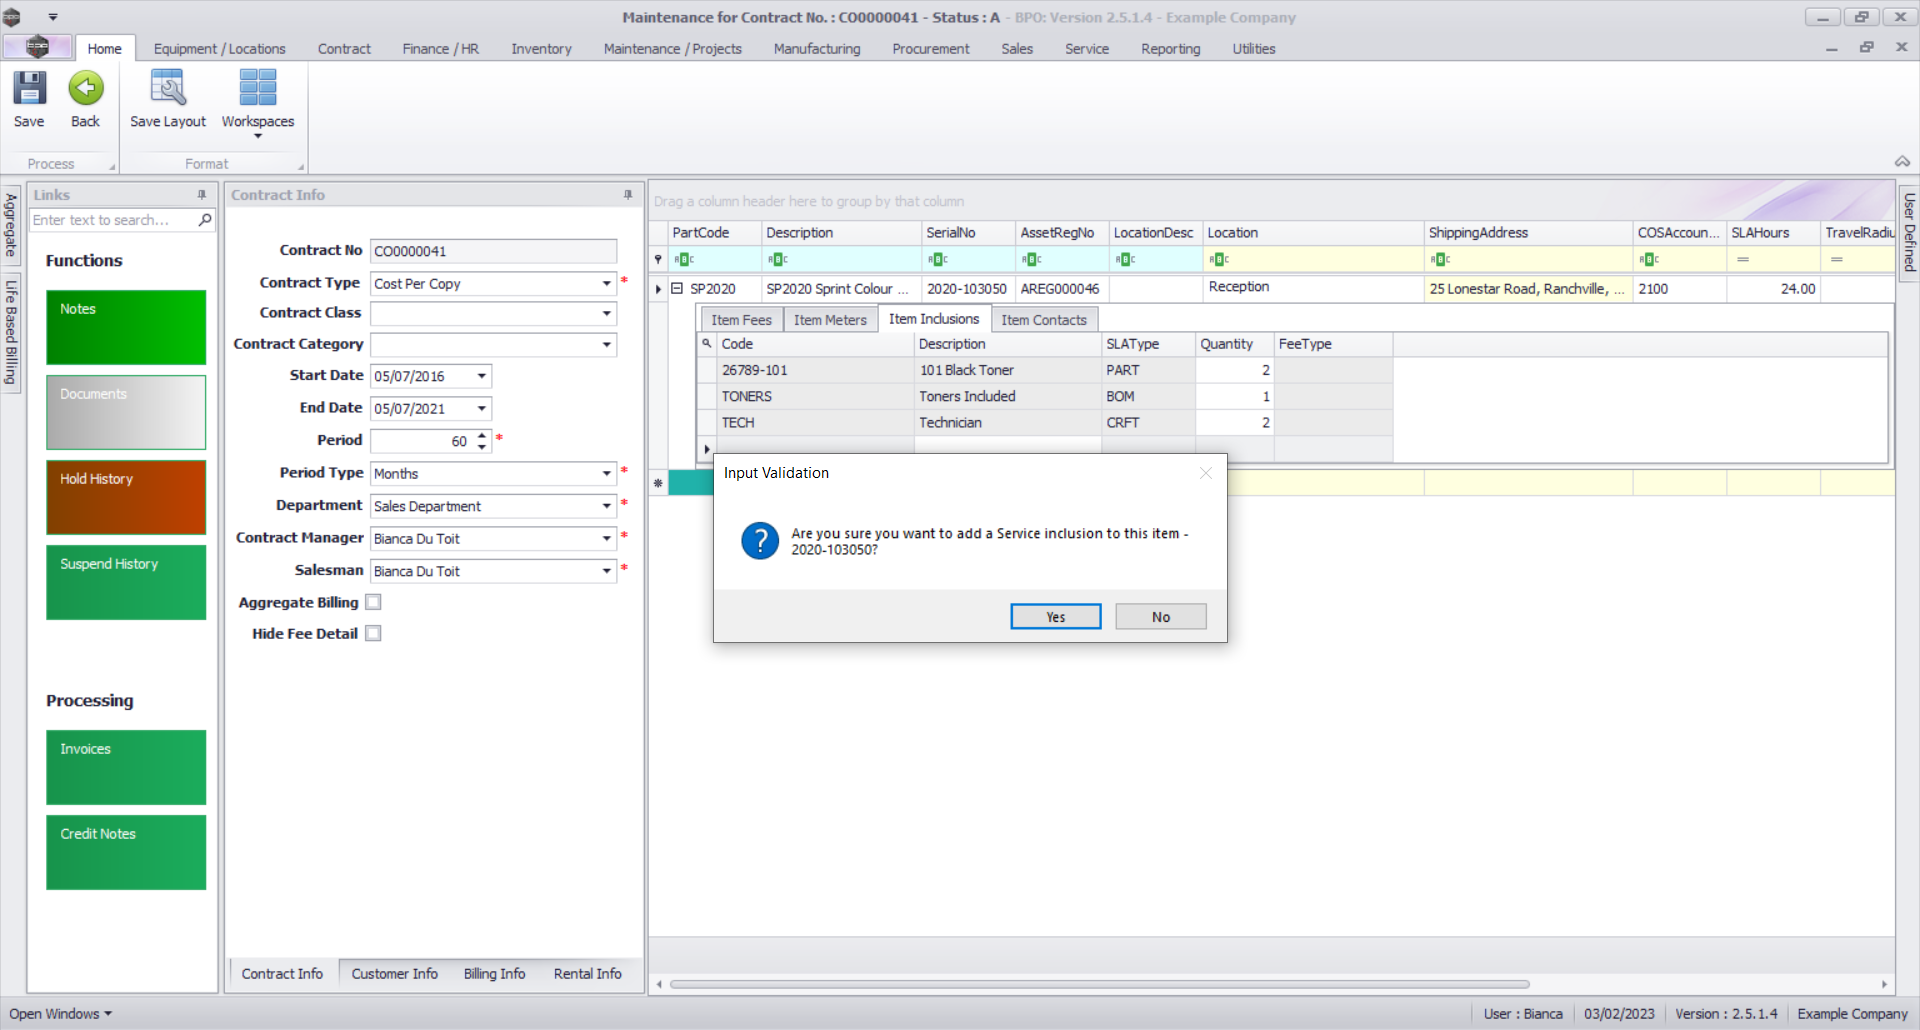
- Click on Service - Add Service Inclusion.

- An Input Validation message box will pop up asking:
- Are you sure you want to add a Service inclusion to this item - [Serial Number or Location Description]?
- Click on Yes.
- A Select a service screen will pop up.
- Click on the row selector in front of the service you wish to add to this .png as an inclusion.
- Click on Ok.

- The selected Service will be added to the Item Inclusions frame.
- Code: This field will auto populate with the code of the selected item.
- Description: This field will auto populate with the description of the selected item.
- SLA Type: This field will auto populate with the SLA type of the selected item.
- Quantity: Type in the quantity included for the selected Service.
- Fee Type: This field will only be populated if you link a fee to the inclusion.
- Note: You can add more than one of each type of item inclusion to the .png.
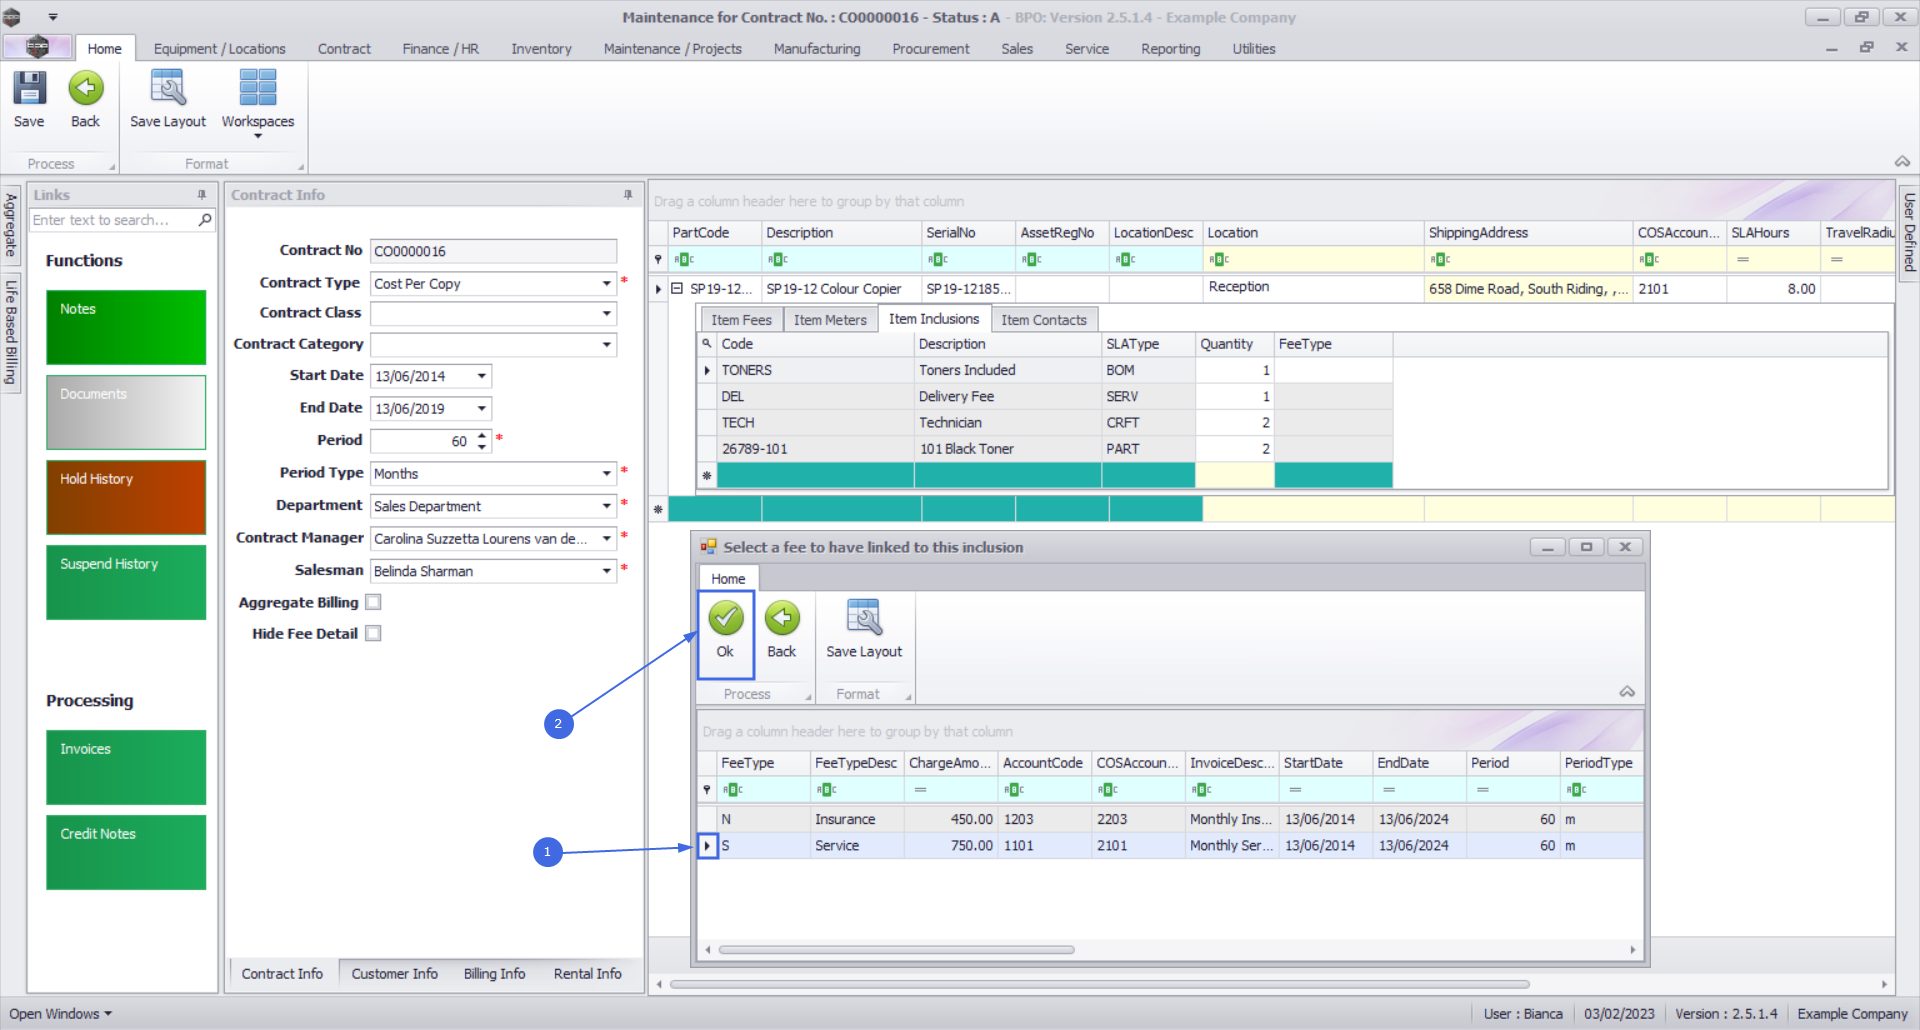
Link a Fee to an Inclusion
- Right click in the row of the item inclusion that you wish to link a fee to.
- In this image IT Technician has been selected.
- The Process menu will pop up.
- Click on Link Fee - Link Fee to this Inclusion.
- A The Fee Lookup List screen will pop up.
- Click on the row selector in front of the fee you wish to add to this inclusion.
- Click on Ok.
- Note:Only the fees that you selected in the Item Fees Frame will be displayed in this screen, and the fee can only be linked to one inclusion.
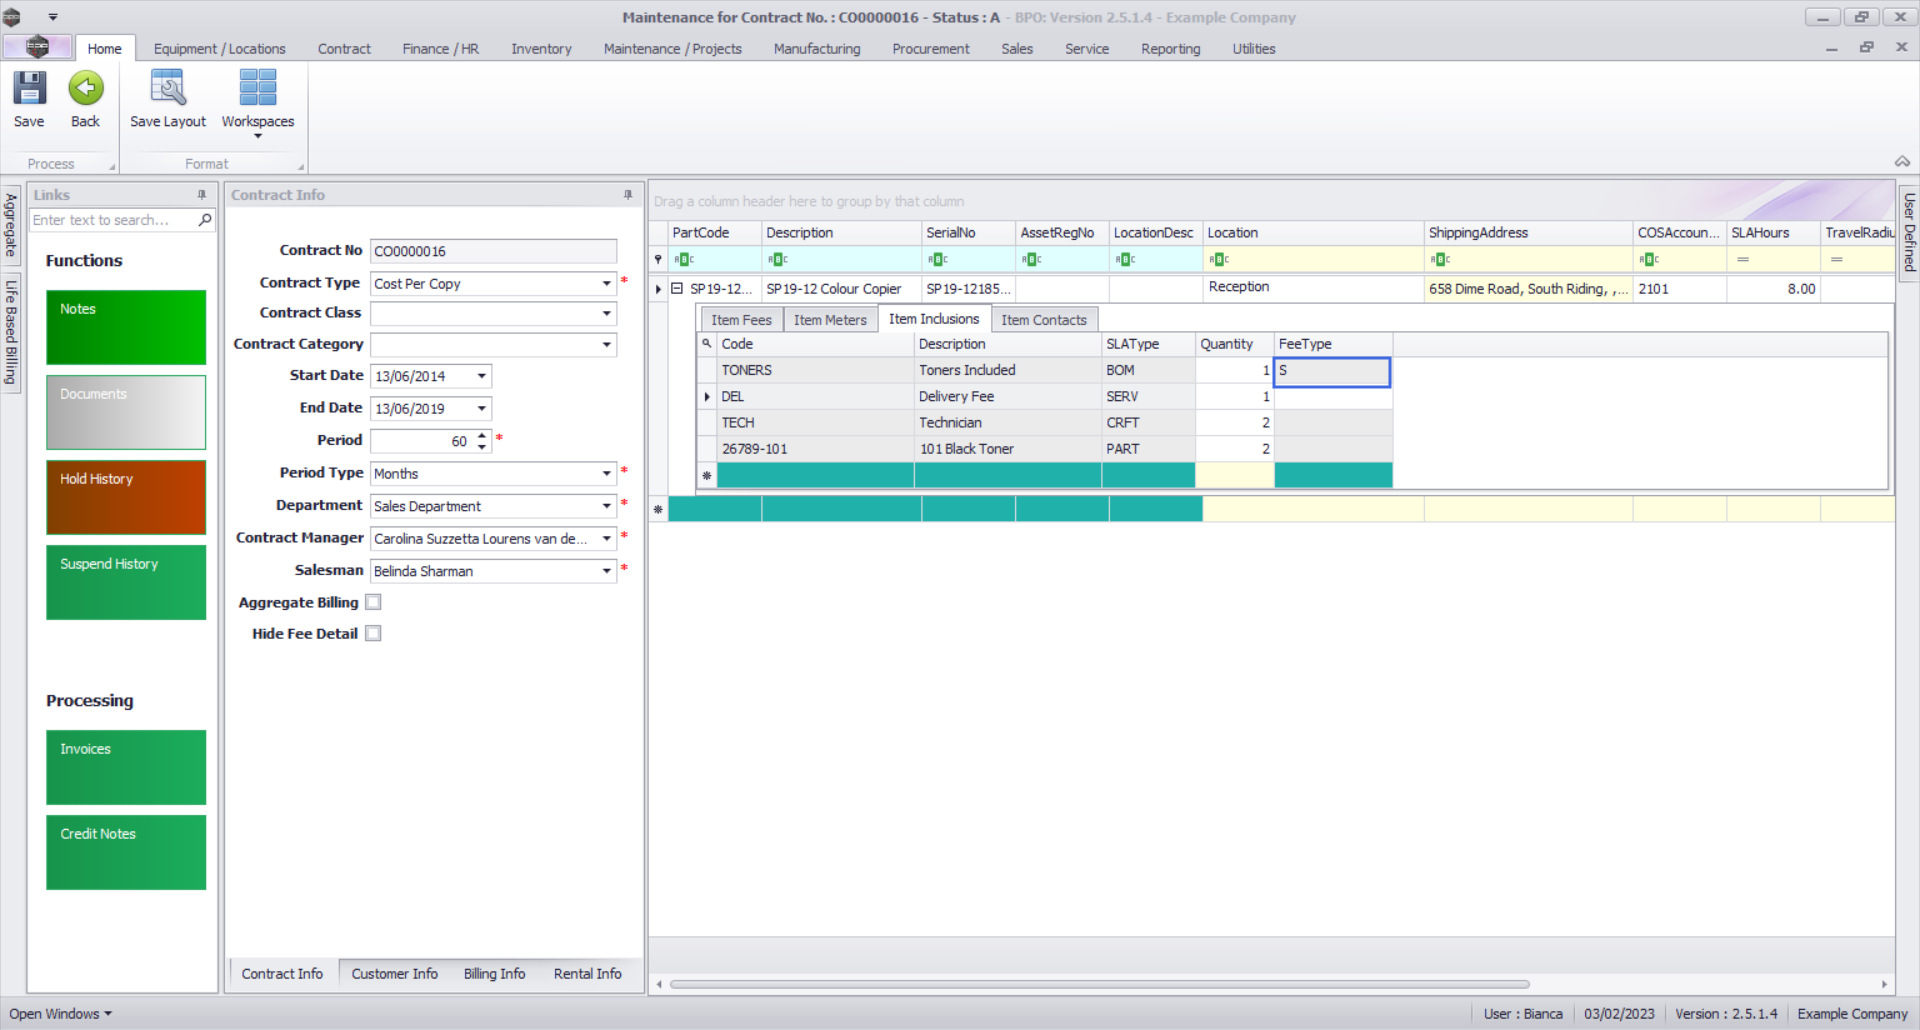
- The The Fee Type field will be populated with the selected fee type.
- In this image, S - Service was selected, since the selected inclusion is covered by the Service Fee, in this example.
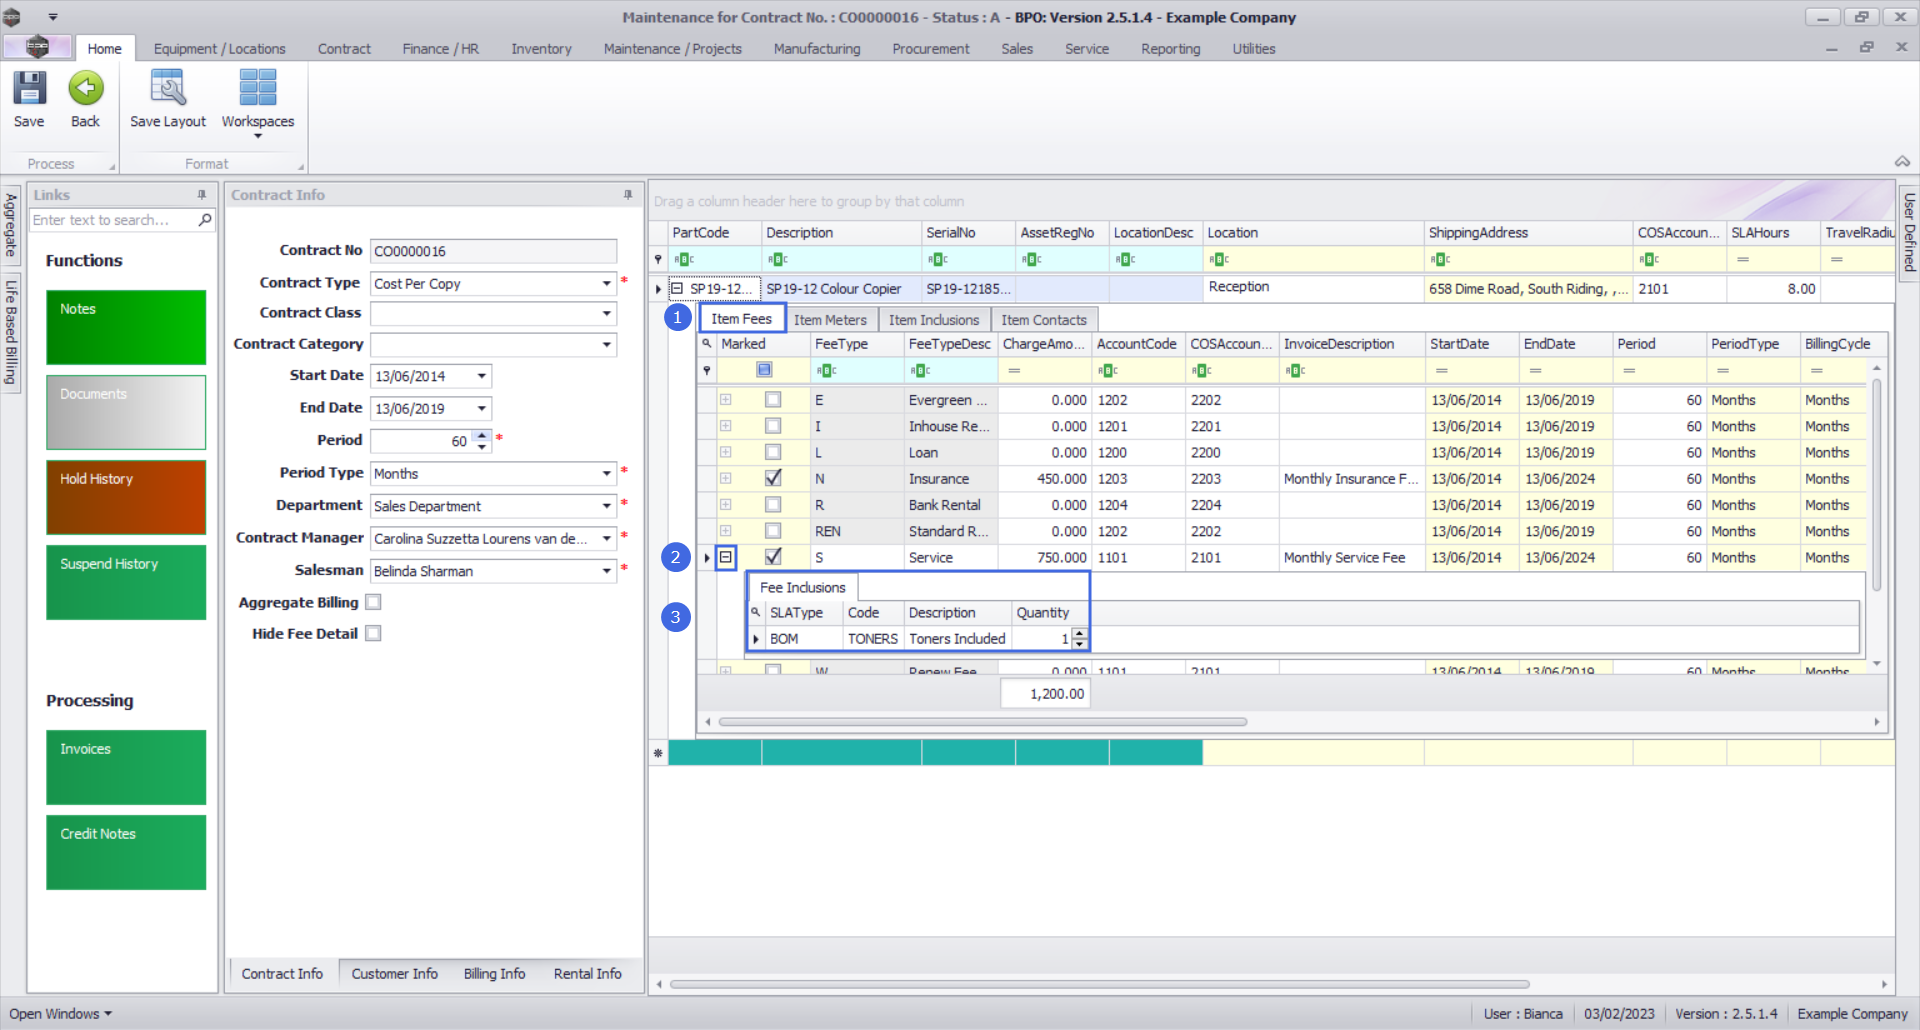
View the linked Inclusion on the Fee Detail
Note: that for this step you will need to save the .png first and then come back to view the Fee's linked Inclusion.
- Click on the Item Fees frame.
- Click on the Expand button on the fee you linked to an inclusion.
- The Fee Inclusions frame will be displayed.
- You can now view the details of the inclusion.
- You can change the Quantity of the inclusion in this frame if required.
Delete Inclusion
- Another option in the Item Inclusions Process menu is Delete Inclusion.
- Right click in the row of the item inclusion that you wish to delete from the .png.
- In this image INST - Installation Fee has been selected.
- The Process menu will pop up.
- Click on Delete - Delete Inclusion.
- An Input Validation message box will pop up asking:
- Are you sure you want to delete this item inclusion - [Serial Number or Location Description]?
- Click on Yes.
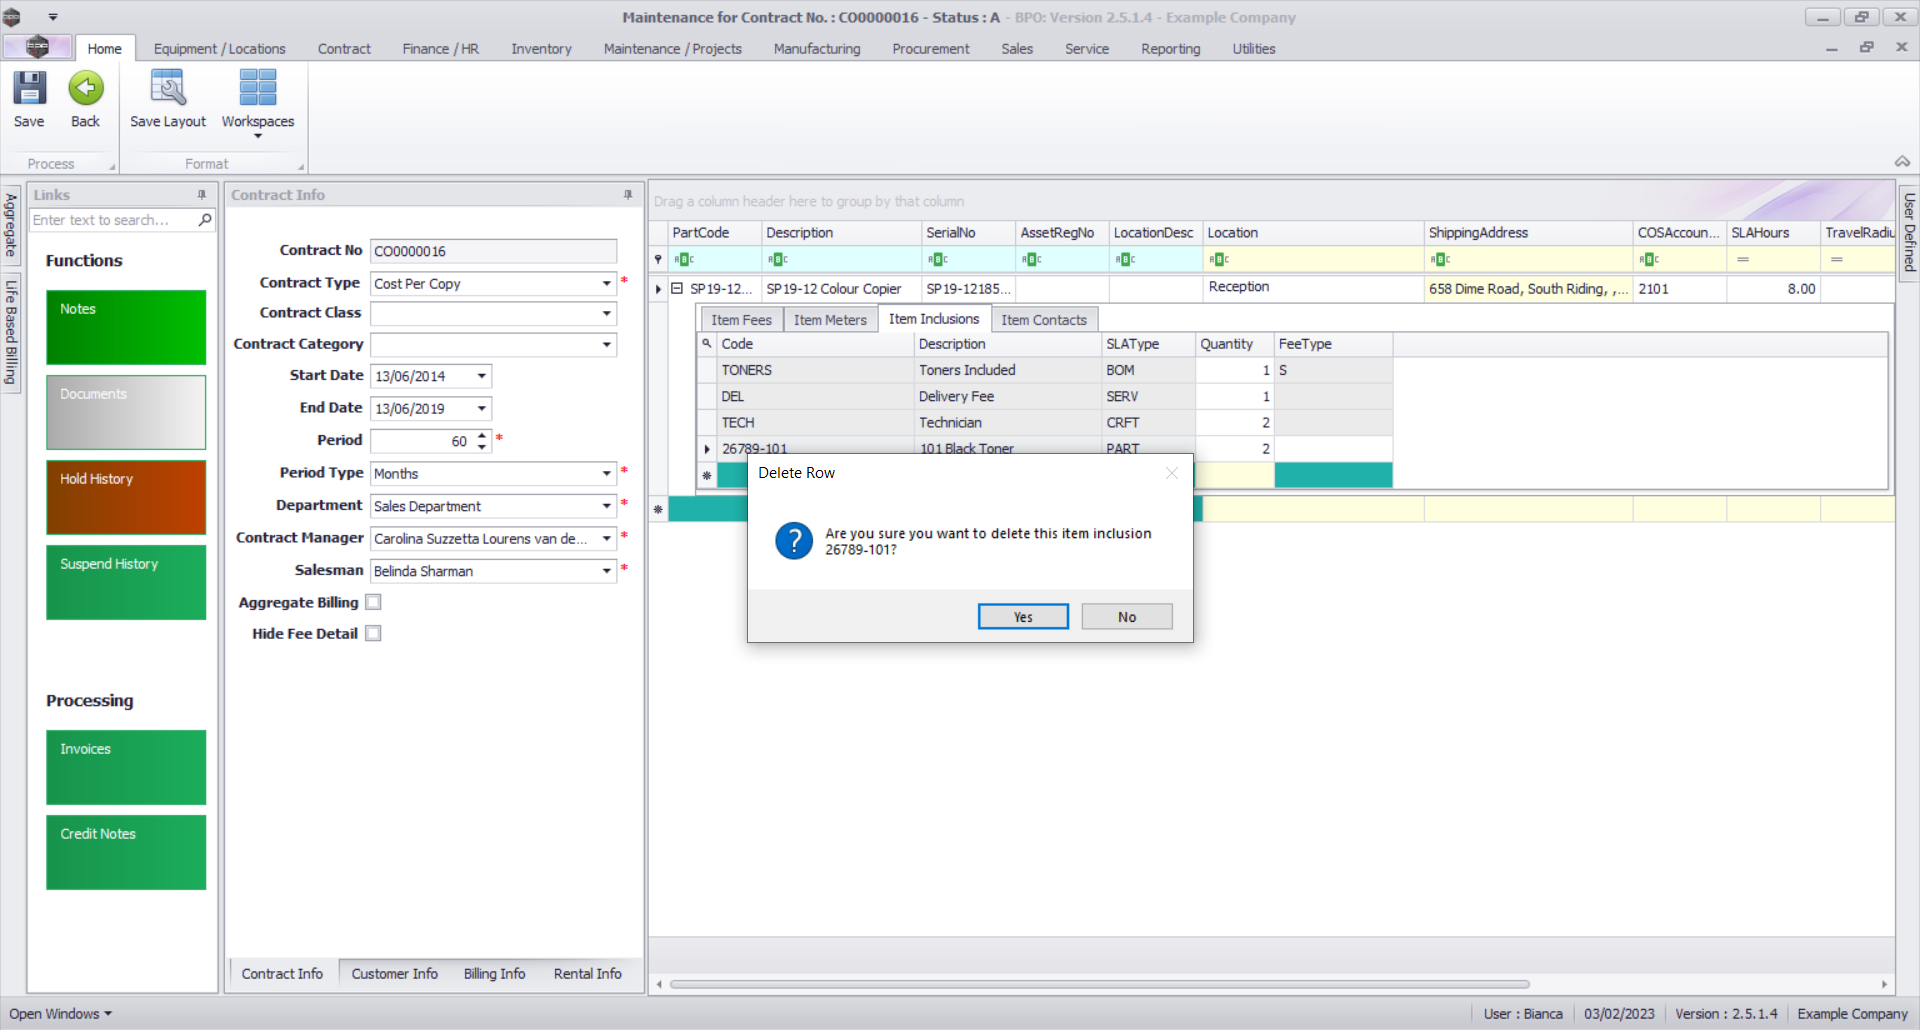
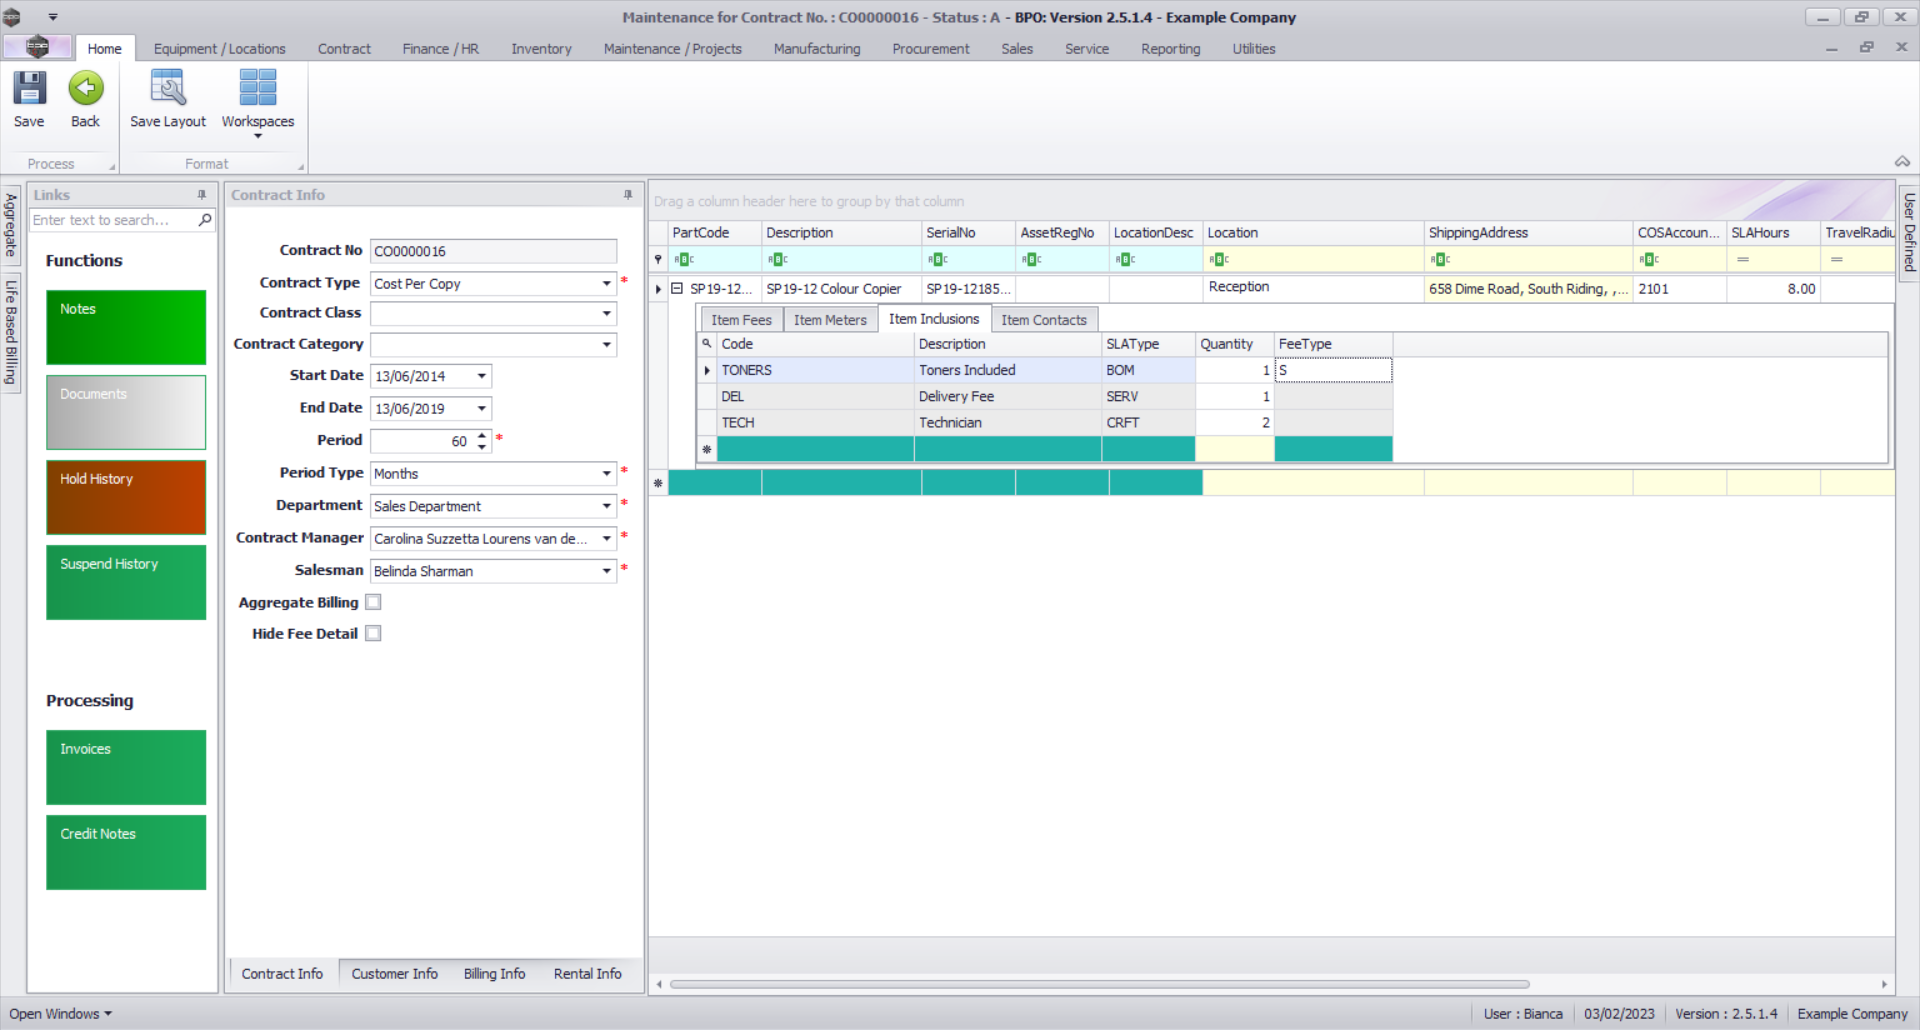
- The selected item will now be removed from the Item Inclusions frame.
Save Item Inclusions
Save the Contract
- When you are done, click on Save.
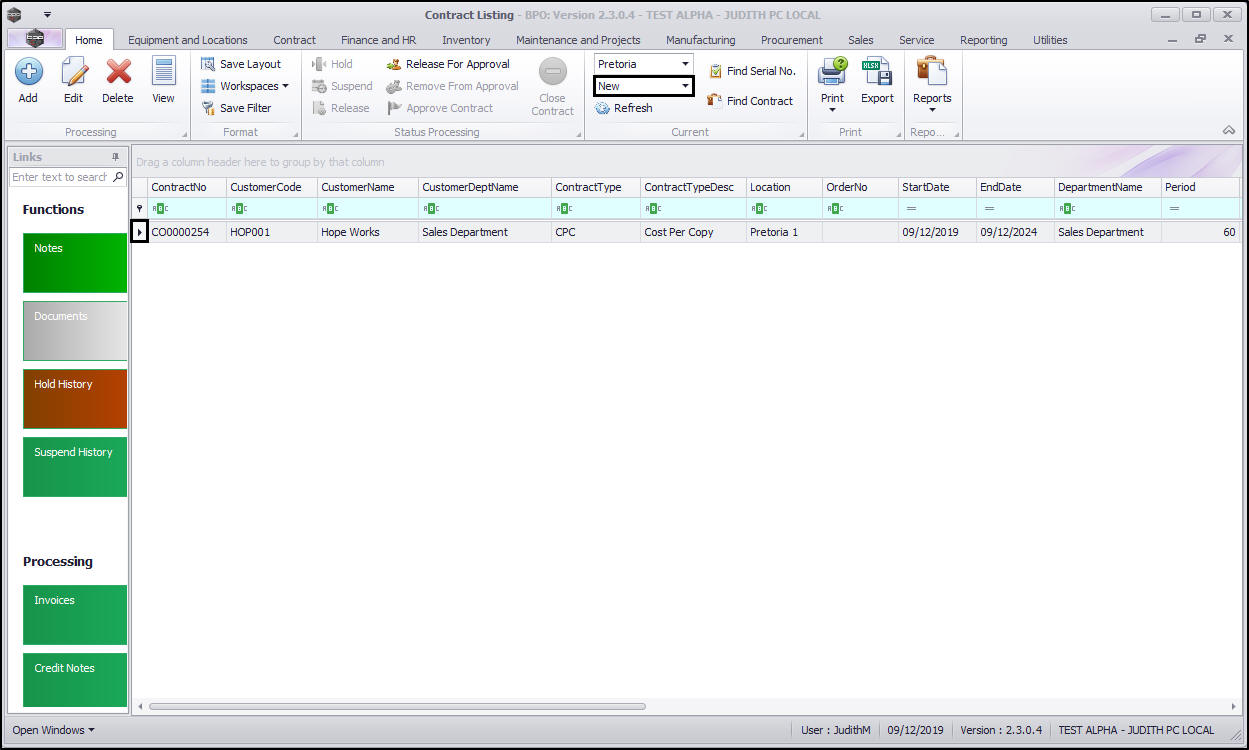
- The contract will be saved and you will return to the Contract Listing screen where the status defaults to Active, or will be set to the Status you last selected.
- Click on the drop-down arrow in the Status field and select the relevant status.
- New contracts can be found within the New contract status listing screen.
- From here, the contract will need to be Released and then Approved before it becomes active.
- Edited contracts may either remain in Active status or move to Released status in order for changes to be reviewed before Approval depending on the change made.
MNU.112.027