Human Resources
Employees - Payroll Data
Payroll Data can be set up to include payroll, income tax, pension, medical aid and union details for example, that are not already set up on the system.
You can make changes directly in this screen, using the search buttons and drop-down arrows and save any changes as required.
| Ribbon Access: Finance / HR Employees |

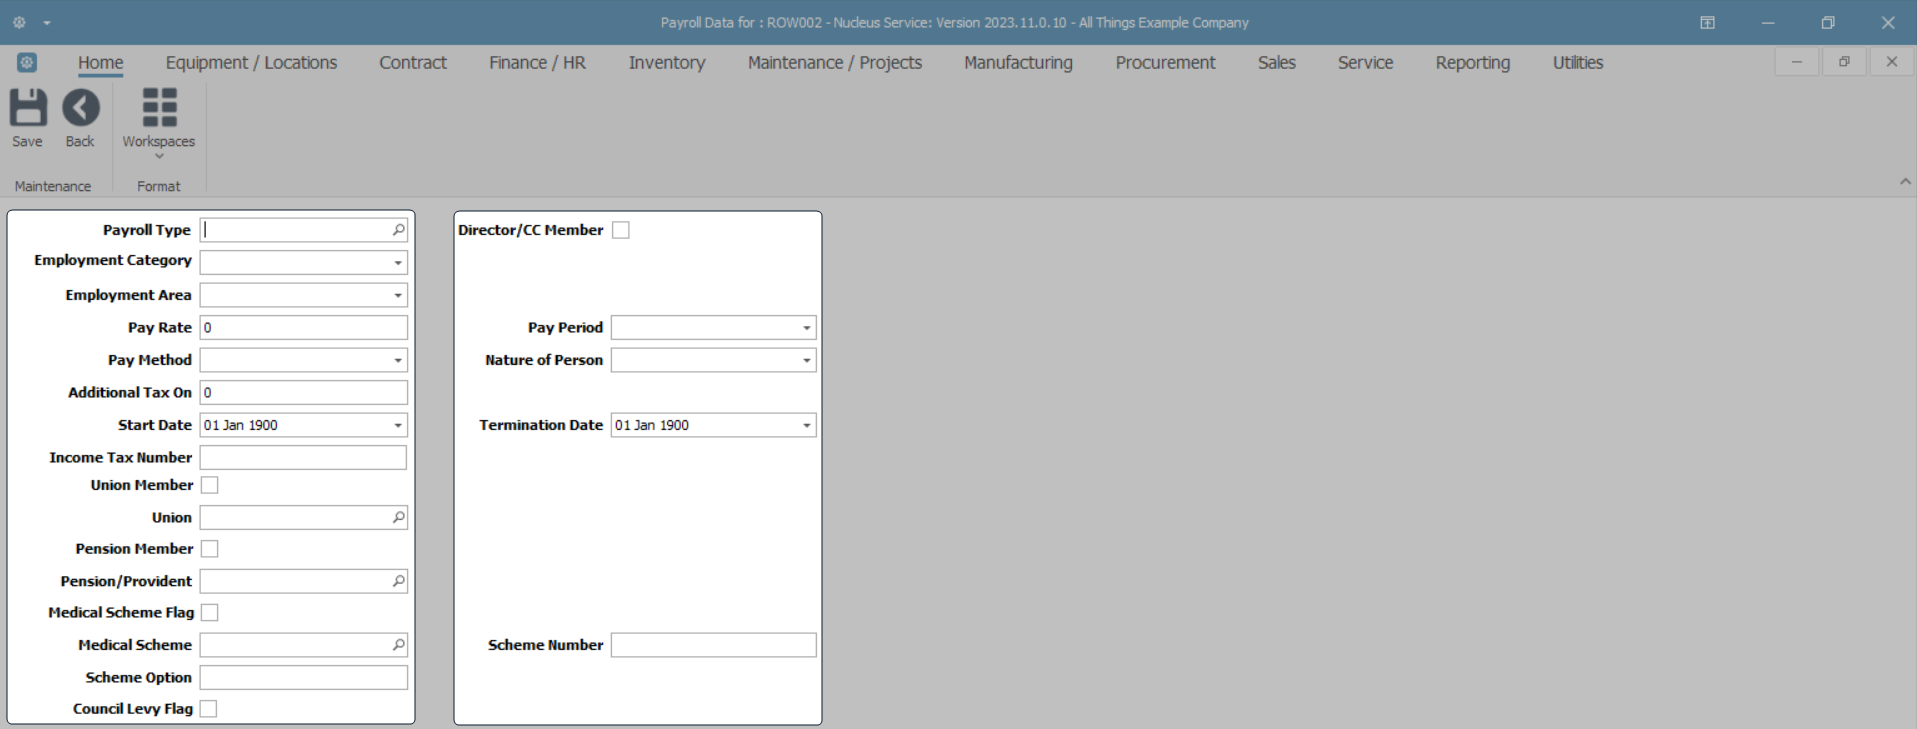
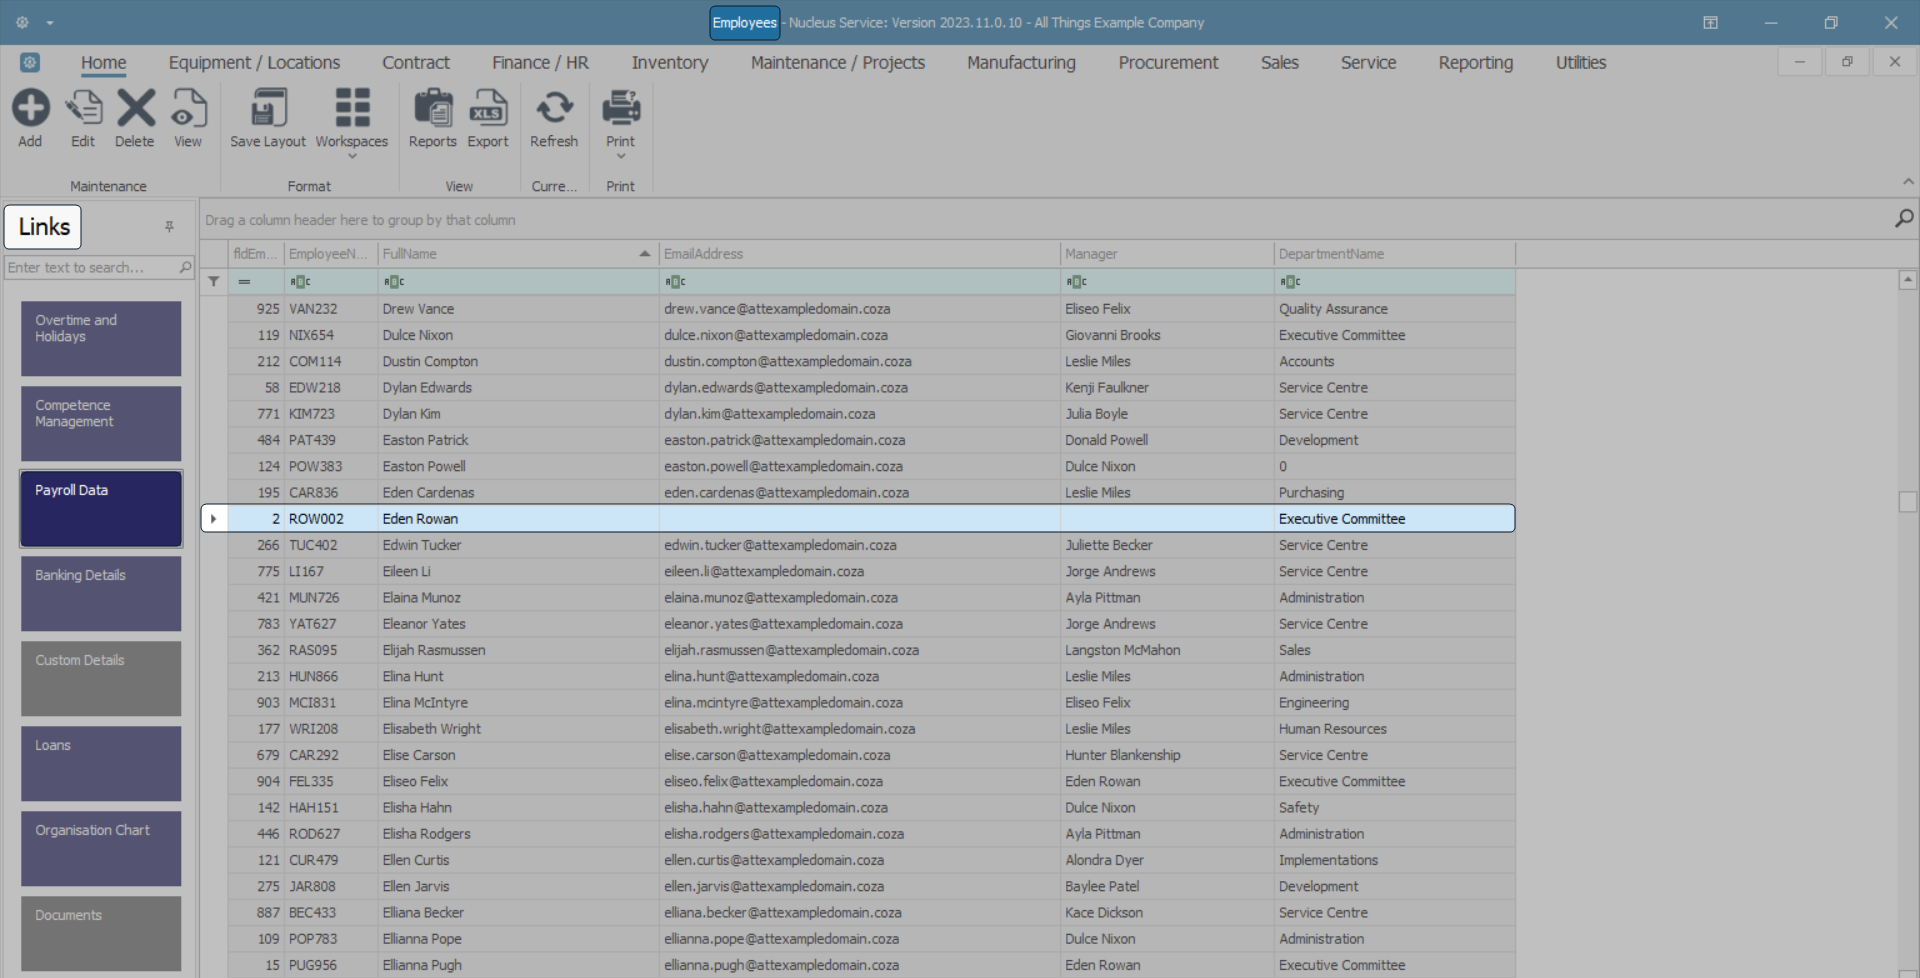
View Employee Payroll Data
Select Employee
- Select the row of the employee whose payroll data you wish to view.
- Click on the Payroll Data tile in the Links panel.

- The Payroll Data for: [ ] screen will open.
View Payroll Details
- Here you can view any payroll information that has been entered into the system for the selected employee.
Add Payroll Data
- You will note that there is no Add button in this screen. Information is added in the following ways:
- Typing directly in a text box.
- Using the search buttons and the subsequent Select... screens.
- Using the drop-down arrows and the subsequent drop-down lists.
Add Payroll Details
- Type in or use the search and drop-down lists to enter the following information:
- Payroll Type: Click on the search button and choose the relevant option from the 'Select a Payroll run type' pop-up screen.
- Director / CC Member: Select this check box if this employee is a director or a member of a close corporation.
- Employment Category: Click on the drop-down arrow and select from the list the category of employment linked to this employee.
- Employment Area: Click on the drop-down arrow and select from the list the area of the company where this employee is based.
- Pay Rate: Type in the amount of pay per period of work. This works in conjunction with the next field.
- Pay Period: Click on the drop-down arrow and select the recurring length of time over which employee time is recorded and paid - e.g. Daily, Hourly, Monthly, Weekly.
- Pay Method: Click on the drop-down arrow and select from the list, the method by which this employee will receive their pay e.g. Cash, Electronic Transfer.
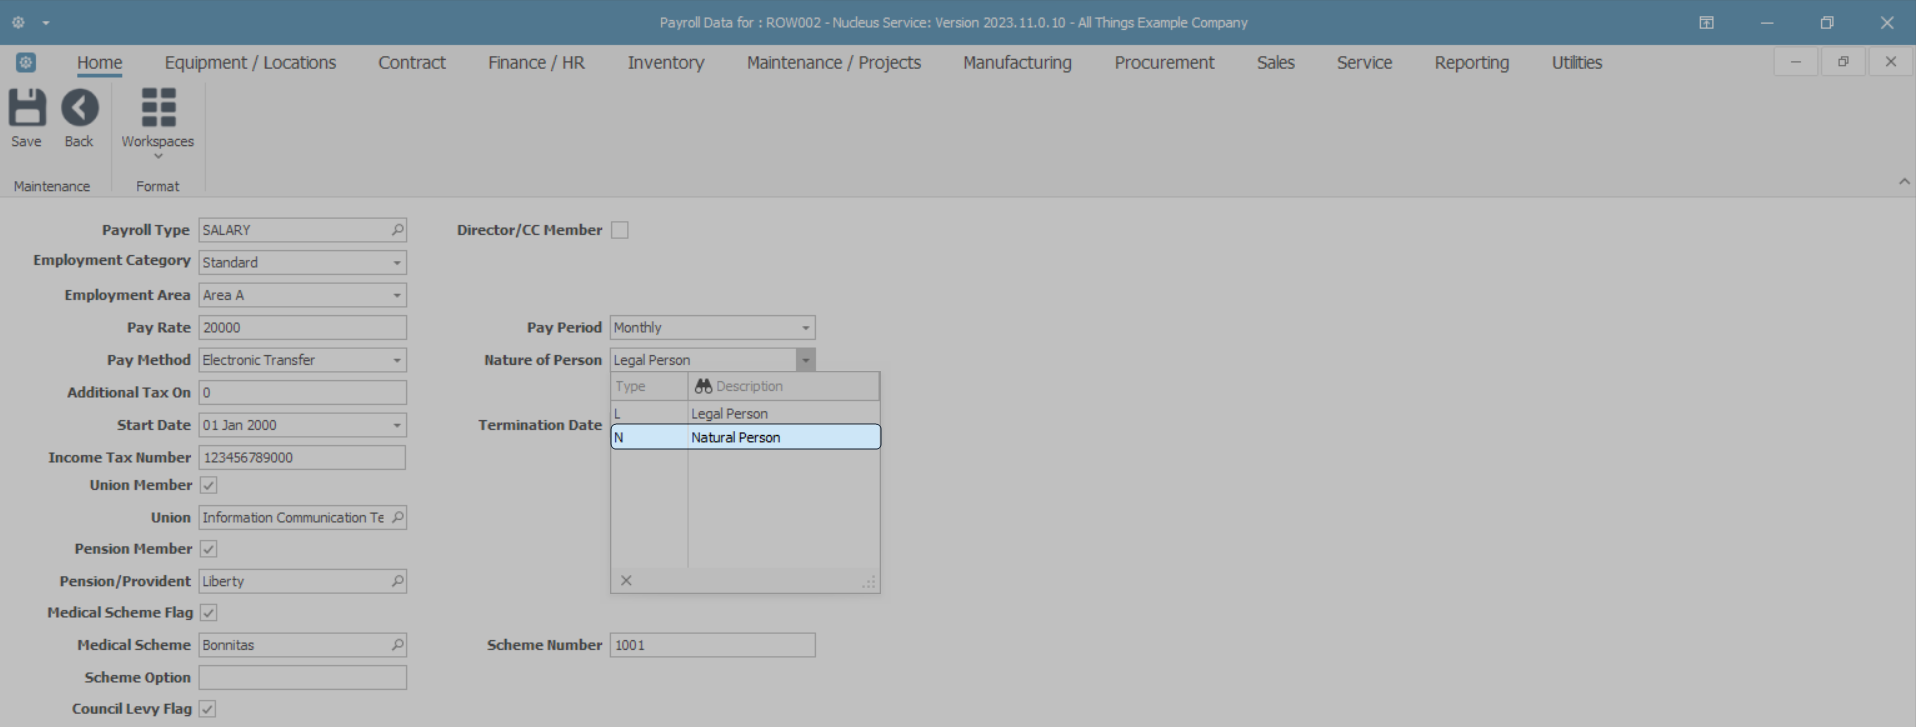
- Nature of Person: Click on the drop-down arrow and select from the list the relevant type e.g. Natural if the employee is considered to be an ordinary resident for income tax purposes.
- Additional Tax On:
- Start Date: Either type in, or click on the drop-down arrow and use the calendar function to select the date the employee joined the company.
- Income Tax Number: Type in the unique personal number given to the employee by the country's revenue services.
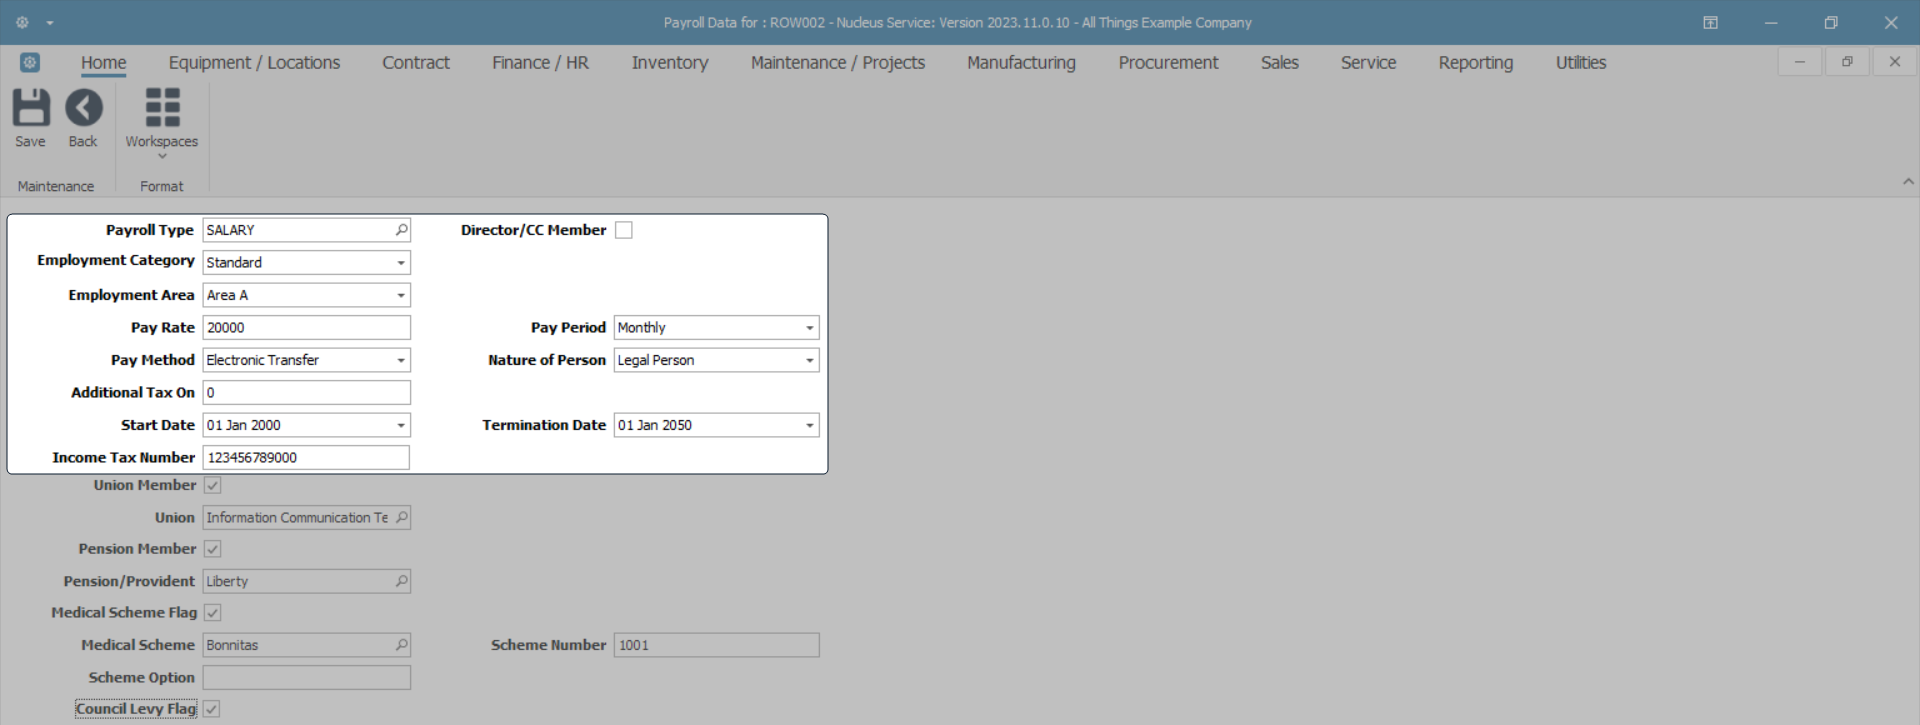
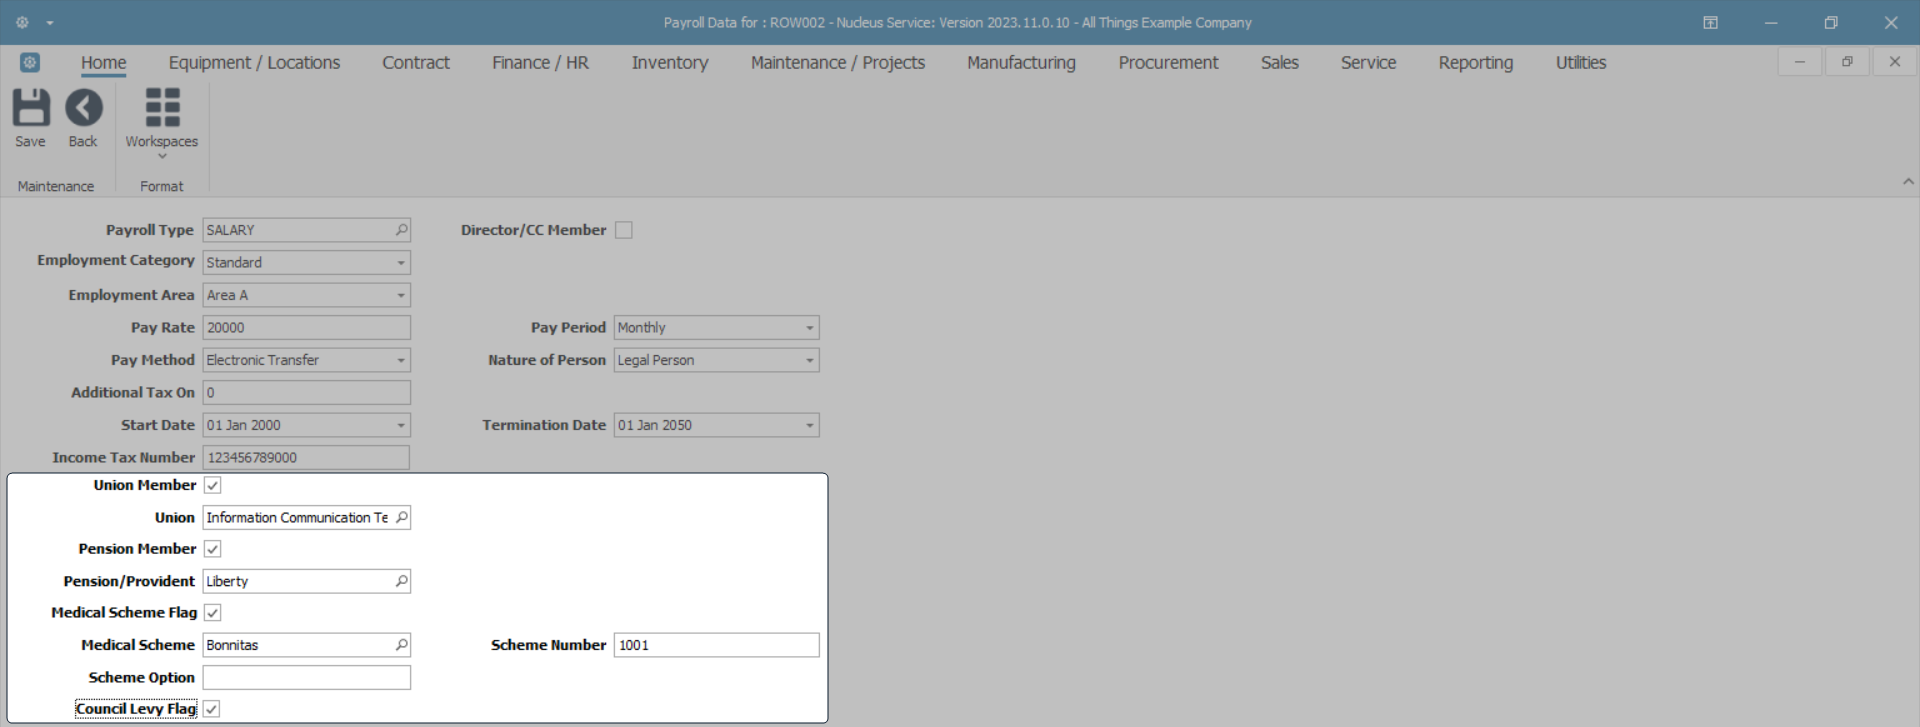
- Union Member: Select this check box if the employee is a union member.
- Union: Click on the search button and choose the relevant option from the 'Select a Union' pop-up screen.
- Pension Member: Select this check box if the employee is linked to a pension scheme.
- Pension/Provident: Click on the search button and choose the relevant option from the 'Select a Pension fund' pop-up screen.
- Medical Scheme Flag: Select this check box if the employee is linked to a medical aid scheme.
- Medical Scheme: Click on the search button and choose the relevant medical aid scheme option from the 'Select a Medical scheme' pop-up screen.
- Scheme Option: Type in the type of medical aid plan the employee has with the medical scheme named above - e.g. Hospital Plan, Classic Saver Plan.
- Scheme Number: Type in the unique medical aid scheme number, pertinent to the employee.
- Council Levy Flag:
Save Payroll Details
- When you have finished adding the payroll details, click on Save.

- A notification message box will pop up informing you -
- Payroll has been saved.
- Click on OK.
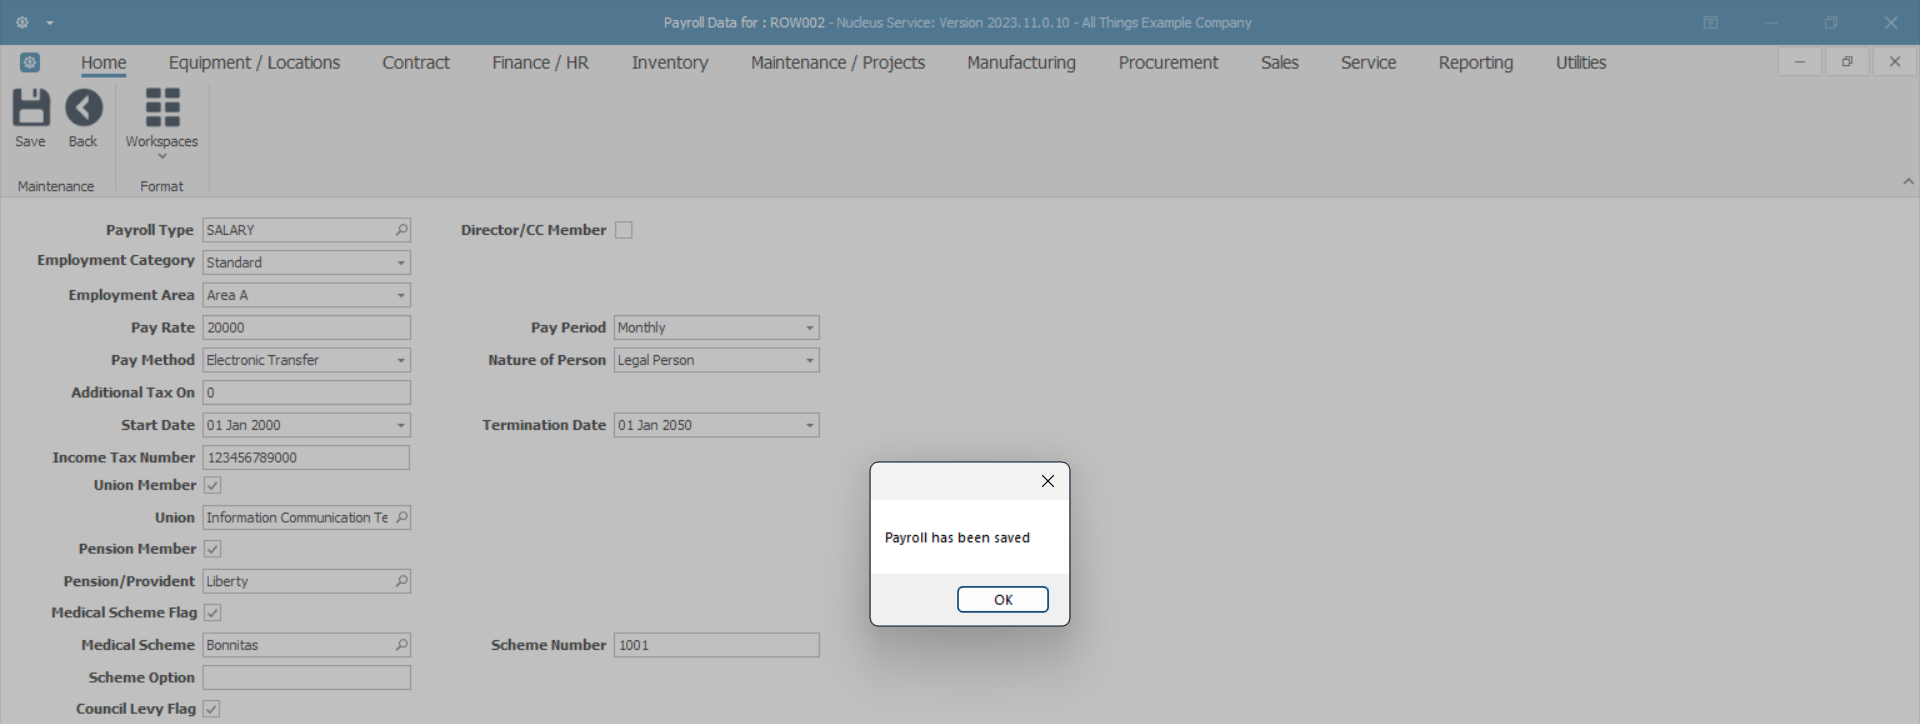
- The details will be saved and you will return to the Employees listing screen.
Edit Payroll Data
Select Employee
- In the Employees listing screen.
- Select the row of the employee whose payroll data you wish to edit.
- Click on the Payroll Data tile in the Links panel.
- The Payroll Data for [ ] screen will open.
Edit Payroll Details
- Make the changes as required.
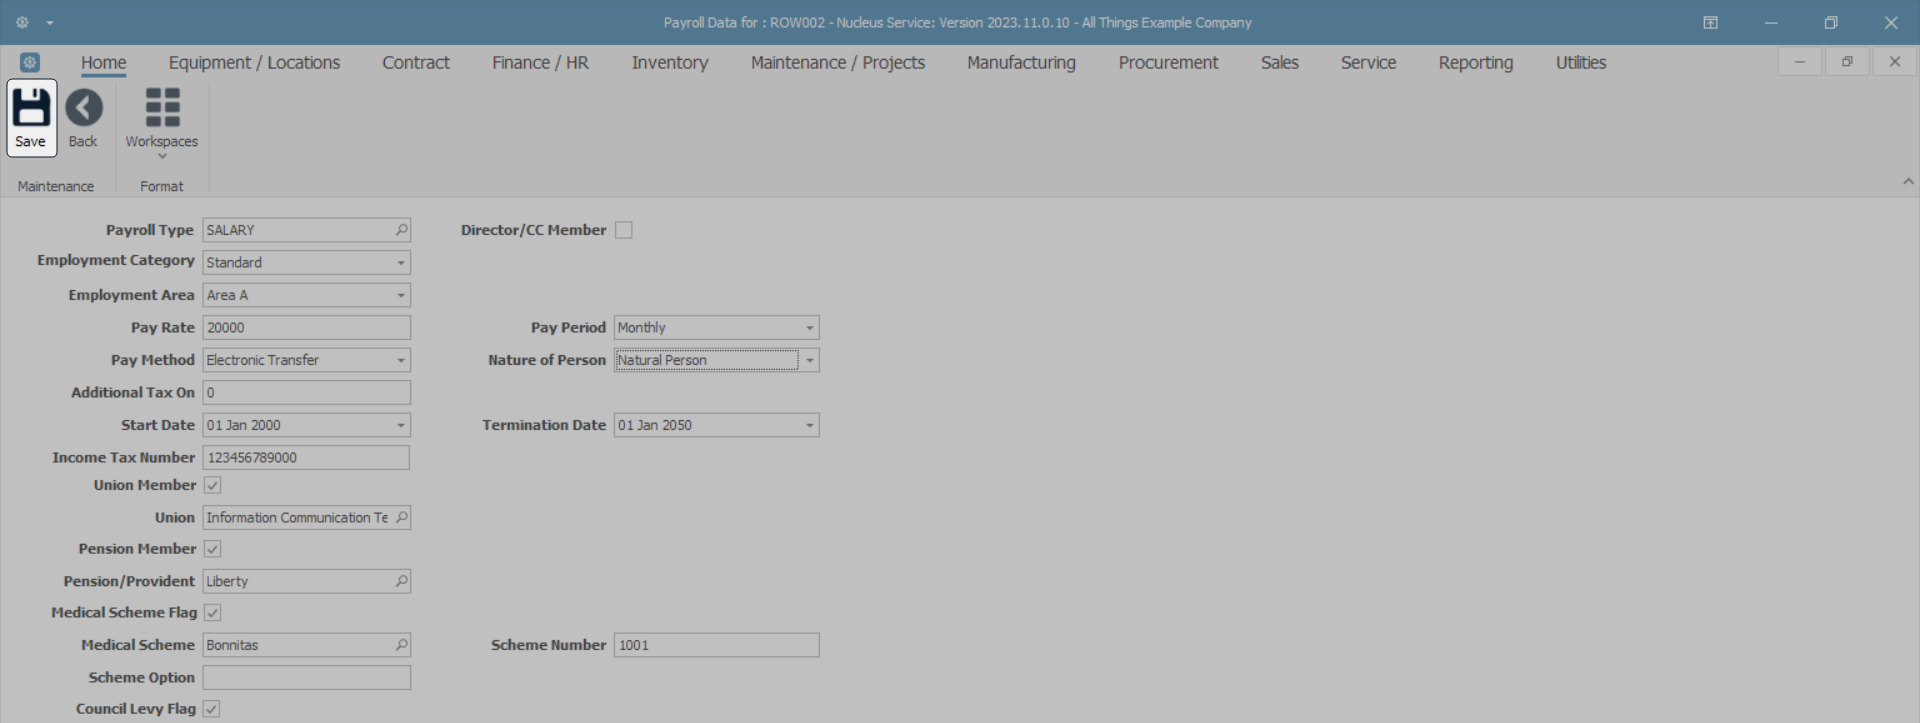
- In this example, the Nature of Person has been changed from Legal Person to Natural Person using the drop-down arrow and selection from the subsequent drop-down list.
- When you have finished making the required changes -
- Click on Save.
- A notification message box will pop up informing you -
- Payroll has been saved.
- Click on OK.
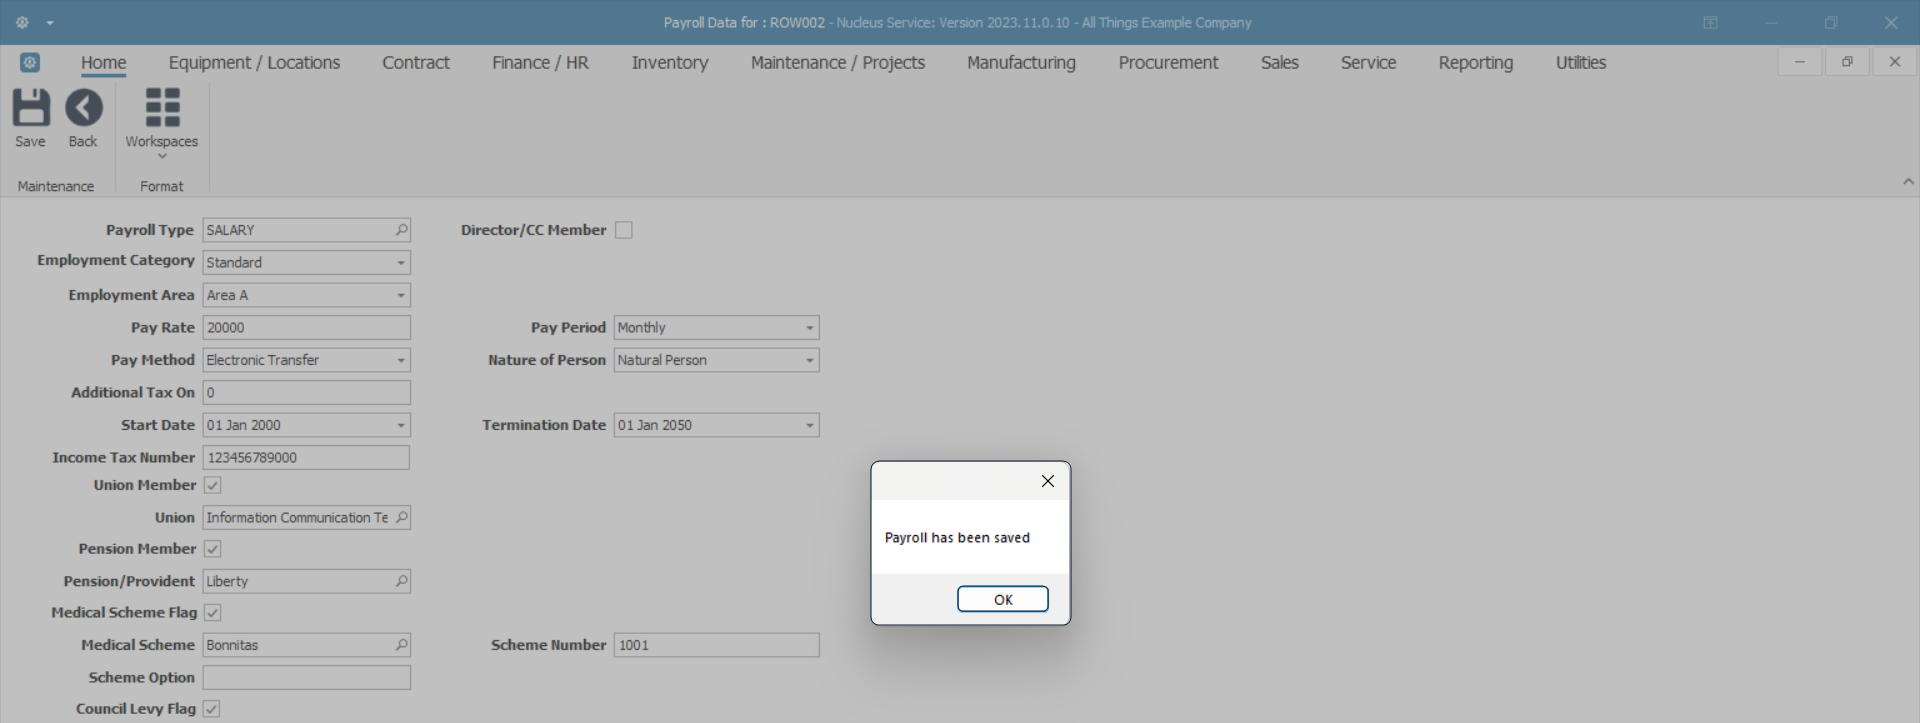
- The details will be saved and you will return to the Employees listing screen.
Delete Payroll Data
- You can only edit the information in the Payroll Data screen, you cannot delete all the payroll data for an employee.
MNU.021.015