We are currently updating our site; thank you for your patience.
Interface and Environment
Using Nucleus service - Data Grid Filtering
It is often useful to view the data within a data grid in different ways.
You can do this by grouping, sorting and filtering the data.
The Auto Filter Row
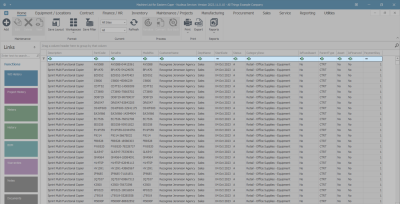
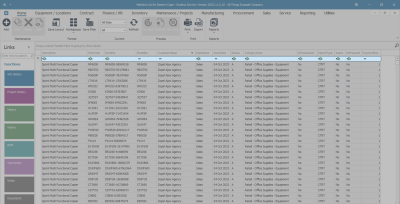
- The Auto Filter Row is found in every listing screen with rows and columns.
- This row will display any choices of column filtering that you have made in that screen.
- You can type directly in this row to filter your columns.
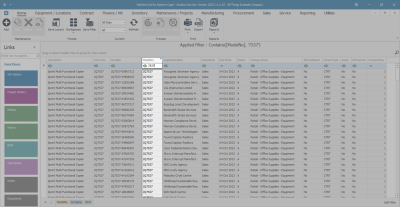
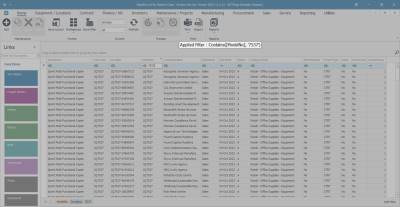
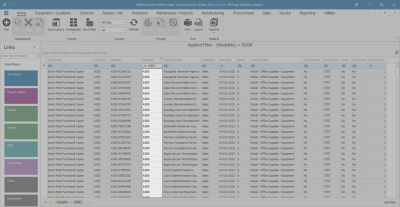
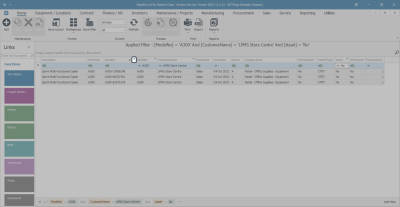
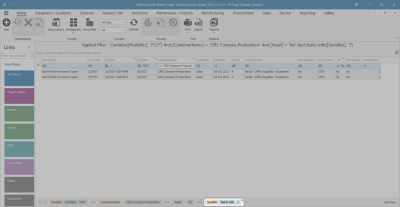
- In this image, the model number '7537' has been typed in the Auto Filter Row of the 'ModelNo' column.
- The 'ModelNo' column displays all the results of this filter. In this case, that is all the rows containing the number '7537' in that column.
Hide the Auto Filter Row
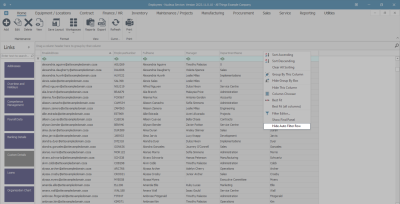
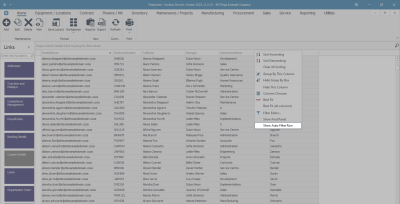
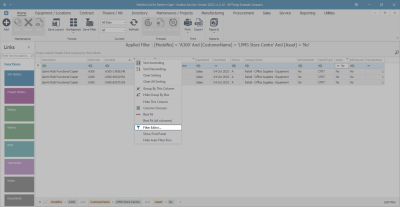
- Right click in any column header cell to display the drop-down menu, then click on the Hide Auto Filter Row option.
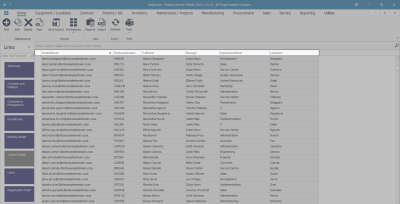
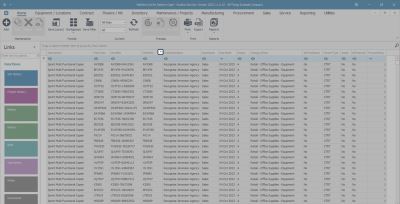
- The Auto Filter Row which is usually above the data grid is now hidden.
- To view the Auto Filter Row again, right click in any column header cell to display the drop-down menu, then click on the Show Auto Filter Row option.
The Title Bar
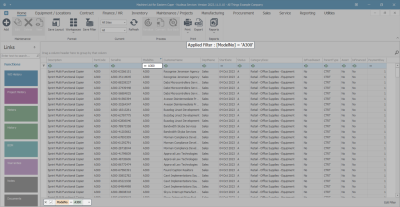
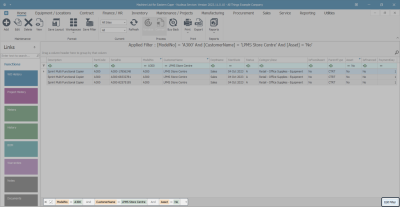
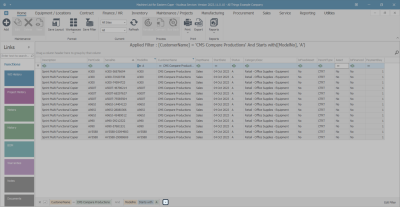
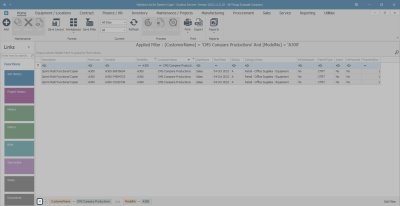
- At the head of the data grid is the Title Bar containing a summary of the Applied Filter.
- The Title Bar will display which column you filtered and the text, or number, you selected for filtering.
The Edit Filter Row
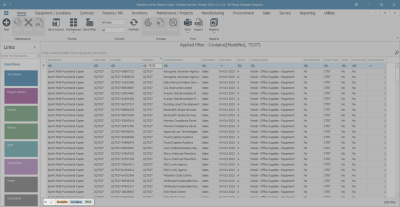
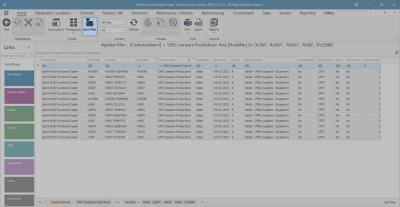
- At the foot of the data grid is the Edit Filter Row containing a summary of the applied filter(s).
- This Edit Filter Row will list which column you filtered and the text, or number, you selected for filtering.
Column Filtering
The Filter Icon
- You can also filter in columns by hovering over a column header cell and clicking on the Filter icon which appears in the top right of the column header cell.
The Filter Menu
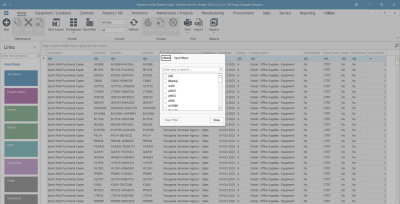
- A quick reference drop-down Filter menu will be displayed.
The Values Tab
- This drop-down menu lists in numerical / alphabetical order the contents of the selected column.
- Click on your choice of filter from the drop-down menu.
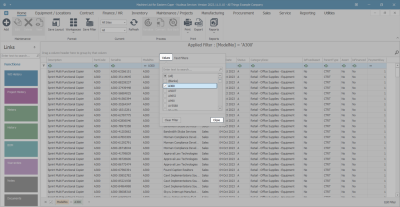
- In this image, filter A300 has been selected.
- Click Close when you have made your selection.
The Text Filters Tab
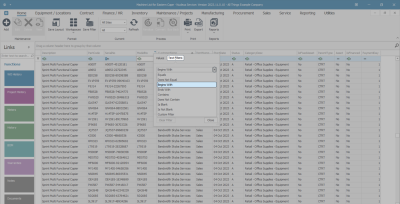
- Click on Text Filters.
- Select the Filter Method by clicking on the drop-down arrow.
- In this image, Begins with is selected.
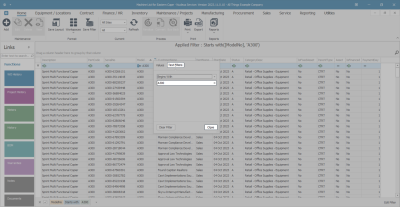
- You can now click on the Enter a value field to type in the relevant details for the selected Column Header, which in this image is ModelNo.
- Type an appropriate letter and/or number combination that applies to this Column Header '(ModelNo)' and Filter Method '(Begins with)'.
- Your filter search, letter or number, needs to be appropriate to the newly selected Column Header and Filter Method.
- In this image, A300 has been typed in.
- Click Close when you have made your selection.
- The data grid will now display the results of that filter.
- The Title Bar, Auto Filter Row and the Edit Filter Rowcontain a summary of the applied filters.
Multiple Column Filters
- You may choose more than one column in which to use the drop-down Filter menu.
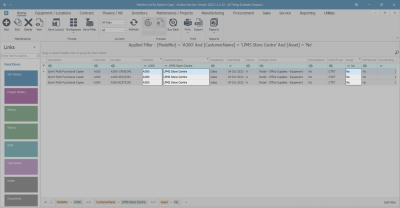
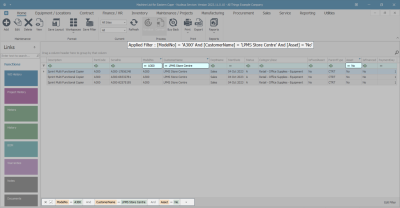
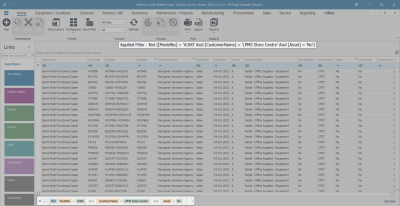
- In this image, the data grid displays the results of 3 filters - Model No A300, Customer Name LPMS Store Centre and Is Fixed Asset No.
- The Title Bar, Auto Filter Row and Edit Filter Row all contain a summary of the applied filters.
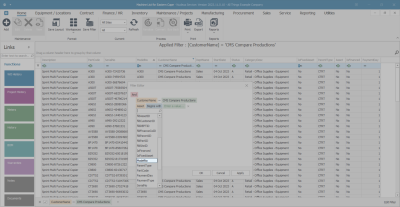
The Filter Editor
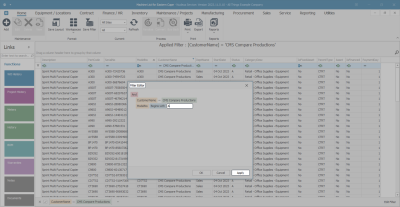
- The Edit Filter Row, at the foot of the data grid, lists all the filters that have been selected and can be edited in a number of ways.
- Click on the Edit Filter text box in the bottom right of the Edit Filter Row.
- Or hover over any column header cell and right click on the Filter icon which appears in the top right of the column header cell.
- Select Filter Editor from the drop-down menu.
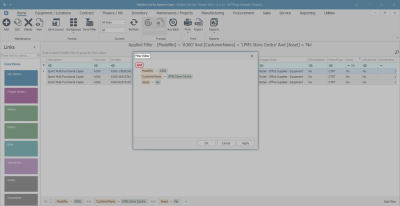
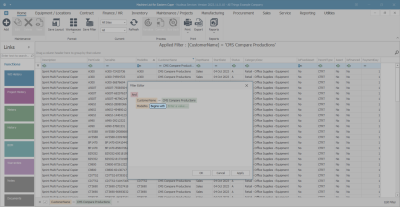
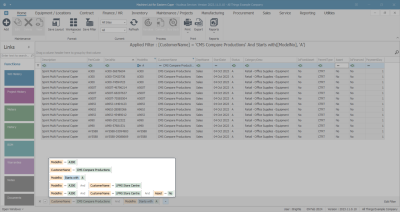
- A Filter Editor pop-up screen will appear.
- Initially it displays a 'row by row view' of the already selected filter options.
- However, the Filter Editor also contains a multitude of edit options for the current data grid.
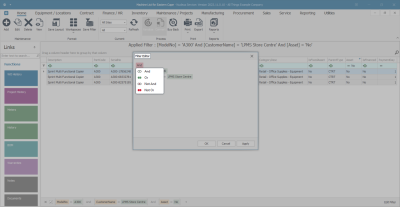
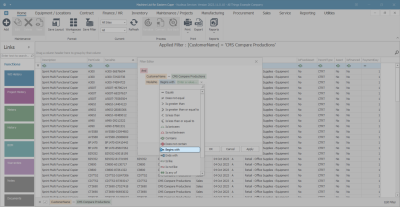
- For example, click on And text in the Filter Editor pop-up screen.
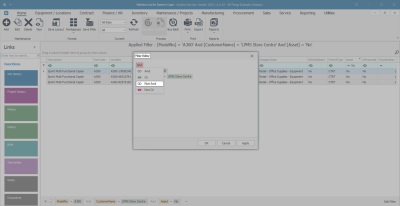
- This will bring up a drop-down menu with options to change the current filter selections.
- Click on any one to make changes to the filter selection.
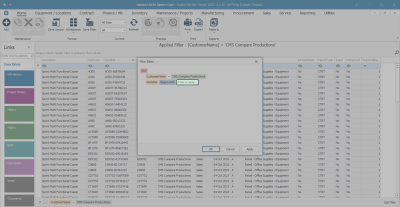
- In this image, Not And has been selected.
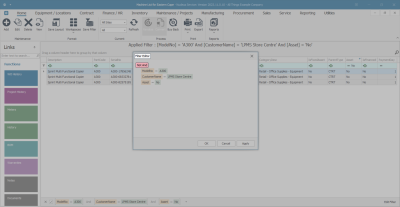
- Not And instead of 'And' is now displayed in the Filter Editor pop-up screen.
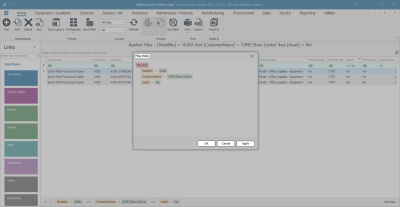
- Click on OK, Cancel or Apply to save, cancel or change this new filter selection.
- If Saved, then your new filter selection will be applied and displayed in the data grid.
- The Title Bar and Edit Filter Row will now display the newly applied filters.
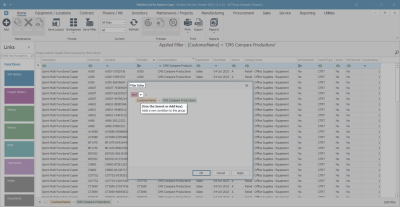
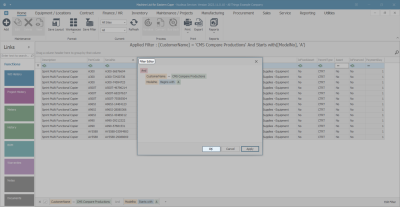
- To change filter selections, open the Edit Filter box again and hover over the Add (+) symbol.
- A message box will inform you that this is the Insert or Add key and this is where you can click to add a new condition to the group.
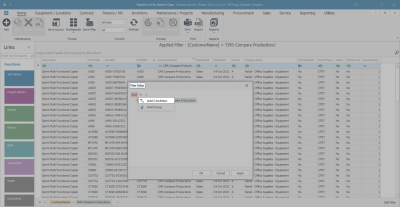
- When you have clicked on this Insert or Add (+) symbol, a message box will appear where you can select Add Condition or Add Group.
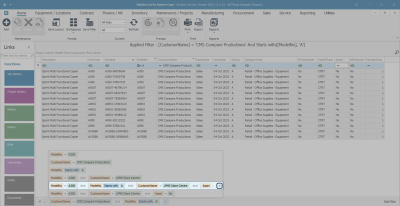
- In this image, Add Condition will be selected.
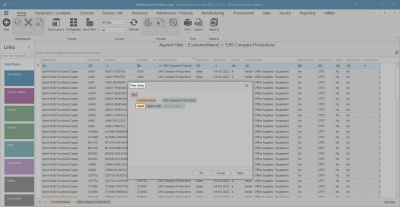
- A new row will be added to the Filter Editor.
- To make changes to the new row, click on the Column Header in the row to call up a drop-down menu.
- In this image, the Column Header is Asset.
- Select one of Column Headers from the drop-down menu.
- In this image, ModelNo will be selected.
- ModelNo will now display as the new Column Header.
- You can now click on the Filter Method.
- Select one of the Filter Methods from the drop-down menu.
- In this image, Begins with will be selected.
- Begins with will now display as the new Filter Method.
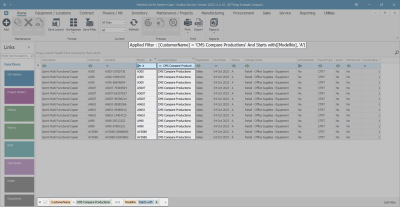
- You can now click on the Enter a value field.
- Your filter search letter and/or number needs to be appropriate to the newly selected Column Header '(ModelNo)' and Filter Method '(Begins with)'.
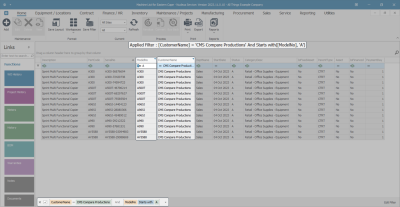
- In this image, A has been typed in.
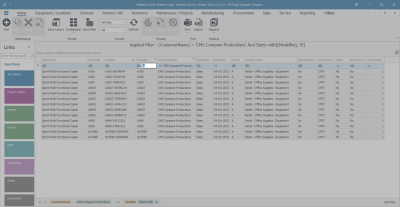
- When you have finished making your filter changes and selections, click on Apply to apply these conditions to the data grid.
- You can continue to make changes to your filters in the Filter Editor, or you can click on OK to exit from the Filter Editor.
- The Title Bar, Auto Filter Row, Edit Filter Row and data grid will all display the newly selected filter choices.
Removing Applied Filters
Auto Filter Row
- Highlight the text in the Auto Filter Row of the column you wish to remove the applied filter -
- Press Delete on your keyboard.
- Or Backspace over the text until it is removed completely.
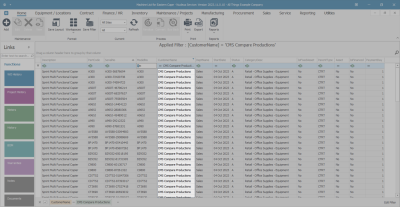
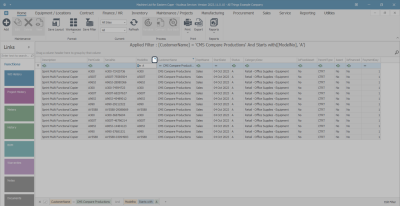
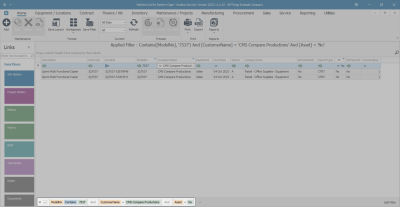
- In this image, the 'ModelNo' filter will be removed.
- The data grid will now go back to its form before that filter was applied.
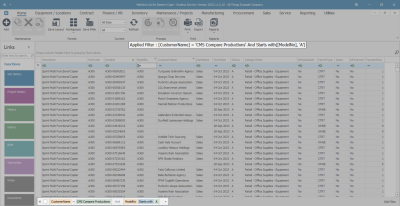
- In this image, the data grid displays the remaining filter, 'CustomerName'.
Header Cell Filter Icon
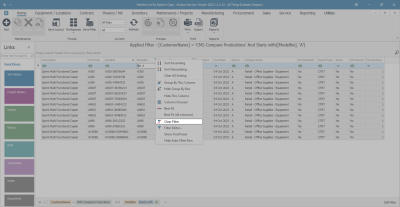
- You can also right click on the filter icon in the selected column header cell.
- Click on Clear Filter from the drop-down menu.
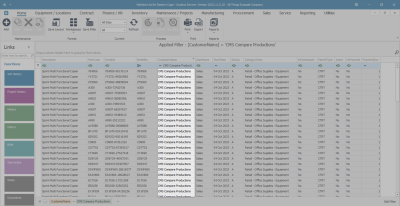
- Your data grid will return to its original form before that filter was applied.
- In this image, the data grid displays the remaining filter, 'CustomerName'.
Edit Filter Text Box
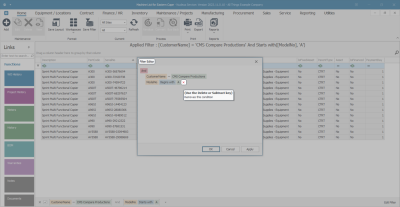
- Alternatively, click on the Edit Filter text box to bring up the 'row by row view' Filter Editor.
- Hover over the x symbol in the row that you want to delete.
- A message box will inform you that this is the Delete or Subtract key and this is where you can click to remove this condition.
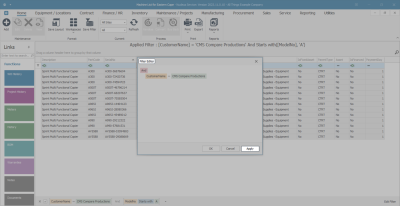
- When you have clicked on the x symbol and the row has been removed, click on Apply to apply these conditions to the data grid.
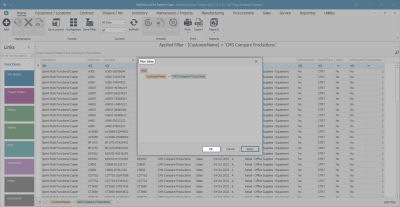
- You can continue to make changes to your filter(s) in the Filter Editor or you can click on OK to exit from the Filter Editor.
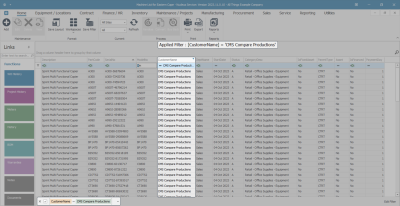
- The Title Bar, Auto Filter Row, Edit Filter Row and data grid will all display the current filter selection.
The Edit Filter Row
Method 1
- The Edit Filter Row remembers all your saved filter selections.
- Click on the drop-down arrow in the Edit Filter Row.
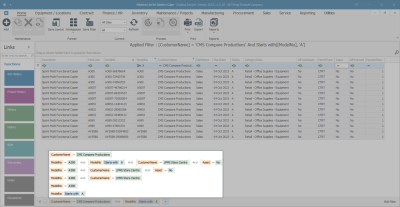
- A table of all the applied filter conditions will pop up.
- Hover over the row of the applied filter condition(s) you wish to remove from the table.
- Click on the x symbol at the end of the selected row to remove the applied filter condition(s).
- The selected filter row has now been removed from the memory list.
- If you would like to use that same filter selection again, you will need to recreate it from the beginning.
Method 2
- In the Edit Filter Row, you can also click on the [x] symbol of the applied filter you wish to remove.
- In this image, SerialNo filter will be removed from the Edit Filter Row.
- The Edit Filter Row will display the remaining filter conditions.
Method 3
- You can also un-tick the check box in the Edit Filter Row. This will return the data grid to its original state but it will 'remember' the filters in the Edit Filter Row and in the Title Bar.
- If the check box is re-ticked, the data grid will re-apply those filters.
Method 4
- You can click on the x symbol at the beginning of the Edit Filter Row.
- This will remove all filters and will not save any filter conditions in the memory.
- The data grid will return to it's original state.
Workspaces
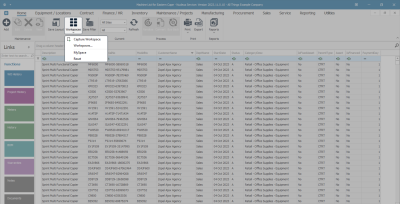
- Workspaces refers to the 'grouping of windows' on your desktop.
- The purpose is to reduce clutter and make the screen that you are working in easier to navigate.
- You can 'capture' multiple separate Workspaces for different groups of related tasks. For example, a Workspace you've named 'Reports' could contain certain selected frames, panels and columns displaying the data that you use to prepare reports.
- You might set up other Workspaces according to screens that you need to manage your Projects.
- All of your captured Workspaces can be saved and named and will be listed in the drop-down list under Workspaces.
- You can also 'Reset' the screen to its original configuration before any adjustments were made.
The Save Filter Button
- Follow the process below if you wish to keep your filter selections after closing the screen or even after exiting from Nucleus Service.
- Click on the Save Filter button in the toolbar.
- Your filter options will then be 'permanently' saved. Even if you clear the filters in the screen using the methods listed above, these will only last if your screen is open.
- If you close the screen (or Nucleus Service) and re-open it, the saved filters will be applied to the data grid.
- To delete these permanent filters, you will need to clear the filters using any of the methods explained above and then click on the Save Filter button again.
MNU.003.002
