We are currently updating our site; thank you for your patience.
Procurement
Requisition Notes and Comments
Once you have created your purchase requisition, you may be required to add Notes and / or Comments.
- Comments: These are internal notes regarding the requisition.
- Notes: These are notes concerning orders to this supplier, which will pull through to the Purchase Order.
You cannot delete a Note / Comment. Each note or comment saved will be listed in the lower half of the Notes docking panel.
You cannot edit a current Note / Comment, only add to it.
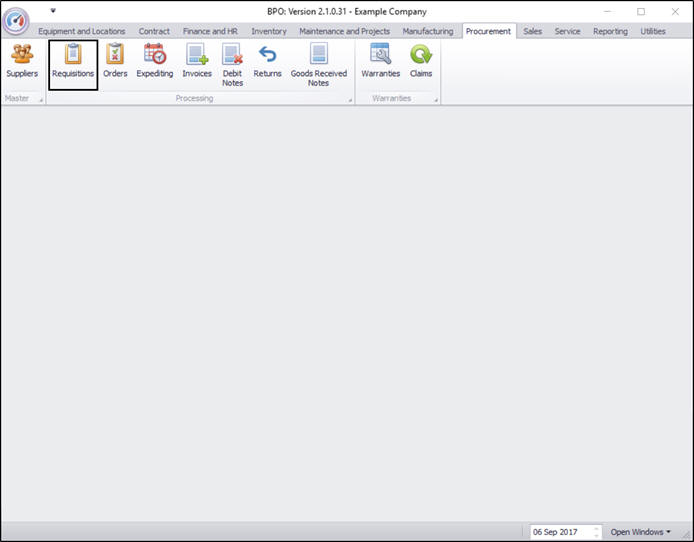
| Ribbon Access: Procurement > Requisitions |
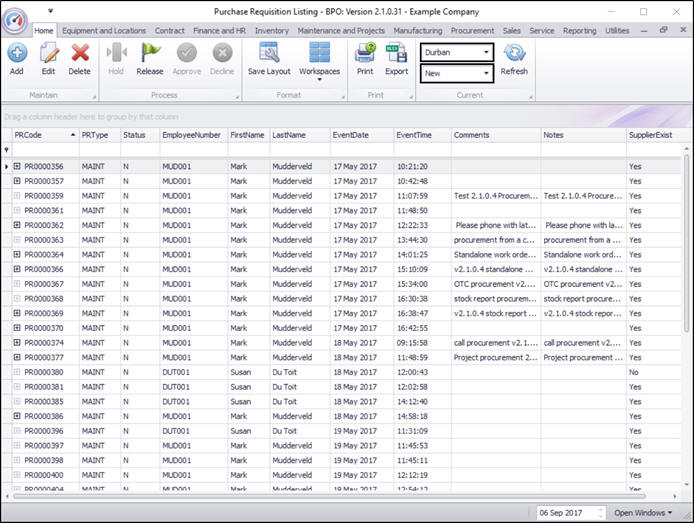
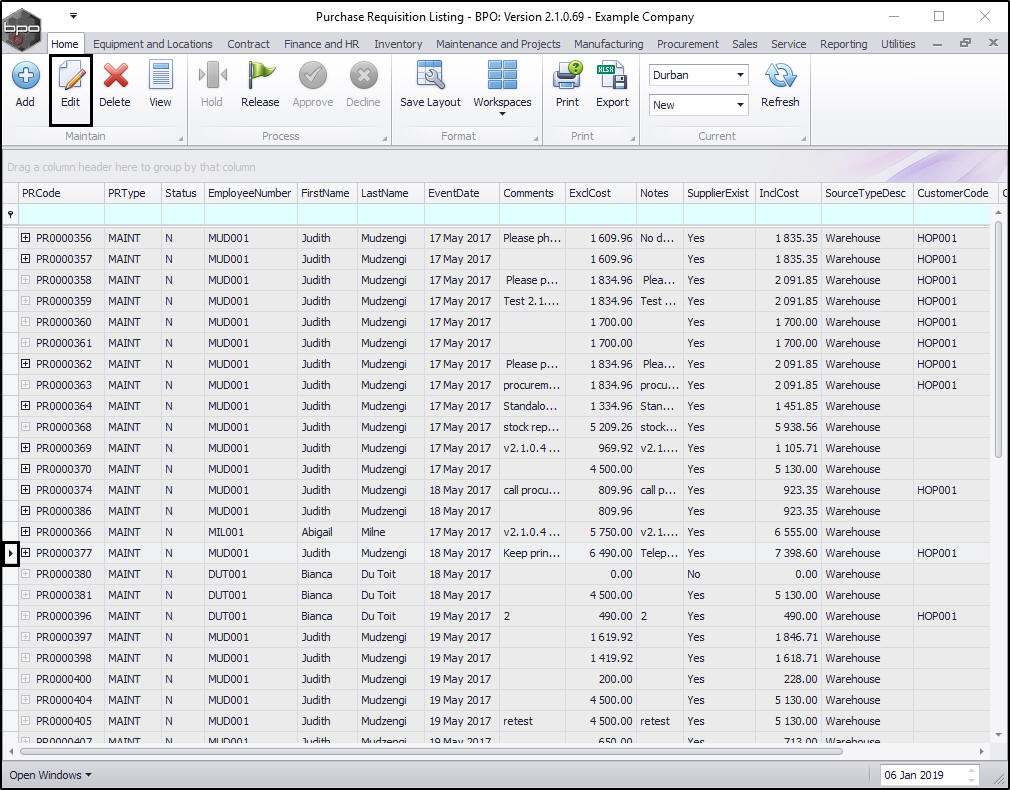
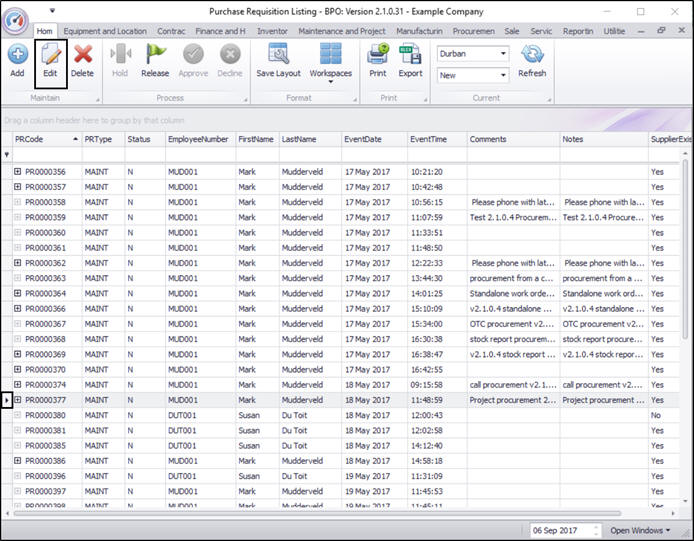
Select the Site and Status
- Select the Site.
- In this image Durban has been selected.
- Select the Status.
- In this image the status has been set to New.
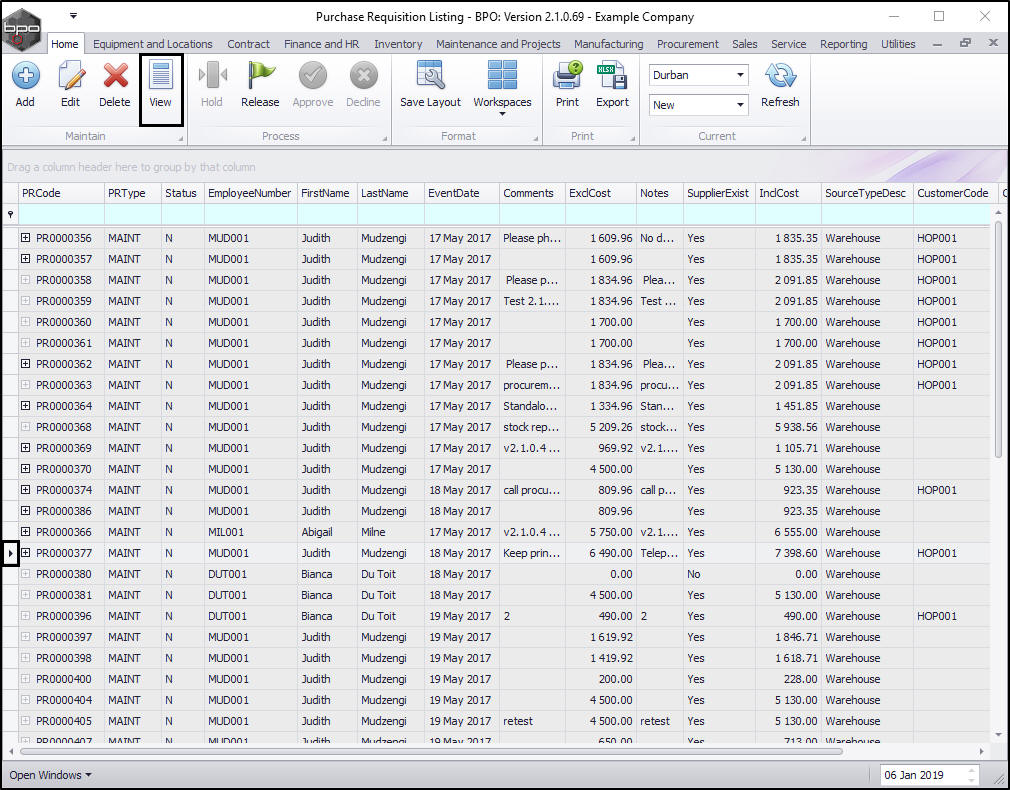
View Requisition Notes and Comments
- Select the row of the row of the purchase requisition where you wish to view the notes and comments.
- Click on View.
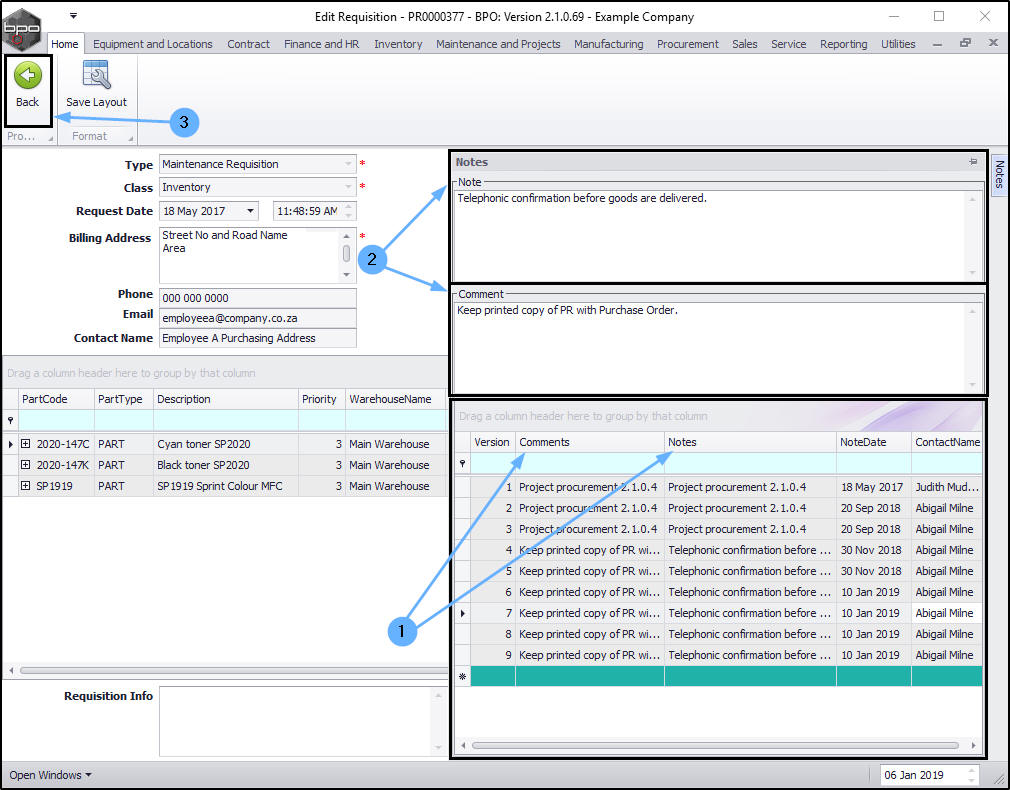
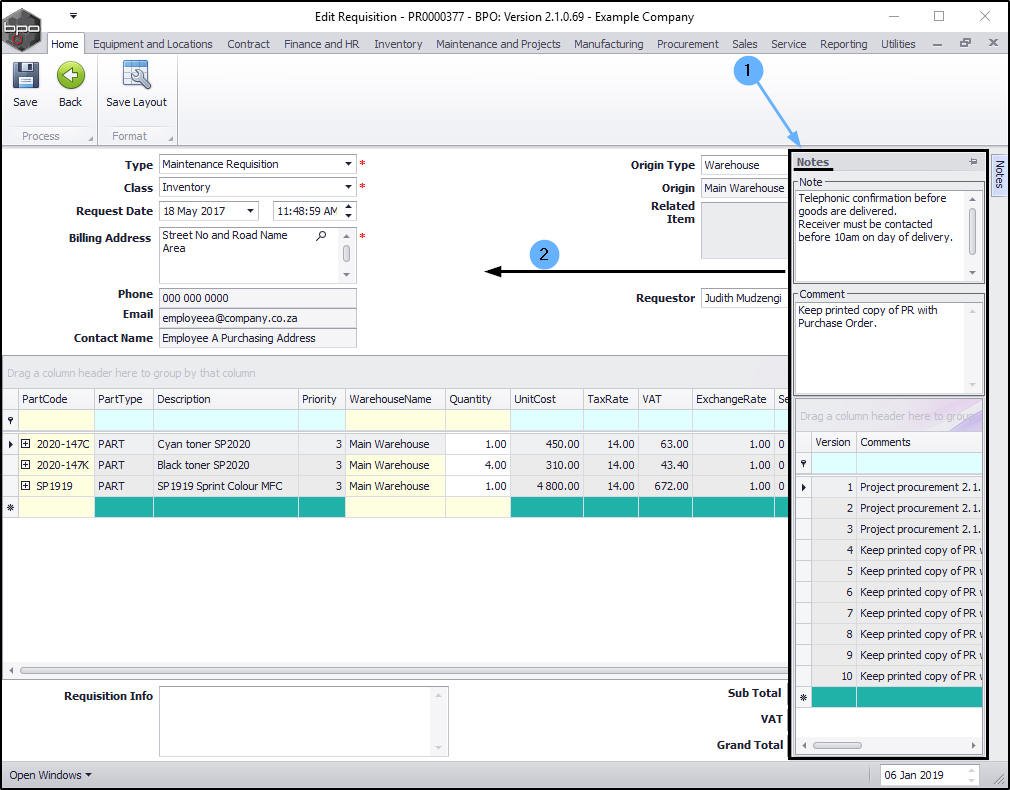
The Edit Requisition screen will be displayed.
- As you navigated to this screen via the View button, you will note that there is only a Back processing button here (and no Save button) therefore you cannot make or save any changes.
- Click on the Notes tab on the right hand side of the screen.
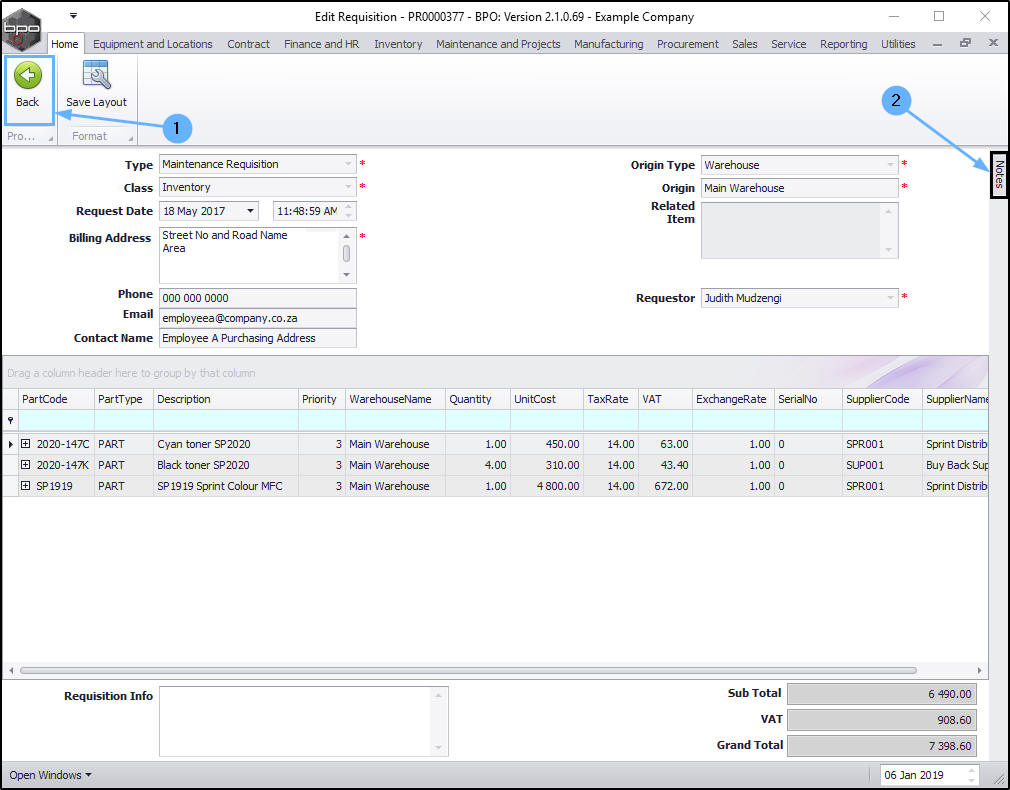
- The Notes docking panel will be displayed.
- Expand this panel to make it easier to work in.

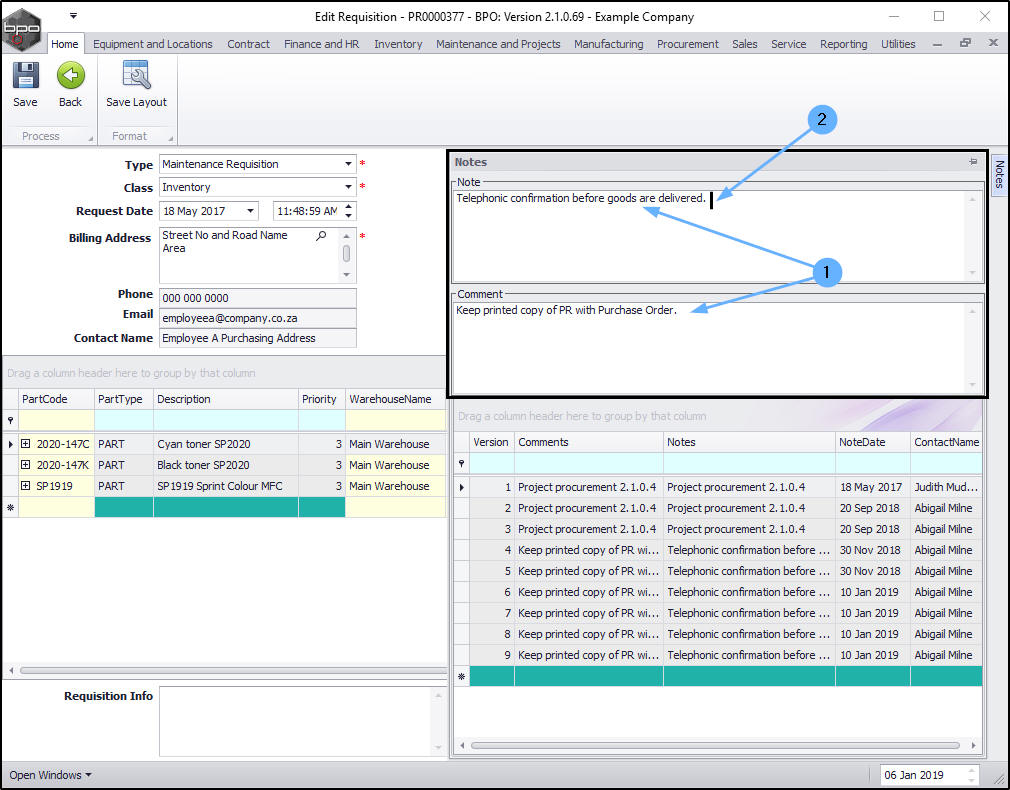
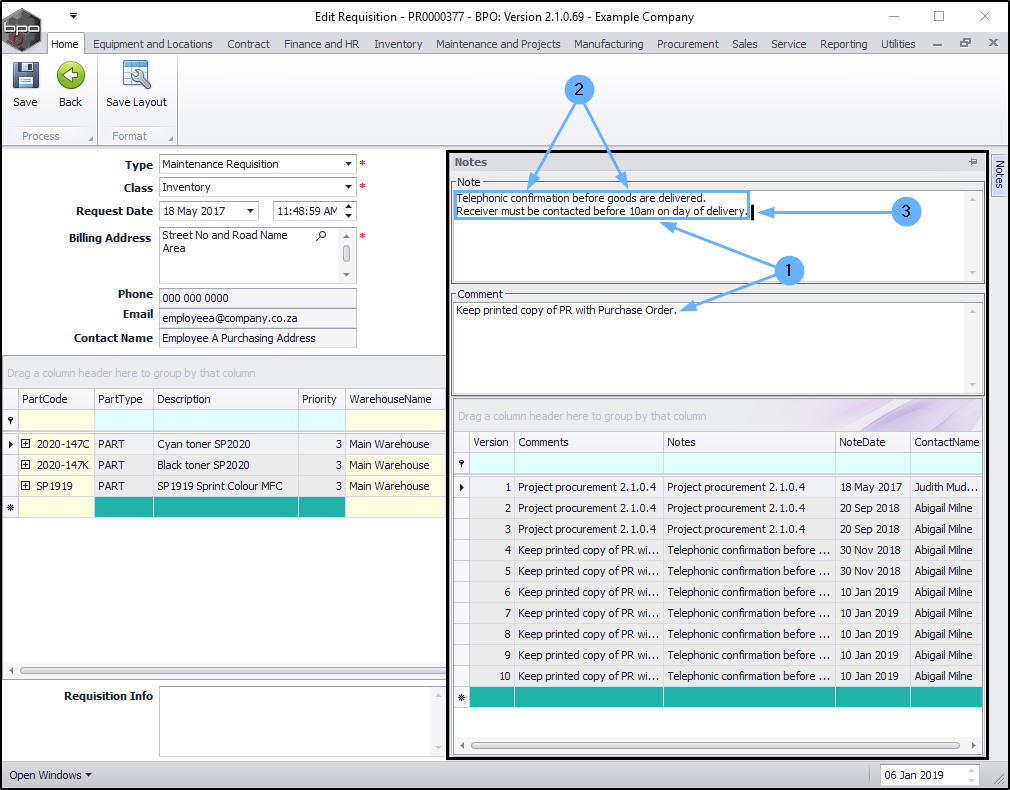
- In the Notes docking panel you can view all the previous Notes and Comments
Note: These past Notes and Comments cannot be deleted or edited, just viewed for information.
- In this screen, you can also view the current Notes and Comments.
- When you are finished viewing the details, click on Back to return to the Purchase Requisition Listing screen.
Add Requisition Notes and Comments
In the Purchase Requisition Listing screen,
- Select the row of the purchase requisition where you wish add Comments and/or Notes.
- Click on Edit.
The Edit Requisition screen will be displayed.
- As you navigated to this screen via the Edit button, you will note that there is now a Save processing button here as well as a Back button. You can make and save changes in this screen.
- Click on the Notes tab on the right hand side of the screen.
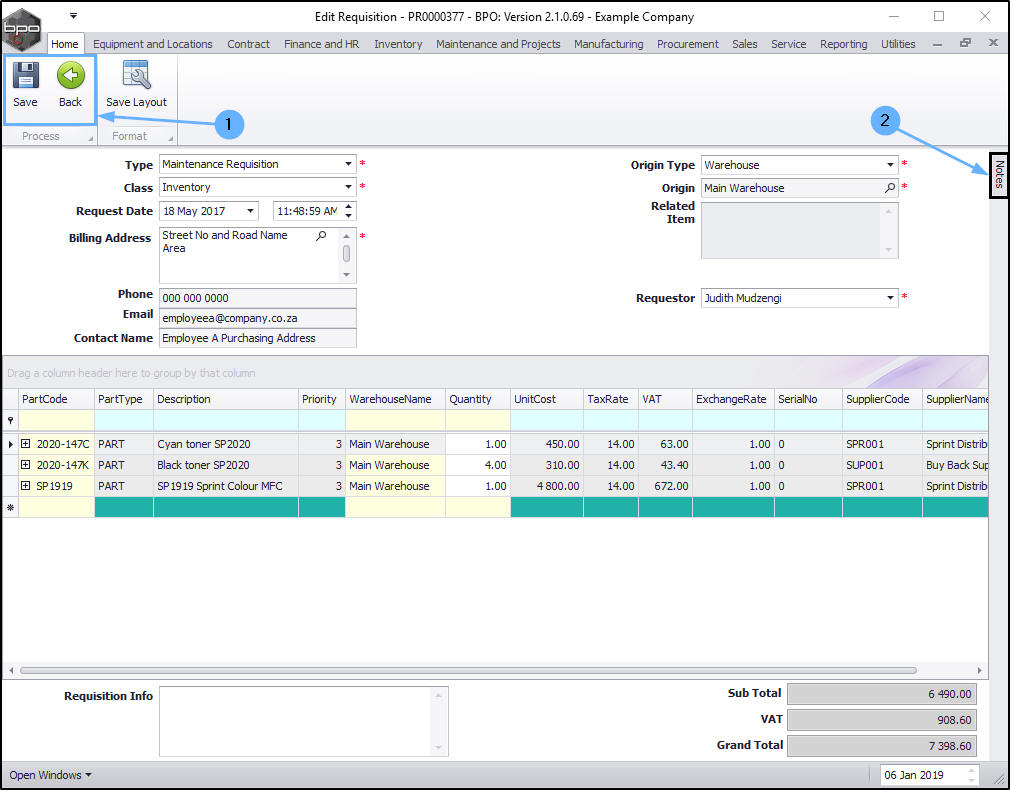
- The Notes docking panel will be displayed.
- Expand this panel to make it easier to work in.
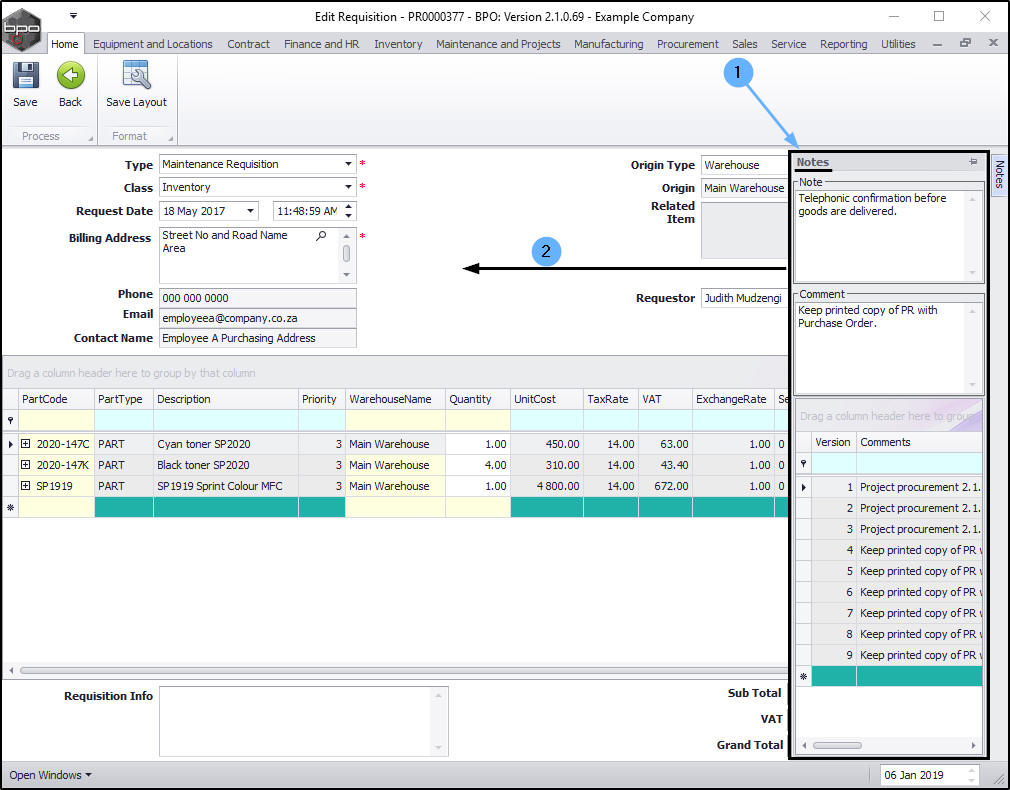
Add to Existing Notes and/or Comments
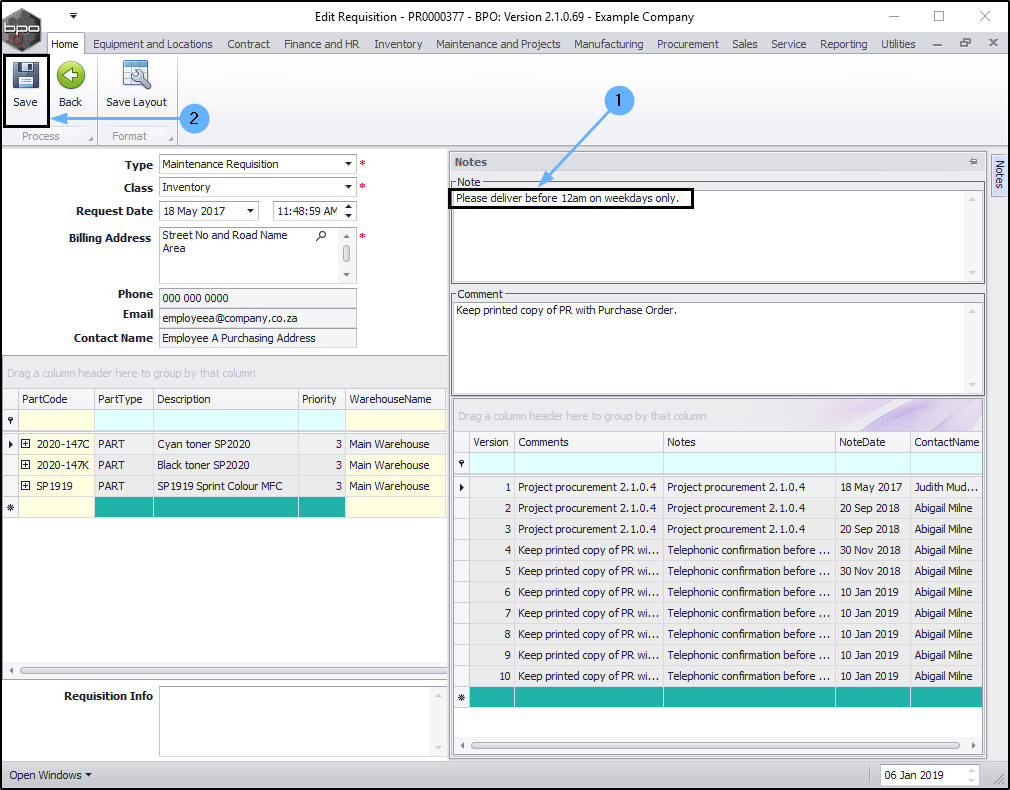
- In this images you can see that there is already text in the current frames.
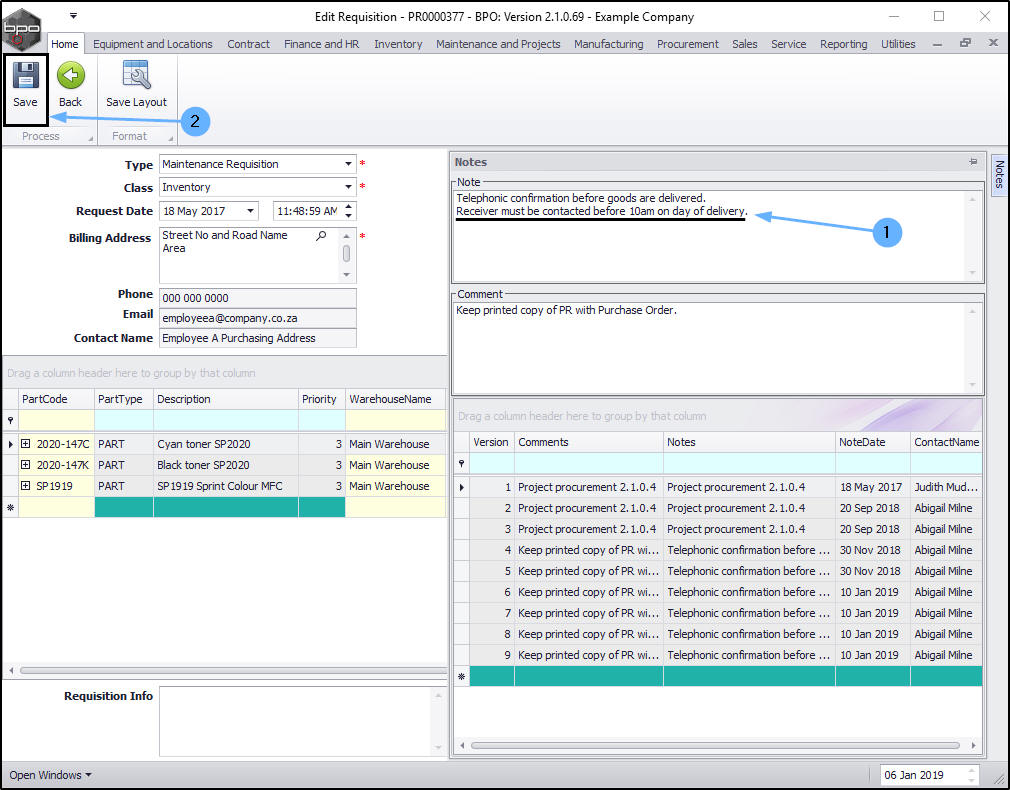
- If you wish to keep these current and add to them, place your cursor at the end of the existing text in the relevant frame. Either start typing there or press Enter on your keyboard to move onto a new line.
- In this image the new text has been typed on the next line.
- Click on Save.
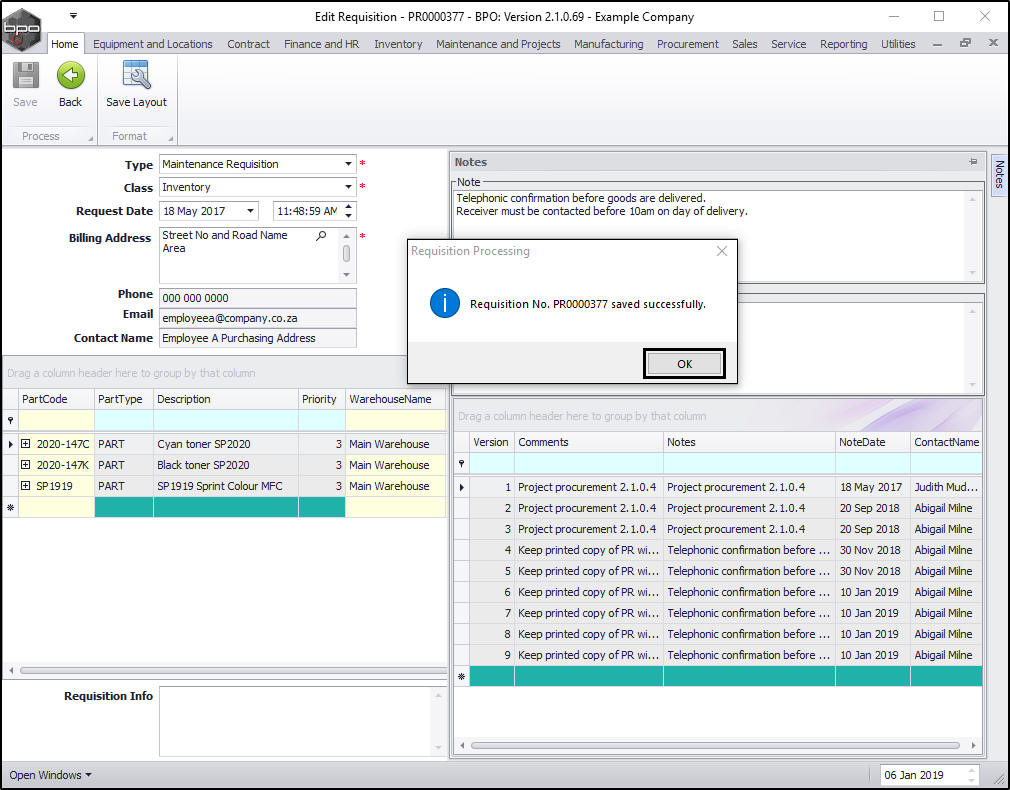
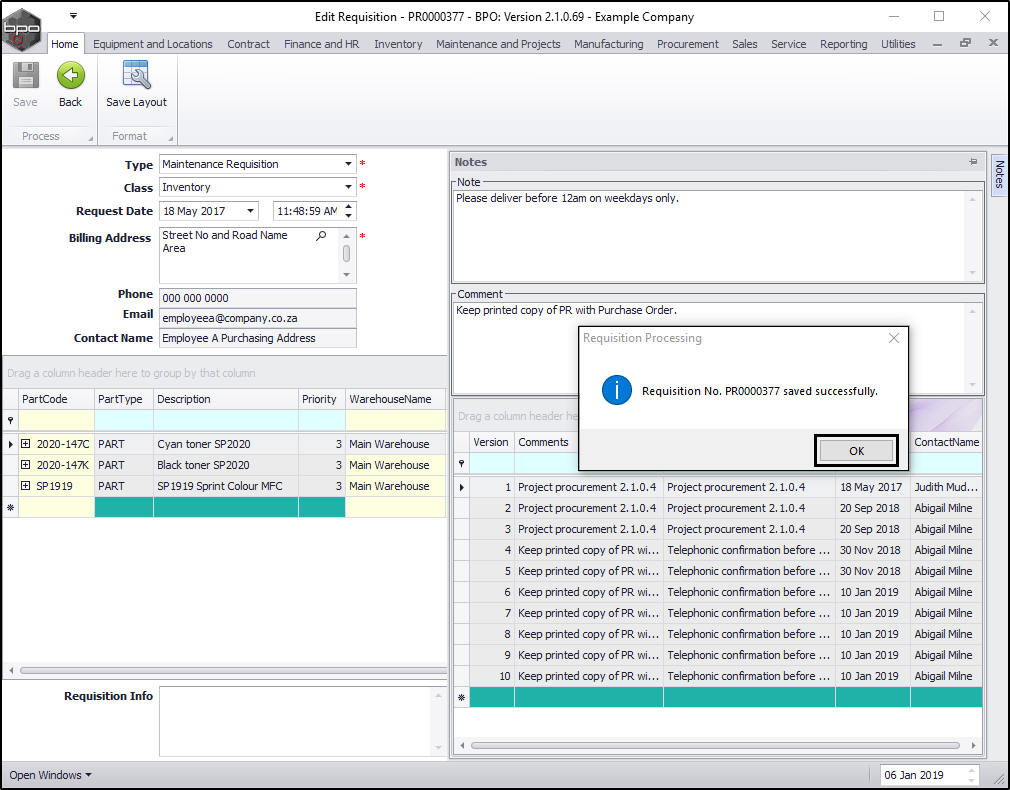
- A Requisition Processing message box will pop up informing you that:
- Requisition No. [] saved successfully.
- Click on OK.
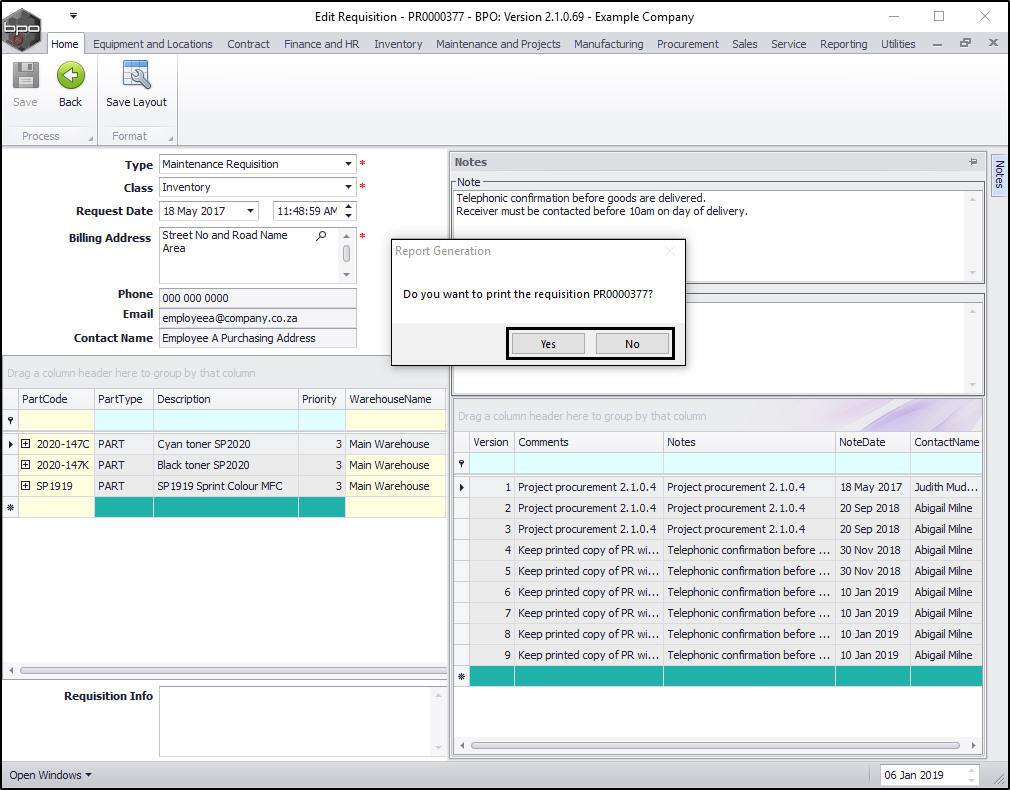
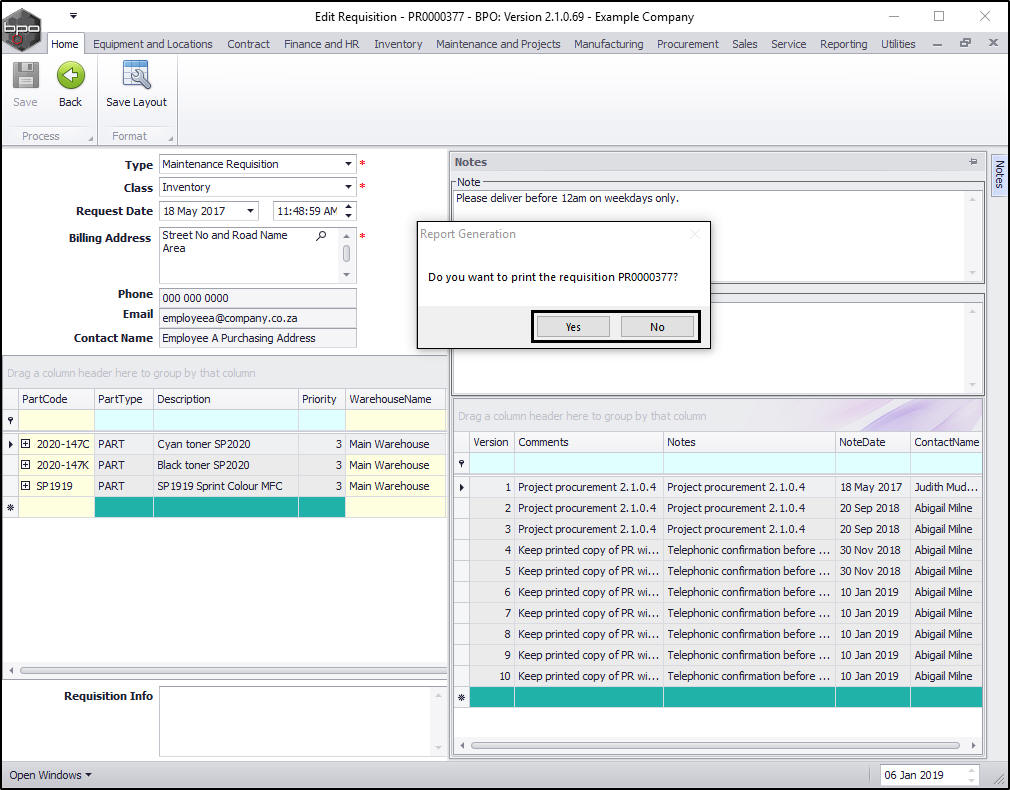
- A Report Generation message box will pop up asking;
- Do you want to print the requisition [ ]?
- Click on Yes or No as required.
Create New Note and/or Comment
In the Purchase Requisition Listing screen.
- Select the row of the purchase requisition where you wish to add a new Note and/or Comment.
- Click on Edit.
The Edit Requisition screen will be displayed.
- As you navigated to this screen via the Edit button, you will note that there is now a Save processing button here as well as a Back button. You can make and save changes in this screen.
- Click on the Notes tab on the right hand side of the screen.

- The Notes docking panel will be displayed.
- Expand this panel to make it easier to work in.
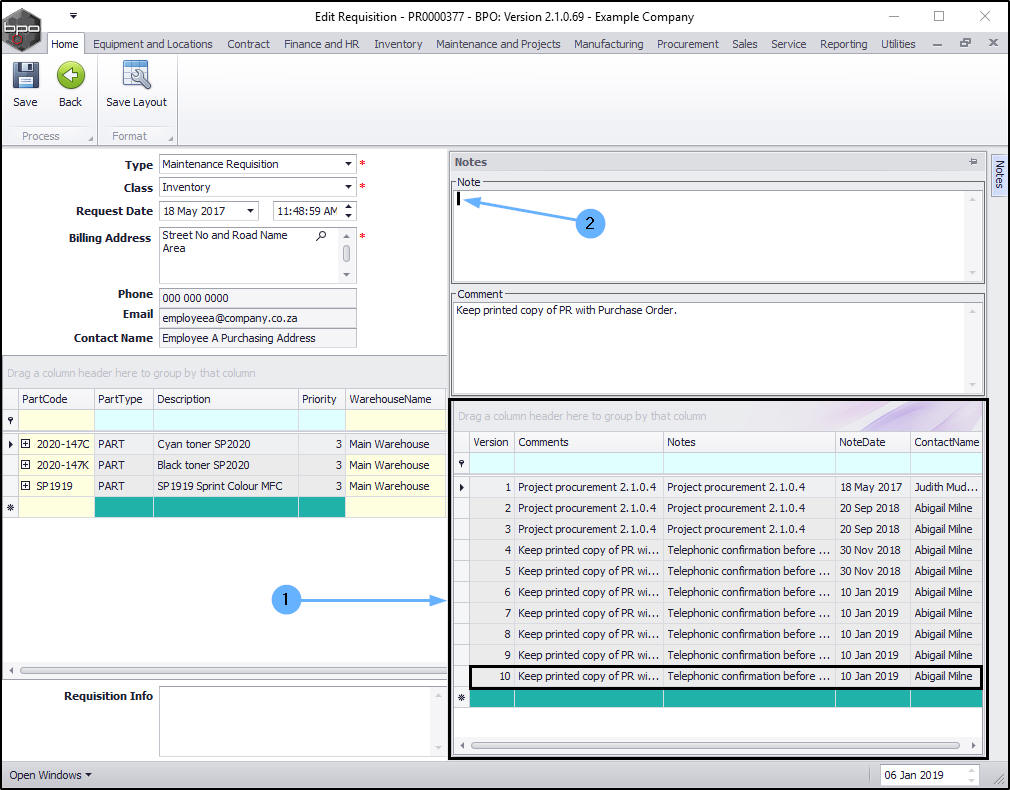
- In this image you can see that there is already text in the current frames.
- To remove this text and create a new Note or Comment,
- Either
- highlight the text and press Delete on your keyboard
- or place your cursor at the end of the existing text in the relevant frame and press Backspace on your keyboard until you have deleted the required text.
- The lower frame will keep a record of all Notes and Comments.
- Place your cursor in the now empty frame and type in the new Note and/ or Comment.
Save Note/Comment
- When you have finished typing in the new Note and/or Comment,
- click on Save.
- A Requisition Processing message box will pop up informing you that;
- Requisition No. [ ] saved successfully.
- Click on OK.
Print Requisition
- A Report Generation message box will pop up asking;
- Do you want to print the requisition[ ]?
- Click on Yes or No according to your requirements.
- Yes: Follow the Print Purchase Requisition process.
- No: You will return to the Purchase Requisition Listing screen.
MNU.053.007