We are currently updating our site; thank you for your patience.
Procurement
Link Asset to a Warranty
Warranty details can be viewed on the asset and can be assigned:
- through the auto apply warranty feature when the asset is GRN'd
- or by assigning an asset / equipment item to the warranty.
This process links an asset to a warranty.
| Ribbon Access: Procurement > Warranties |
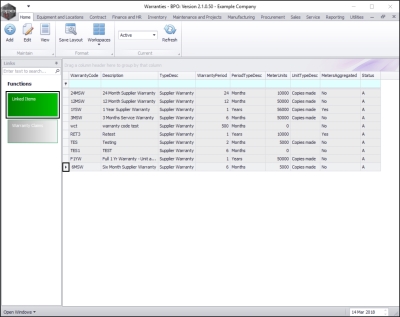
- The Warranties listing screen will be displayed.
Select Warranty Definition
- Select the row of the warranty where you wish to link an asset.
Linked Items Tile
-
Click on the Linked Items tile.
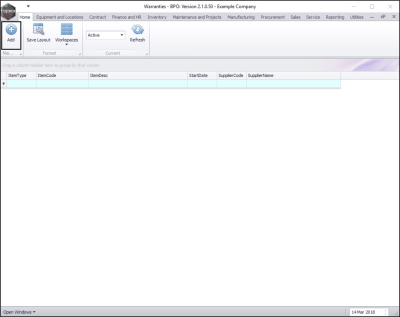
- The Warranties screen will be displayed.
- If you have assets already linked to this warranty, they will be listed here.
- Click on Add.
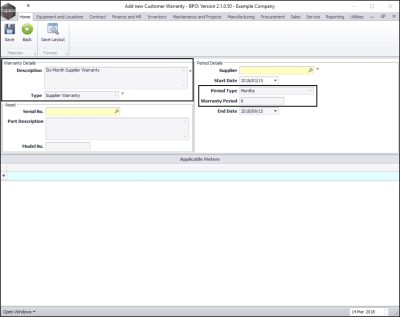
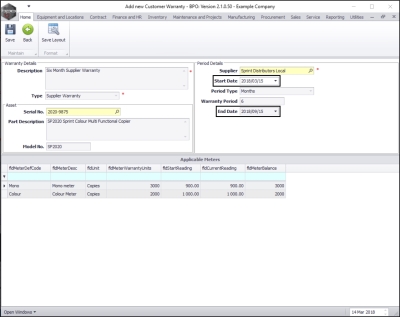
- The Add new Customer Warranty screen will be displayed.
Warranty Details and Period Type
- You will note that this screen has populated with the Warranty Details and Period Type details of the selected warranty.
Select Asset to Link
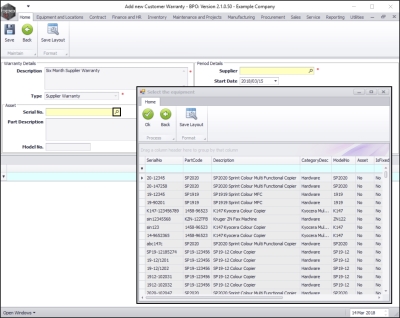
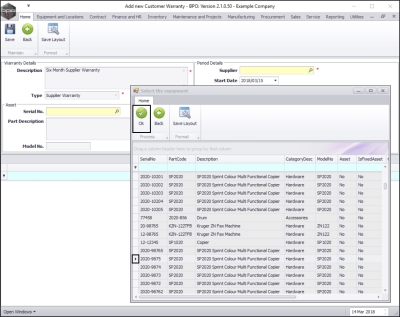
- In the Asset frame, click on the search button in the Serial No. text box.
- A Select the equipment screen will pop up.
- Select the row of the asset that you wish to link to this warranty.
- Click on Ok.
Part Description and Model No.
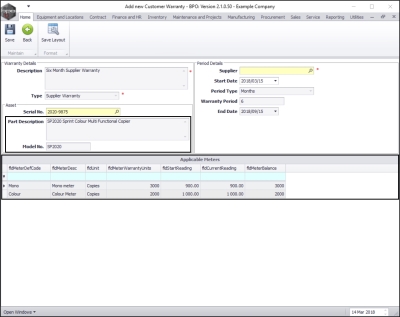
- The Part Description and Model No. will now populate with the details of the selected asset.
Applicable Meters
- The Applicable Meters panel will now populate with the machine meter details linked to the selected asset, if there are meters linked.
- Note: In this image, there is a Mono meter and a Colour meter linked to the selected asset.
Select Warranty Supplier
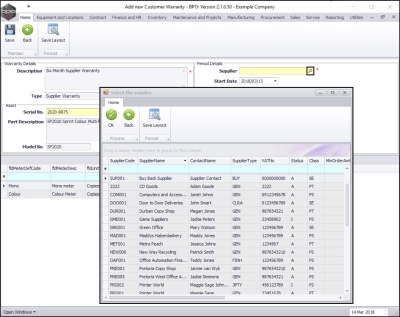
- In the Supplier text box, click on the search button.
- A Select the supplier screen will pop up.
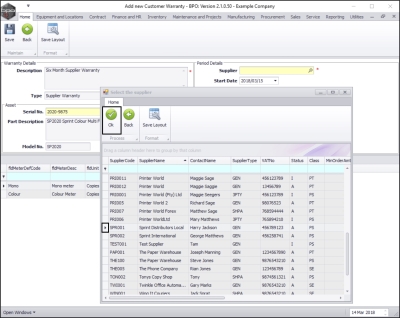
- Select the row of the supplier who has issued this warranty.
- Click on Ok.
Warranty Start Date
- Start Date: Click on the drop-down arrow and use the calendar function to select the date from which the Warranty begins.
Warranty End Date
- End Date: Click on the drop-down arrow and use the calendar function to select the date on which the warranty ends.
Save Linked Warranty
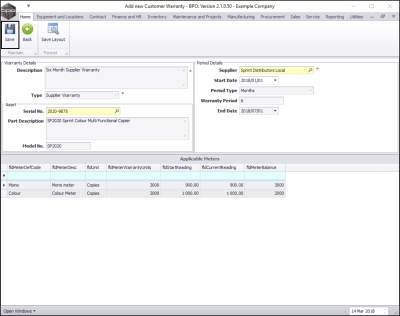
- When you have finished adding details to this screen, click on Save.
View Asset Linked to Warranty
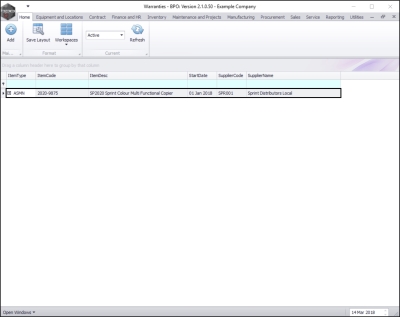
- The linked asset details will be saved, and you will return to the Warranties listing screen.
- You can now view the details of the newly linked asset.
View Meters Linked to Asset
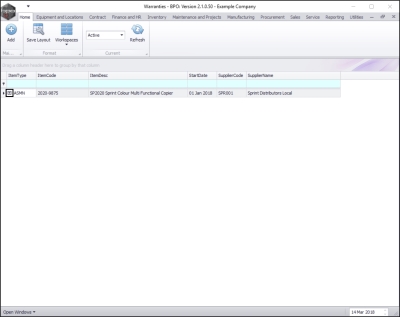
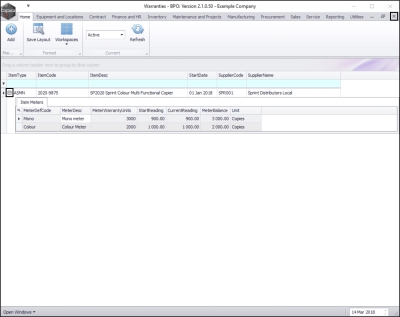
- Click on the expand button in the row of the asset where you wish to view the linked meters.
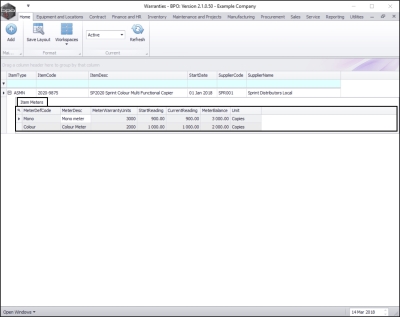
- The Item Meters frame will be expanded.
- Here you can view the Meter(s) and the Meter Reading(s) for the selected asset.
- Collapse the Item Meters frame and close this screen to return to the Warranties listing screen.
MNU.069.002

