We are currently updating our site; thank you for your patience.
Procurement
Accept / Reject a Warranty Claim
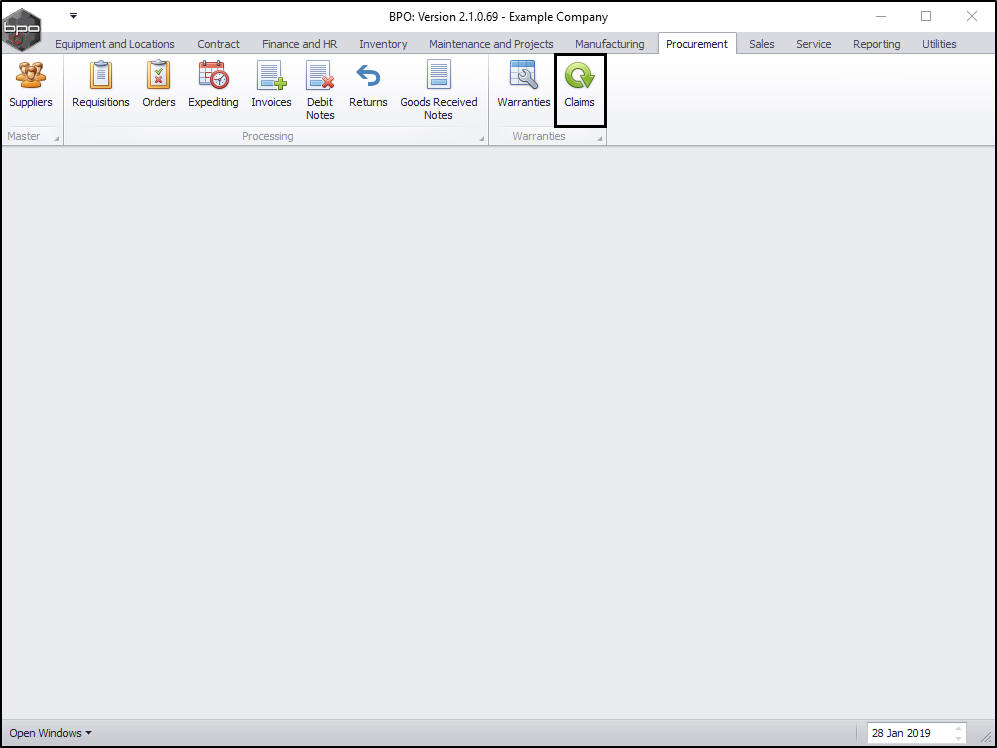
| Ribbon Access: Procurement > Claims |
Warranty Claim Listing
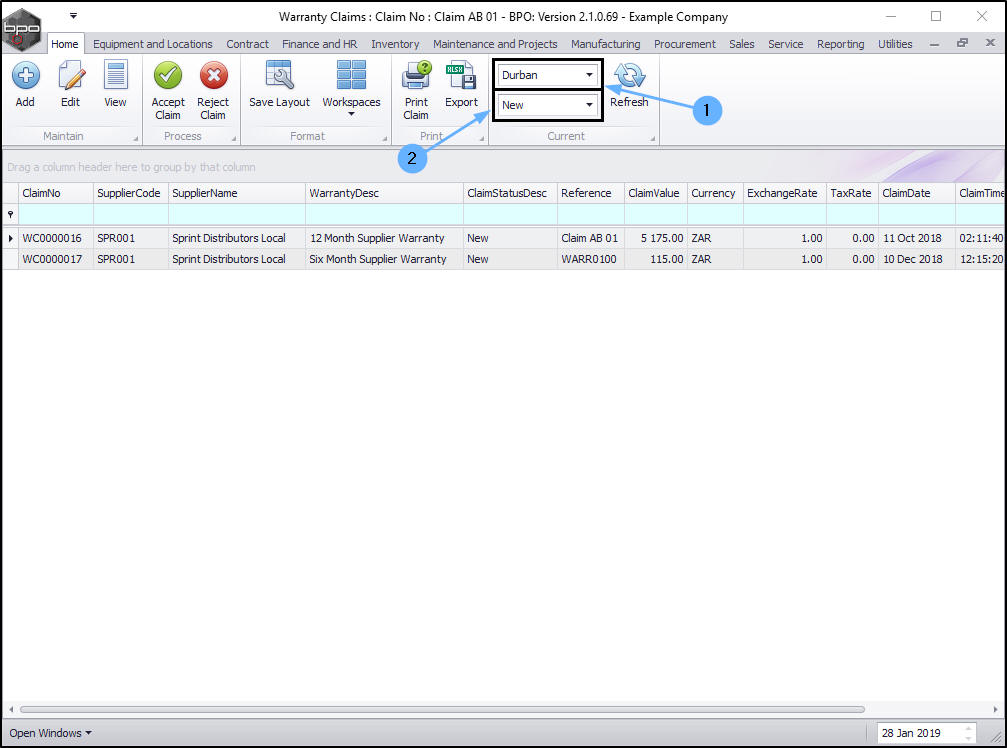
The Warranty Claims: Claim No: [ ] screen will be displayed.
Accept Warranty Claim
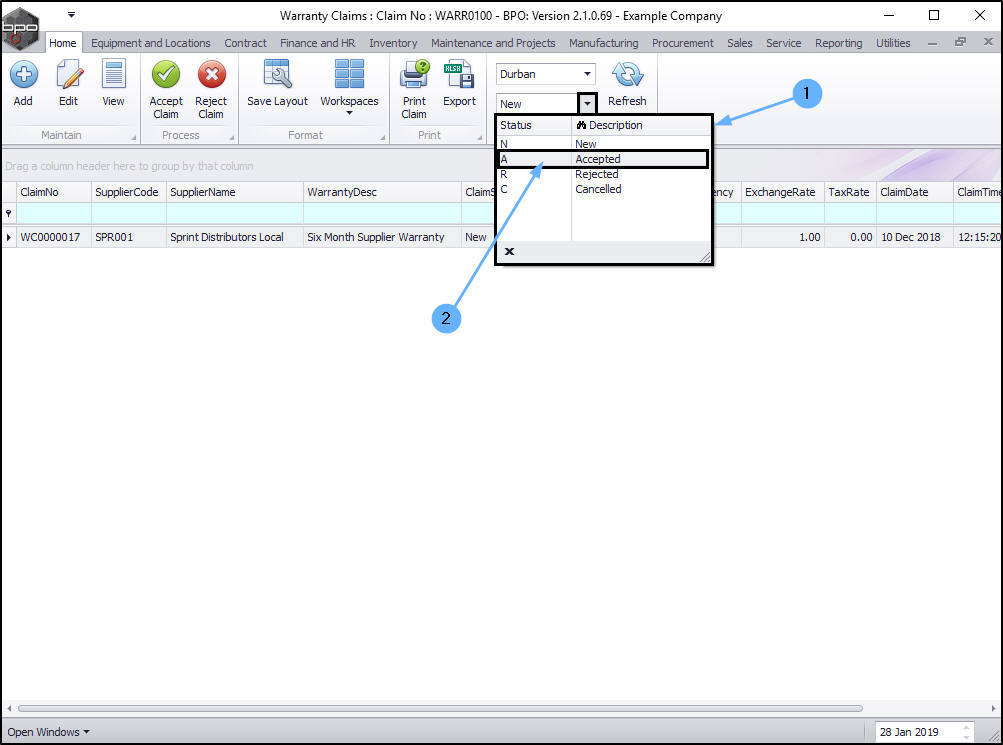
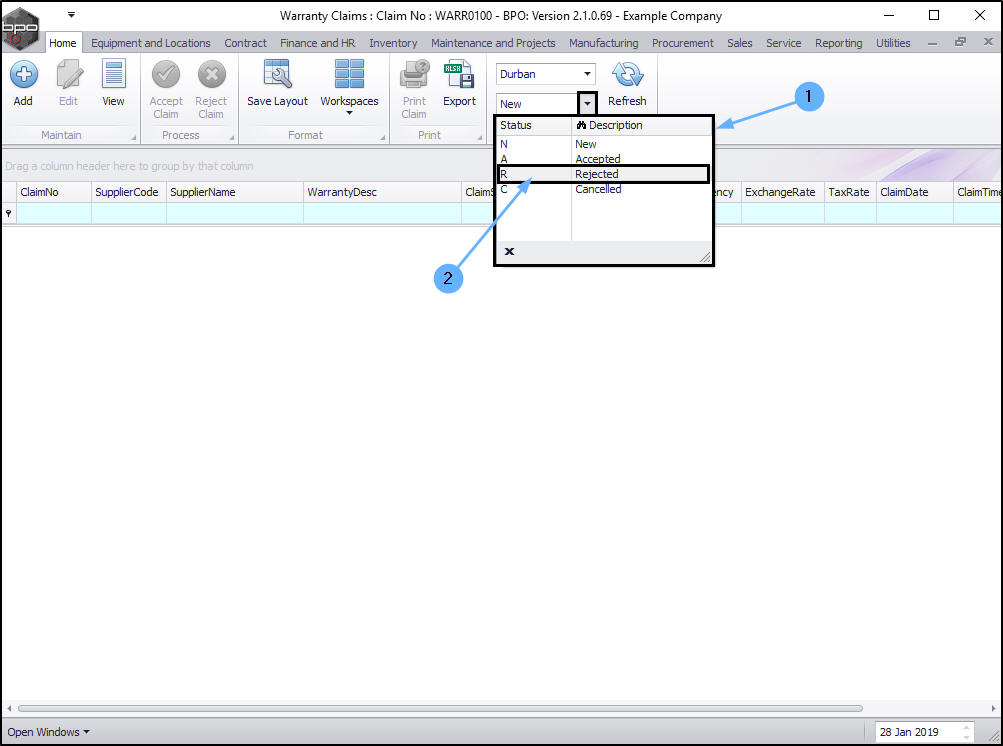
Select the Site and Status
- Select the site.
- In this image Durban has been selected.
- Select the status.
- This must be set to New.
Select Warranty Claim
- Click on the row selector in front of the Claim No that you wish to Accept.
Accept Warranty Claim
- Click on Accept Claim
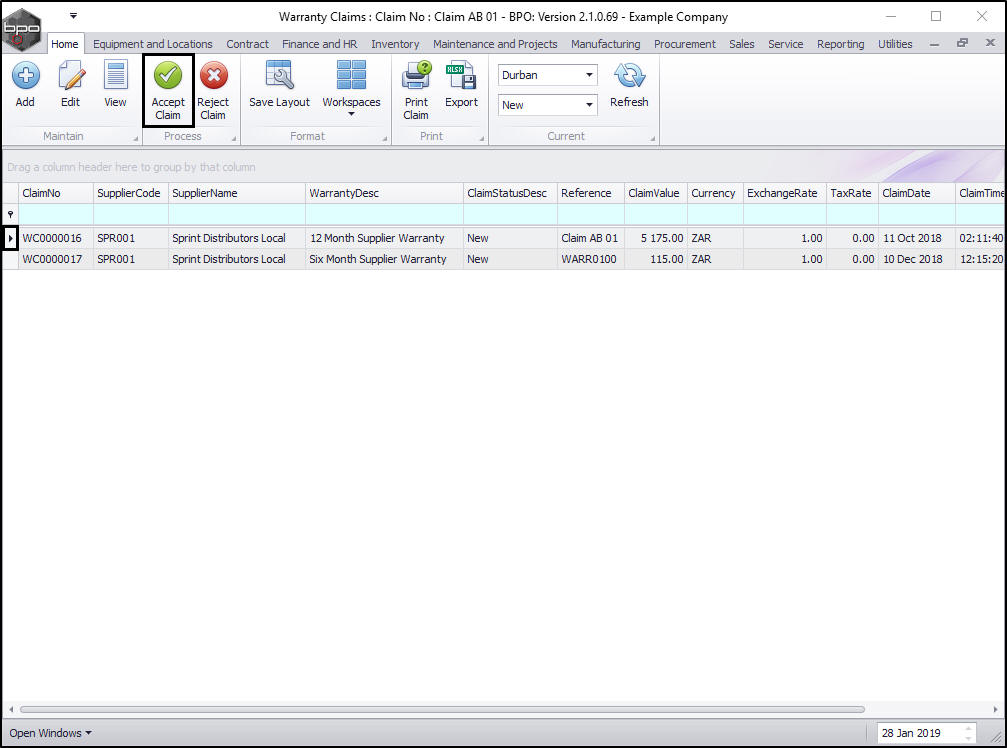
- The selected claim will be removed from the Warranty Claims screen where
- the status is set to New.
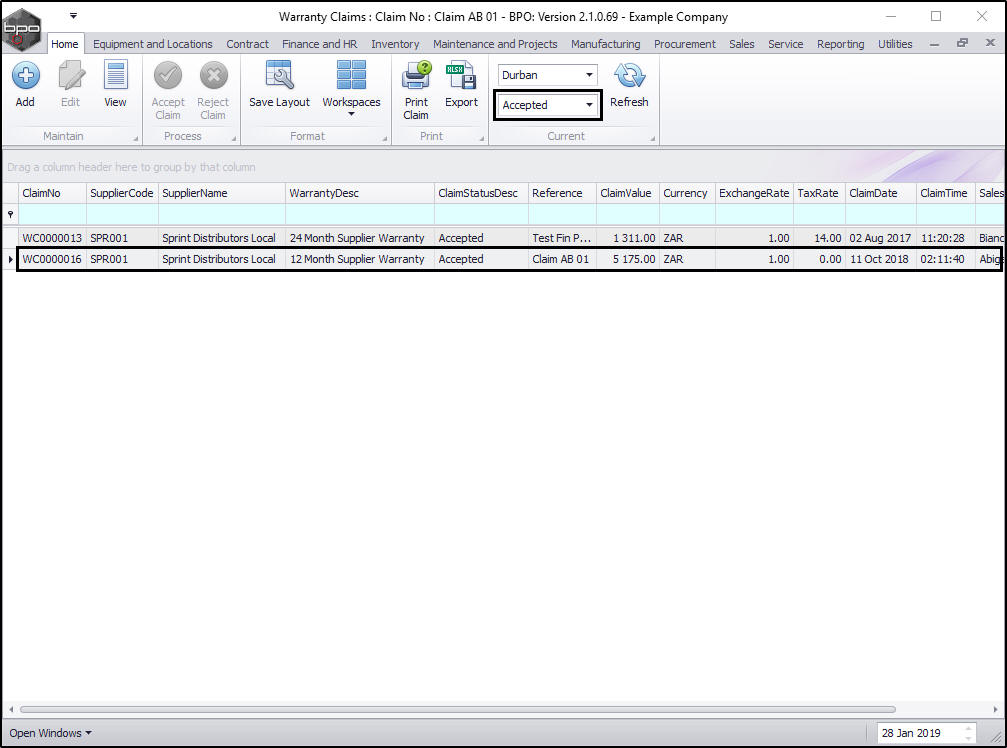
View Warranty Claim in Accepted Status
- Click on the drop-down arrow in the Status field.
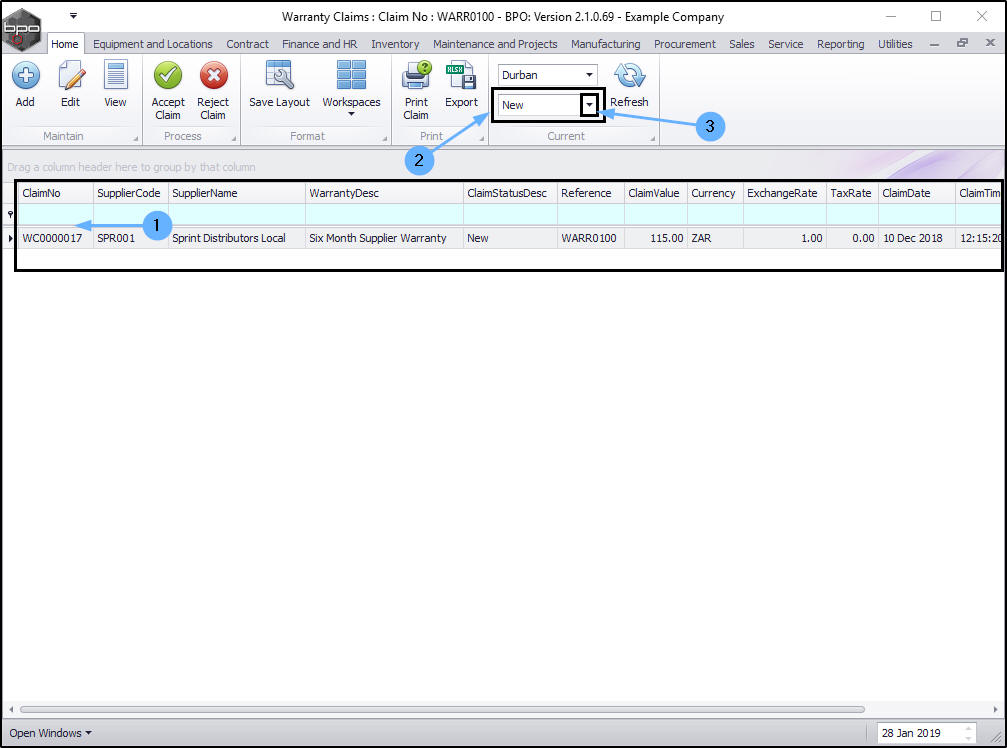
- The Status drop-down menu will be displayed.
- Click on A-Accepted in this list.
- The claim can now be found in the Warranty Claims: Claim No: [ ] screen where the status is set to Accepted.
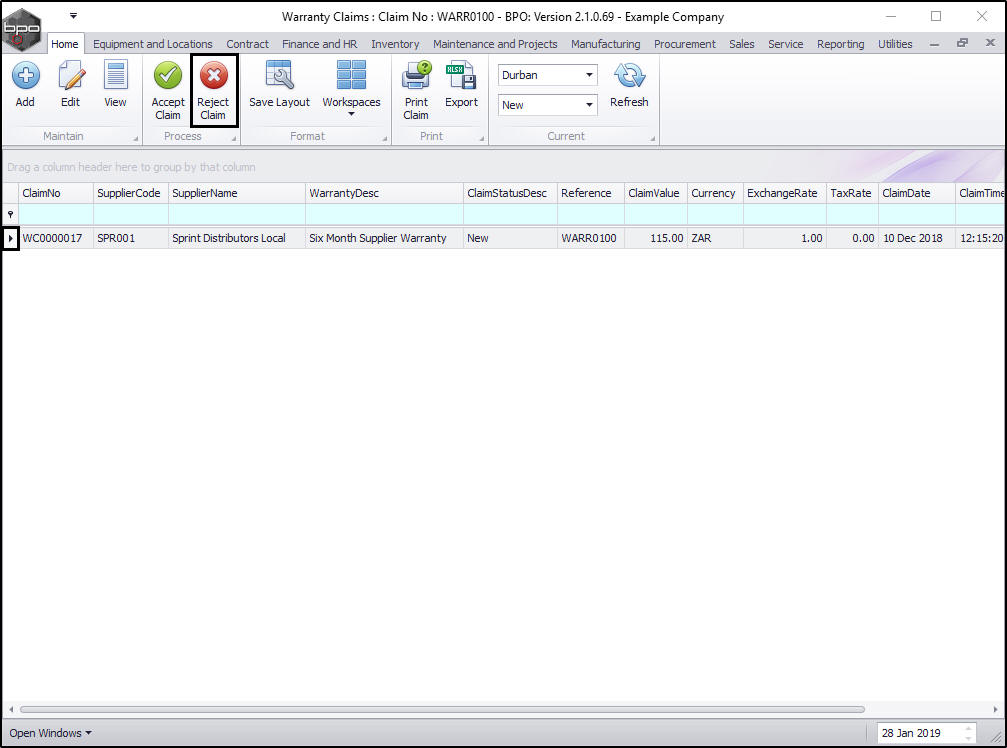
Reject Warranty Claim
In the Warranty Claims: Claim No: [ ] screen,
Select Warranty Claim
- Click on the row selector in front of the Claim No that you wish to reject.
Reject Warranty Claim
Click on Reject Claim.
View Warranty Claim in Rejected Status
- The selected claim will be removed from the Warranty Claims screen where
- the status is set to New.
- Click on the drop-down arrow in the Status field.
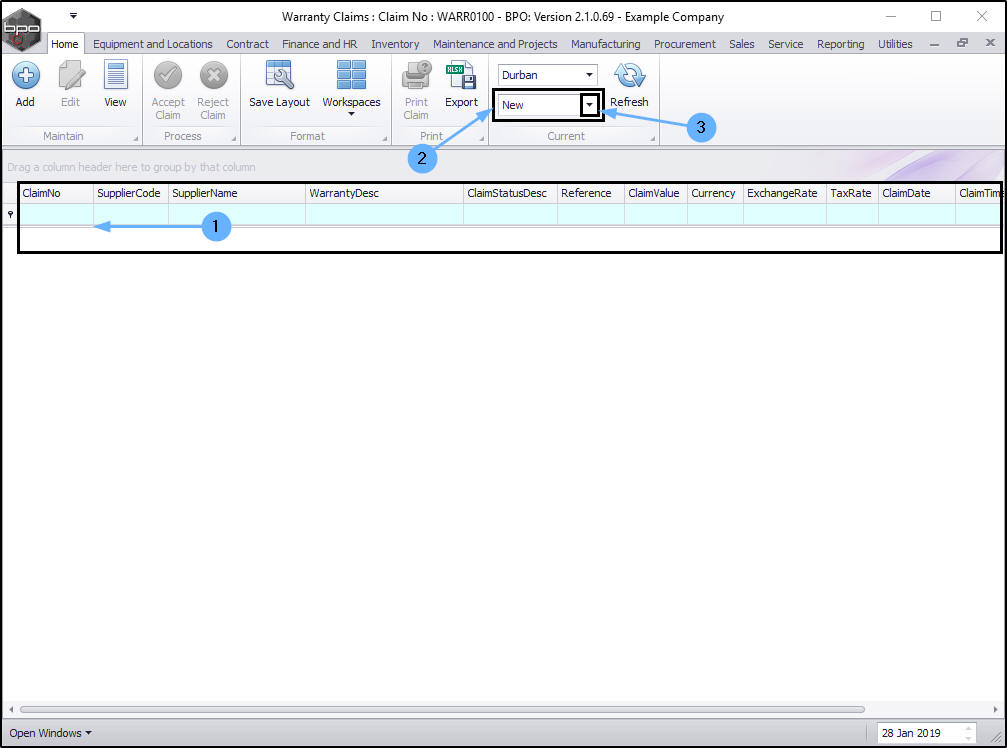
- The Status drop-down menu will be displayed.
- Click on R-Rejected in this list.
- The claim can now be found in the Warranty Claims: Claim No: [ ] screen where the status is set to Rejected.

MNU.133.002