We are currently updating our site; thank you for your patience.
Projects
Projects - Expenses
If you cannot log expenses due the message, 'No Items to select from', then expenses haven't been set up yet. Refer to Expense Allocation and Setup.
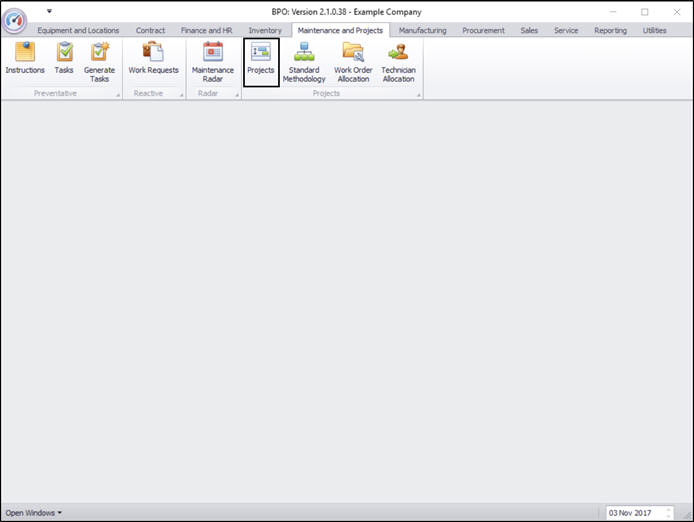
| Ribbon Access: Maintenance/ Projects > Projects |
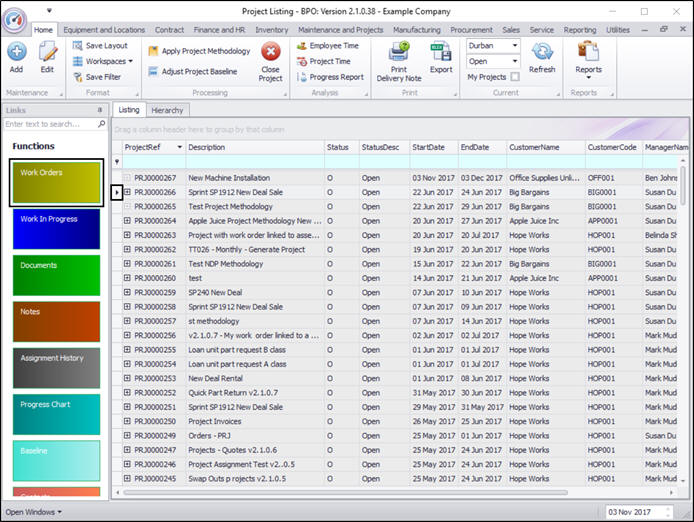
The Project Listing screen will be displayed.
- Select the site.
- In this image Durban has been selected.
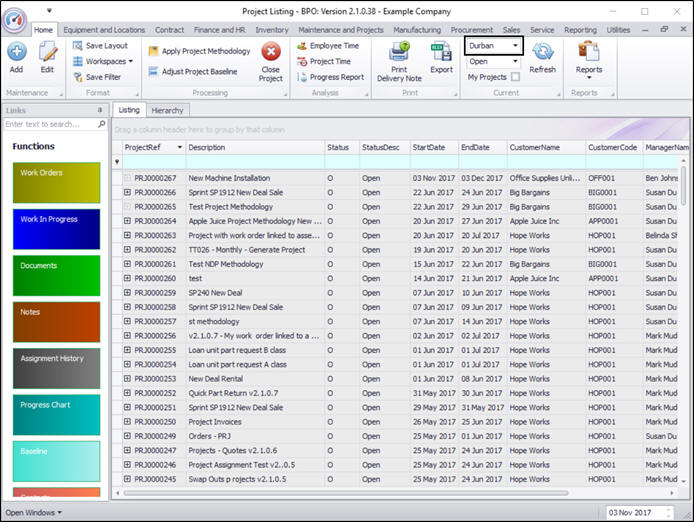
- Click on the row selector in front of the project that you wish to add expenses to.
- Click on the Work Orders tile.
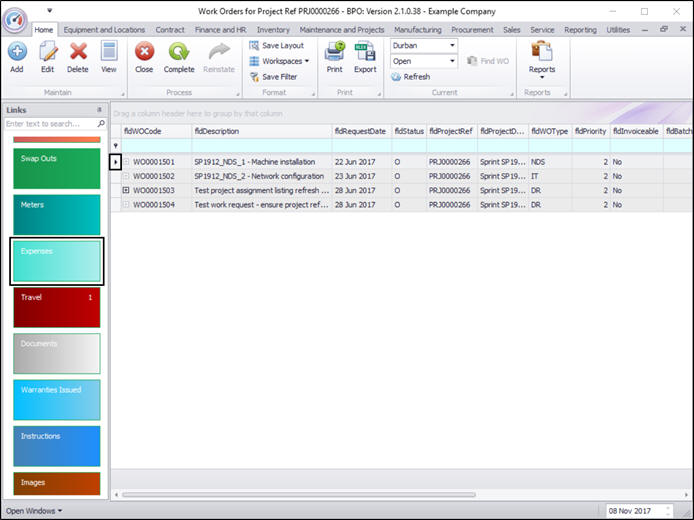
The Work Orders for Project Ref [] listing screen will be displayed.
- Click on the row selector in front of the Work Order you wish to allocate expenses to.
- Click on the Expenses tile.
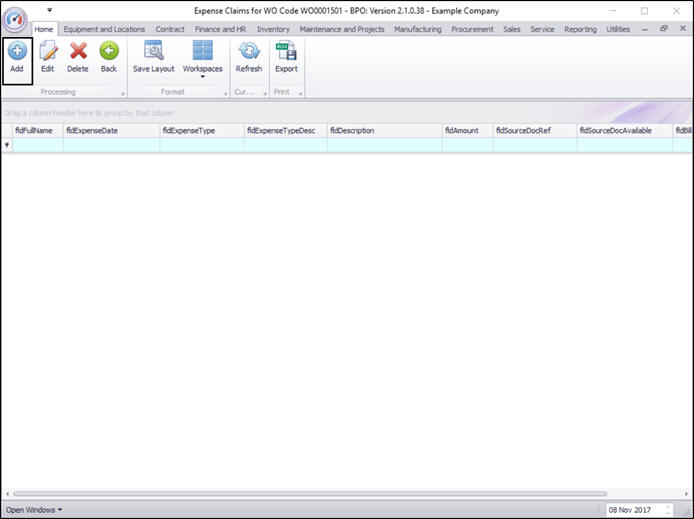
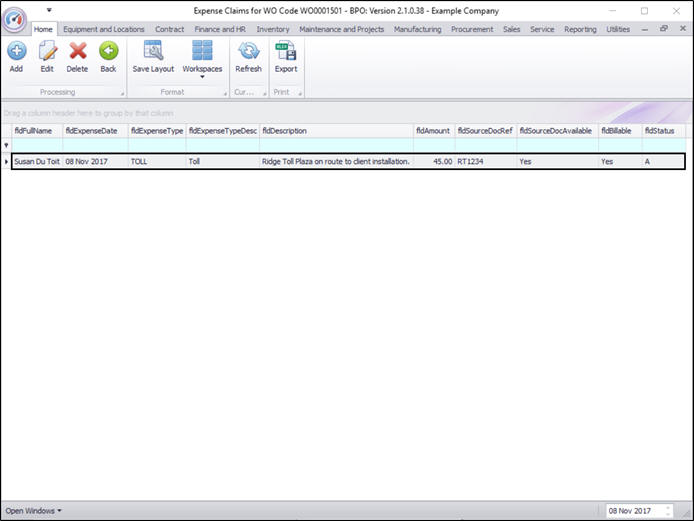
The Expense Claims for Work Order Code [ ] listing screen will be displayed.
- Click on Add.
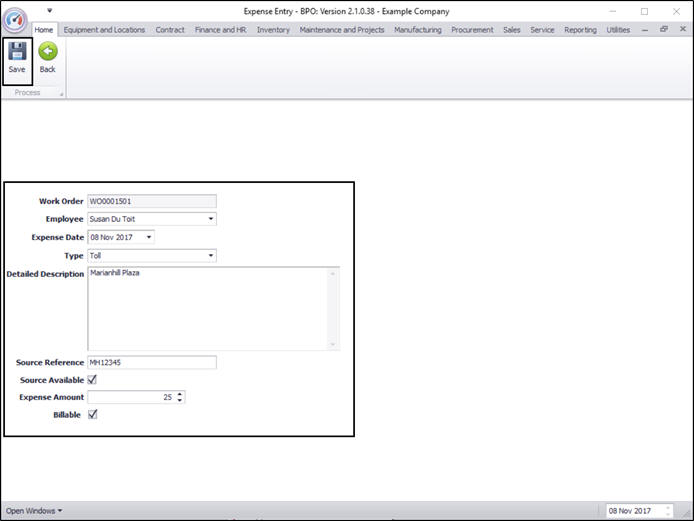
The Expense Entry screen will be displayed.
- Work Order: This will auto populate with the Work Order you initially selected.
- Employee: Click on the drop-down arrow and select the employee from the menu.
- Expense Date: This will default to the current date, click on the drop-down arrow and use the calendar function to change the date if required.
- Type: Click on the drop-down arrow and select the type of expense from the menu.
- Detailed Description: Type in a description for this expense.
- Source Reference: Type in the reference number of the receipt if available.
- Source Available: Select if the receipt is available.
- Amount: Type in the total amount of the expense.
- Billable: Select this option if the service is billable. This will be set to billable by default, unless the service is linked to the contract as an inclusion.
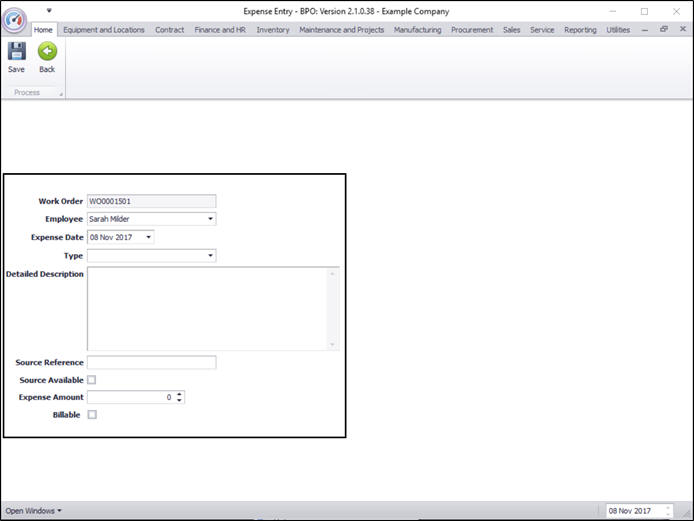
- When you have finished adding the details, click on Save.
- An Expense Processing message box will pop up informing you that;
- Expense Claim on WO: [ ] complete.
- Click on OK.
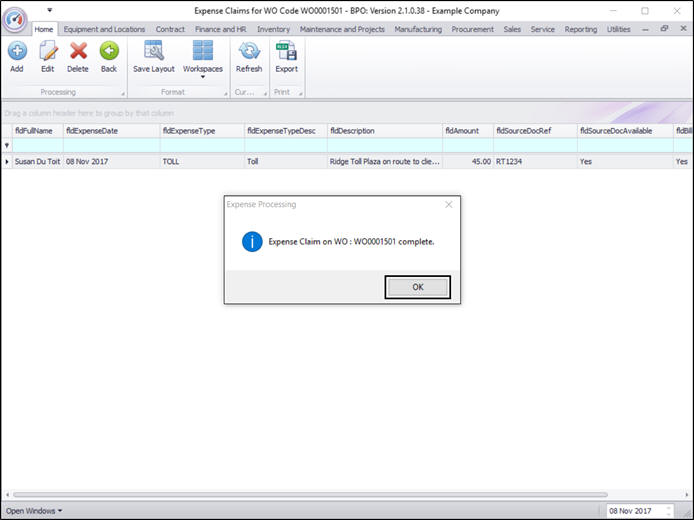
- You will return to the Expense Claims for WO Code [ ] listing screen where you can now view the added expense claim.
MNU.058.008