We are currently updating our site; thank you for your patience.
Projects
Projects - Contacts
The Contacts tile allows you to set up a Project Contacts directory for the project which facilitates communication across the project team.
| Ribbon Access: Maintenance / Projects > Projects |

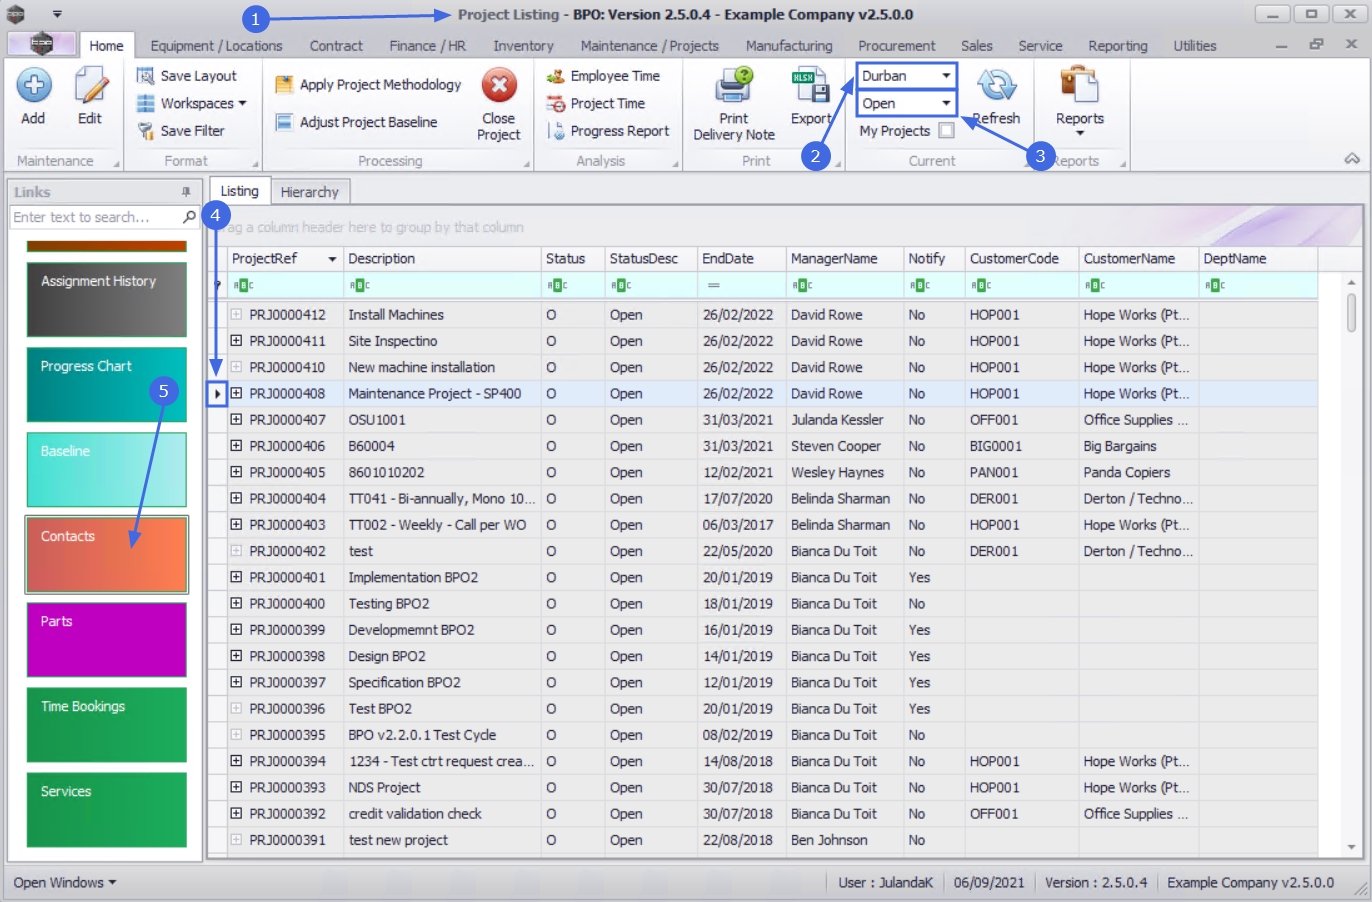
- The Project Listing screen will be displayed.
- Select the Site where the project can be located.
- The example has Durban selected.
- Select the Status for the project.
- The example has Open selected.
- Click on the row of the project you wish to create a project contact for.
- Click on the Contacts tile.
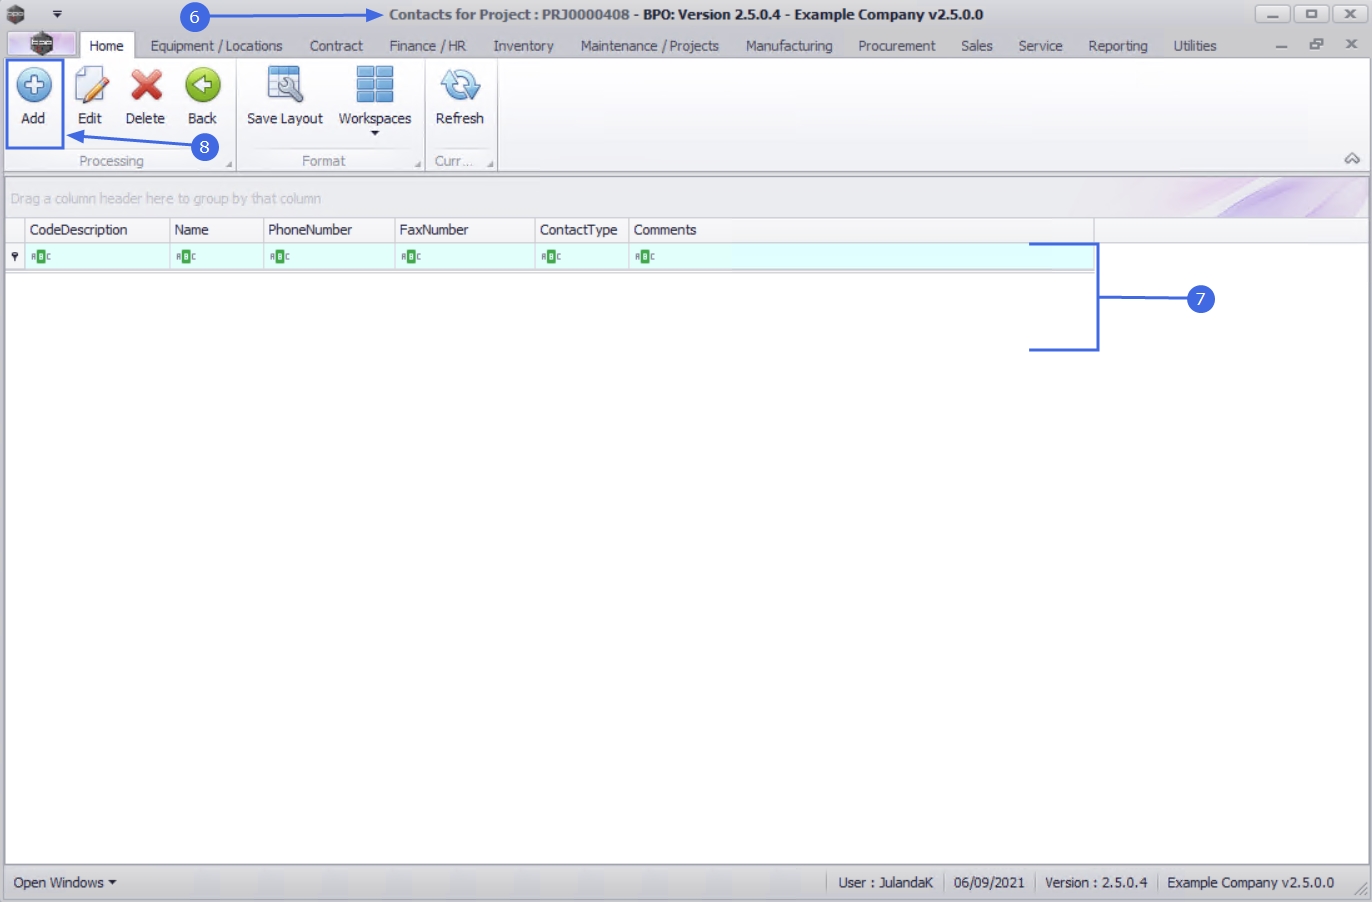
- The Contacts for Project : [project ref number] screen will be displayed.
- Any contacts that have already been created on the project contact list will display in the contact list frame.
Add Contact
- Click on Add.
![]() Short cut key: Right click to display the Process menu list. Click on Add.
Short cut key: Right click to display the Process menu list. Click on Add.
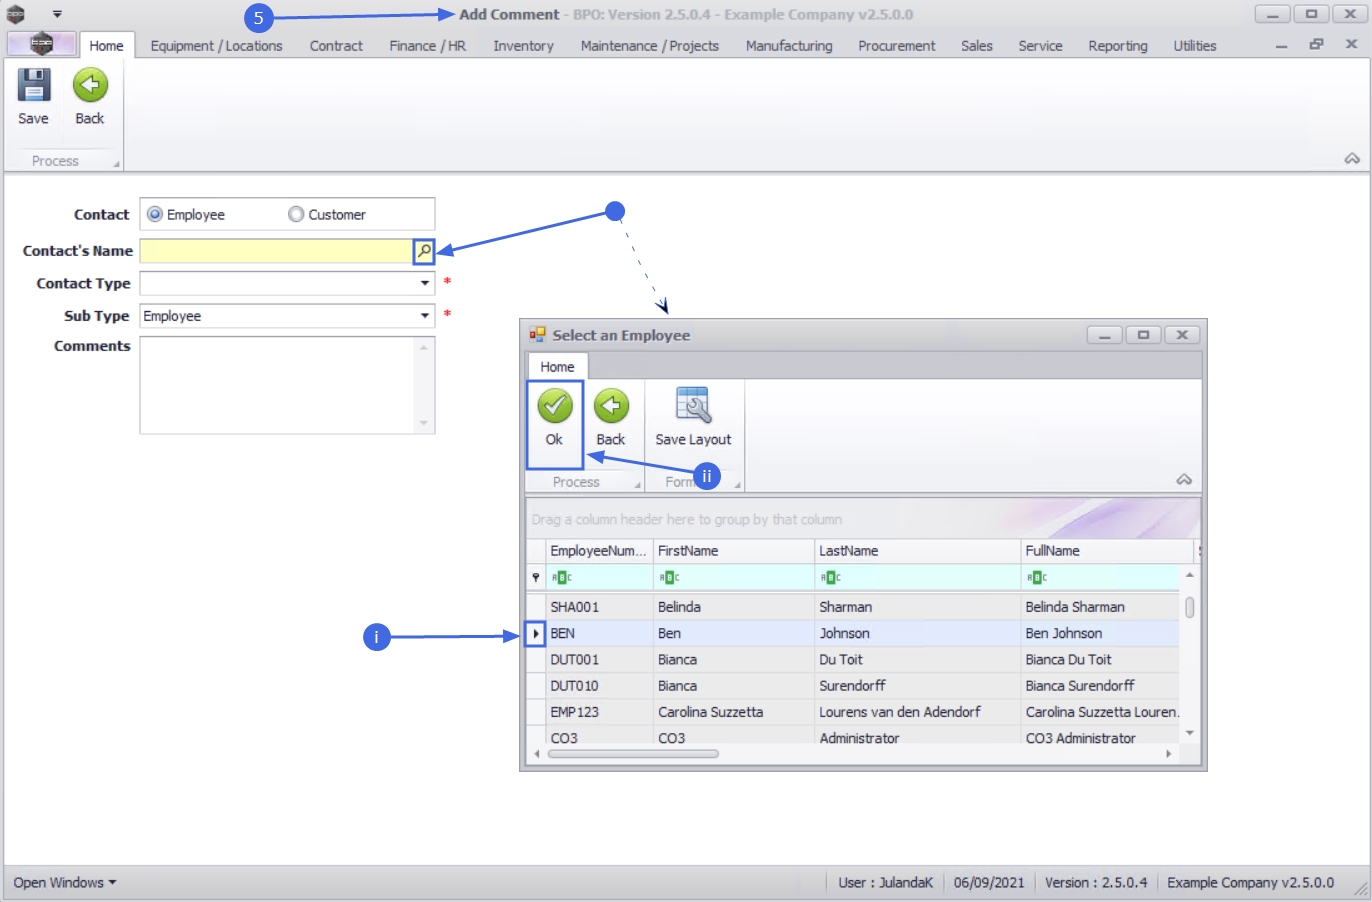
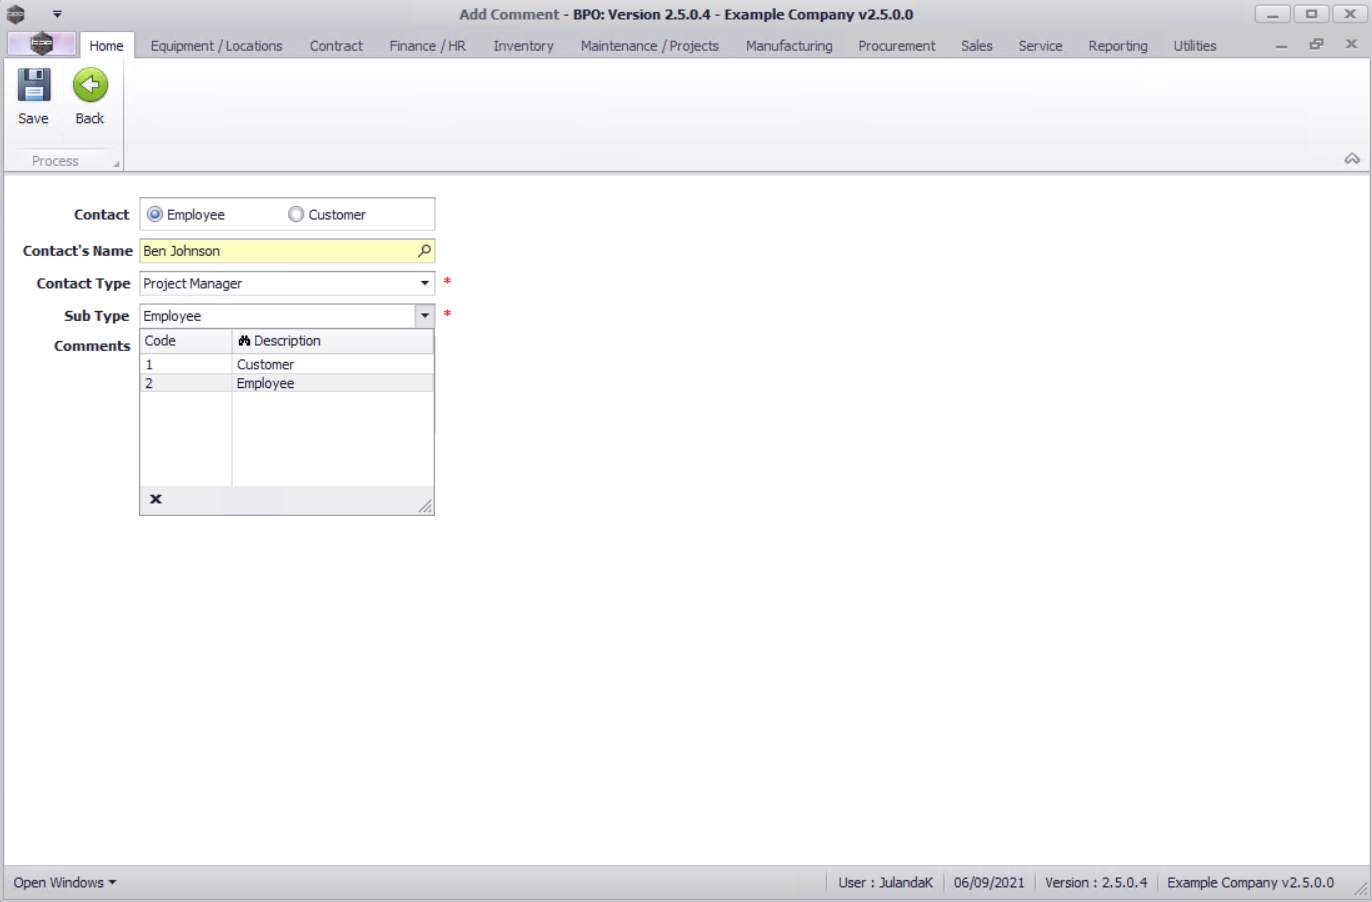
- The Add Comment screen will be displayed.
- Contact: Select whether the contact for this project is an Employee or a Customer, by clicking on the relevant radio button.
- Contact's Name: Click on the search button to display the Select an Employee list.
 Note that this screen will display as Select a Customer list if Customer was selected as the contact.
- Click on the row of the employee you wish to add to the project contact list.
- Click on OK.
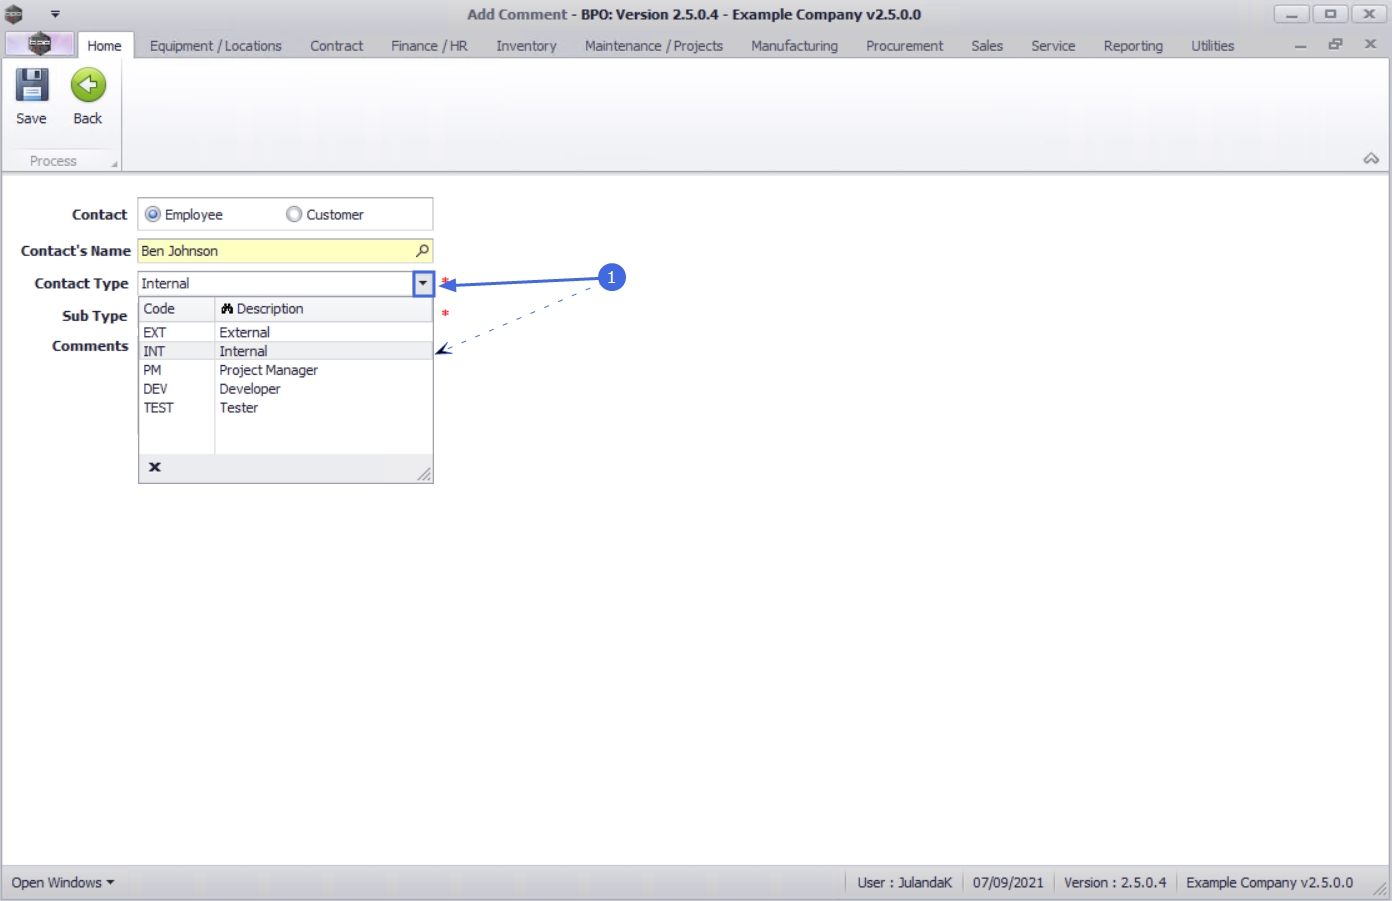
- Contact Type: Click on the down arrow to select the contact type for the contact you are creating. For instance, you may choose to specify that this is an Internal or External contact if your project is a Global project.
 Refer to Static Data Contact Type for more information on how to add a Contact Type to the list.
-
Sub Type: This field allows you to select the sub type or role for the contact, e.g. Project Manager, or you may wish to use this field to specify the department this contact reside in, e.g Finance or IT.
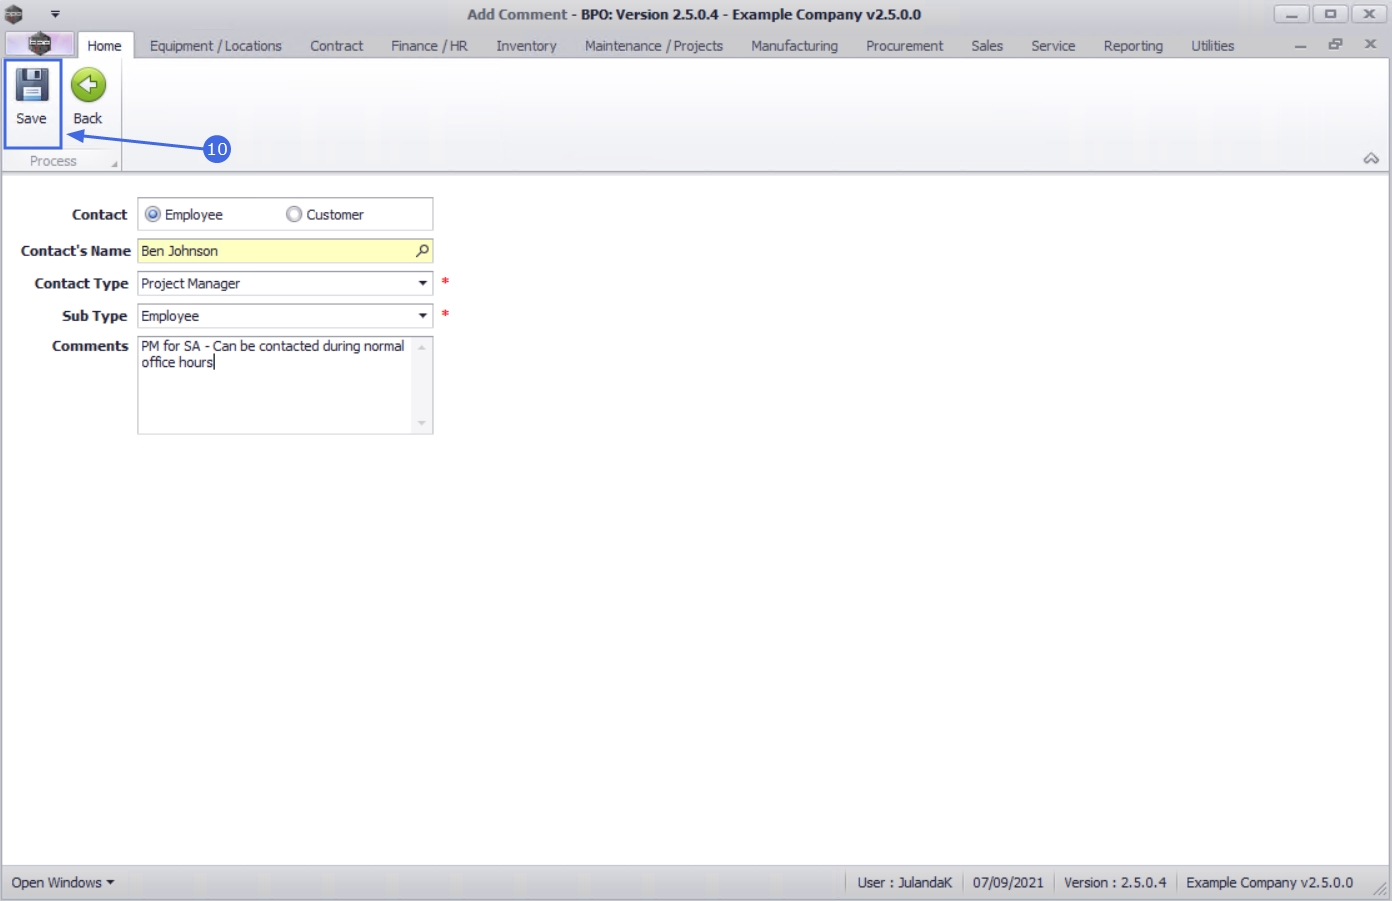
- Comments: This field allows you to add any special comments or instructions related to this contact, for instance where time zones may be important.
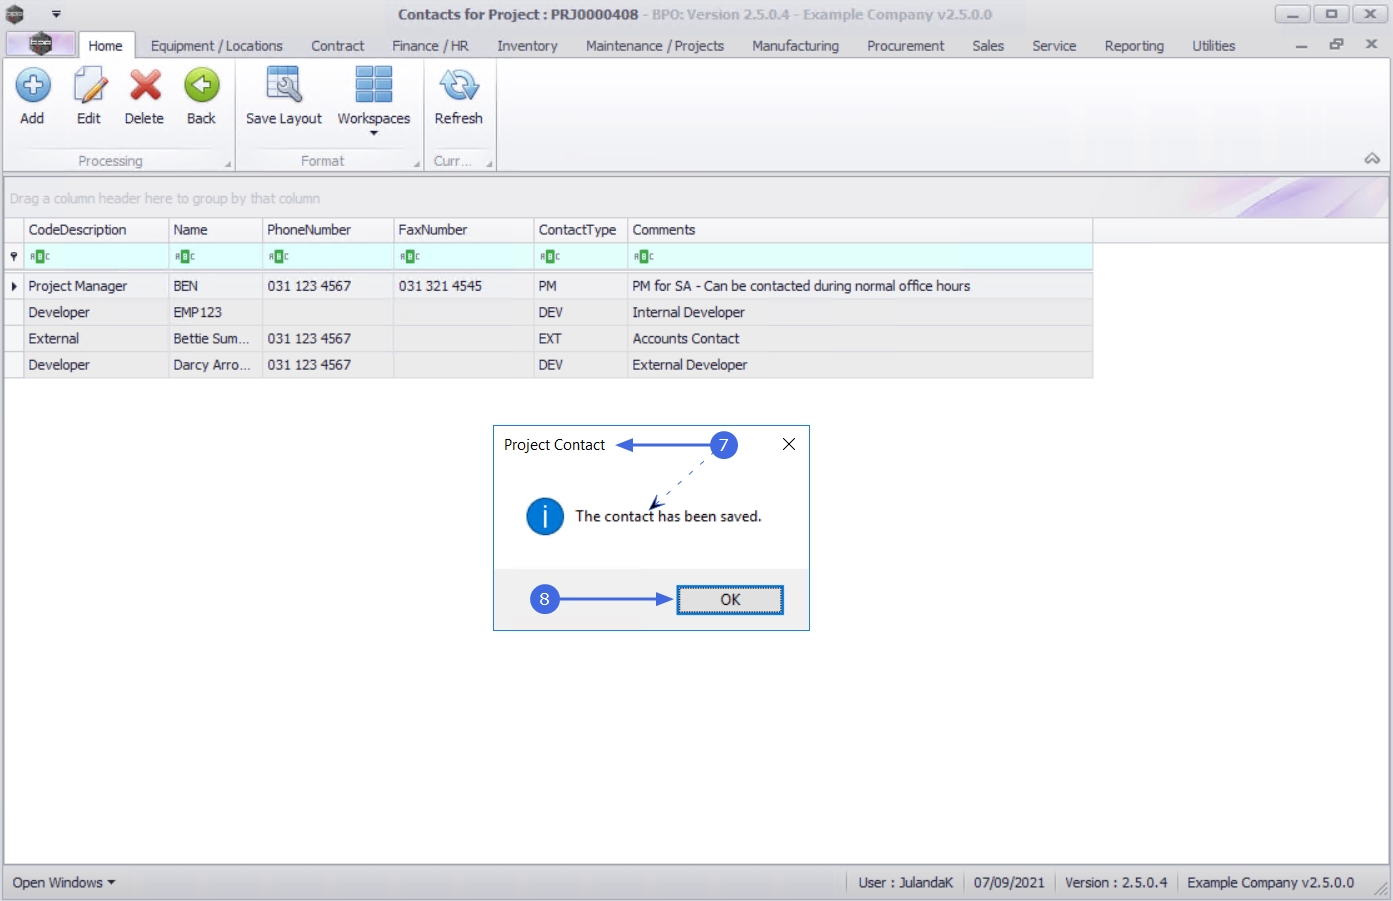
- Click on Save to save the contact information.
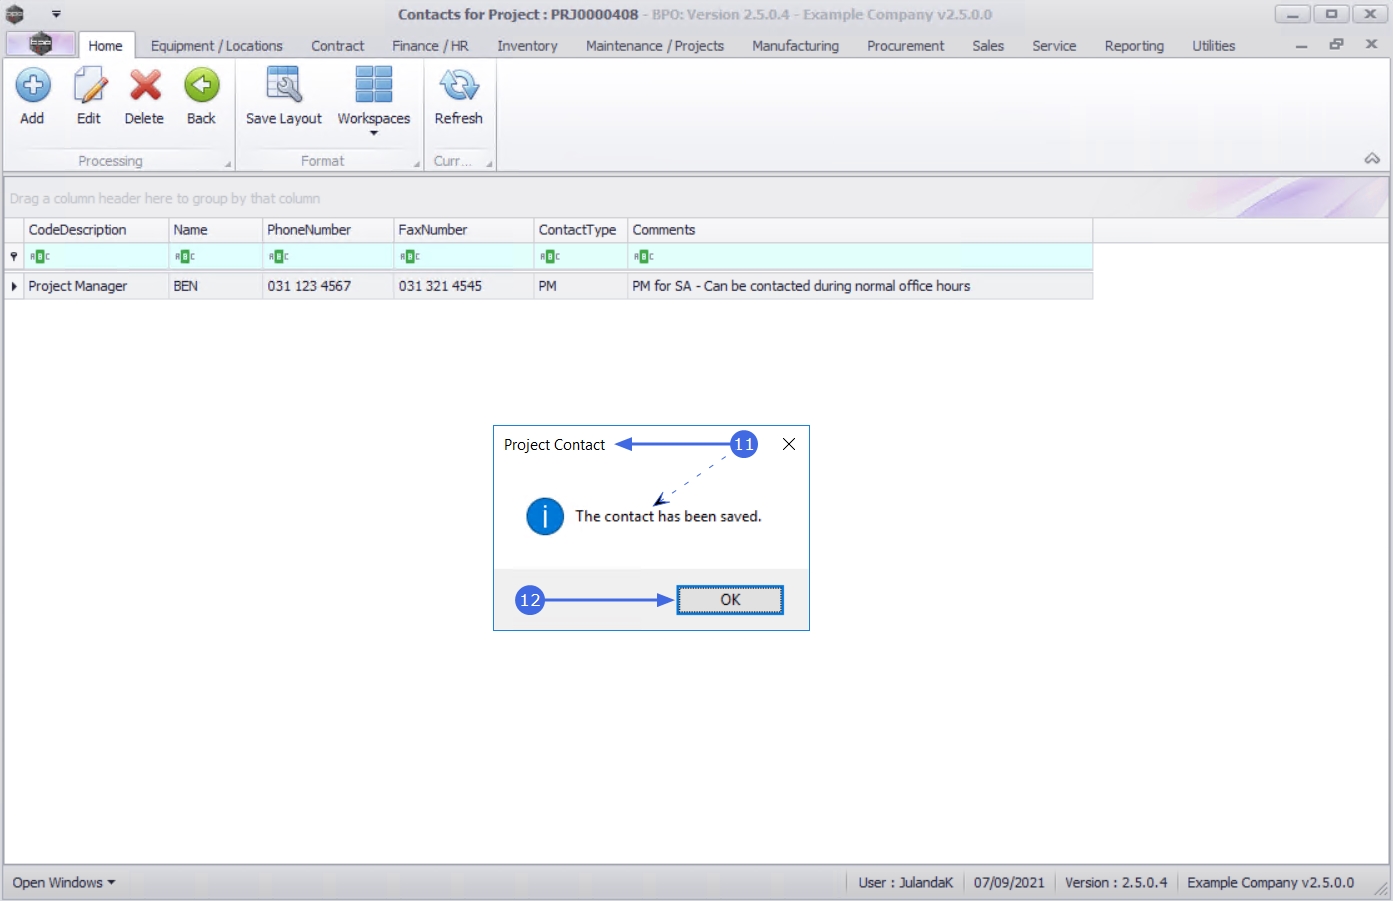
- When you receive the Project Contact message informing you that;
- The contact has been saved.
- Click on OK.
- The Contacts for Project screen has been updated with the new Contact. Continue adding contacts for the Project as set out above.
- Click on Back to return to the Project Listing screen.

Edit Contact
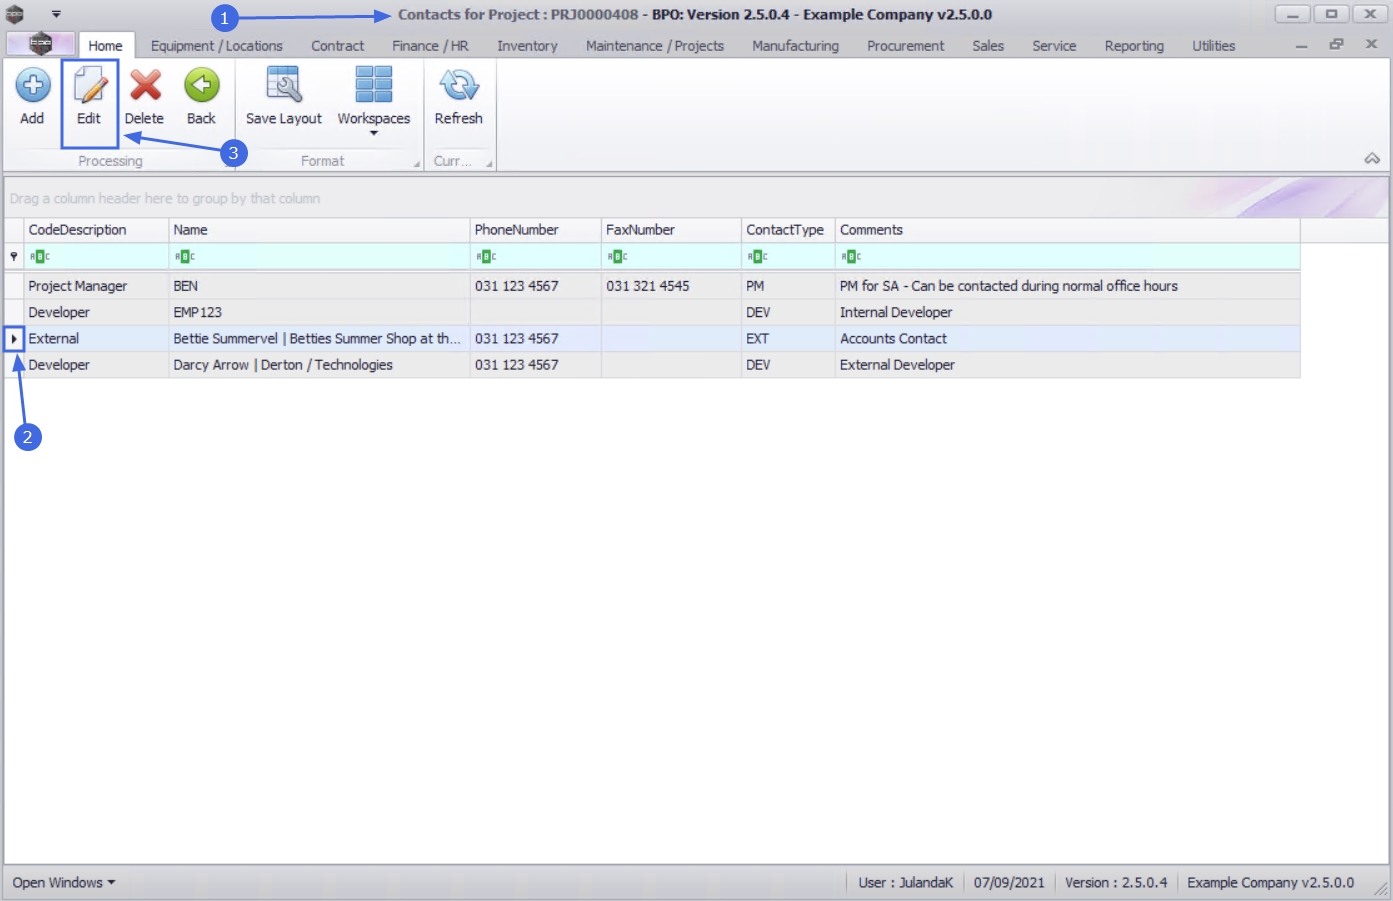
- From the Contacts for Project : [project ref number] screen,
- Click on the row of the contact you wish to modify.
- Click on Edit.
![]() Short cut key: Right click to display the Process menu list. Click on Edit.
Short cut key: Right click to display the Process menu list. Click on Edit.
- The Edit Comment screen will be displayed.
- Make the necessary changes to the Contact information.
- Click on Save.

- When you receive the Project Contact message informing you that;
- The contact has been saved.
- Click on OK.
- The Contacts for Project screen has been updated with the new Contact.
- Click on Refresh to update the screen, if required.
- Click on Back to return to the Project Listing screen.
![]()
Delete Contact
- From the Contacts for Project : PRJ[project ref number] screen,
- Click on the row of the project contact you wish to remove.
- Click on Delete.
![]() Short cut key: Right click to display the Process menu list. Click on Delete.
Short cut key: Right click to display the Process menu list. Click on Delete.

- When you receive the Delete Note message to confirm;
- Are you sure you want to delete this contact from this project PRJ[project ref number]?
- Click on Yes.
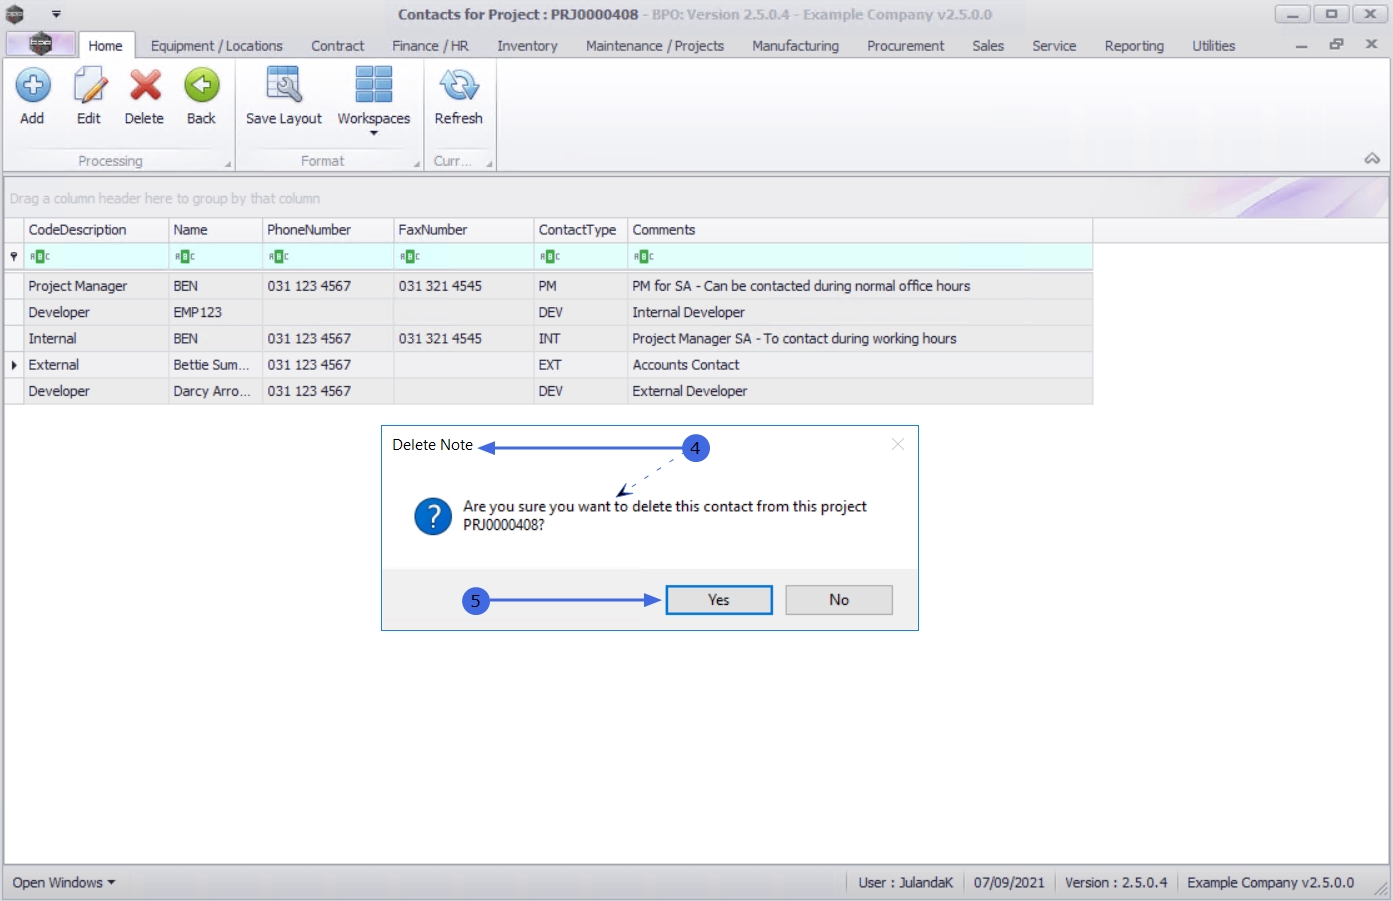
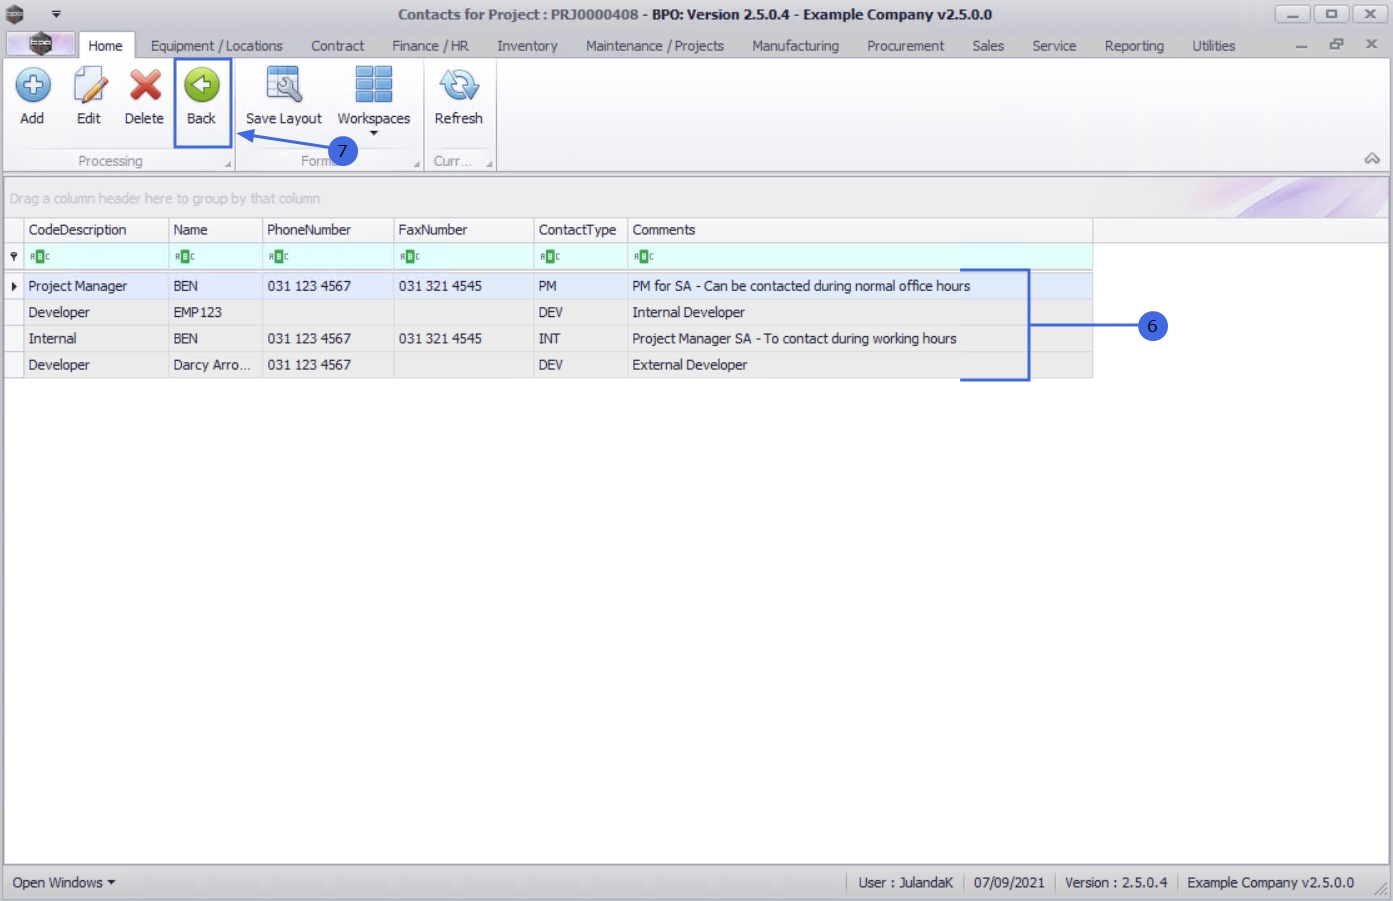
- The contact has been removed from the Contacts for Project list.
- Click on Back to return to the Project Listing screen.
MNU.058.057