We are currently updating our site; thank you for your patience.
Sales
Customers - New CRM Customer
Customers can be raised in CRM, and can be found in BPO2 in the Customer Listing screen under the:
- New - CRM status (waiting to be Released) and in the
- Released status (waiting to be Approved or Declined).
Once the customer details and information have been checked and validated and then Released, the customer can then be Approved and will then be Active in BPO2.
If Is Debtor is selected in the View Customer screen, then the customer will also be raised in Pastel.
| Ribbon Access: Sales > Customers |

- The Customer Listing screen will be displayed.
- Select the Site that you wish to work in.
- The example has Durban selected.
- Change the Status to New - CRM.
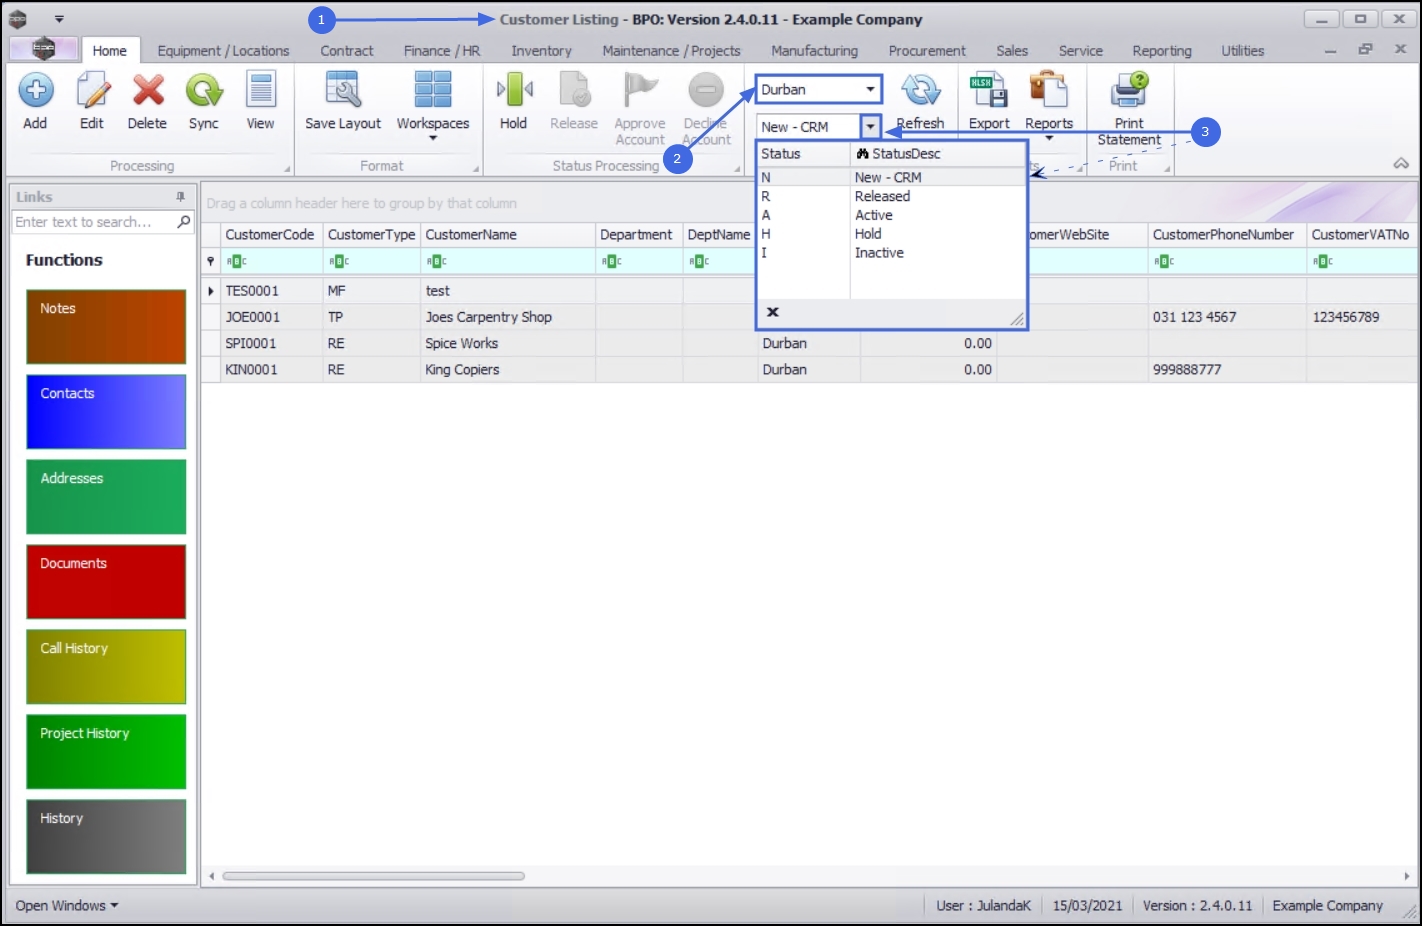
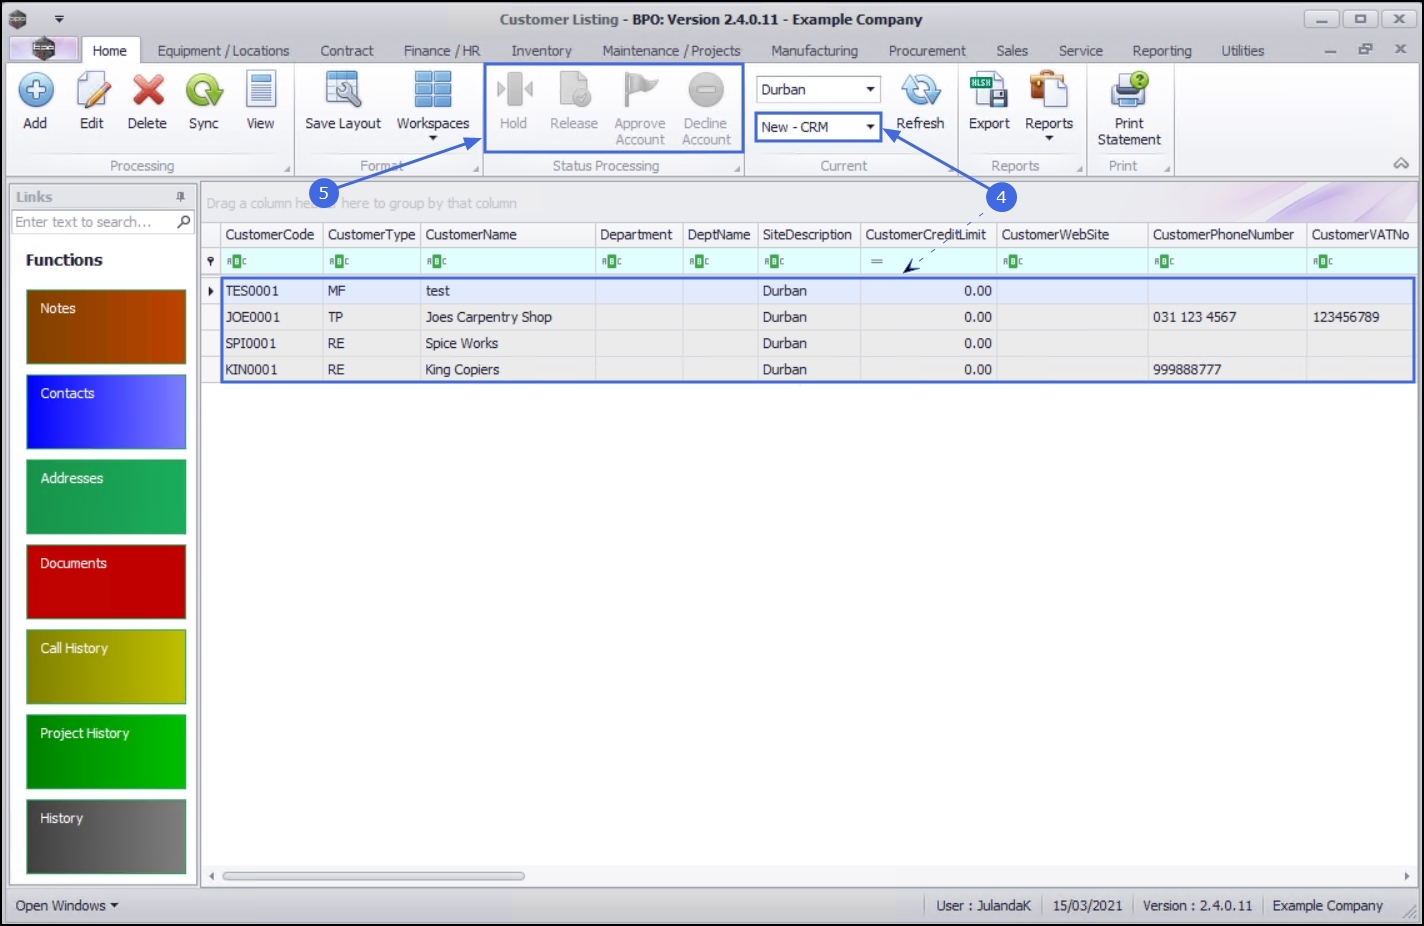
- The Customer listing screen will now filter using the New-CRM status.
- You will note that the Hold, Release, Approve and Decline buttons are inactive in this status, because these Customers are waiting to be checked and Released.
 Note that the Hold and Release processes are done in CRM. Note that the Approve Account and Decline Account processes are done in the Released status of the Customer Listing screen.
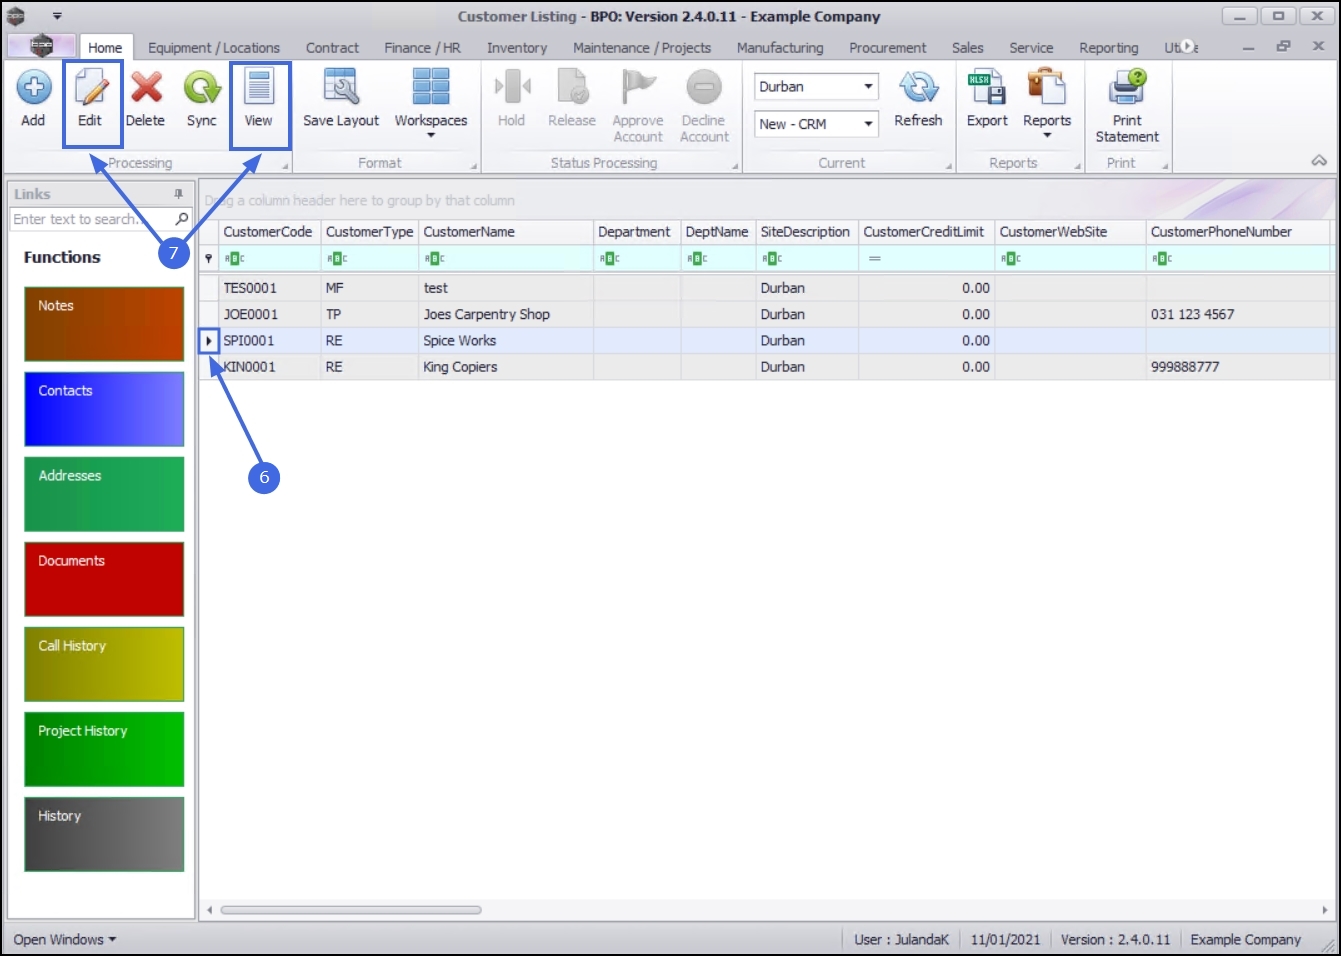
- Select the row of the new CRM customer that you wish to view the details of.
- Click on either Edit or View.
![]() Short cut key: Right click to display the All groups menu list. Click on Edit.
Short cut key: Right click to display the All groups menu list. Click on Edit.
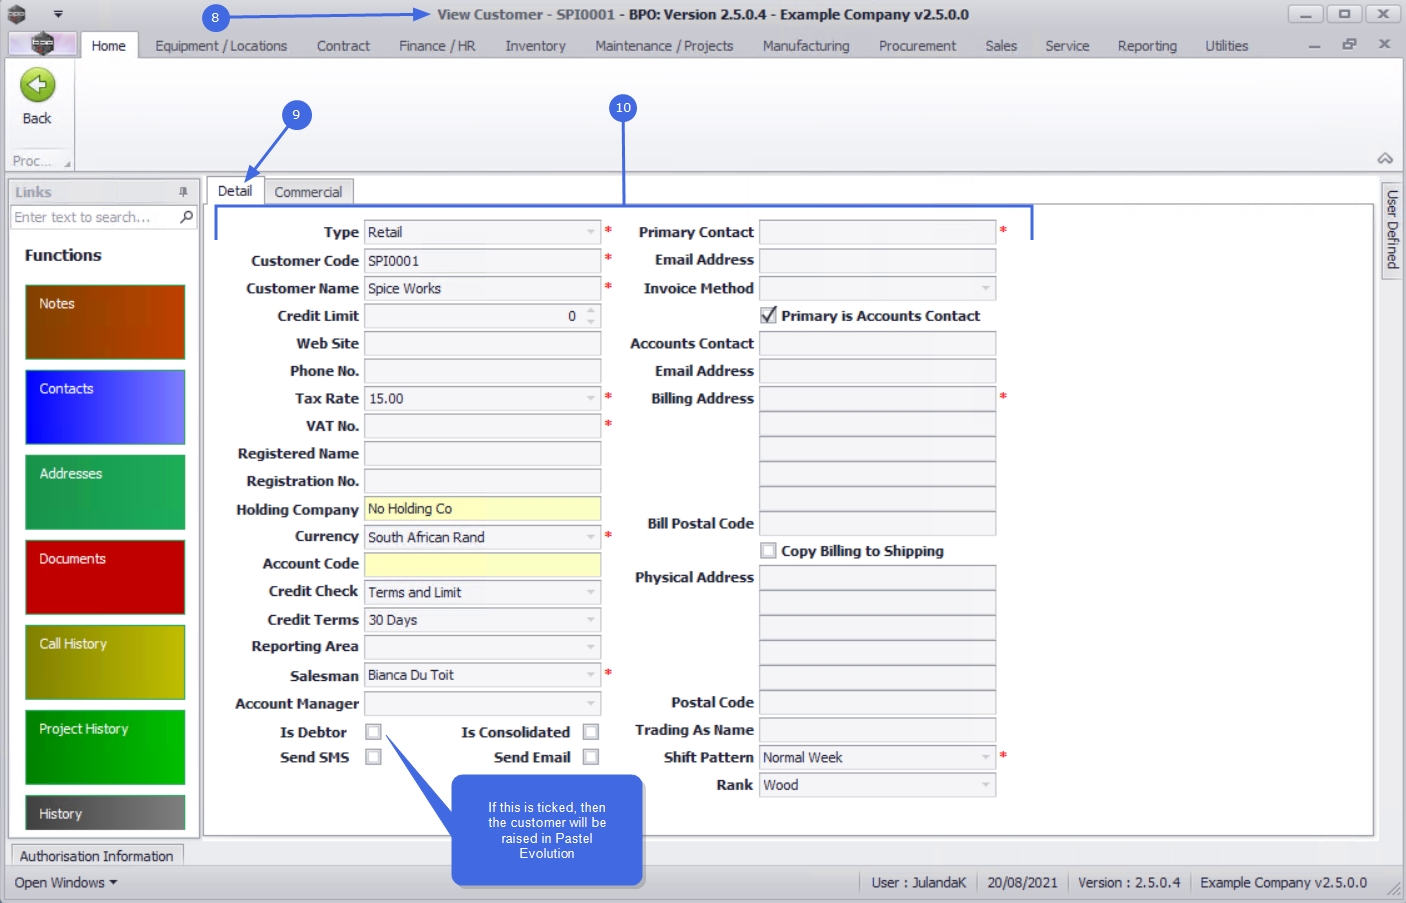
- The View Customer - [ ] screen will be displayed. Note that the information is view-only and no changes can be made or saved as this CRM customer is in the New status.
- The customer Detail frame will display by default.
- You can view the Customer Name, Billing and Physical address, Tax Rate, Registration information and Financial details for this customer.
![]() Note the Is Debtor check box - If it is ticked, then the customer will be raised in Pastel Evolution.
Note the Is Debtor check box - If it is ticked, then the customer will be raised in Pastel Evolution.
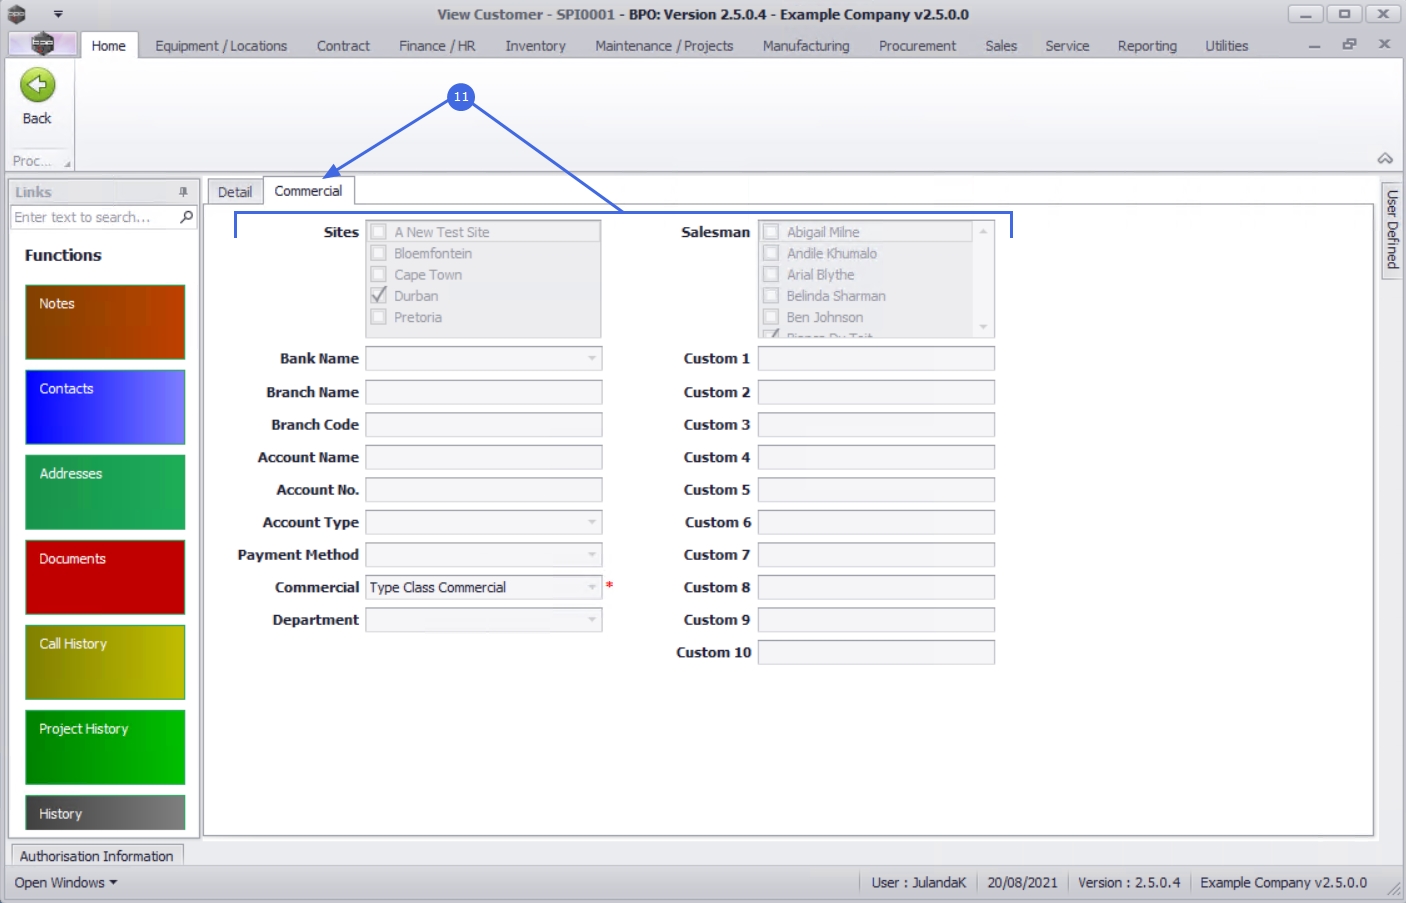
Commercials Tab
- Click on the Commercials tab to view the Site and Salesman name that the customer is linked to as well as the Banking details and Custom 1 - 10 fields
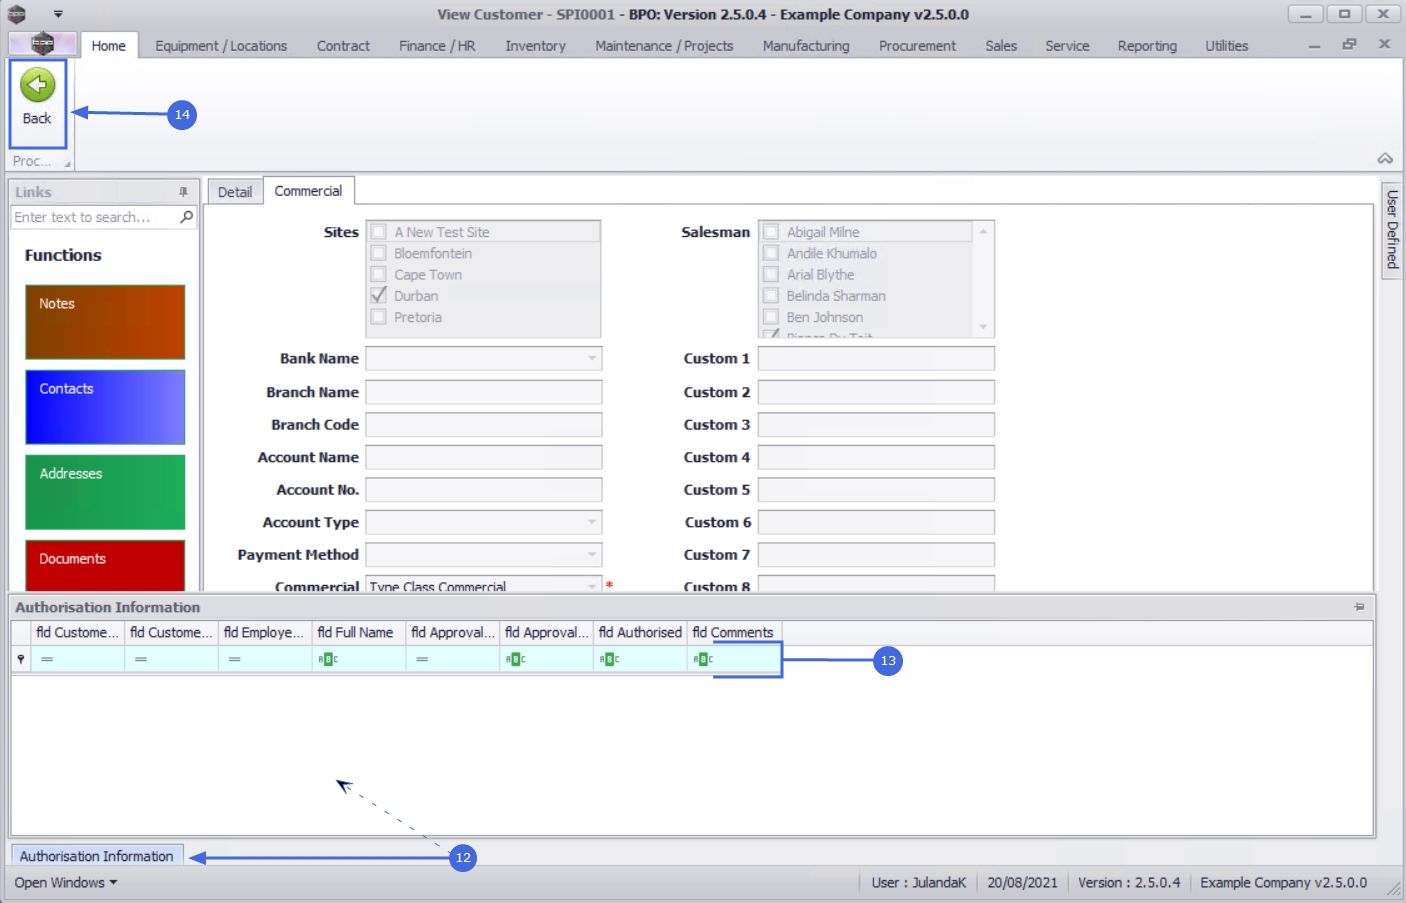
Authorisation Information
- Click on the Authorisation Information tab to expand the Authorisation Information panel
- You will be able to view information regarding the authorisation of this CRM customer once it has been authorised.
- Click on Back to return to the Customer Listing screen.
MNU.061.016