We are currently updating our site; thank you for your patience.
Sales
Credit Notes - Reject Credit Note
| Ribbon Access: Sales > Credit Notes |

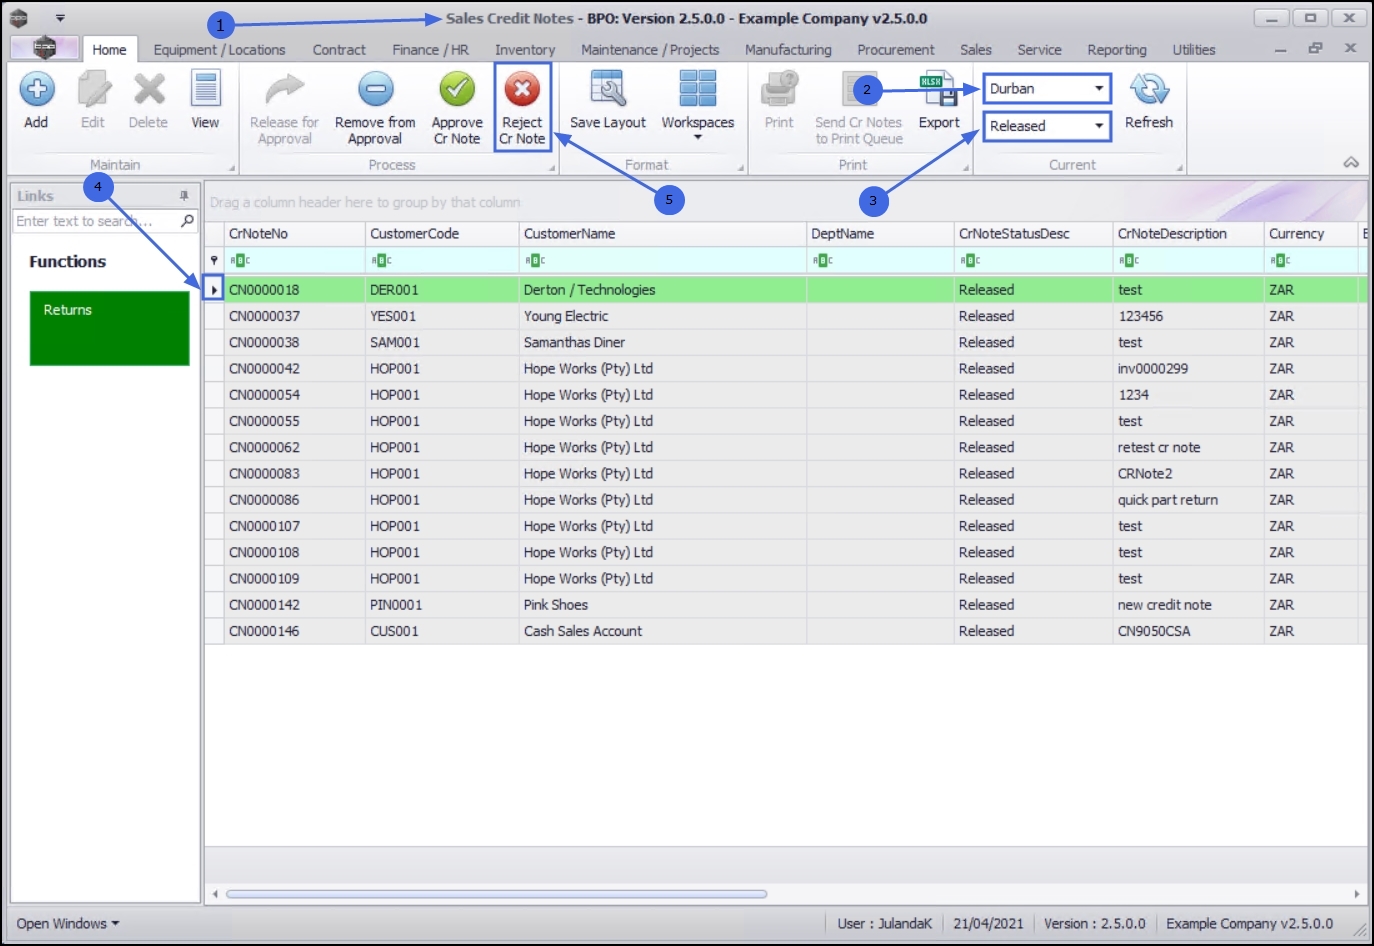
- The Sales Credit Notes listing screen will be displayed.
- Select the Site where the credit note can be located.
- The example has Durban selected.
- Change the Status to Released.
- Click on the row of the credit note you wish to reject.
- Click on Reject Cr Note.
![]() Short cut key: Right click to display the All groups menu list. Click on Reject.
Short cut key: Right click to display the All groups menu list. Click on Reject.
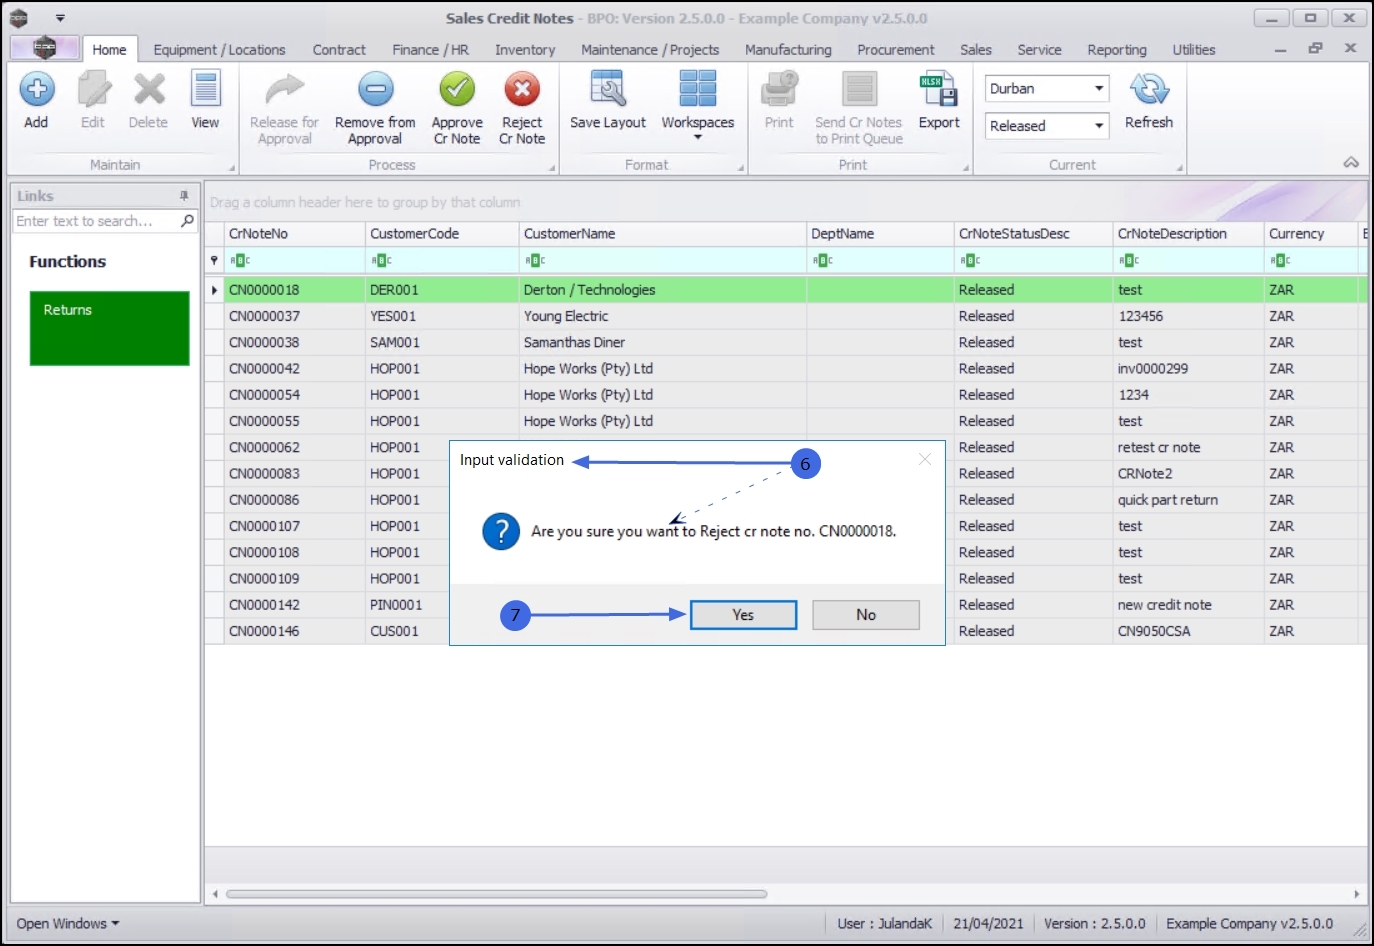
- When you receive the Input Validation message to confirm;
- Are you sure you want to Reject cr note no. CN[credit note number]?
- Click on Yes to proceed, or
- Click on No to ignore the request .
Credit Note Rejection Comments
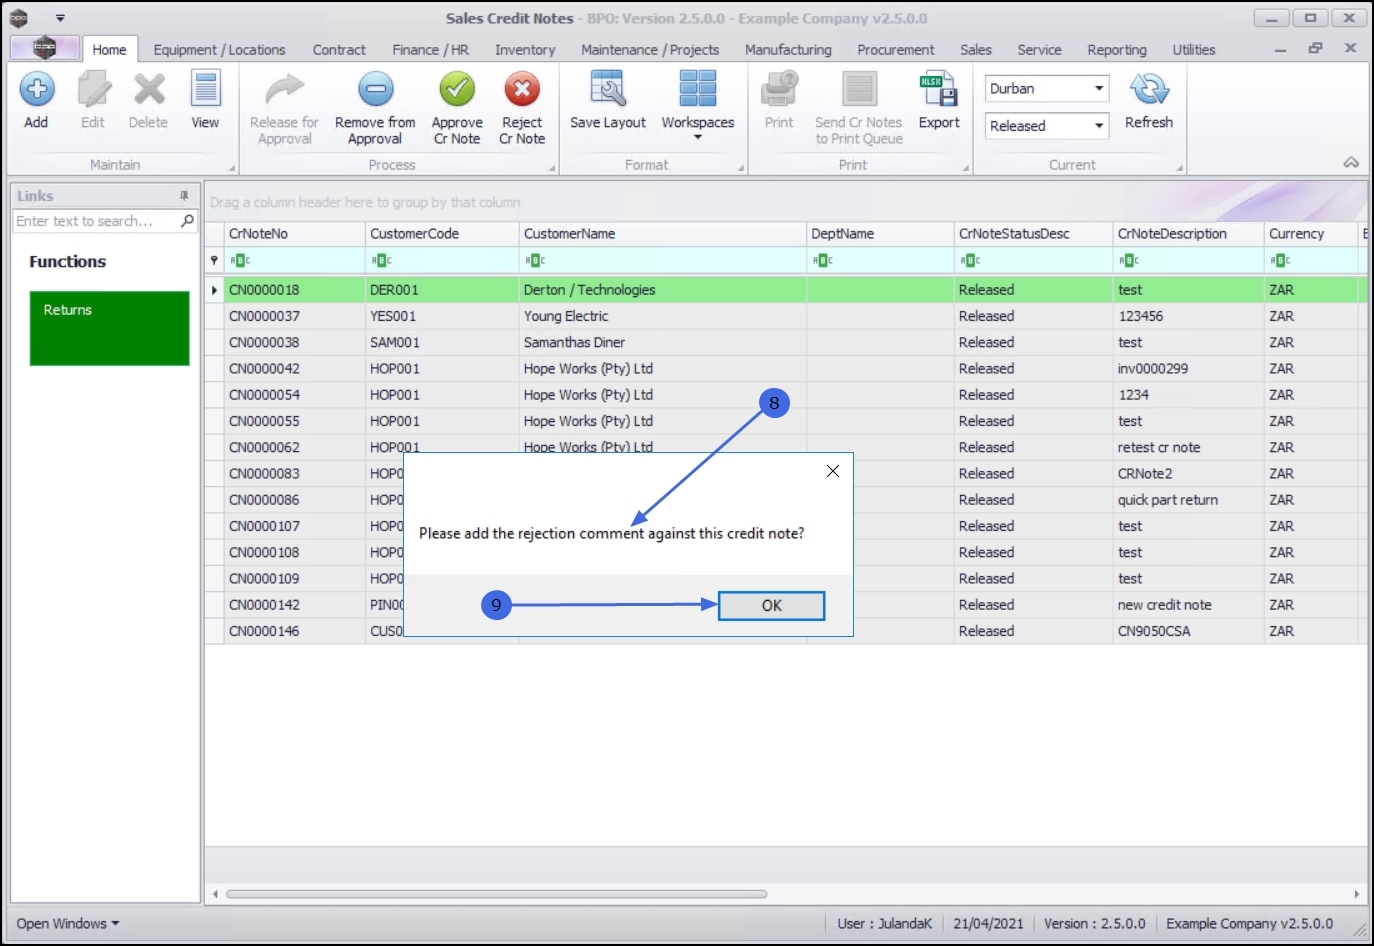
![]() If you did not enter a rejection comment for the credit note, then BPO will prompt you to do so.
If you did not enter a rejection comment for the credit note, then BPO will prompt you to do so.
- When you receive the message requesting;
- Please add the rejection comment against this credit note?
- Click on OK to proceed.
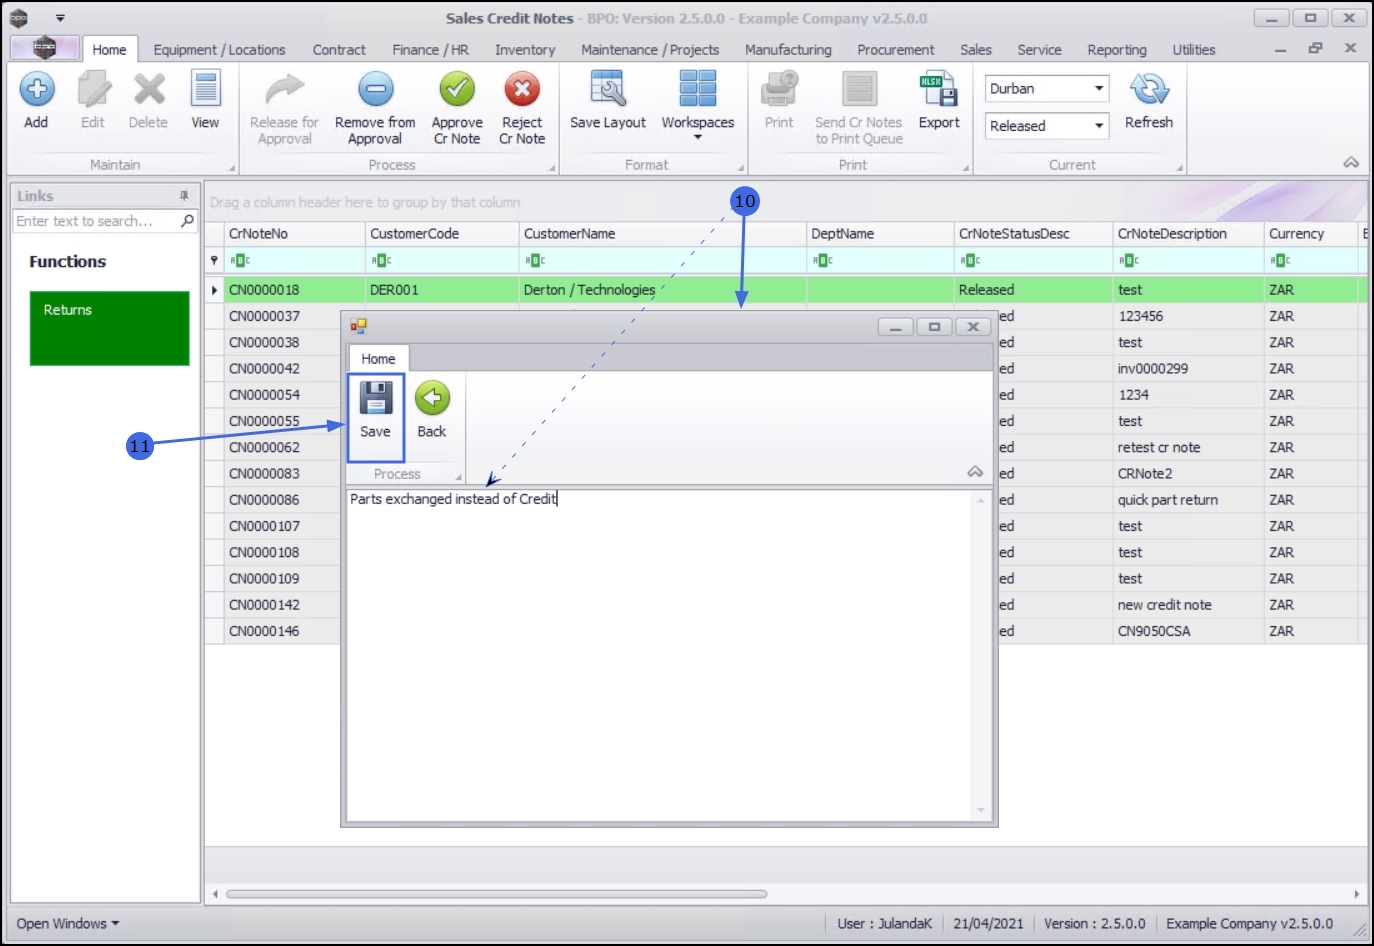
- The comment text box will display, allowing you to type the rejection comment.
- When you have completed the comment, click on Save.
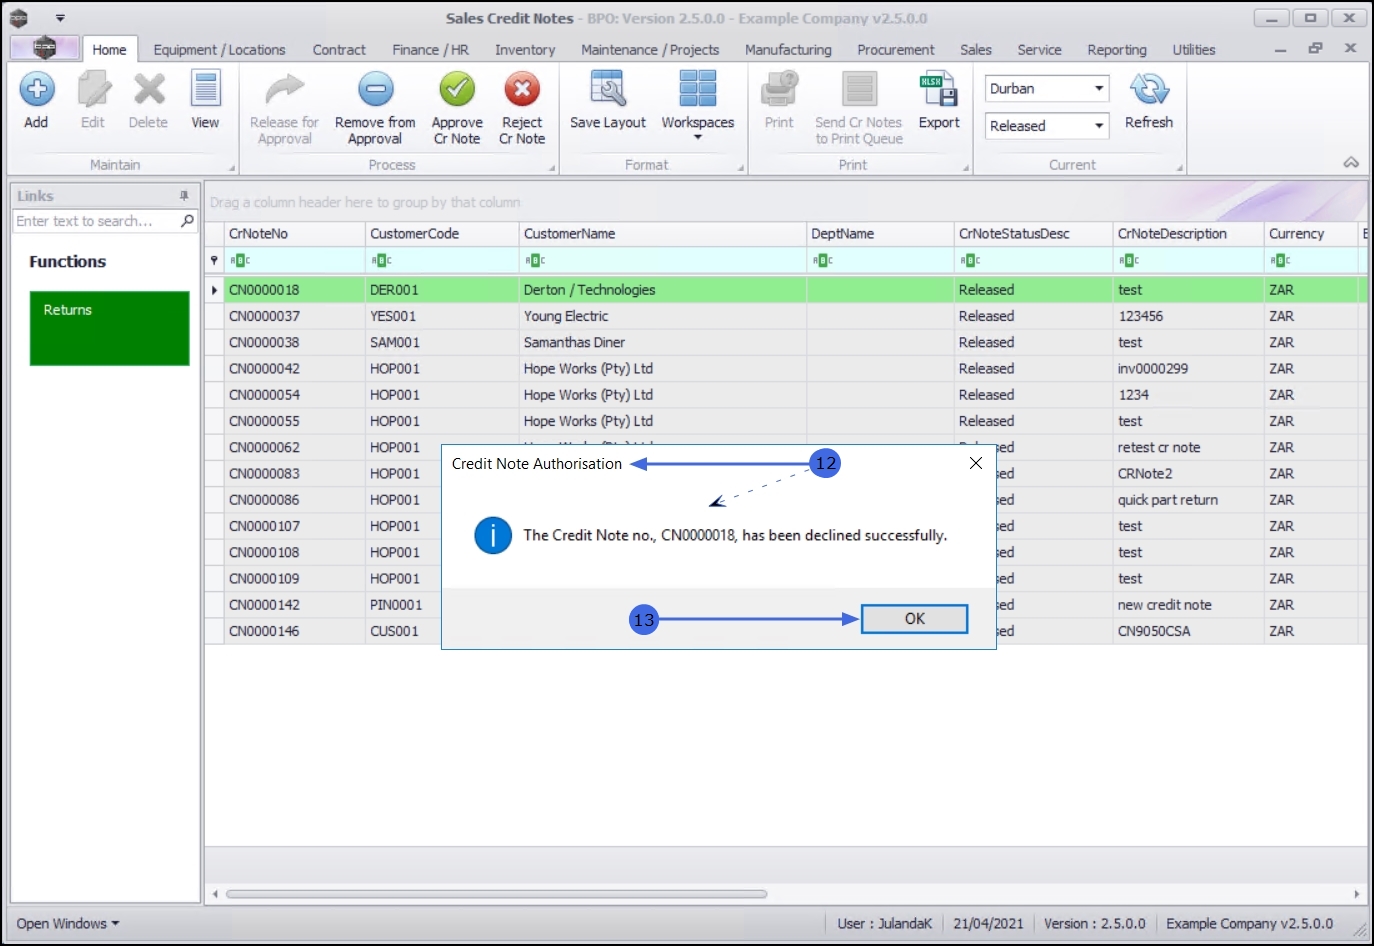
- When you receive the Credit Note Authorisation message to confirm that;
- The Credit Note no., CN[credit note number] has been declined successfully.
- Click on OK.
The rejected credit note can now be viewed in the Sales Credit Notes listing screen, where the Status is set to Declined.
MNU.064.010