We are currently updating our site; thank you for your patience.
Service
Work Orders - Add Labour Time
A work order holds all details with regard to the work done. All transactions concerning this work, including labour time are logged against the work order.
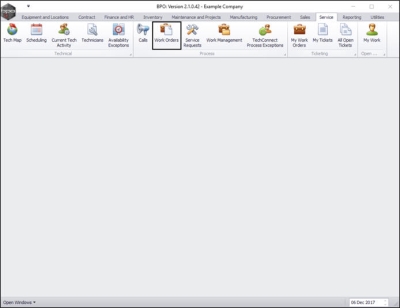
| Ribbon Access: Service > Work Orders |
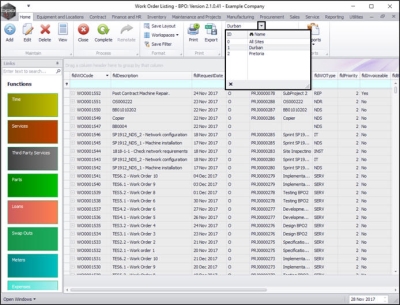
- The Work Order Listing screen will be displayed.
- Select the site.
- In this image Durban has been selected.
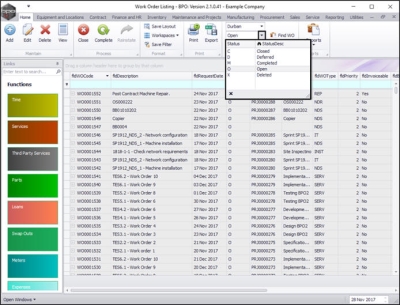
- Select the status.
- This must be set to Open.
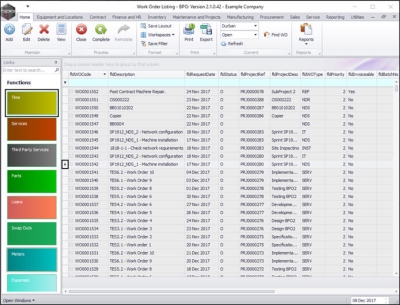
- Click on the row selector in front of the work order that you wish to log labour time for.
- Click on the Time tile.
-
The Time bookings for WO Code [ ] screen will be displayed.
- Click on Add.
-
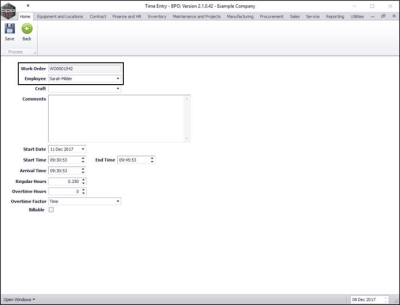
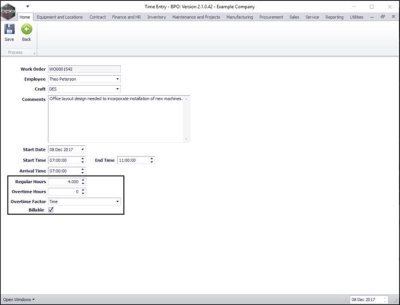
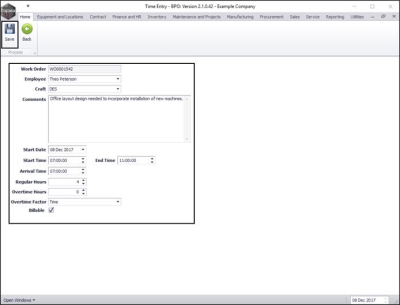
The Time Entry screen will be displayed.
- Work Order: This will be auto populated according to the work order initially selected.
- Employee: This will be auto populated with the name of the person currently creating the labour time log. You can click on the drop arrow and select a different employee from the menu if required.
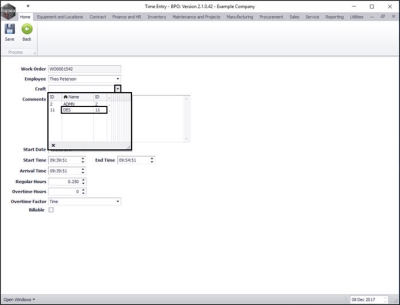
- Craft: Click on the drop-down arrow to display the craft menu list. Click on the craft you wish to add to this time entry log.
-
Note:
Only the crafts accredited to the previously selected employee will be listed in the menu.
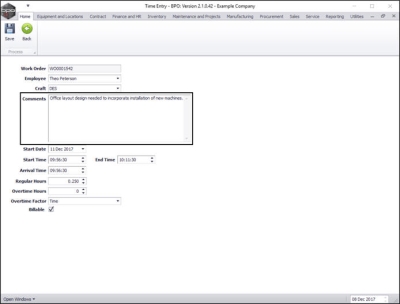
- Comments: In this text box, type a brief description of what the work order entailed.
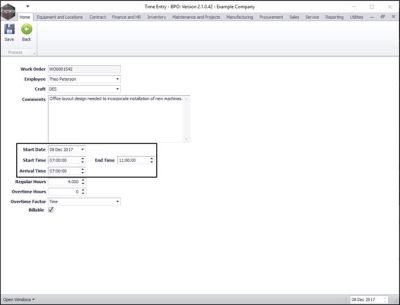
- Start Date: Click on the drop-down arrow and use the calendar function to select the relevant start date.
- Start Time: Either type in or use the arrow indicators to select the correct start time.
- Arrival Time: Either type in or use the arrow indicators to select the correct arrival time.
- End Time: Either type in or use the arrow indicators to select the correct end time.
- Regular Hours:
- Either, the system will calculate the difference between the Start Time and End Time entered in the previous step and will display the correct time taken accordingly.
- Or, you can simply type in the time taken to complete the task without filling in the Start, End or Arrival Time.
- Overtime Hours: If overtime was booked, then type in or use the arrow indicators to select the amount of overtime in hours.
- Overtime Factor: Click on the drop-down arrow to select an overtime factor if relevant e.g. 'Normal Sunday Rate' or 'Overtime 2'.
- Note: Select 'Time' if the hours worked were 'regular' hours.
- Billable: Click on this check box if this particular work order is billable.
- Note: Manual work order labour is not billable. Client billable work should be logged by raising a call.
- When you have finished adding the time entry details, click on Save.
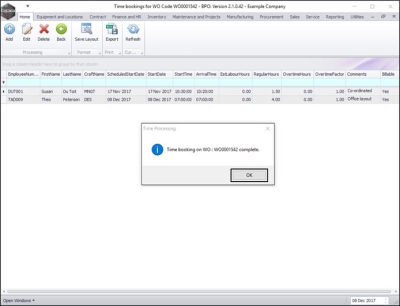
- You will return to the Time bookings for WO Code [ ] screen.
- A Time Processing message box will pop up informing you that;
- Time booking on WO: [ ] complete.
- Click on OK.
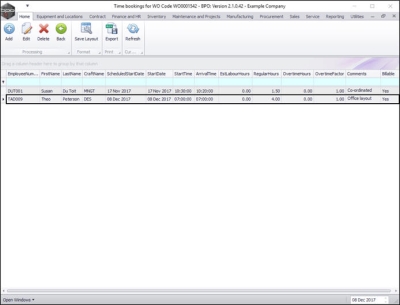
- You can now view the newly added time booking in this screen.
MNU.072.037
