We are currently updating our site; thank you for your patience.
Security
User and Group Security - Clone Group
When you clone a group, the User Rights settings will be copied to the new group.
However, you will need to manually add all other group information and users.
You can edit the cloned group User Rights settings by referring to this link.
| Ribbon Access: Configurator > Security > User Management |

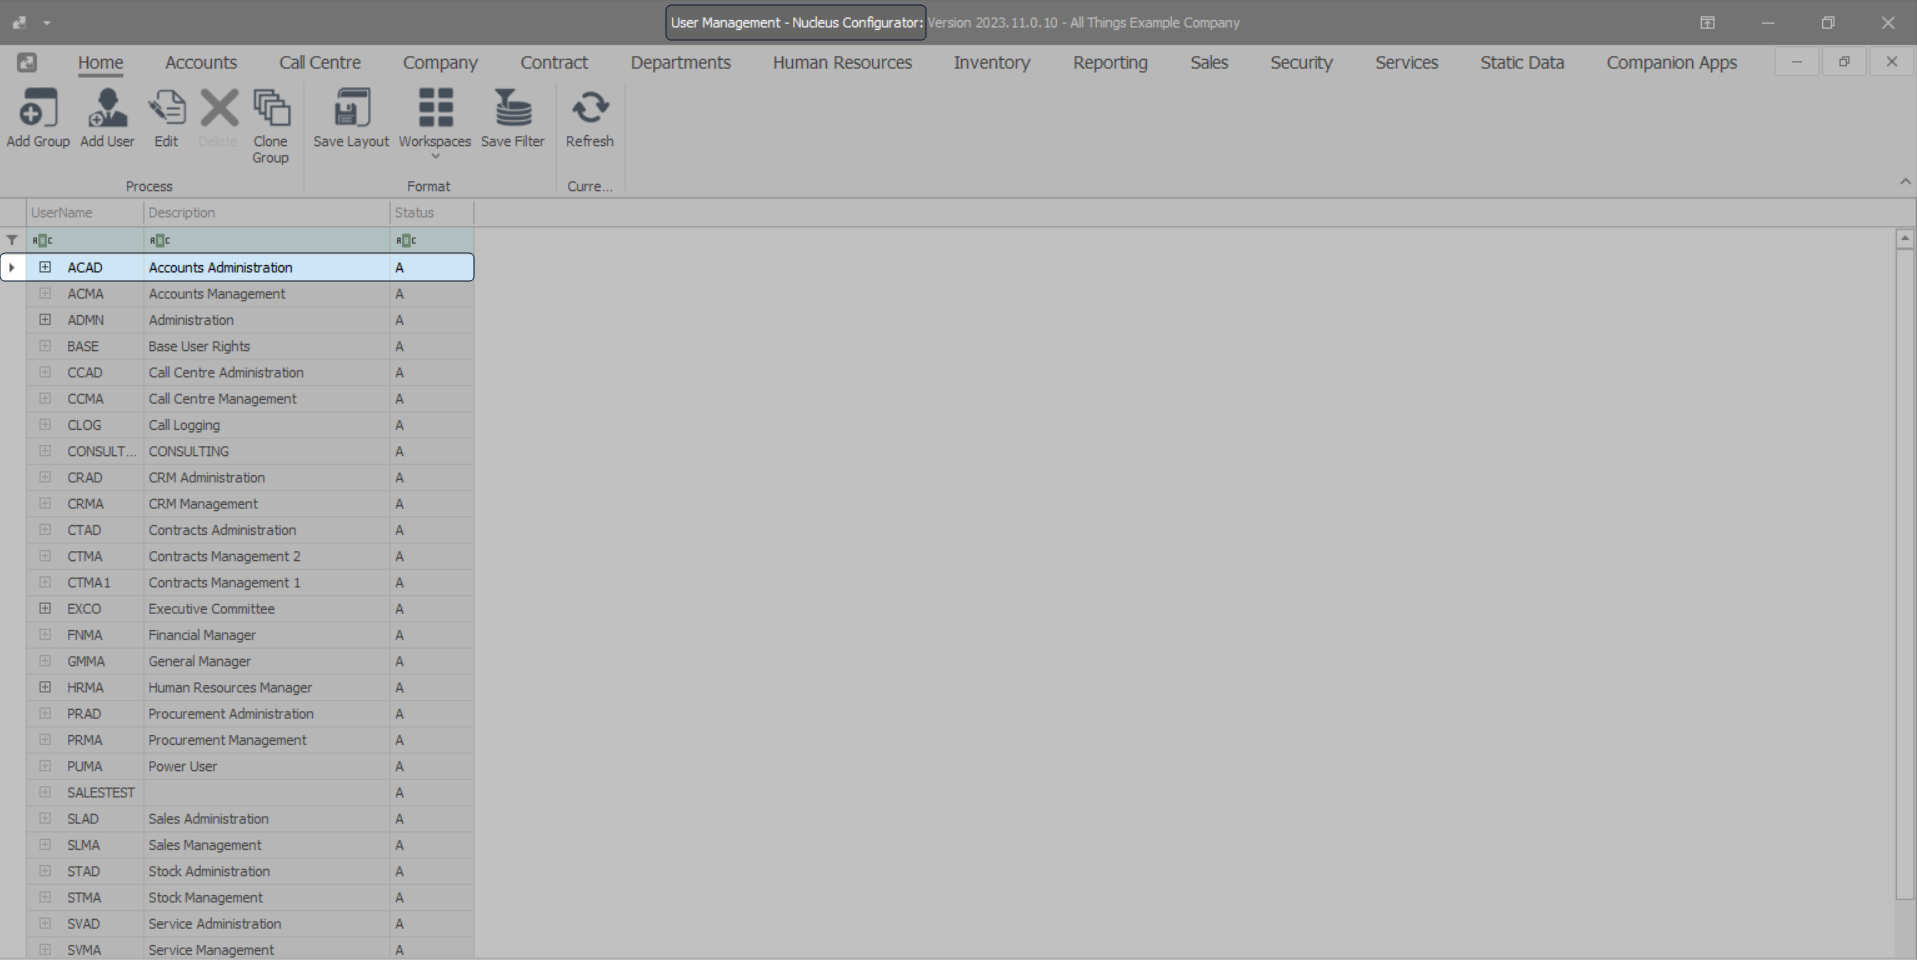
The User Management screen will be displayed.
- Select the row of the Group you wish to clone.
- In this image the Accounts Administration Group has been selected.
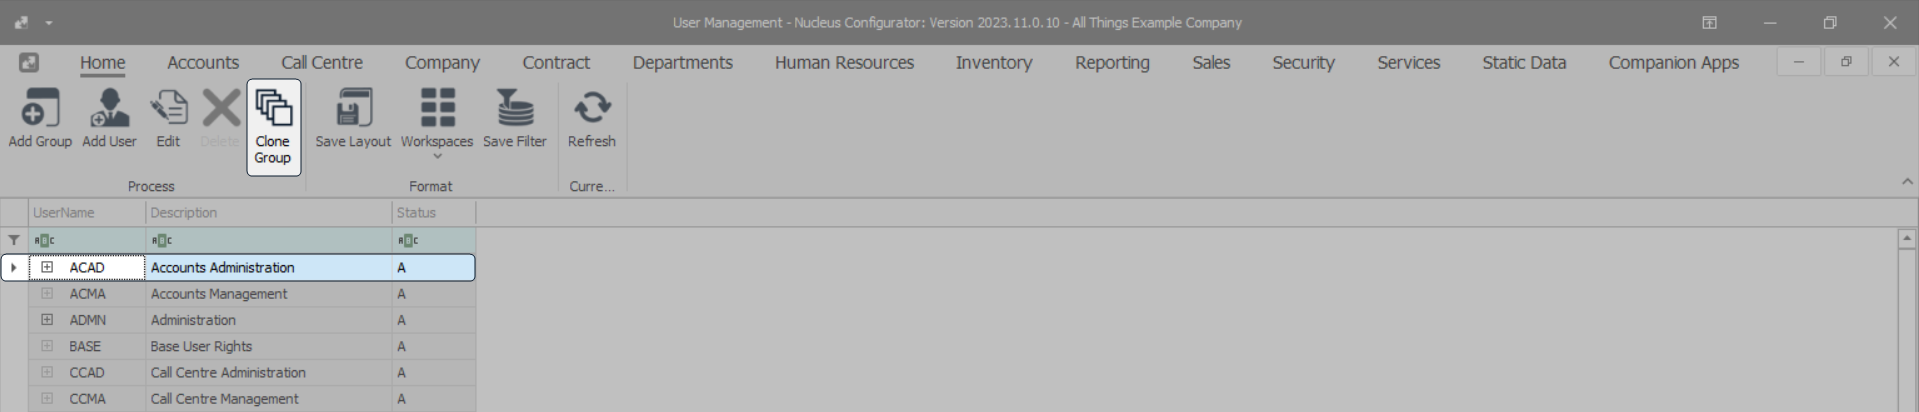
- Click on Clone Group in the Process ribbon frame.
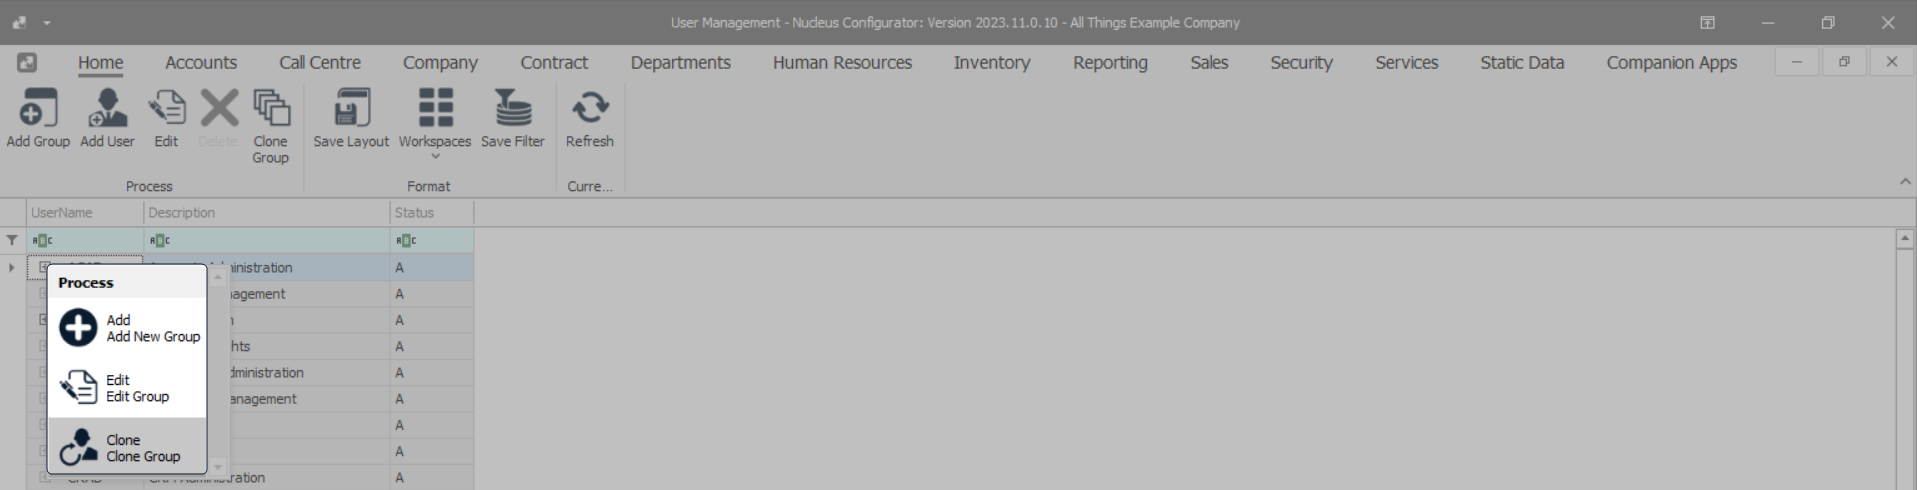
- Or right-click on the row of the Group you wish to clone and select Clone Group from the Process menu.
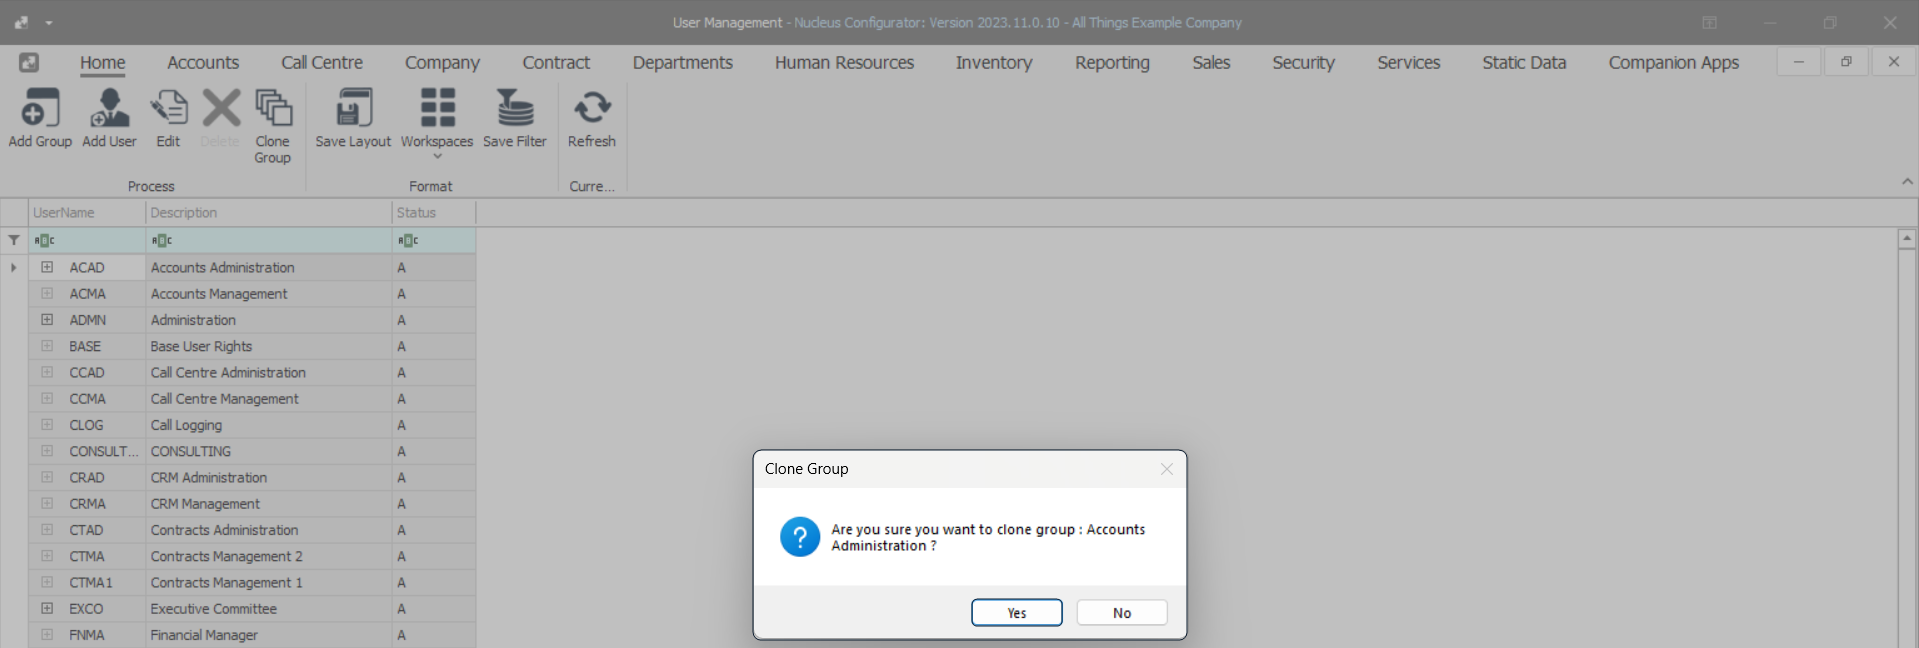
- A Clone Group message will pop up saying -
- Are you sure you want to clone group [ ] ?
- Click on Yes.
- A User Maintenance screen will appear where you can manually add the Group information.
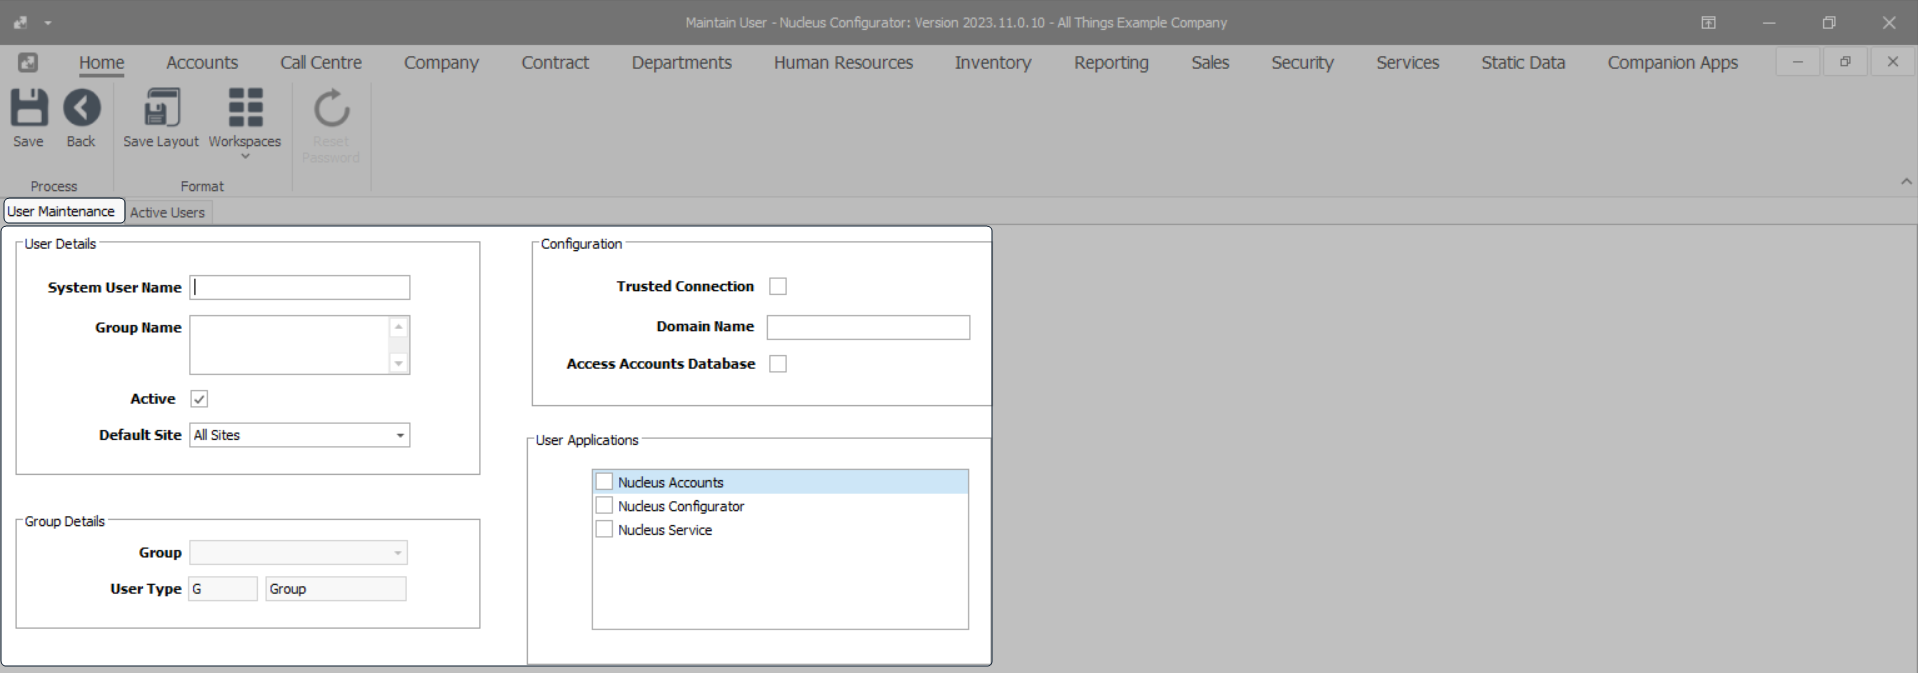
- Type in the new details for the cloned group -
User Details:
- System User Name: Type in the name of the Group, abbreviated if required.
- Group Name: Type in the full Group Name.
- Active: Set this Group as 'Active' by clicking on this check box.
- Default Site: Click on the drop-down arrow and select from the menu displayed, which Site you wish to link this new Group to.

- Note: The Group Details frame is un-editable.

Configuration:
- Trusted Connection: You can enable this check box if you are going to include a Domain Name.
- Domain Name: You must type in the full Domain Name.
- Access Accounts Database: You can tick this check box for the User Group to have access to the Accounts Database.

User Applications:
- Nucleus Accounts: You can tick this check box if the User Group will be allowed access to Nucleus Accounts.
- Nucleus Configurator: You can tick this check box if the User Group will be allowed access to Nucleus Configurator.
- Nucleus Service: You can tick this check box if the User Group will be allowed access to Nucleus Service.

Save the Cloned Group
- When you have finished adding the new Group details -
- Click on Save.

- The cloned group record is updated in the system.
- You will return to the User Management screen where you can view the new Group and a user can be added to this Group.
- To create a new user refer to this link.

MNU.085.010