We are currently updating our site; thank you for your patience.
BPO Print Service
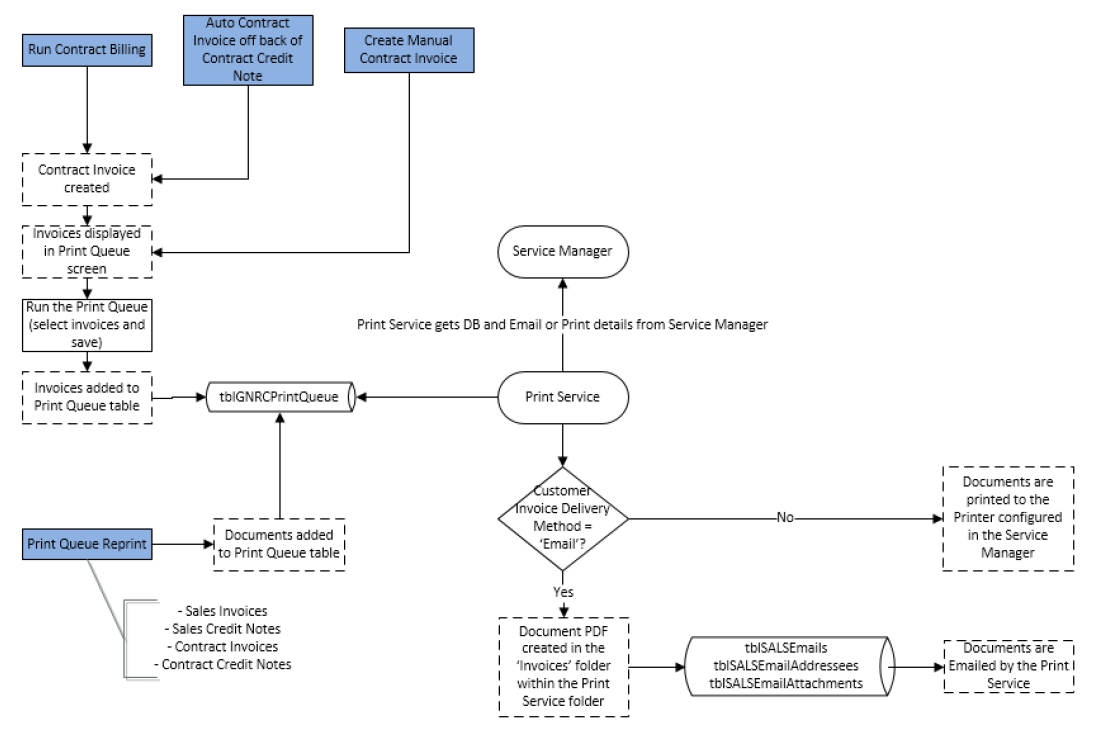
The Print Service prints or emails Invoices and Credit Notes.
Print Service (Creates and Sends Emails based on unprocessed records in tblGNRCPrintQueue
- Gets Environment details from Service Manager.
- Monitors Print Queue table (records created from Print Queue / Print Queue Reprint)
- Document PDF saved to ‘Invoices’ folder within the Print Service folder
- Print / Email based on Customer Invoice Delivery Method
- Where Invoice Delivery Method is Print will print to the Printer defined in the Service Manager
- RelatedToTypes in tblSALSEmails:
- CINV Sales Invoice
- CRNT Sales Credit Note
- CTIN Contract Invoice
- CTCN Contract Credit Note
Requirements
- This local service console application will be installed by your CO3 Analyst or BPO System Administrator on your company's application server, and run automatically through Windows Services at the interval defined in the Environment file. Confirm with your System Administrator to check on the interval configured for your company.
Installation
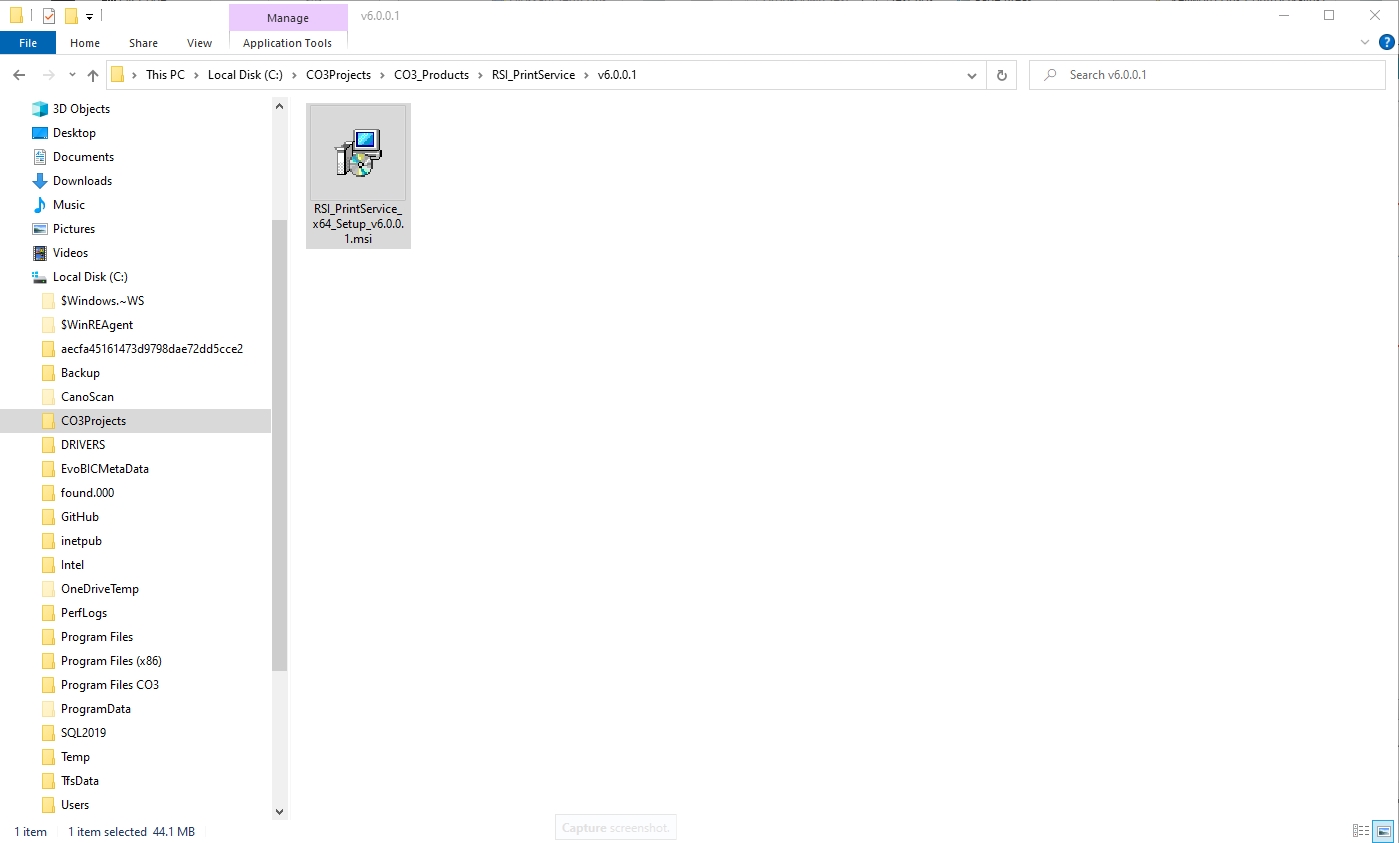
- Double click on the 'RSI_PrintService' install file.
- Note: Check that you have the latest version compatible with your version of BPO.
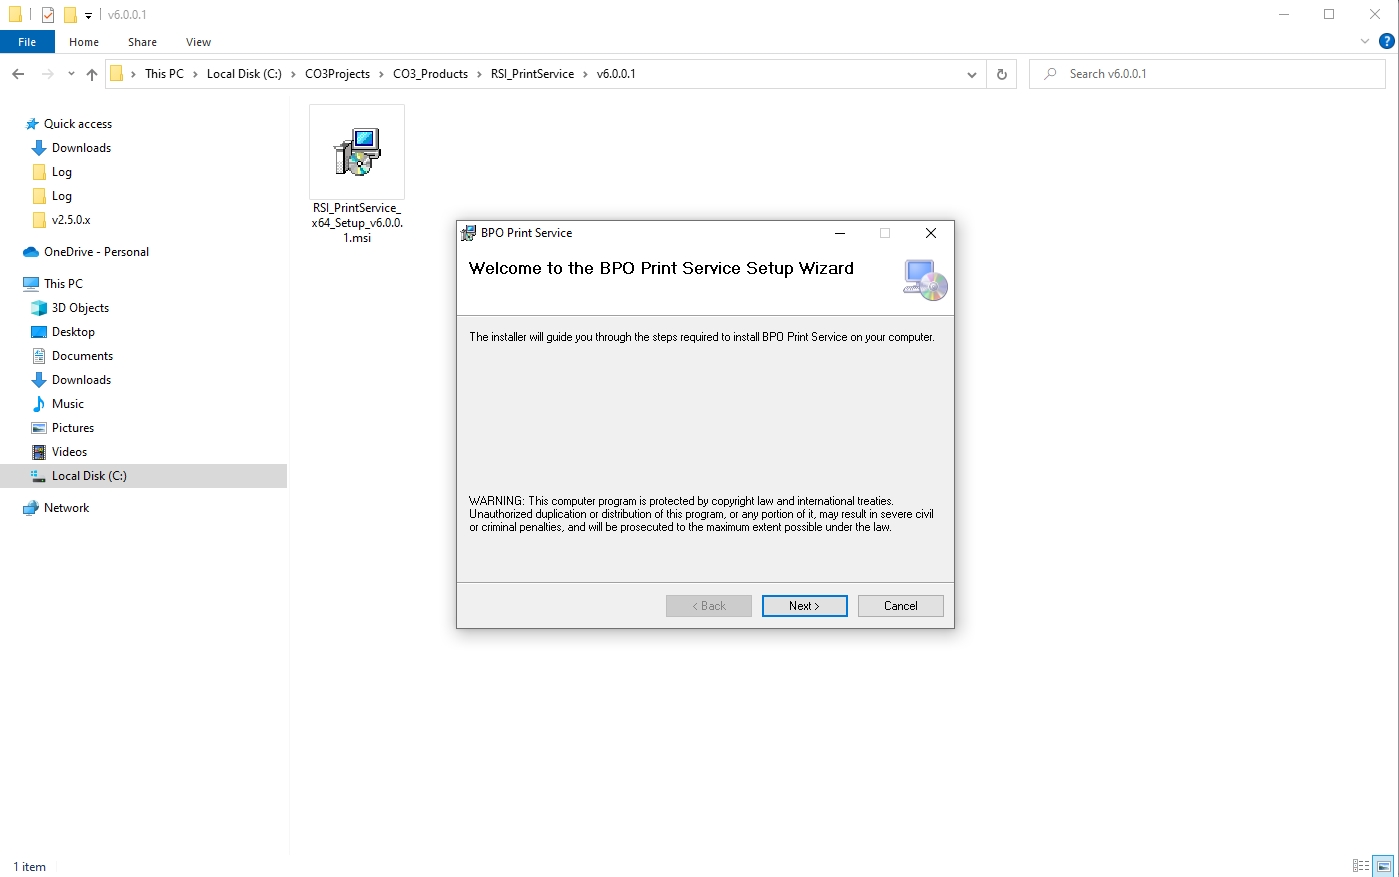
- The Installation Wizard will open.
- Click on Next.
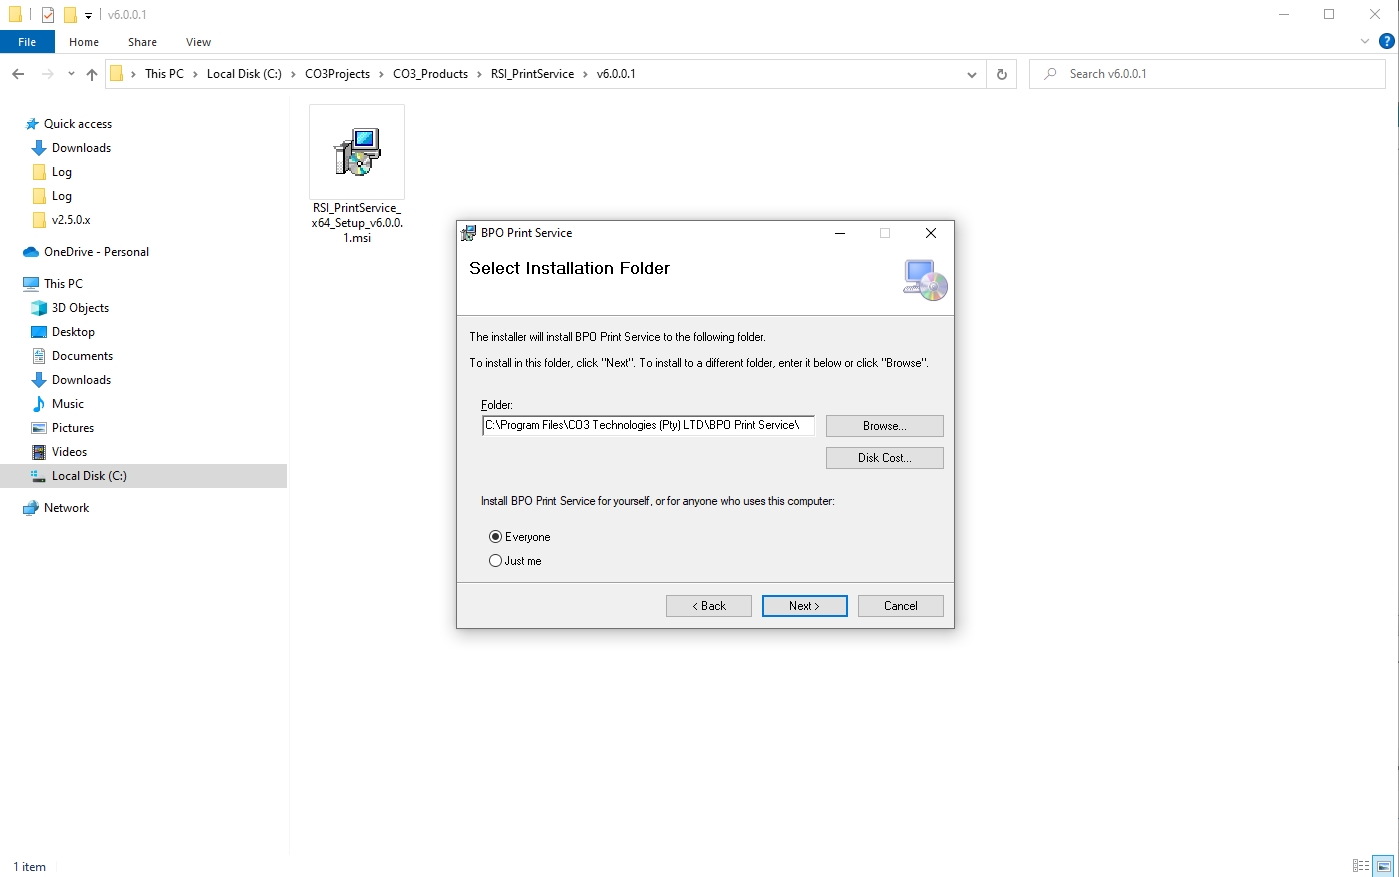
- The default location for installation is:
-
C:\Program Files\CO3 Technologies (Pty) LTD\RSI Print Service
-
It is recommended that you keep this default location. Keeping a standard will make upgrades easier.
- Ensure that Everyone is selected for the install.
- Click on the Next button.
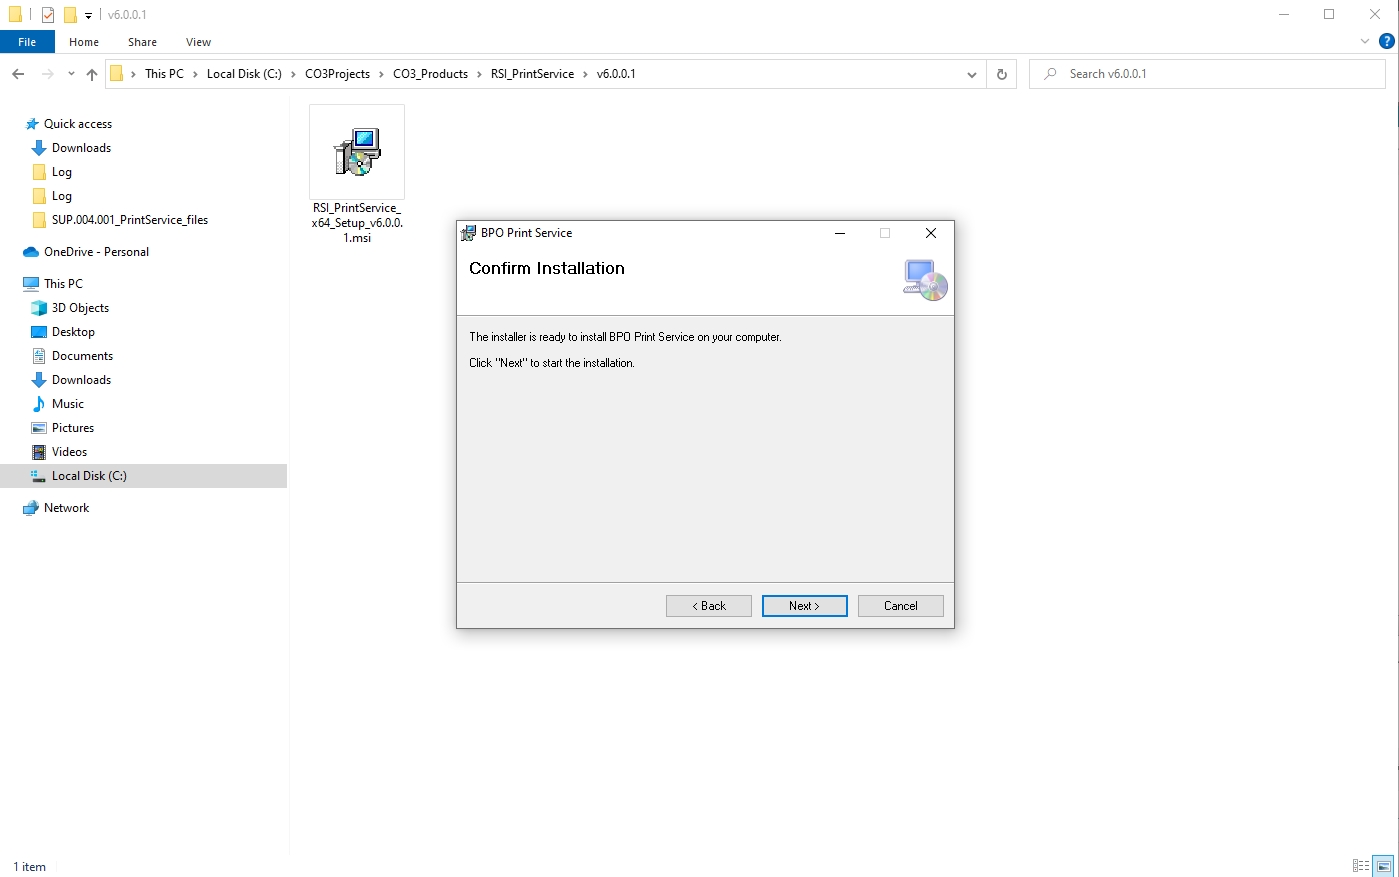
- The installer will ask you to Confirm Installation.
- Click on Next to start the installation.
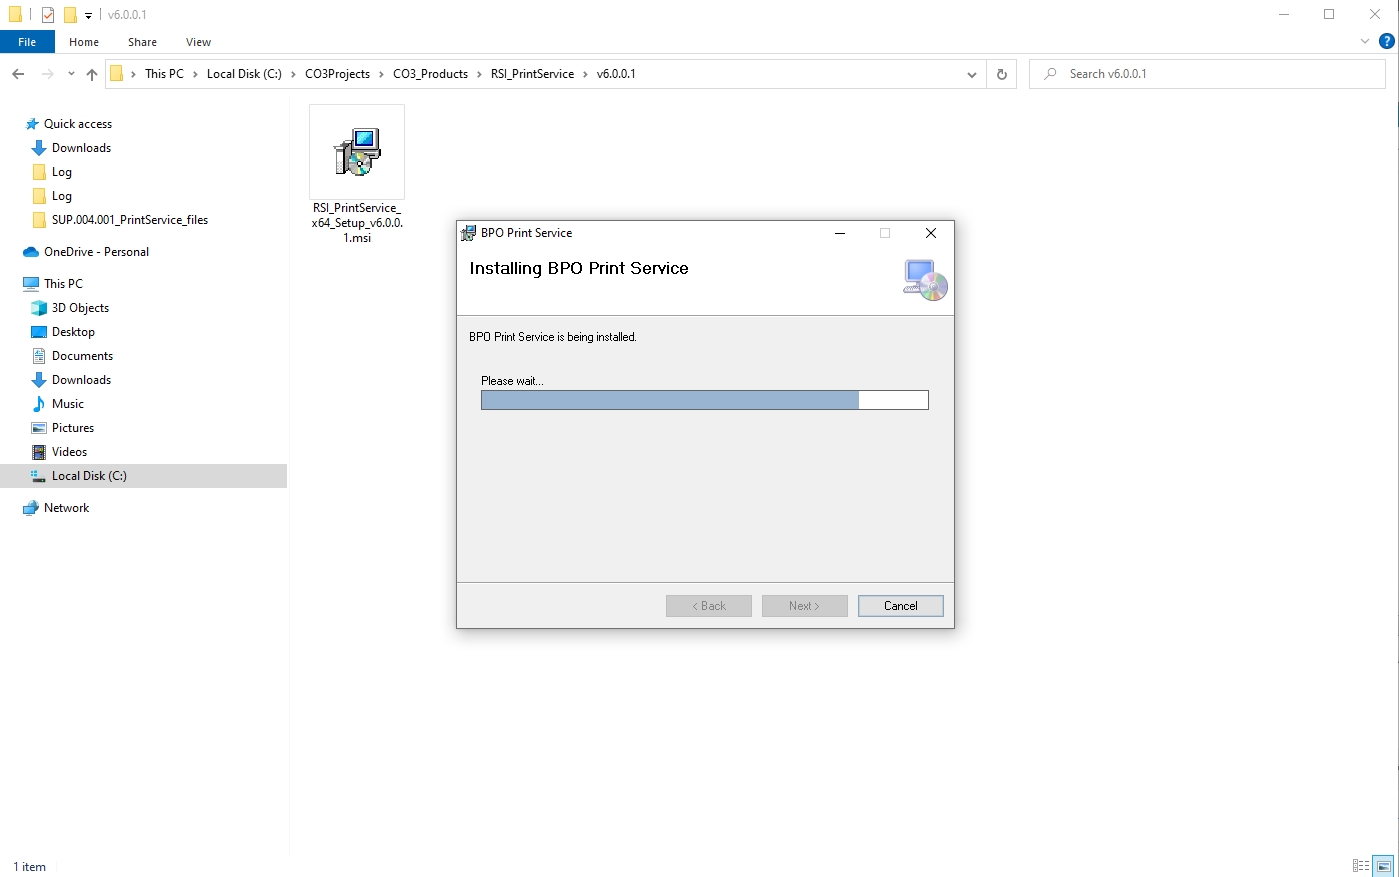
- The Print Service installation will begin.
- Wait for it to be completed.
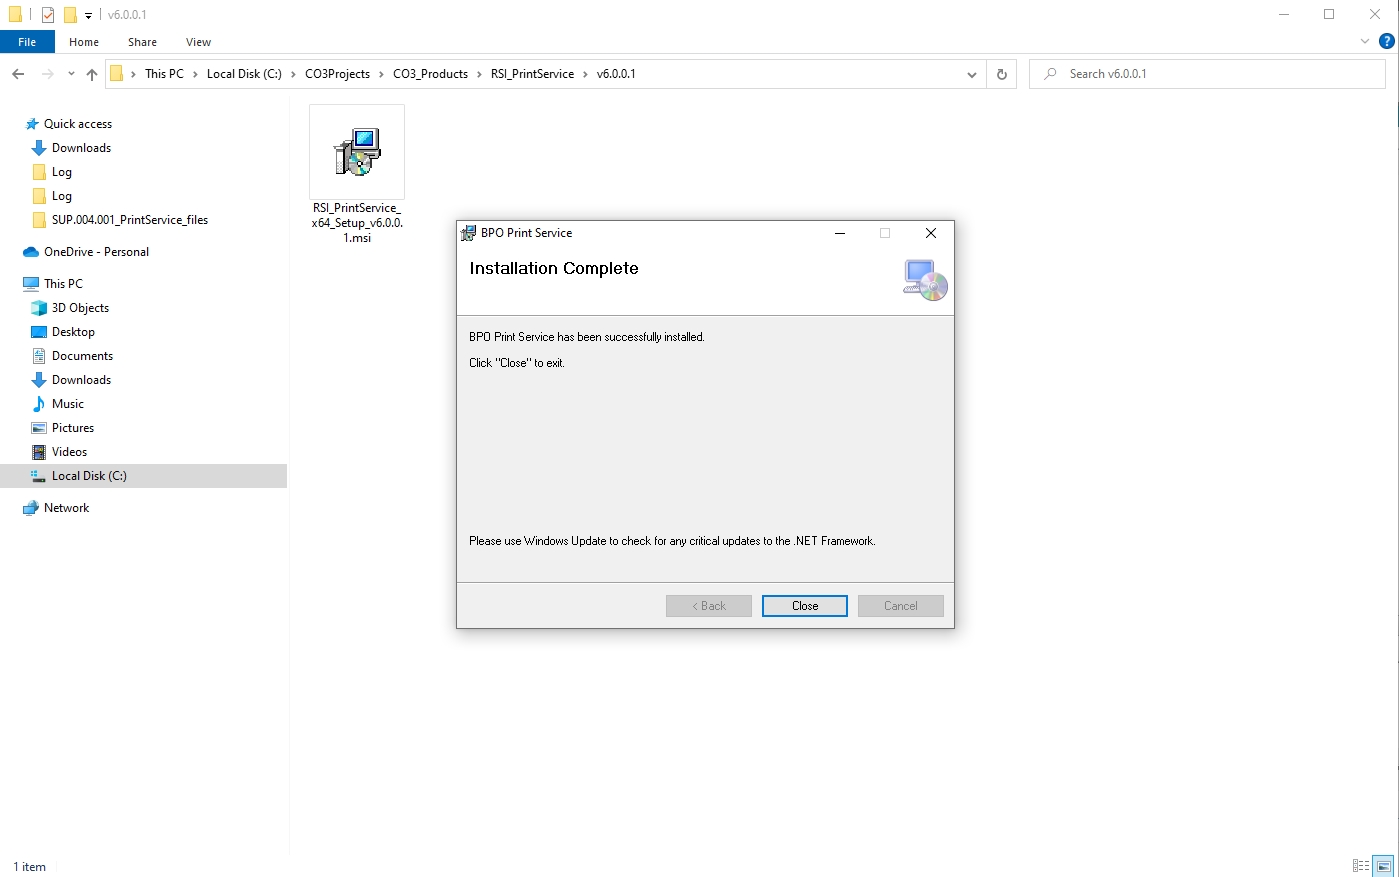
- Once Installation is Complete.
- Click on Close.
Configuration
- In your File Explorer, search for the following file location:
-
C:\Program Files\CO3 Technologies (Pty) LTD\RSI Print Service
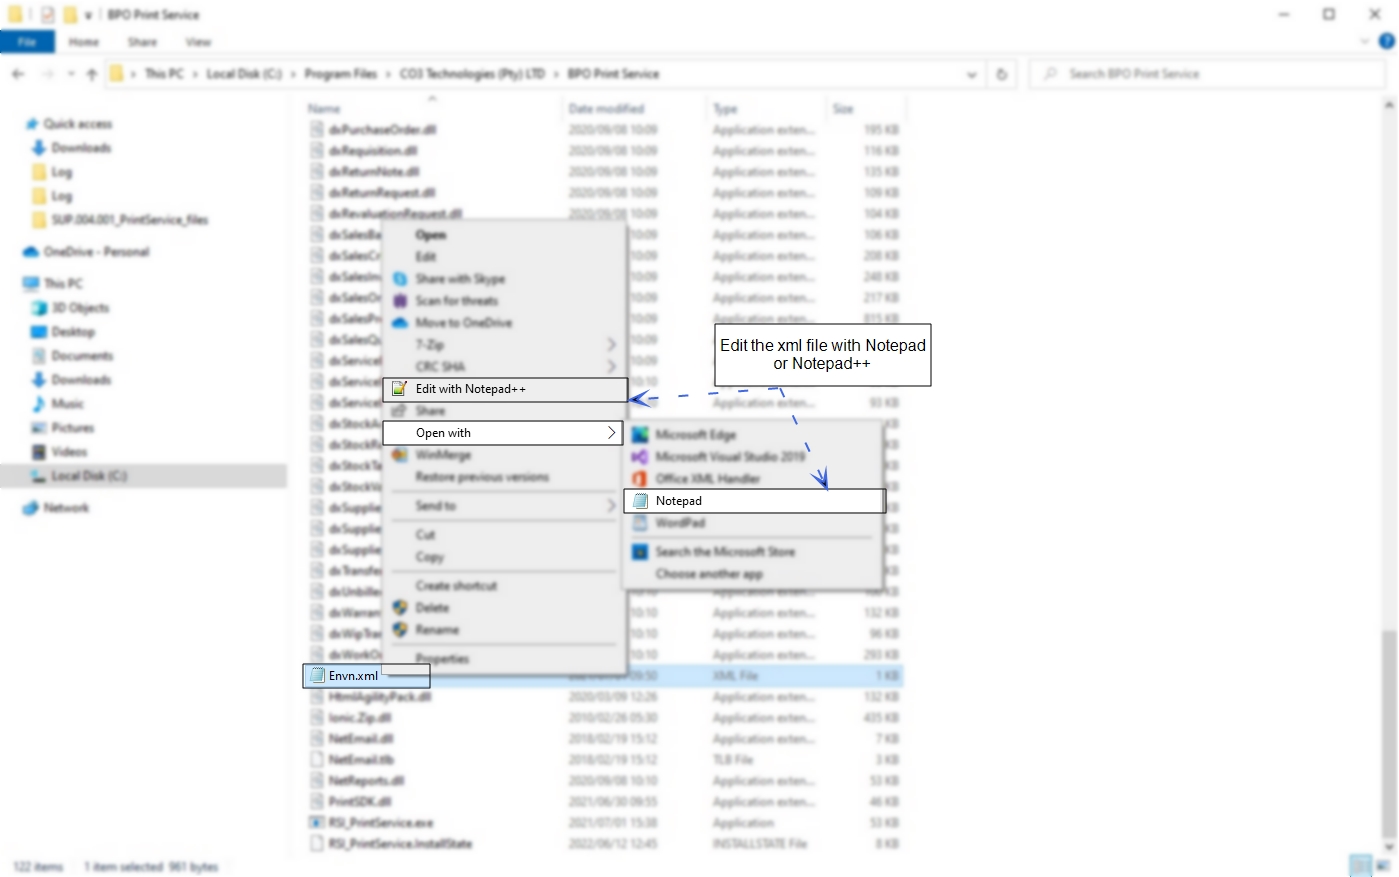
- Right click on the Envn.xml file.
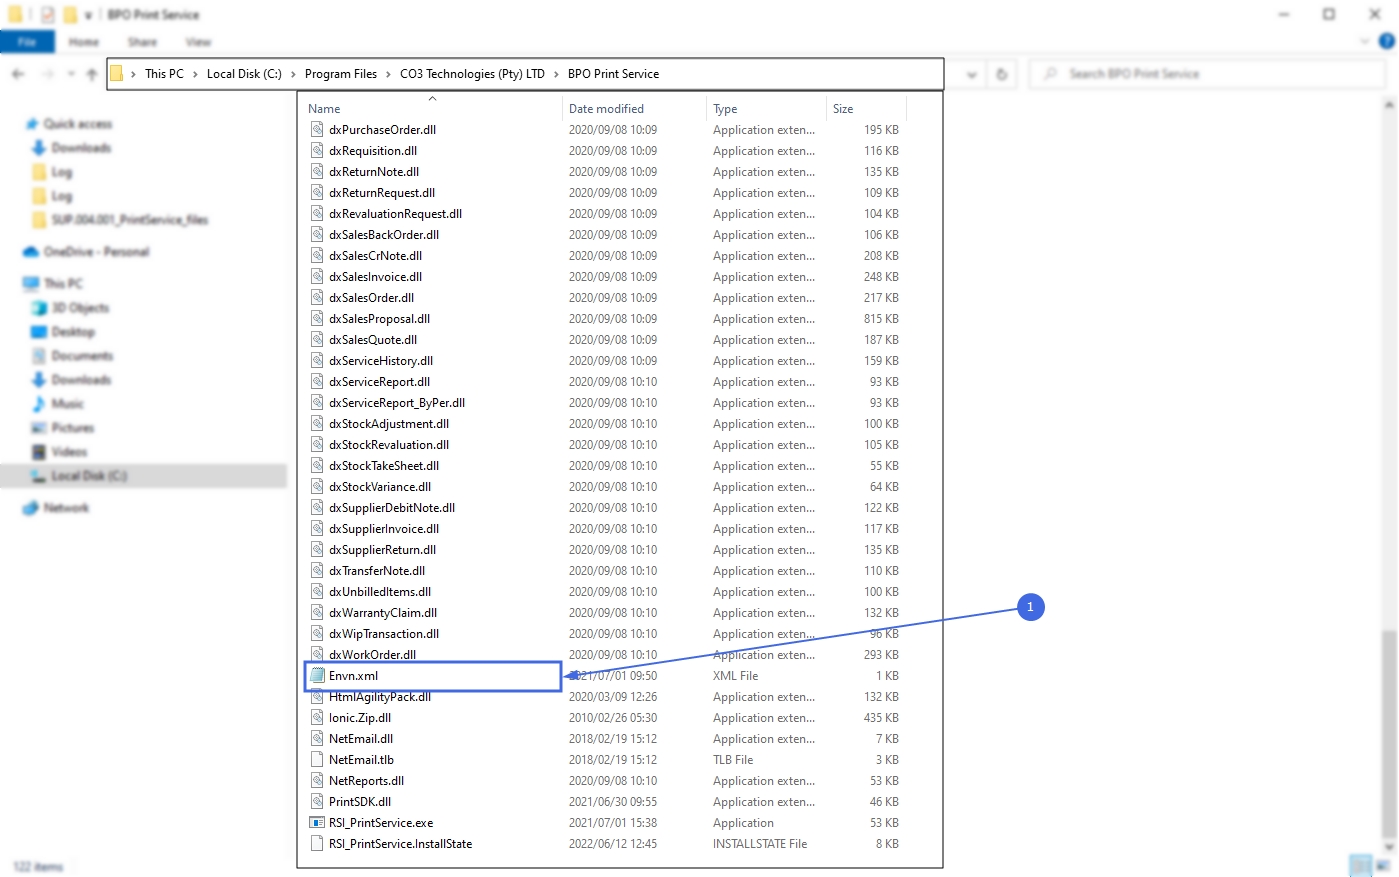
- The File menu will open.
- Select to either Open with Notepad or Edit with Notepad++ (or any program that will allow editing and saving an xml file).
The xml file will open in the selected program.
Define the following tags:
- Environment: as defined for this database, in the Service Manager.
- IntervalAmount and IntervaUnit: The frequency with which the application will be run by Windows Services. In this example I have set the interval to 10 minutes.
- DomainAuthentication: True or False depending on whether required for your email server.
- SmtpAuthentication: True or False depending on whether required for your email server.
- EnableSSL: True or False depending on whether required for your email sever.
- ReadReceipt: True or False depending on whether you require the recipient to mark as read.
- UseCertificate: True or False depending on whether required for your email sever. If required, ensure the certificate name is noted in the <CertificateName> tag, and is in a folder named Certificates within the Print Service installation folder.
- ProcessZeroValueInvoices: True or False depending on whether you want Zero Value Invoices to be printed or emailed to your clients.
- ZIPFiles: True or False depending on whether you want the files to be zipped when the number of attachments exceed the number specified in the <ZIPWhenFilesCount> tag.
- ZIPWhenFilesCount: This count only needs to be specified when the <ZIPFiles> tag is True.
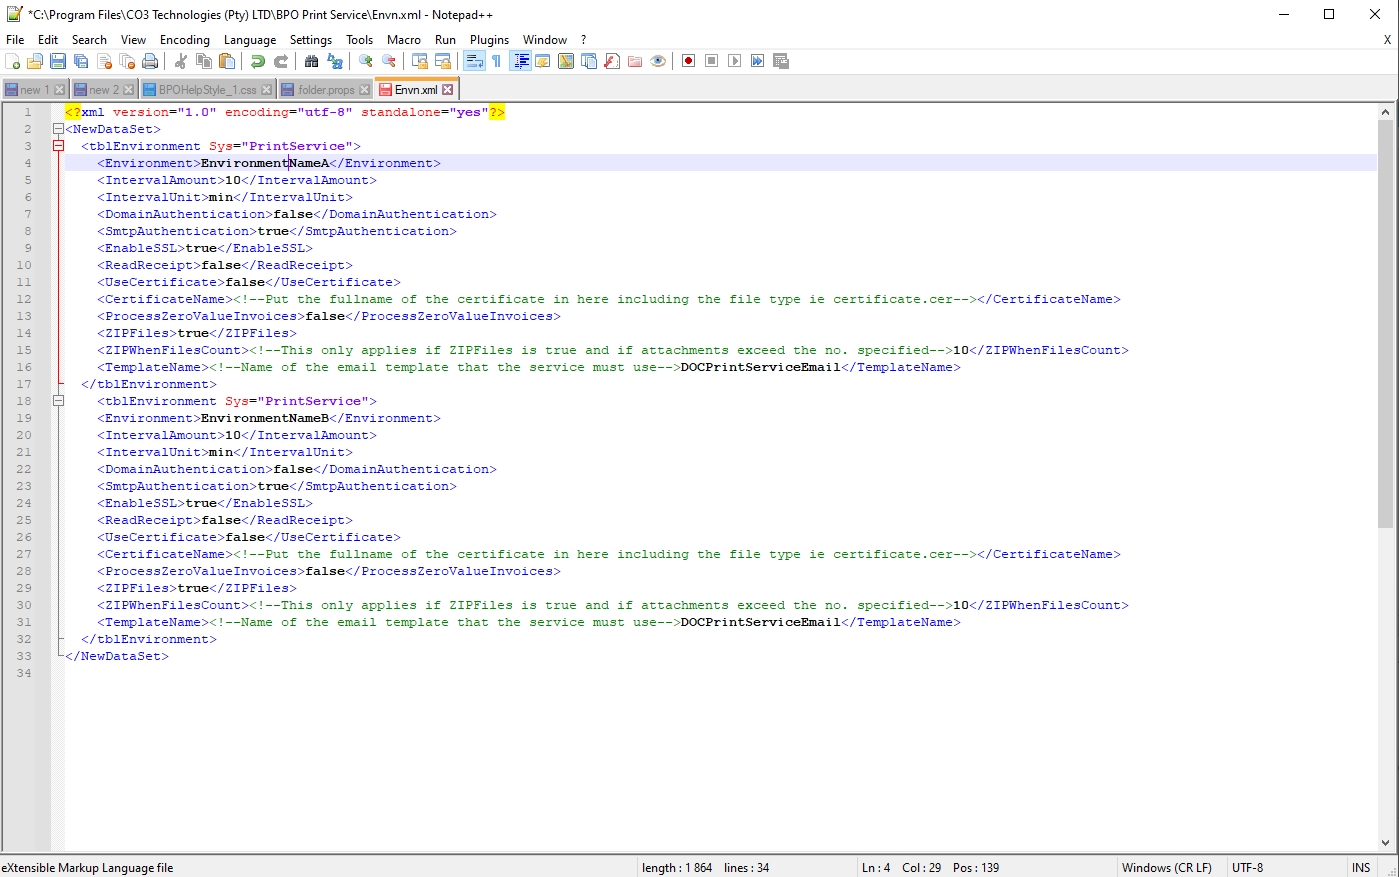
- Multiple environments are configured by setting up additional <Environment> tags within the main <dsEnvironments> tag.
Configure Scheduled Task
BPO Service Console Applications run automatically through Windows Services at the interval defined in the Environment file. This interval should be defined by the frequency invoice and credit notes are created throughout the day, and depends on your company's requirements, e.g., every 30 minutes.
Run Application and Check Logs
Running the application after installation and configuration is important, in order to ensure all configuration has been done correctly.
![]() Refer to
Start a service
for more information relating to starting a Windows Service.
Refer to
Start a service
for more information relating to starting a Windows Service.
After running the application check the application's log to ensure the application is running correctly.
- Browse to the application's installation folder.
- Log text files are generated by date within the Log folder.
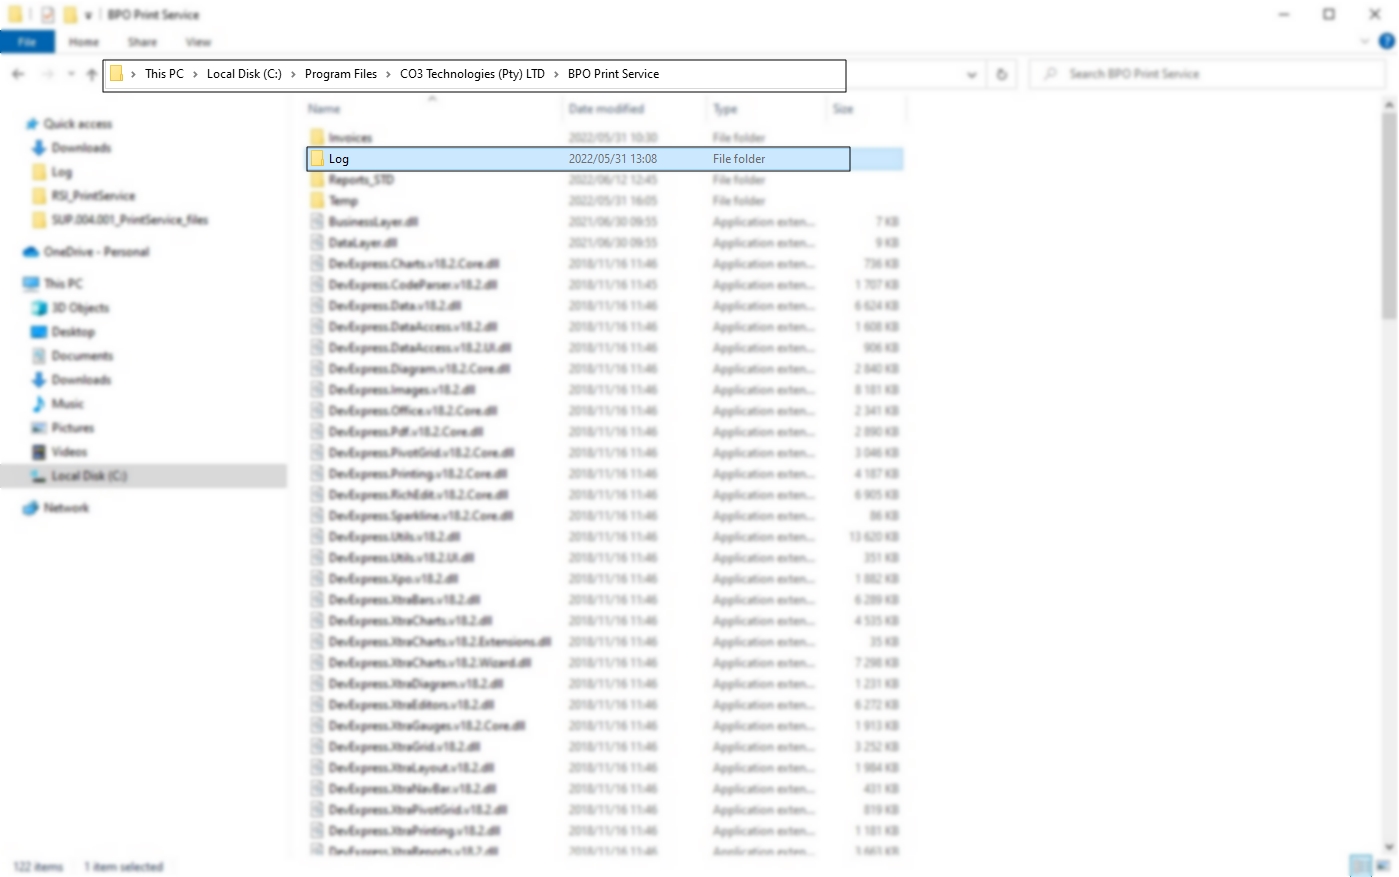
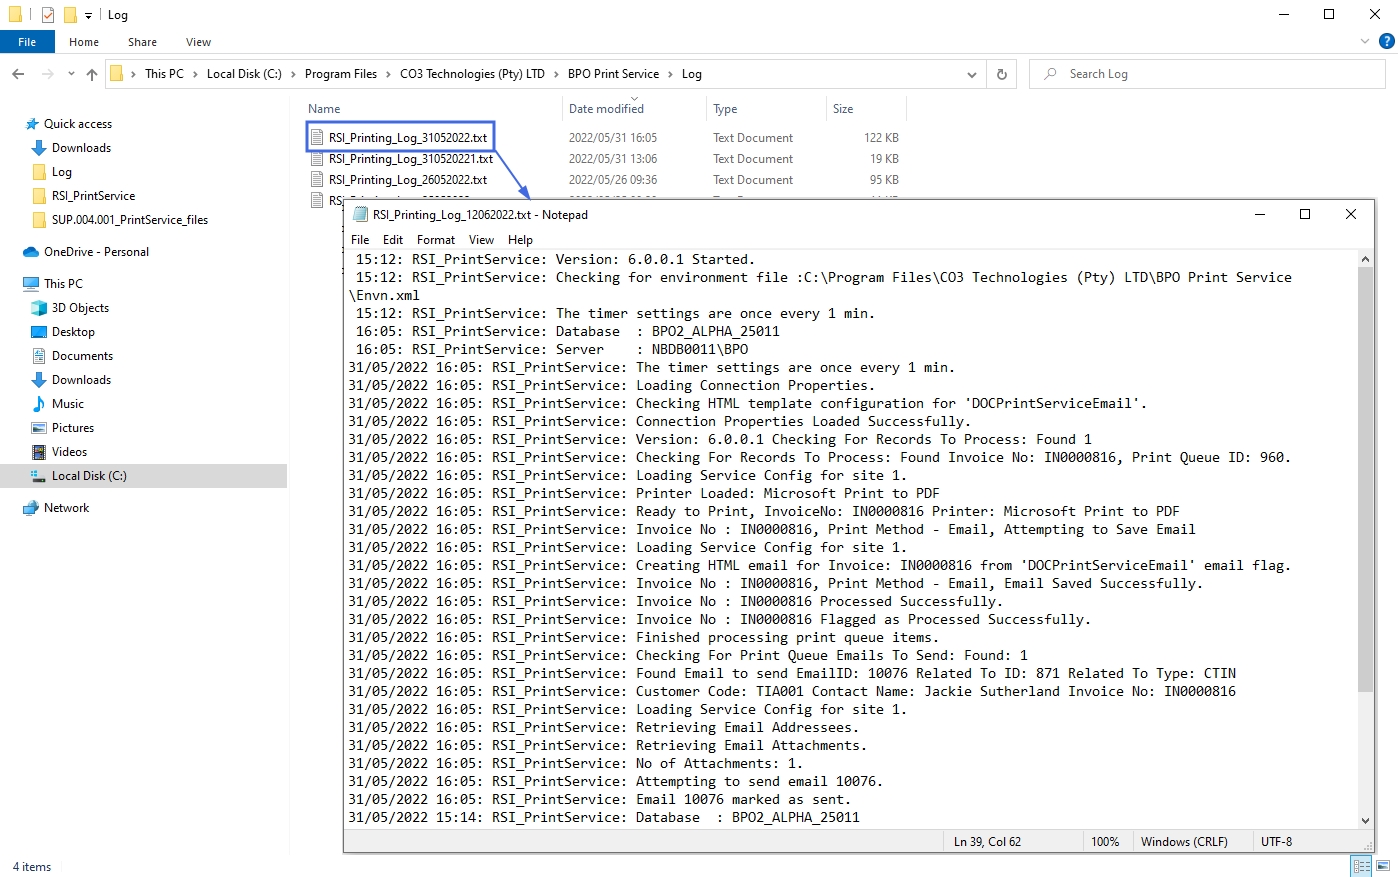
- Open the Log file generated for the corresponding date.
- Check that connection was successful, and that there are no errors in the log.
- Resolve any issues until the log file is clear of errors.
- It is recommended that you check the log files the following day to make sure the Scheduled Task fired that there are no errors in the log.
- This application can now be left to run via the Windows Scheduled Task.
- Review the log if any issues arise on BPO related to this functionality.
SUP.004.001