Manufacturing
Production - Add a Production Run
| Ribbon Access: Manufacturing > Production |
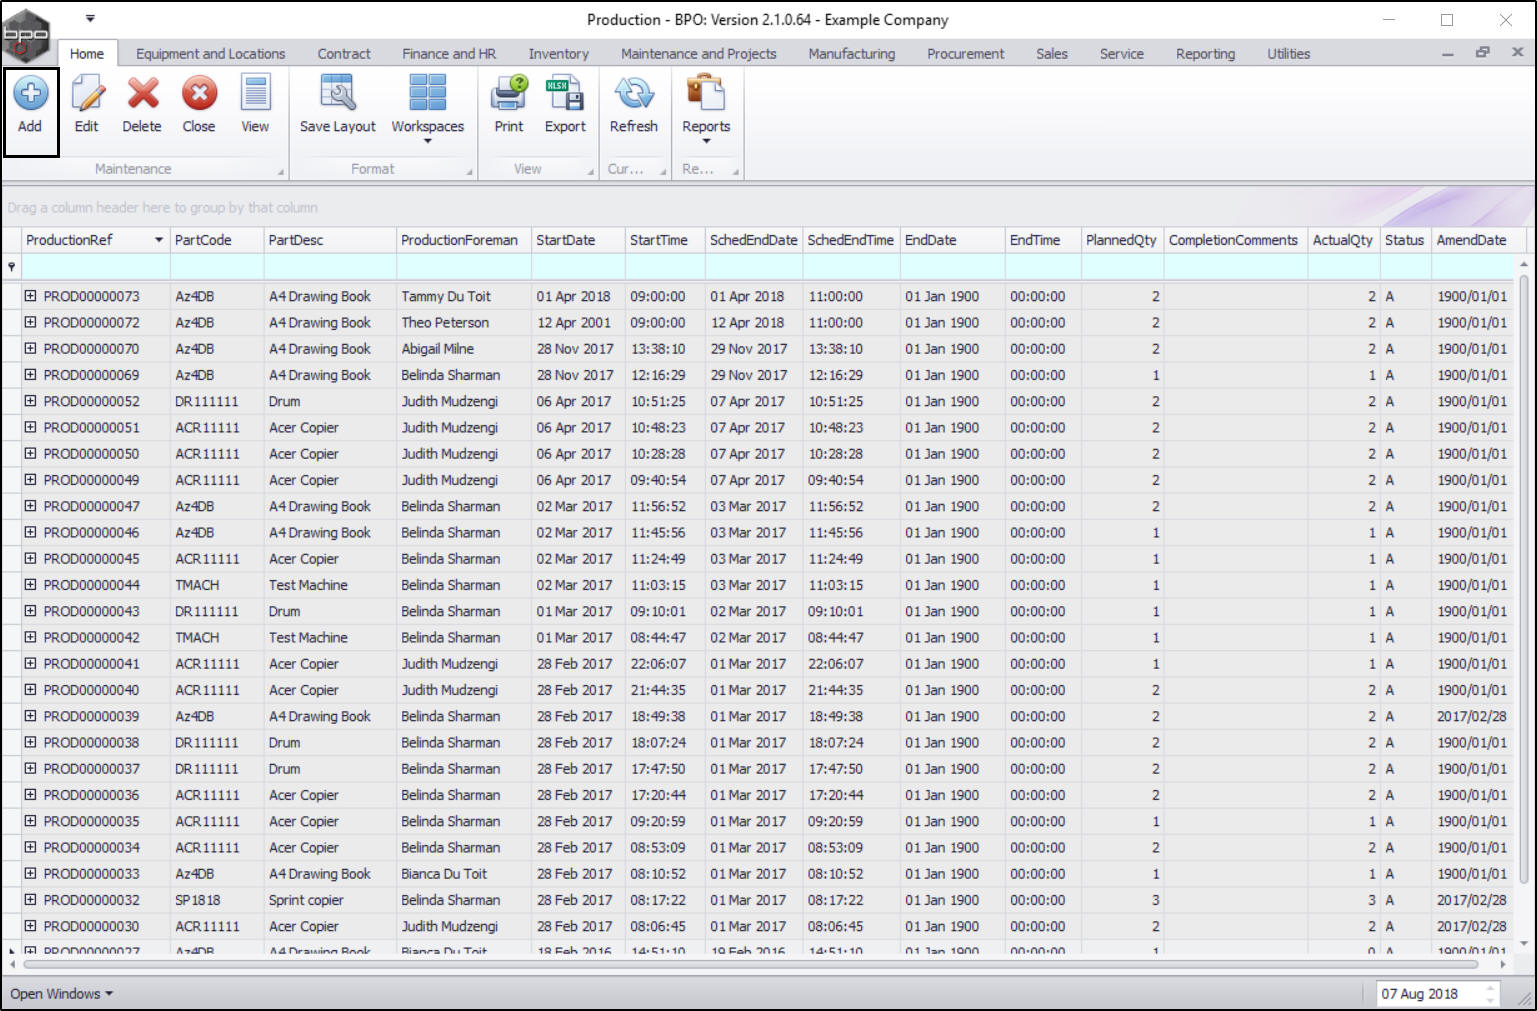
- The Production listing screen will be displayed.
Add a Production Run
- Click on Add.
Select Production Centre
- The Add new Production Run screen will be displayed.
- Click on the search button in the Production Centre field.

- A Select the Production Centre for this Production Run screen will pop up.
- Select the row of the preferred Production Centre.
- Click on Ok.

The selection will now populate the Production Centre field.
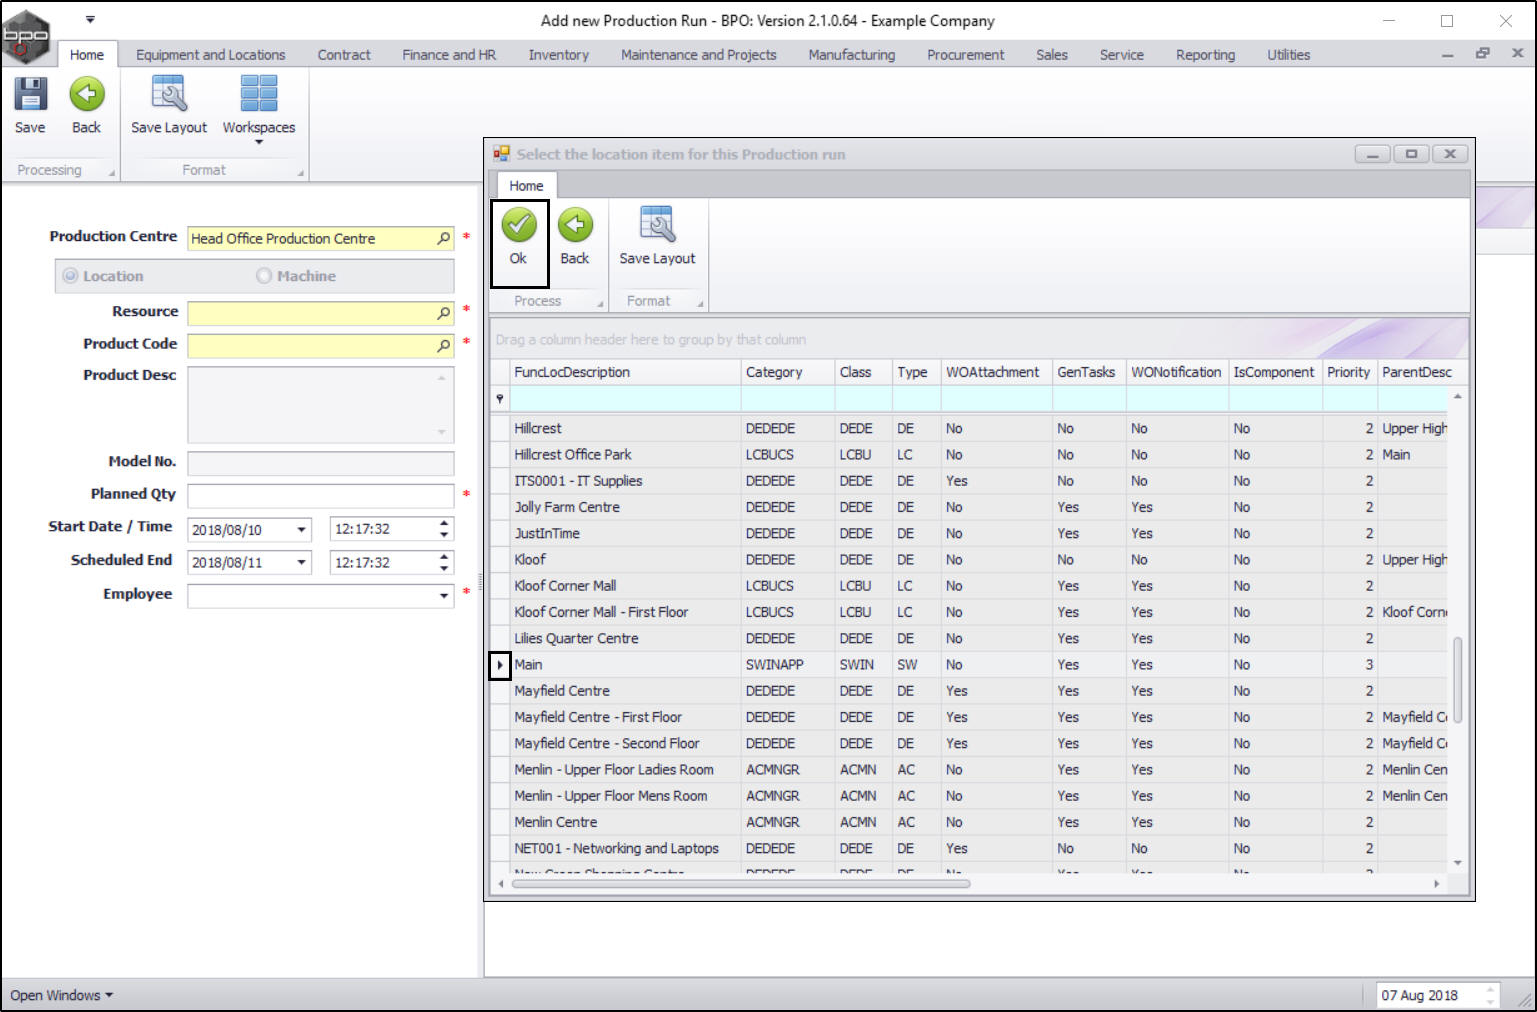
Select Resource
- The Location and Machine radio buttons are un-editable. (These buttons are set up for selecting the Resource Type).
- Click on the search button in the Resource field.

- The Select the location item for this Production run screen will pop up.
- Select the row of the preferred resource location.
- Click on Ok.
The selection will now populate the Resource field.
Select Product Code
- Click on the search button in the Product Code field.
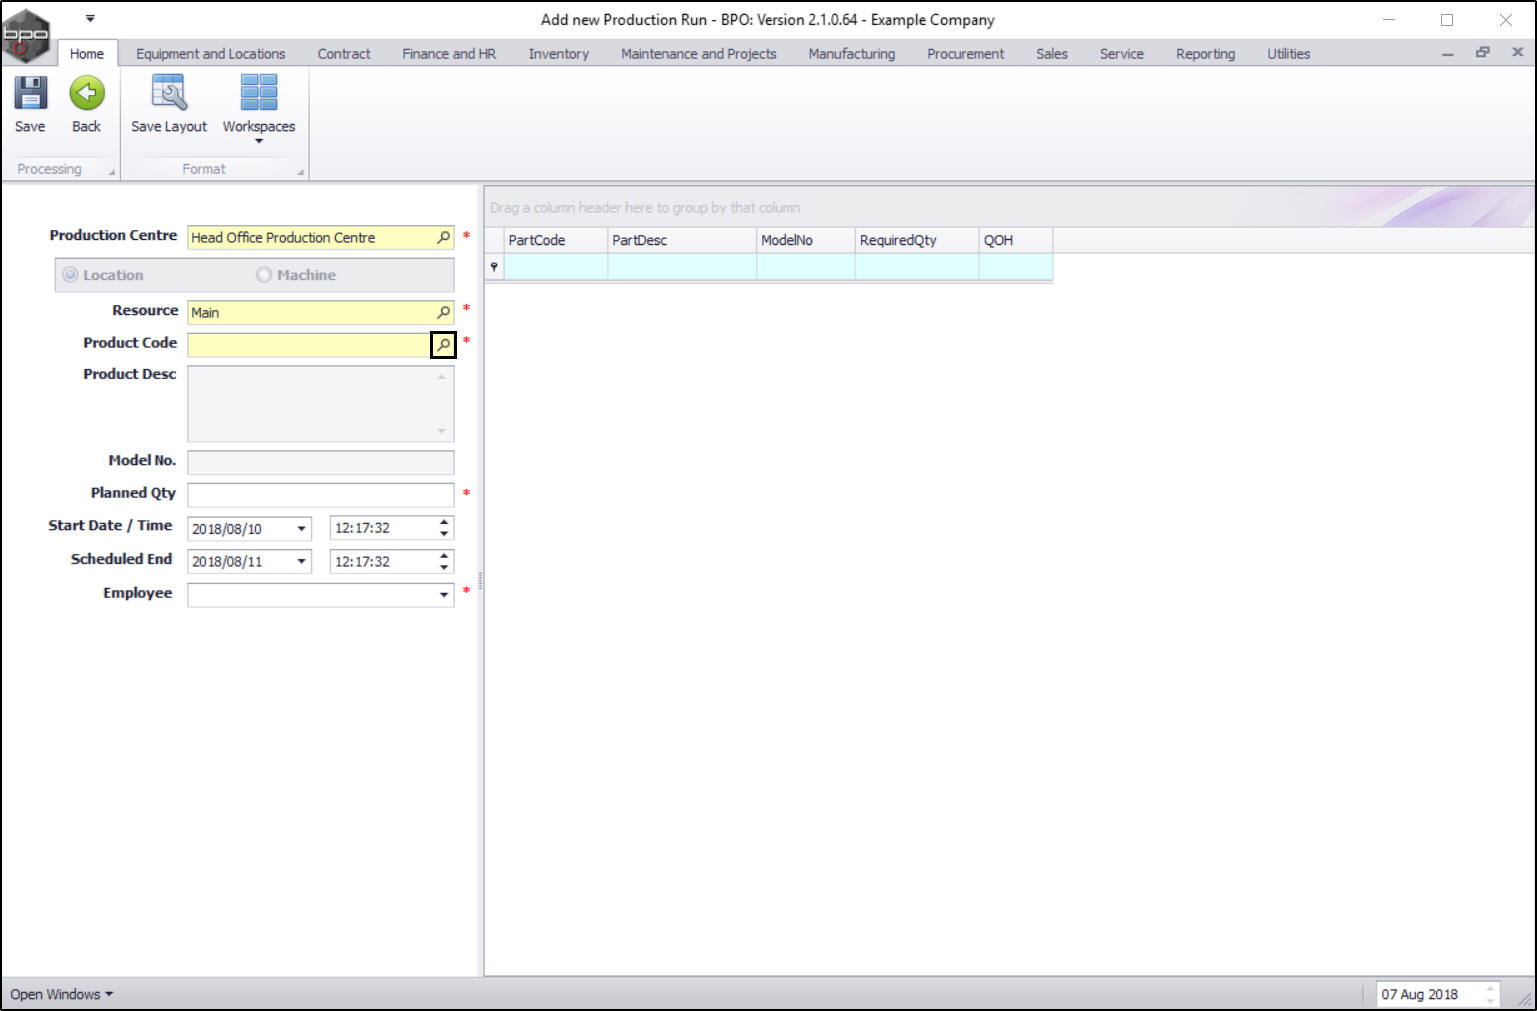
- The Select the Product for this Production Run screen will pop up.
- Select the row of the product you wish to create a production run for.
- Click on Ok.
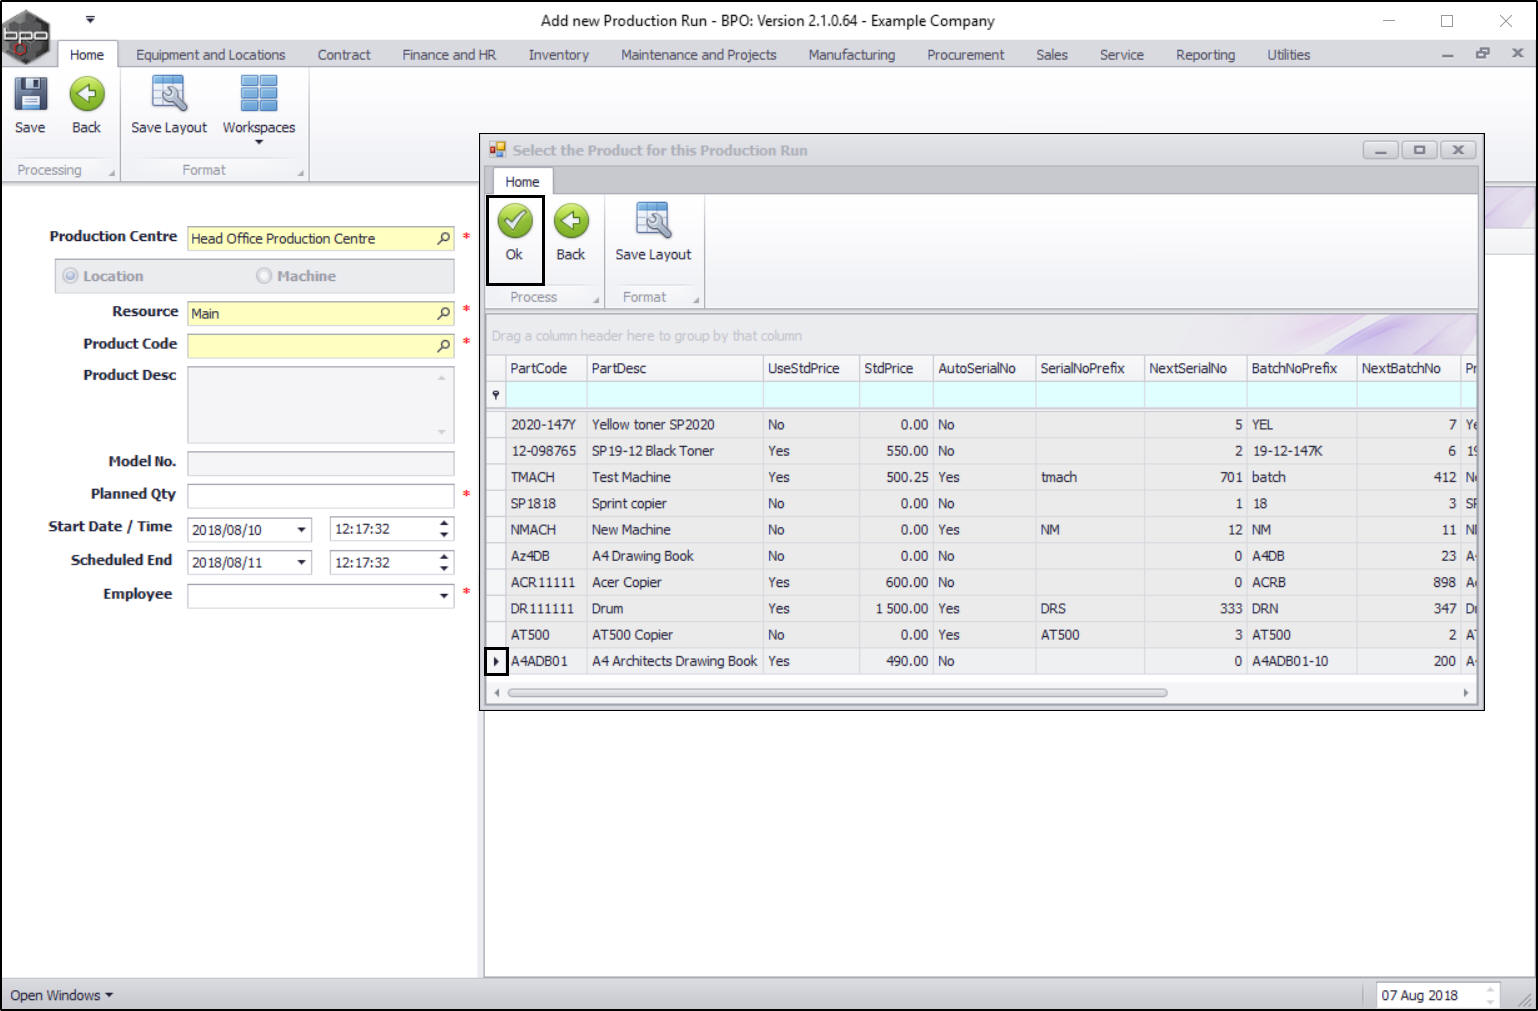
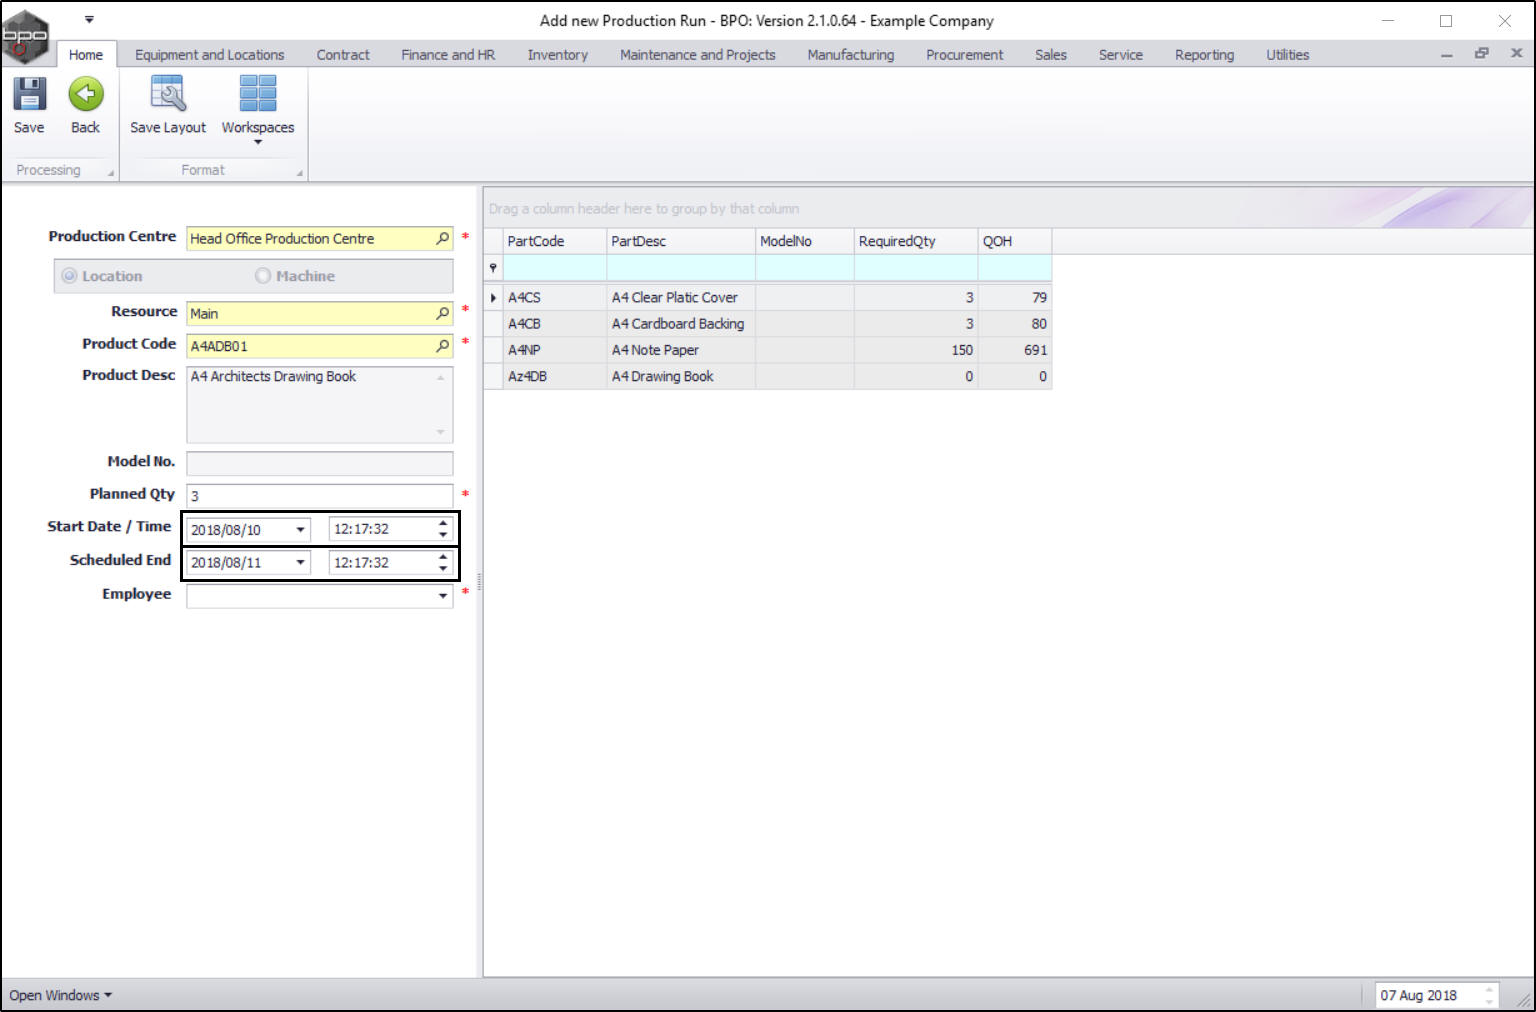
- The selection will result in the population of the Product Code, Product Description and Model No (if applicable) fields.

-
The parts data grid will also now populate with the
- Part Code
- Part Description
- Model No (if applicable) and
- QOH - Quantity on Hand

Planned Quantity
- Type in the quantity that you plan to manufacture.

Required Quantity
- When you have selected the Planned Quantity amount, the Parts data grid will now populate with the Required Quantity needed to complete the production run.
- Note: It is important to compare the QOH and Required Quantity column to see if you have enough stock on hand to fulfill the required quantity needed to complete the production run. If not, then you can complete the procure parts process if necessary.

Start and End Date / Time
- Start Date / Time: This will auto populate with the current date and time.
- Date: Either type in or click on the drop-down arrow and use the calendar function to select an alternative start date if required.
- Time: Either type in or use the arrow indicators to select an alternative start time if required.
- Scheduled End: This will auto populate with the current date and time plus 24 hours.
- Date: Either type in or click on the drop-down arrow and use the calendar function to select an alternative end date if required.
- Time: Either type in or use the arrow indicators to select an alternative end time if required.
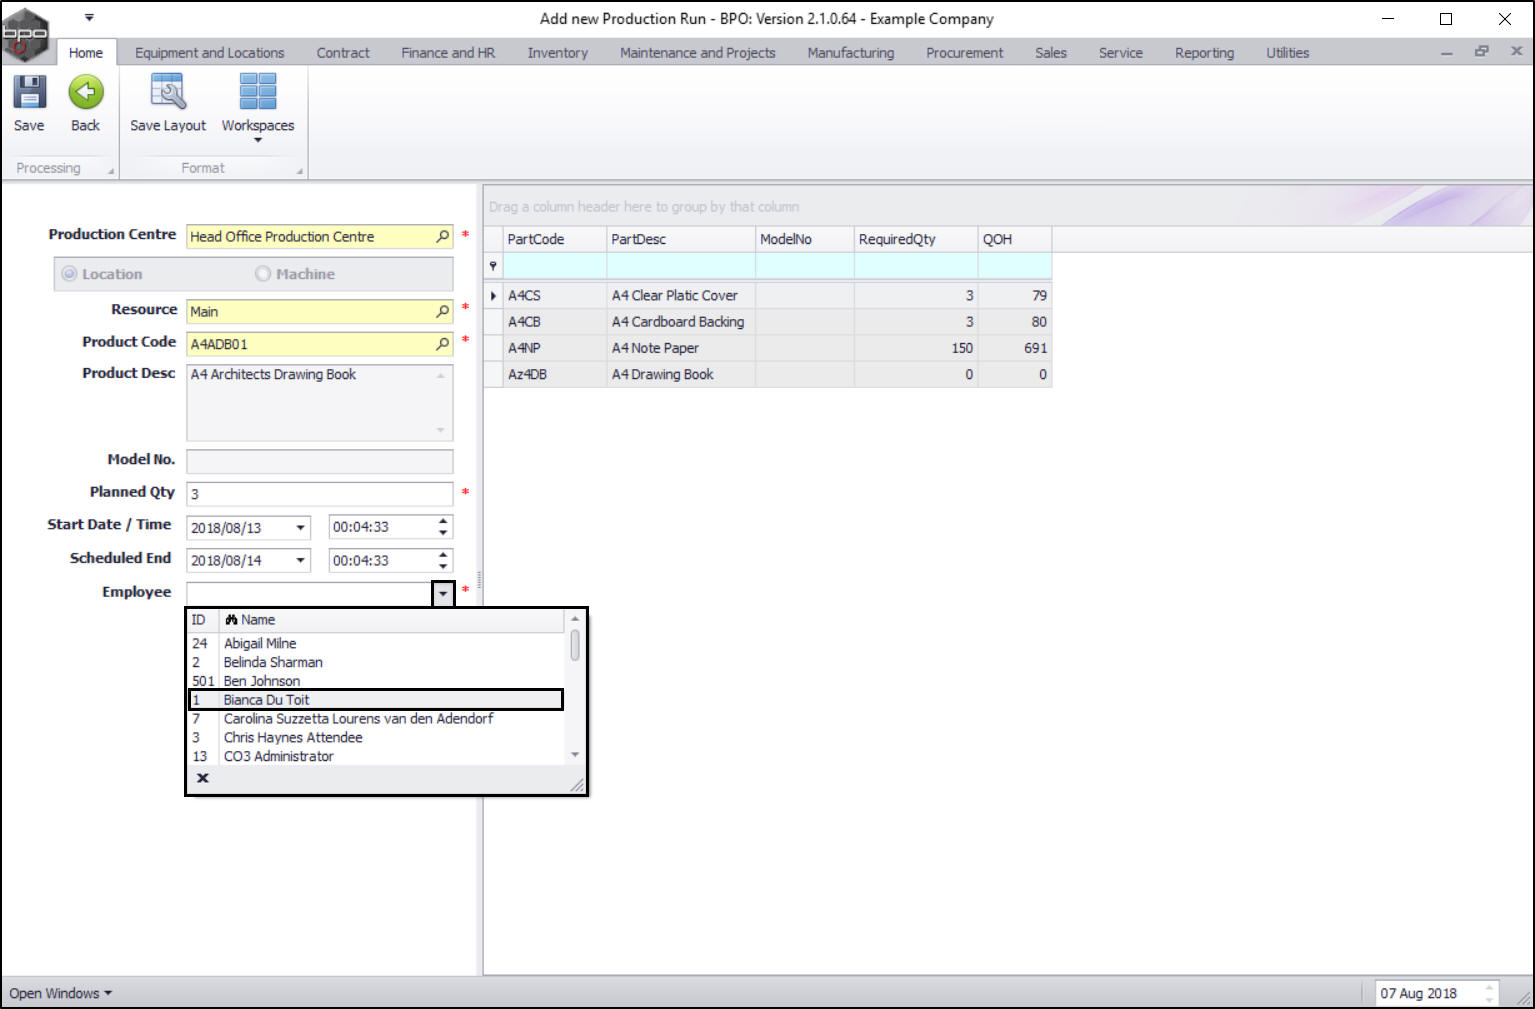
Select Responsible Employee
- Employee: Click on the drop-down arrow and select the employee responsible for this production run.
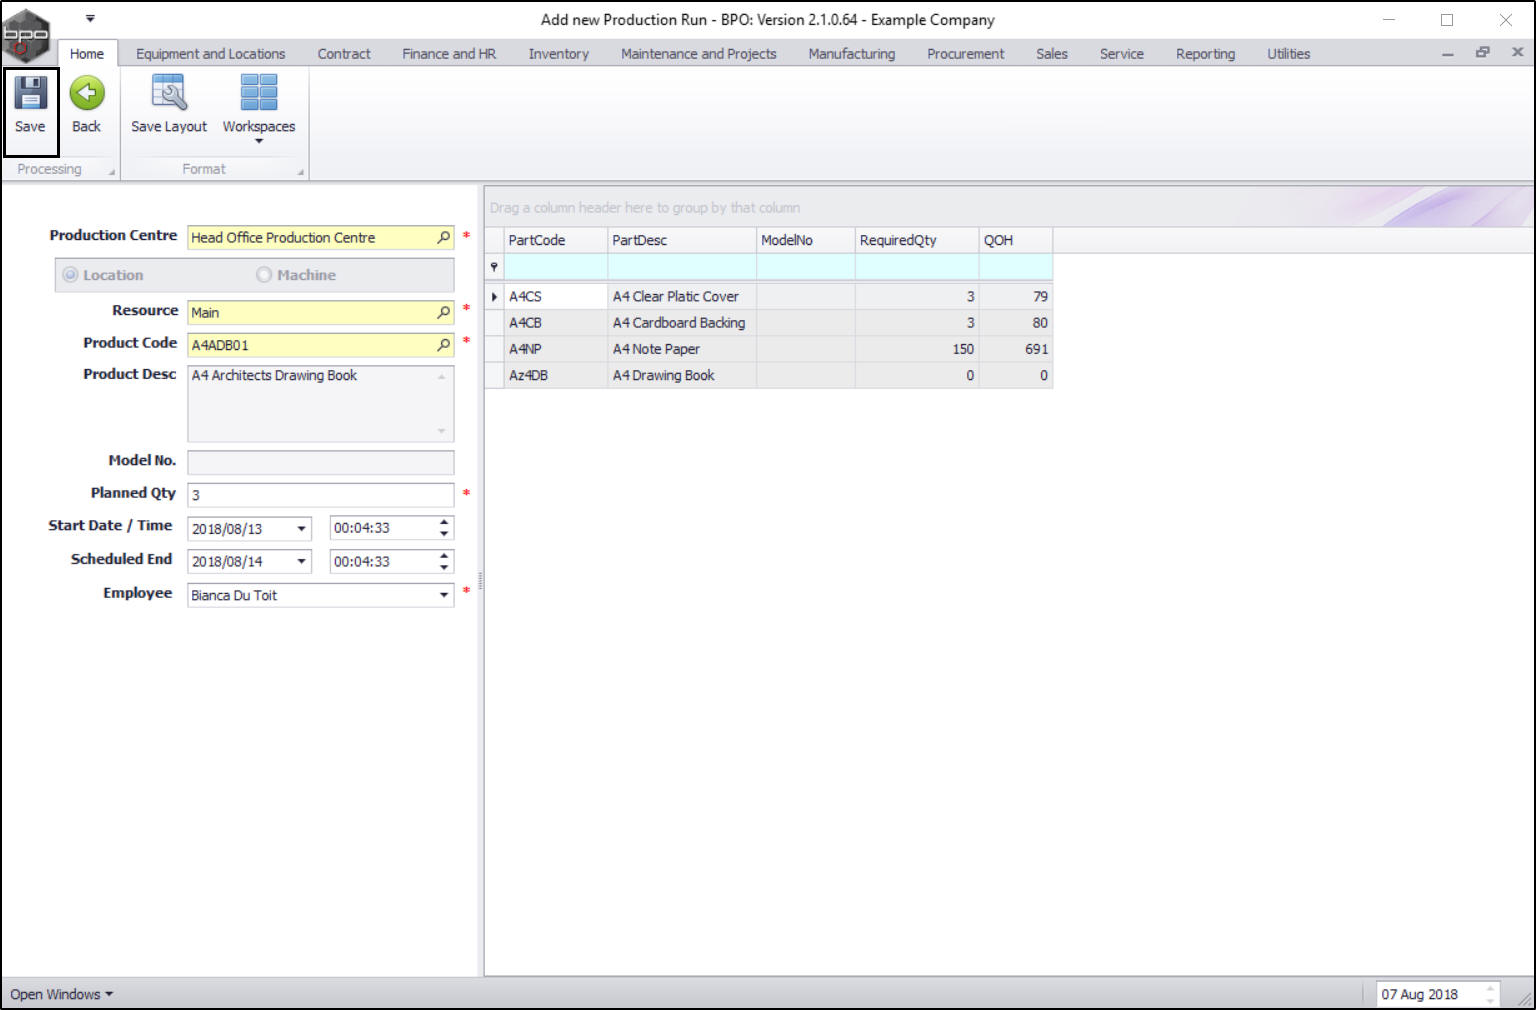
Save Details
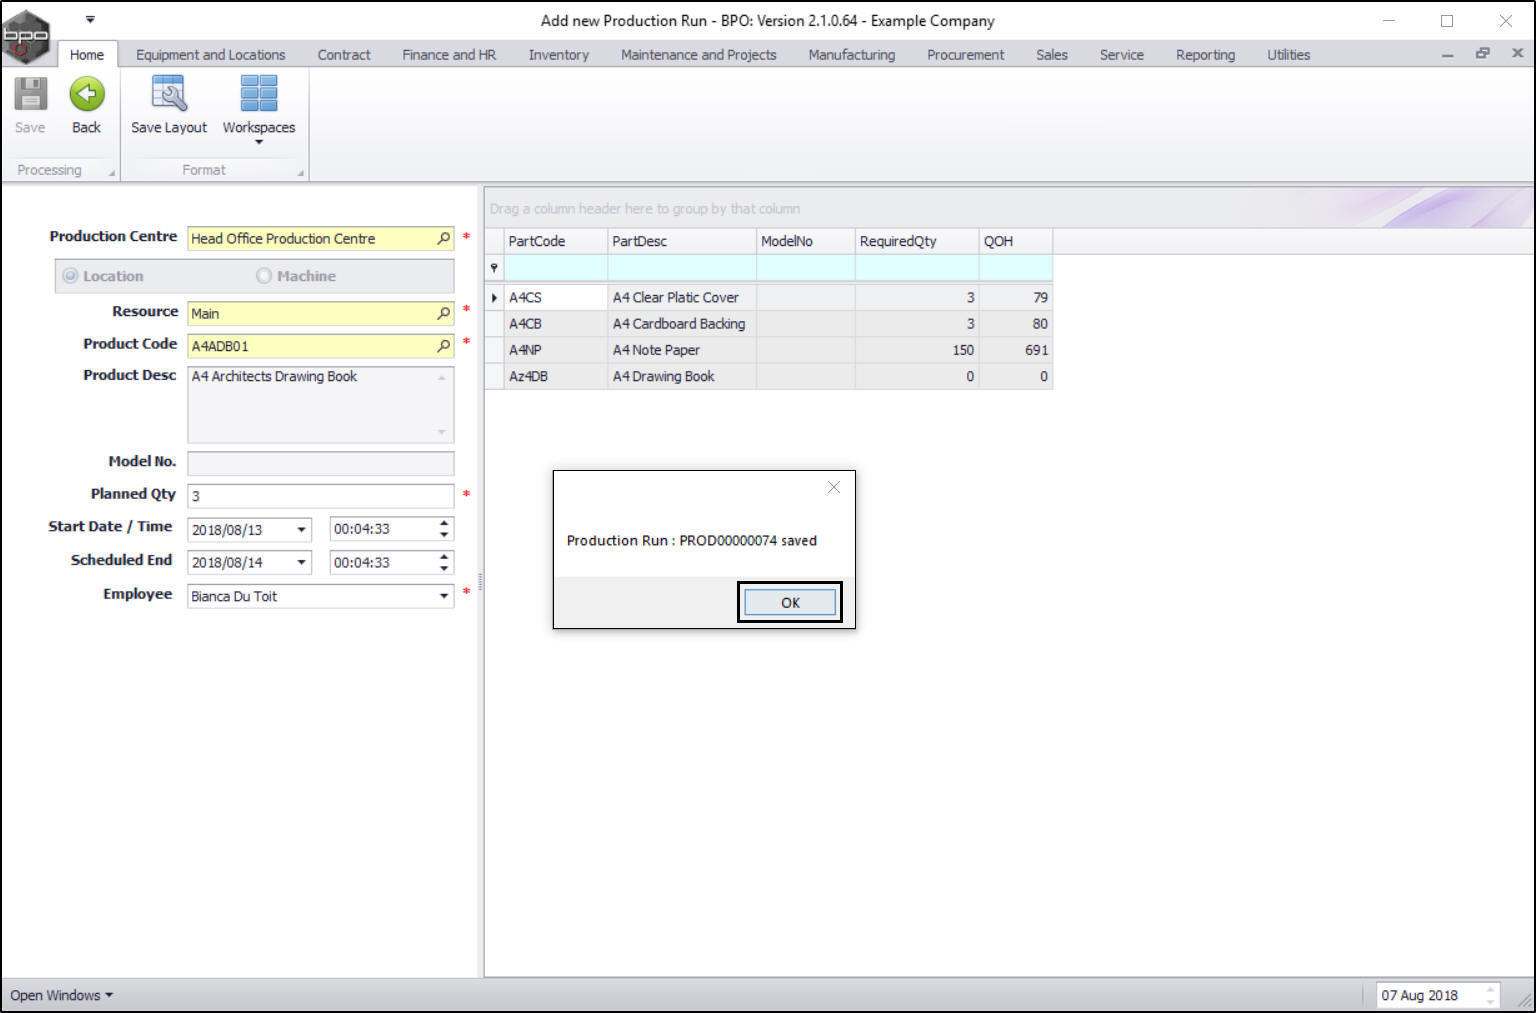
- When you have finished adding details to this screen, click on Save.
- A message box will pop up informing you that;
- Production Run: [ ] saved.
- Click on OK.
View New Production Run
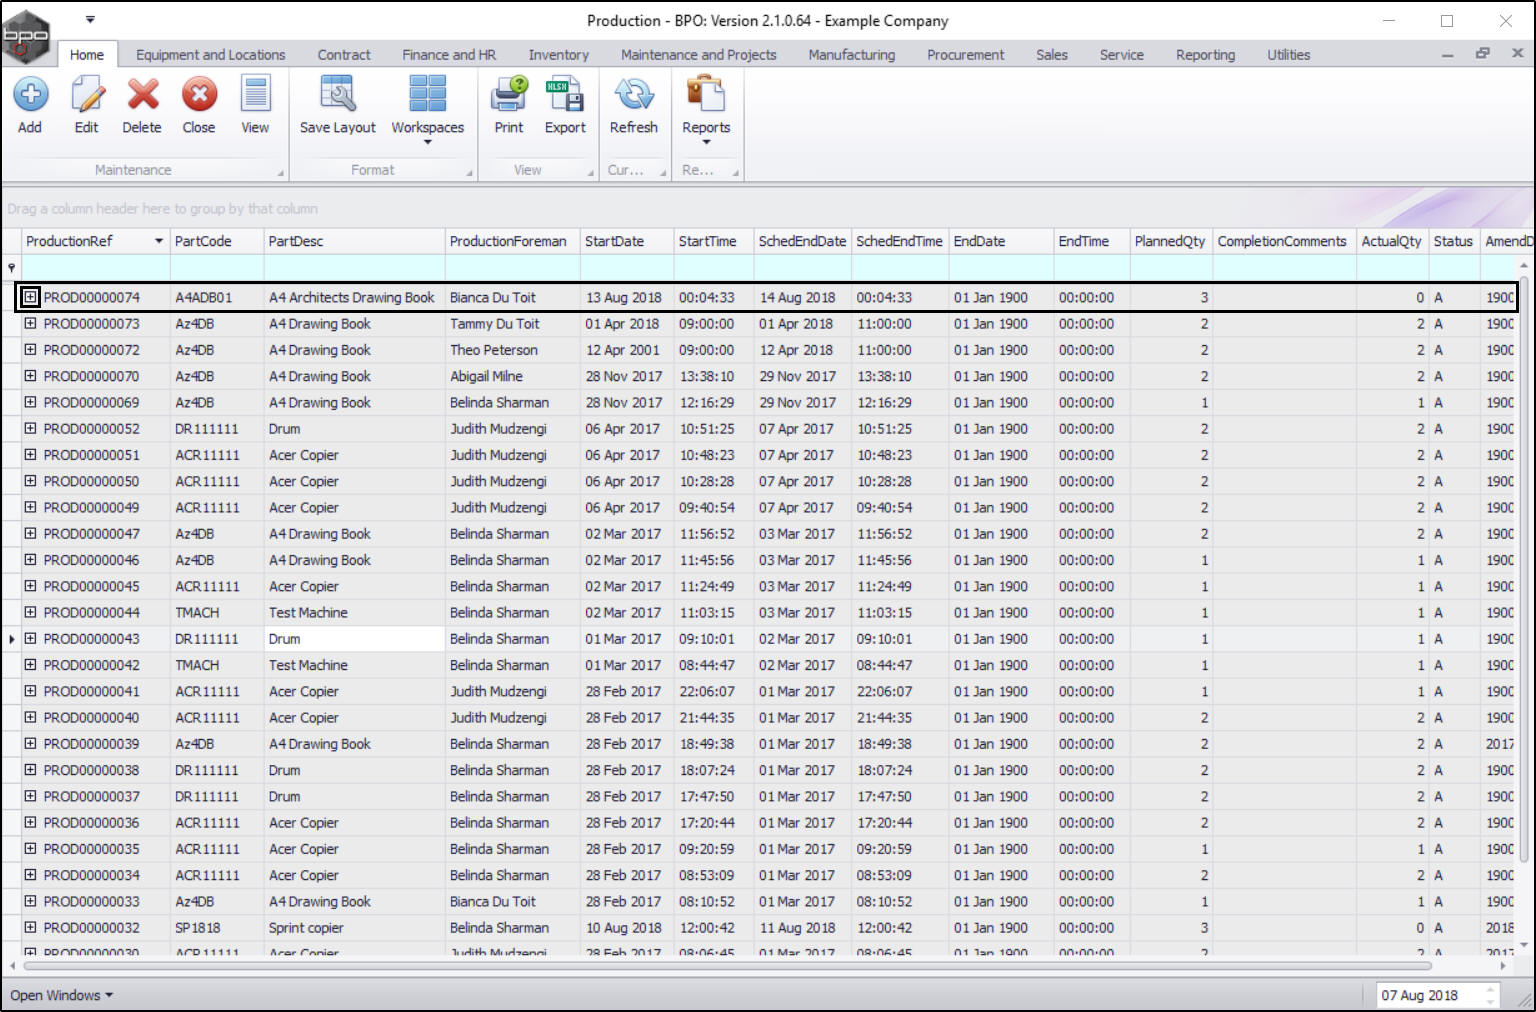
- You will return to the Production listing screen.
- The newly created production run has been added to the data grid.
View Linked Work Orders
-
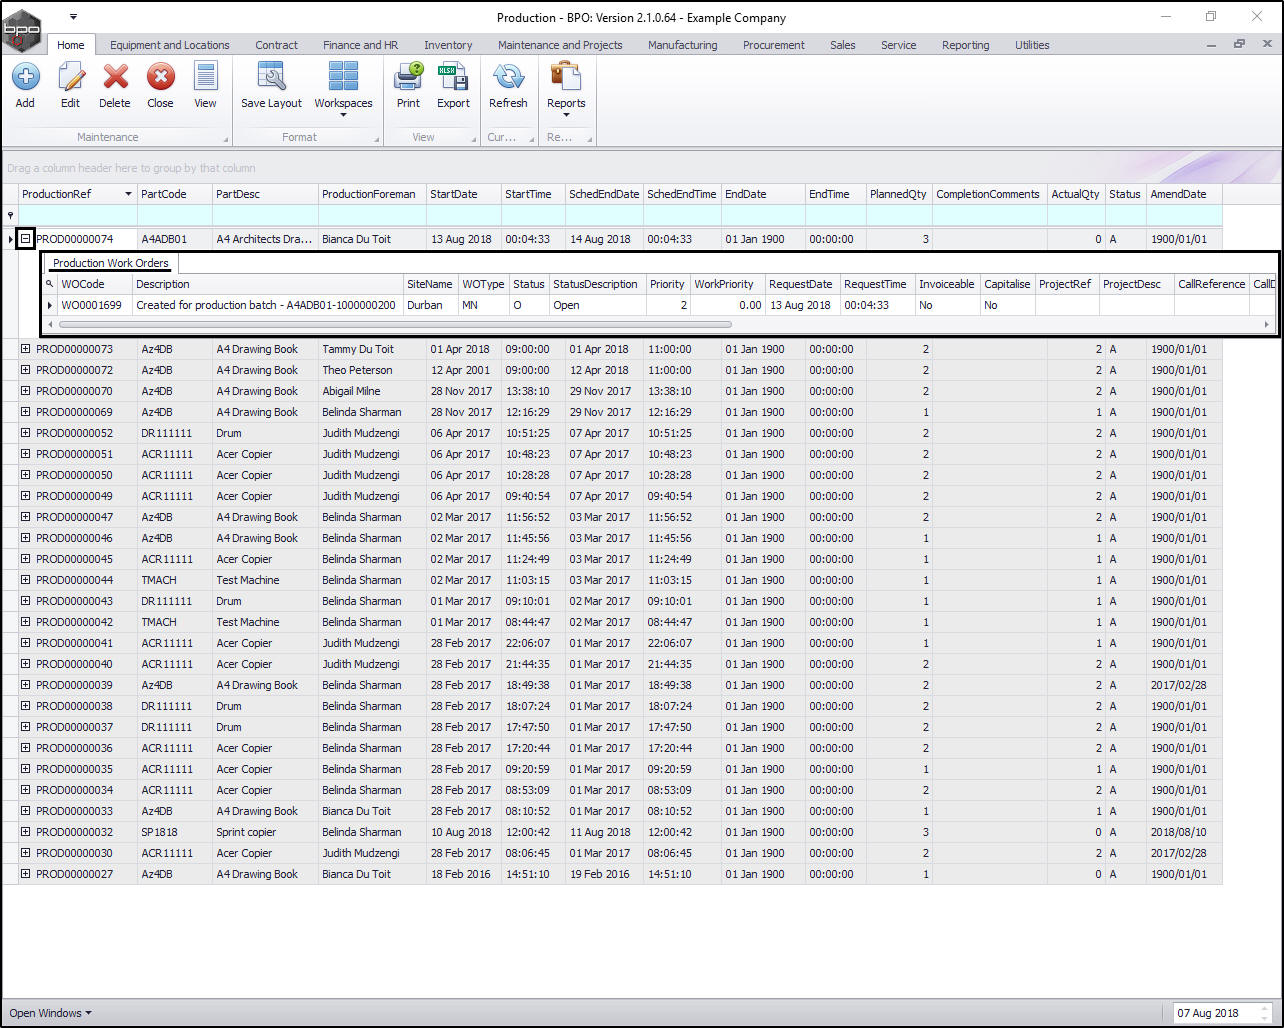
Click on the expand button in this new row.
- The Production Work Orders frame has been expanded.
- Here you can see that the system has linked work orders to this production run in order for the work to be carried out.
- Collapse the frame when you have finished viewing it.
MNU.051.004