Sales
POS Lite - Add Point of Sale (POS) Invoice
The point of sale (POS) feature enables a Customers to do sales transactions or process payments for products where the Customer has a stock outlet facility to the public. Using the point of sale feature will normally apply to C-Class stock items but may include A-Class and B-Class stock as well.
| Ribbon Access: Sales > POS Lite |

- The Invoices listing screen will be displayed.
- From here you can view a list of all the Cash Sale Invoices that have been processed.
- Click on Add.
![]() Short cut key: Right click to display the Process menu list. Click on Add.
Short cut key: Right click to display the Process menu list. Click on Add.

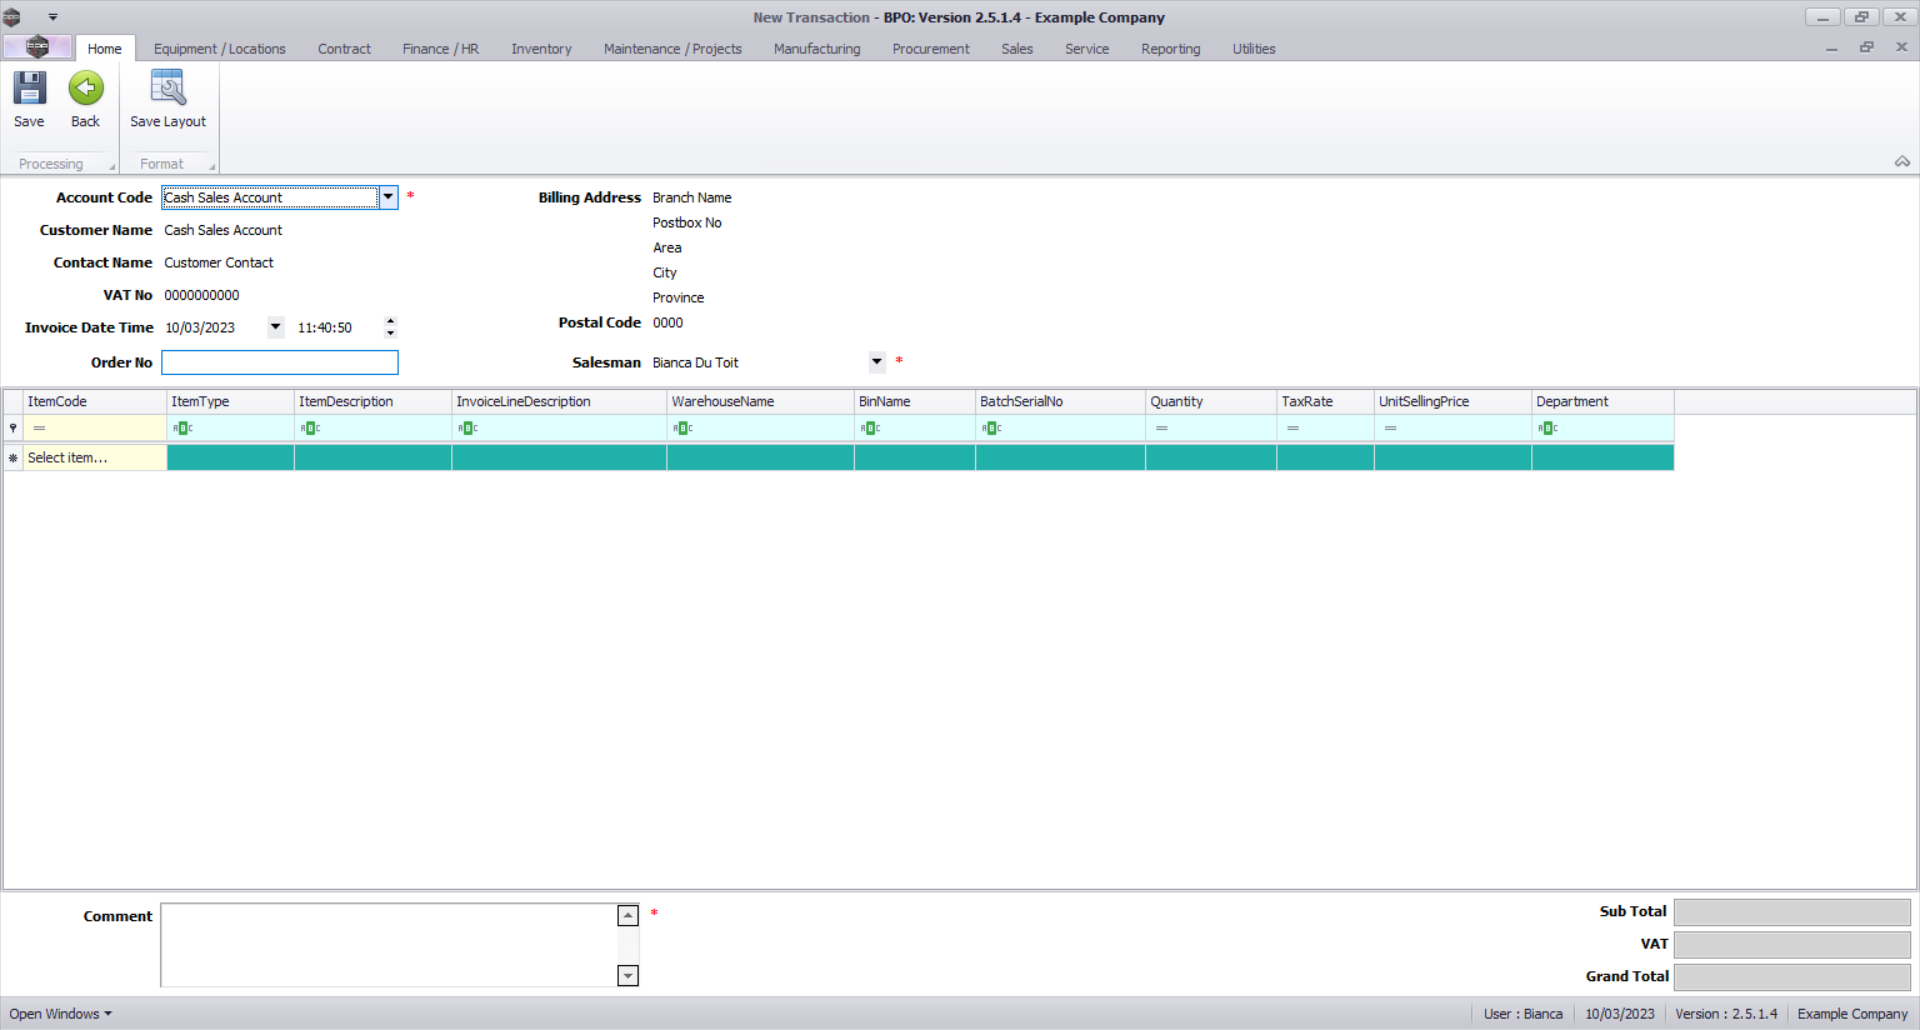
- The New Transaction screen will display.
Invoice Header Information
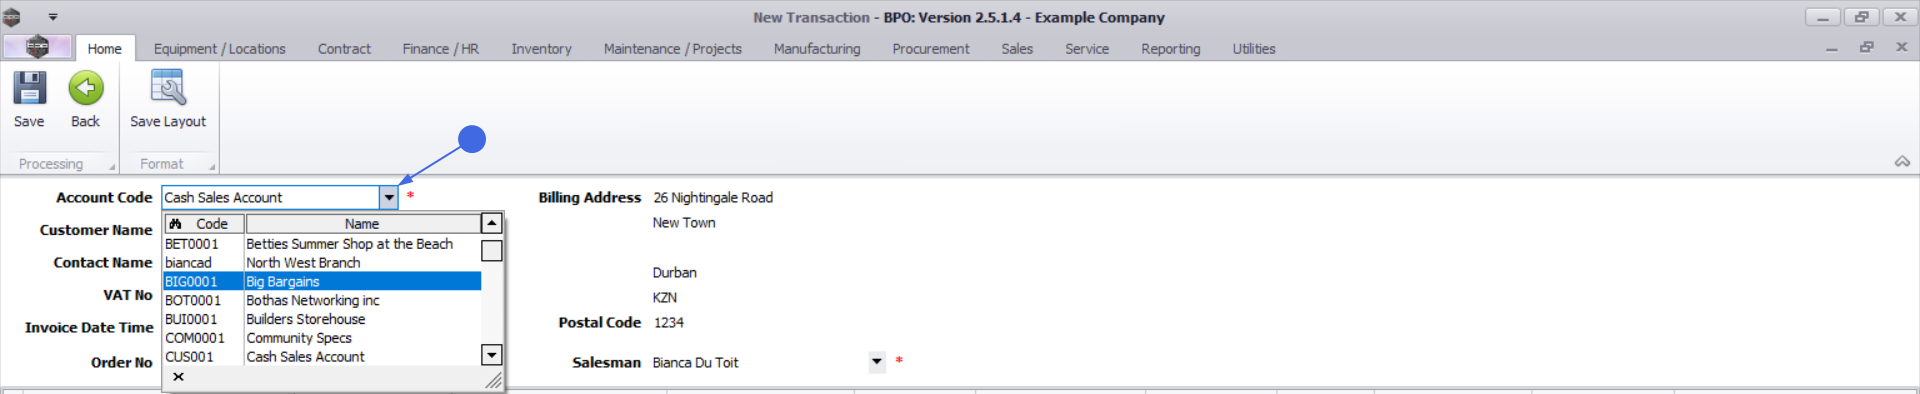
- Account Code: This field will populate by default based on the Customer Account configured in the Sales Office, which should ideally be a Cash Sale Customer.
- Click on the down arrow to display the Account Code menu.
- Select an alternative customer code from this list, if a specific customer is being invoiced.
- Click on the down arrow to display the Account Code menu.

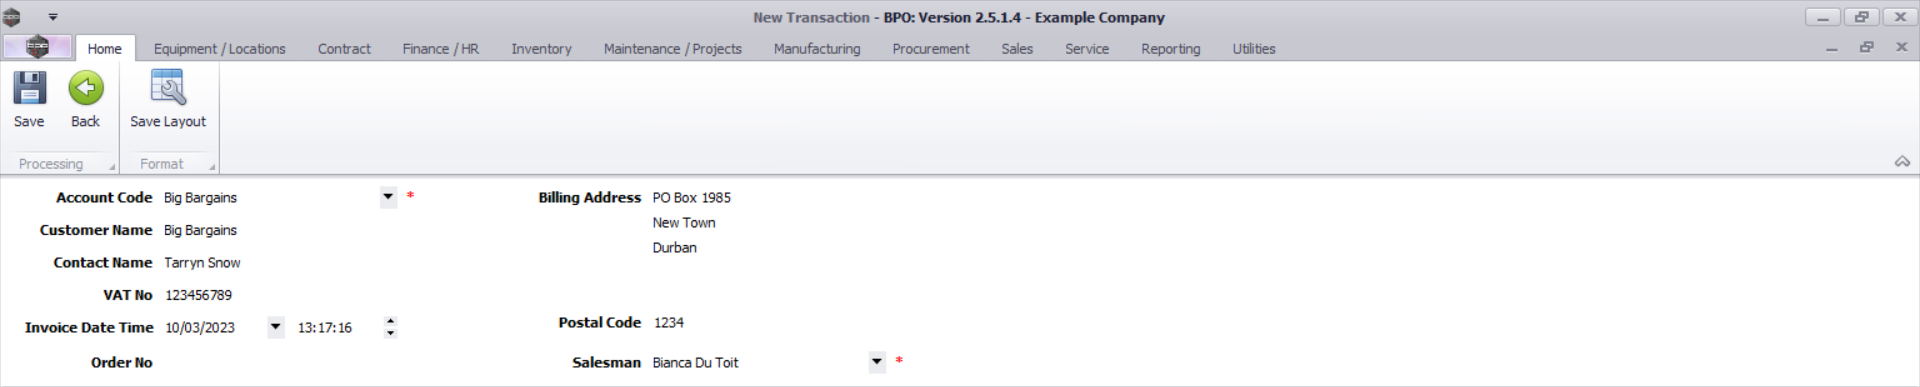
- Customer Name: If an account code for a customer was selected, then the customer name will auto populate, alternatively if this is a walk in customer - type a customer name.
- Contact Name: If an account code for a customer was selected, then this field will be populated with the name of the contact person for the Customer, alternatively if this is a walk in customer - type the name of the contact person.
- VAT No: This field will populate with the VAT number linked to the customer if a Customer Code was selected, alternatively type in the VAT number if required.
- Invoice Date and Time: These fields will auto populate with the current date and time the invoice was created.
- Invoice Date: Type in or click on the drop-down arrow to use the calendar function to select an alternative date, if required.
- Invoice Time: Type in or use the arrow indicators to select an alternative time, if required.
- Order No: Click in the field to type in the order number if an order is linked to the cash sales invoice.

- Billing Address: If a Customer Code was selected, then the billing address will populate with the address linked to the customer, alternatively type in a billing address for the customer.
- Postal Code: The postal code will populate with the Postal Code liked to the Customer Code selected, alternatively type the postal code for the customer.
- Salesman: The salesman field will populate with the employee currently logged onto the system. Click on the drop-down arrow to select a different salesman, if required.
Add Items to the Invoice
Item Code, Stock Codes and Part Number
- Click in the Item Code text box to display the down arrow.
- Click on the down arrow to display a list of stock codes specific to the POS Auto Issue warehouse on the drop down menu.
- Select the required part number from the list.
- The example has item 2020-147K selected.
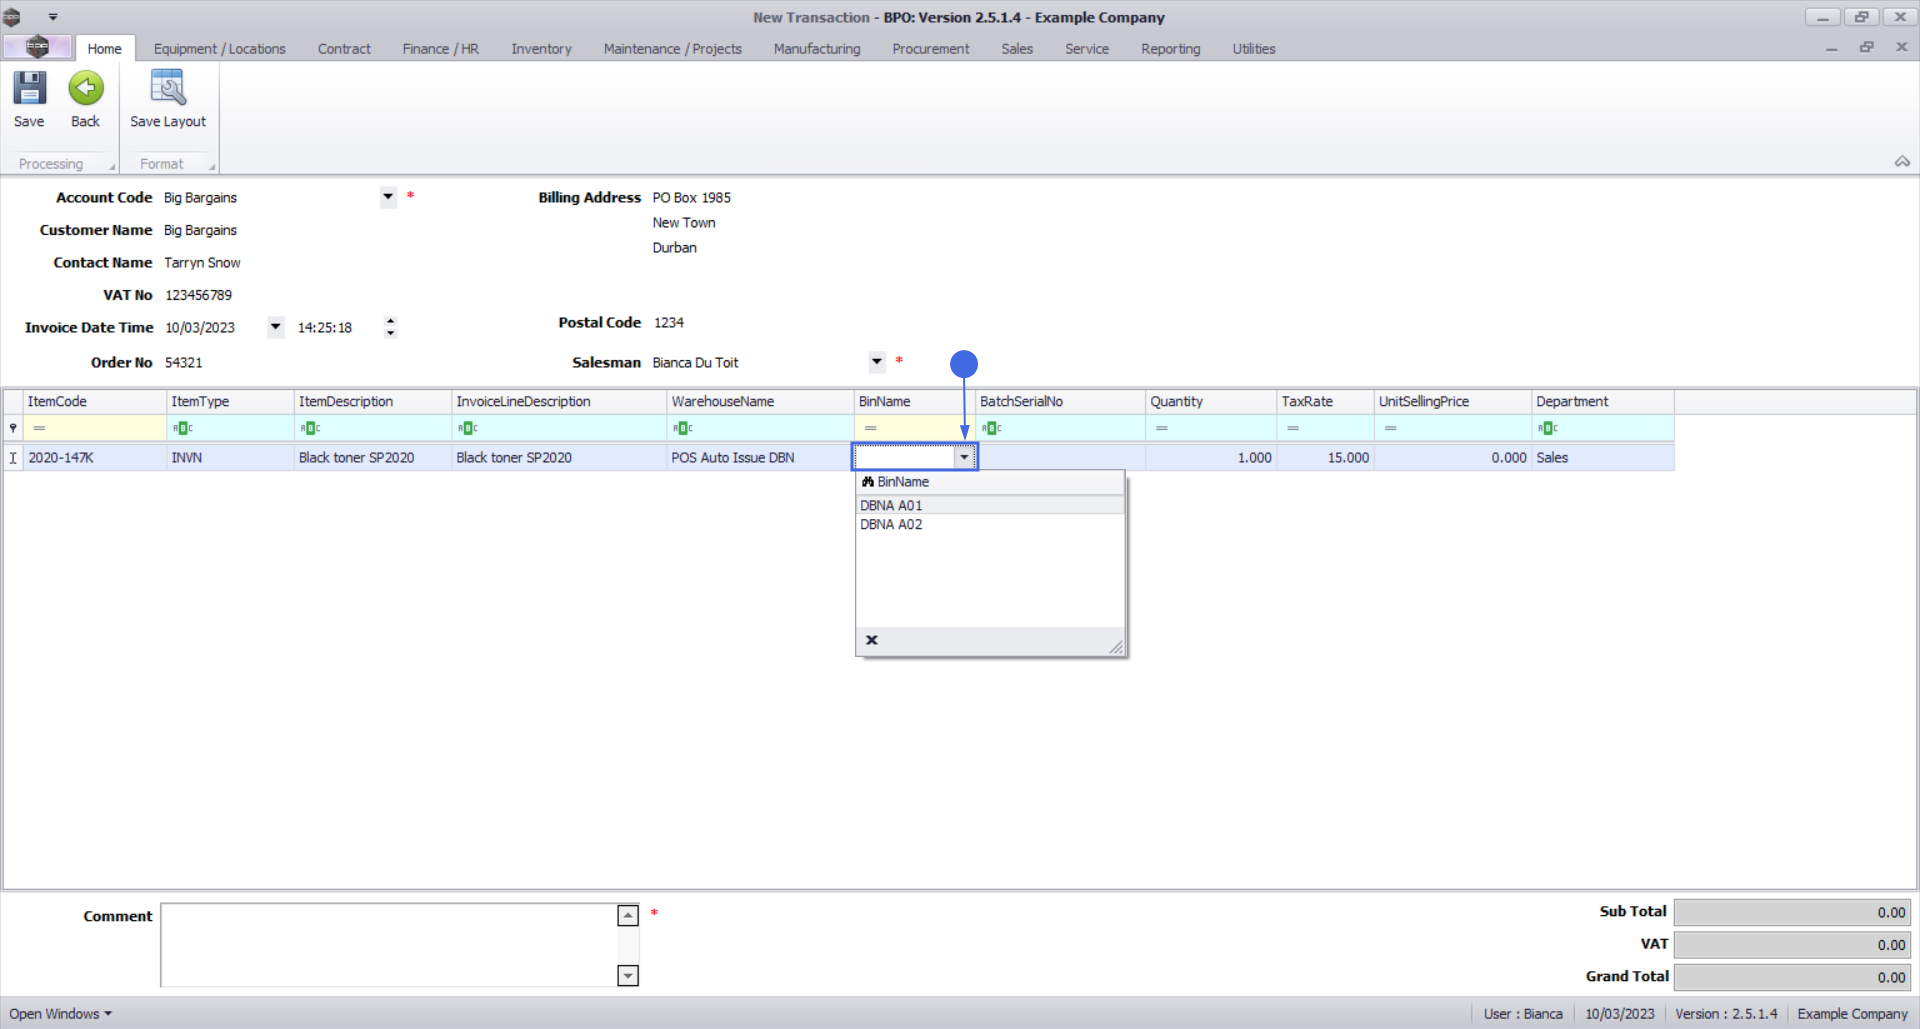
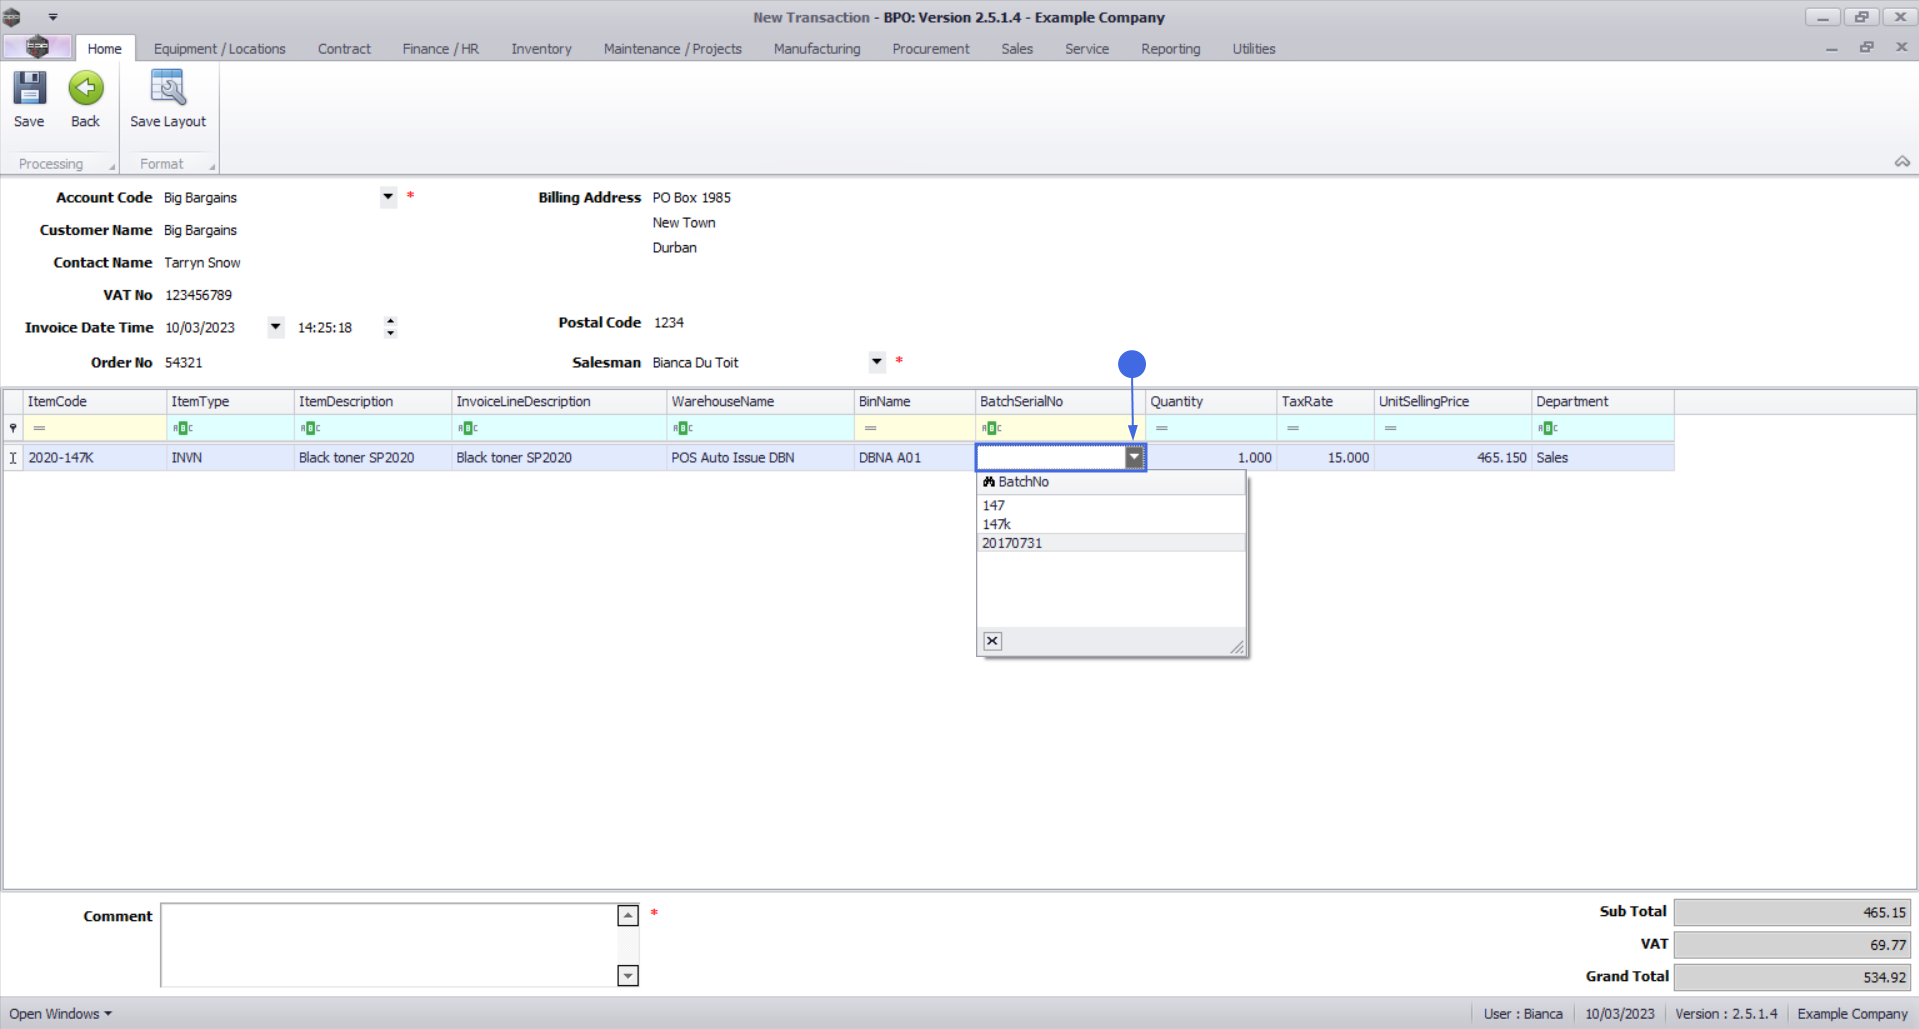
Batch Serial Number
This field serves two purposes depending on the part type:
- Batch Number selection for C-class (or non-serialised stock items). Note that this is only required for Batch Tracking environments where multiple stock batch exist.
- Serial Number selection for A-class and B-class (or serialised stock items). This applies to all environments.
Batch Tracking environment for C-Class items
The example explains the process for batch tracking environments for C-class items.
- The Item Type, Item Code and Invoice Line Description fields will populate according to the Item Code selected above.
- Batch Serial No: If your system is configured for Batch Tracking C-Class items, and you are invoicing a non-serialised item, then you will need to select the stock batch that you are issuing from the Batch Serial No column.
- Click in the Batch Serial No field to display a down arrow.
- The Batch Serial No drop-down menu will display.
- Select the batch number from which you wish to issue this stock item.
Quantity, Unit Selling Price and Department
- Quantity: The quantity is set to 1 by default. Click in the text box to type in or use the directional arrows to select the quantity required.
- Unit Selling Price: The unit selling price field will auto populate, but the amount can be modified, if applicable.
- Department: The department will display Sales, as configured by the Sales Office.
Additional Invoice Items
- After completing an Item line, press the Enter or Tab key or click anywhere in the data grid to open a new Item line. Continue adding items as required.
Delete Item
Incorrect line items can be removed from the invoice before is has been saved.
-
 Right click on the line item you wish to remove to display the Process menu.
- Click on Delete - Delete Item
- When you receive the Delete Row message to confirm;
- Are you sure you want to delete this row for item [item code].
- Click on Yes to delete the row item, or
- Click on No to ignore the request and to leave the item row on the invoice.
Comment Text box
- Click in the Comment text box to type in a comment for the invoice. The comment will display on the Invoice when it is printed.
 Note that this is a mandatory field.
Save the Invoice
- Click on Save.

- When you receive the Customer Processing message to confirm;
- New invoice has been created : [customer code]
- Click on OK.

The Invoices listing screen will be updated with the newly created POS Invoice.

MNU.068.001