Service
Calls - Loan Units
You can request a loan machine to be issued and sent out to a client whilst their machine is being repaired.
The Loan Unit Request will be raised against the Repair Call.
The loan unit must be returned before the call can be closed.
Delivery and Collection Notes can be printed to authorise the delivery and collection of the loan unit.
Loan machines must be Internal Assets (you can convert a stock item to an asset in BPO, if required).
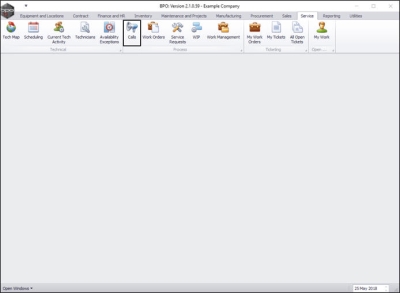
| Ribbon Access: Service > Calls |
-
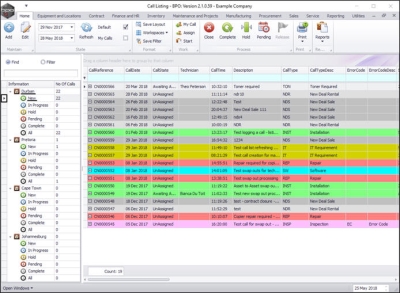
The Call Listing screen will be displayed.
- Select the site and status.
- In this image, the Durban site and the New status have been selected.
Request Loan Unit Issue
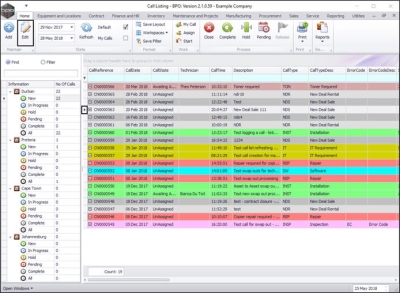
- Click on the row selector in front of the call that you wish to issue the loan unit request against.
- Click on Edit.
-
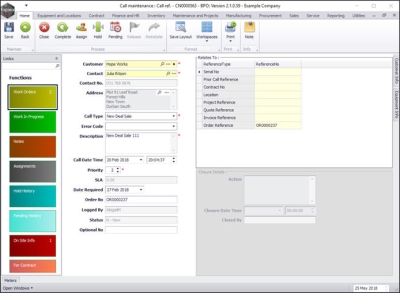
The Call maintenance: Call ref. - [ ] screen will be displayed.
- Click on the Work Orders tile.
-
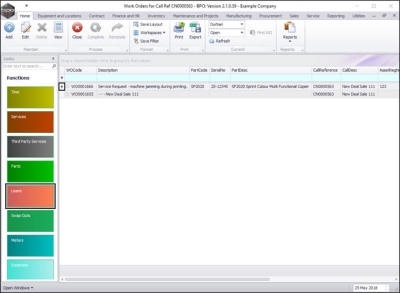
The Work Orders for Call Ref [ ] listing screen will be displayed.
- Click on the row selector in front of the work order that you wish to link a loan unit to.
- Click on the Loans tile.
-
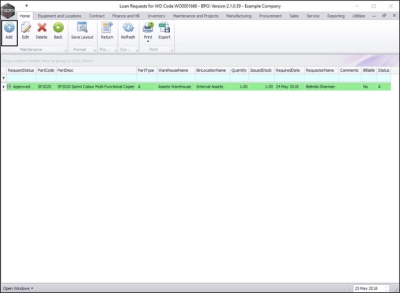
The Loan Requests for WO Code [ ] listing screen will be displayed.
- Click on Add.
-
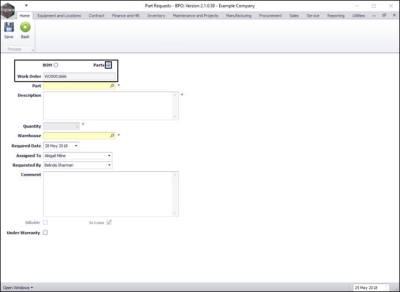
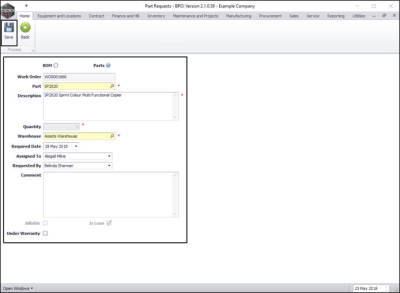
The Part Requests screen will be displayed.
- BOM or Parts: Select the Parts radio button.
- Work Order: This field will be auto populated by the work order number initially selected in the previous steps of this process.
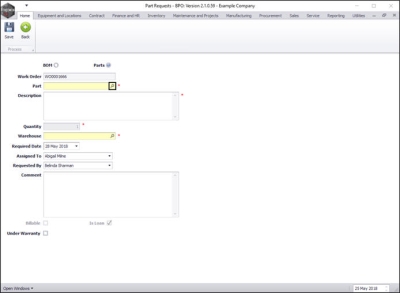
- Part: Click on the search button in this field.
-
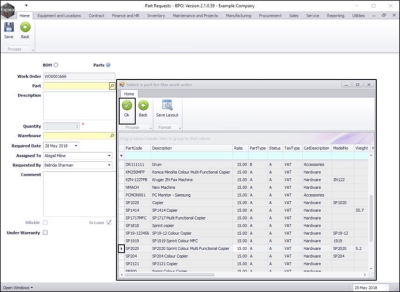
The Select a part for this work order screen will pop up.
- Click on the row selector in front of the part you wish to link to this loan request.
- Note: The loan item selected should preferably be the same model as the item being repaired, to ensure minimum usage disruption during the loan period. In this example an SP2020 Sprint copier machine is being repaired so the selected loan machine is also an SP2020 Sprint machine.
- Click on Ok.
- Part: This field will now be populated with the part code selected in the previous step.
- Description: This field will now be populated based on the part code initially selected.
- Quantity: This field is set to 1 and is not editable.
- Warehouse: The system will populate this field, as this request must be against the Assets warehouse
- Required Date: This will auto populate with the current date, You can either type in or click on the drop down arrow and use the calendar function to select an alternative date if required.
- Assigned To: Click on the drop down arrow and select from the menu, the person responsible for the part request.
- Requested By: Click on the drop down arrow and select from the menu, the person who initiated this part request.
- Comments: Type in any comments, if required.
- Is Billable: You will note that you cannot make this item Billable.
- Is Loan: You will see this request is automatically marked as a loan unit.
- Under Warranty: Click in this check box if this loan unit is under warranty.
- When you have finished editing the details in this screen, click on Save.
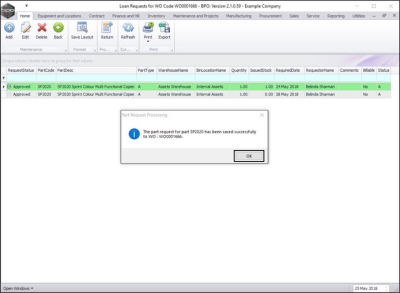
- You will return to the Loan Requests for WO Code [ ] listing screen.
- A Part Request Processing message box will pop up informing you that;
- The part request for part [ ] has been saved successfully to WO: [ ].
- Click on Ok.
Print Loan Unit Delivery Note
-
Note:
This can only be done after
Adding the Loan Unit Meter Reading
and the
Loan unit has been issued.
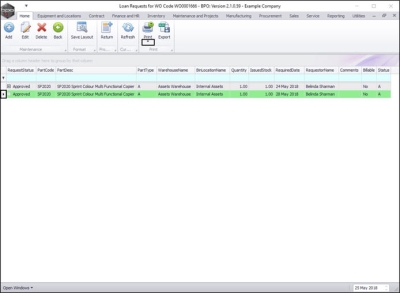
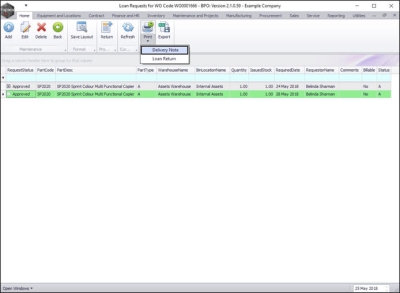
- Click in front of the issued loan unit request.
- Click on drop down arrow on the Print button.
- A Print options menu will be displayed.
- Click on Delivery Note.
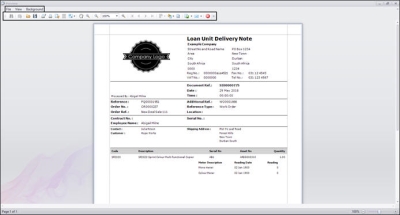
- The Loan Unit Delivery Note report preview screen will be displayed.
- From here you can View, Print, Export or Email the delivery note.
- Close the Report Preview screen when you are done.
Request Loan Unit Return
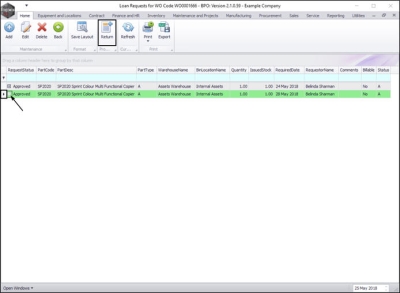
- Click on the row selector in front of the loan unit request that you wish to return.
- Click on Return.
- You will note in this image that the expand button next to the row selector is 'feint' this indicates that the frame does not contain any information (in this case, a Loan Return Request) yet.
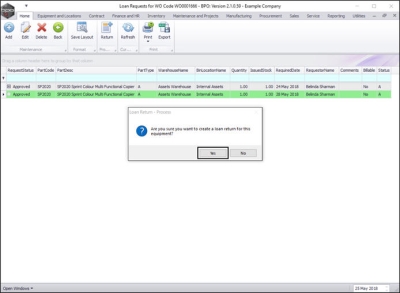
- A Loan Return - Process message box will pop up, asking;
- Are you sure you want to create a loan return for this equipment?
- Click on Yes.
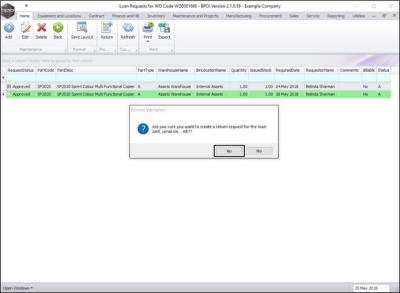
- A Process Validation message box will pop up asking;
- Are you sure you want to create a return request for the loan unit, serial no.- [ ] ?
- Click on Yes.
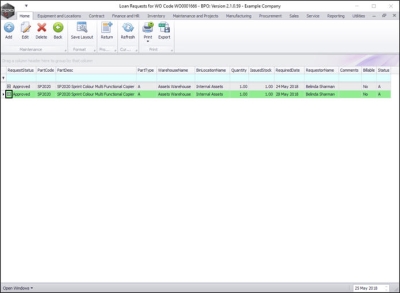
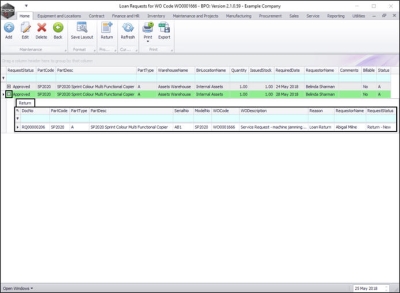
- Click on the expand button in the row of the loan request.
- You will note that this button is now 'bold' indicating that there is now content, (a Loan Return Request) here.
- The loan unit Return frame will be expanded.
- Now you can view the details of the Return Request here and you will now be able to print the Loan Return Note.
- Collapse the Return frame when you have finished viewing the information.
Print Loan Return Note
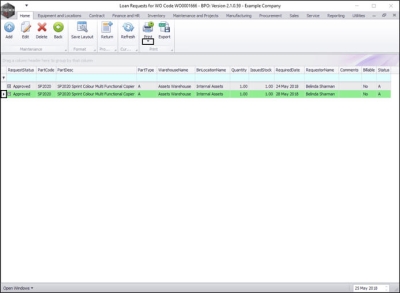
- Ensure that the row selector is in front of the loan request that you wish to print the return note for.
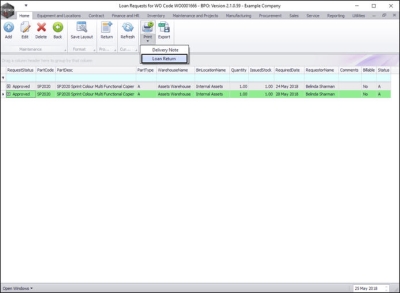
- Click on the drop down arrow on the Print button.
- A Print options menu will be displayed.
- Click on Loan Return.
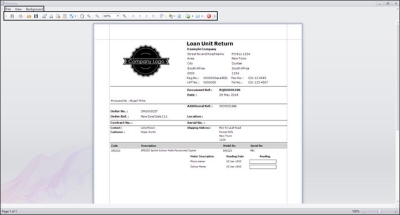
- The Loan Unit Return report preview screen will be displayed.
- From here you can View, Print, Export or Email the document.
- Close the report preview screen when you are done.
The unit can then be returned, and the meter reading updated:
MNU.122.026
