Human Resources
View, Add, Edit, Delete Shifts
Setting up shifts is important for workload scheduling and SLA Monitoring.
1 normal work week shift is required for technicians and SLA monitoring.
Additional shifts can be added for customers that have different trading hours, and subsequently linked to the relevant employee(s).
Normally, shifts will have 7 days (for a standard week).
The Shifts docking panel lists all the shifts assigned to the selected employee.
| Ribbon Access: Finance and HR > Employees |
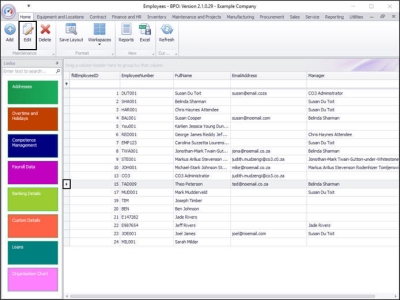
The Employees listing screen will open.
Select Employee
- Click on the row selector in front of the employee you wish to assign a shift to.
- Click on Edit.
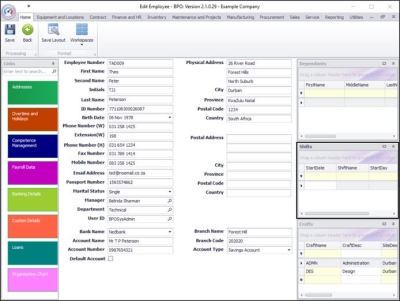
The Edit Employee screen will be displayed.
The Shifts Panel
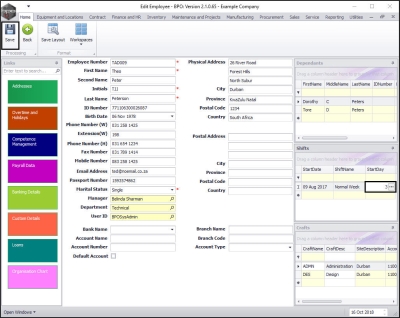
- The Shifts docking panel is on the right-hand side of this screen.
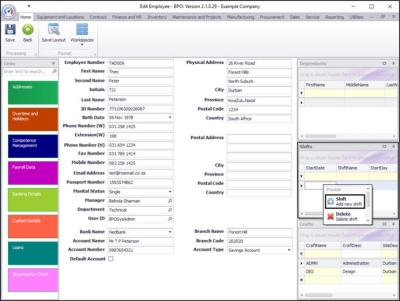
- Right click in any row (except the filter row) to display a pop-up Process menu.
- Click on Shift - Add new shift.
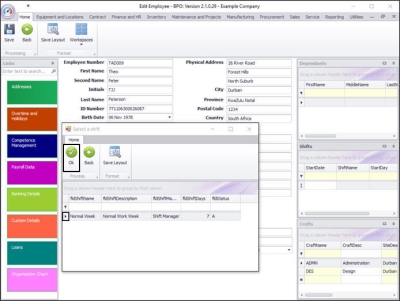
The Select a shift screen will be displayed.
- Click on the row selector in front of the shift you wish to assign to this employee.
- Click on Ok.
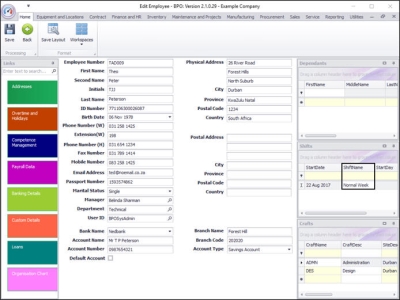
- The selected shift will now be displayed in the Shift Name column of the Shifts docking panel.
Select Start Date
- The Start Date column will auto populate with the current date.
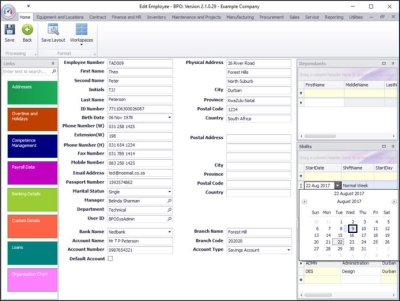
- Click on the drop-down arrow in the date field to display the calendar.
- Click on the correct start date.
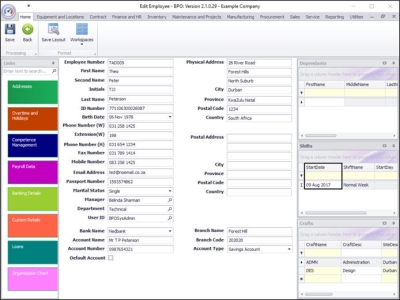
- The selected date will now be displayed in the Start Date column.
Select Start Day
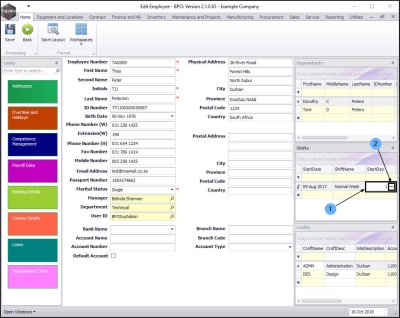
- Scroll right in the Shifts panel to the Start Day column and click in this field.
- An ellipsis button will be revealed, click on this button.
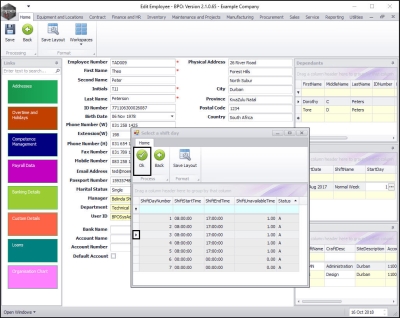
The Select a shift day look up screen will pop up.
- Click on the row selector in front of the appropriate start day number: (Monday = 1, Tuesday = 2, Wednesday = 3) etc.
- Click on Ok.
- The selected start day date will now be displayed in the Start Day column.
Save Shift Assignment
- When you have finished adding the shift details to this employee, click on Save.
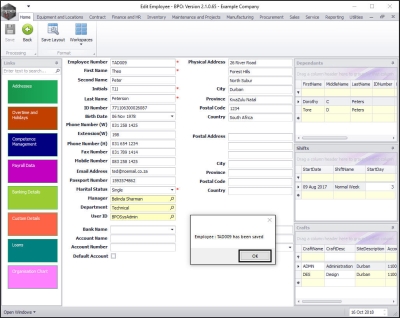
- A message box will pop up advising the following:
- Employee: [] has been saved.
- Click on OK.
- You will return to the Employees listing screen.
MNU.021.006

