We are currently updating our site; thank you for your patience.
Manufacturing
Products - Add a Product
Creating a product will link the inventory definition of the intended final product with the required bill of materials to make up that product.
You can set up the system to be able to automatically number serialised production items.
You can use a Standard Price, or have the system calculate the price based on goods, services, time and/or expenses used during production.
Topics:
| Ribbon Access: Manufacturing > Products |

- The Products listing screen will be displayed.
Add a Product
- Click on Add.
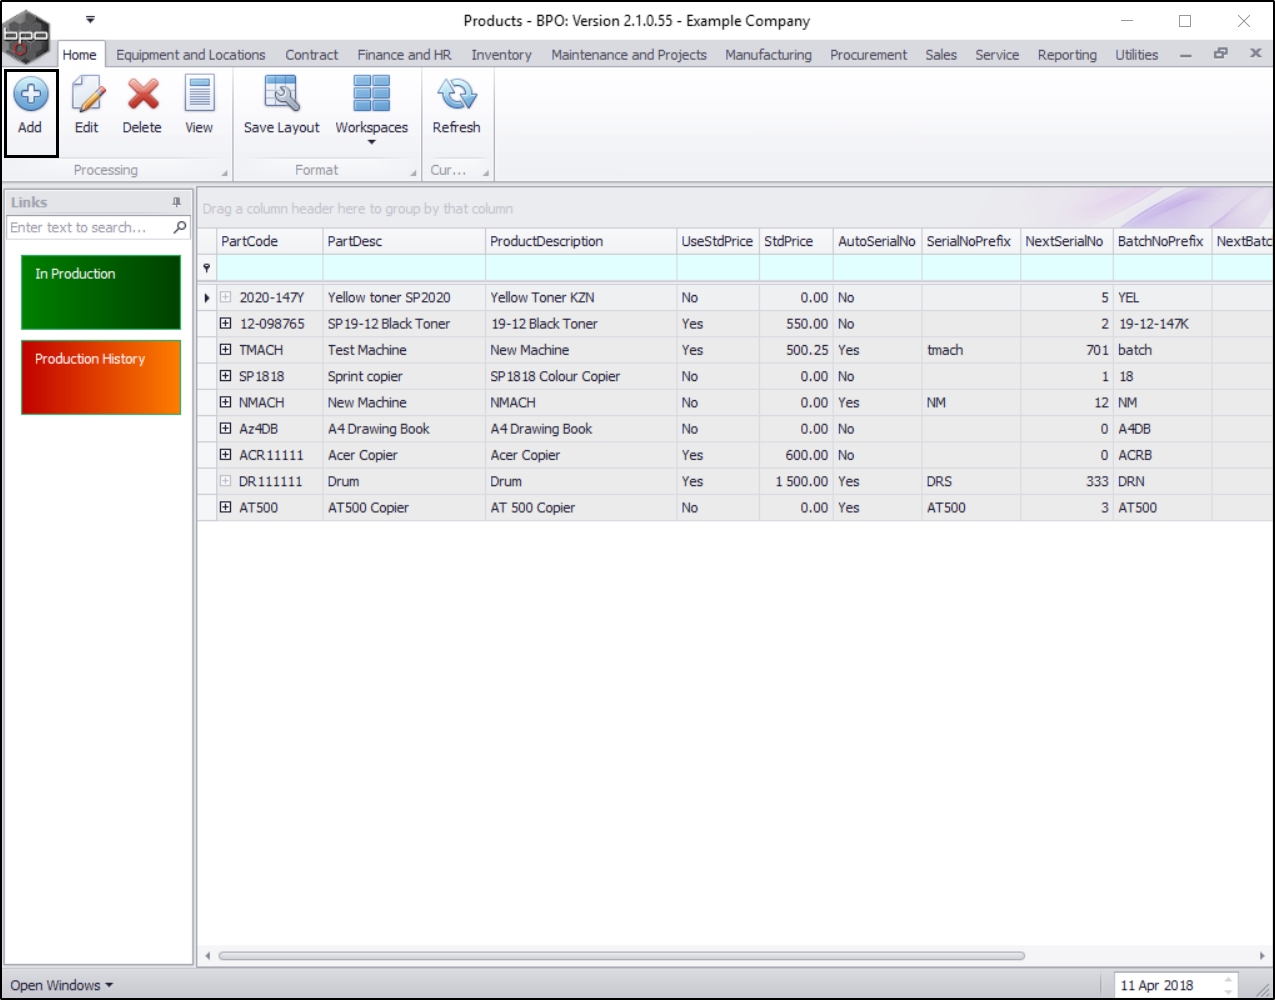
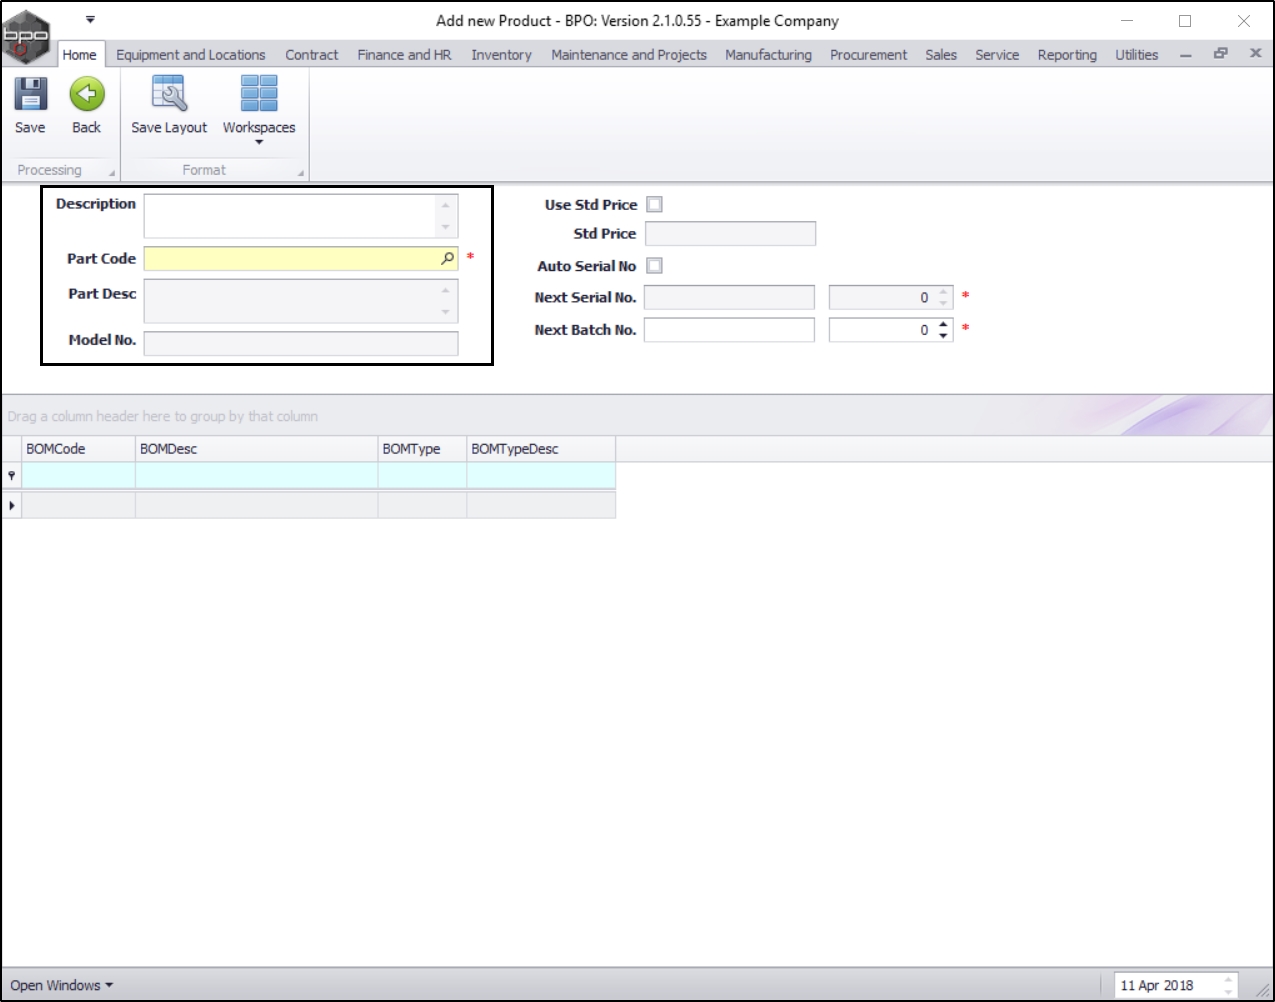
- The Add new Product screen will be displayed.
Add Product Details
- Description: Click in this text box and type in a description of the product.
- Part Code: Click on the search button and select the inventory definition for this product code from the Select a part pop up screen.
- Part Description: This will populate according to the part code selected in the previous step.
- Model No.: This will populate according to the part code selection.
- Use Std Price: Click on this check box if you wish to use a fixed standard price, then type in the price in the 'Std Price' field. This means that instead of calculating the costs of all items used to manufacture your product, you will be setting a fixed cost to the manufactured product (regardless of the actual unit costs of the consumed items).
- Std Price: If you selected the check box above, then type in the price in this text box.
-
Auto Serial No.:
Click on this check box if you wish to automate the serial number on an A
or B-class item.
- Note: When this text box is selected, the Next Serial No. text boxes will be 'activated' and you will be able to type a serial number in. If, however, this check box is left un-ticked, then only the Next Batch No. text boxes will be 'active'.
- Next Serial No.: Type in the prefix for your serial number in the first text box in this row. Type in or use the arrow indicators in the second text box in this row to select the next serial number the system should use. Auto numbering will follow on from there.
- Batch Serial No.: Type in the prefix for you C-class batch in the first text box in this row. Type in or use the arrow indicators in the second text box in the row to select the next serial number the system should use. Auto numbering will follow on from there.

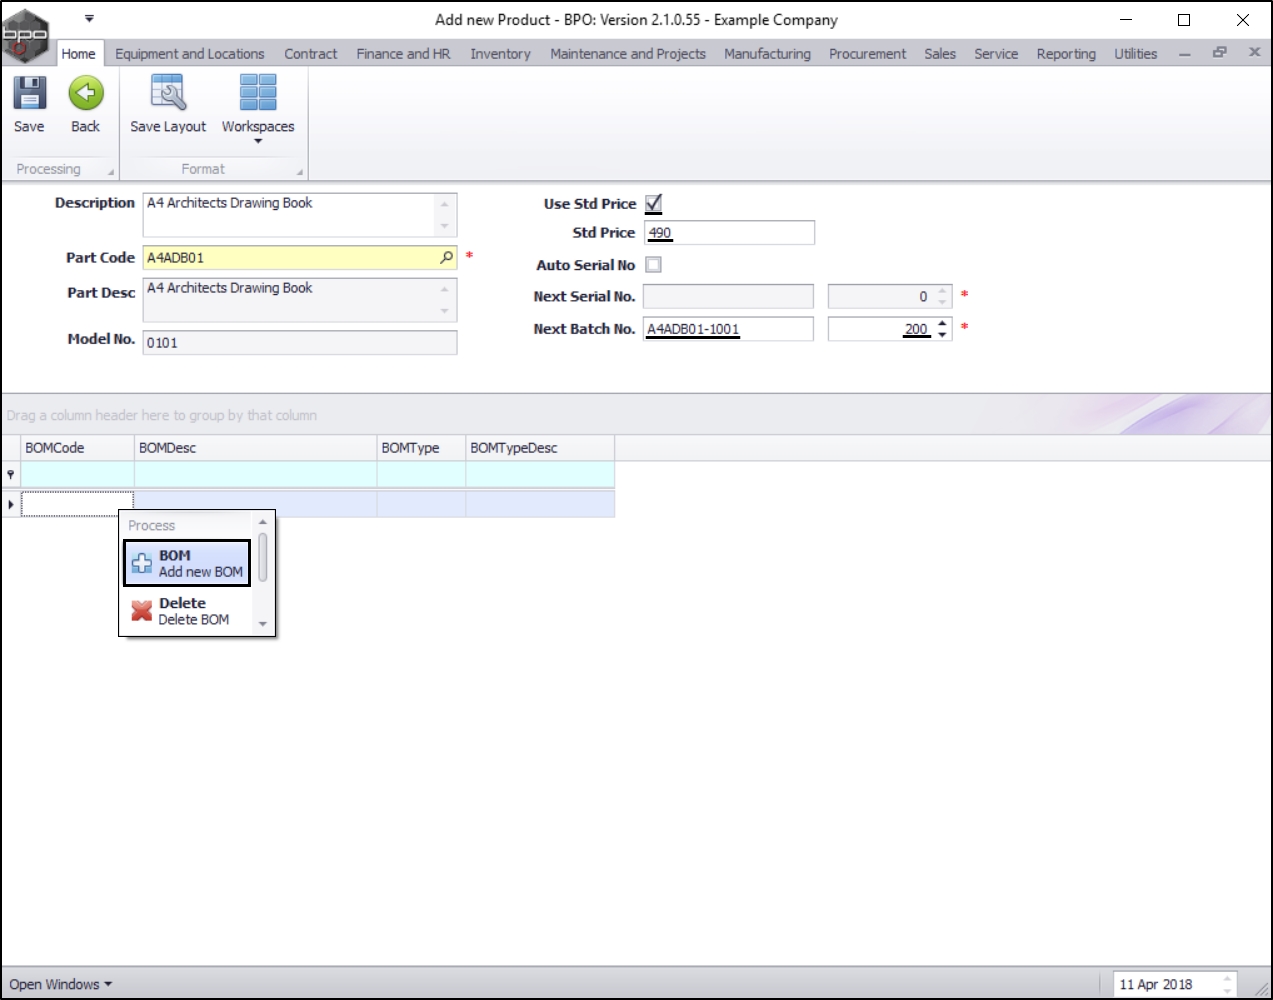
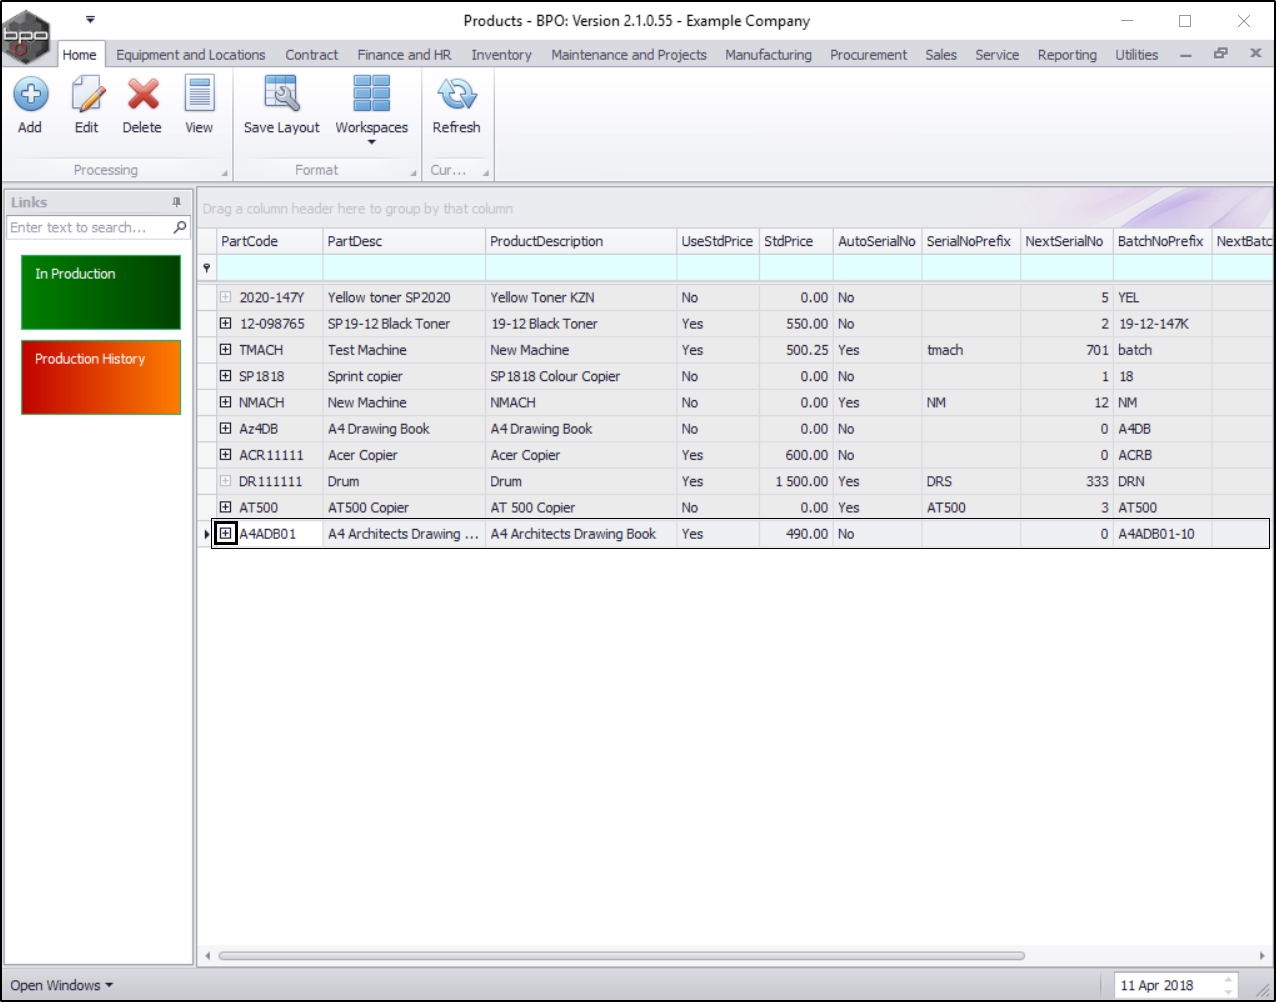
- In this image, a Std Price has been selected (R490) and a Next Batch No. has been set up (as this is a C-class item).
- The system will work out the subsequent batch number as being A4ADB01-1001 201.
Link a BOM
- Right click anywhere in a row of the BOMs data grid.
- A Process menu will pop up.
- Click on BOM - Add new BOM.
- The Select a BOM screen will pop up.
- Select the row of the BOM you wish to link to this product.
- Click on Ok.

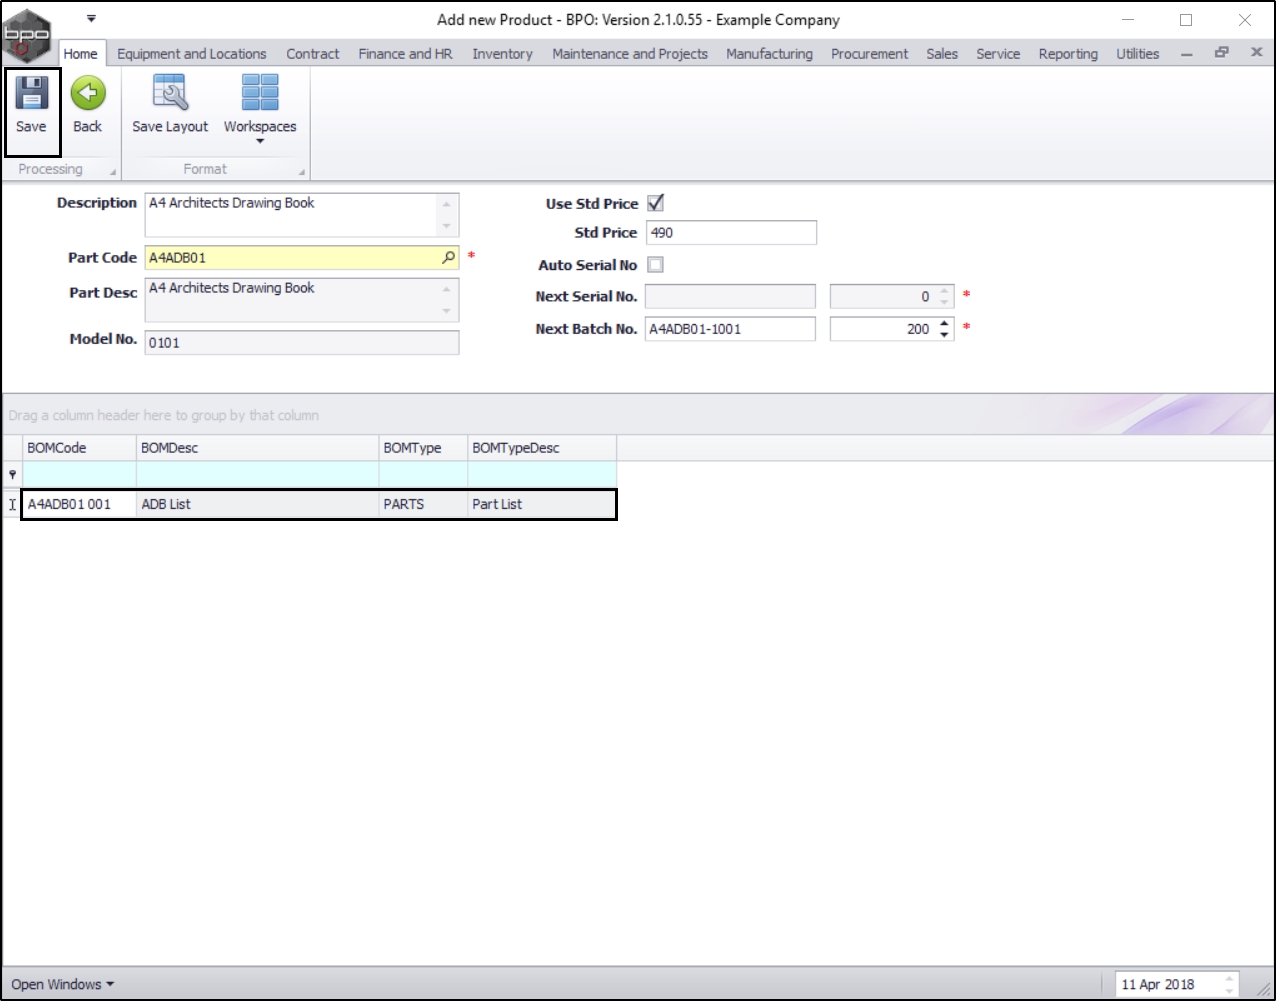
- The selected BOM will be linked and saved in the BOM frame data grid.
- Note: You can link more than one BOM to this product.
- When you have finished linking the BOM(s), click on Save.
- A message box will pop up informing you that;
- Product: [ ] saved.
- Click on OK.

View New Product
- You will return to the Products listing screen.
- Here you can view the newly linked product.
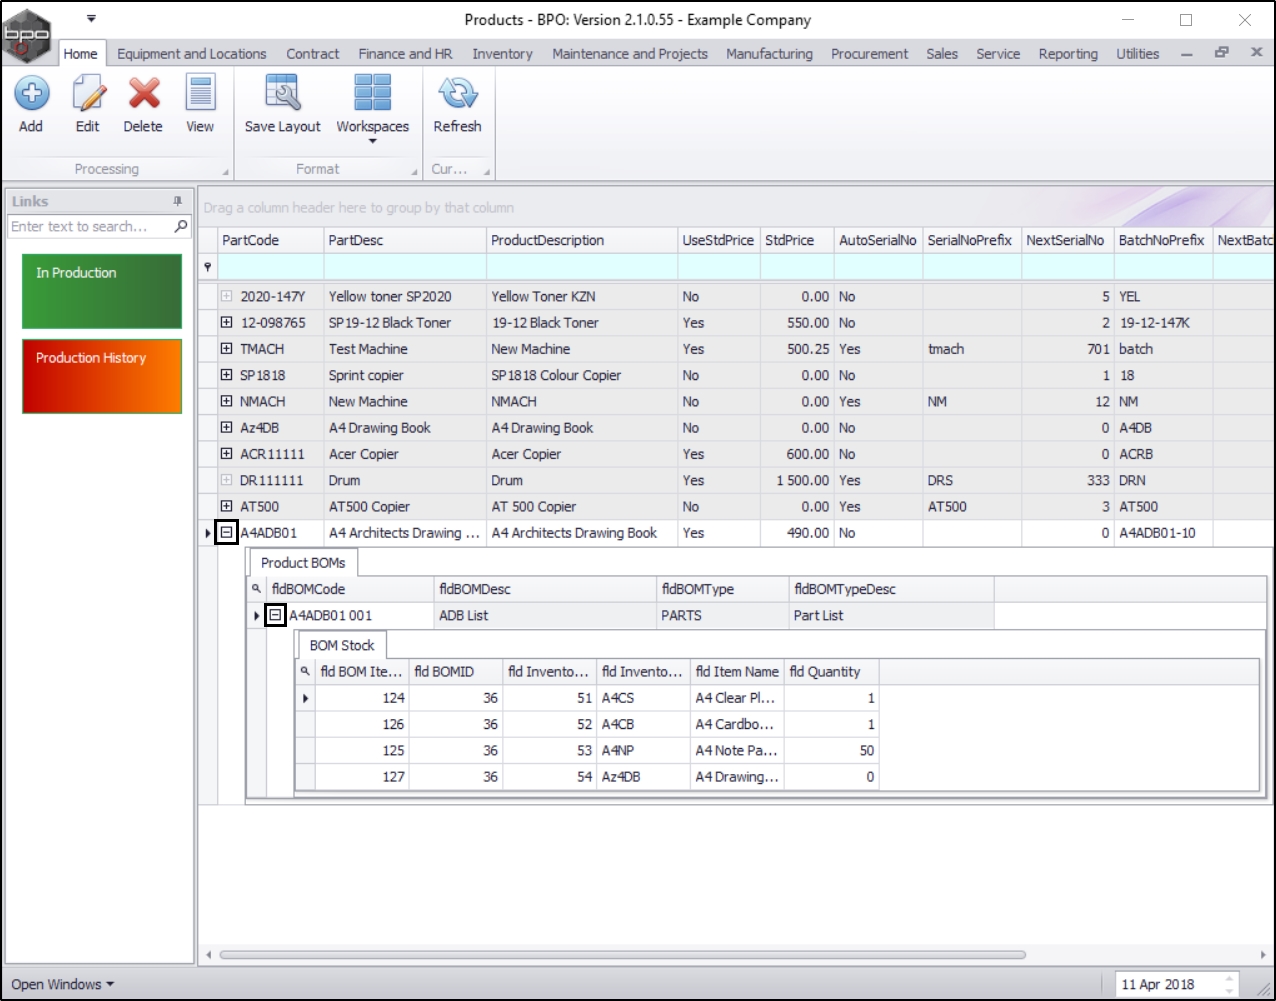
View Product BOM(s)
- Click on the expand icon in the row of the new product.
- The Product BOMs frame will be expanded.
- Here you can view all the BOMs linked to this product.
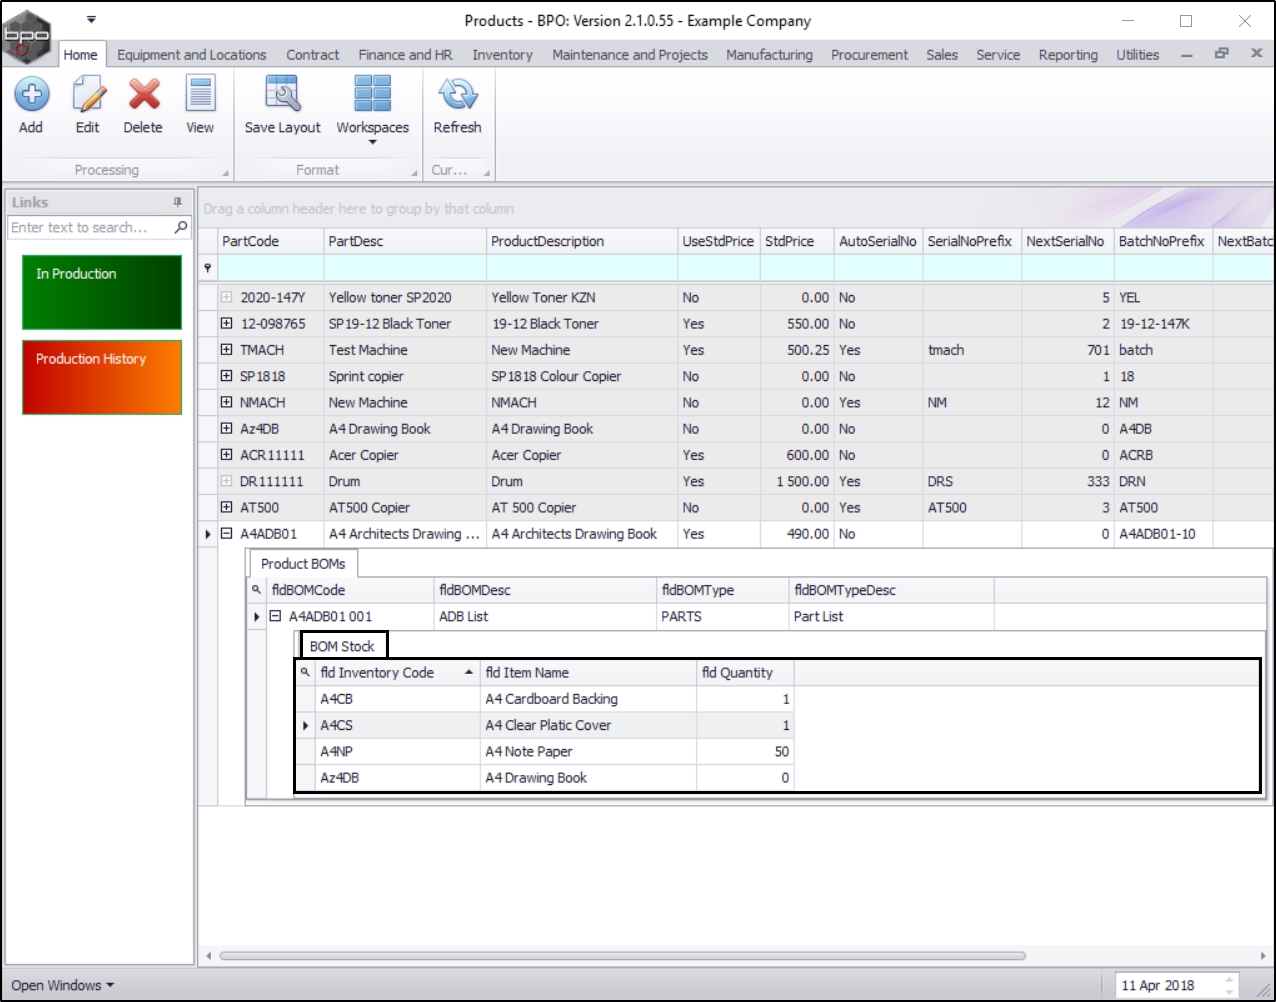
View Product BOM Details
- Click on the expand icon in the row of the BOM that you wish to view the details of.

- The product BOM Stock frame will be expanded.
- Here you can view a list of all the stock items and their quantities that make up this product.
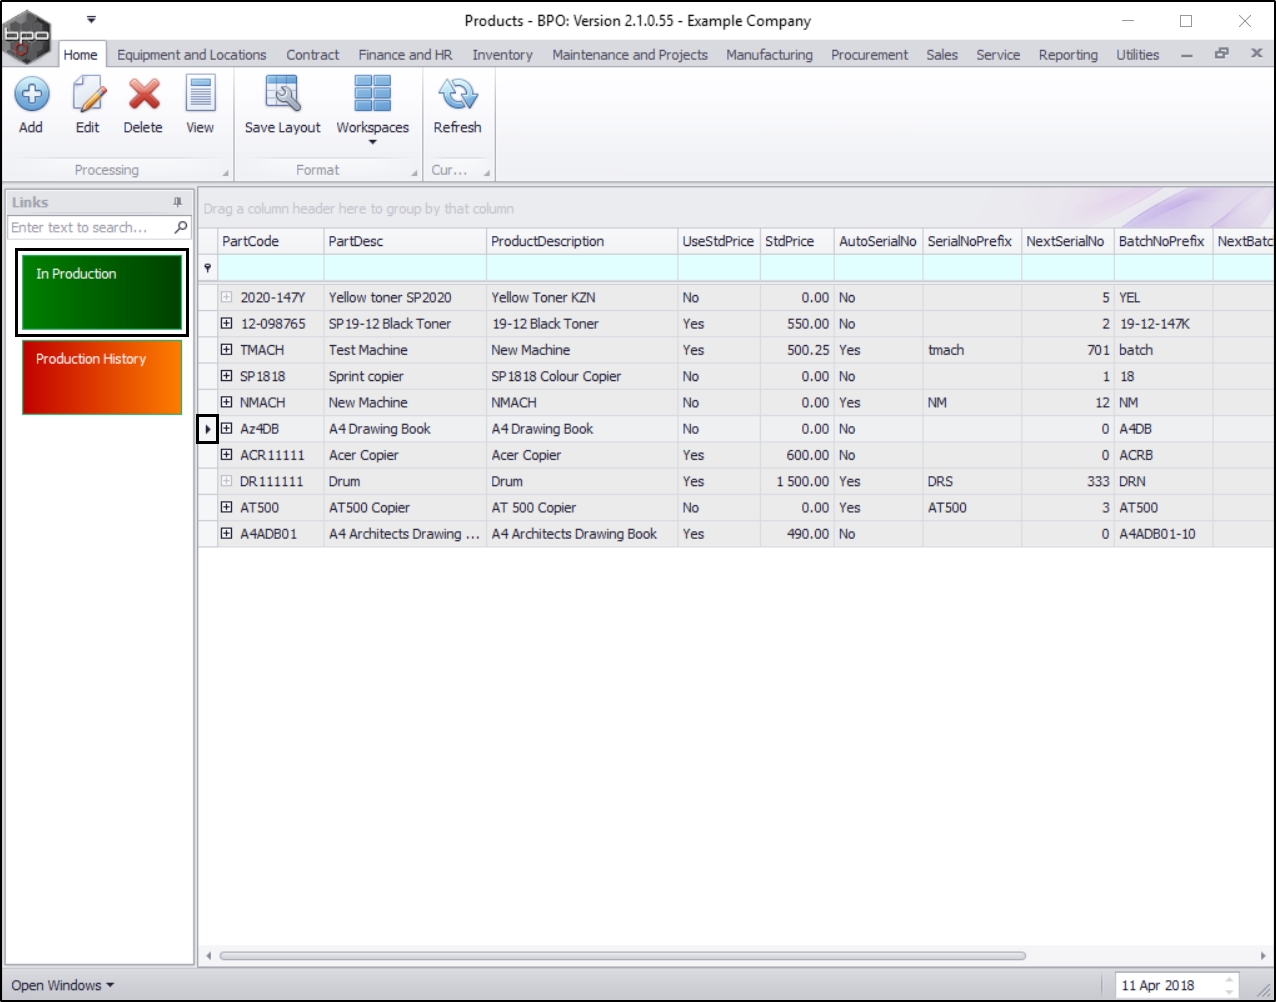
- Collapse the Product BOMs and BOM Stock frames.
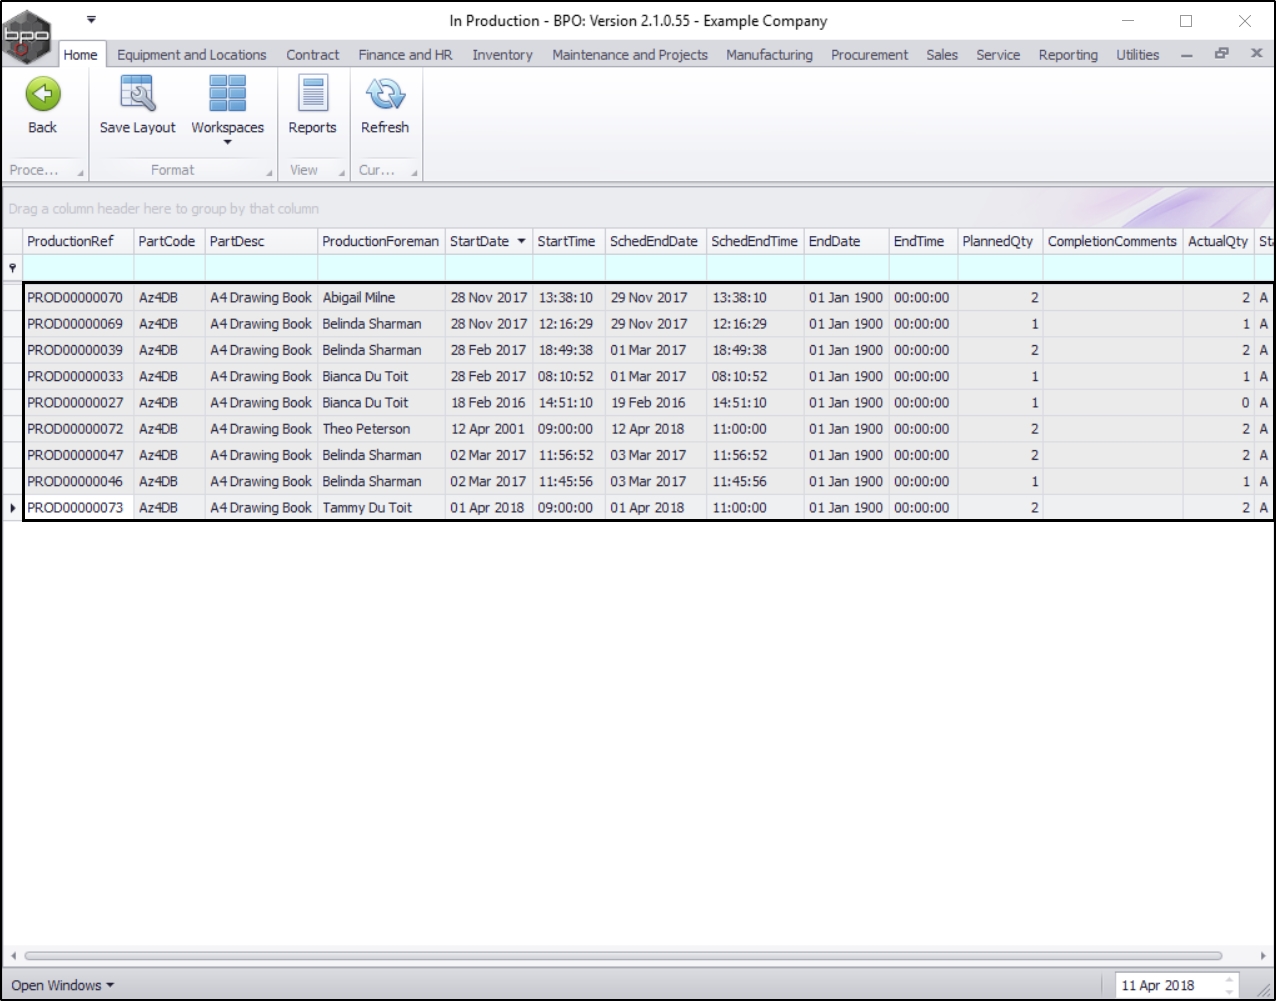
In Production Tile
- To see if a product is currently in production, select the row of that product.
- Click on the In Production tile.
- The In Production listing screen will be displayed.
- Here you can see if a product is currently in production and what the details of that production run are.
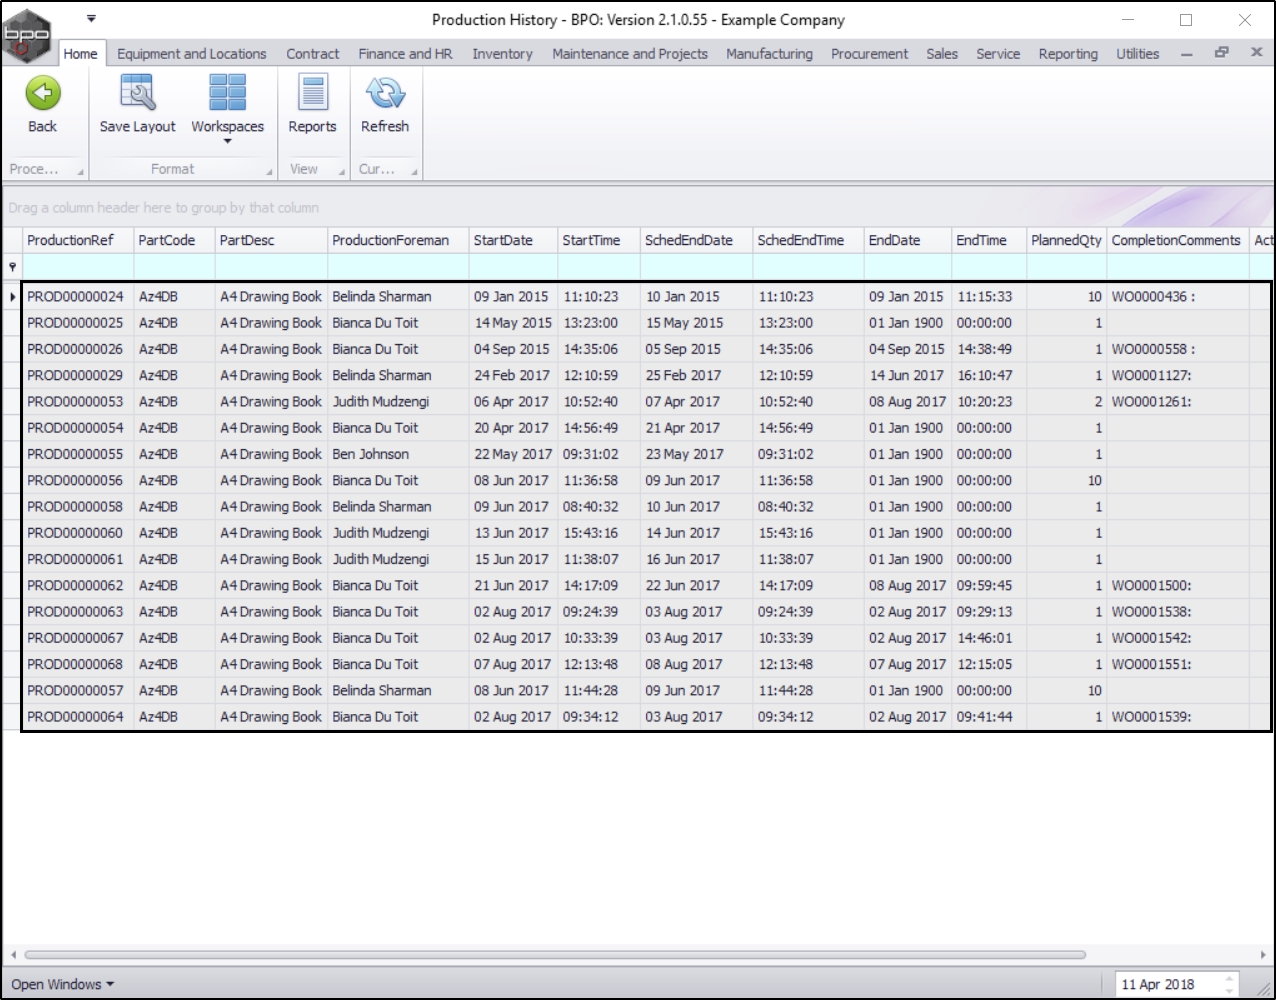
Production History Tile
- To view prior production runs for a product, select the row of that product.
- Click on the Production History tile.

- The Production History screen will be displayed.
- Here you can view a list of all the prior production runs.
MNU.051.005