We are currently updating our site; thank you for your patience.
Service
Calls - Move to Pending
Note that there are changes to the Call Centre screens due to the Call Centre Performance Enhancements rolled out in part of the . The functionality that is available to you may differ depending on the Call Centre mode configured and your user rights. For more information related to this, refer to the Call Centre Mode notes.
A call can be placed in a Pending status by the Call Centre.
Pending differs from Hold, in that work will be stopped to resolve a company issue e.g. there is no stock available to complete the work. The SLA Monitor will continue to run. Refer to Calls - Release a Call for information on how to release a call from pending.
![]() Using Tech Connect, the call will be placed in the Pending status when the technician selects End Work on his device, with the Resolution Action as Unresolved.
Using Tech Connect, the call will be placed in the Pending status when the technician selects End Work on his device, with the Resolution Action as Unresolved.
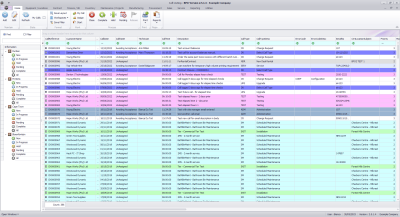
Ribbon Select Service > Calls
- The Call Listing screen will be displayed.
- The Calls are listed by Site and will display calls for the first Site listed.
- Click on the relevant Site for the calls you wish to view.
![]() Note that call must be in either the New, In Progress or Complete status to be moved to Pending.
Note that call must be in either the New, In Progress or Complete status to be moved to Pending.
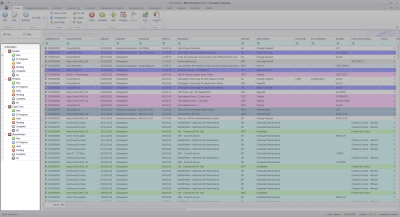
- Select the Call you wish to work with.
- Click on thePending button.
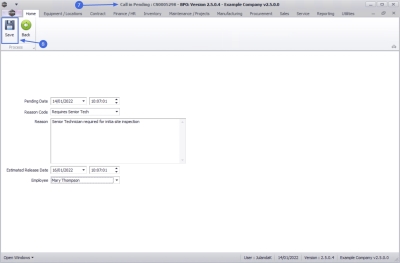
- The Call in Pending: [call ref. number] screen will be displayed.
- Pending Date: The current date and time will display.
- Date: Type in or click on the down arrow to use the calendar function to select an alternative date, if required.
- Time: Type in or use the arrow indicators to select an alternative time, if required.
- Reason Code: Click on the down arrow to select a reason code from the drop-down list.
 Refer to Call Pending Reason Code to configure reason codes, if necessary.
- Reason: Type in the details as to the reason for having to placed the call in the Pending status.
- Estimated Release Date: The estimated release date will auto populate with a system generated date, usually 2 days after the Pending Date.
- Date: Type in or click on the down arrow to use the calendar function to select an alternative date, if required.
- Time: Type in or use the arrow indicators to select an alternative time, if required.
- Employee: The employee currently logged on to the system will be displayed in this field. Click on the down arrow to select an alternative name, if required.
- Pending Date: The current date and time will display.
- When you have finished adding details to this screen, click on Save.
- You will return to the Call Listing screen.
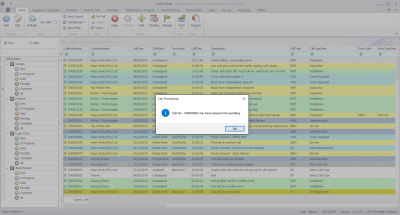
- When you receive the Call Processing message to confirm that;
- Call No: CN[ref. number] has been placed into Pending.
- Click on OK.
- The Call can no longer be viewed in the current list. Change the Status to Pending, to view the Call.
MNU.122.007


