We are currently updating our site; thank you for your patience.
Service
Calls - Invoice a Call
Note that there are changes to the Call Centre screens due to the Call Centre Performance Enhancements rolled out in part of the
Extended Call Centre - Version Compatibility![]() . The functionality that is available to you may differ depending on the Call Centre mode configured and your user rights. For more information related to this, refer to the Call Centre Mode notes.
. The functionality that is available to you may differ depending on the Call Centre mode configured and your user rights. For more information related to this, refer to the Call Centre Mode notes.
When Call Invoices are raised, remember the following:
Parts, Labour, Sub-Contracts and Expenses must be logged against the call before invoicing. These items cannot be added to the invoice.
Internal Services, Travel and Warranties can be added to the invoice.
The invoice must be printed in order for the transaction to post to Pastel.
The first time an invoice is printed, it will state: Tax Invoice. Each time thereafter, it will state Copy-Tax Invoice.
![]() If you need to re-print an original Tax Invoice due to a network connection issue, etc. then you will need to use the Print Queue Reprint functionality.
If you need to re-print an original Tax Invoice due to a network connection issue, etc. then you will need to use the Print Queue Reprint functionality.
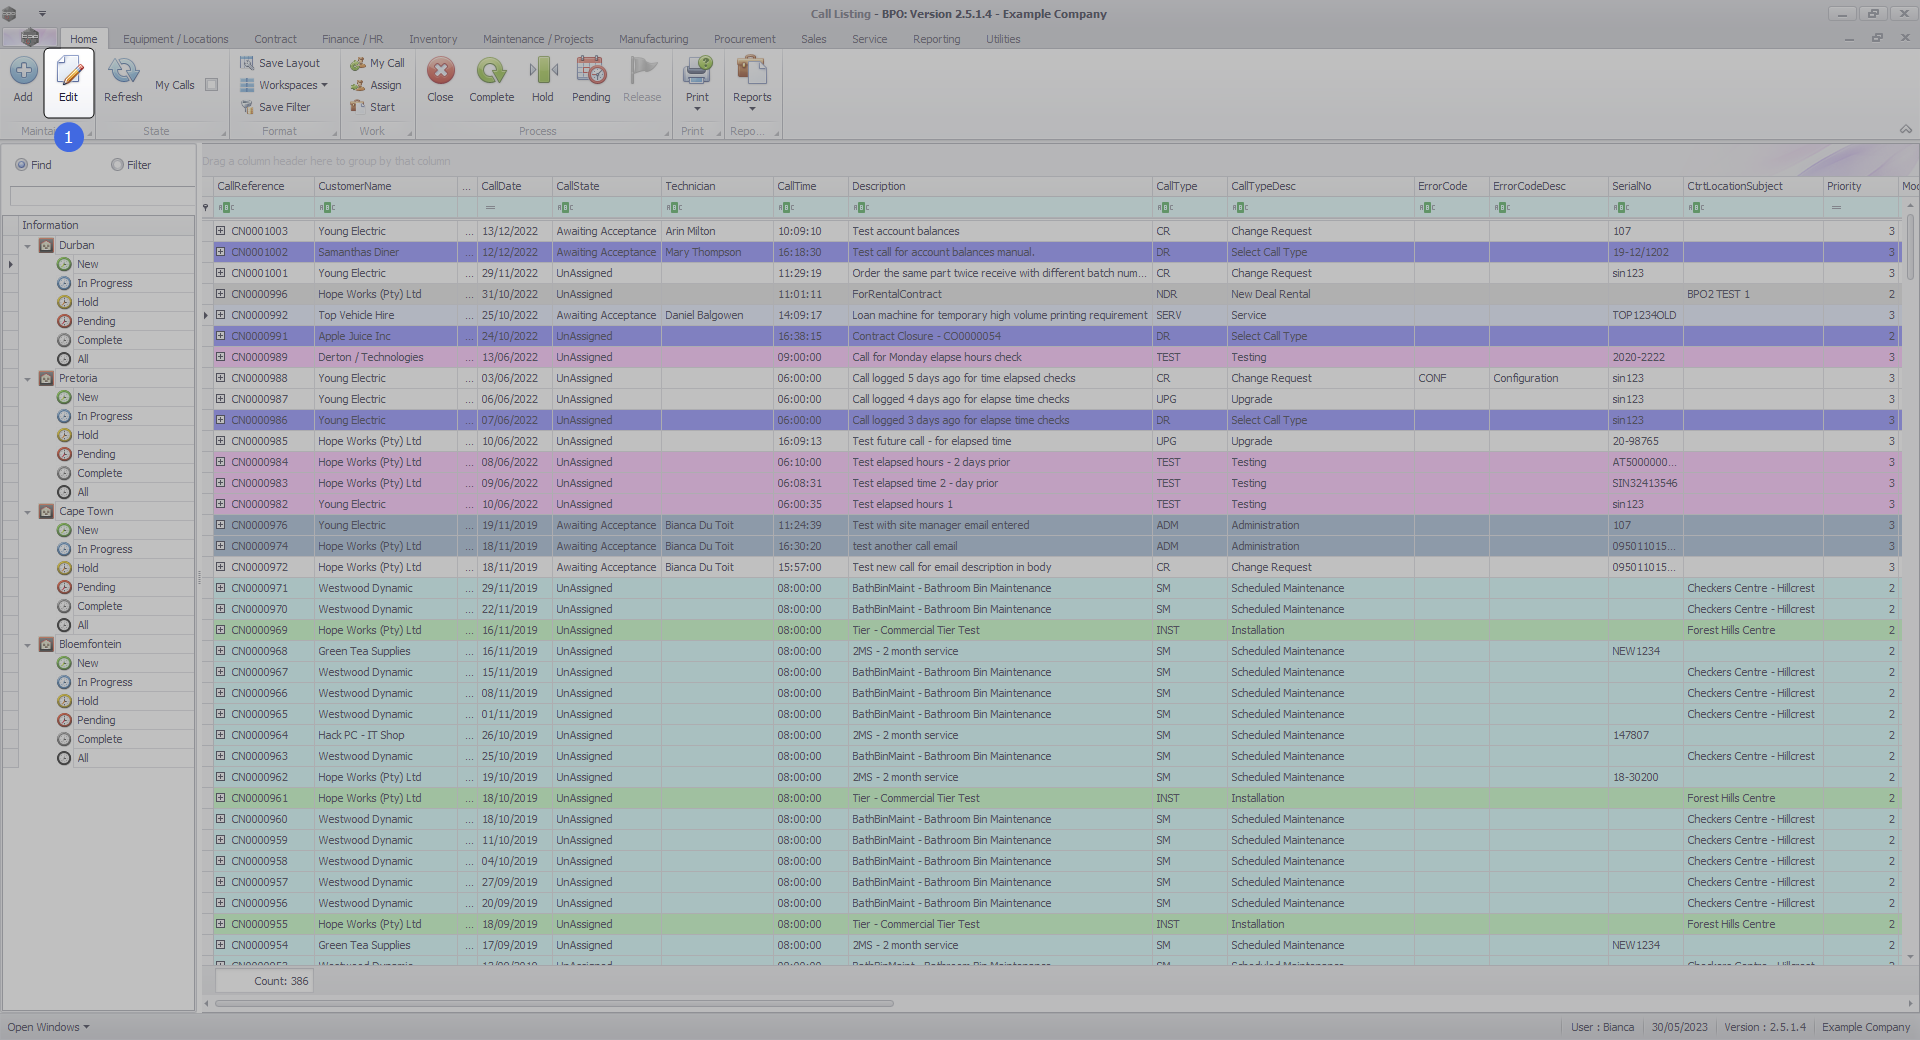
Ribbon Select Service > Calls

- The Call Listing screen will be displayed.

- The Calls are listed by Site and will display calls for the first Site listed.
- Click on the relevant Site for the calls you wish to view.

- Select the Call you wish to work with.

- Click on the Edit button.
- The Call maintenance : Call ref. - [call number] screen will be displayed.
- Click on the Invoices tile.

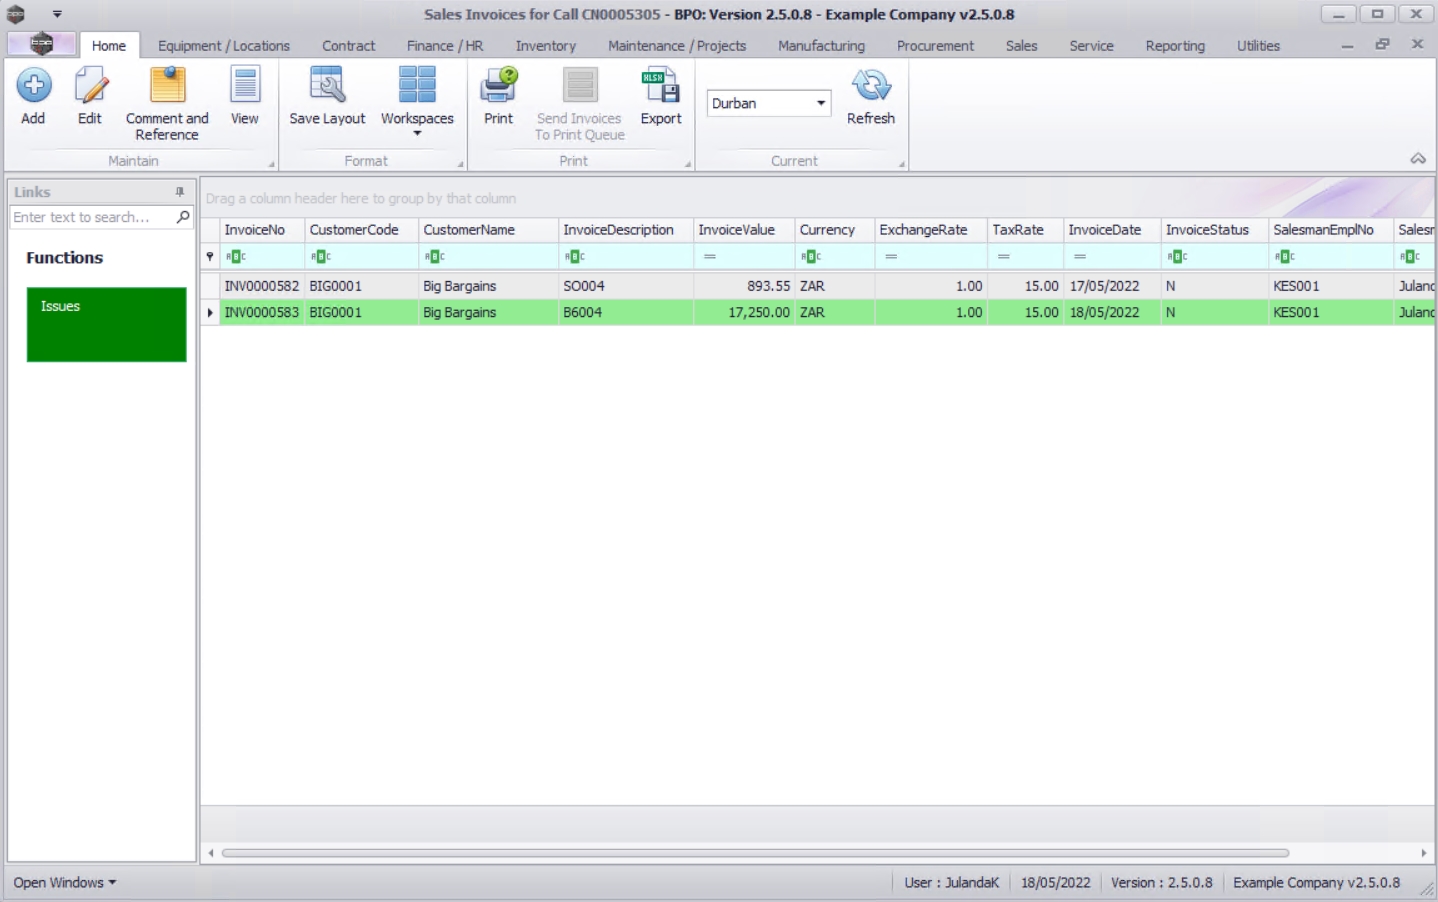
- The Sales Invoices for Call [call number] screen will be displayed.
- Any invoices that have already been issued against the work order, will display.
Add Invoice
- Click on Add.
![]() Short cut key: Right click to display the All groups menu list. Click on Add.
Short cut key: Right click to display the All groups menu list. Click on Add.

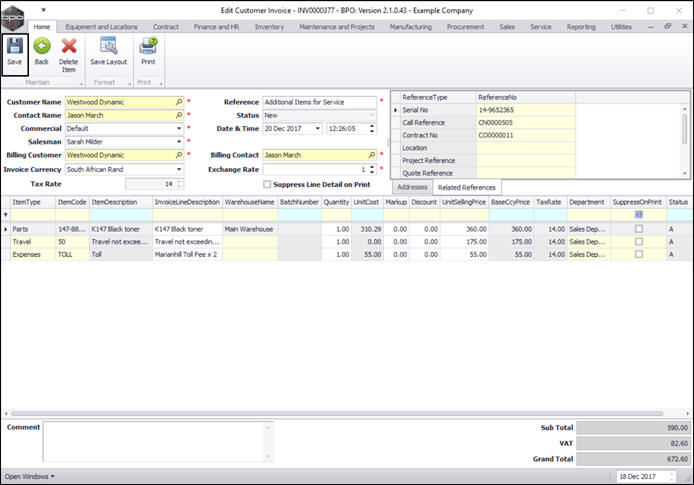
- The Add new Customer Invoice screen will display.
- Complete the Sales Invoice Header and the Financial Header information.
- Confirm the Billing and Shipping Addresses, of these fields were not populated when you entered the Header information.
 Remember:
- - Parts, Labour, Sub-Contracts and Expenses must be logged against the call before invoicing. These items cannot be added to the invoice.
- - Internal Services, Travel and Warranties can be added to the invoice.

- Click on the Related References tab to enter the reference information for the Customer Invoice.
- The Call Reference has been auto populated with the Call Ref number selected.
- Edit the Items to be Invoiced
-
- Drag and drop items lines to set the order you wish the items to be displayed on the sales invoice.
- This order will be pulled into the printed invoice when generated.
.

- Click on the Comments text box to type in a comment related to the Invoice.
- Click on Save to save the Customer Invoice details.
![]() For a detailed handling of this topic refer to Invoices - Create Sales Invoice (OTC)
For a detailed handling of this topic refer to Invoices - Create Sales Invoice (OTC)

Invoice Listing
- The Sales Invoices for Call screen will be updated with the new invoice you have created.

Edit Invoice
- From the Sales Invoices for Call [call number] screen,
- Click on the row of the invoice you wish to edit.
- Click on Edit.
![]() Short cut key:Right click to display the Process All groups menu list. Click on Edit.
Short cut key:Right click to display the Process All groups menu list. Click on Edit.
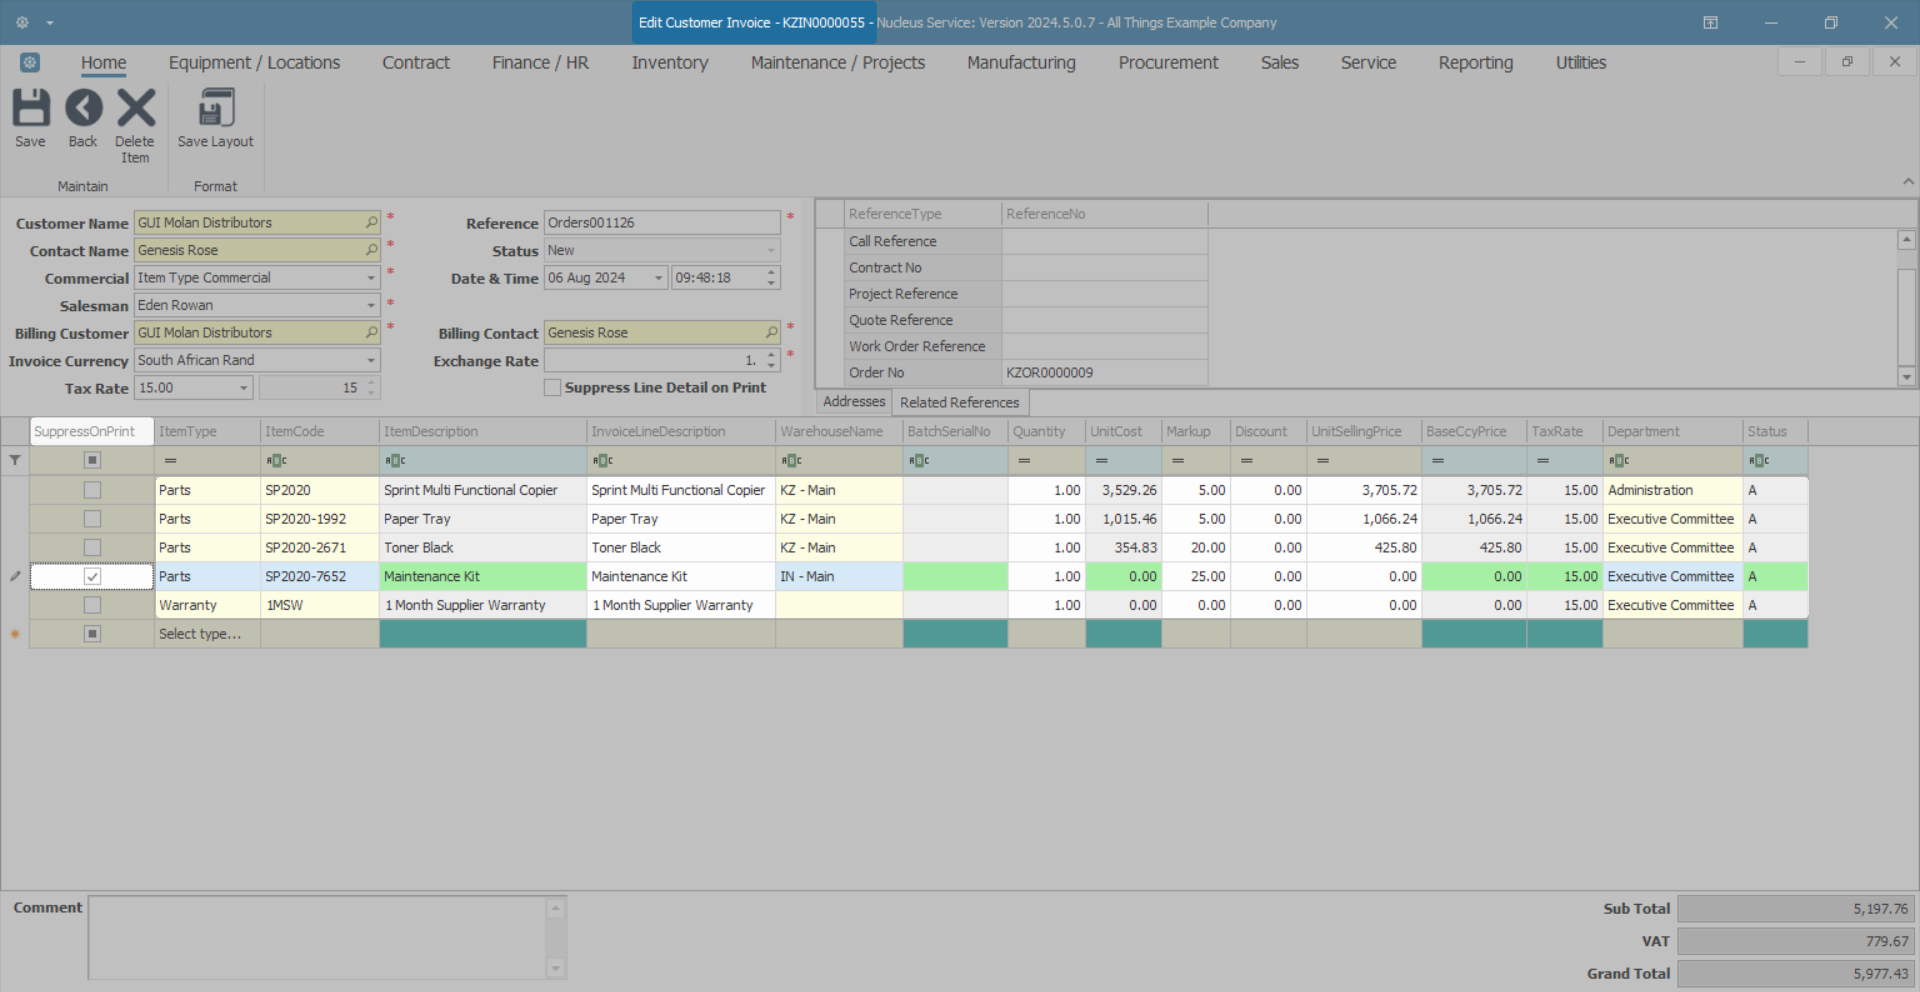
- The Edit Customer Invoice - [invoice number] screen will display
- Make the required changes to the Heading Information, Addresses or Related Referencestabs.
- Make the required changes to the Invoice Item frame.
- To Add a new Invoice item, click on the Select type text box of the first available item line.
- To remove an item, click on the row of the item you wish to remove and click on Delete Item.
- Drag and drop items lines to set the order you wish the items to be displayed on the sales invoice.
- This order will be pulled into the printed invoice when generated.
.
- Click on Save.
For a detailed handling of this topic refer to Invoices - Edit Sales Invoice

You will return to the updated Sales Invoices for Call listing screen.
Comment and Reference
You will be able to add or view the Comment and Reference information for the Customer Invoice from the Work Order Listing Screen.
- From the Sales Invoices for Customer [customer code] screen,
- Select the row of the Invoice you wish to add or view the Comment and Reference information for.
- Click on Comment and Reference.
![]() Short cut key:Right click to display the Process menu list. Click on Comment and Reference.
Short cut key:Right click to display the Process menu list. Click on Comment and Reference.
Additional Invoice Items
Save Invoice
You will return to the Sales Invoices for Call [invoice number] screen where you can view the newly raised invoice.
Print Invoice
- Click on the row selector in front of the new invoice that you wish to print.
- Click on Print.

- A Select the option as desired screen will pop up.
- Click on Print Invoice.
- Click on Accept.

Suppress the Discount Column on the Report
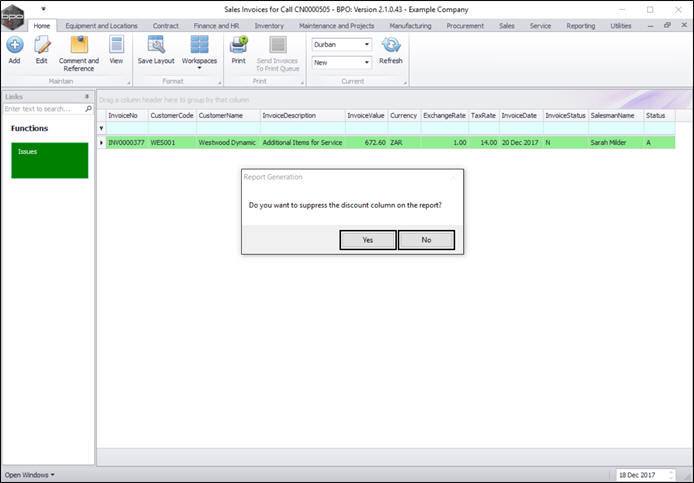
- A Report Generation message box will pop up, asking;
- Do you want to suppress the discount column on the report?
- Select Yes to hide the discount on the printed invoice.
- Select No to show the discount on the printed invoice.

- The Report Preview screen will be displayed.
- From here you can View, Print, Export or Email the Invoice.
- Close the Report Preview screen when done.

Email Invoice
- In the Select the option as desired screen,
- Click on Email Invoice.
- Click on Accept.

Suppress the Discount Column on the Report
- A Report Generation message box will pop up, asking;
- Do you want to suppress the discount column on the report?
- Select Yes to hide the discount on the printed invoice.
- Select No to show the discount on the printed invoice.
The Email Sales Invoice [invoice number] screen will be displayed.
- Employee: Will be populated by the employee linked to the associated login. Click on the drop-down arrow and select an alternative employee from the menu if required.
- From: The selected employee's email address will pull through here. If not populated, you can manually type in the email address.
- To: This will automatically populate with the sales invoice contact person's email address. Click on the search button to link more contacts from this customer. You also have the ability to manually type in an email address. This message will be sent from the server, so if you want to have email history for this, then add your email address here.
- Attachments: The sales invoice PDF will be attached to the email. If there are outstanding parts that have not been issued, a Back Order report will also be attached. You can link additional attachments by clicking on the search button and using the Select File screen to select a file to attach.
- Subject: Type in an email subject.
- Message: Type in an email message.
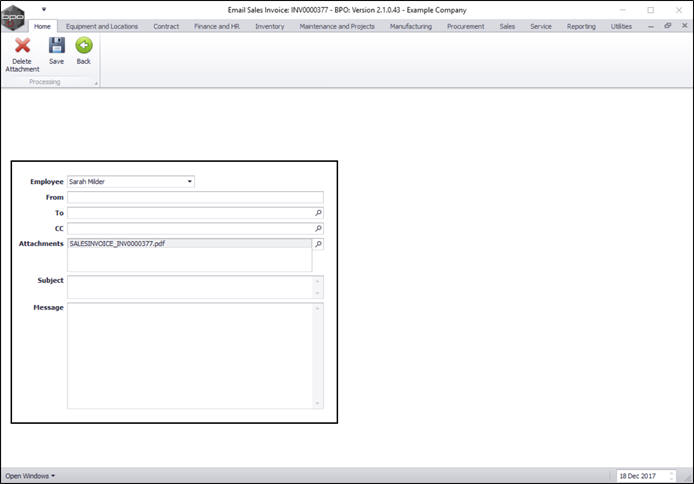
- When you have finished adding details to the Email Sales Invoice page, click on Save.

- Your email will be sent from the server and you will return to the Call Listing screen.
MNU.122.011