We are currently updating our site; thank you for your patience.
Company
Purchasing Centres - Edit Purchasing Centre
| Ribbon Access: Company > Purchasing Centres |

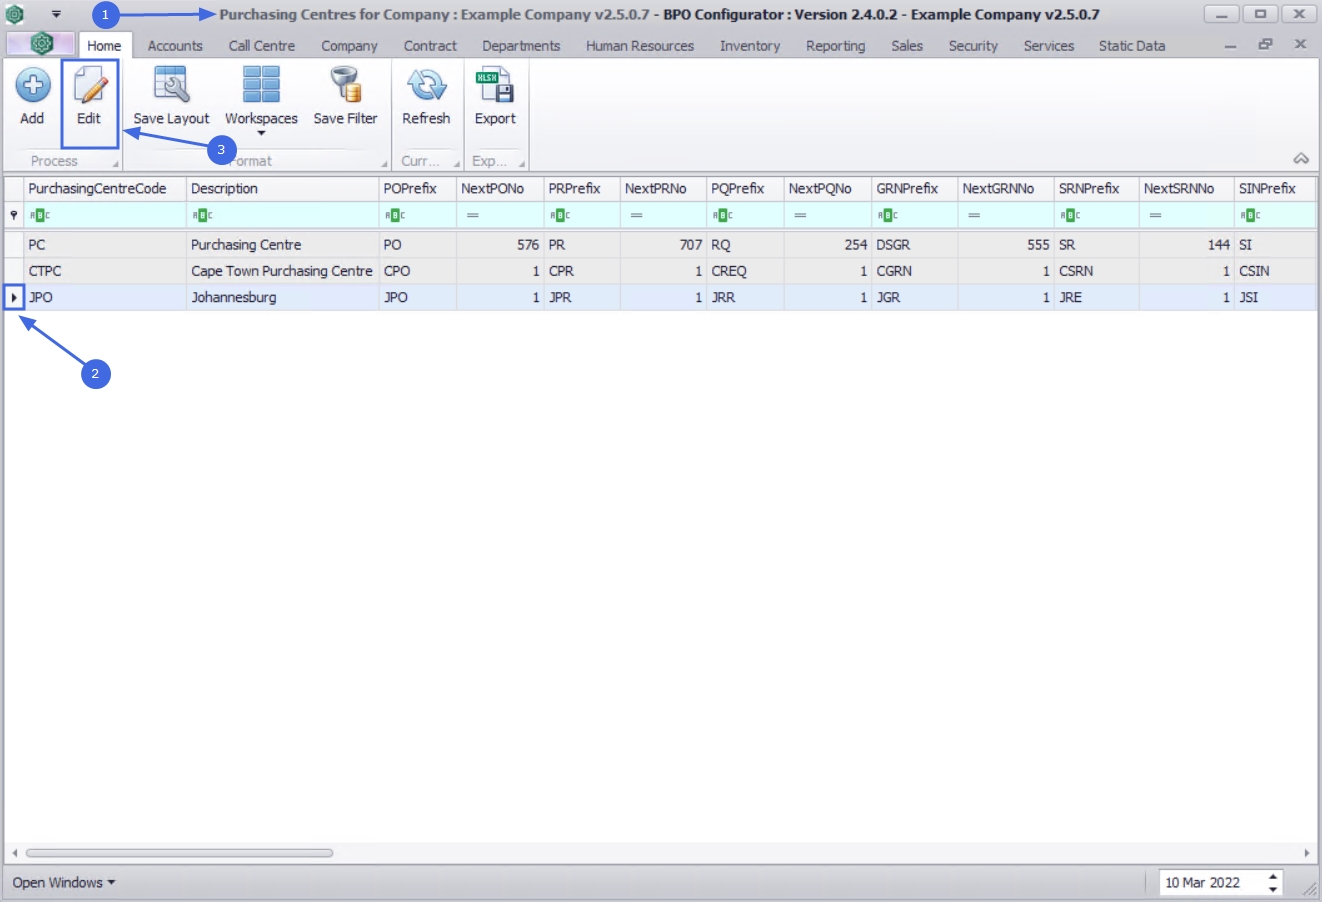
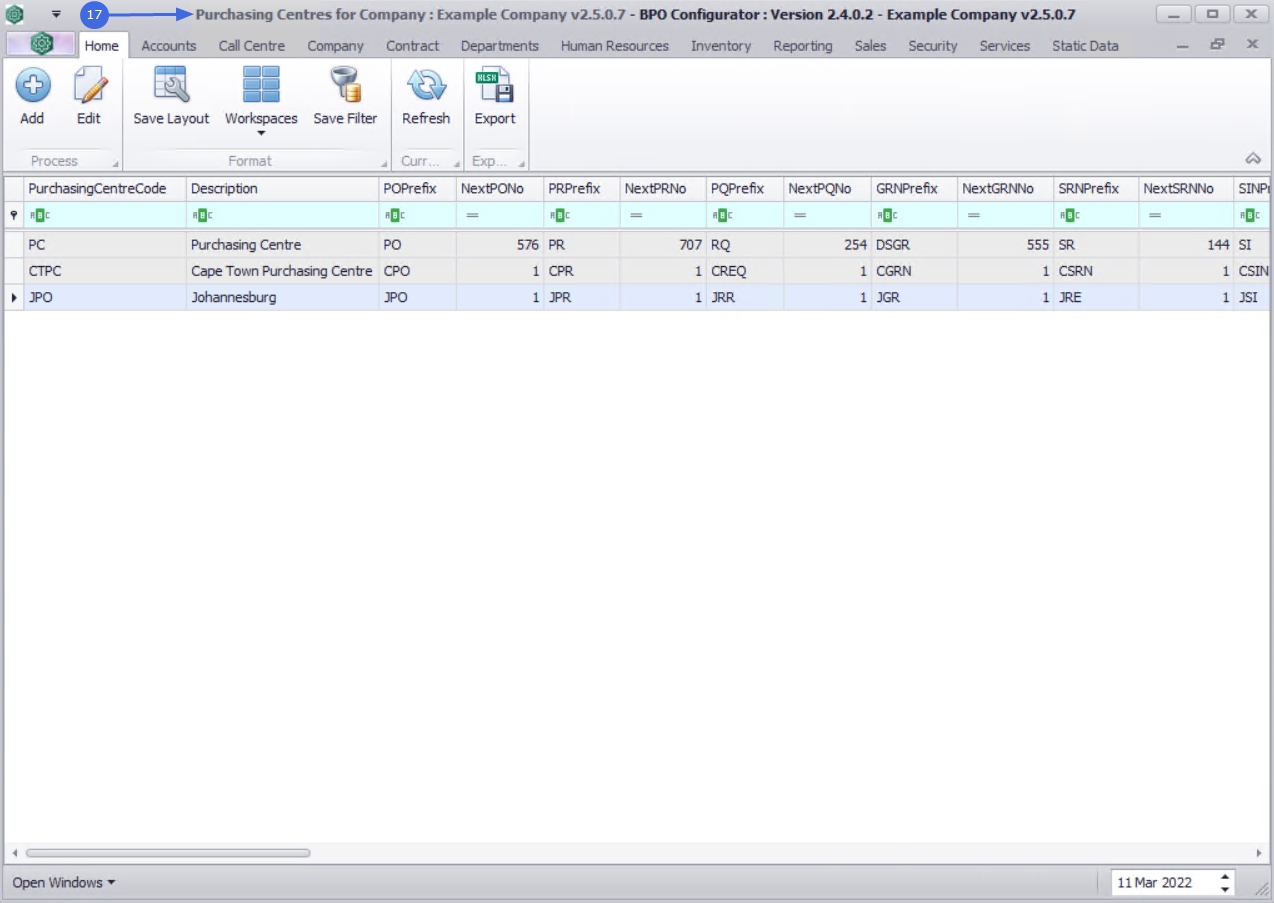
- The Purchasing Centres for Company: [company name] screen will be displayed.
- Click on the row of the purchasing centre you with to make changes to.
- Click on Edit.
![]() Short cut key: Right click to display the Process menu list. Click on Edit.
Short cut key: Right click to display the Process menu list. Click on Edit.
- The Edit Purchasing Centre : [purchasing centre name] screen will display.
Purchasing Centre Address
A physical address type must be set up for the address to pull through on the purchase order.
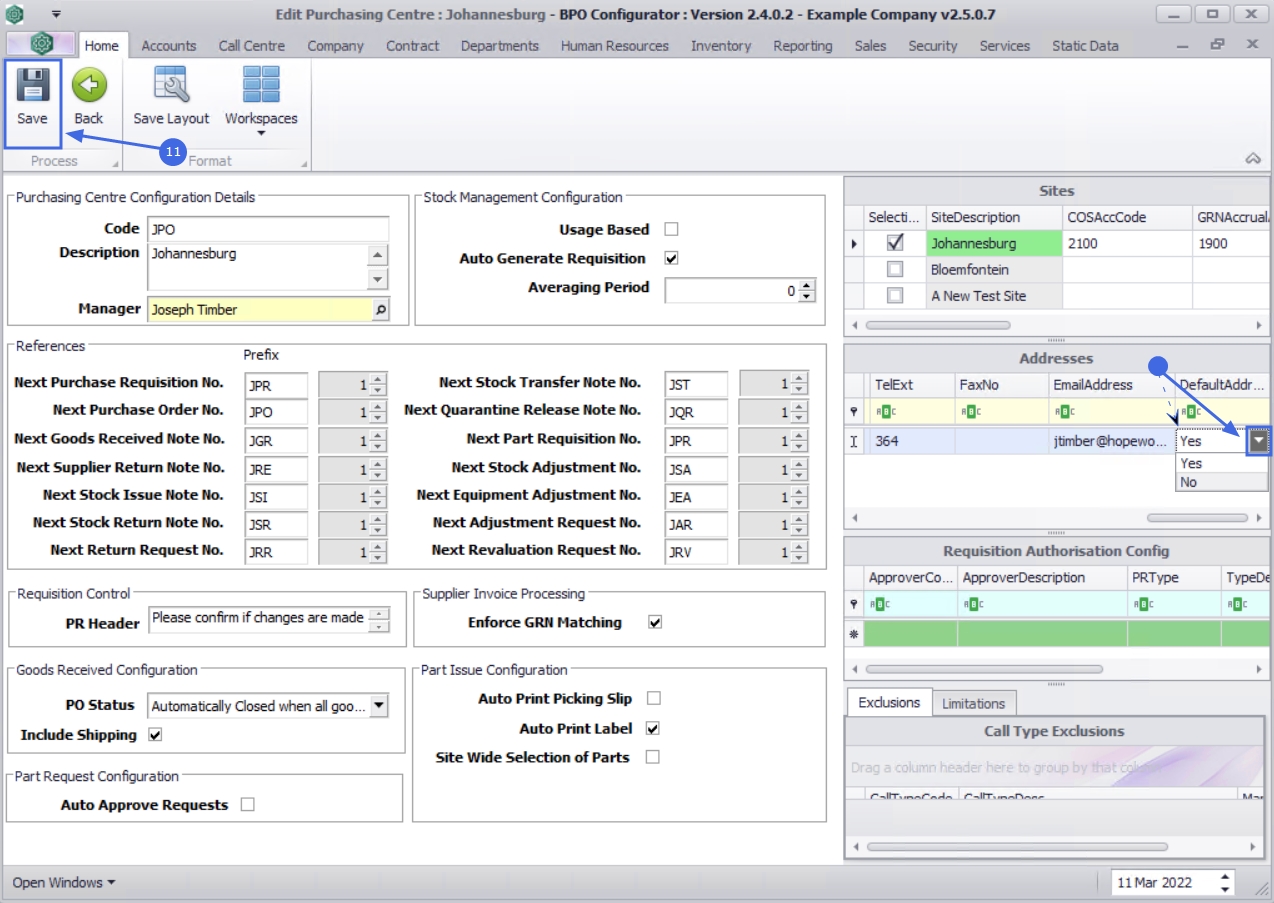
- In the Addresses frame,
-
 right click on a row in the data grid to display the Maintain menu.
- Click on Add - Add New Address.
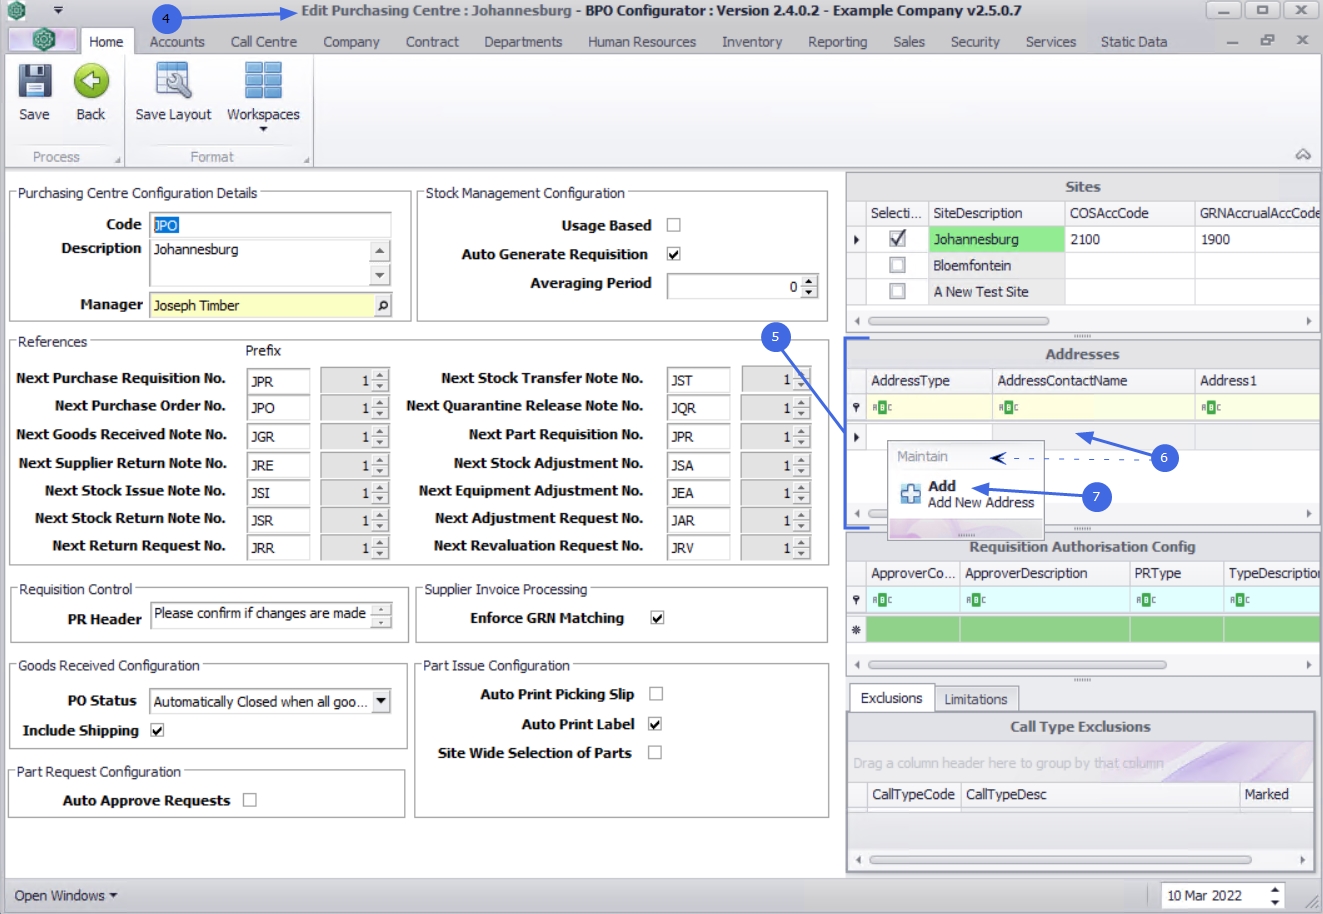
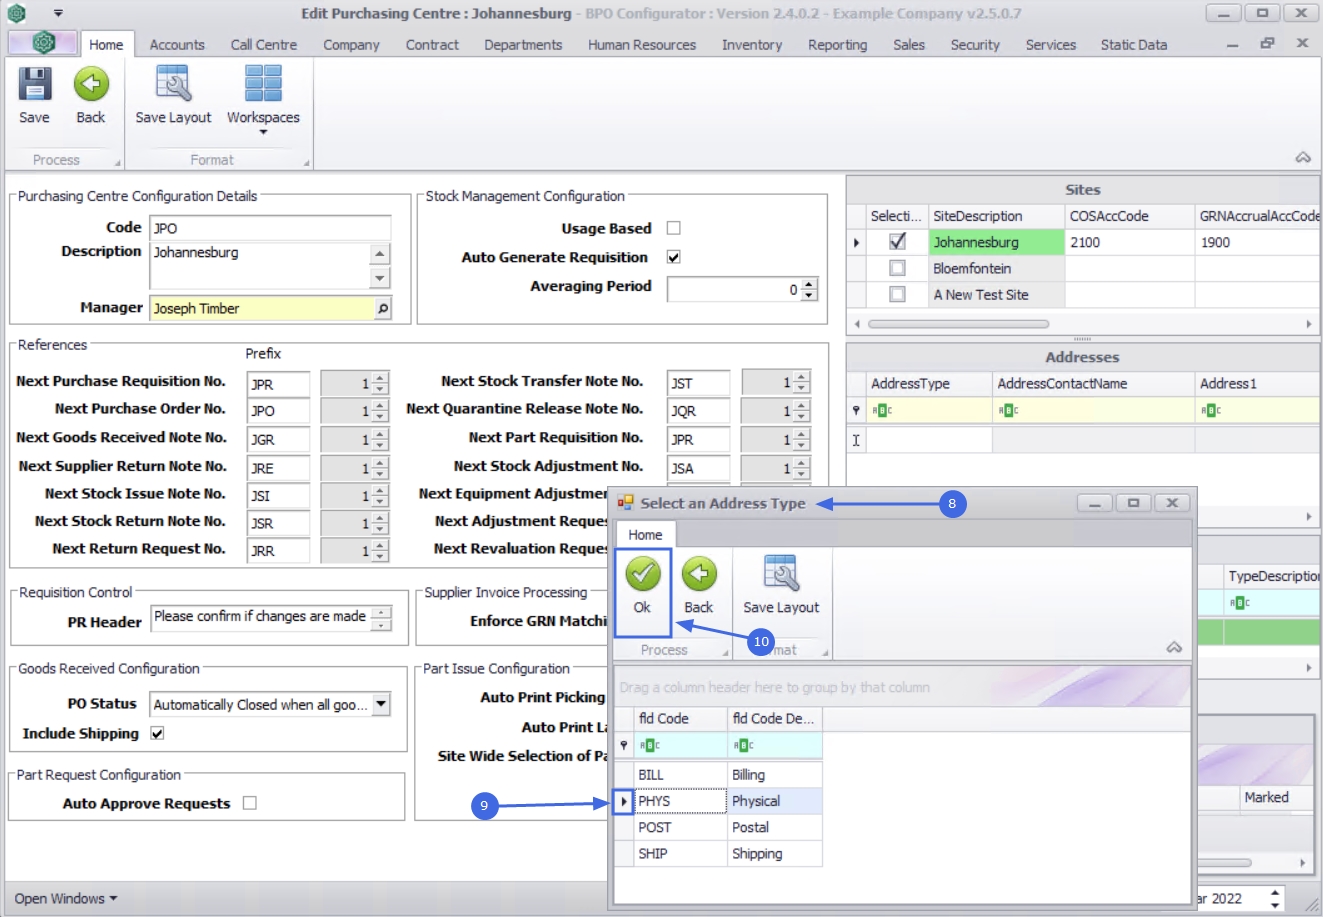
- The Select an Address Type pop up screen will appear.
- Click on the row of the address type you wish to add to the purchasing centre.
- Click on OK.
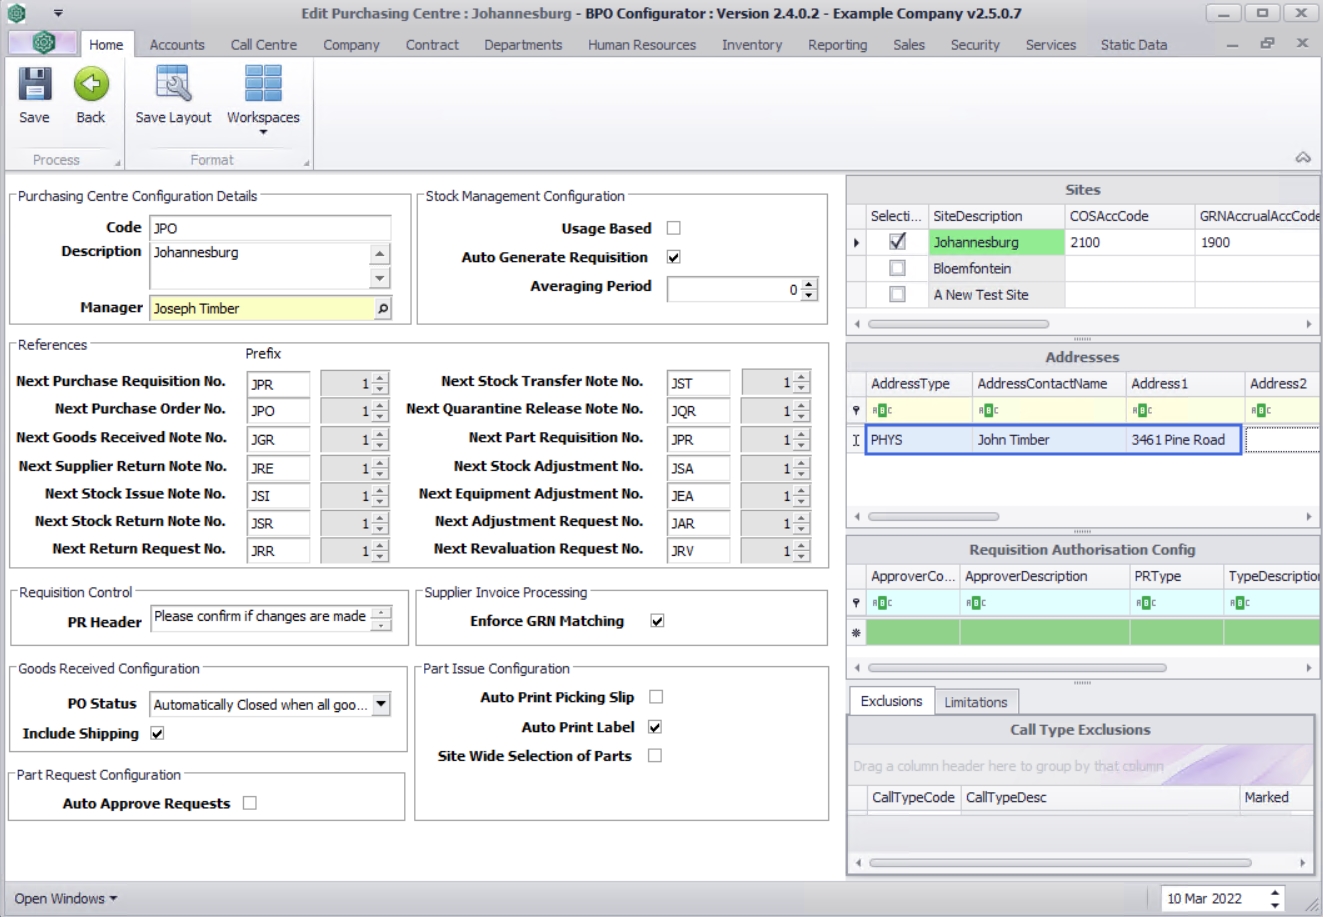
- Address Type: This field will be populated with the address type selected.
- Address Contact Name: Type in the contact name for this address.
- Address 1: Type in the first line of the address.
- Address 2: Type in the second line of the address.
Use the scroll bar at the bottom of the frame to scroll to the hidden columns, to continue adding the address details.
- Address 3: Type in the third line of the address.
- City: Type in the city for this address.
- Postcode: Type in the postal code for this address.
- County: Type in the county for this address, if applicable.
- Country: Type in the country for this address.
- TelNo: Type in the telephone number for this address.
- TelExt: Type in the extension number for the address contact.
- FaxNo: Type in the fax number for this address, if applicable.
- EmailAddress: Type in the contact email address.
- Default Address: Click on the down arrow to select;
- Yes if this is to be the default address for this purchasing centre.
- No if this is not to be the default address for this purchasing centre.
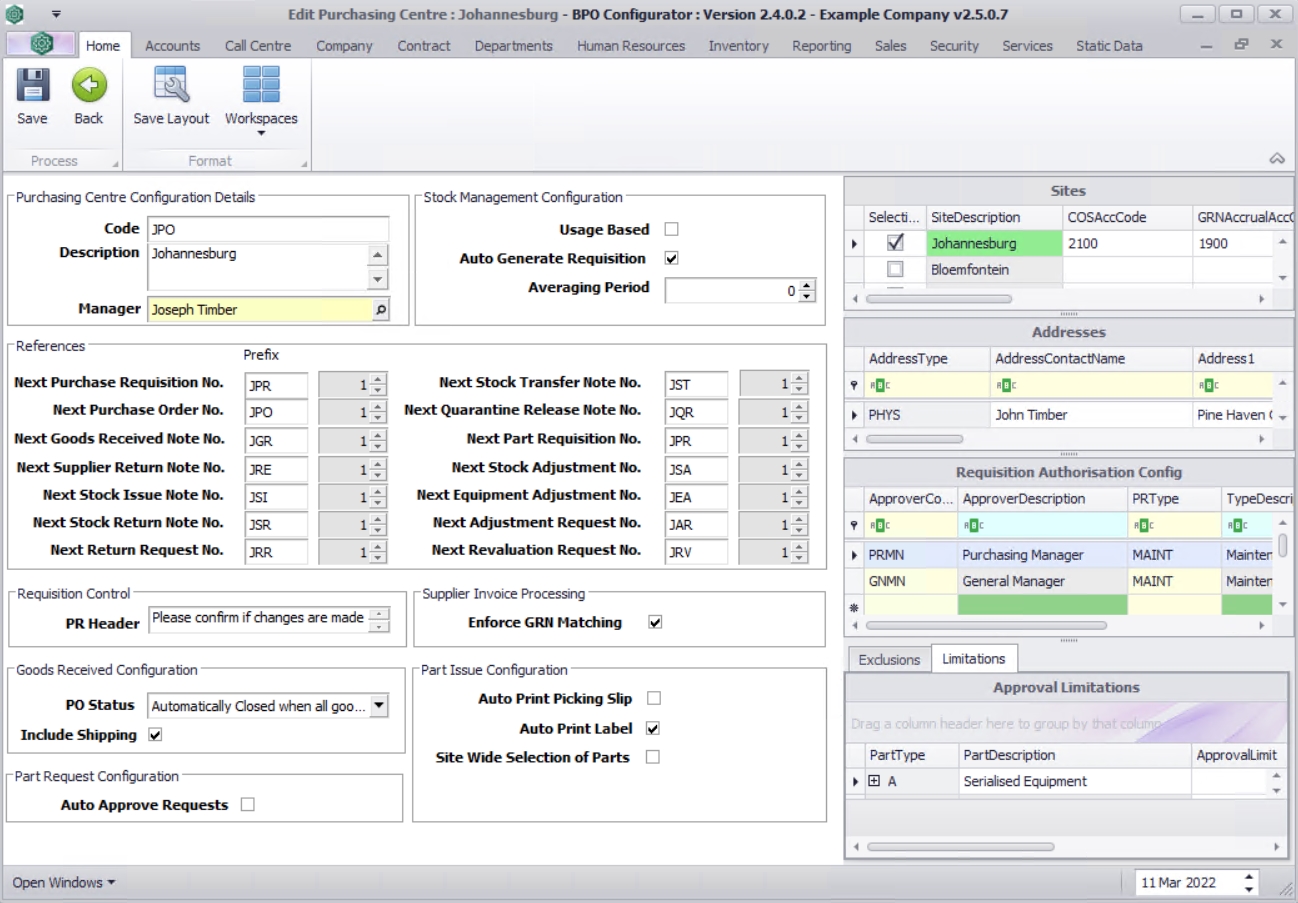
Requisition Authorisation Configuration
- Stores can raise a purchase requisition for stock requirements, whether to replenish stock levels, or to buy for client demand. This requisition must then be approved by the purchasing or general manager.
- Two
authorisation levels can be set up:
- First authorisation by the Purchasing Manager for a set requisition total value.
- Second authorisation by the General Manager when the requisition total exceeds the first authorisation level.
- The result of this authorisation set up can be viewed in the Introduction to Purchase Requisitions manual under Approval Matrix.
- In the Requisition Authorisation Config frame,
- Click in the text box of the empty row below Approver Code to display the ellipsis button.
- Click on the ellipsis button to display the Select an Approver Code screen.
- Click on the row of the Approver code / description you wish to link to the requisition authorisation configuration.
- Click on
OK.
 Note that as this is the first authorisation level, the Purchasing Manager has been selected.
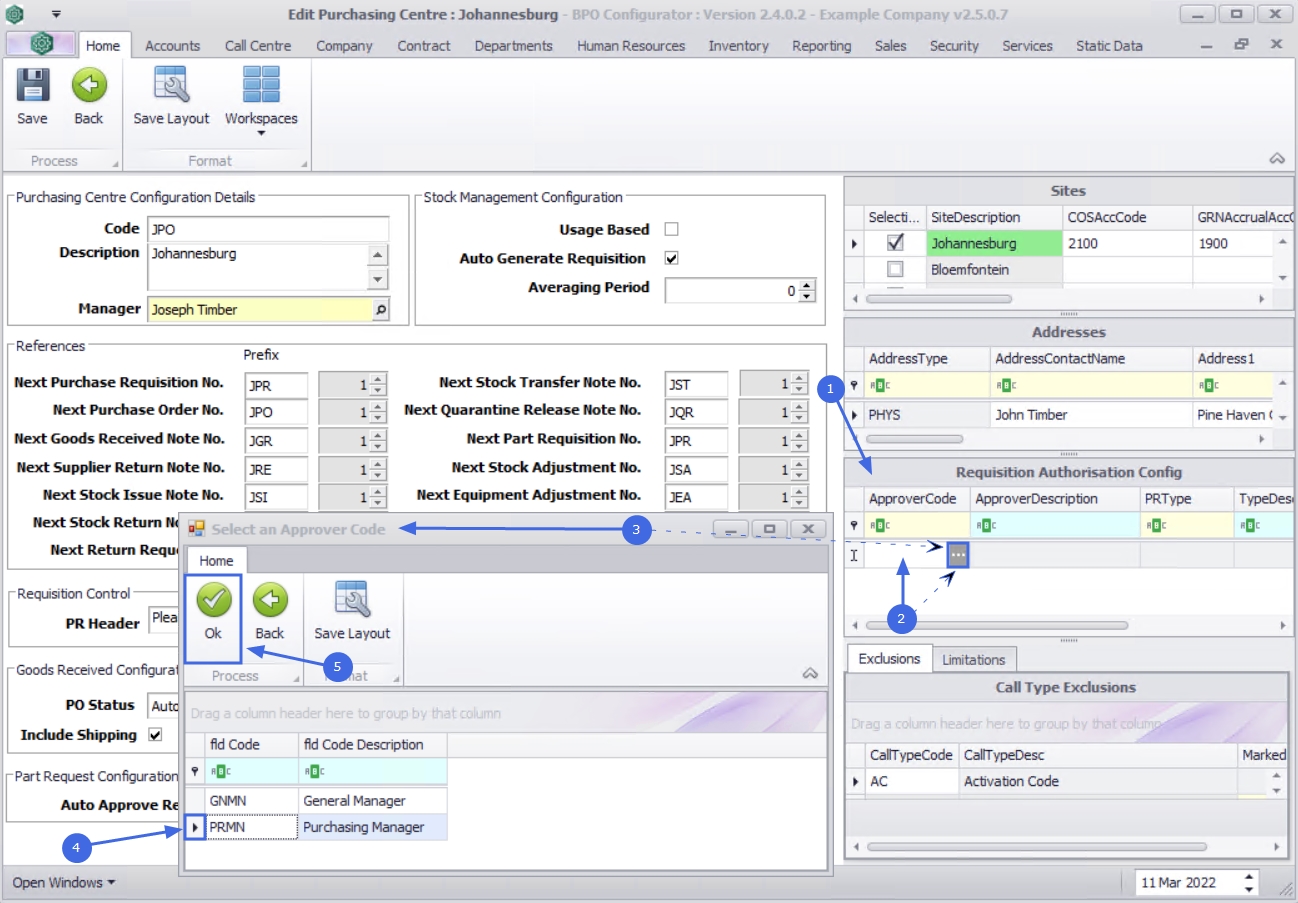
- The Approver Code and Approver Description will be populated with the selected approver.
- Click in the PR Type text box to display the ellipsis button
- Click on this button to display the Select a PR type screen.
- Click on the row of the PR type you wish to link to the requisition authorisation configuration.
- Click on OK.
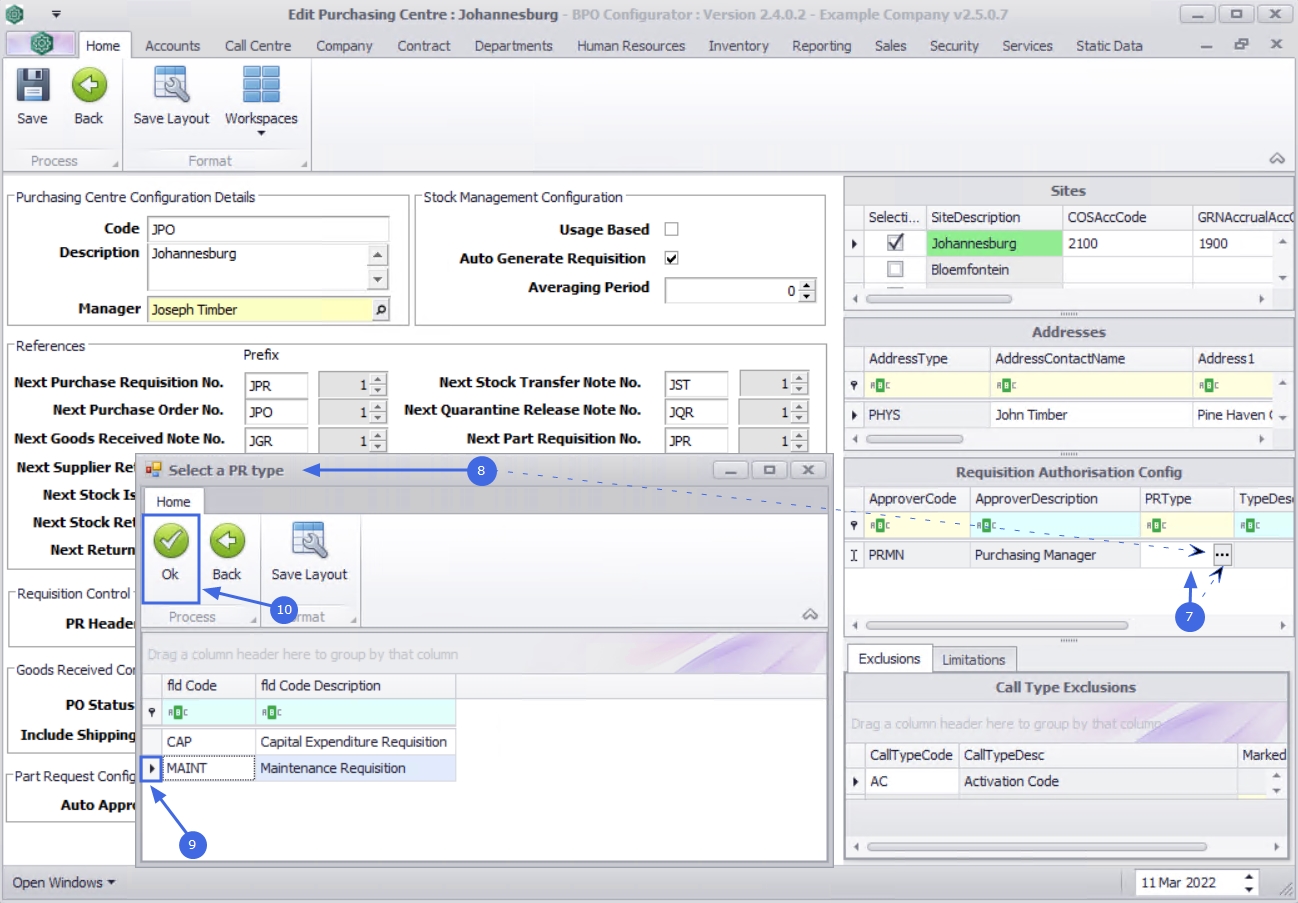
- The PR Type and Type Descriptionwith be populated with the selected PR type.
- Click in the PR Value text box to type in, or use the reveal arrow indicators to select the PR authorisation limit.
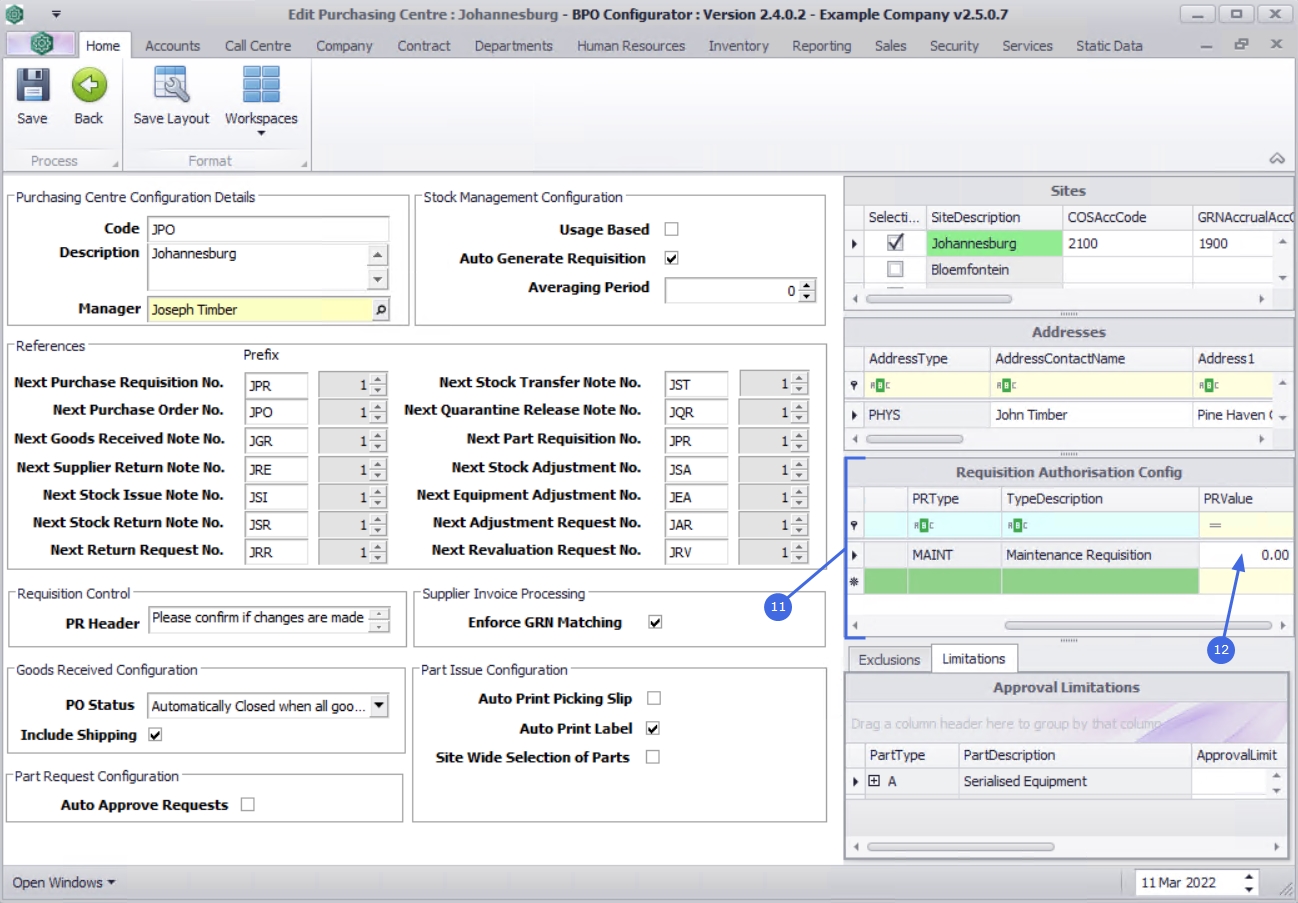
- Continue to add the second authorisation for the General Manager following the process above. The General Manager will be created to authorise any purchase requisition above the PR Value specified for the Purchasing Manager.
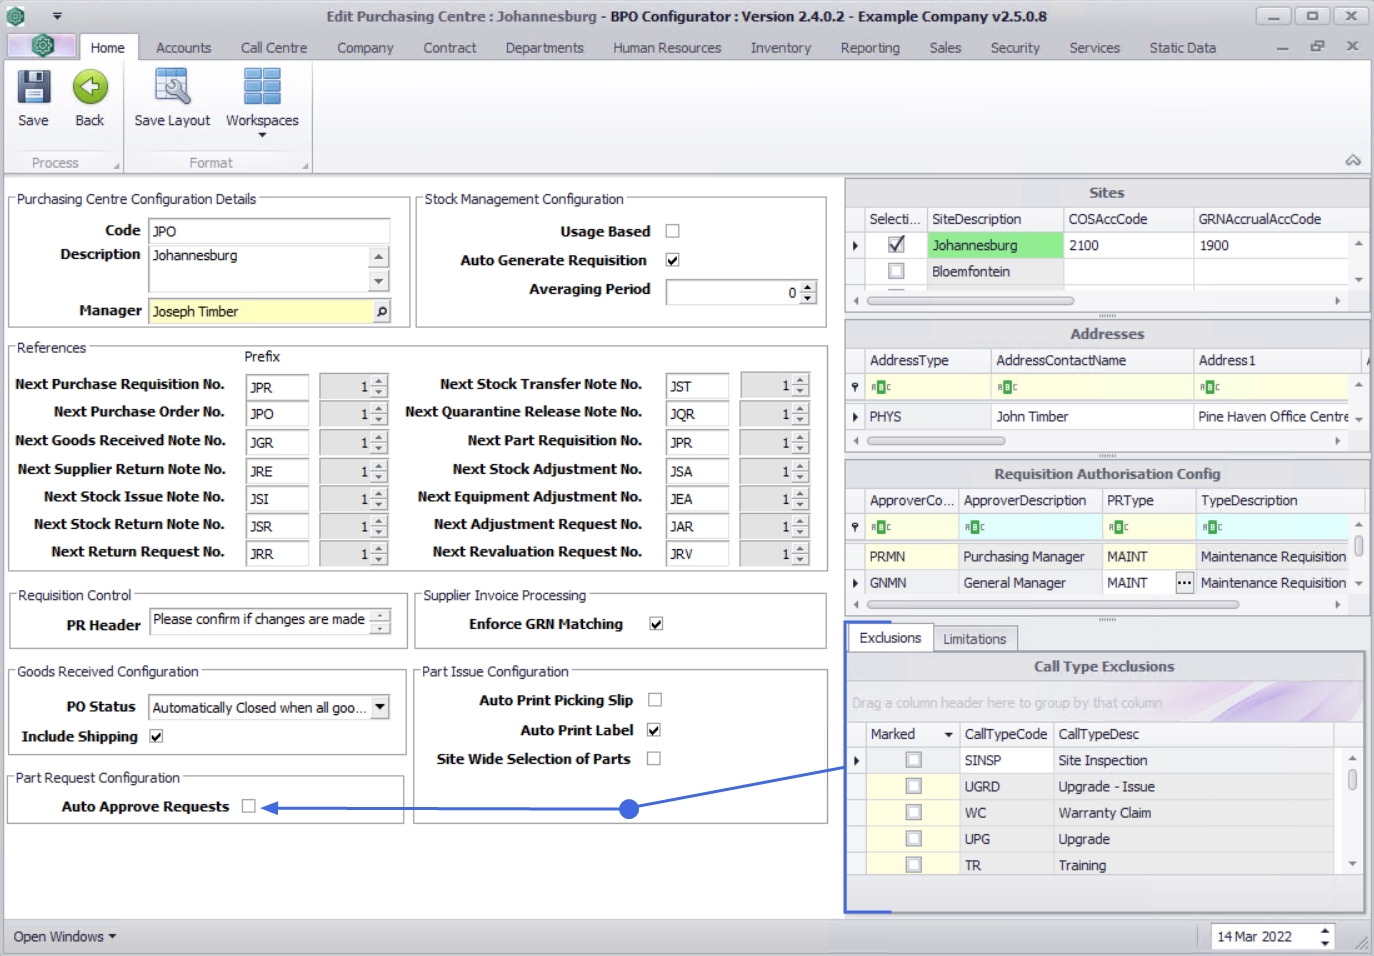
Approval Exclusions
The Exclusions frame work in conjunction with the Part Request Configuration when the Auto Approve Requests have not been selected.
- Click to select the Call Type you wish to exclude from approval, if any.
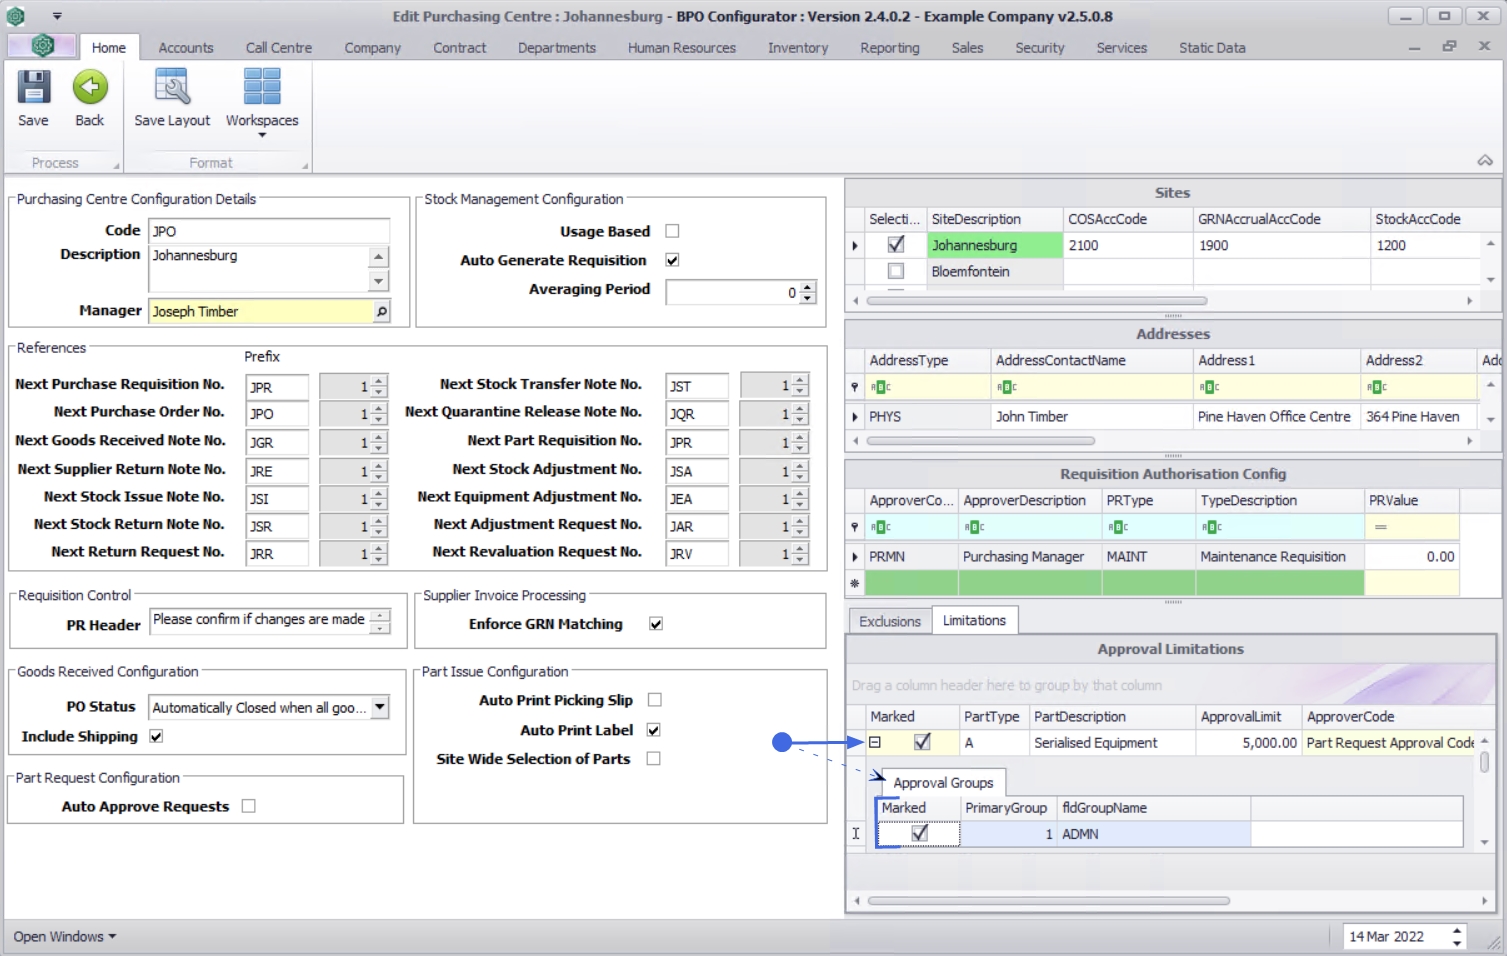
Approval Limitations
- Approval Limitations needs to be specified when the Auto Approve Requests option has not been selected.
- An approval limit needs to be set for;
- A-Class Serialised Equipment,
- B-Class Serialised Spares, and
- C-Class Serialised Parts
- When stock items are purchased and the value of the purchase is below the approval limit, then the Approval Manager will be greyed out on the Part Request screen.
- When stock items are purchased and the value of the purchase is above the approval limit specified, then the Approval Manager selection is available on the Part Request screen. You can then choose to select if the Part Request should be approved. In some instances where an item was pre-approved, the approval manager is then not selected.
![]() Refer to Work Orders - Part Requests to view the availability of the Approval Manager on the Part Requests screen.
Refer to Work Orders - Part Requests to view the availability of the Approval Manager on the Part Requests screen.
- Marked: Click to select the part type you wish to set an approval limitation for.
- Part Type and Part Description: These fields would have been hard coded for A-Class, B-Class and C-Class part type and descriptions.
- Approval Limit: Click in the text box to type in or use the arrow indicators to specify the approval limit amount.
- Approver Code: Click on the down arrow to select the Approver Code from the drop-down list.
- Approver Code Description: Click to type in the approver code description for the part type.

Approval Groups
- Click on the expand button for the part type to display the Approval Groups frame.
- Click to select the Group(s) that will be able to approve the selected part type.
Save Purchase Centre configuration
- Click on Save.
- When you receive the Process Validation message to confirm;
- Purchasing centre saved successfully.
- Click on OK.
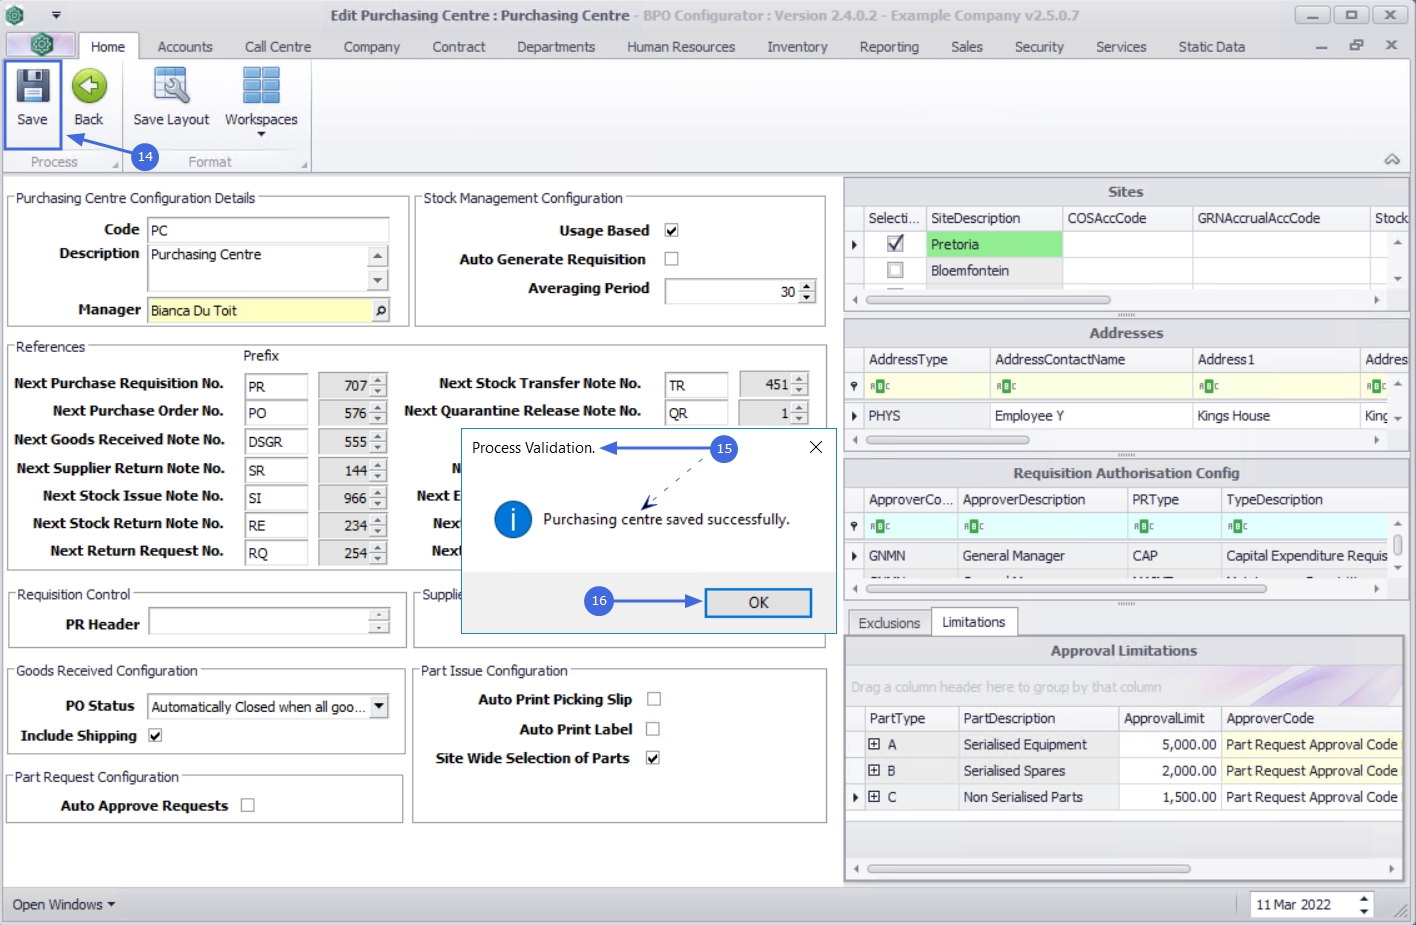
- You will return to the Purchasing Centres for Company listing screen.
MNU.091.004