We are currently updating our site; thank you for your patience.
Human Resources
Shifts
Setting up a shift is important for:
One Normal Work Week shift is required for technicians and SLA monitoring.
Additional shifts can be added for customers that have different trading hours, and then linked to the relevant customer(s).
Normally, shifts will have 7 days (for a standard week).
| Ribbon Access: Configurator > Human Resources > Shifts |

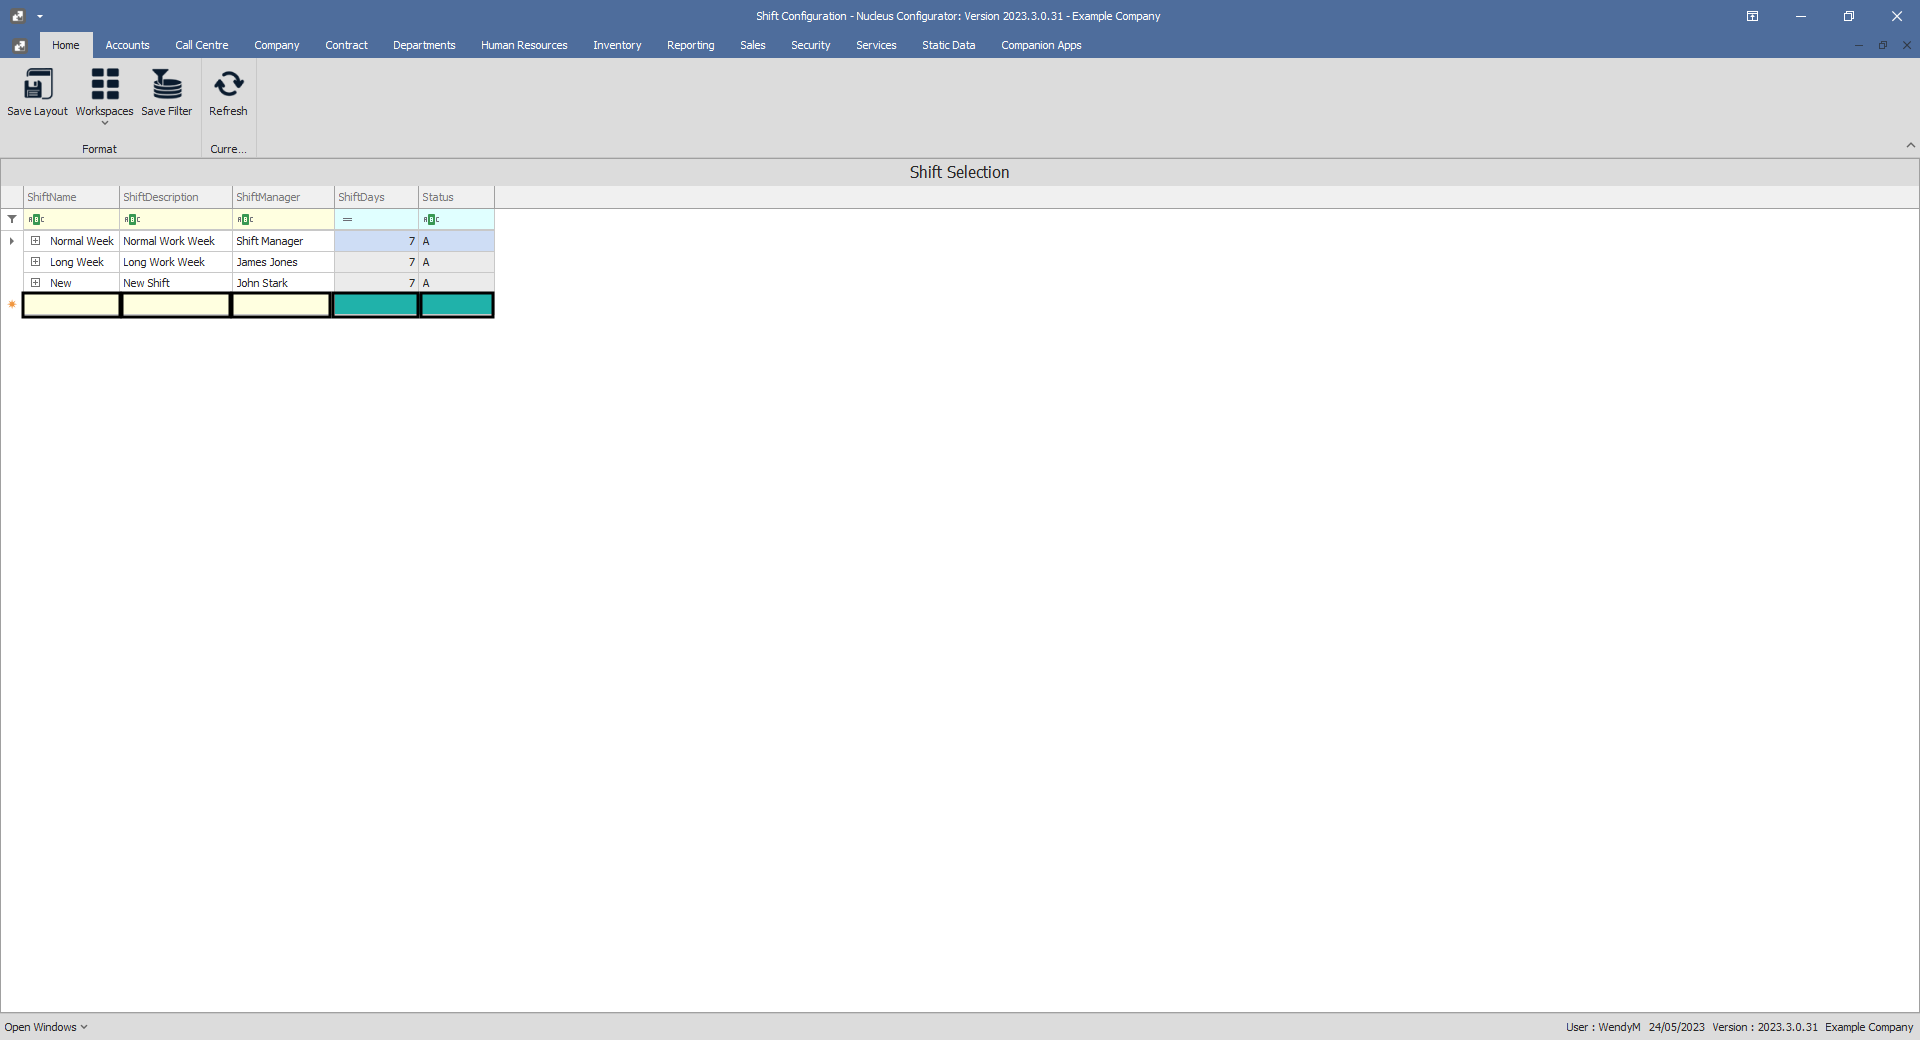
The Shift Configuration screen will be displayed.
View Current Shifts
Here you can view the Shift Selection data grid which contains a list of all the shift types currently on the system.
Add Shift
- Click in any of the editable text boxes in the final row of this data grid to 'activate' it.

- You can now enter the new shift selection details.
- Shift Name: Type in the name of this new shift type.
- Shift Description: Type in the description of this new shift type.
- Shift Manager: Type in the name of the shift manager.
- Shift Days: This will auto populate with 7.
- Status: This will auto populate with A - Active.
Save Shift
- Press Tab or Enter on your keyboard.
- An Update message box will pop up asking:
- Are you sure you want to save changes to this Shift?
- Click on Yes.
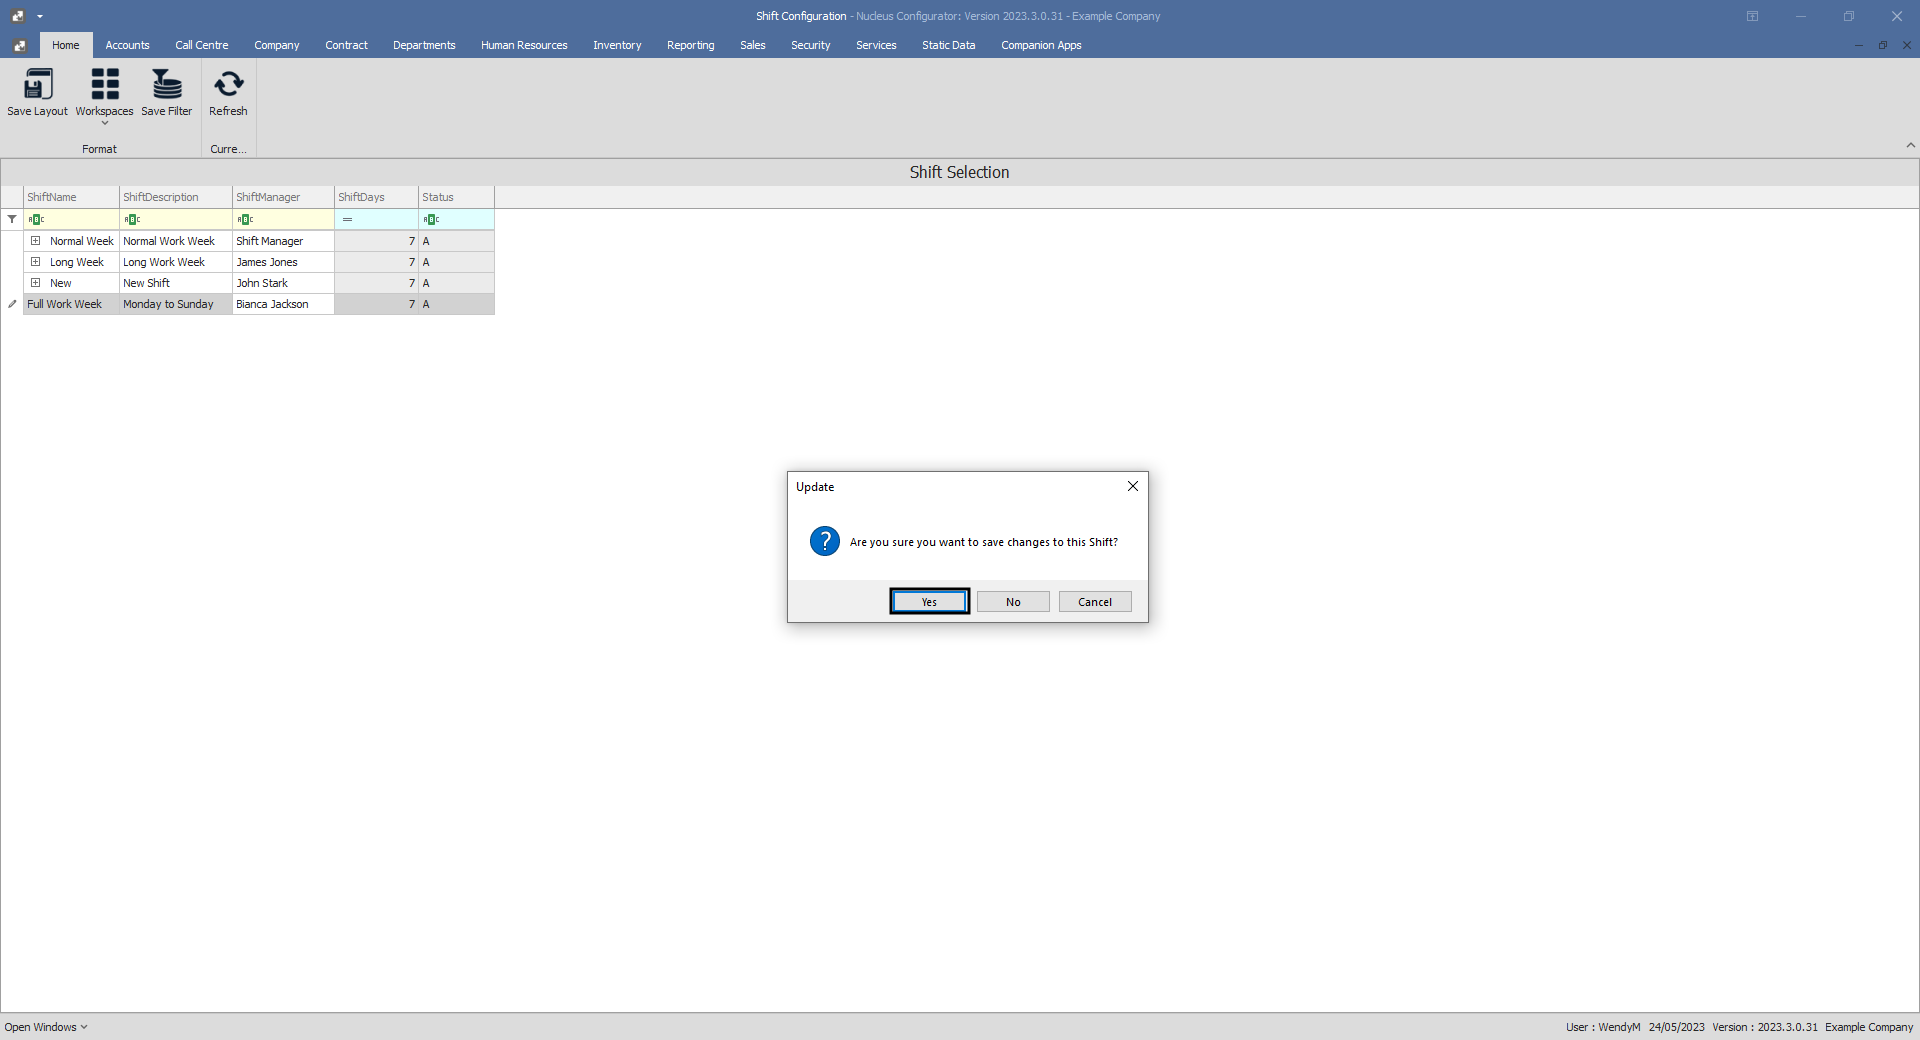
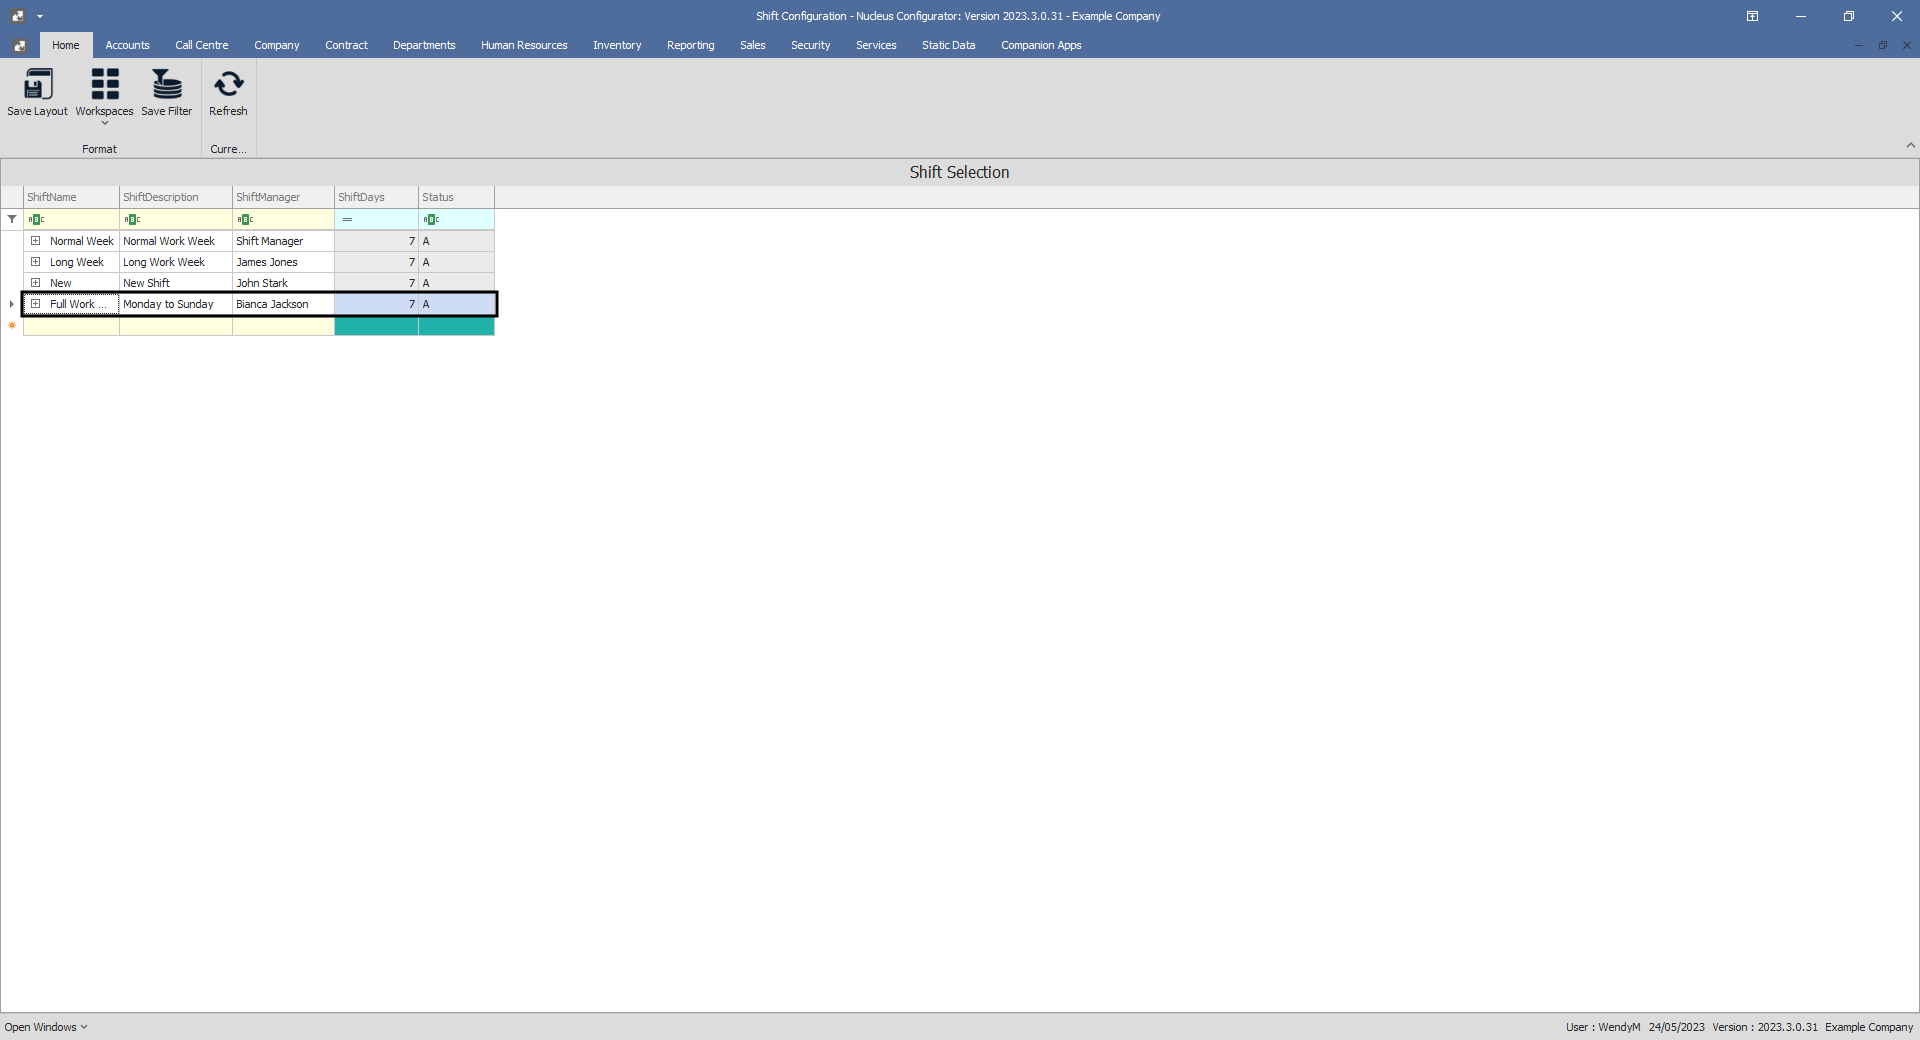
- The new shift details will be saved and a new row will be created in the Shift Selection data grid.
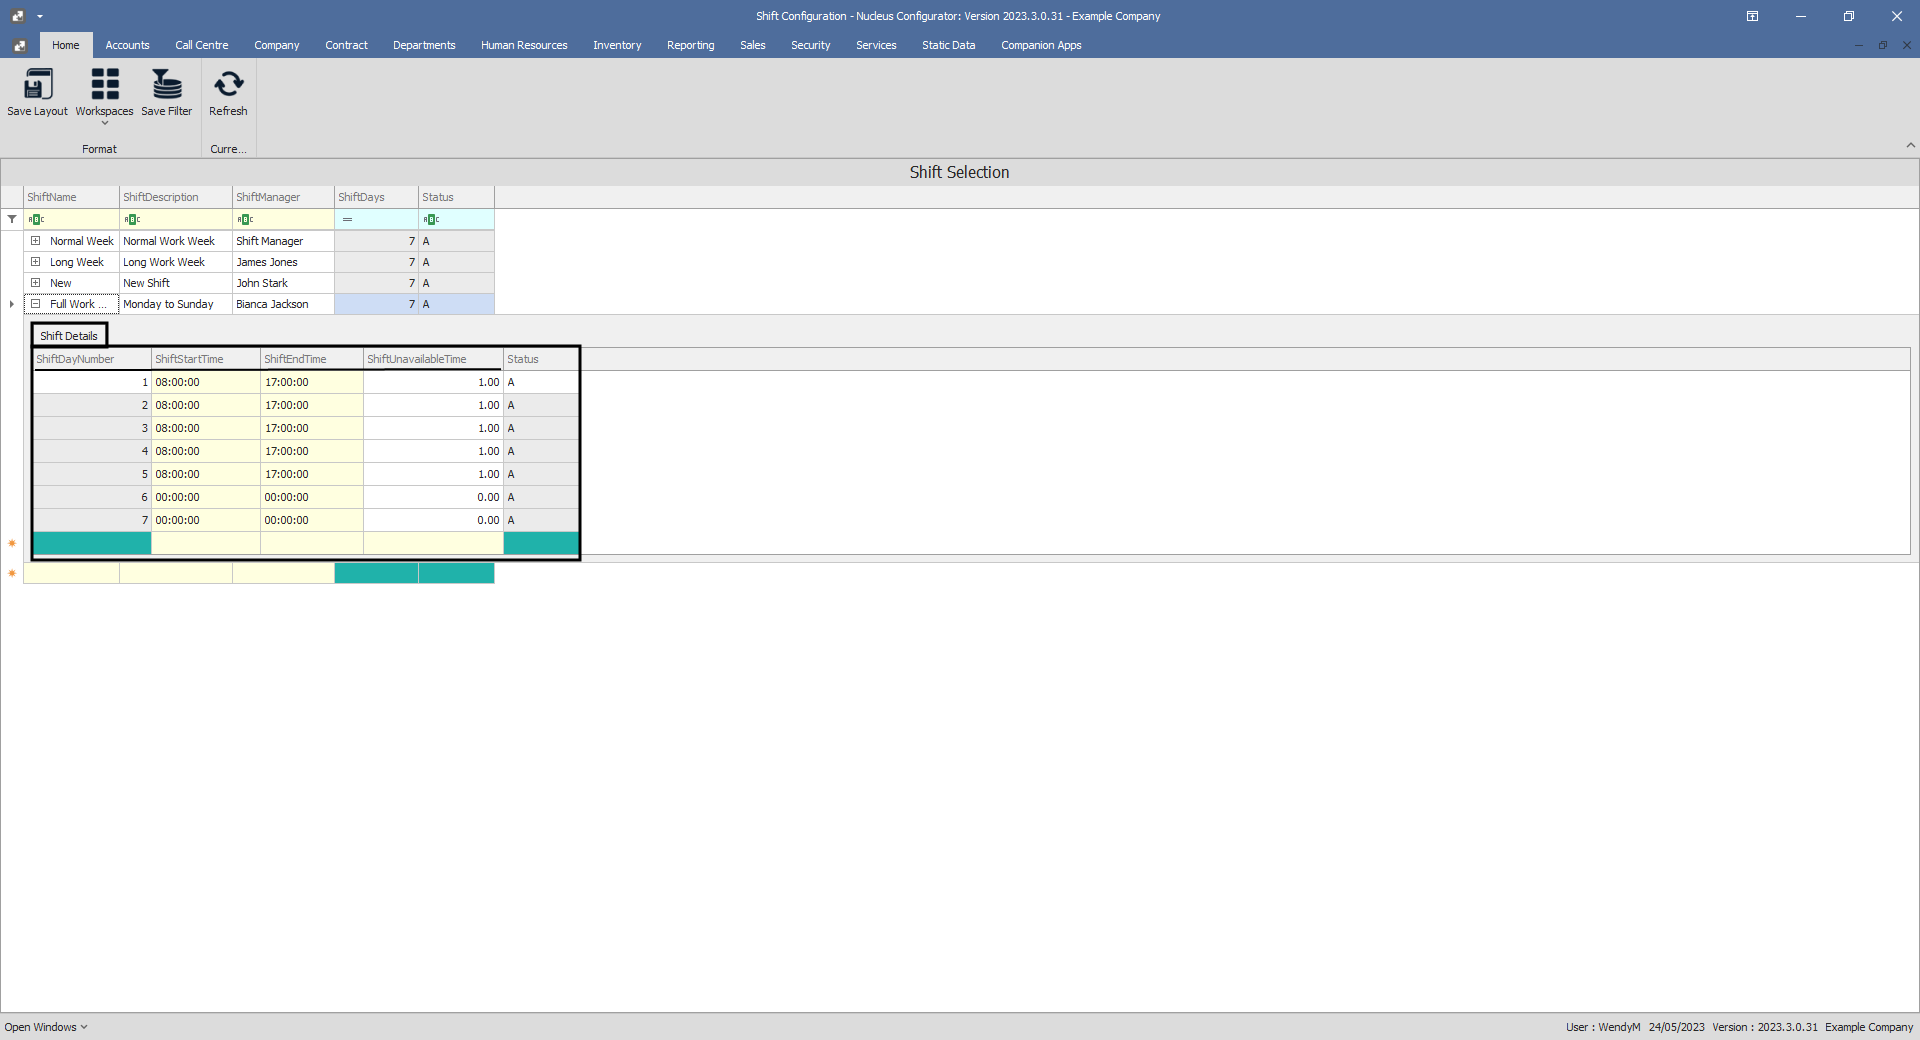
Add Shift Details
- Click on the expand button in front of the new Shift Selection.

- The Shift Details frame will be expanded.
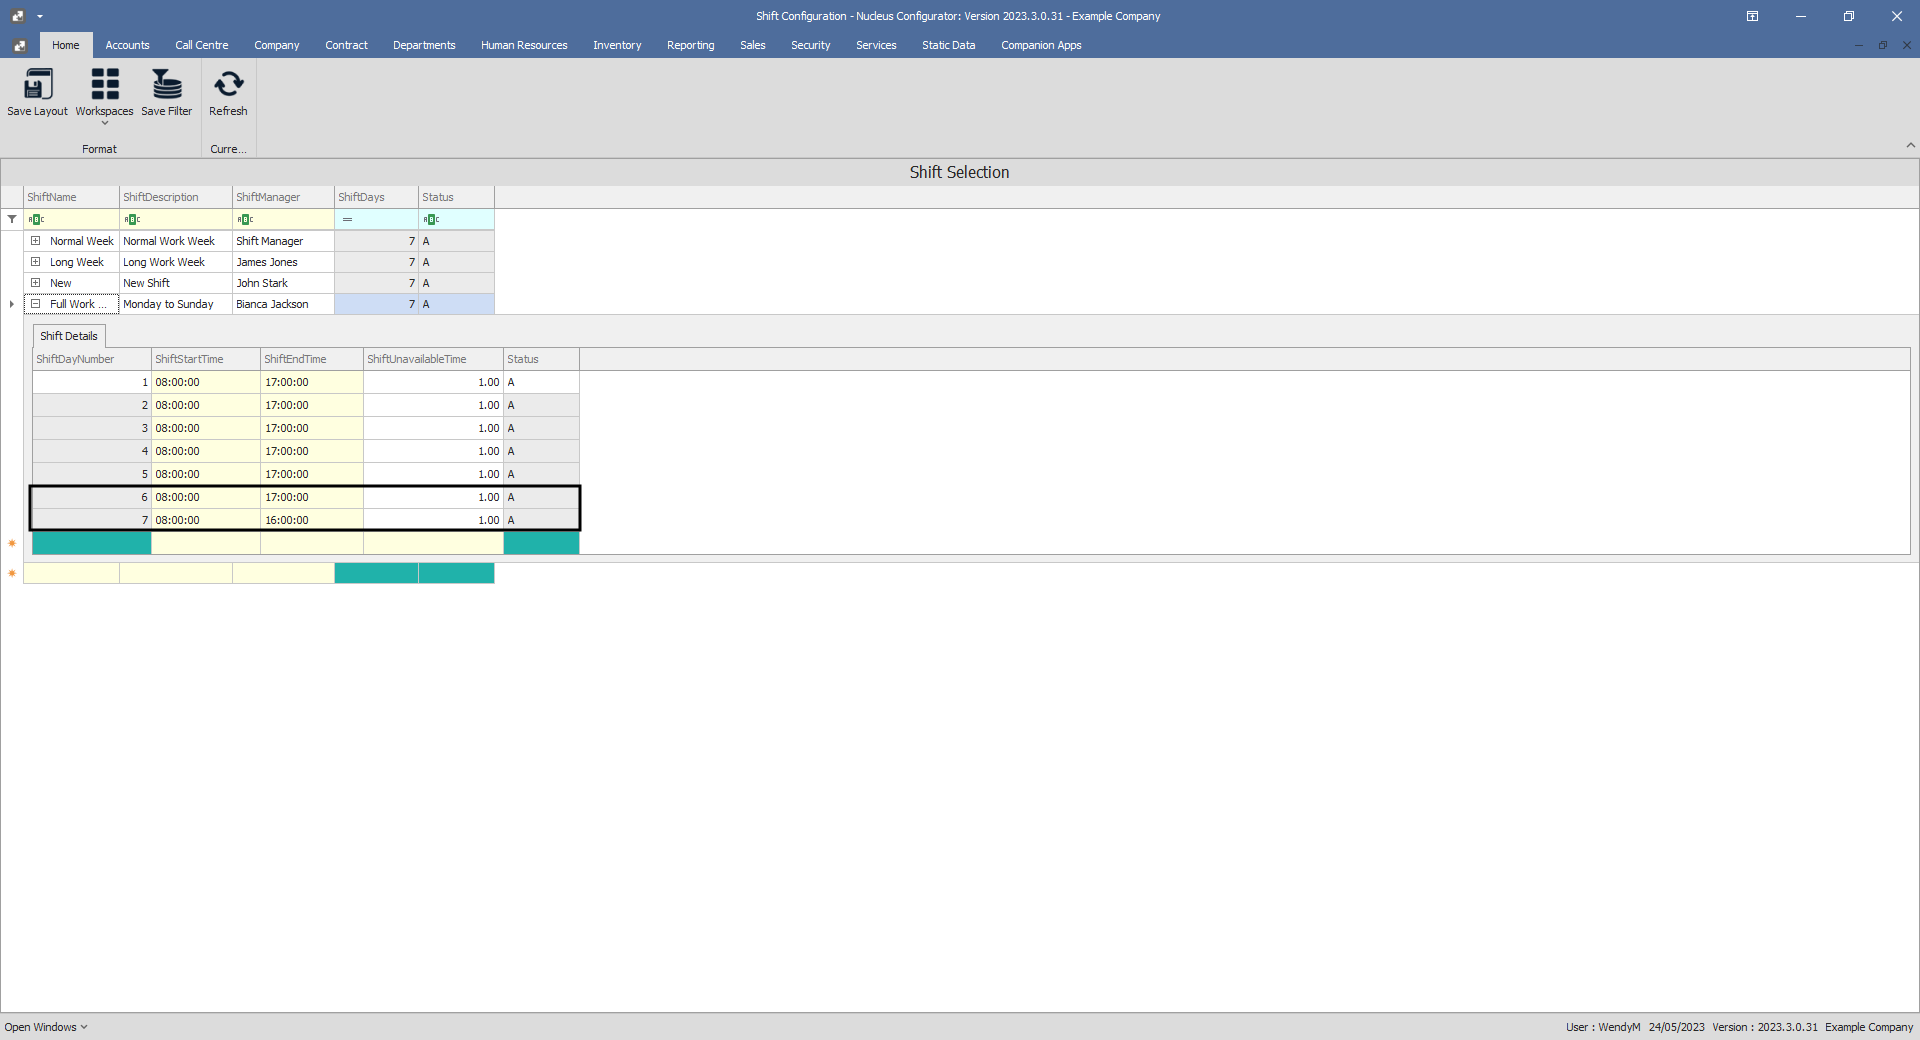
- The columns have been set up to include:
- Shift Day Number (un-editable),
- Shift Start Time ,
- Shift End Time ,
- Shift Unavailable Time and
- Status (un-editable).
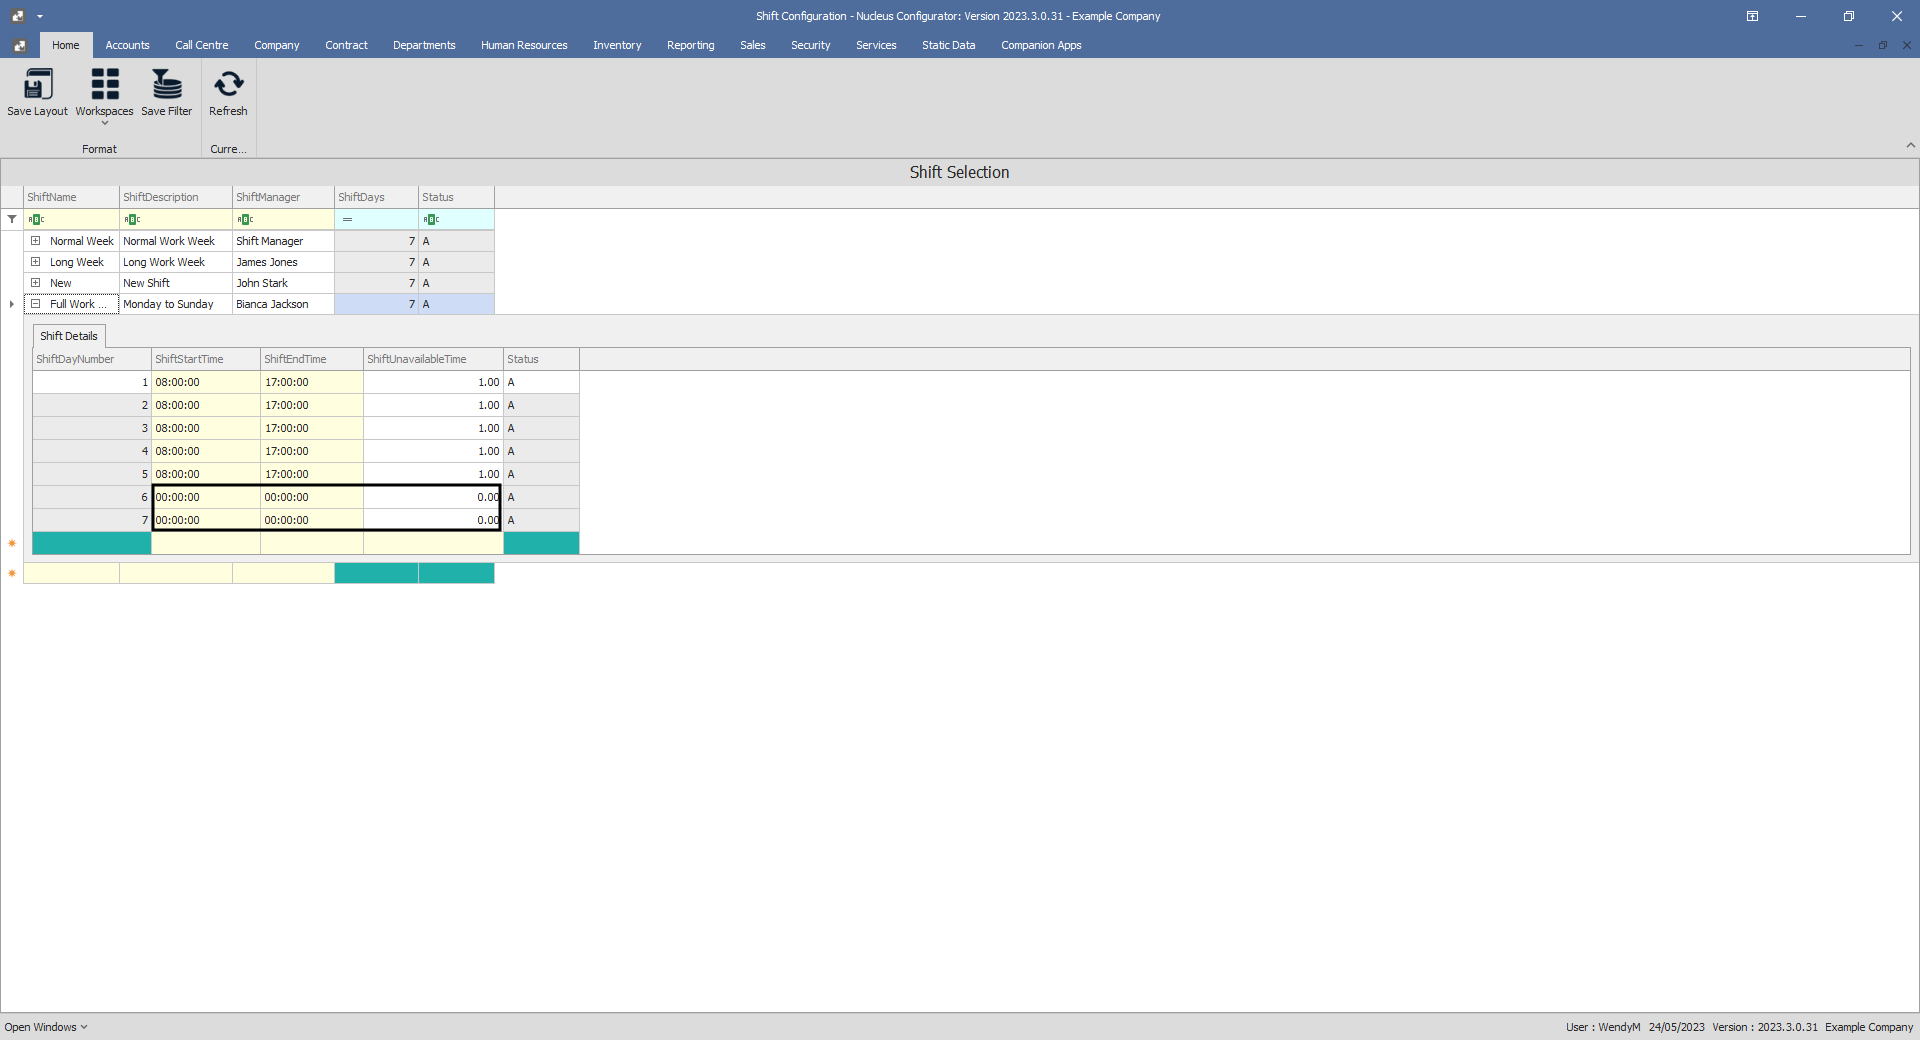
- You can change the information in the editable fields to fulfil the new shift selection requirements.
- As we are creating a Full Work Week (Monday to Sunday), then Shift Day 6 (Saturday) and 7 (Sunday) will need to be edited as the data grid auto populates these fields with 0 working hours.
- Shift Day Number: This is static and un-editable.
- Shift Start Time: Type in the start time for this shift.
- Shift End Time: Type in the end time for this shift.
- Shift Unavailable Time: Type in the unavailable time that this shift allows (e.g. lunch break).
- Status: This is static and un-editable.
Save Shift Details
- When you have finished editing the shift details, press Tab or Enter on your keyboard.
- An Update message box will appear asking;
- Are you sure you want to save these changes to this shift detail.
- Click on Yes.
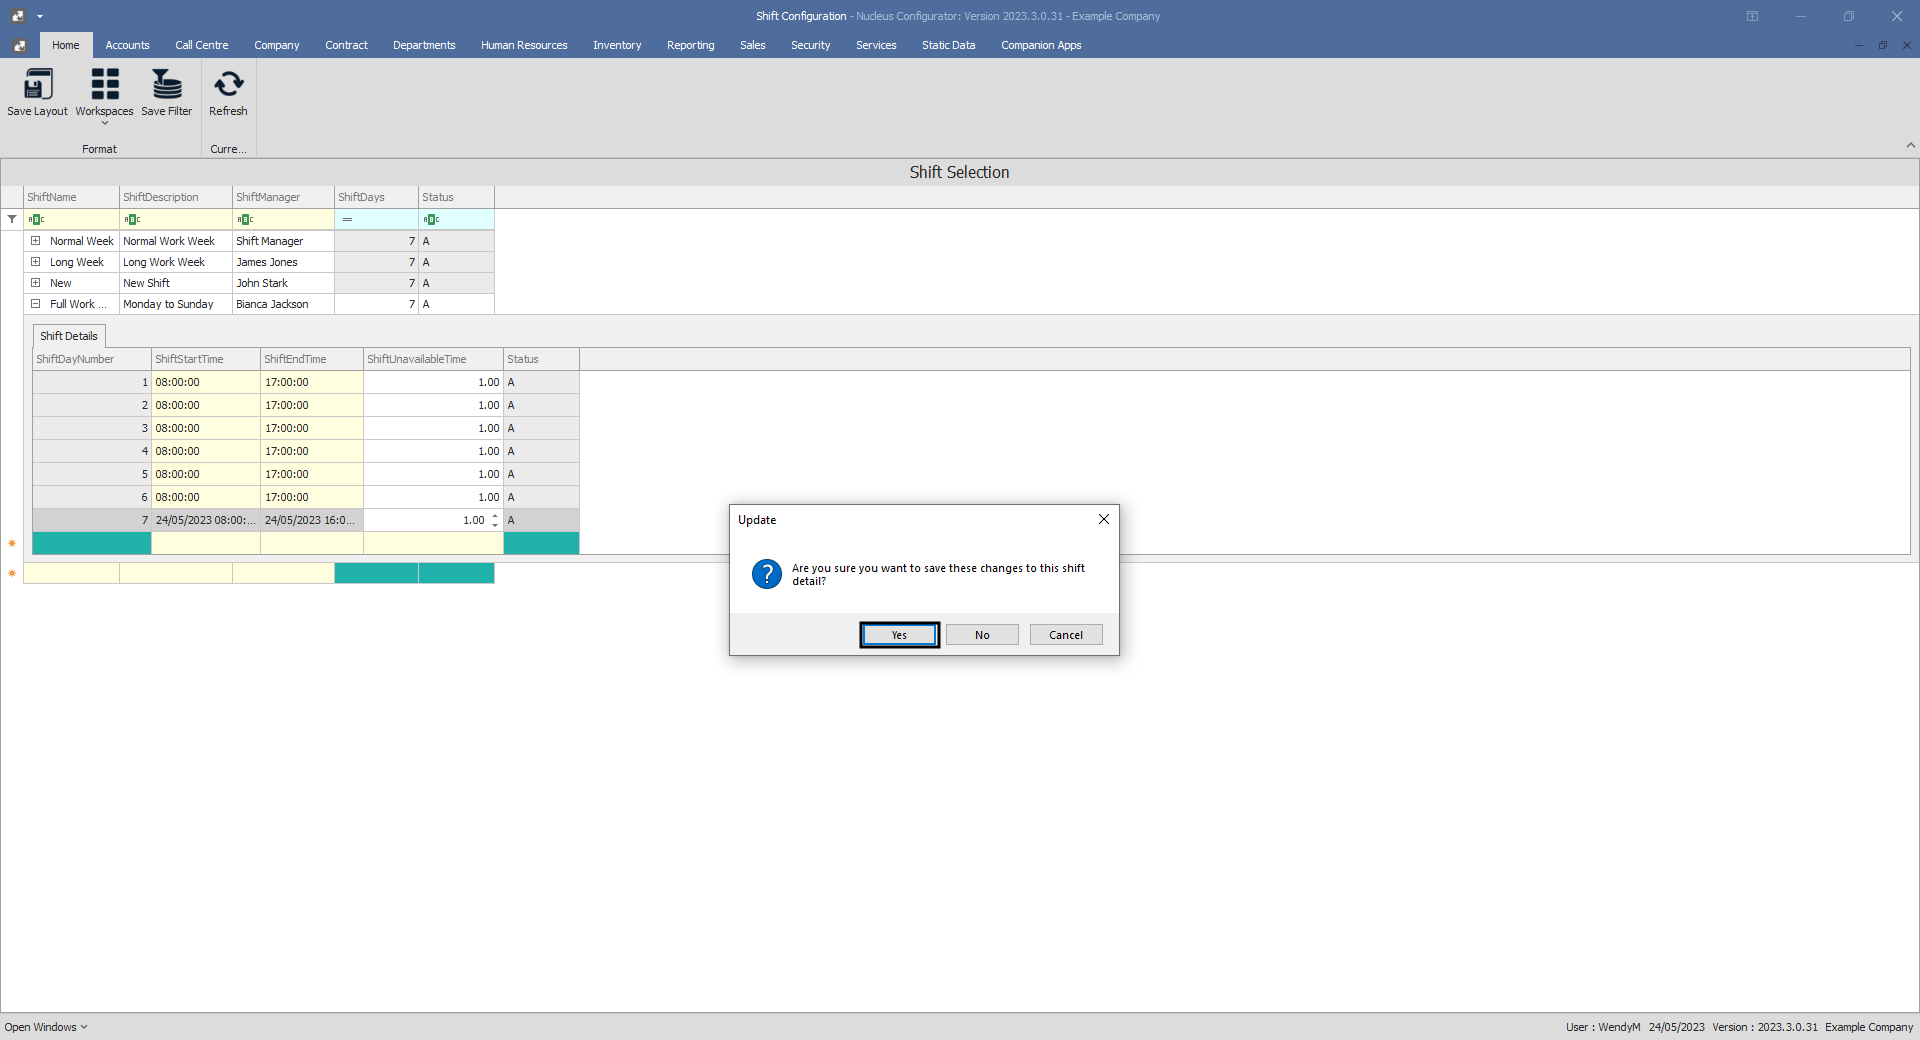
- Your shift details will be saved and the data grid will automatically close.
BPO.MNU.107