We are currently updating our site; thank you for your patience.
![]()
Services
Service Manager - Connect to BPO Database
This configuration will be done during implementation.
The Service Manager installed on the server, must be configured to include the default Printer and Mail settings for Contract Billing or Billing Reprint and to connect to the BPO database.
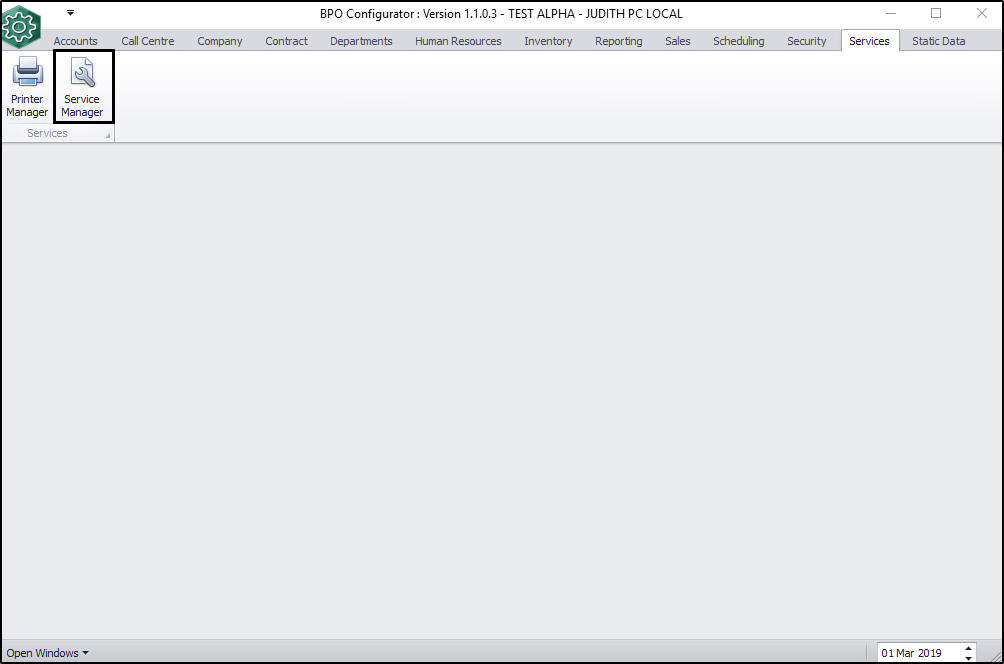
| Ribbon Access: Configurator > Services > Service Manager |
Printer Manager Connection
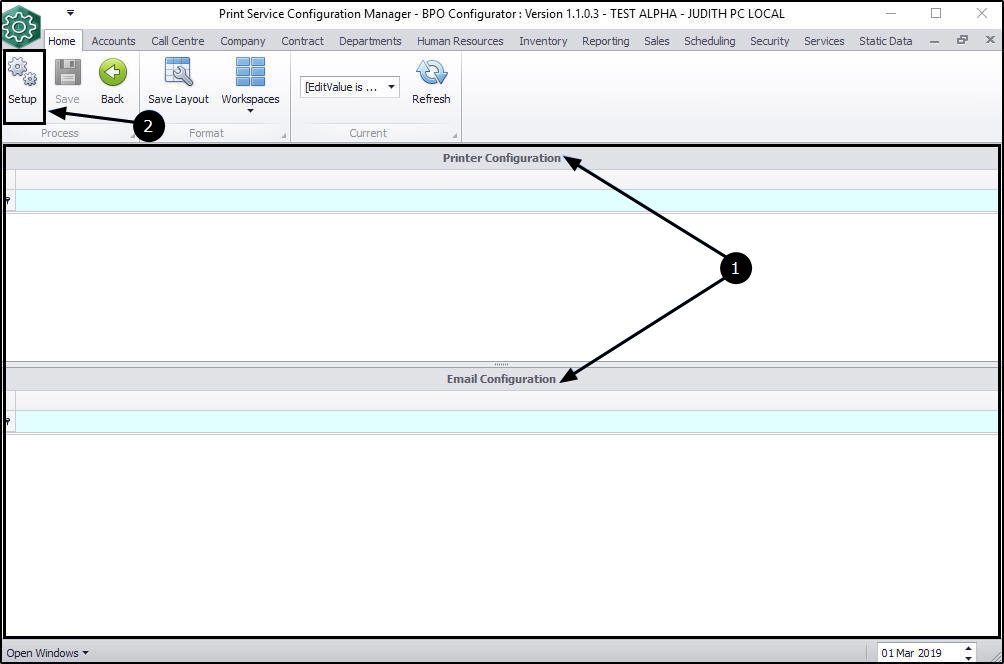
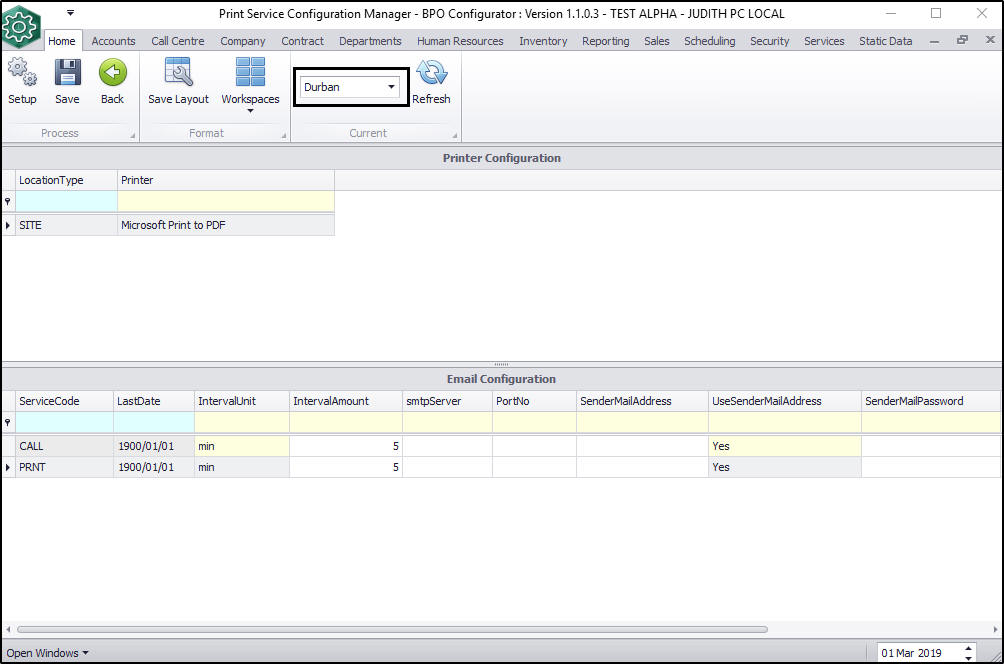
The Print Service Configuration Manager screen will be displayed.
- You will note that there is no data in the Printer Configuration or Email Configuration data grid.
- Click on Setup.
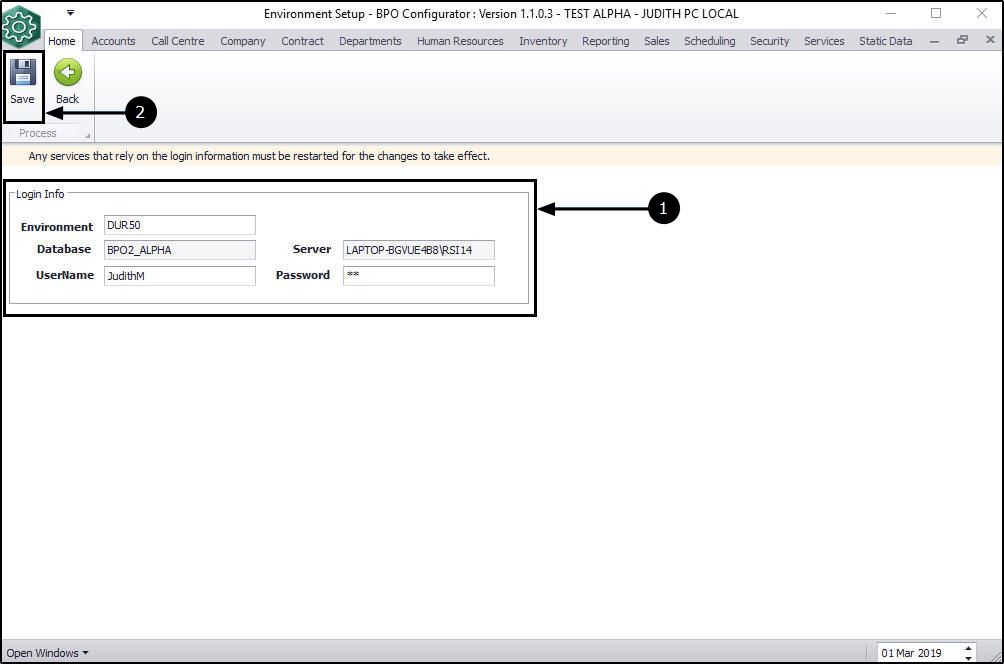
The Environment Setup screen will be displayed.
- Fill in the Login Info details as follows:
- Environment: Type in the company name. Try to keep it short.
- Database: This will auto populate with the BPO database name.
- Server: This will auto populate with the SQL server name.
- Username: Type in the SQL server username.
- Password: Type in the SQL password.
- Click on Save.
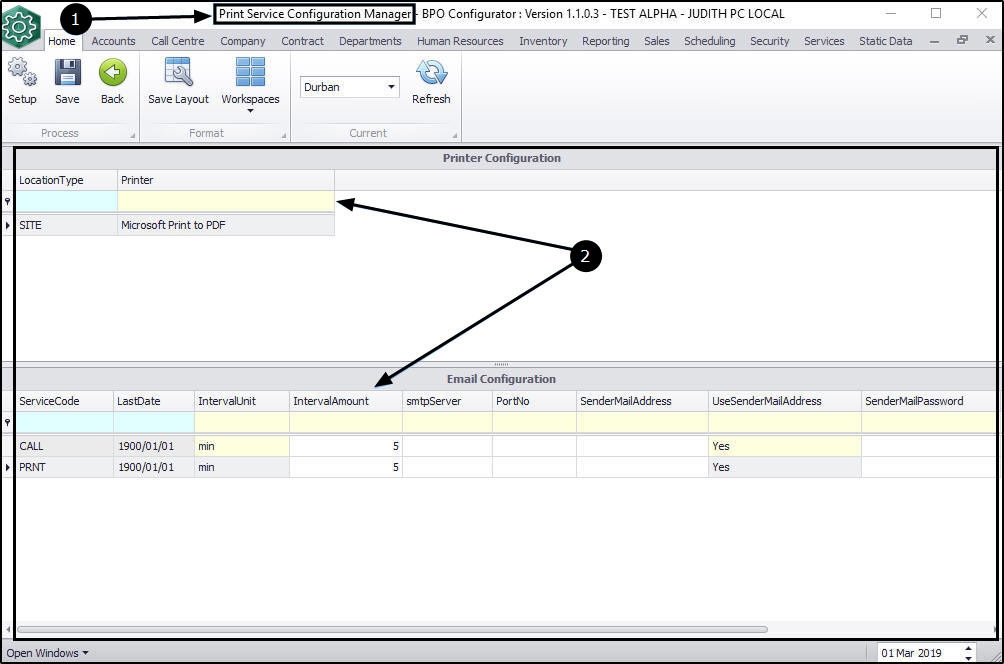
- You will return to the Print Service Configuration Manager screen.
- the Printer Configuration and Email Configuration data grids will now be populated with data.
Printer and Email Setup
- In the Print Service Configuration Manager screen, select the site.
- In this image, Durban has been selected.
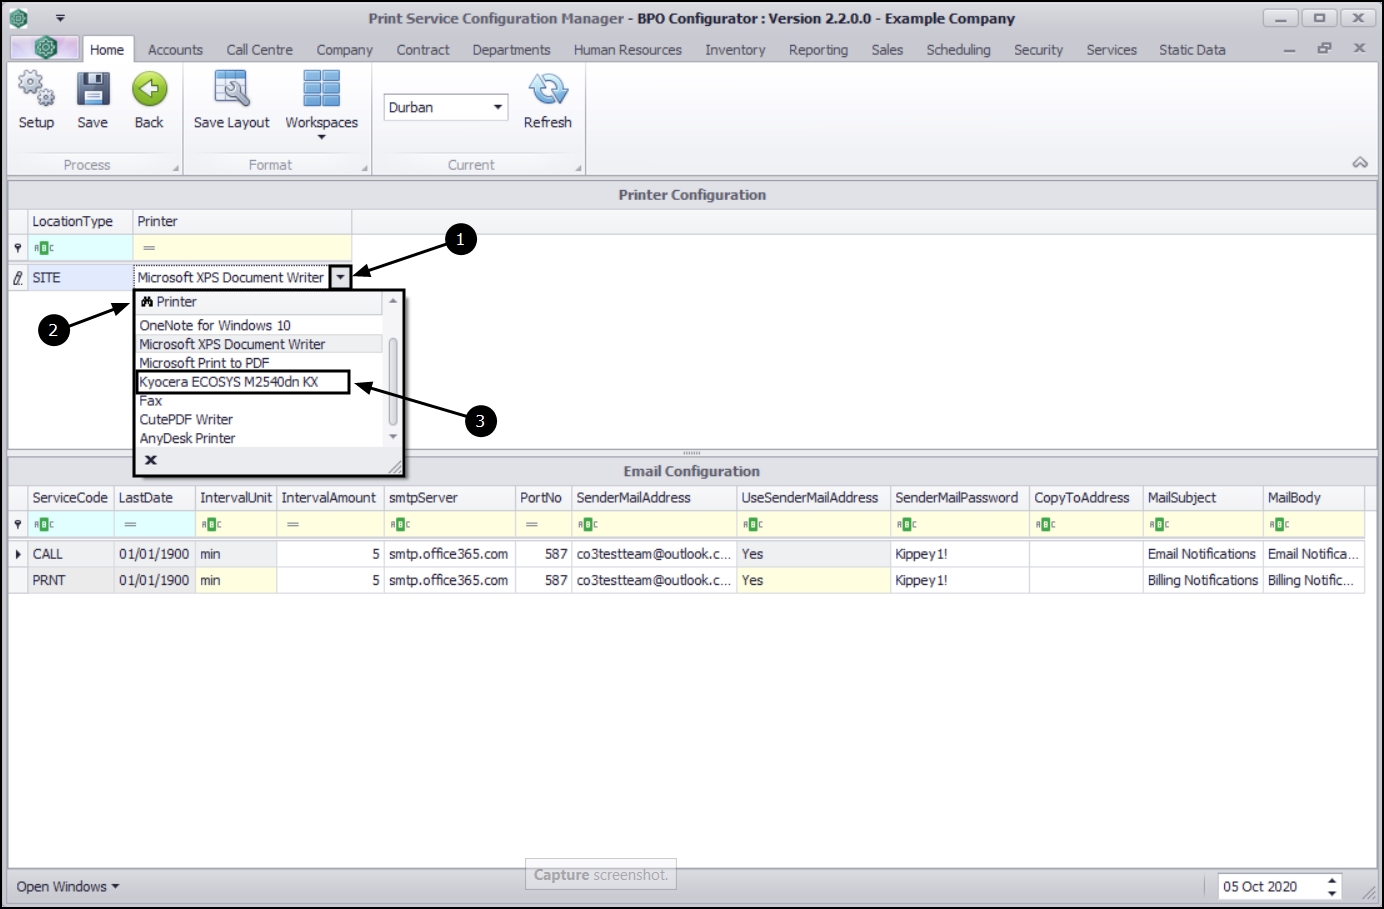
Printer Configuration
- Click on the drop-down arrow in the Printer field.
- The Printer menu will be displayed.
- Select the designated 'billing' printer from this list.
Note: For Printer Setup - Only physical printers listed should be selected for PrintQueue items to be processed via the printer (as opposed to email). It is invalid use of the system to select any "Print to PDF" option (or similar "non-printer").
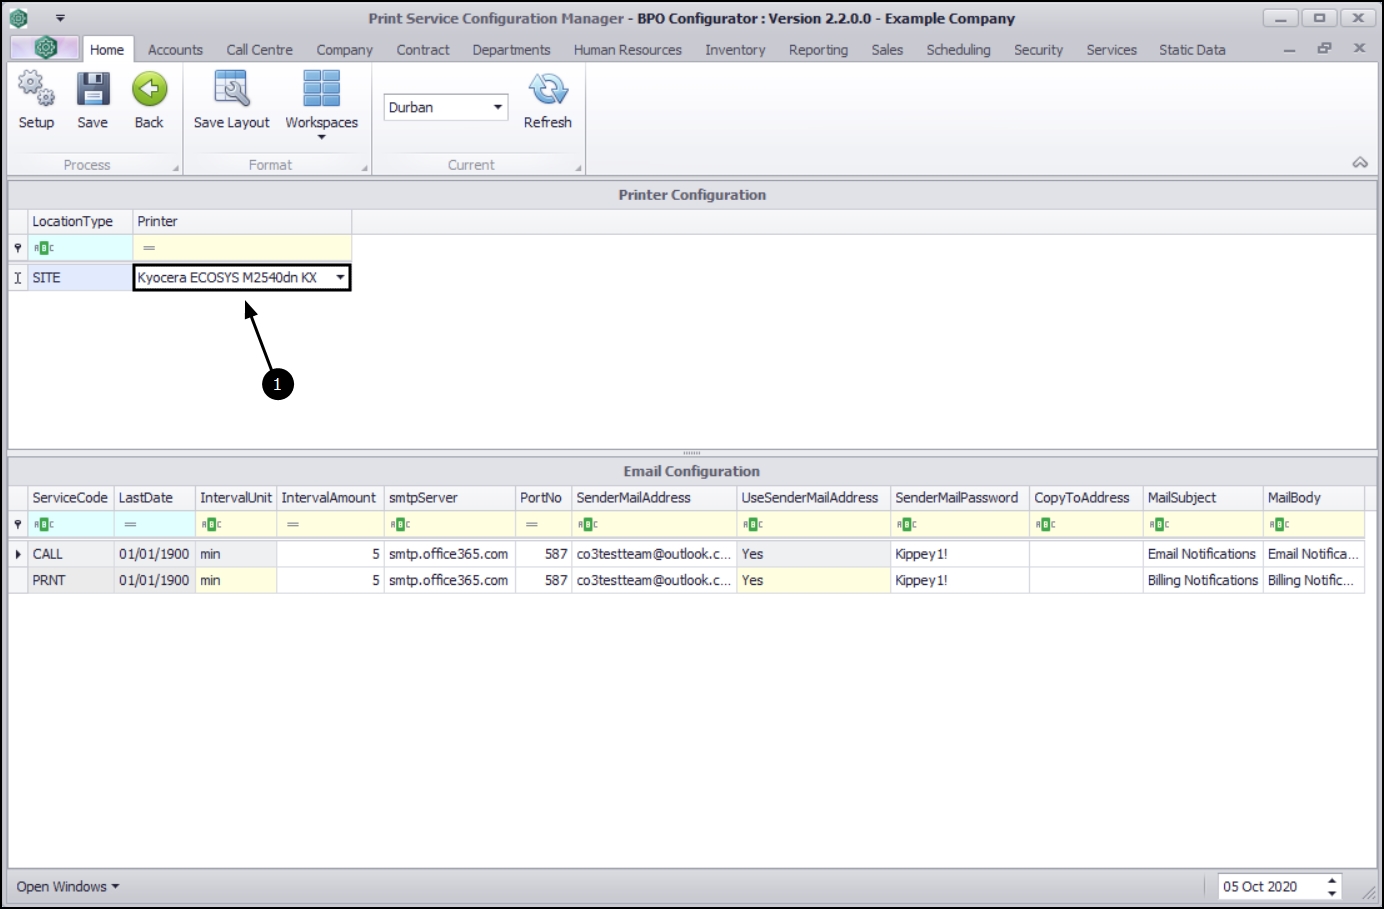
- The selected printer name will populate the Printer field. In this image, Kyocera ECOSYS M25 40dn KX has been selected.
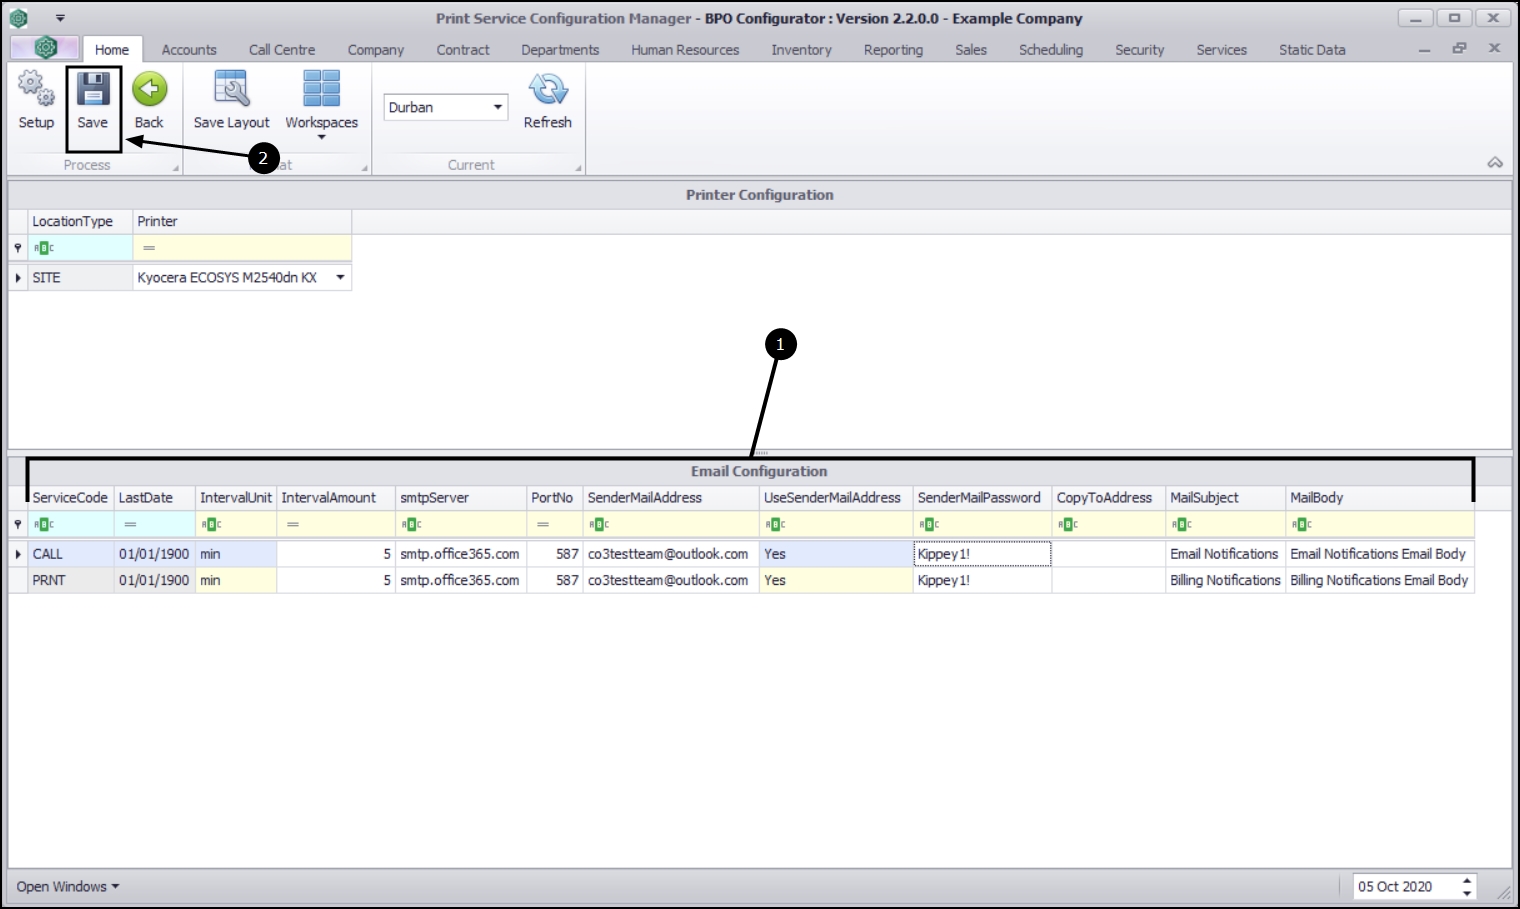
- Email Configuration
- ServiceCode: CALL - This is used for Call / Authorisation Notifications.
- ServiceCode: PRNT - This is used for Billing Print / Reprint.
- LastDate: This date autopopulates.
- IntervalUnit: This is the time interval unit that the print service will check for Invoices / Credit notes before printing / emailing. The default interval is 5 minutes but this can be changed.
- IntervalAmount: This is the time interval that the print service will check for Invoices / Credit notes before printing / emailing. The default interval is 5 minutes but this can be changed.
- SMTPServer: This is the mail server IP address.
- PortNo: This is the mail server port number.
- SenderMailAddress: This is the sender email address for billing emails.
- UseSenderAddress: This will note the sender email address on the notification. Click on the drop-down arrow to either choose Yes or No.
- CopytoAddress: This is the email address the application will send the notification to.
- MailSubject: Type in the email subject. This field should include important information such as what the email is about.
- MailBody: Type in the email subject. This freeform field will be where you actually write the message that you want sent.
- Click on Save.
The Print Service Configuration Manager screen will close.
XML Connection Setup
Print Service
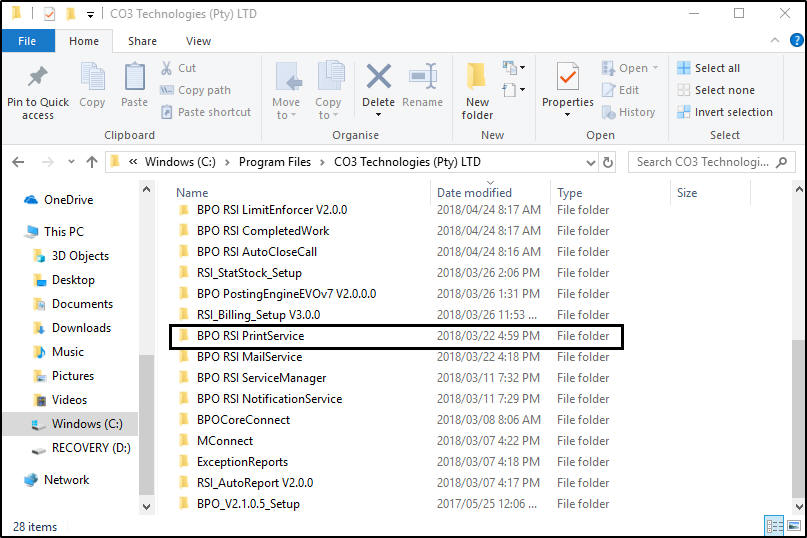
- Go to the following location on the server: C:\Program Files\CO3 Technologies\BPO RSI PrintService .
Email Service
- Go to the following location on the server: C:\Program Files\CO3 Technologies\BPO RSI Mail Service.

Edit XML file
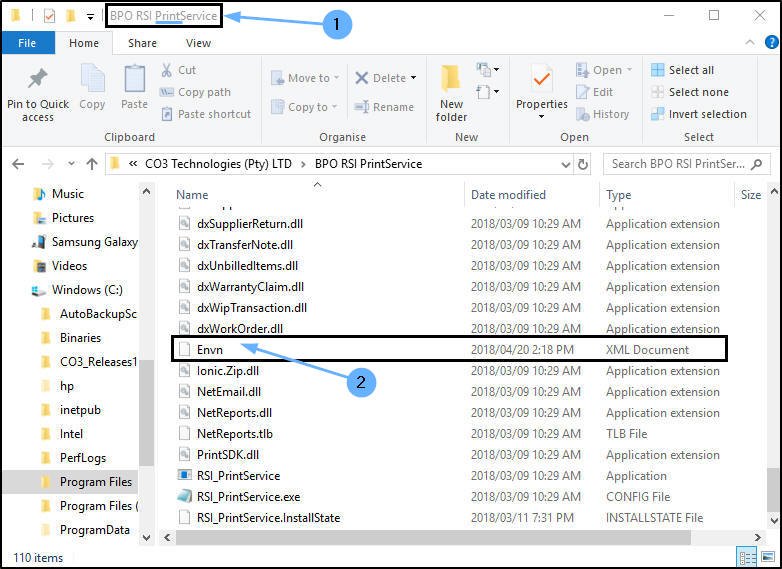
On selecting either the Print Service or Email Service, the BPO RSI [ ] screen will be displayed. The screen name will depend on the service selected in the previous step.
- In this example, Print Service was selected therefore the BPO RSI Print Service screen will be displayed.
- If Email Service was selected, the BPO RSI Email Service screen would be displayed.
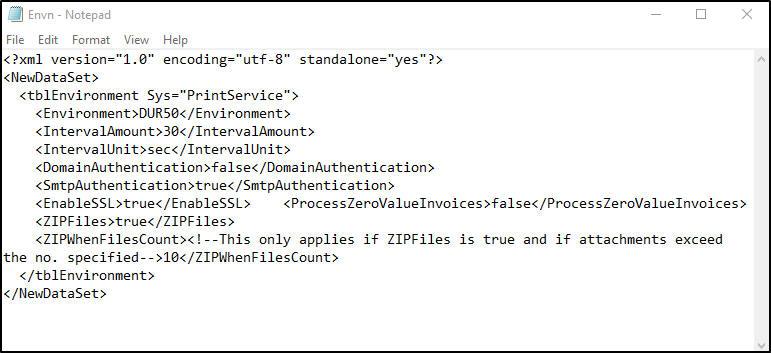
- Right click on the Envn.xml document and select to open it with Notepad.
- Update the Environment name. Ensure that it is the same as the Company Name used in the Print Manager configuration.
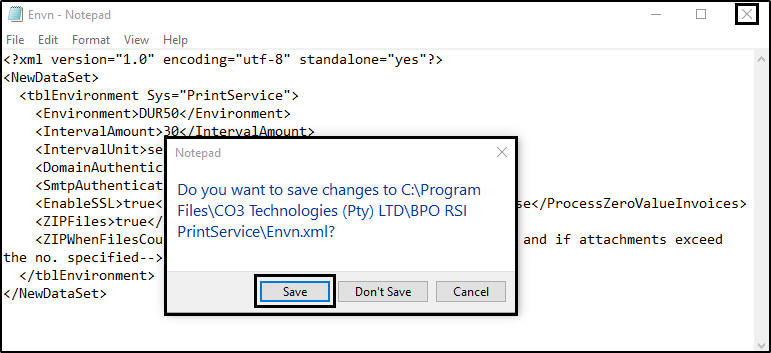
- Close the file, selecting to save the changes.
MNU.146.021