We are currently updating our site; thank you for your patience.
Equipment
Assets - Meters - Add Reading Manually
Submitting accurate manual meter readings can benefit both your company and your customer. In terms of accuracy; a customer will be billed for their actual usage as opposed to estimated usage. This will avoid potential undercharge or overcharge rates - both of which will result in time taken by the company to correct inaccurate invoices.
In BPO, you have the ability to update the machines meter reading manually:
- for a machine that was linked to a Work Order for workshop repairs.
- or for a loan unit that is being sent out or is returning from a loan.
| Ribbon Access: Equipment and Locations > Assets |

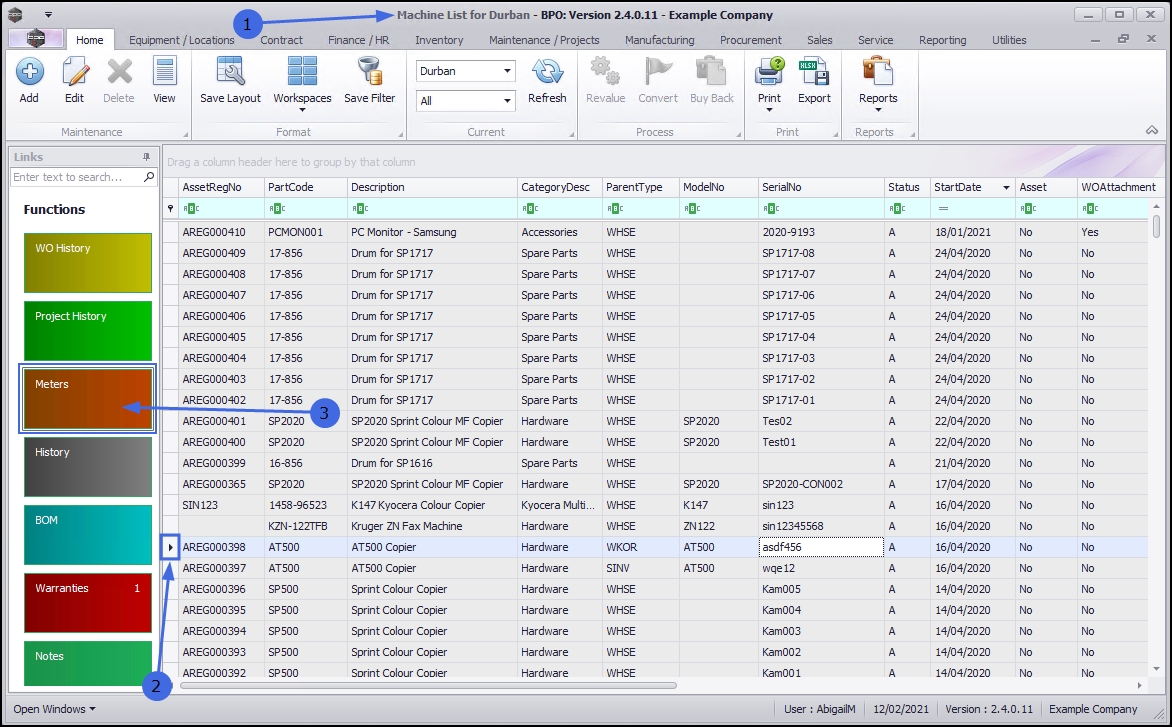
- The Machine List for [Site] screen will display.
The Site and Type Filters
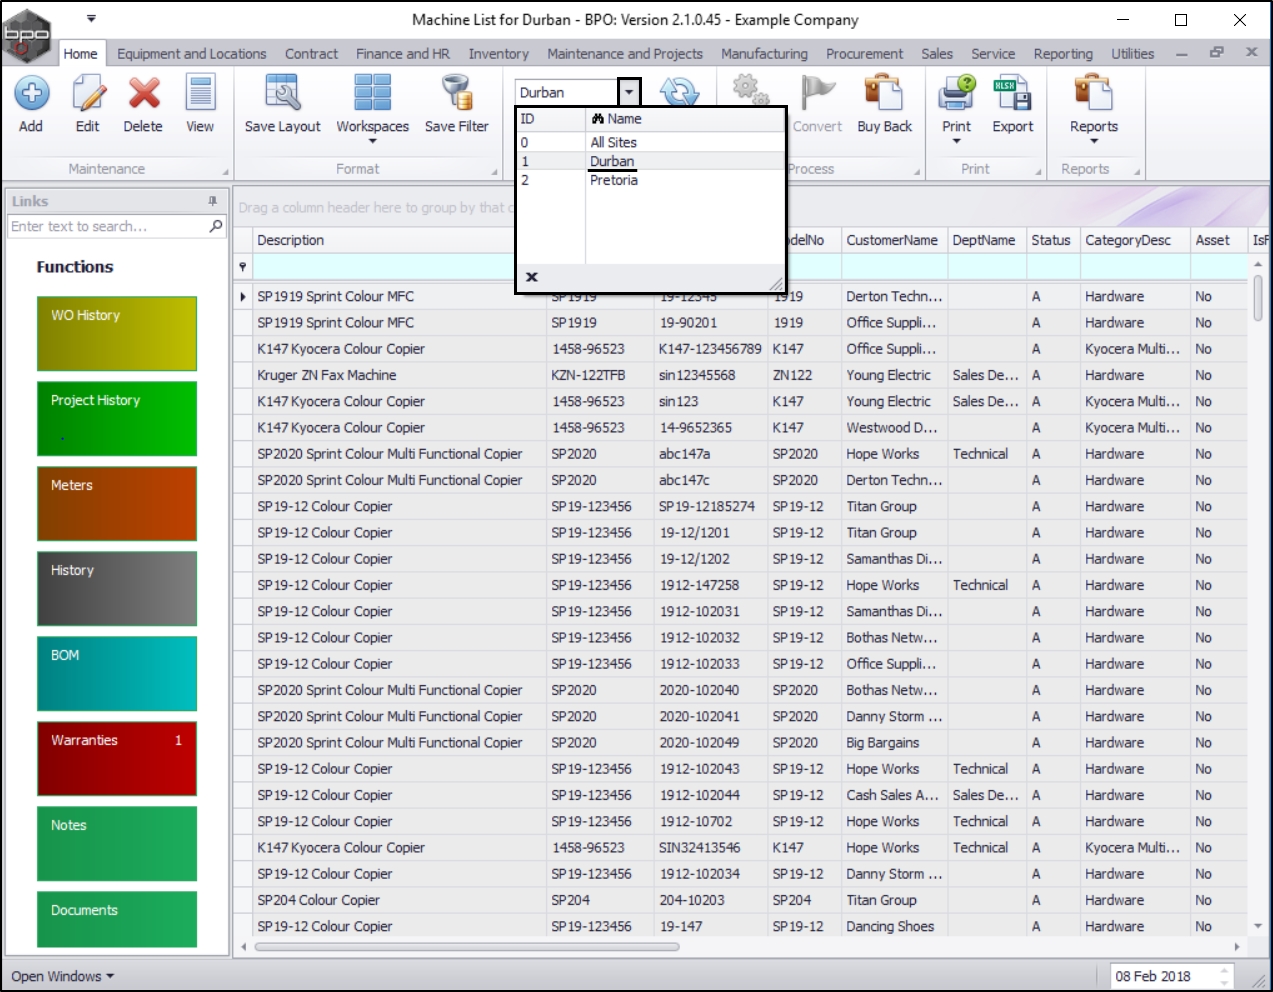
- The screen will open with the default Site setting configured on the user and the Equipment Type filter set to 'All' (machines).
- Select the Site you wish to work in.
- In this example Durban is selected.
Note: Refer to Site Selection for more information about Site settings.
Select the Serialised Item
- Select the row of the serialised item where you wish to view the meter reading.
- Click on the Meters tile.
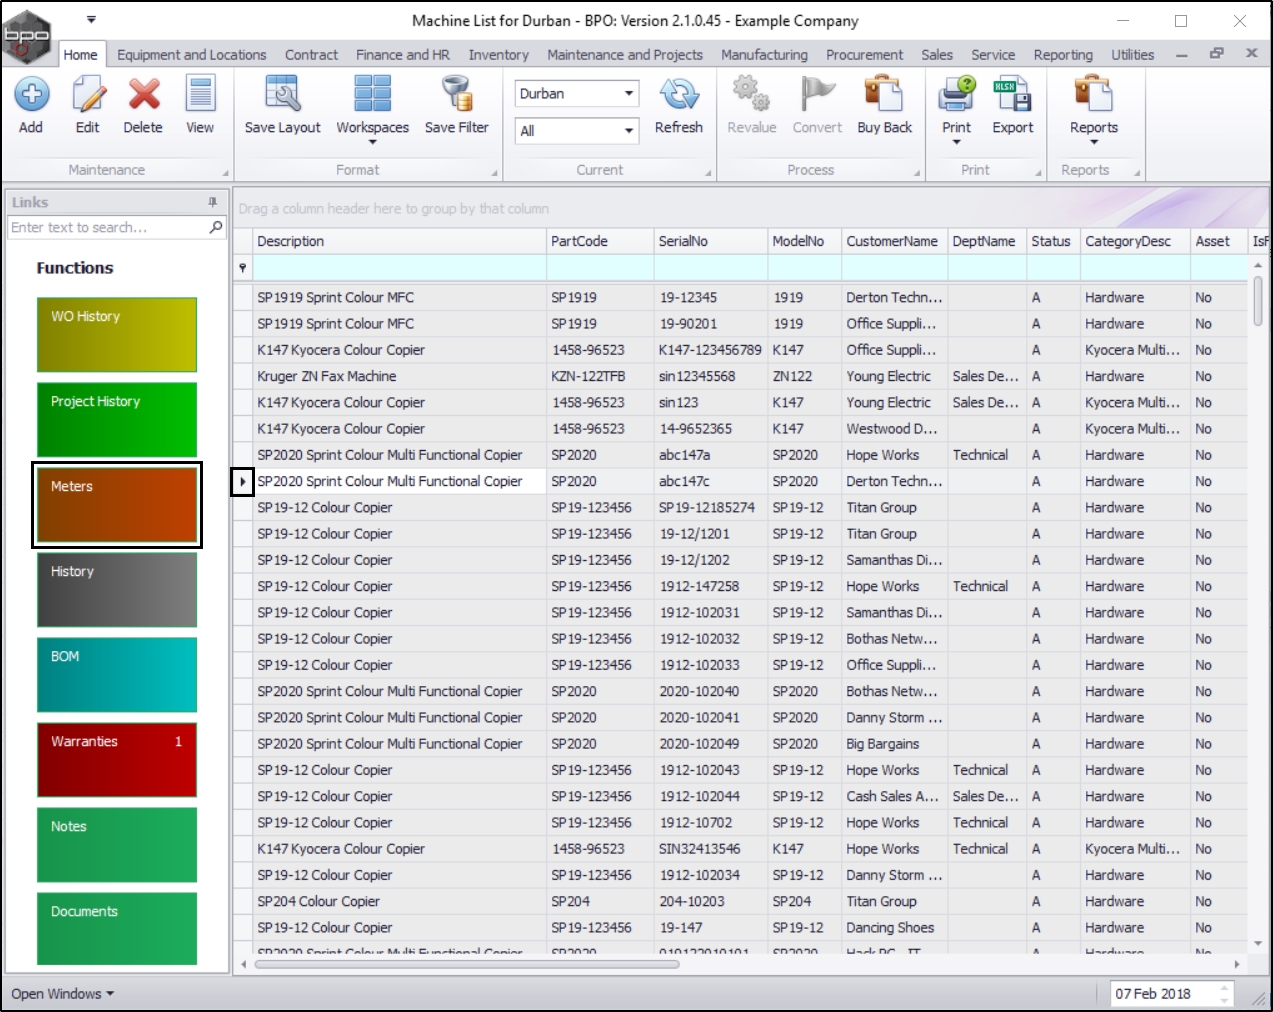
The Meter Reading for Serial No. : [] screen will open.
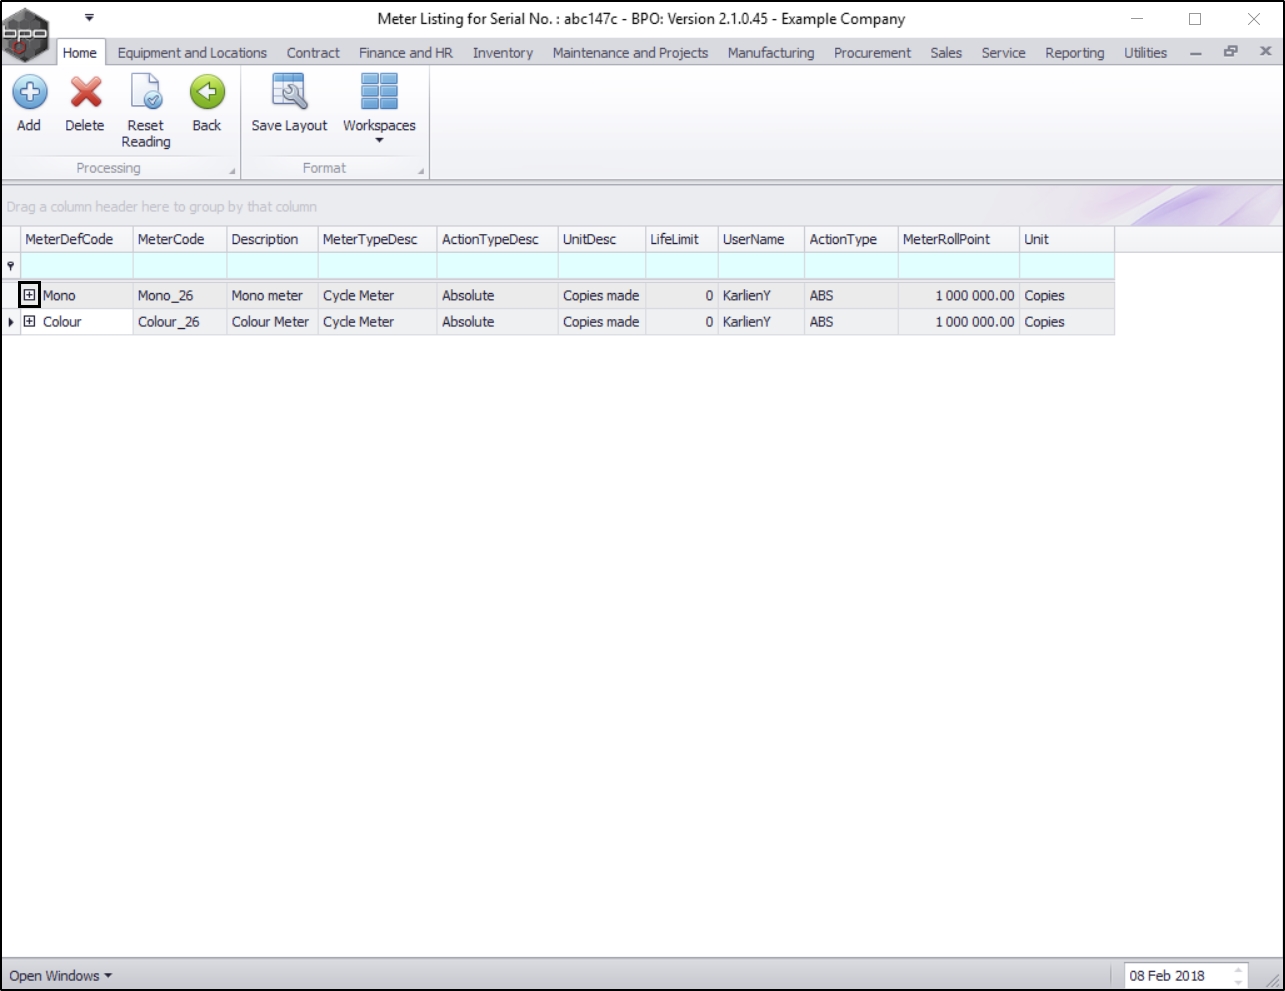
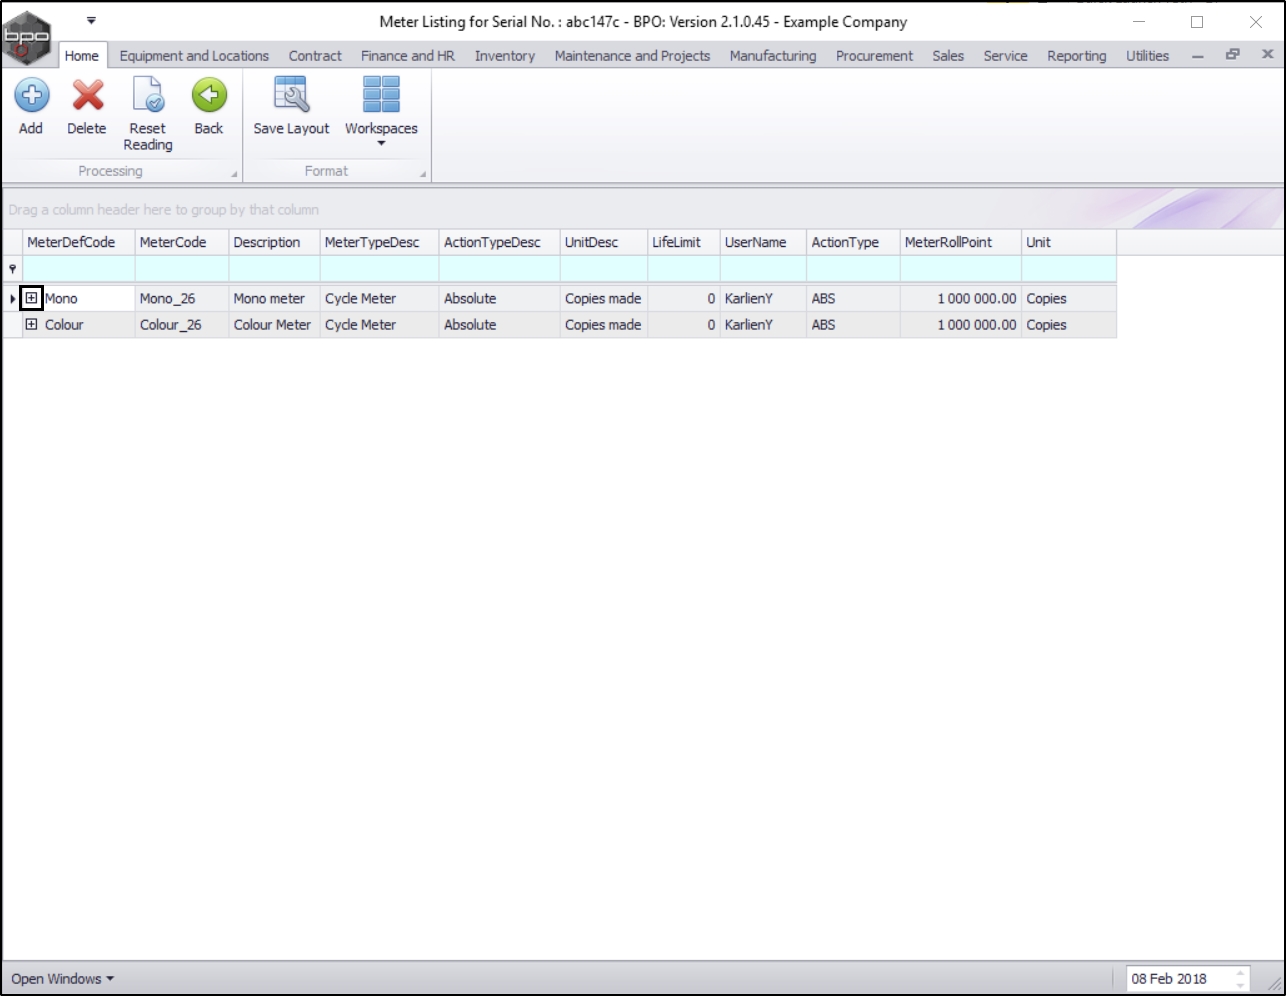
Select Meter (with existing readings)
If a meter has linked readings, the expand icon [+] in the row of that meter will be bold, indicating that there is content in the Readings data grid.
Method 1 - If there are already meter readings in this screen:
- Click on the bold expand icon [+] in the row of the meter where you wish to add a manual meter reading.
- In this image the Mono meter has been selected.
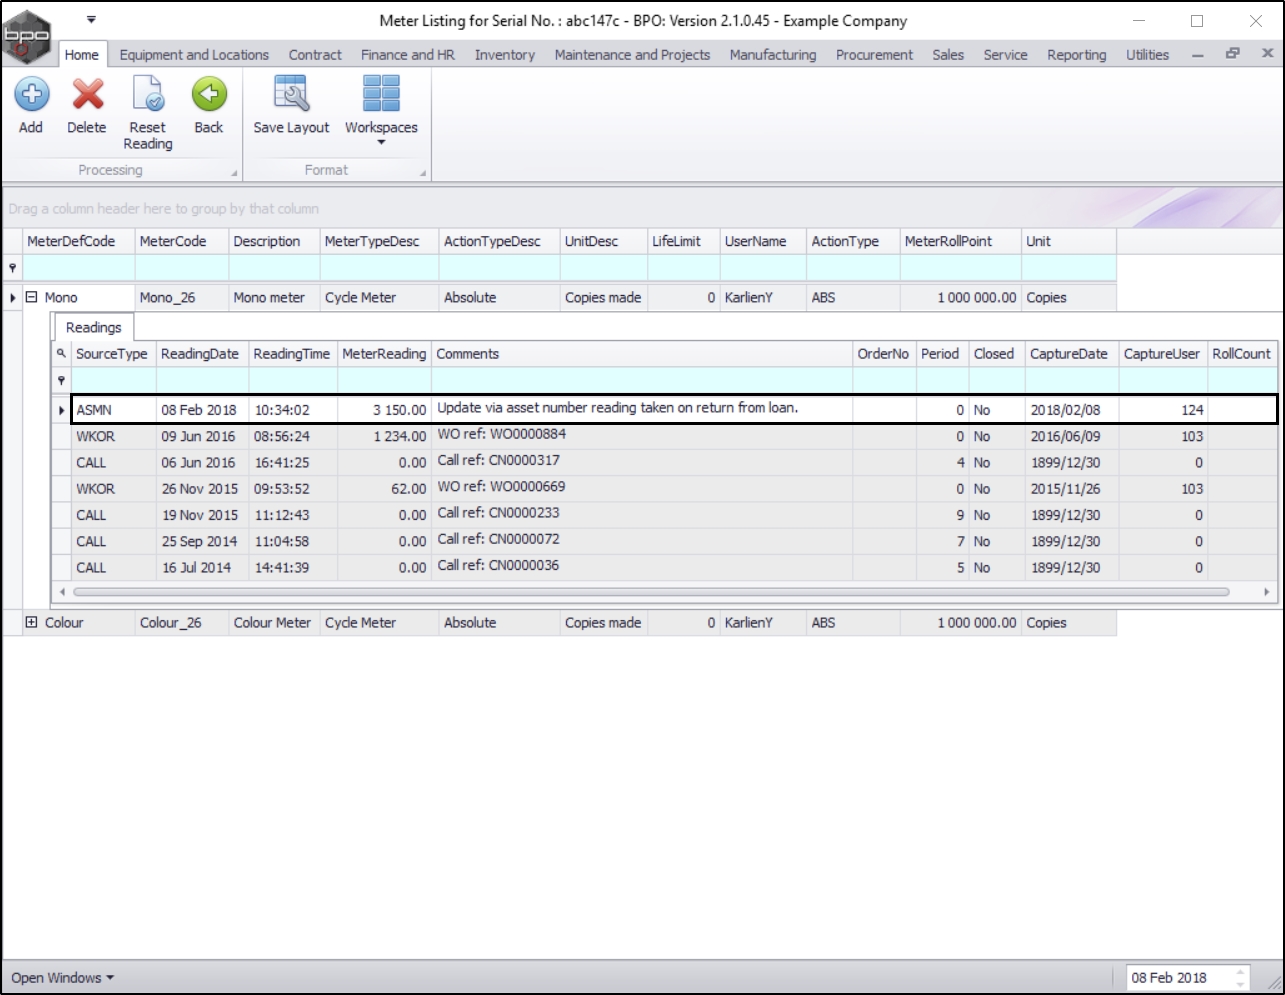
- The meter Readings frame will be expanded for the selected meter.
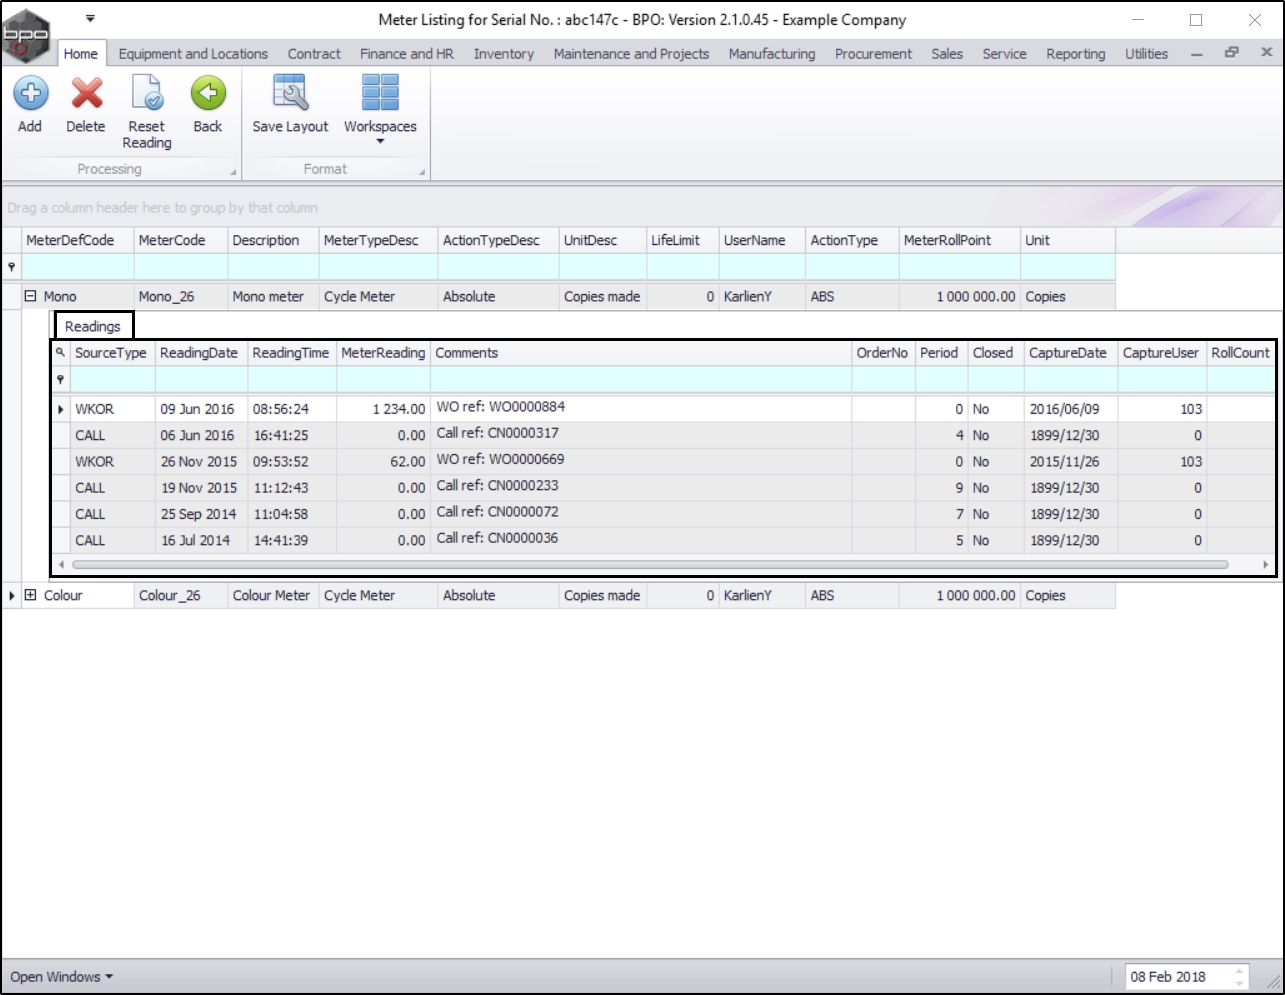
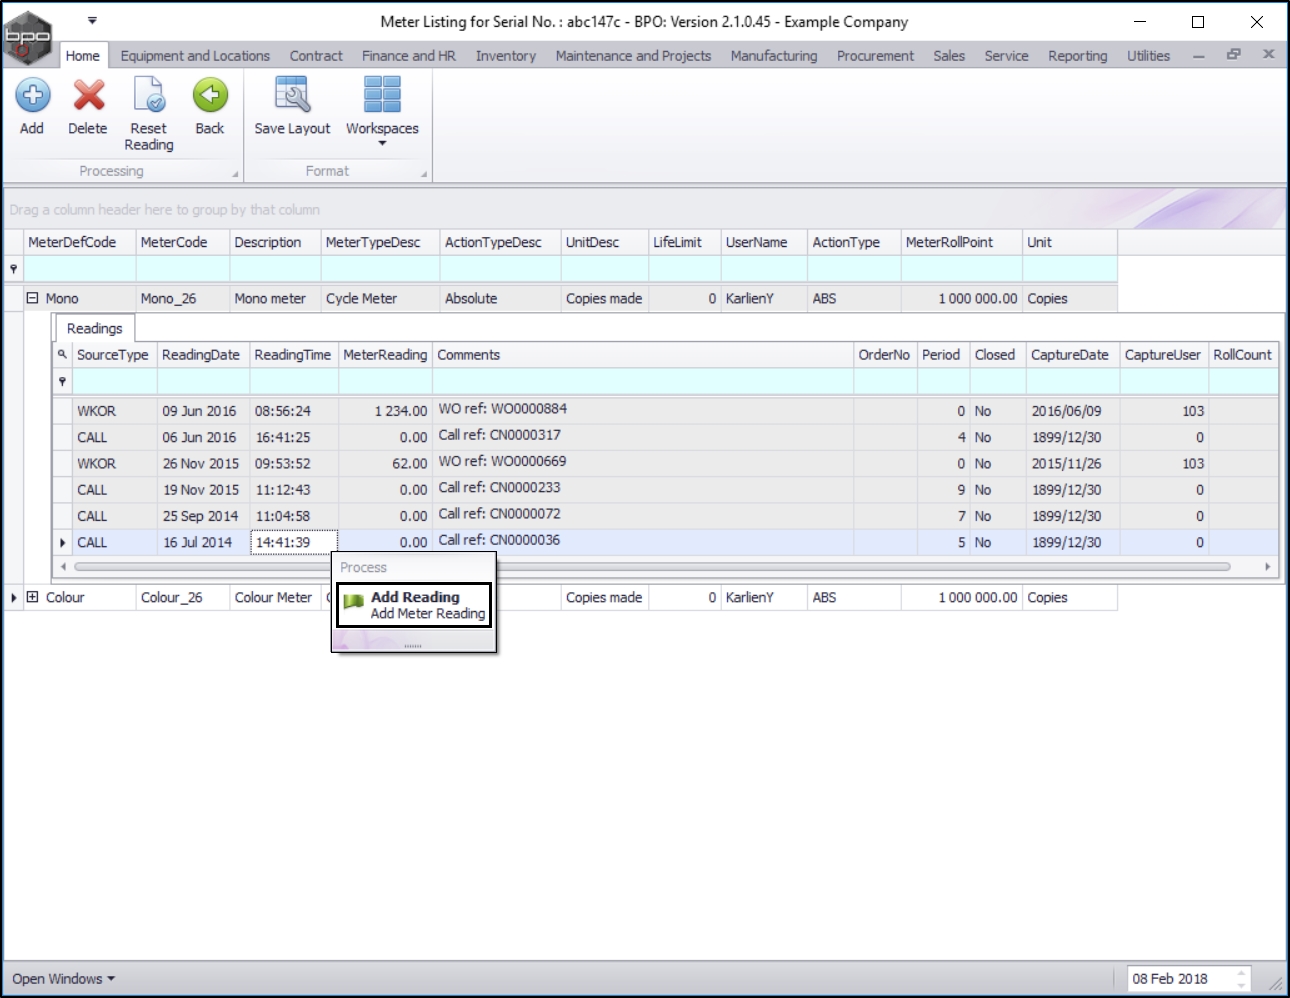
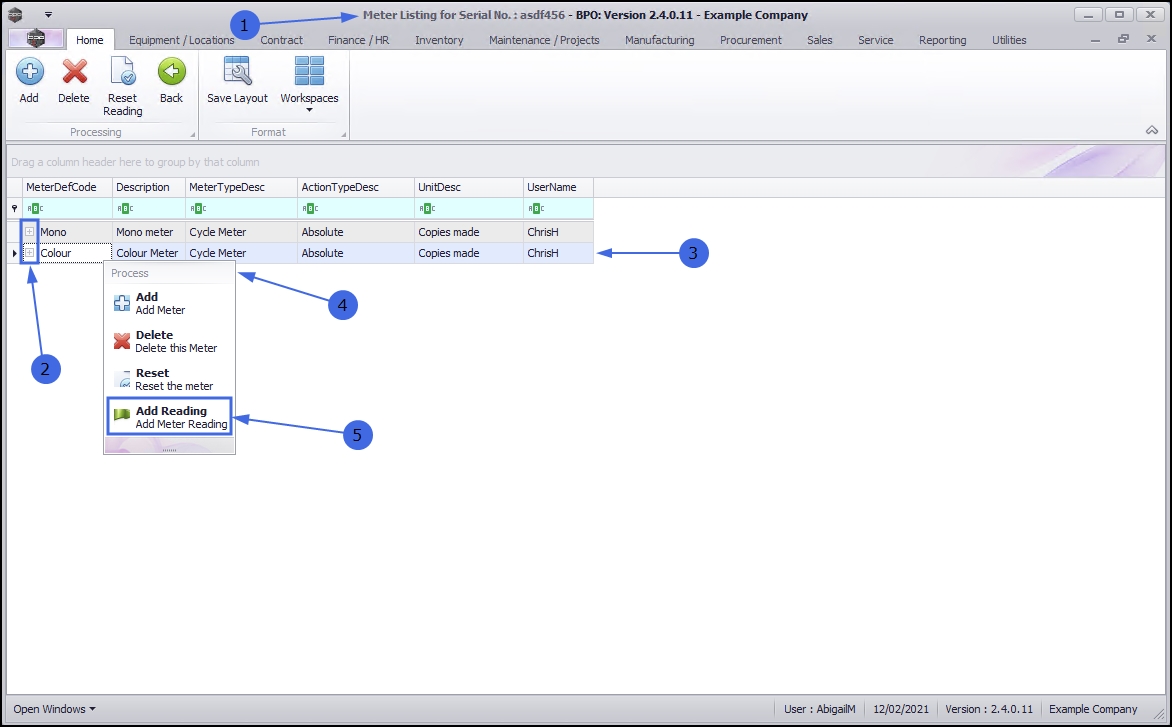
Add Meter Reading
- Right click anywhere in the Readings data grid.
- A Process menu will pop up.
- Click on Add Reading - Add Meter Reading.
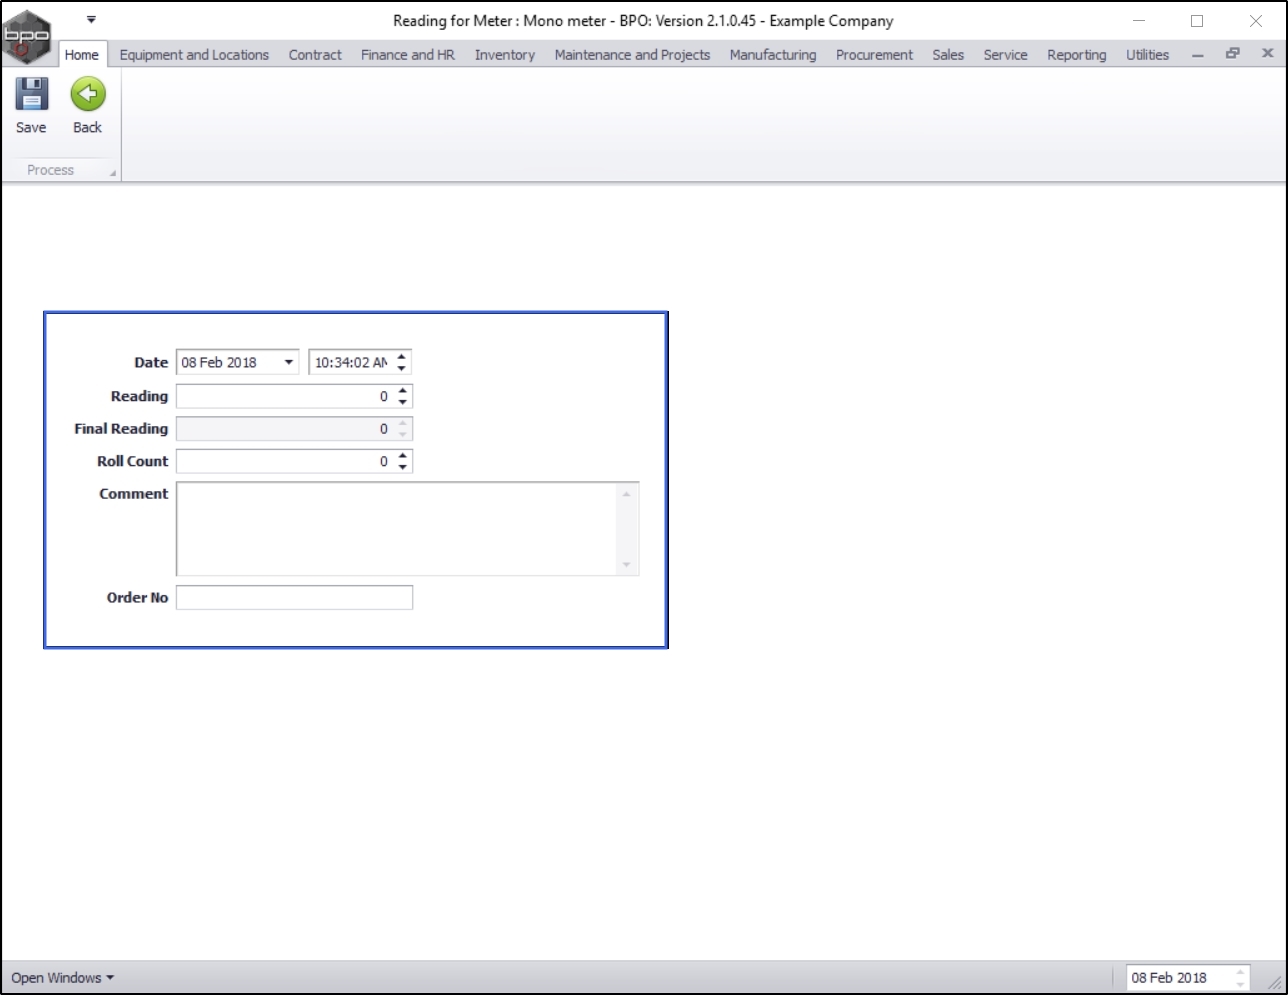
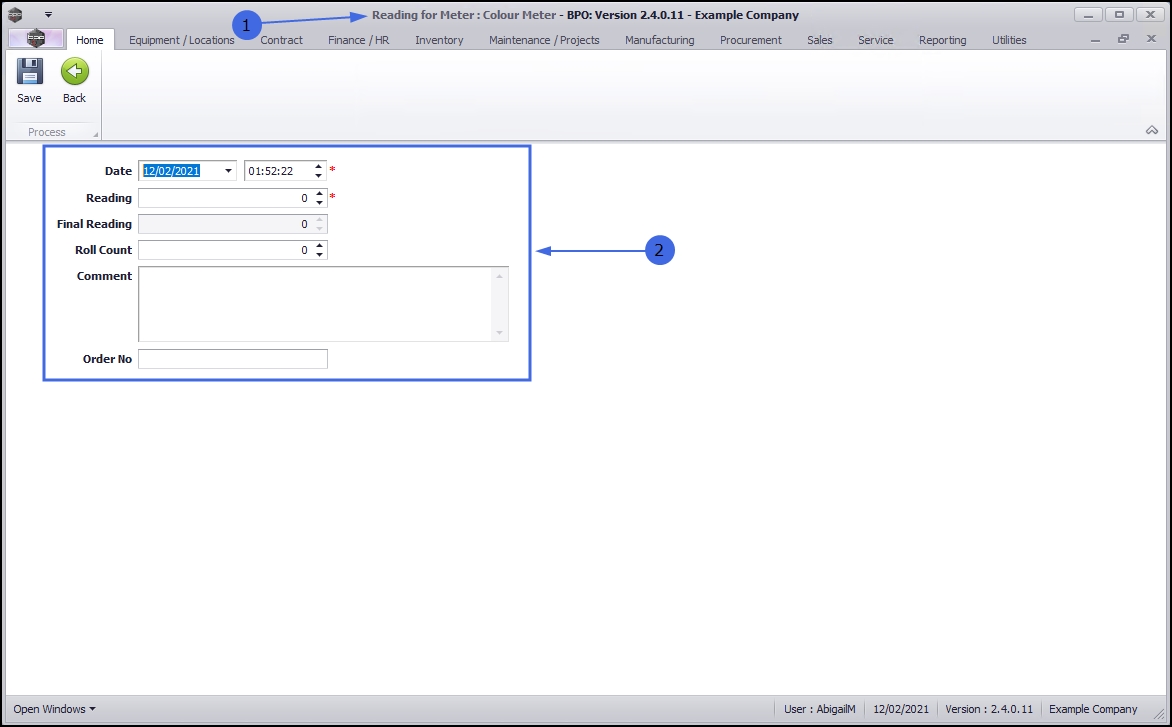
The Reading for Meter: [] meter screen will open.
- Date: This will be auto populated with the current date and time.
- Date: Type in or click on the drop-down arrow and use the calendar function to select an alternative date, if required.
- Time: Type in or use the directional arrows to select an alternative time, if required.
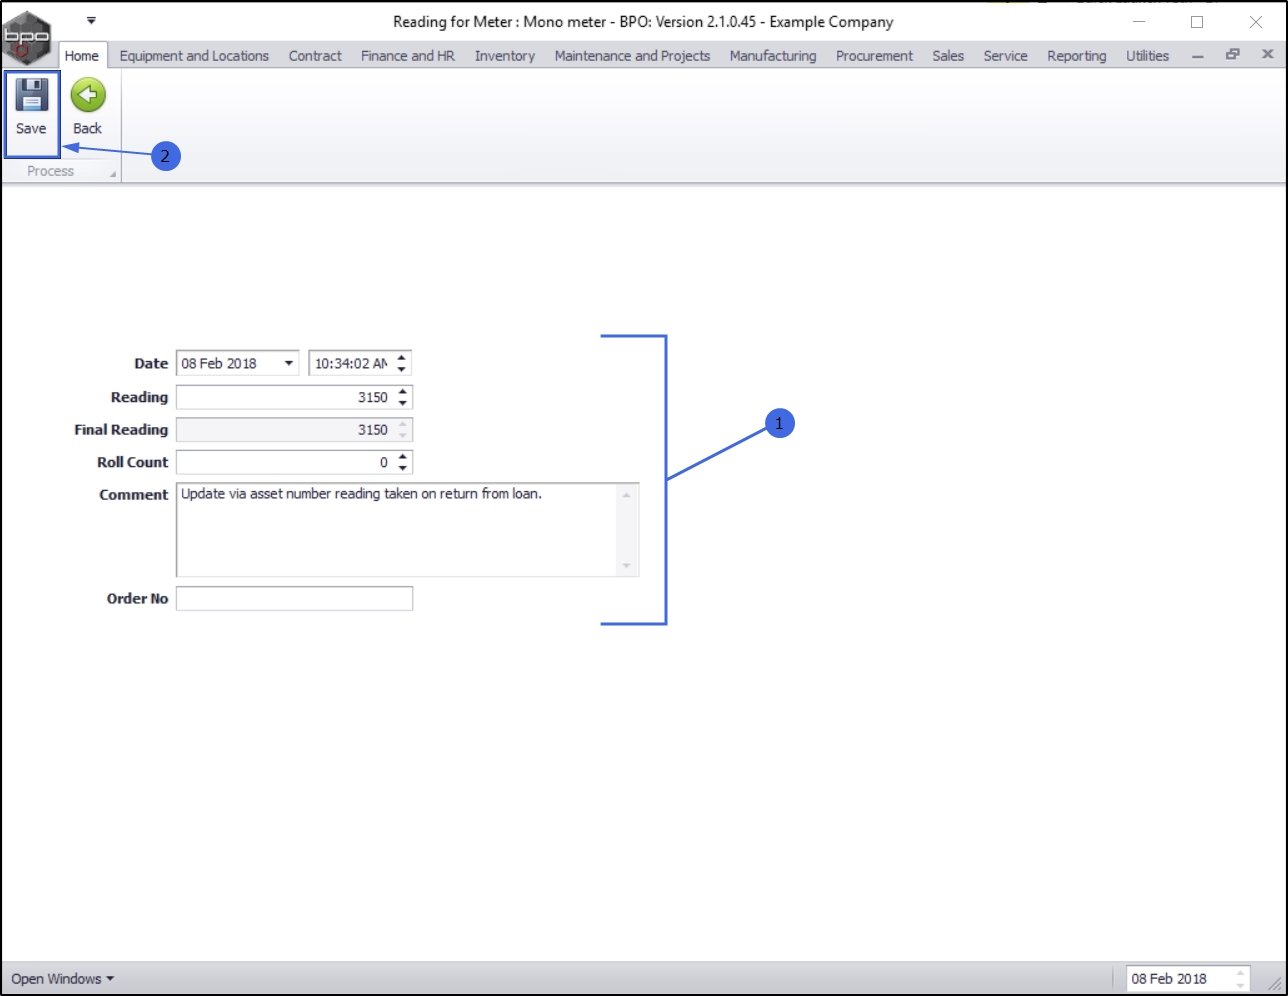
- Reading: Type in or use the directional arrows to select the correct meter reading.
- Final Reading: This will auto populate with the same detail as the Reading text box.
- Roll Count: Type in or use the arrow indicators to select the roll count.
- Comment: Type a comment relating to this meter reading, in this text box, if required.
- Order No: Type an order number in this text box if required.
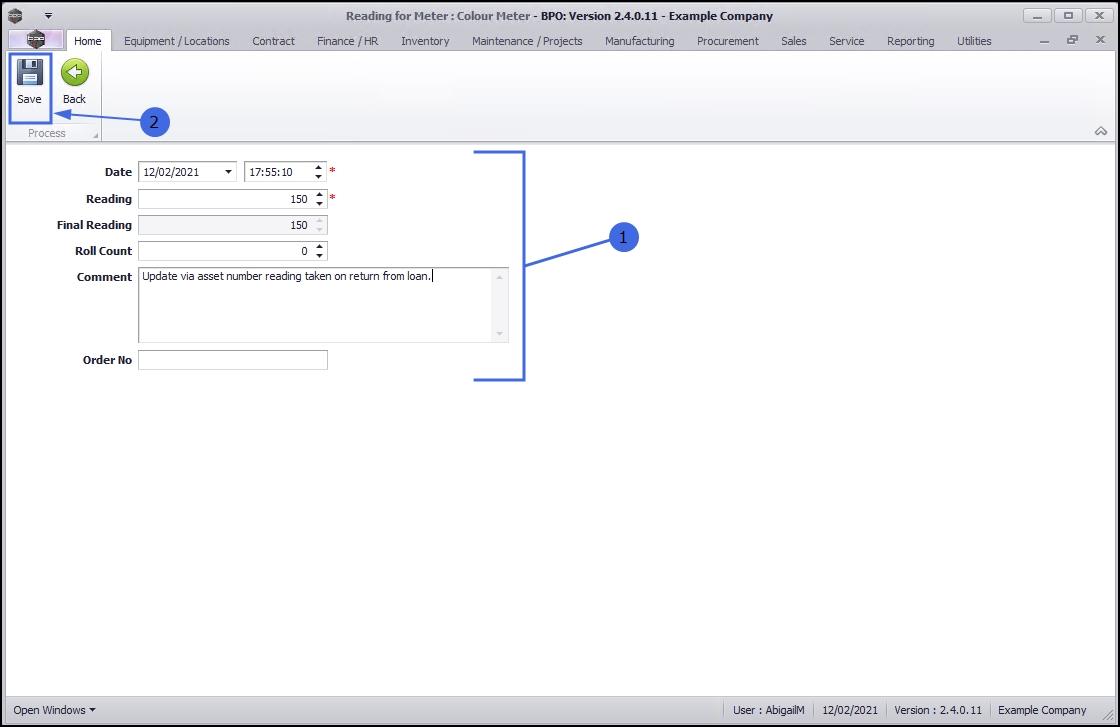
Save Manual Reading
- When you have finished adding the meter reading details,
- Click on Save.
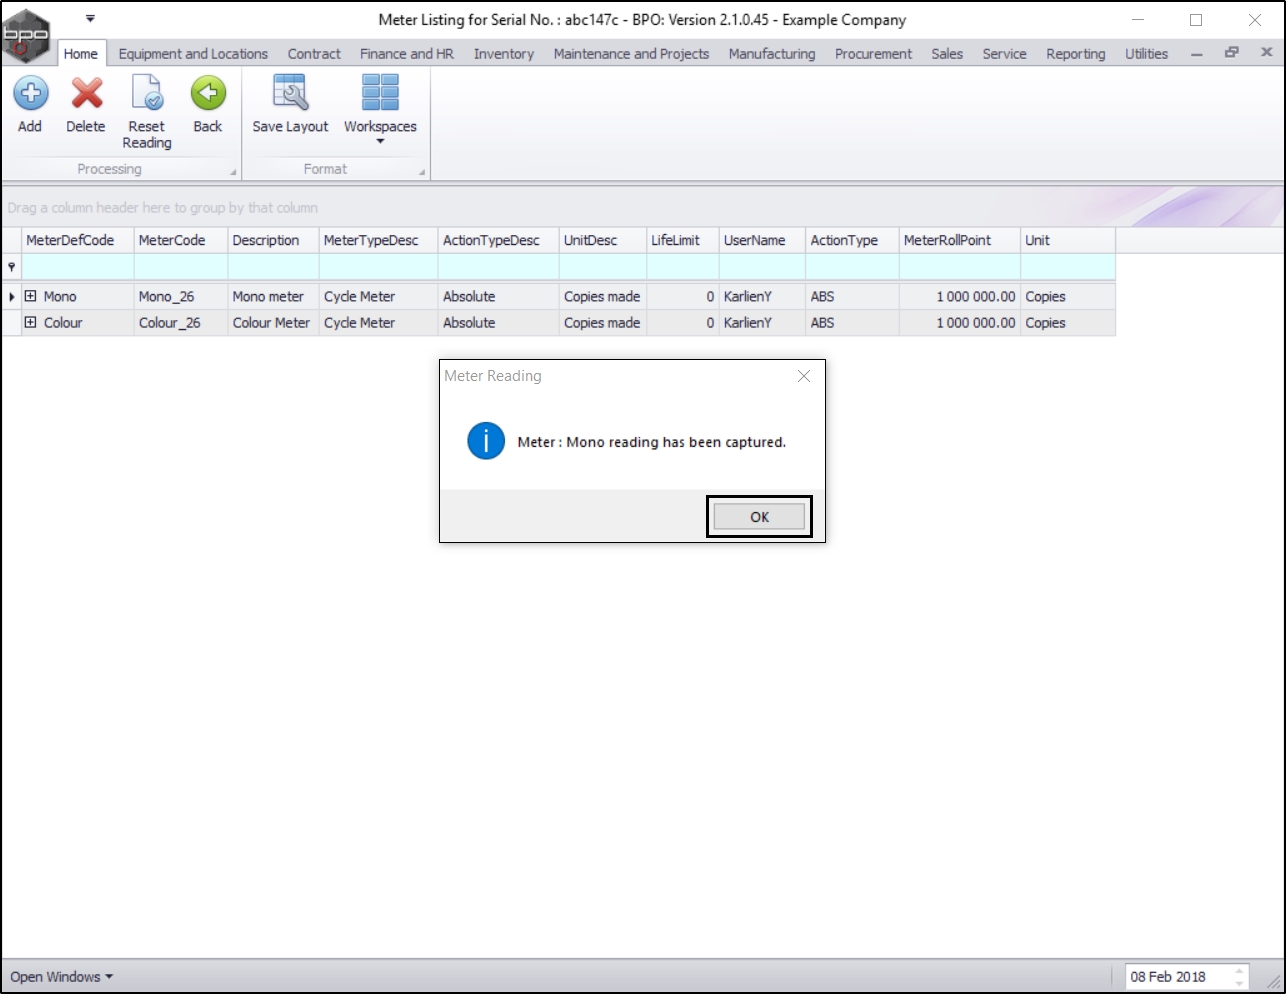
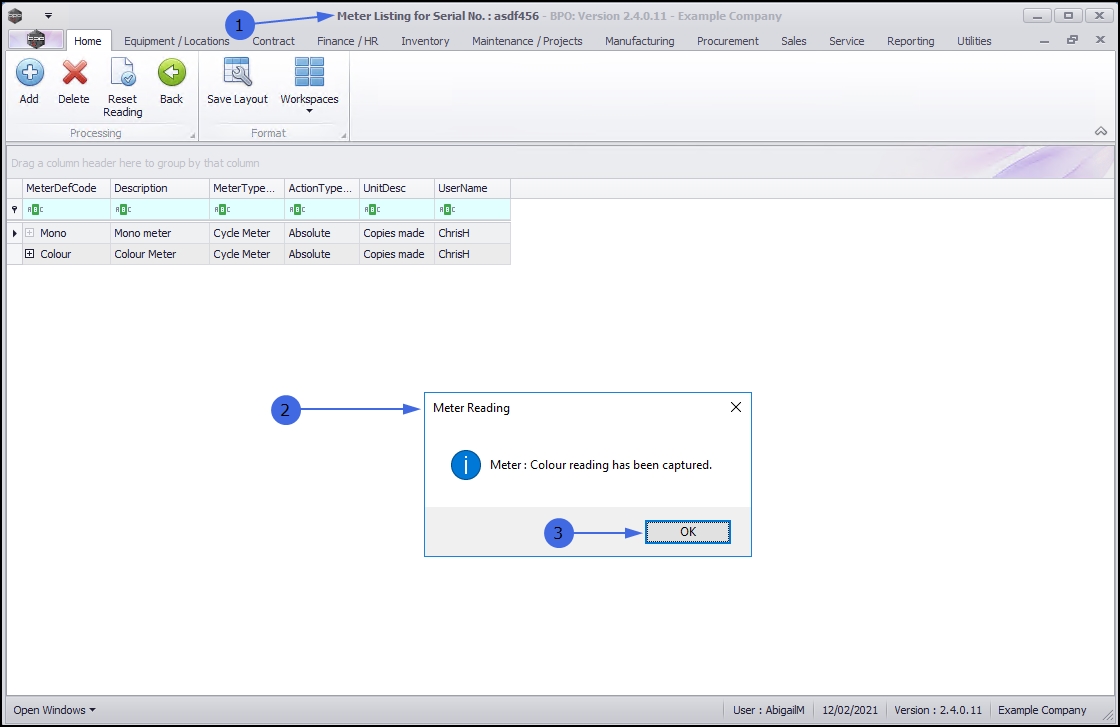
- You will return to the Meter Listing for Serial No. : [] screen.
- A Meter Reading message box will appear advising the following:
- Meter: [] reading has been captured.
- Click on OK.
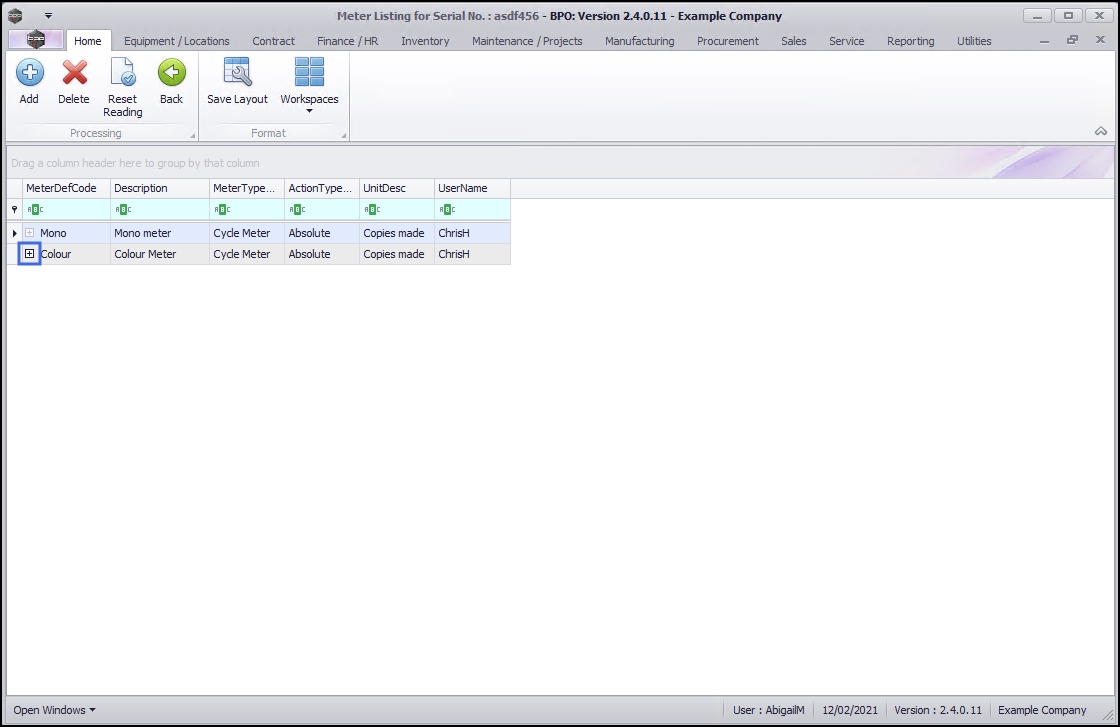
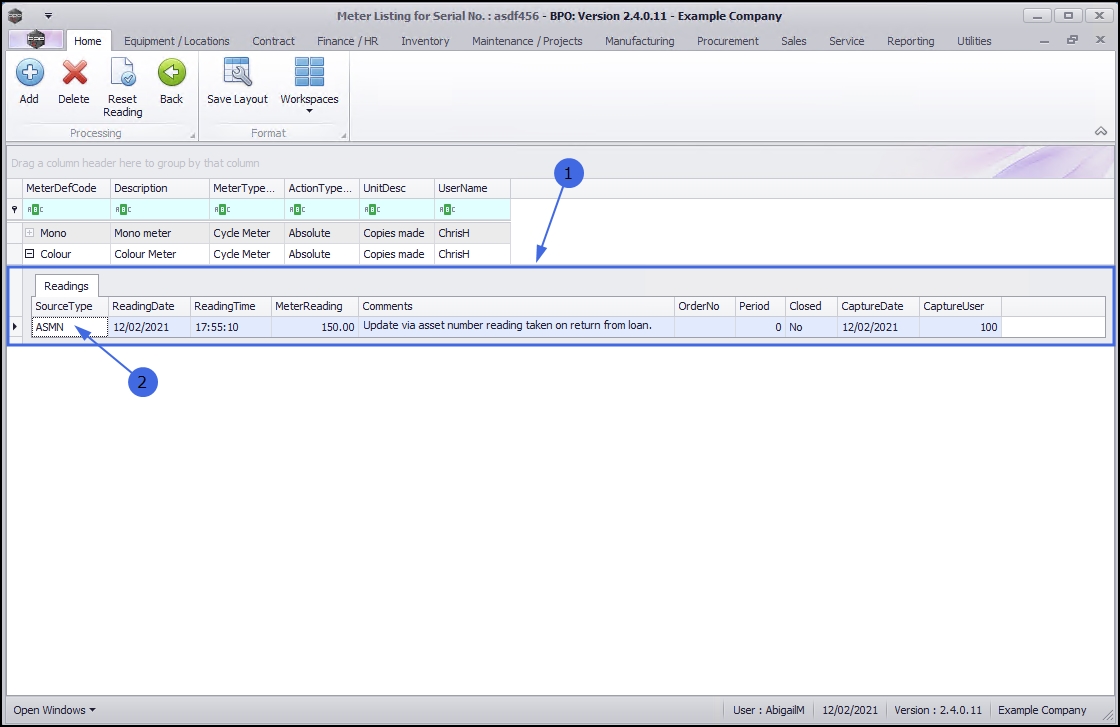
View the Meter Readings Frame
- Click on the expand icon [+] in the row of the meter where you added a meter reading.
- The meter Readings frame will be expanded.
- Here you can view the manually added meter reading.
- You will note that the Source Type for the reading is ASMN (update from asset number).
Select Meter (with no existing readings)
If a meter does not have linked readings, the expand icon [+] in the row of that meter will be grey, indicating that there is no content in the Readings data grid.
Method 2 - If there are no meter readings in the screen:
- In the Machine List for [] screen.
- Select the row of the machine that you wish to add a manual meter reading to.
- Click on the Meters tile.
- The Meter Listing for Serial No. : [] screen will open.
- In this screen there are no meter readings yet recorded. (The expand icons are greyed out.)
Add / Reset Meter Reading
- Right click in the row of the meter where you wish to add a reading.
- A Process menu will pop up.
- Select Add Reading - Add Meter Reading from this menu.
- The Reading for Meter: [] Meter screen will display.
- Manually add the meter reading details:
- Date: This will auto populated with the current date and time.
- Type in or click on the drop-down arrow and use the calendar function to select an alternative date, if required.
- Type in or use the directional arrows to select an alternative time, if required.
- Reading: Type in or use the directional arrows to select the correct meter reading.
- Final Reading: This will auto populate with the same detail as the Reading text box.
- Roll Count: Type in or use the arrow indicators to select the roll count.
- Comment: Type a comment relating to this meter reading, in this text box, if required.
- Order No: Type an order number in this text box, if required.
Save Manual Reading
- When you have finished adding the meter reading details,
- Click on Save.
- You will return to the Meter Listing for Serial No. : [] screen.
- A Meter Reading message box will appear advising the following:
- Meter: [] reading has been captured.
- Click on OK.
- You will note that the expand icon [+] of the selected meter is no longer grey. This is because there is now content in the Readings data grid.
View the Meter Readings Frame
- Click on the expand icon [+] in the row of the meter that you added a manual reading to.
- The meter Readings frame will be expanded.
- Here you can view the manually added meter reading.
- You will note that the Source Type for the reading is ASMN (update from asset number).
MNU.007.002