Human Resources
View, Add, Edit, Delete Shifts
Setting up shifts is important for Workload Scheduling and SLA Monitoring.
1 normal work week shift is required for technicians and SLA monitoring.
Additional shifts can be added for customers that have different trading hours, and subsequently linked to the relevant employee(s).
Normally, shifts will have 7 days (for a standard week).
The Shifts docking panel lists all the shifts assigned to the selected employee.
| Ribbon Access: Finance / HR Employees |

View Shifts
Select Employee
- Select the row of the employee for whom you wish to view the linked Shifts.
- Click on View.

View Linked Shifts
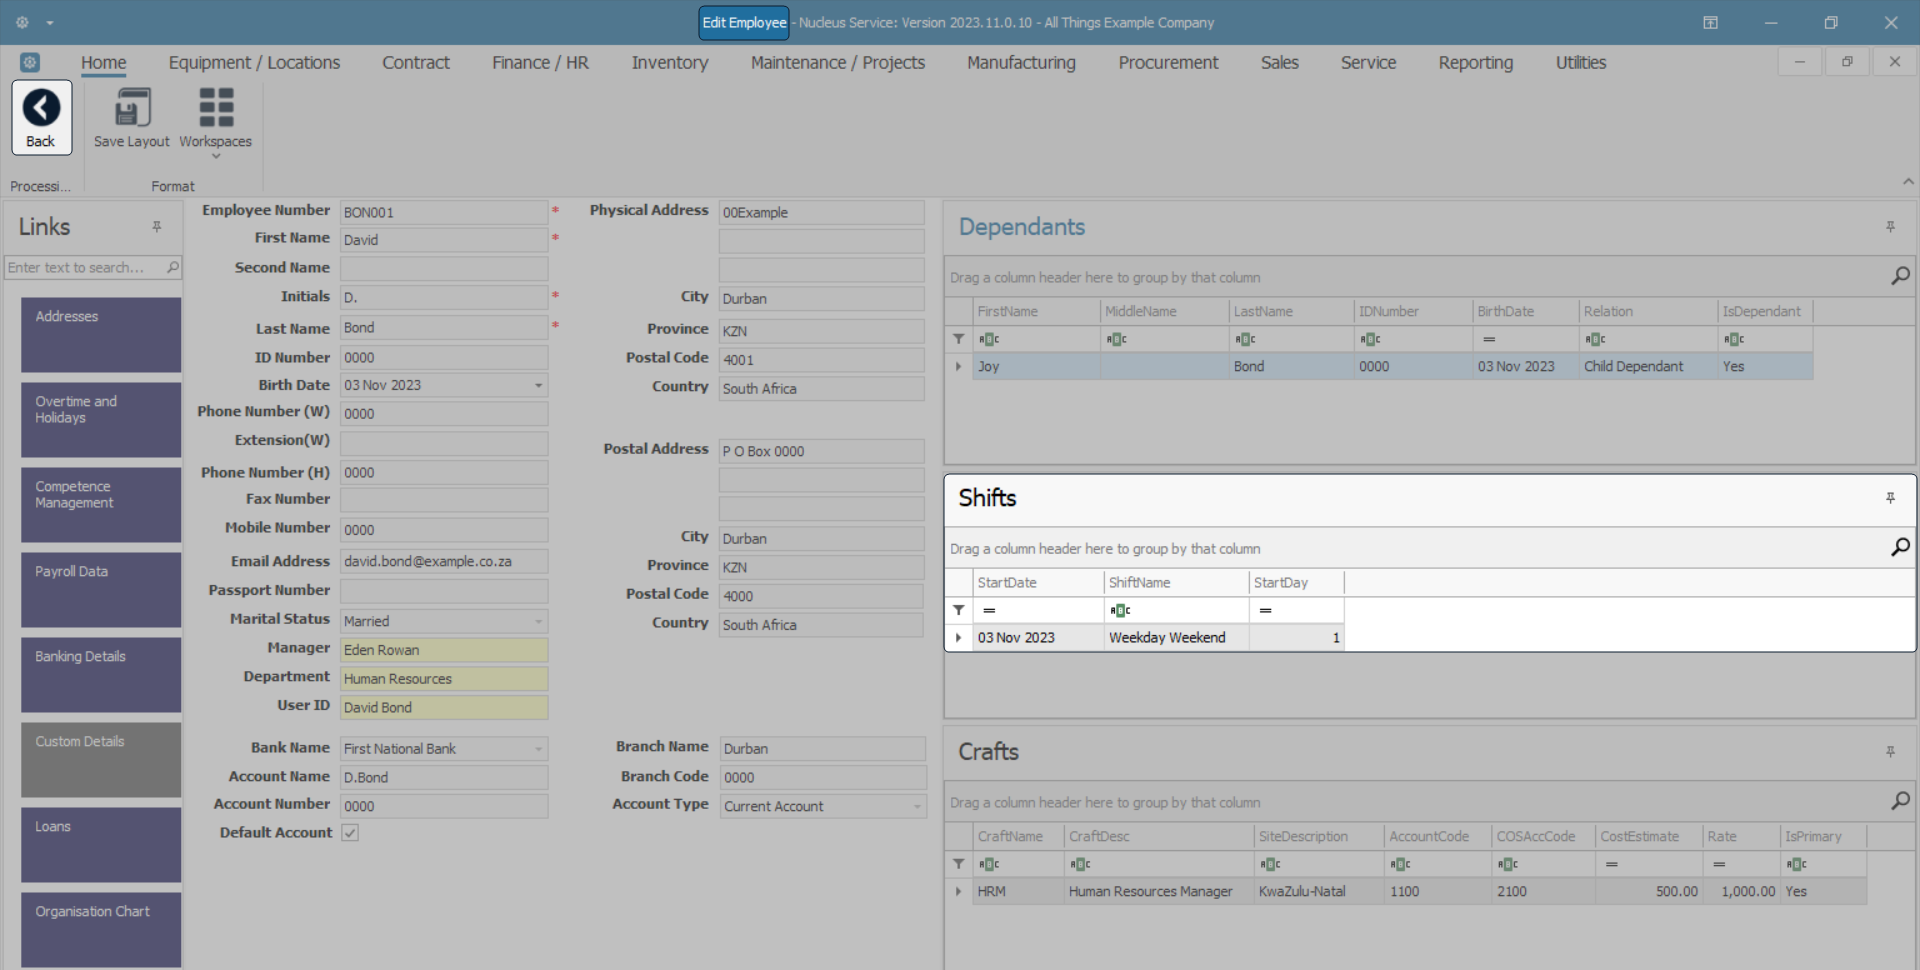
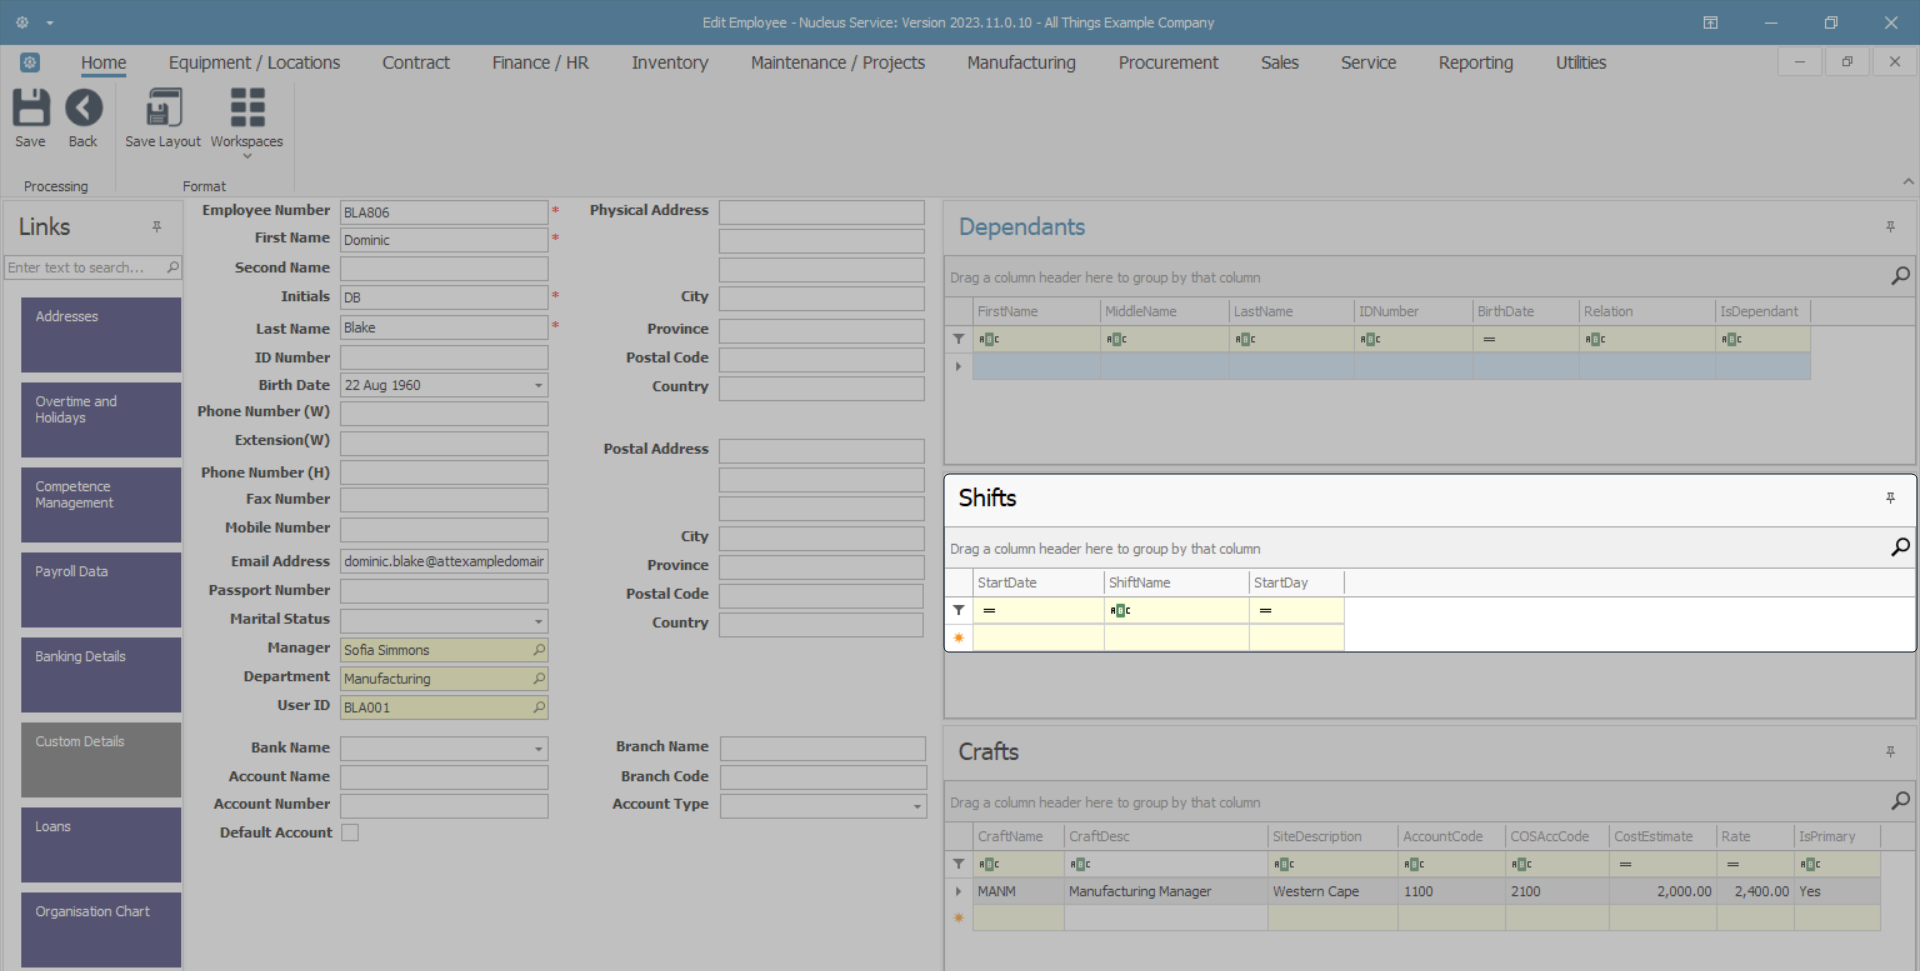
- The Edit Employee screen will open.
- Note: Although this screen title is named 'Edit Employee', this is a view only screen - you will notice that there is only a Back button, therefore you cannot make or save changes in this screen.
- The Shifts frame is located in the middle right of this screen.
- Here you can view the Shifts linked to the selected employee.
- When you have finished viewing the details, click on Back to return to the Employees listing screen.
Add Shift
Select Employee
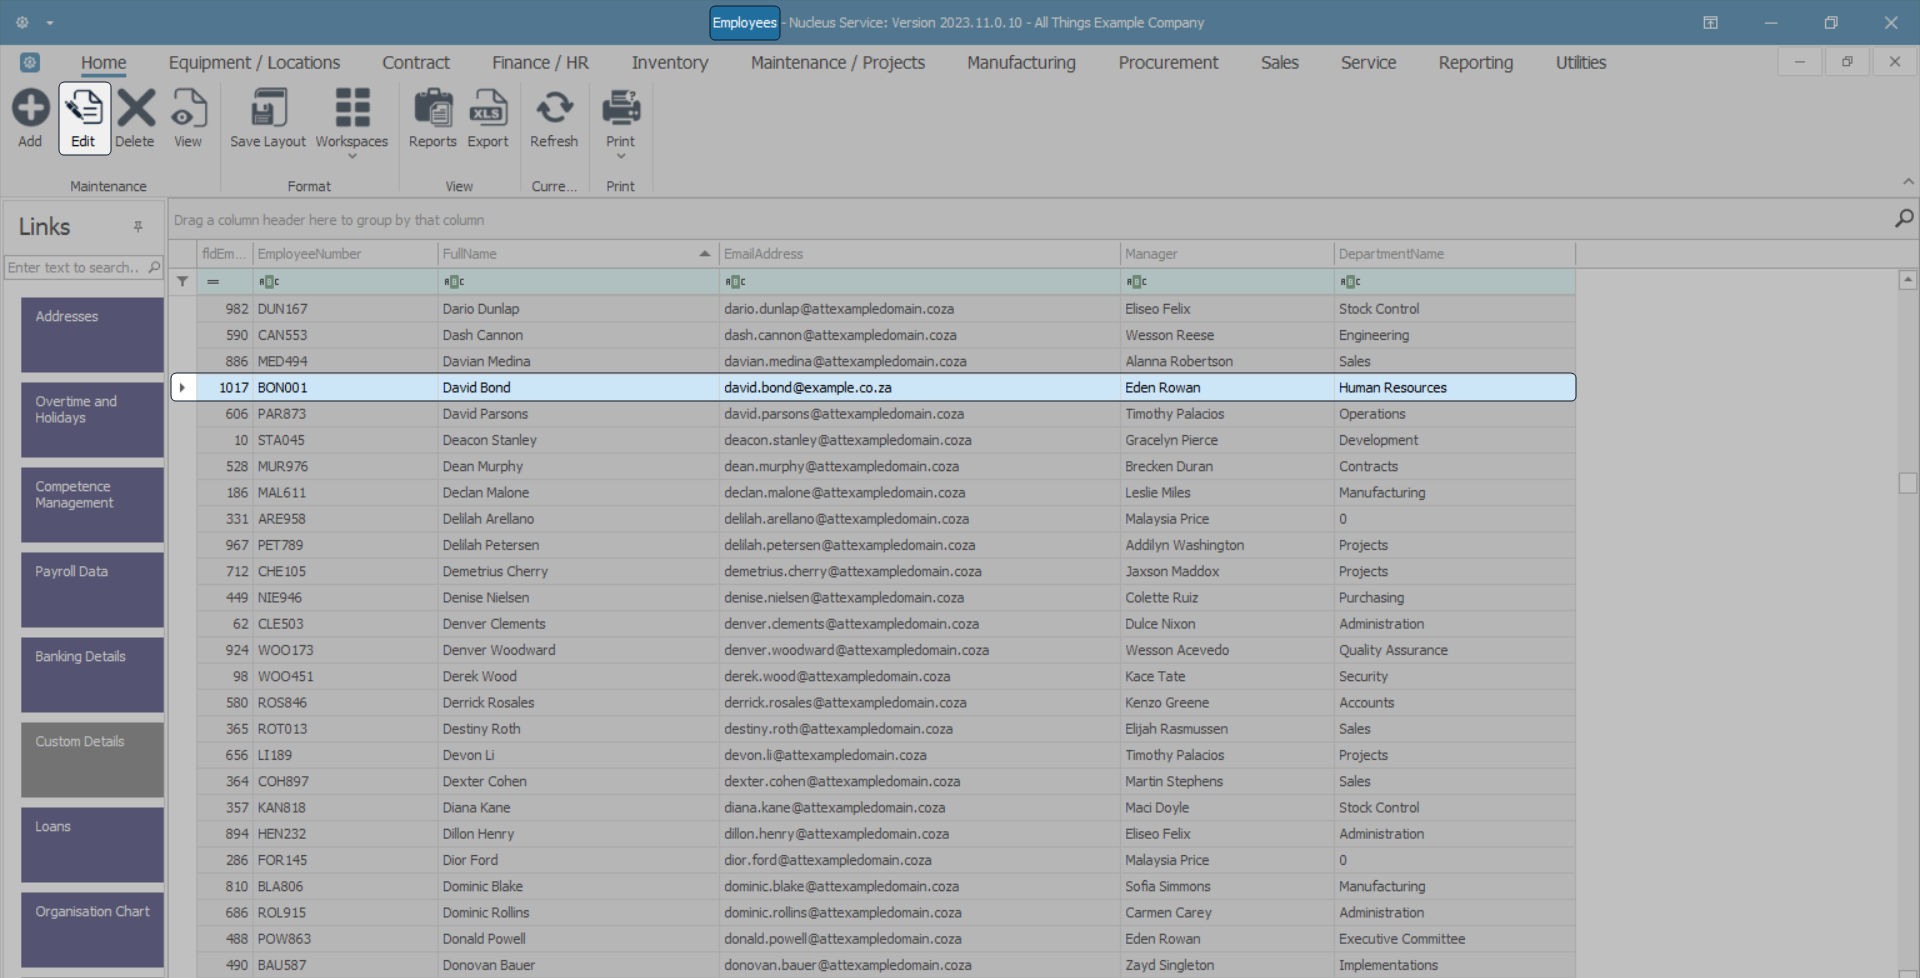
- In the Employees listing screen -
- Select the row of the employee for whom you wish to assign a Shift to.
- Click on Edit.
Add New Shift
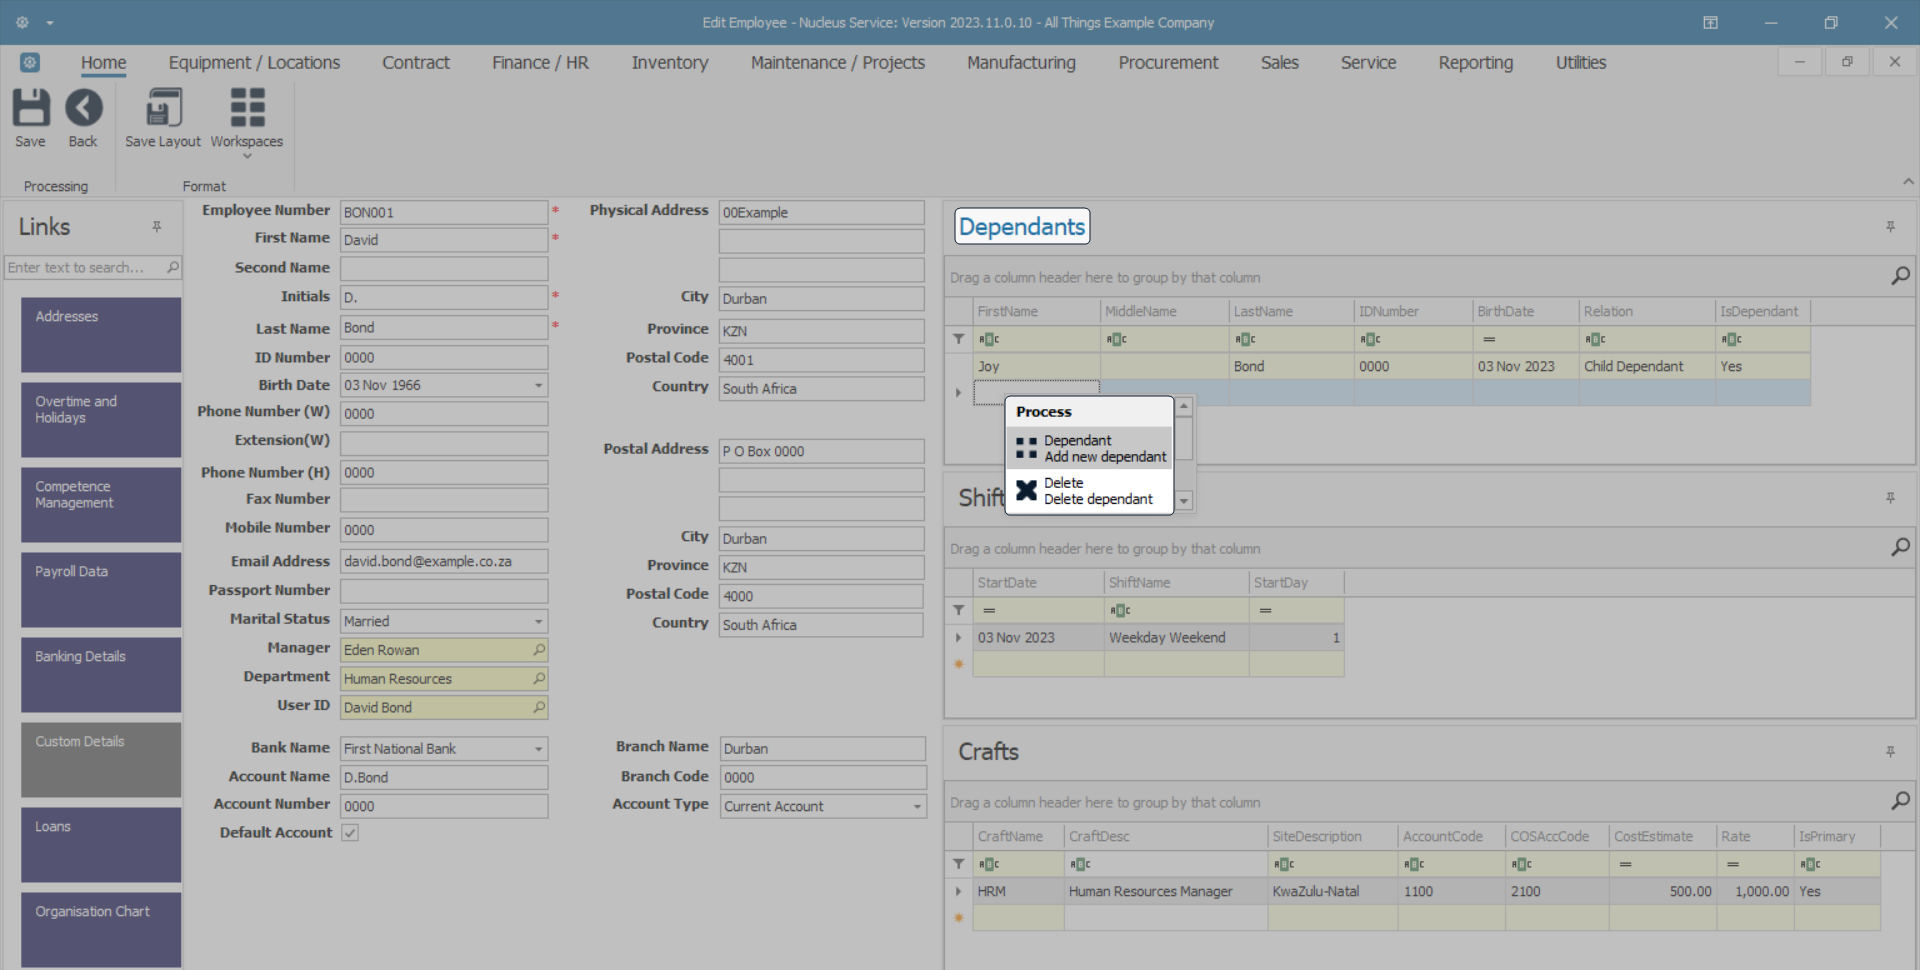
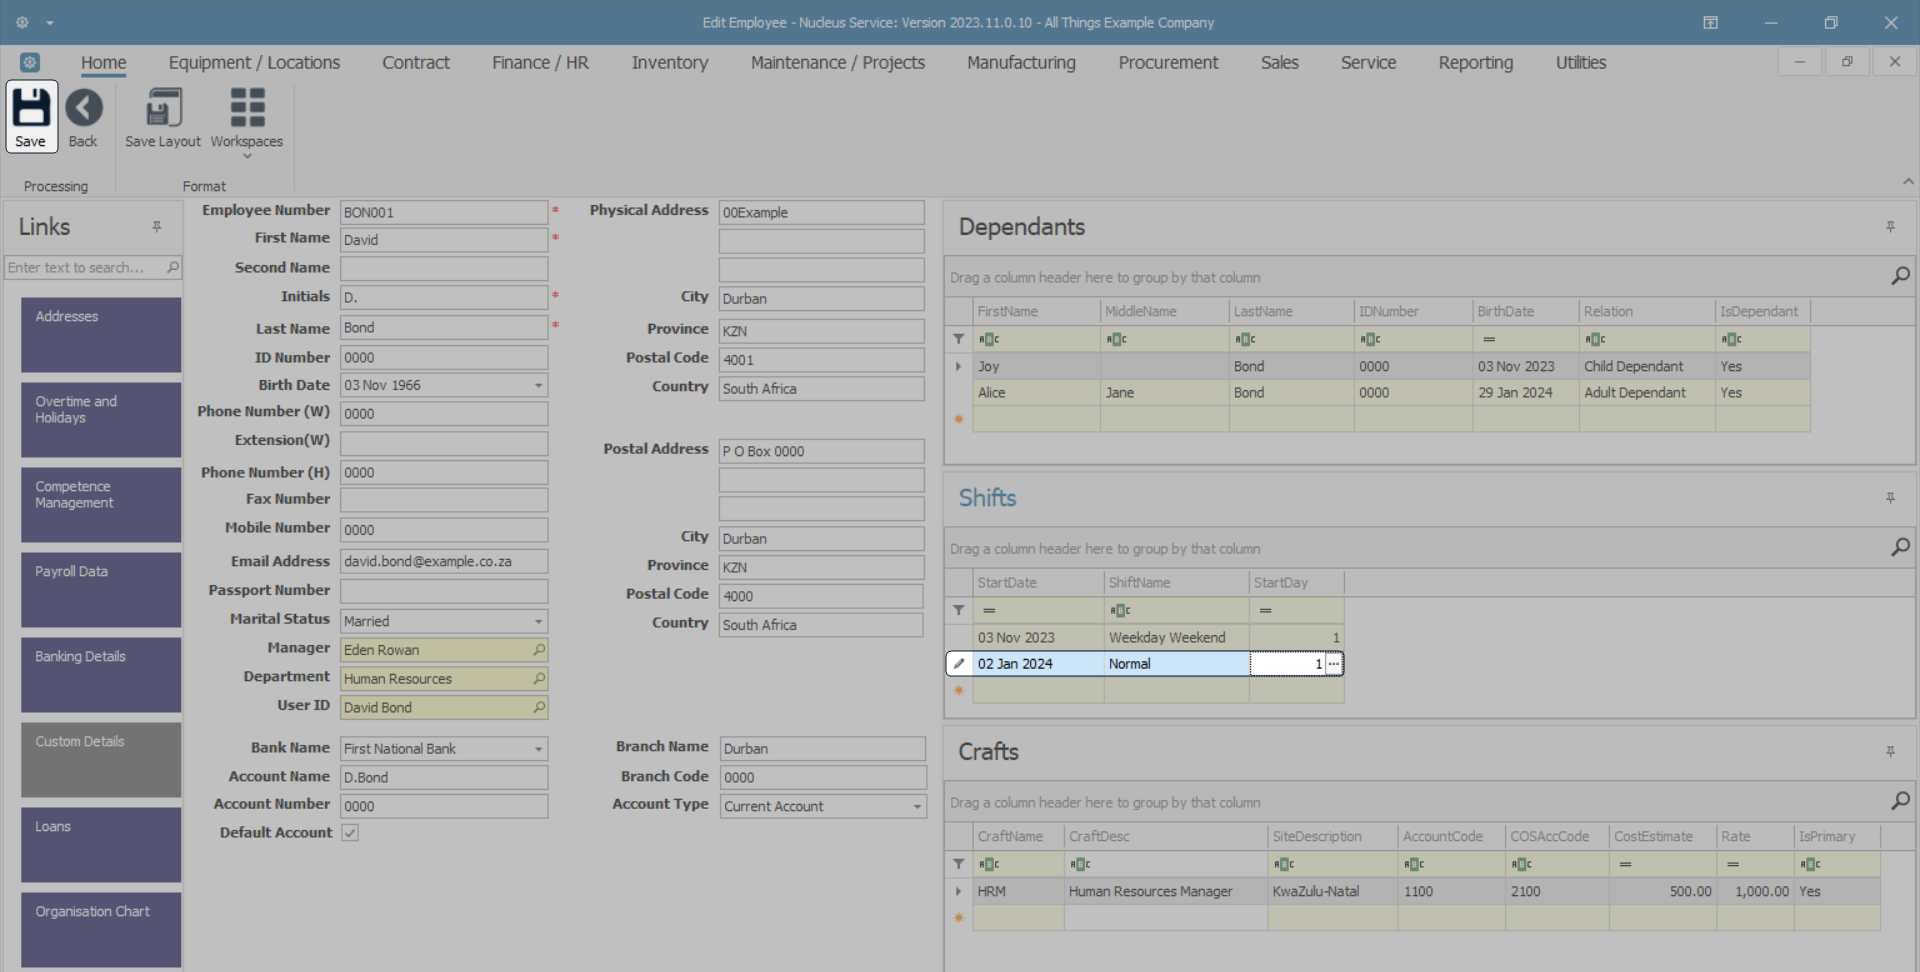
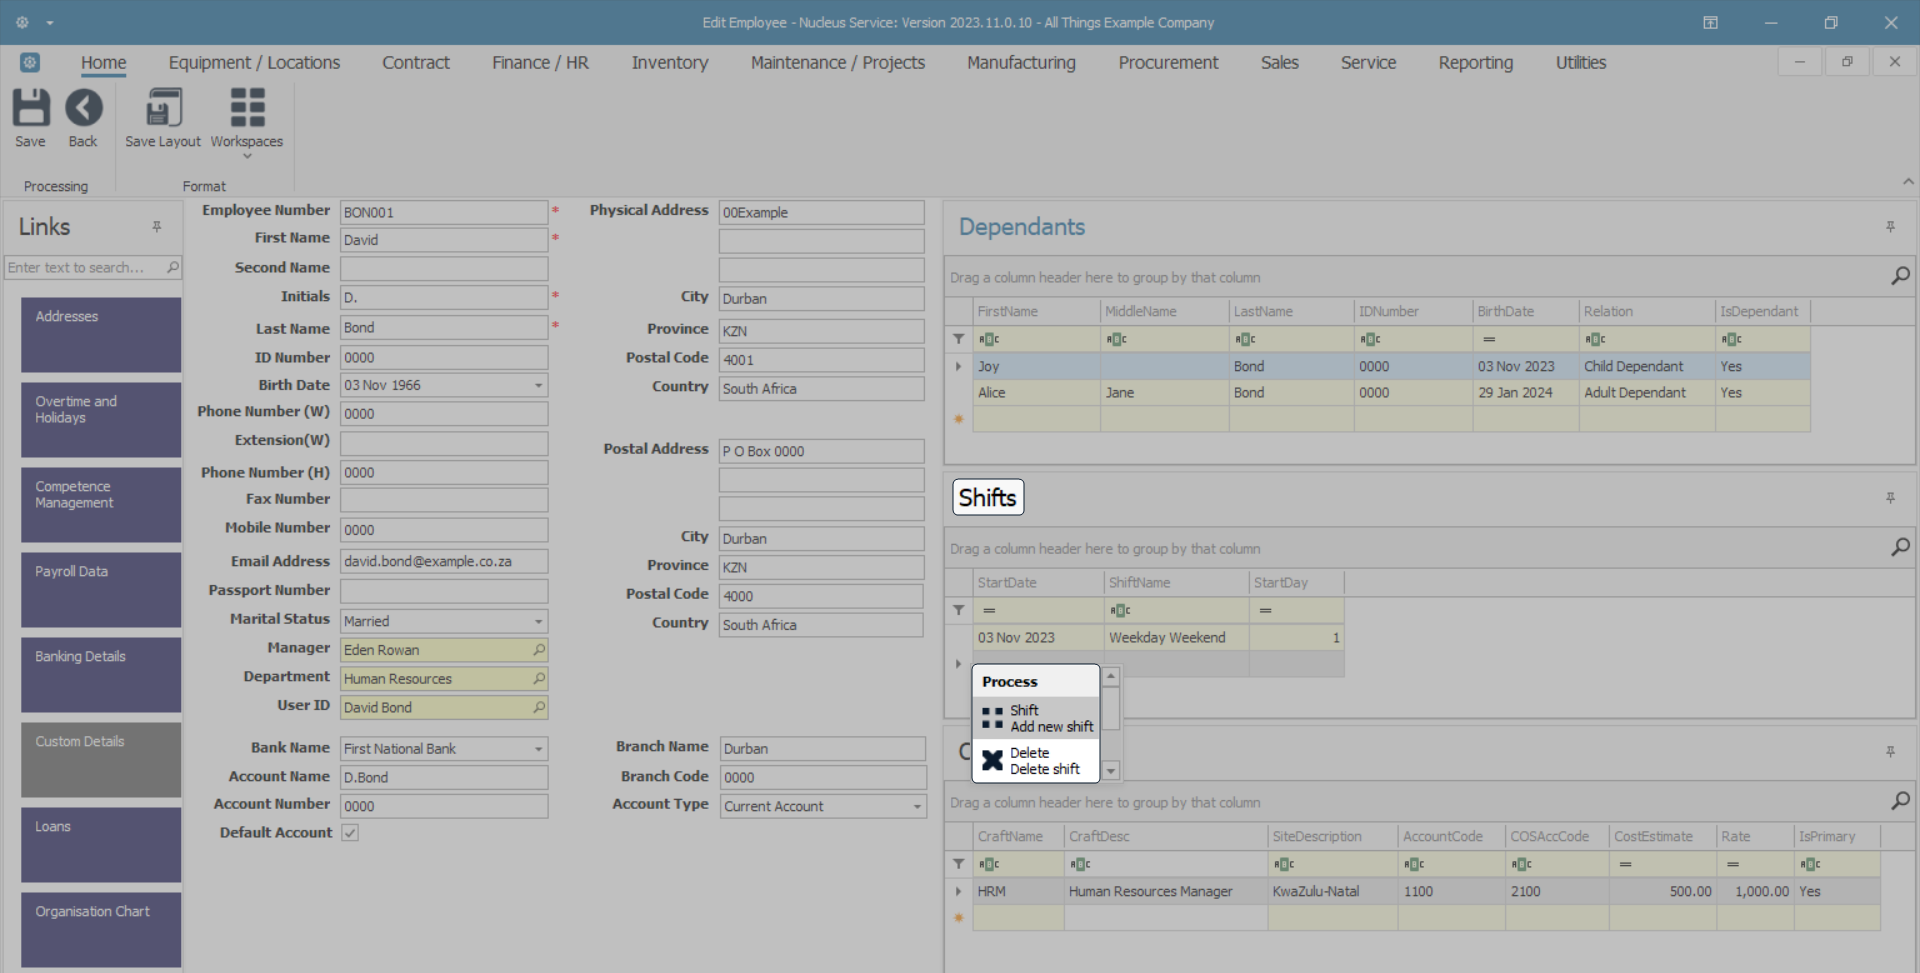
- The Edit Employee screen will open.
- Note: You can add and edit details in this screen, there is an active Save button.
- In the Shifts frame, right click in any field in the last blank row.
- A Process menu will pop up.
- Select Shift - Add new shift from the list.
Select Shift
- A Select a shift screen will pop up.
- Select the row of the Shift you wish to assign to this employee.
- In this example, Normal Work Week is selected.
- Click on Ok.
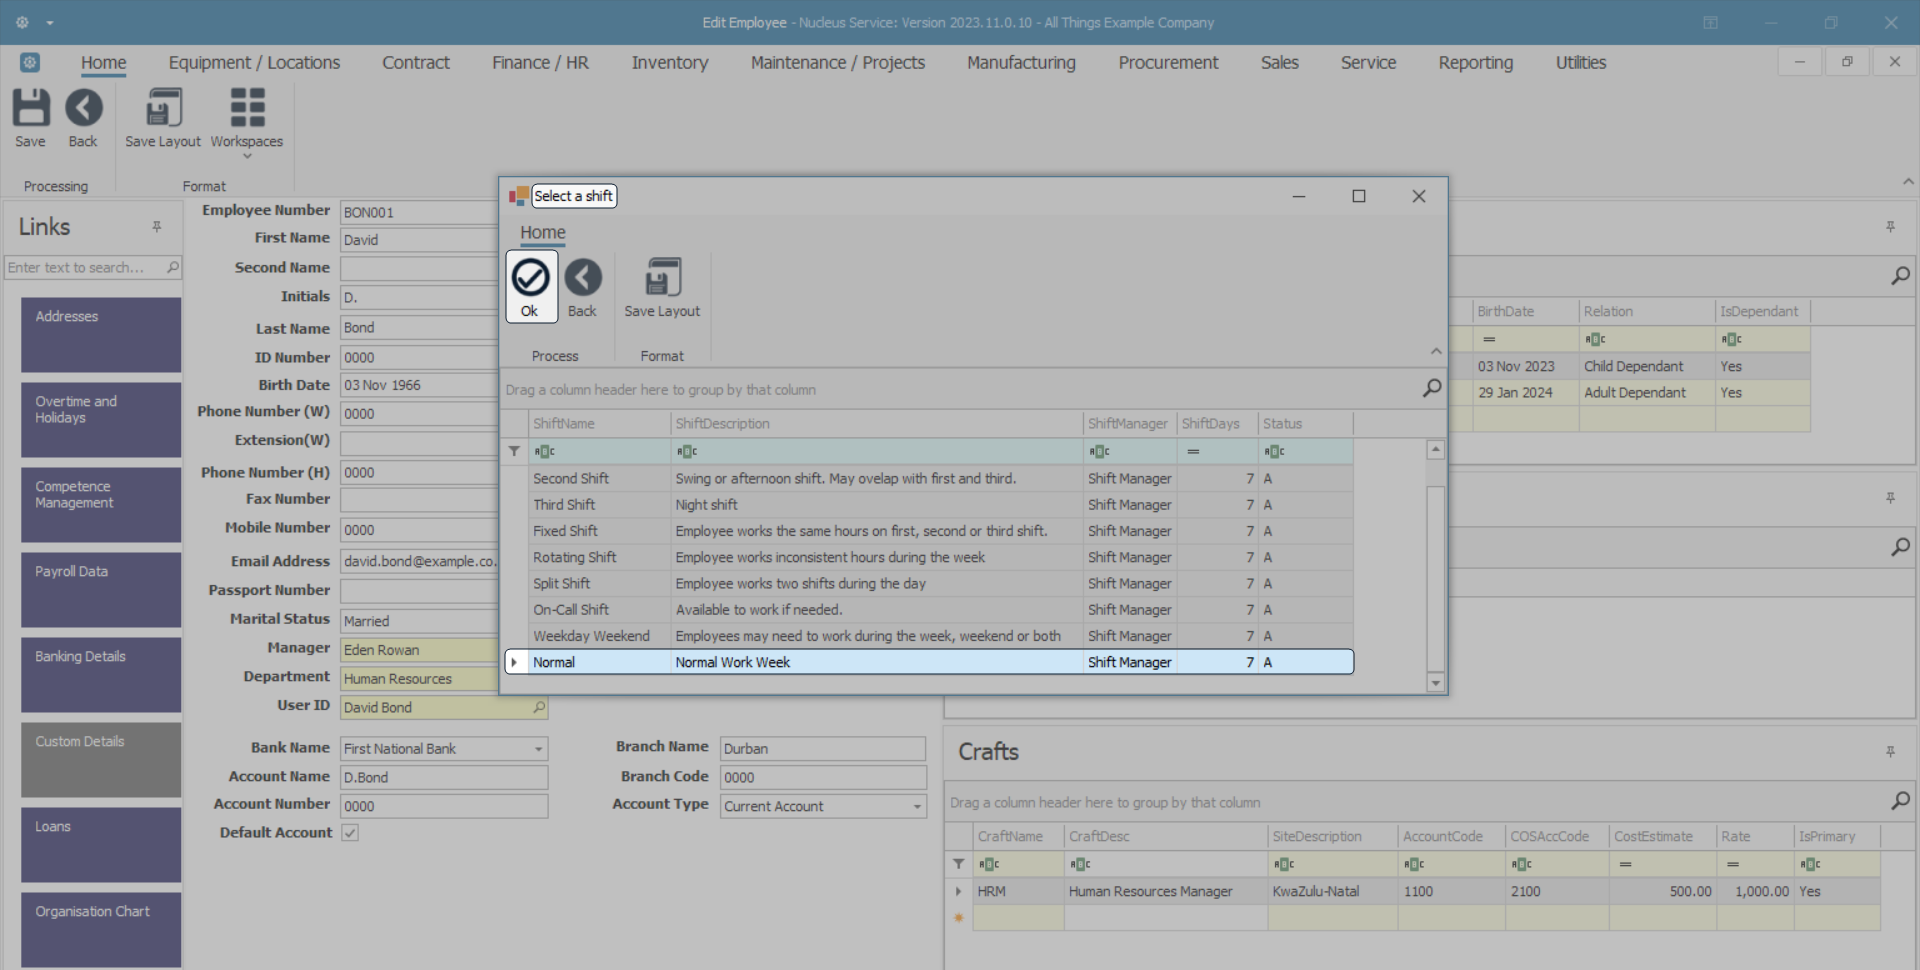
- The selected shift will now be displayed in the Shift Name column of the Shifts docking panel.

Select Start Date
- The Start Date column will auto populate with the current date.
- Click on the drop-down arrow in the date field to display the calendar.
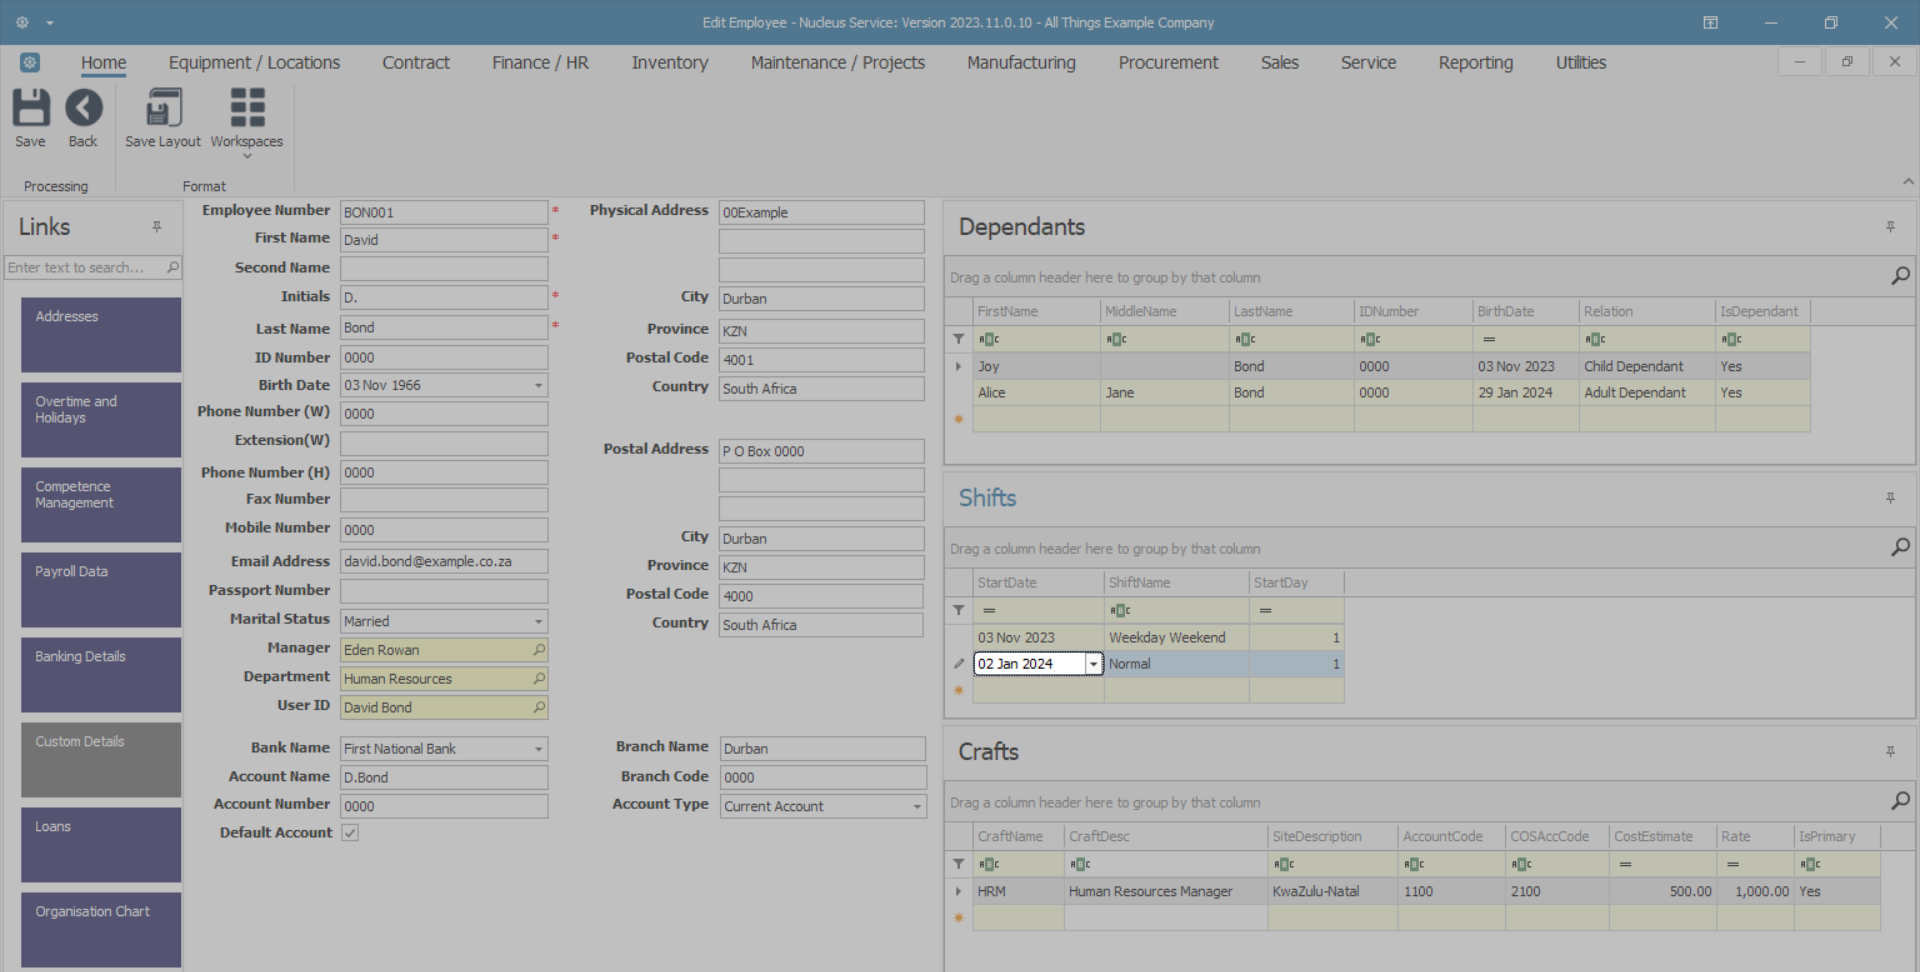
- Click on the correct start date.
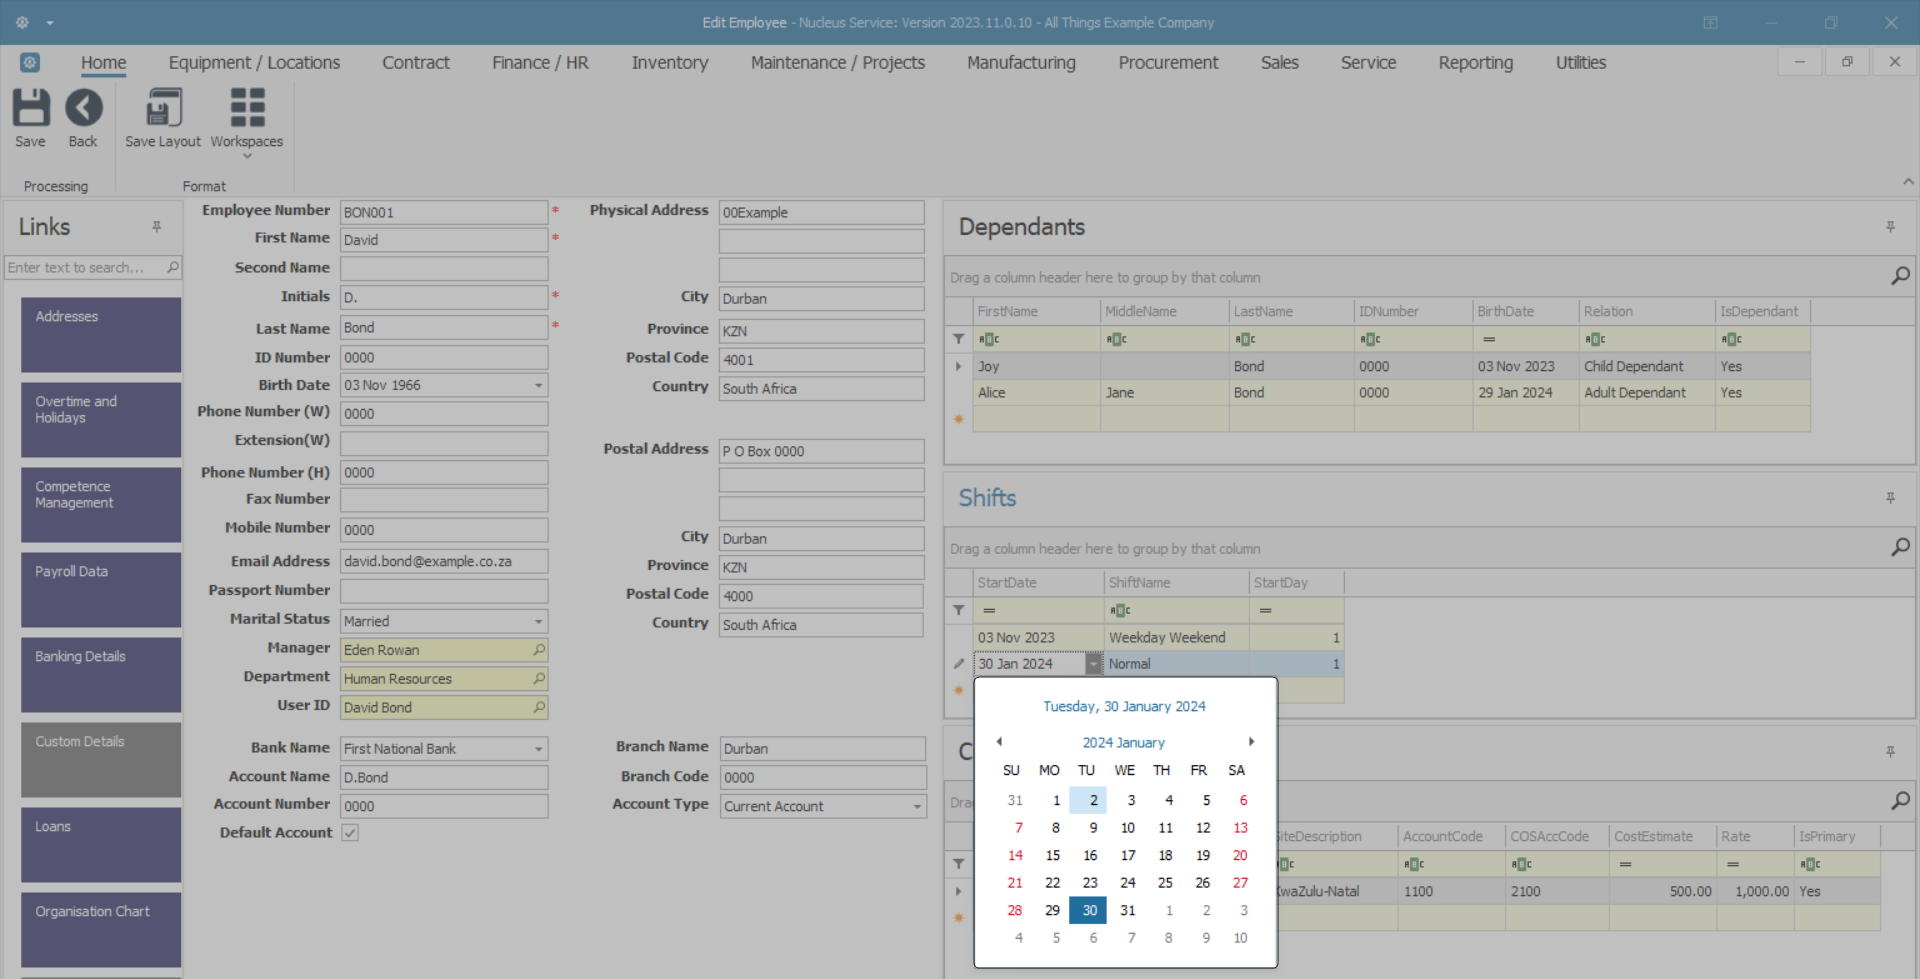
- The selected date will now be displayed in the Start Date column.
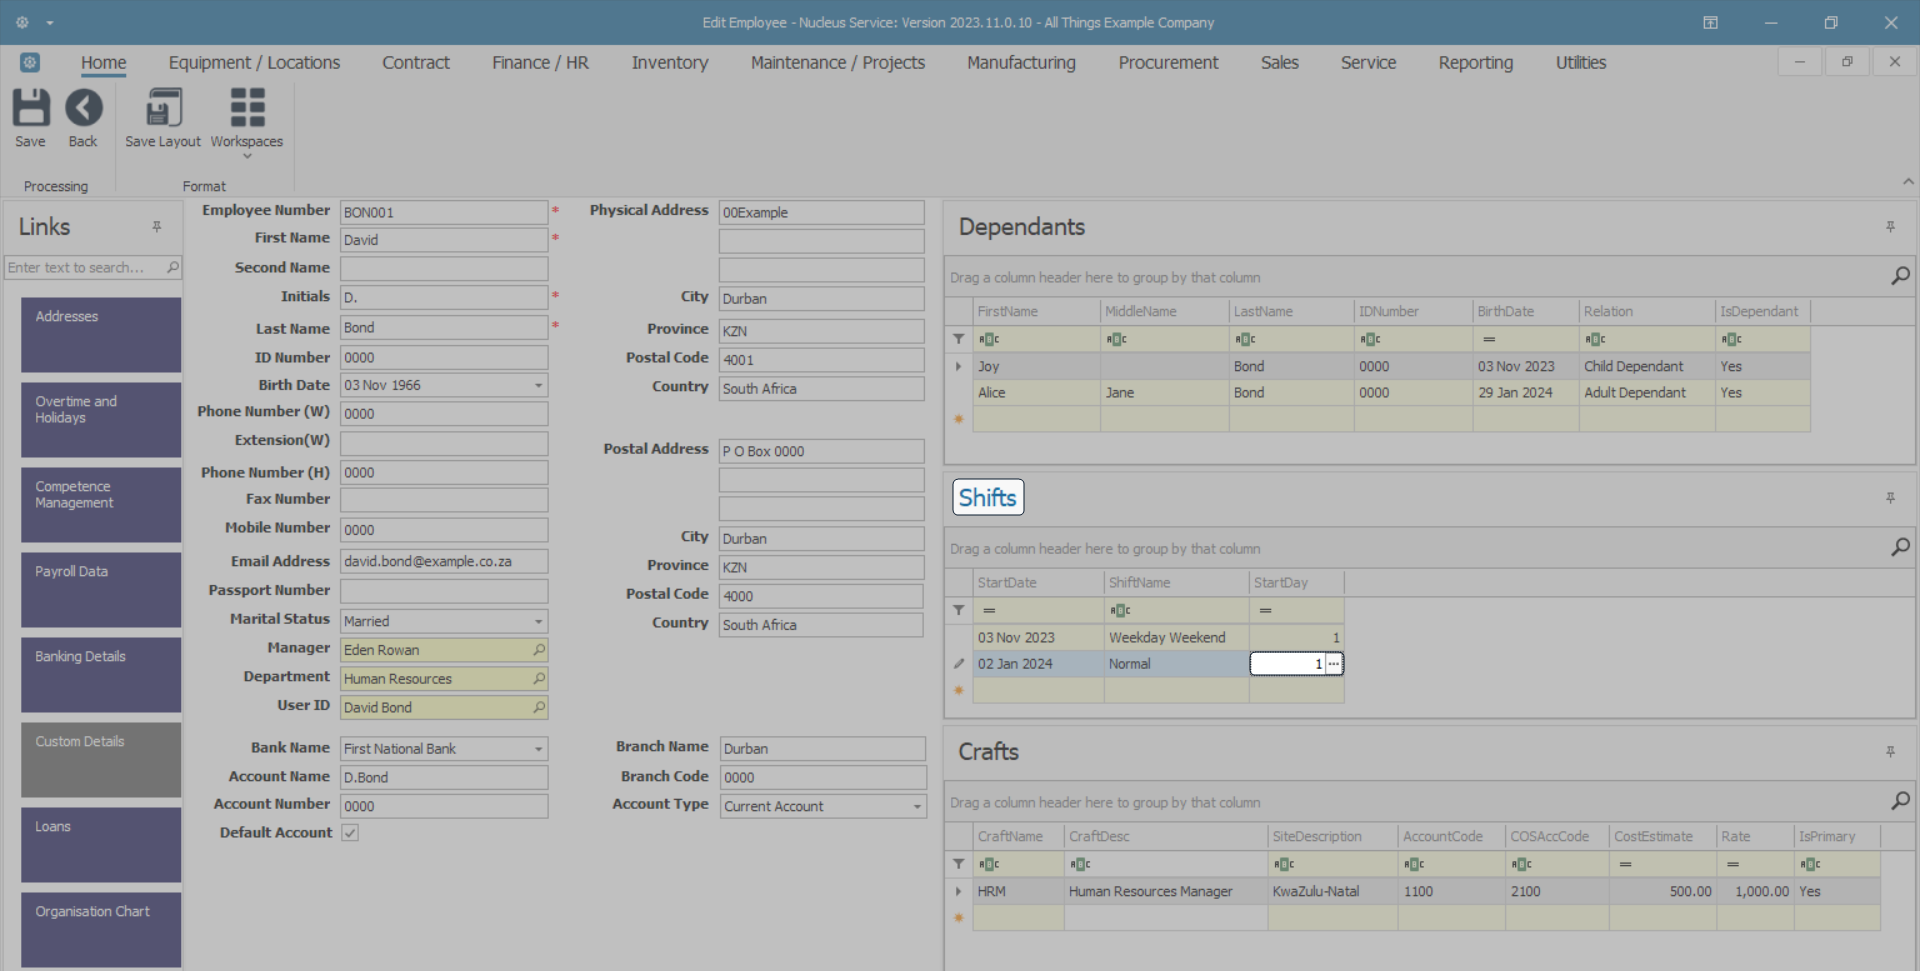
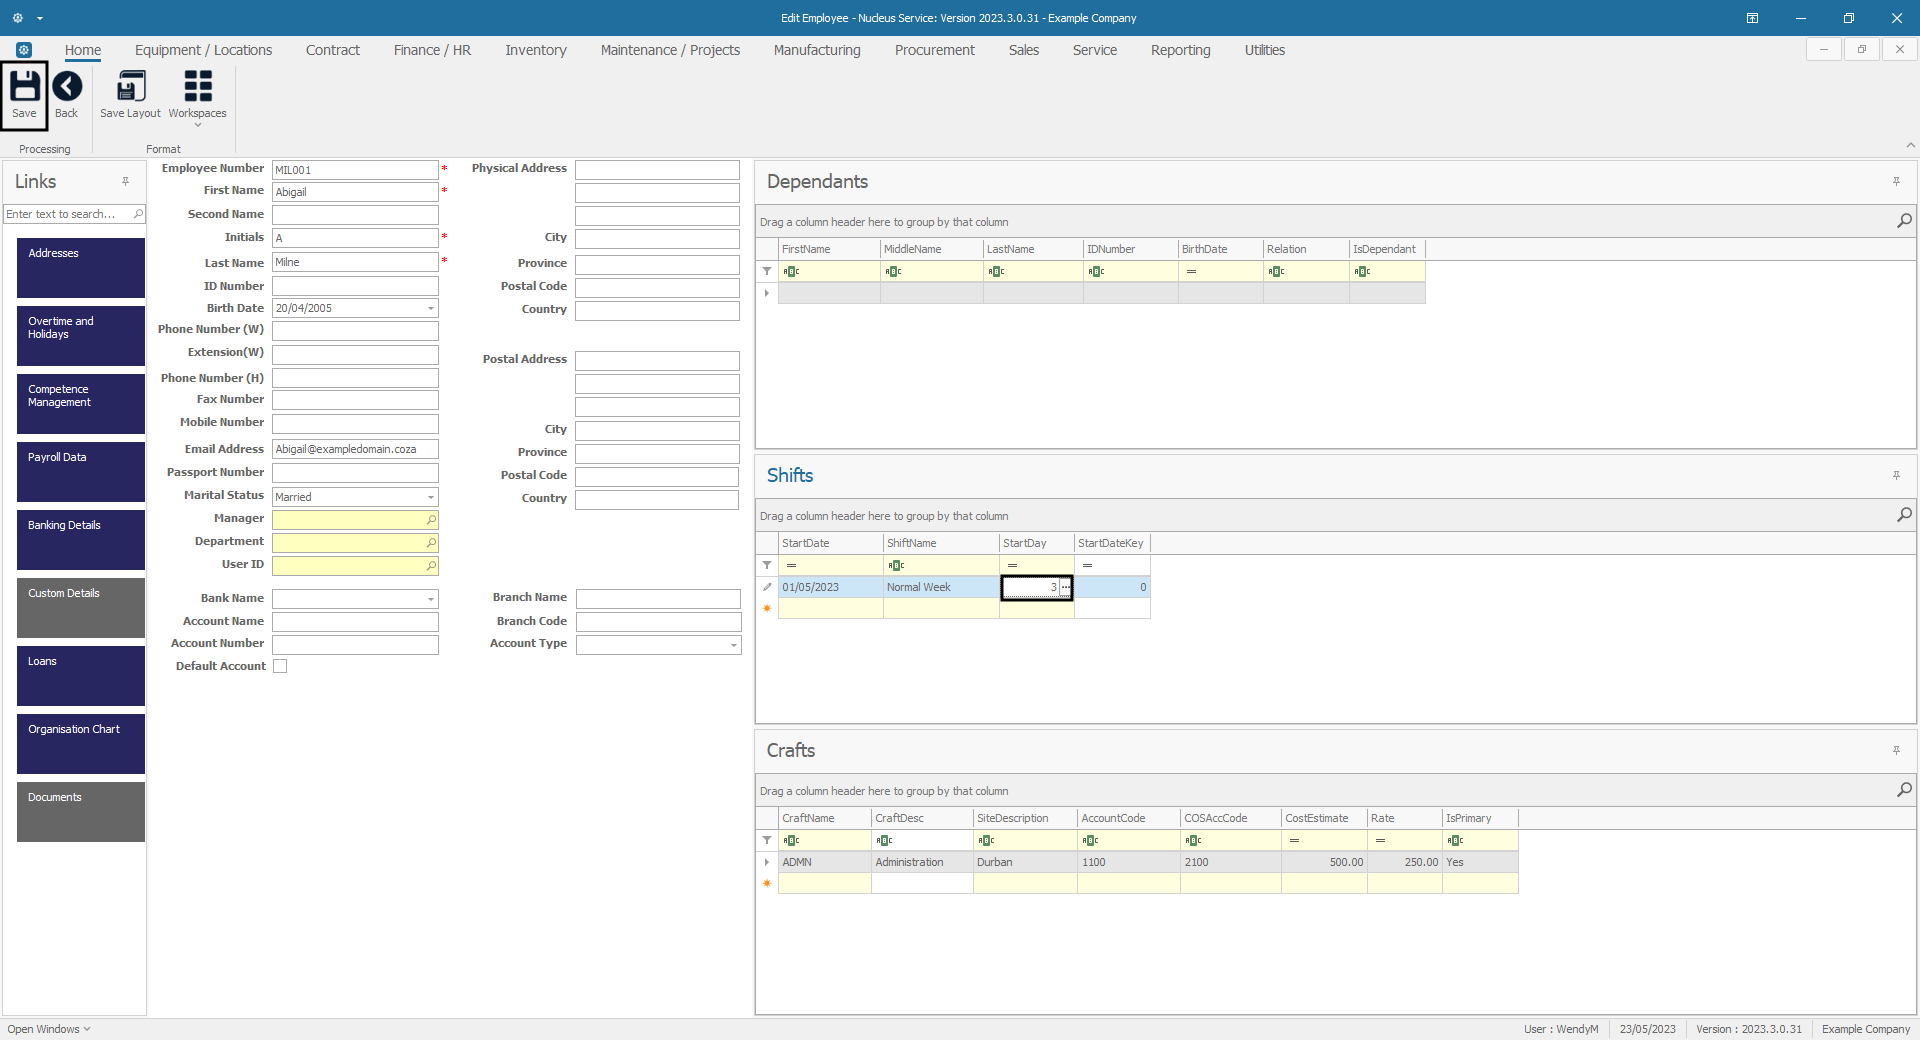
Select Start Day
- Scroll right in the Shifts panel to the Start Day column and click in this field.
- An ellipsis button will be revealed, click on this button.
The Select a shift day look up screen will pop up.
- Click on the row selector in front of the appropriate start day number: (Monday = 1, Tuesday = 2, Wednesday = 3) etc.
- Click on Ok.
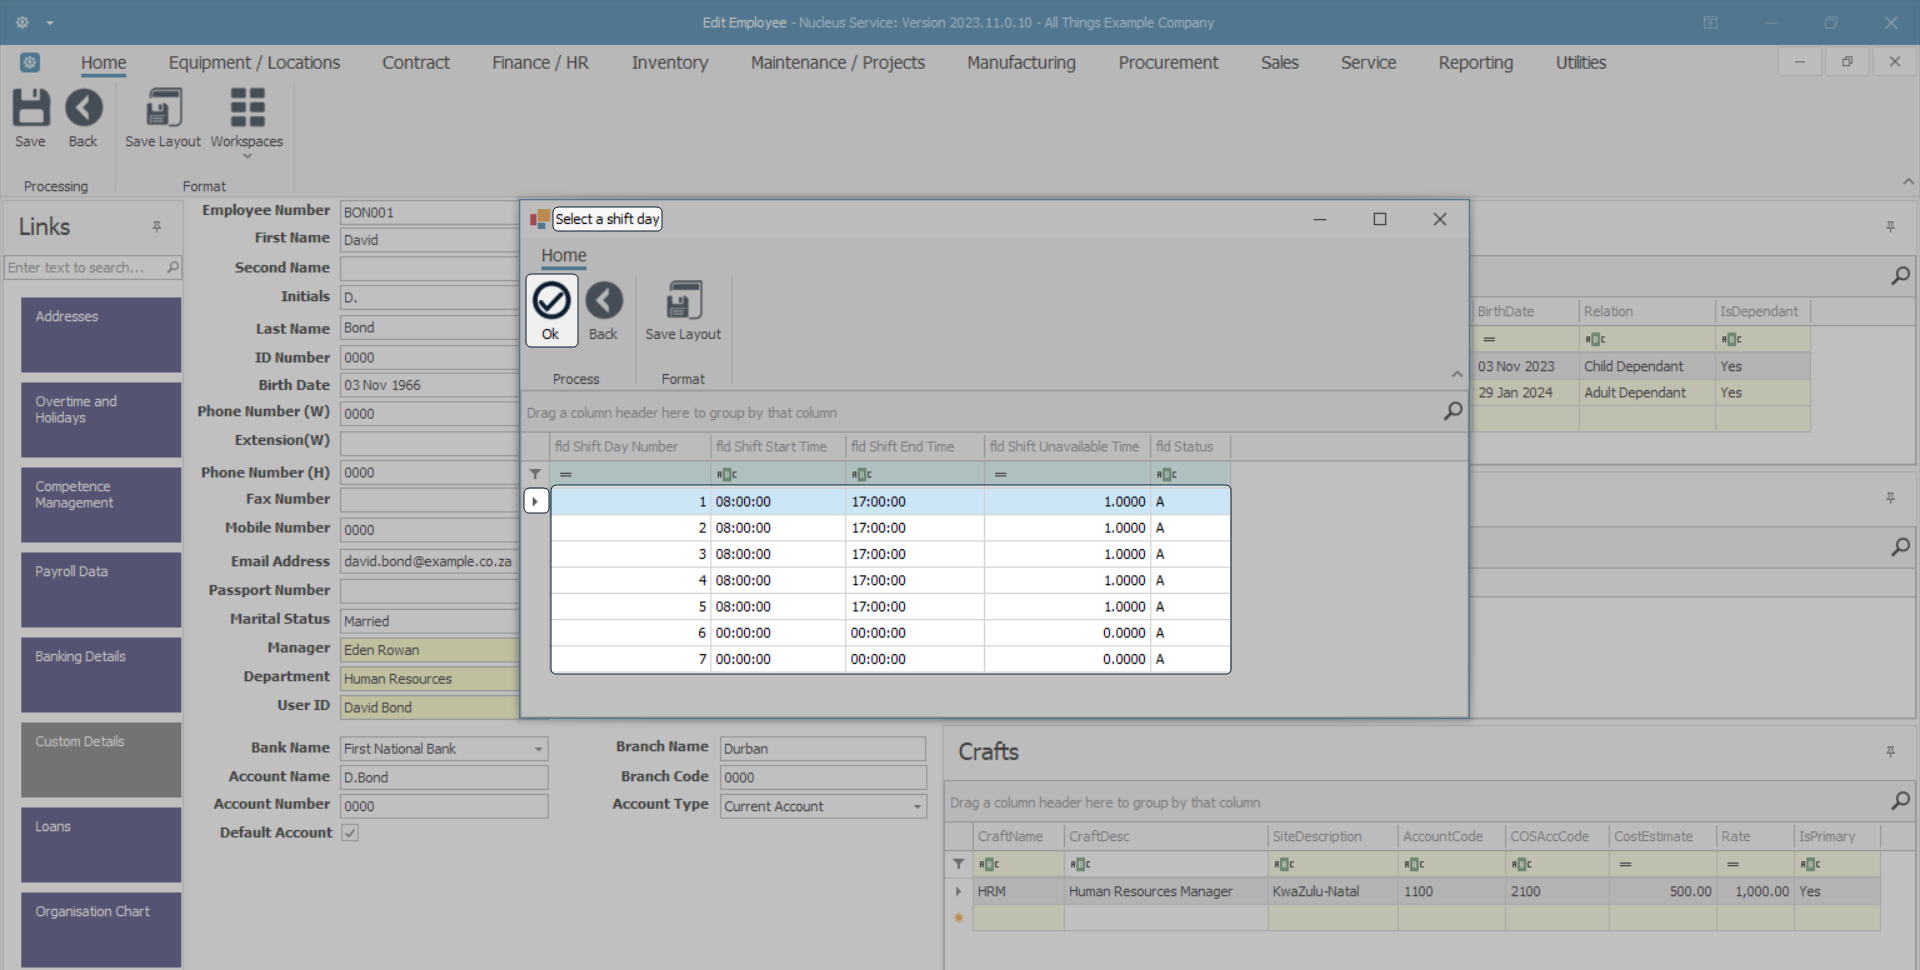
- The selected start day will now be displayed in the Start Day column.
Save Shift Assignment
- When you have finished adding the shift details to this employee, click on Save.
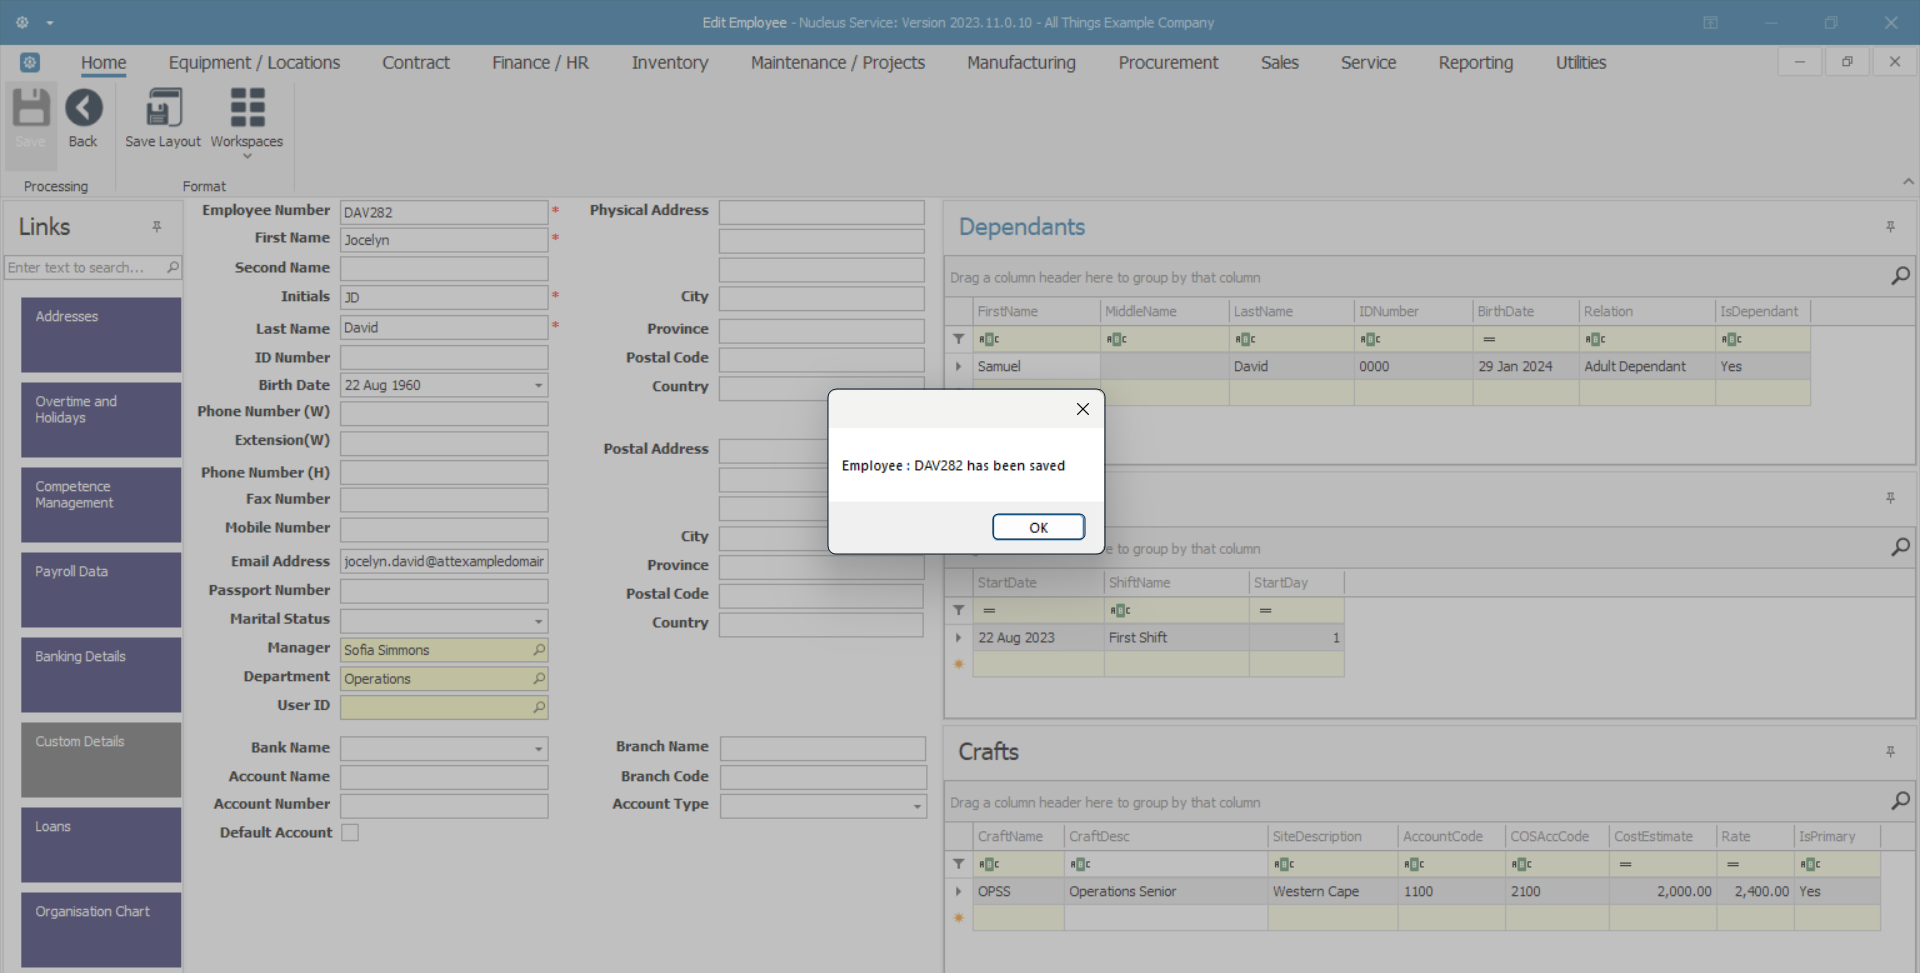
- A message box will pop up advising the following -
- Employee: [ ] has been saved.
- Click on OK.
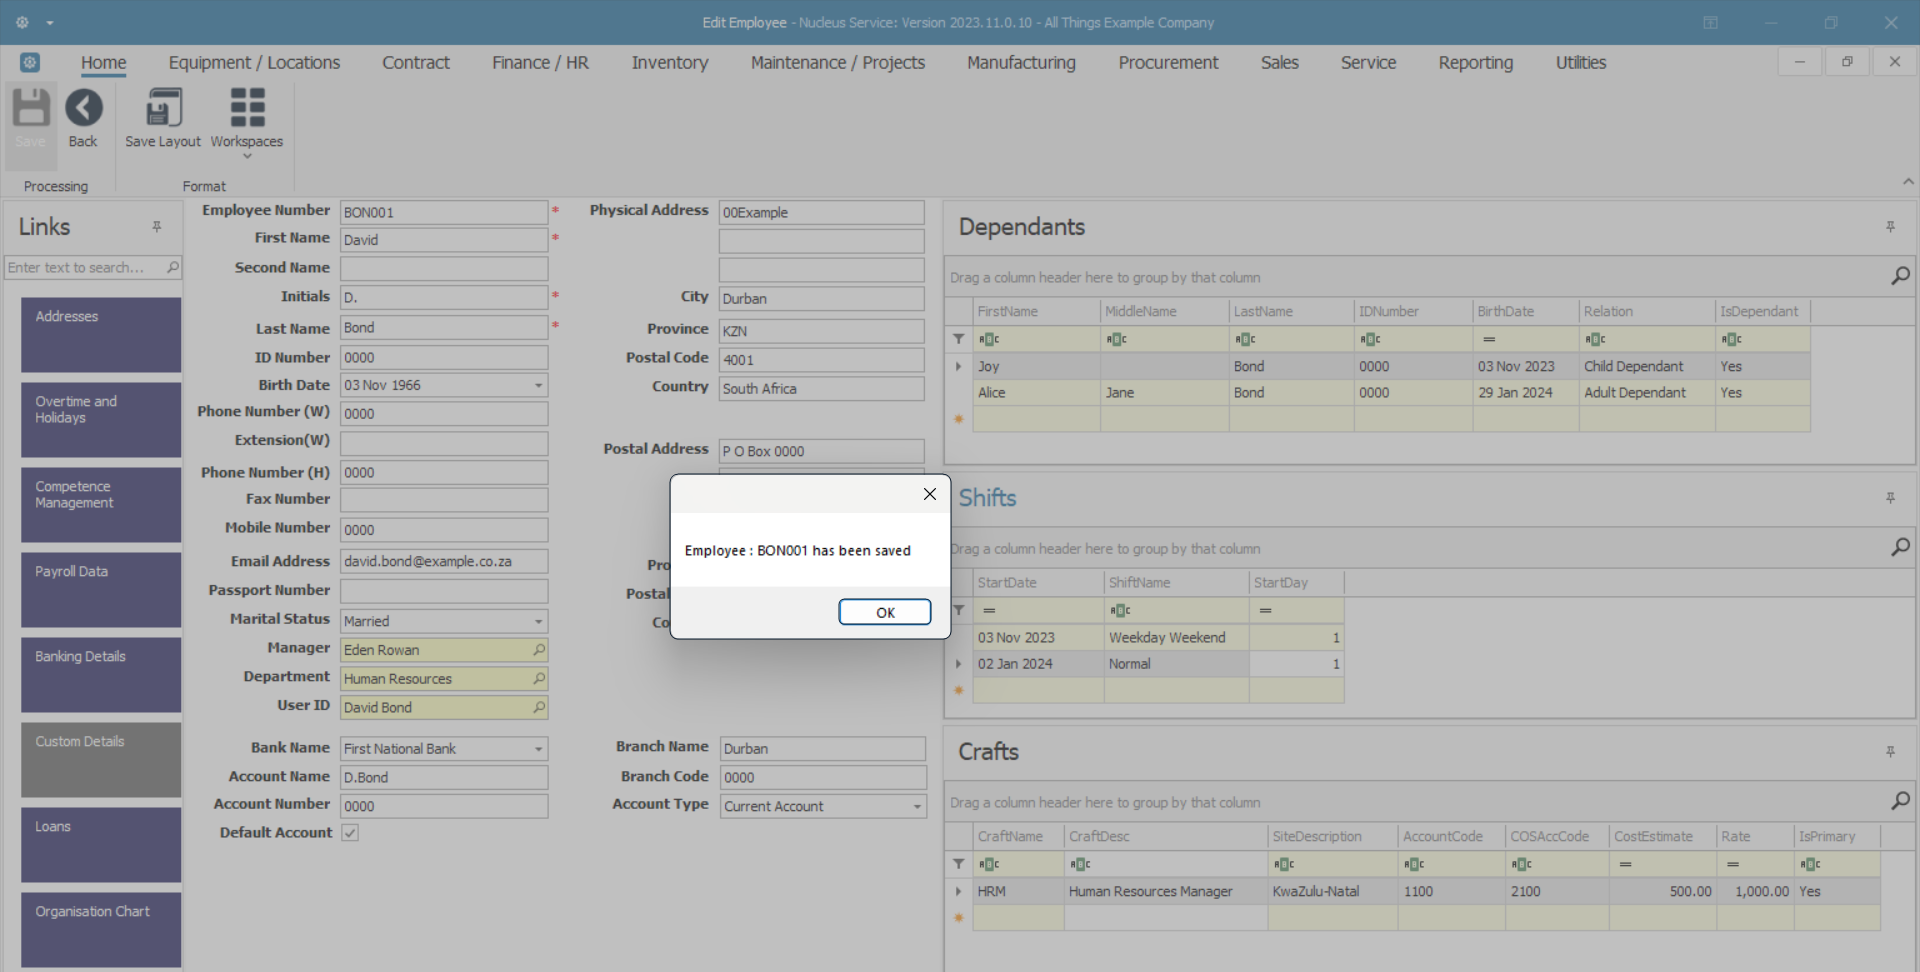
- The new dependant details will be saved and you will return to the Employees listing screen.
Edit Shifts
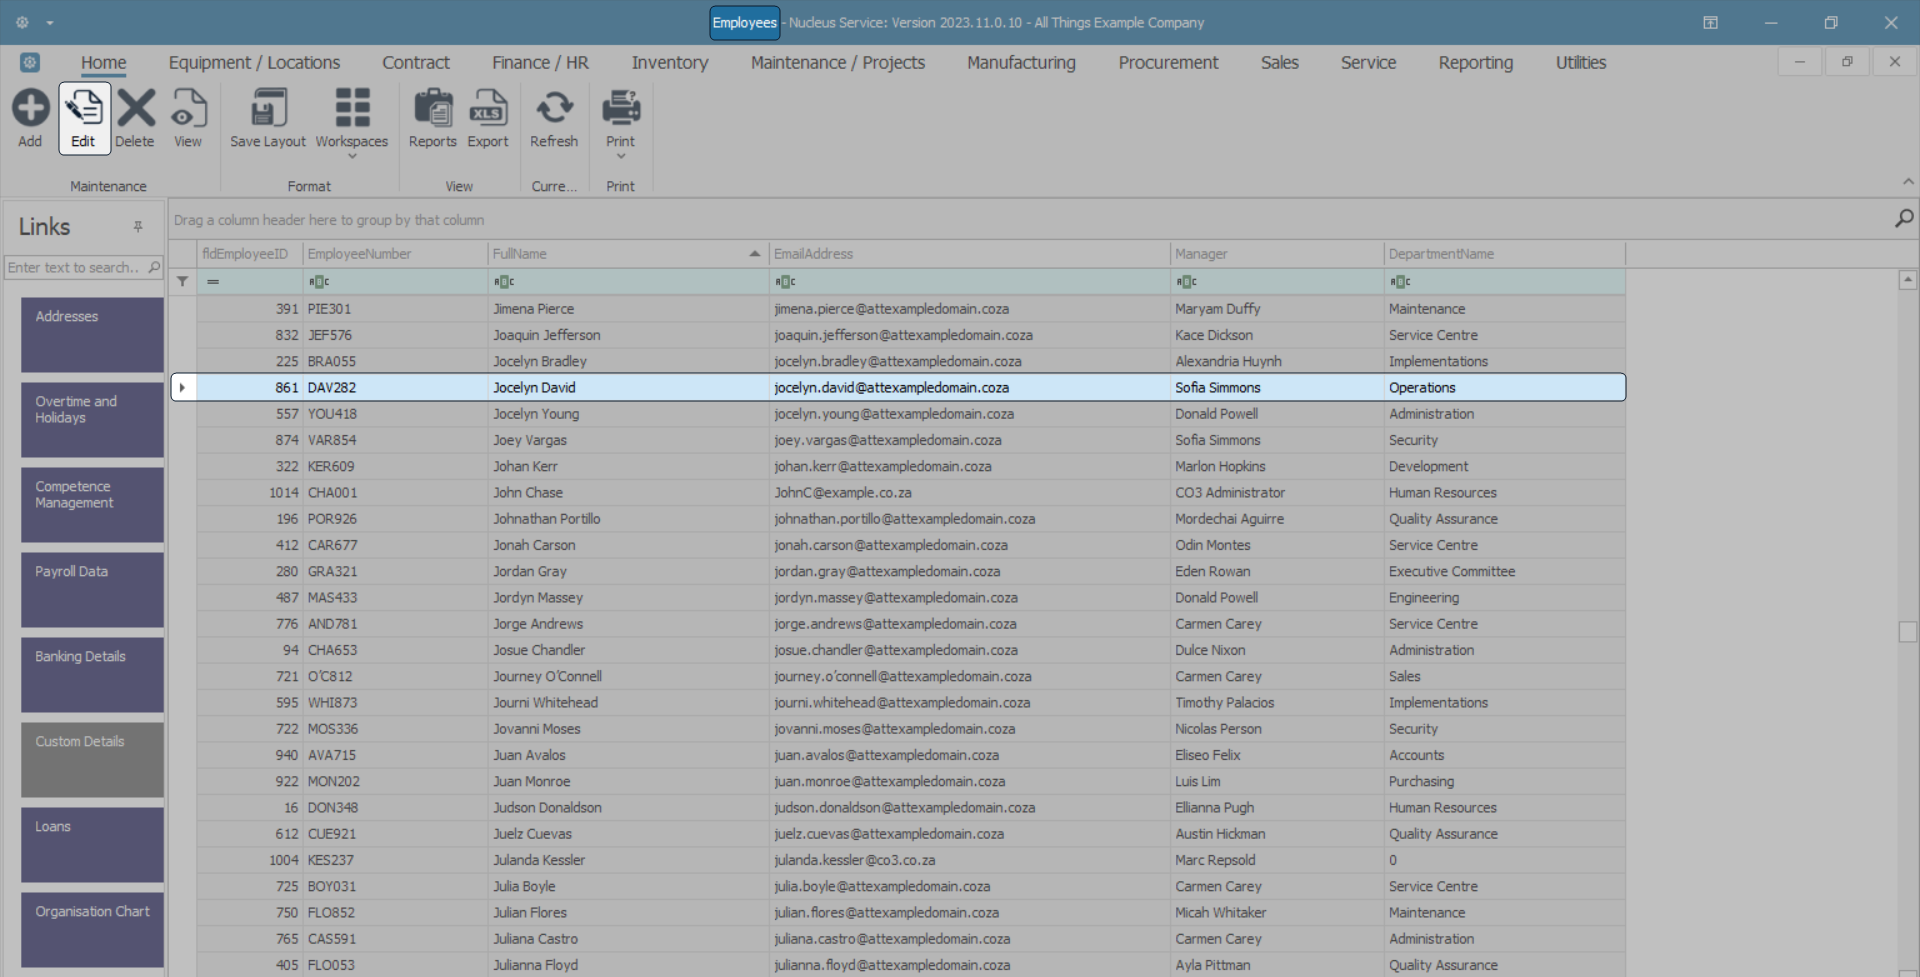
Select Employee
- In the Employees listing screen -
- Select the employee whose dependant's details need to be changed.
- Click on Edit.
Edit Dependants Details
- The Edit Employee screen will open.
- In the Dependants panel -
- Click in the field where you wish to make the change.
- Either type the new information in the field, or if necessary, delete the text that is there and type in the new information.
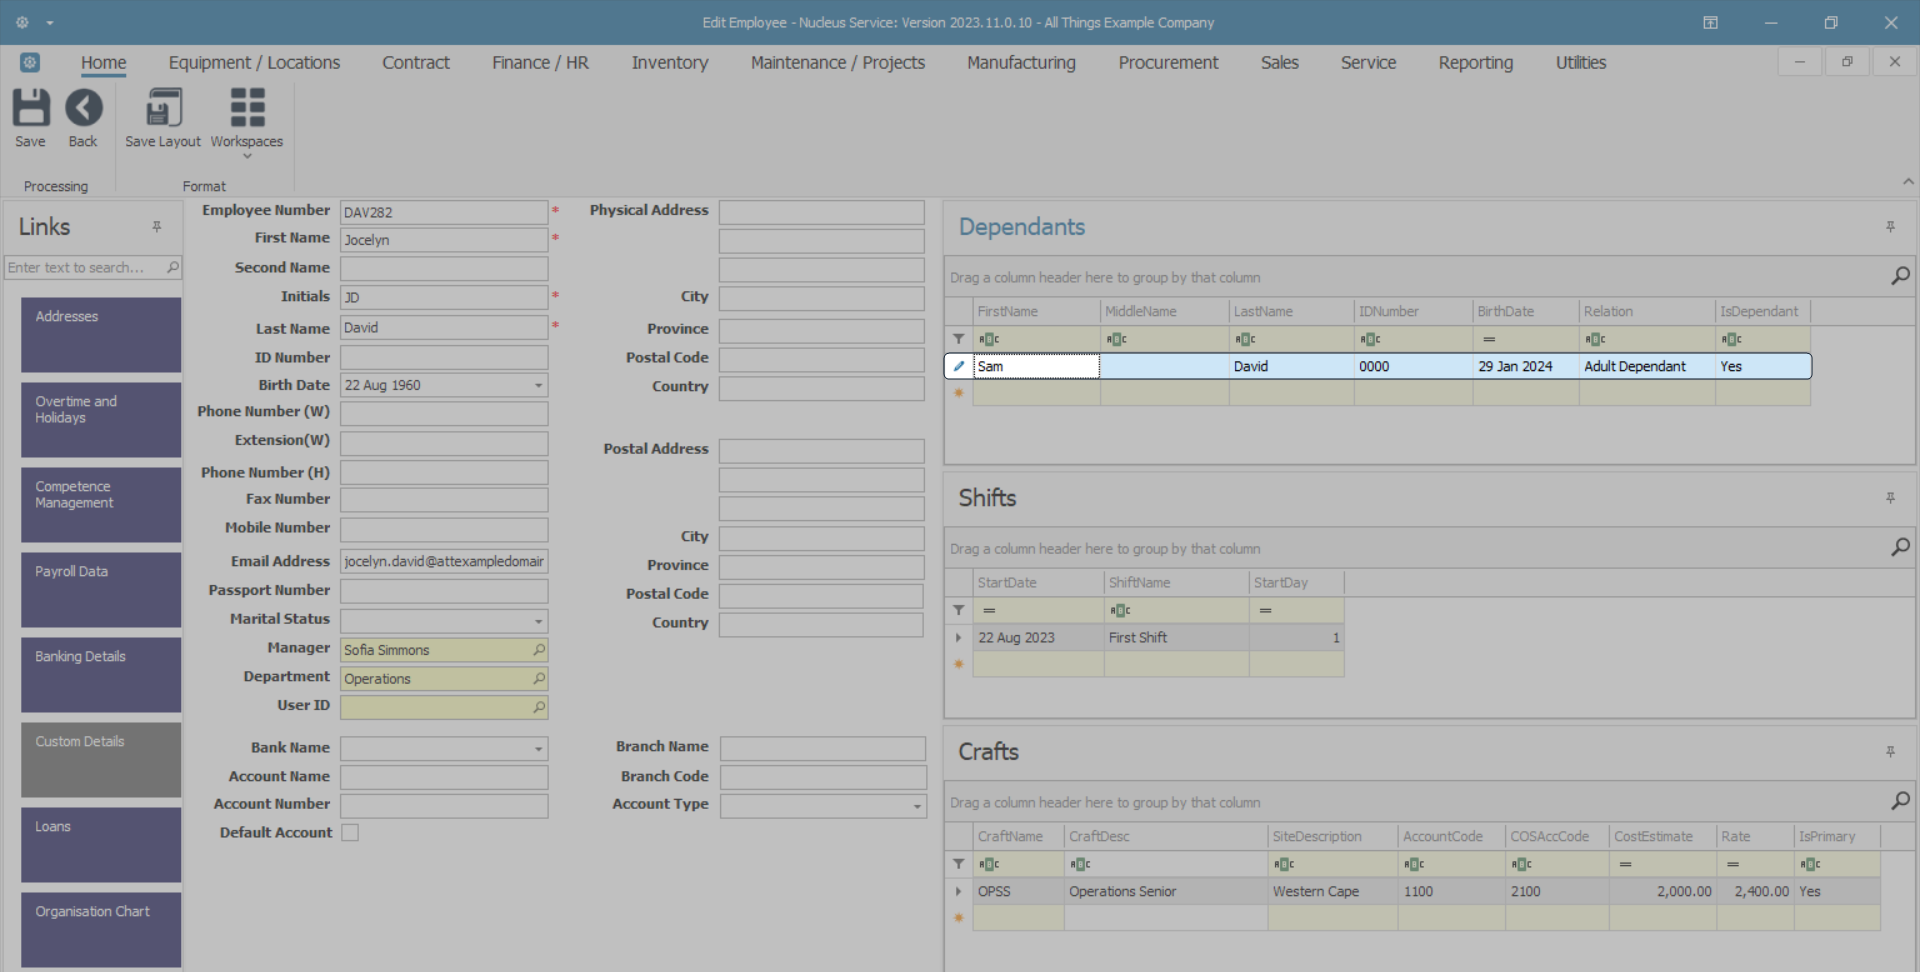
- In this example, the FirstName will be edited.
Save Changes
- When you have finished editing the details, click on Save.
- A message box will pop up informing you -
- Employee: [ ] has been saved.
- Click on OK.
- You will return to the Employees listing screen.
Delete Dependant
Select Employee
- In the Employees listing screen -
- Select the employee whose dependant's details need to be deleted.
- Click on Edit.

Delete Dependant Details
- The Edit Employee screen will open.
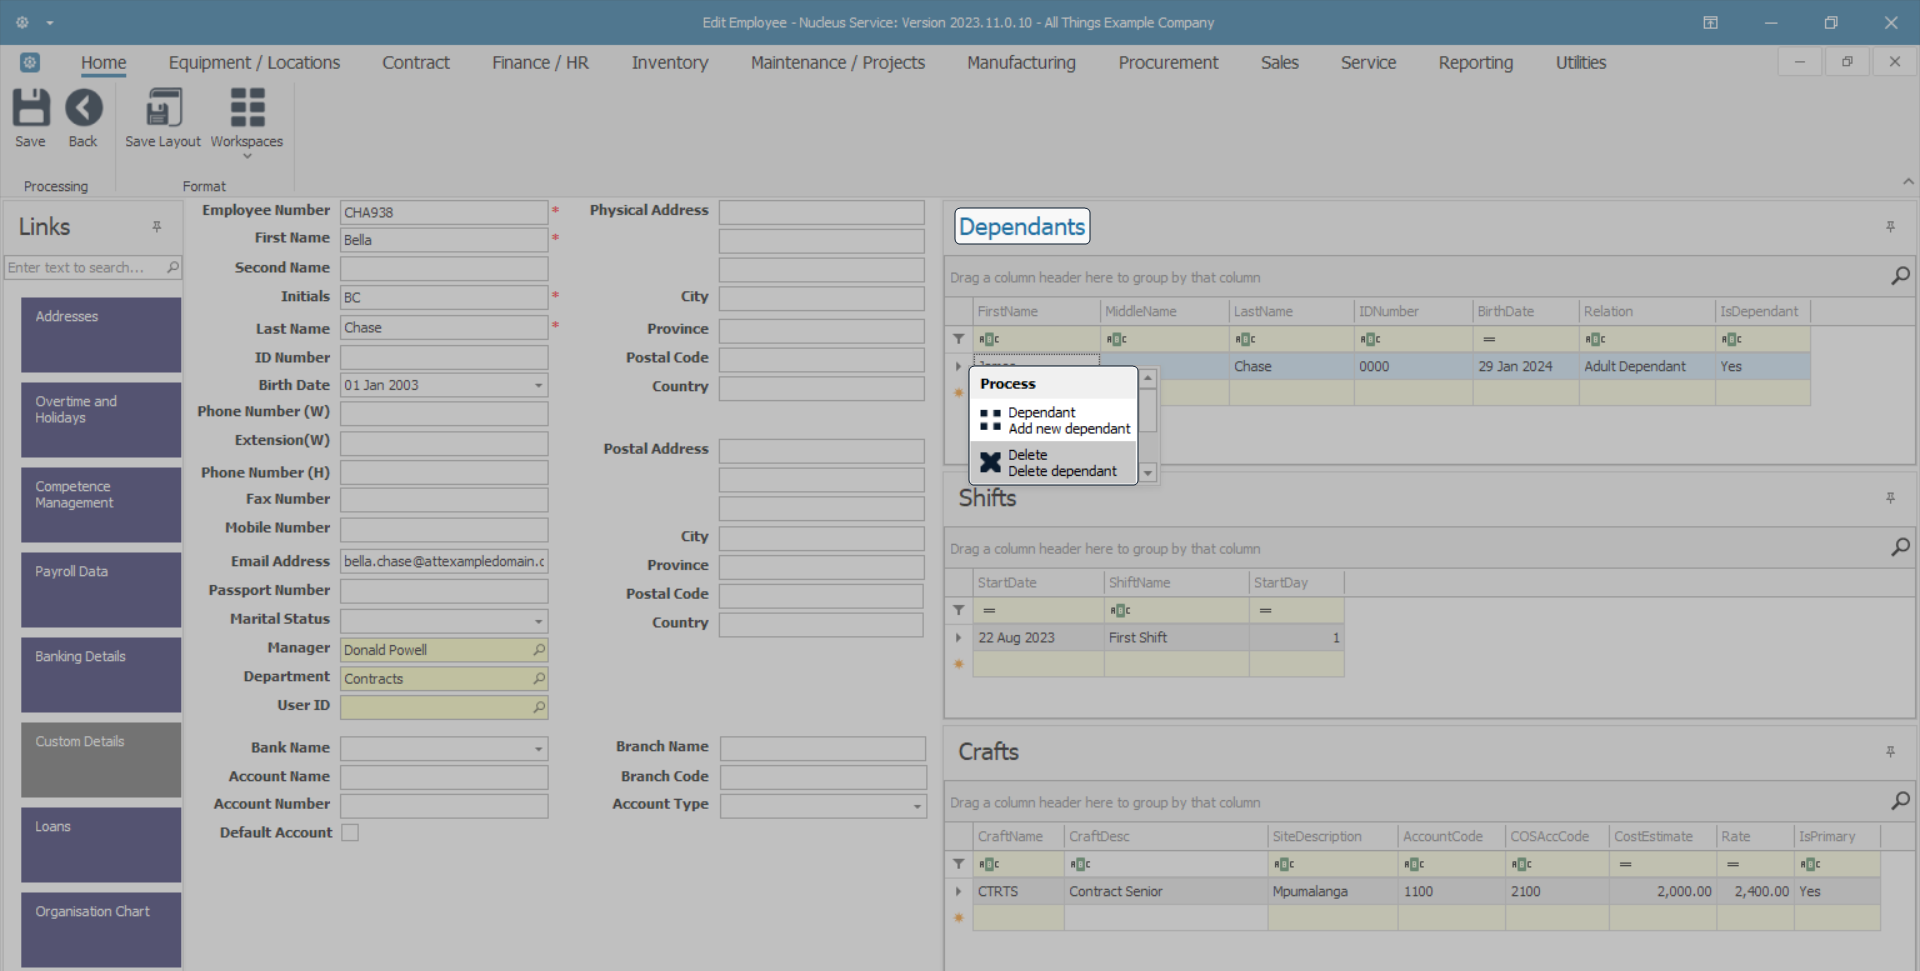
- In the Dependants frame, right click in the row of the dependant you wish to delete.
- A Process menu will pop up.
- Select Delete - Delete dependant.
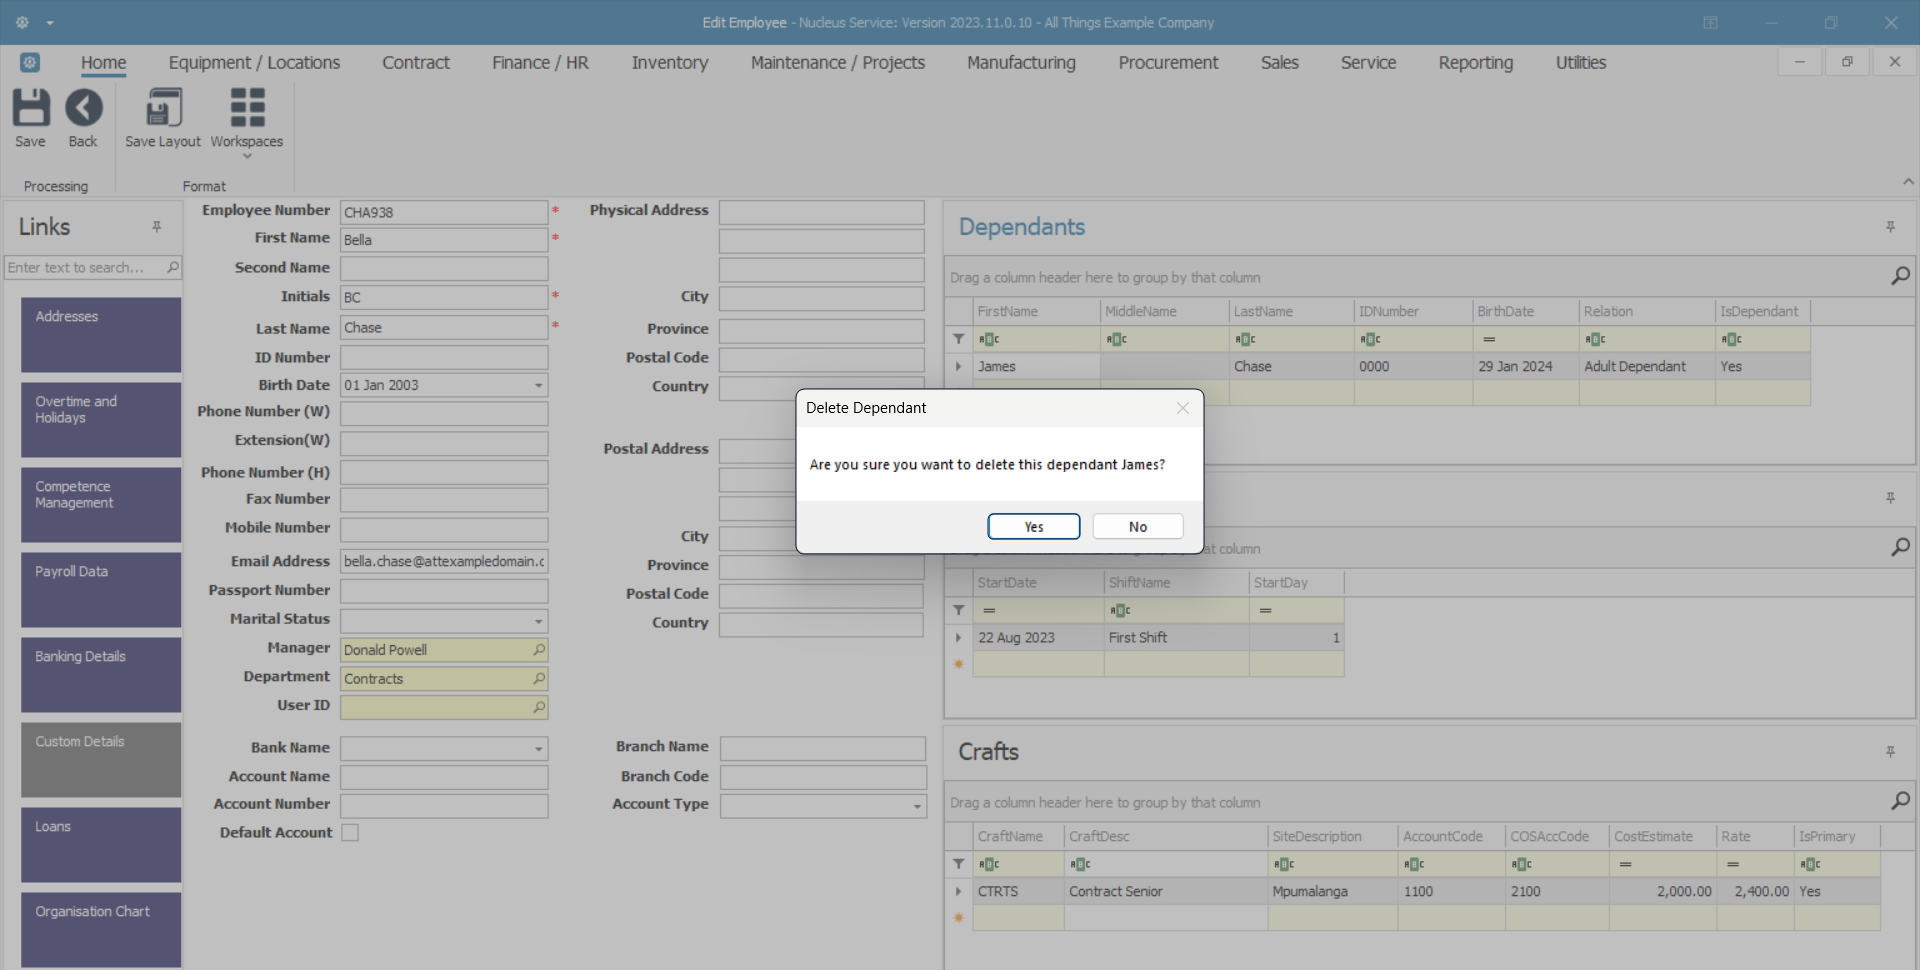
Confirm Deletion
- A Delete Dependant message box will pop up asking -
- Are you sure you want to delete this dependant [ ]?
- Click on Yes.
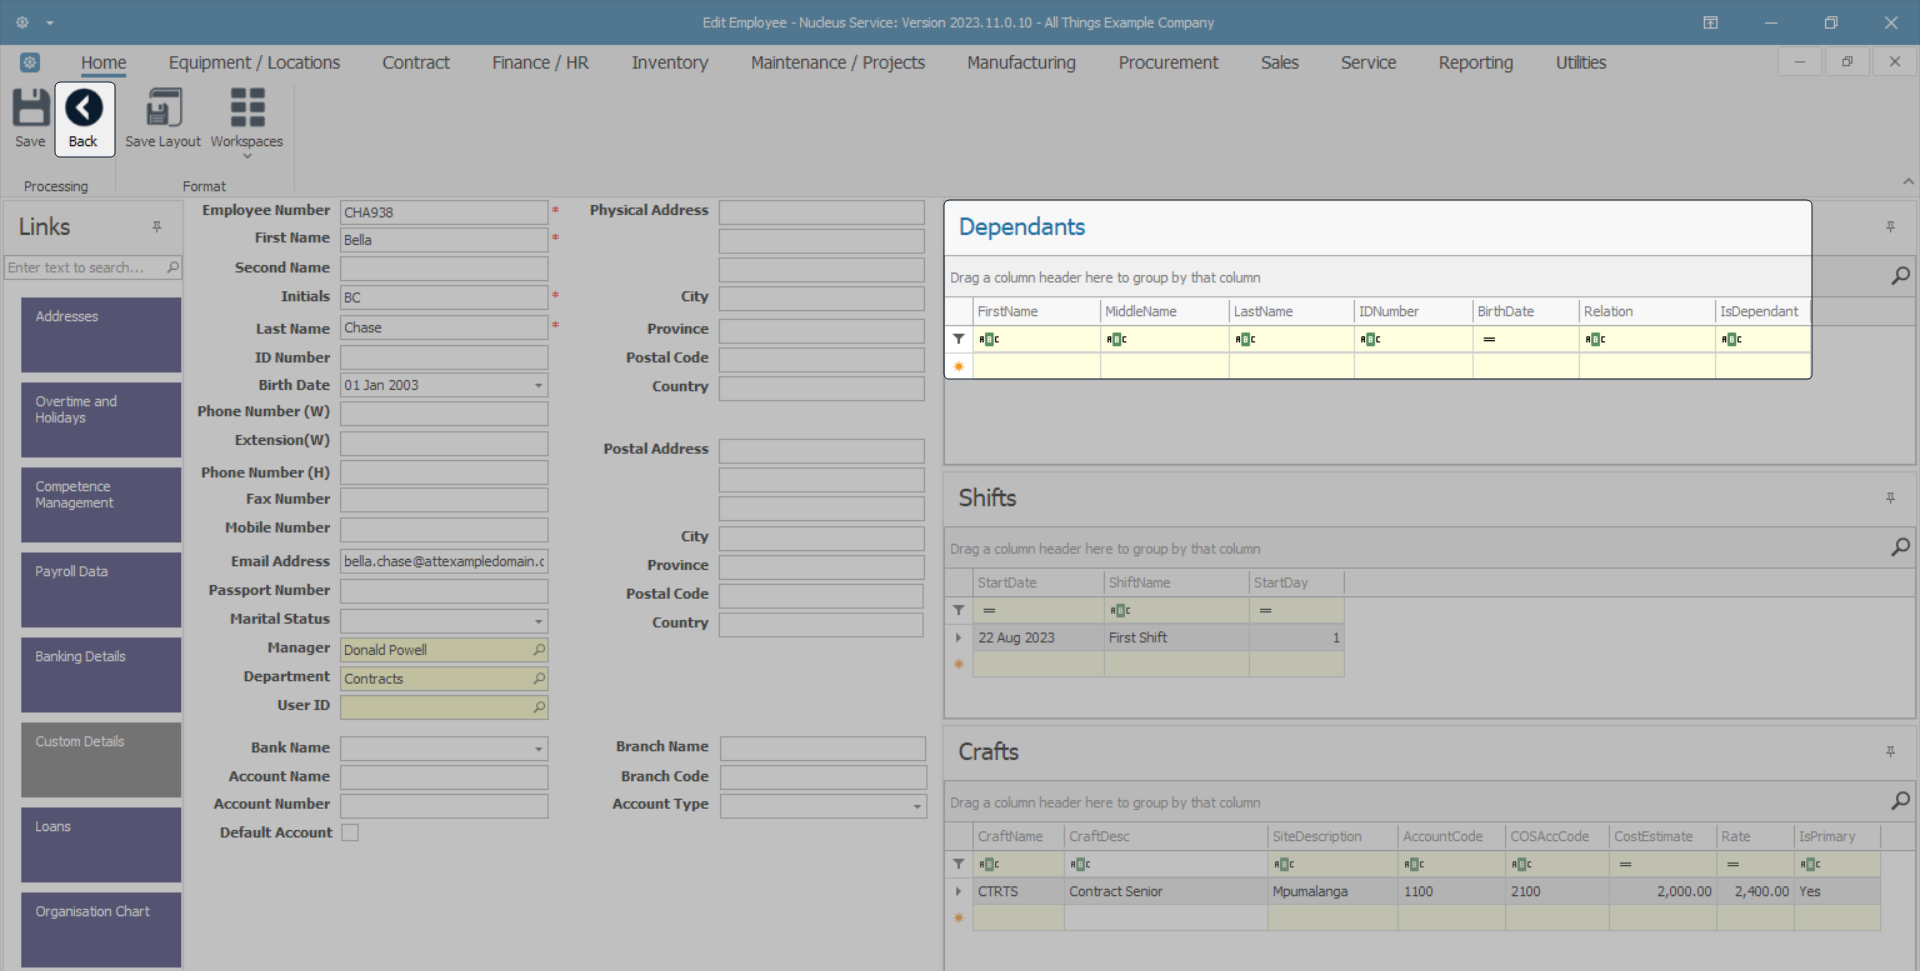
- The selected dependant's details will be removed from the panel.
- Click on Back to return to the Employees listing screen.
View Shifts
Select Employee
- Select the row of the employee for whom you wish to view the linked Shifts.
- Click on View.

- The Edit Employee screen will open where you will see the Shifts frame.
The Shifts Panel
- In the Shifts frame, right click on any row (except the filter row).
- A Process menu will pop up.
- Select Shifts - Add new shift from the list.
- Right click in any row (except the filter row) to display a pop-up Process menu.
- Click on Shift - Add new shift.
The Select a shift screen will be displayed.
- Click on the row selector in front of the shift you wish to assign to this employee.
- Click on Ok.
- The selected shift will now be displayed in the Shift Name column of the Shifts docking panel.
Select Start Date
- The Start Date column will auto populate with the current date.
- Click on the drop-down arrow in the date field to display the calendar.
- Click on the correct start date.
- The selected date will now be displayed in the Start Date column.
Select Start Day
- Scroll right in the Shifts panel to the Start Day column and click in this field.
- An ellipsis button will be revealed, click on this button.
The Select a shift day look up screen will pop up.
- Click on the row selector in front of the appropriate start day number: (Monday = 1, Tuesday = 2, Wednesday = 3) etc.
- Click on Ok.
- The selected start day date will now be displayed in the Start Day column.
Save Shift Assignment
- When you have finished adding the shift details to this employee, click on Save.
- A message box will pop up advising the following:
- Employee: [] has been saved.
- Click on OK.
- You will return to the Employees listing screen.
MNU.021.006