Human Resources
Employees - Banking Details
Banking Details can be set up to add details that are not already set up on the system. For example, an employee may have a secondary savings account, into which any company reimbursements or bonuses will be paid.
The Banking Details tile enables you to view, add, edit, delete, and manage all banking details associated with an employee.
The Banking Details tile can be accessed from the Employees listing screen and the Edit Employee screen.
| Ribbon Access: Finance / HR Employees |

View Employee Banking Details
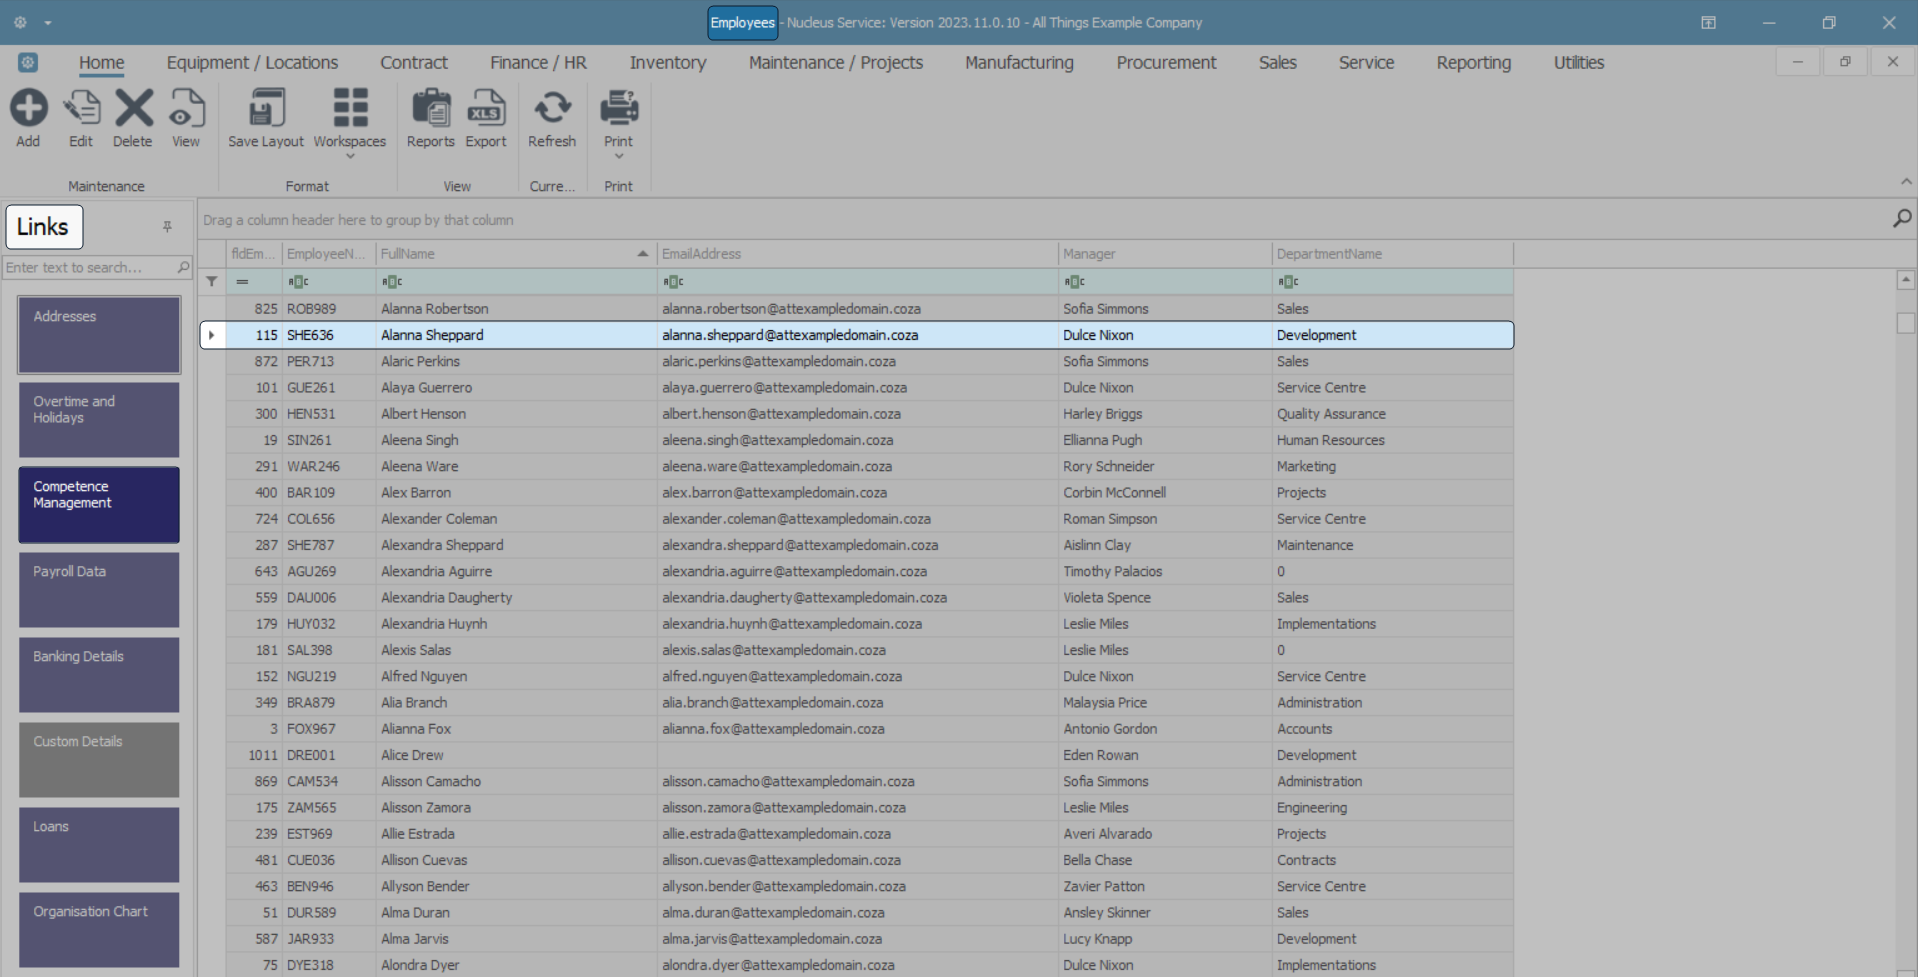
Select Employee
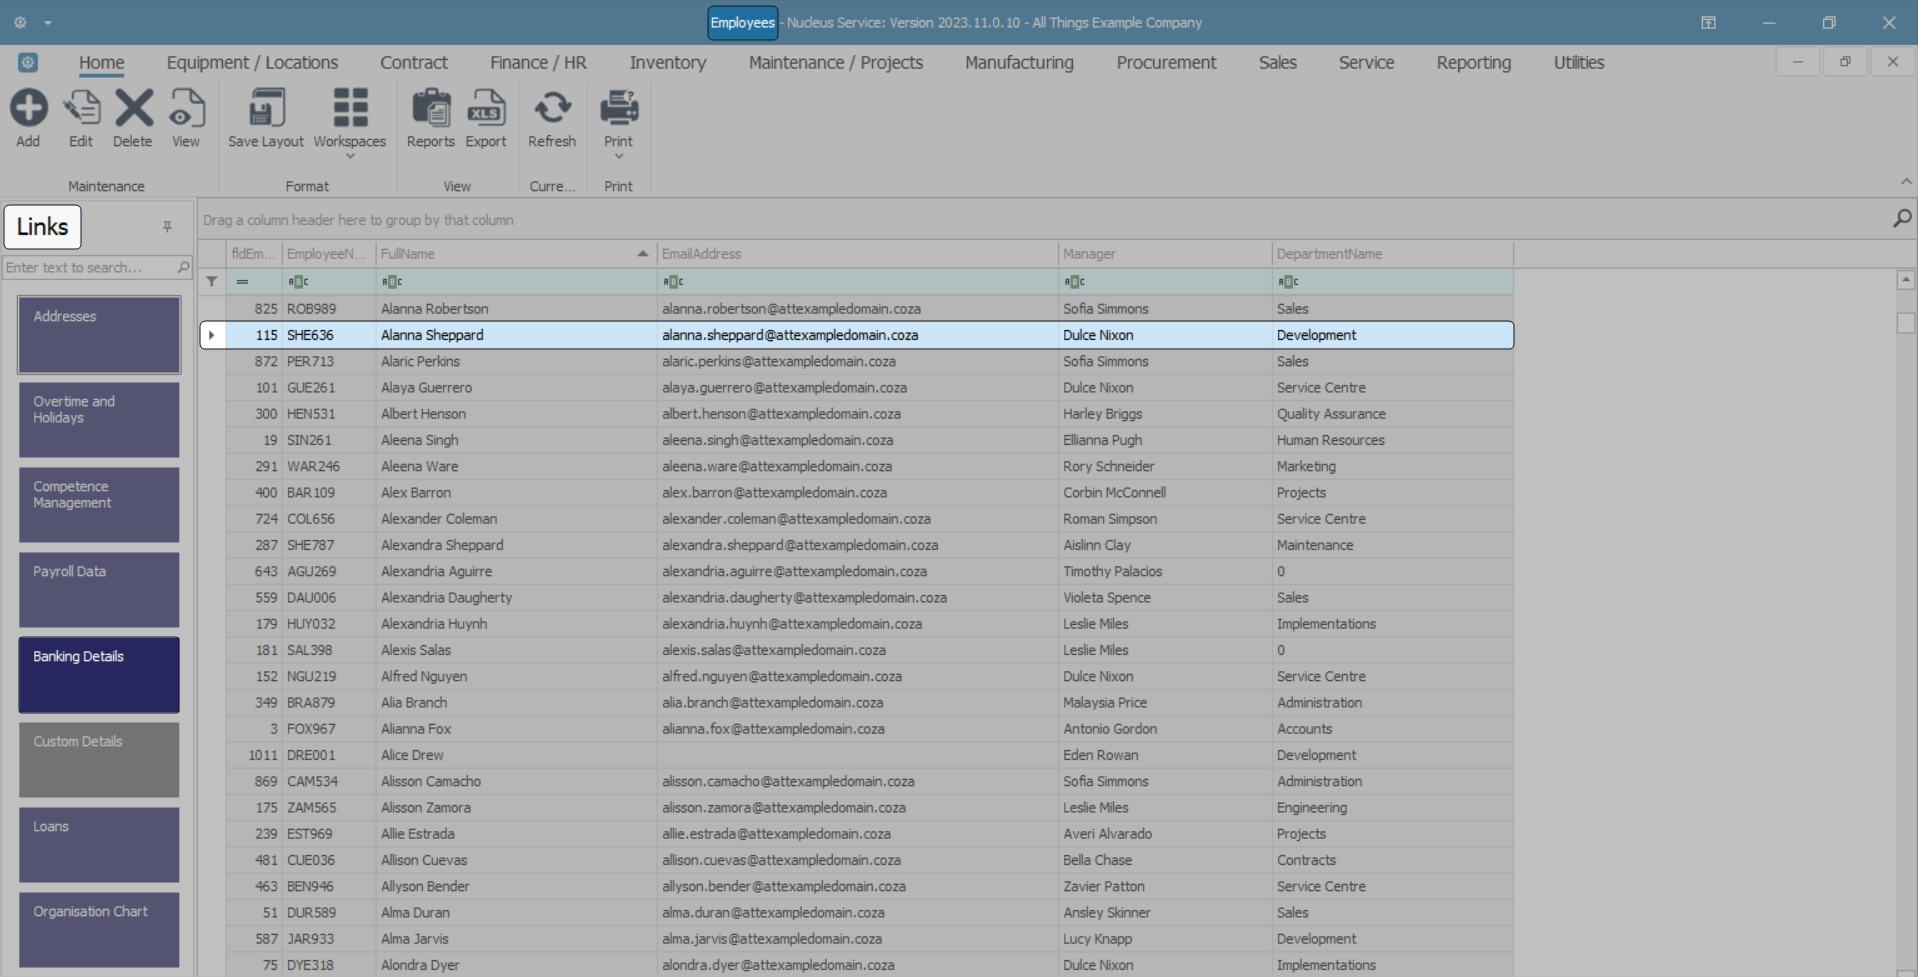
- Select the row of the employee whose banking details you wish to view.
- Click on the Banking Details tile in the Links panel.
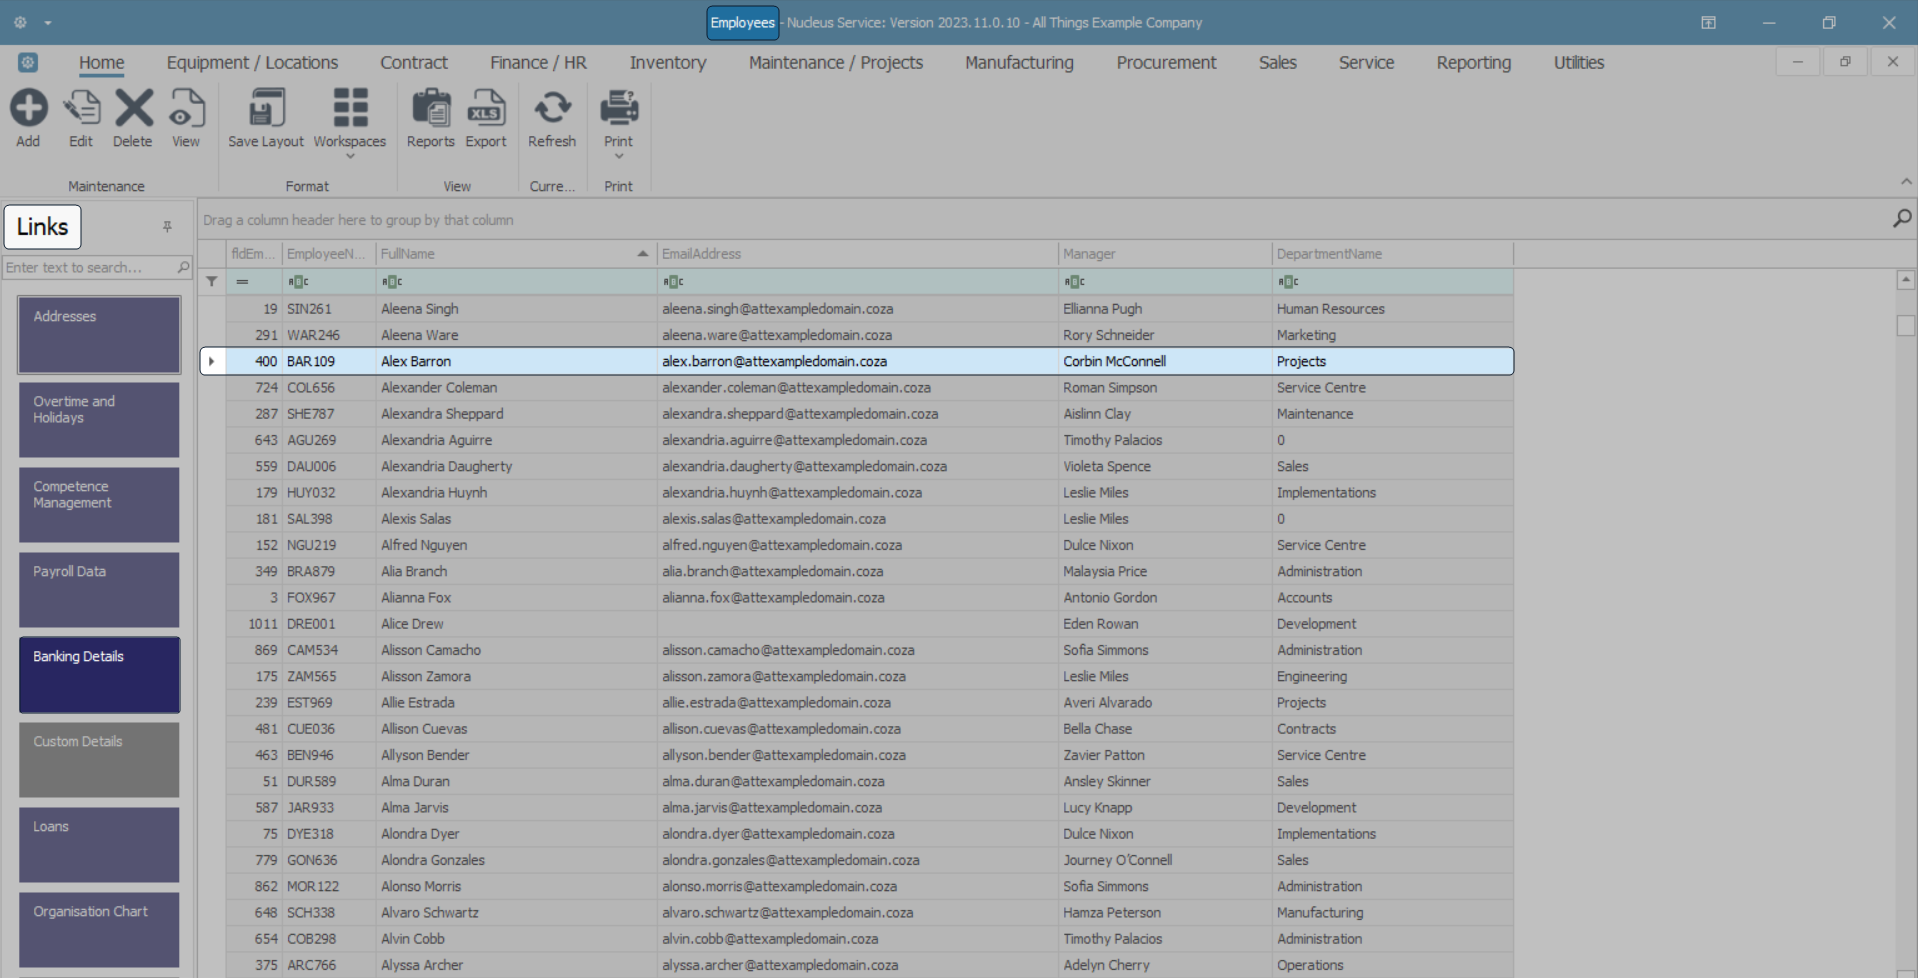
- The Banking Details for : [ ] screen will open.
View Banking Details
- Here you can view the banking information set up on the system for the selected employee.
Add Employee Banking Details
- Click on Add.

- Or right-click on any row in the list.
- A Processing menu will pop up.
- Click on Add New Banking Details.

- The Add new bank account screen will open.
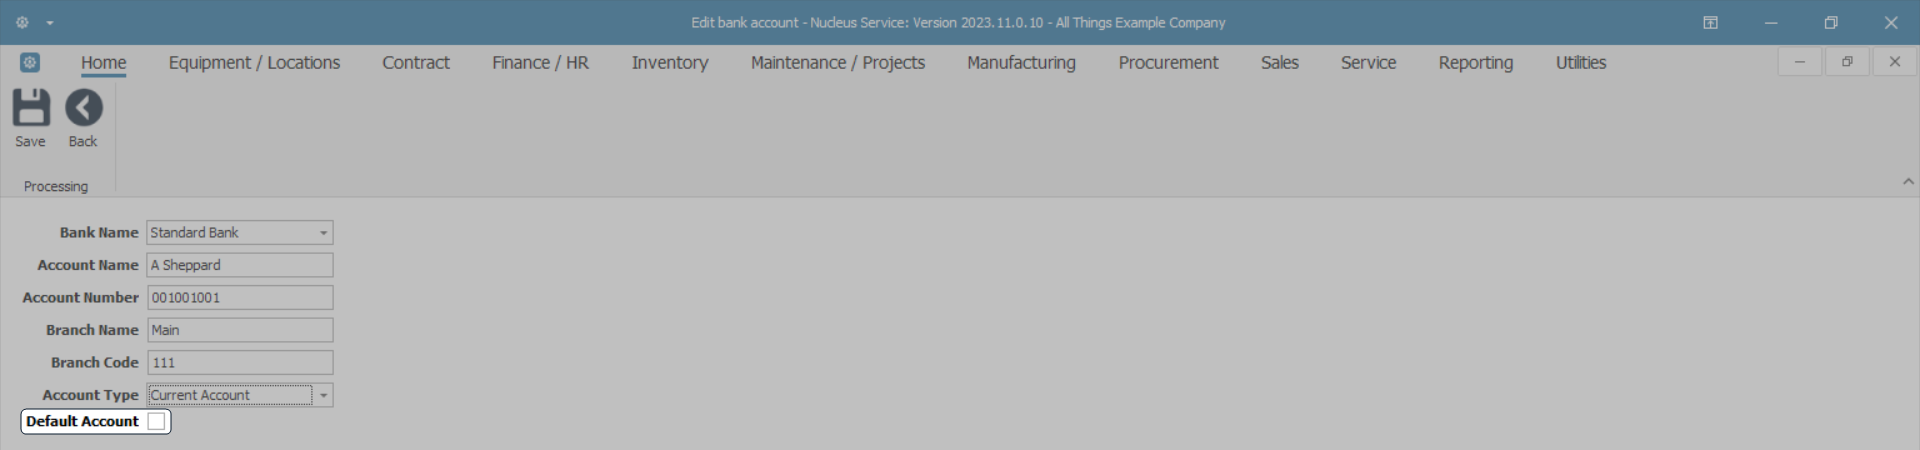
Add Bank Account Details
- Bank Name: Click on the drop-down arrow in this field and select from the list, the applicable bank name.
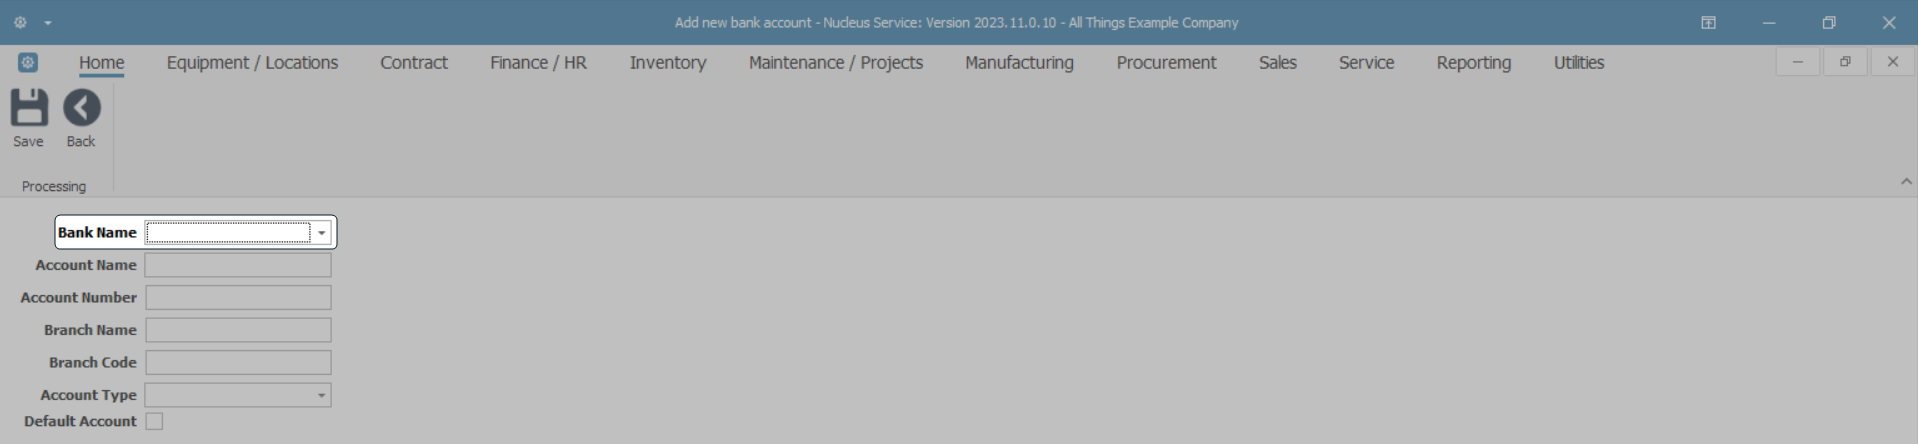
- Account Name: Type in the name of the account holder.
- Account Number: Type in the number that identifies this employee's individual account.
- Branch Name: Type in the branch that this account is linked to.
- Branch Code:Type in the unique identifier of this bank.
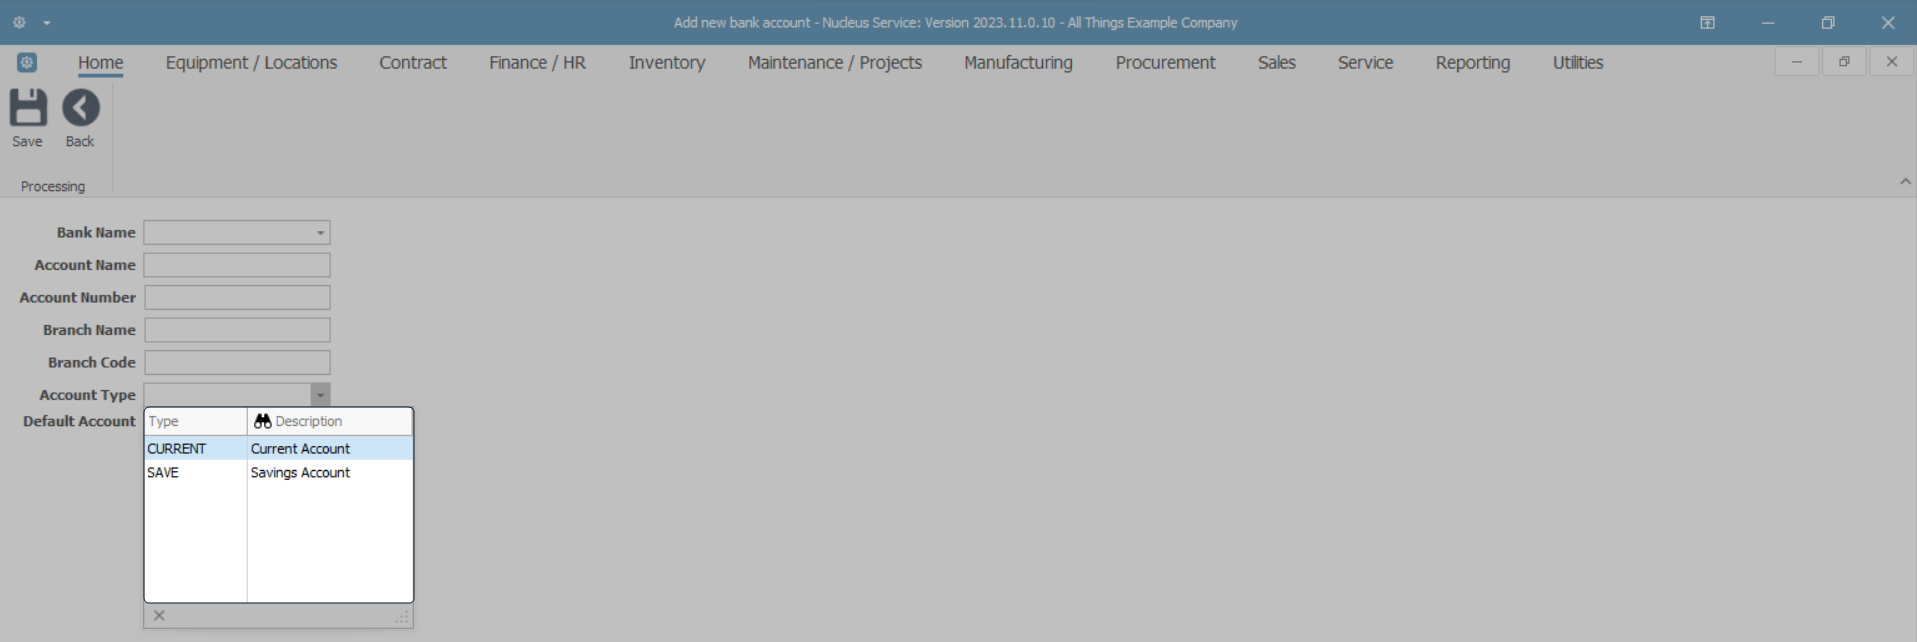
- Account Type: Click on the drop-down arrow and select from the list, the type of account - e.g. Current, Savings.
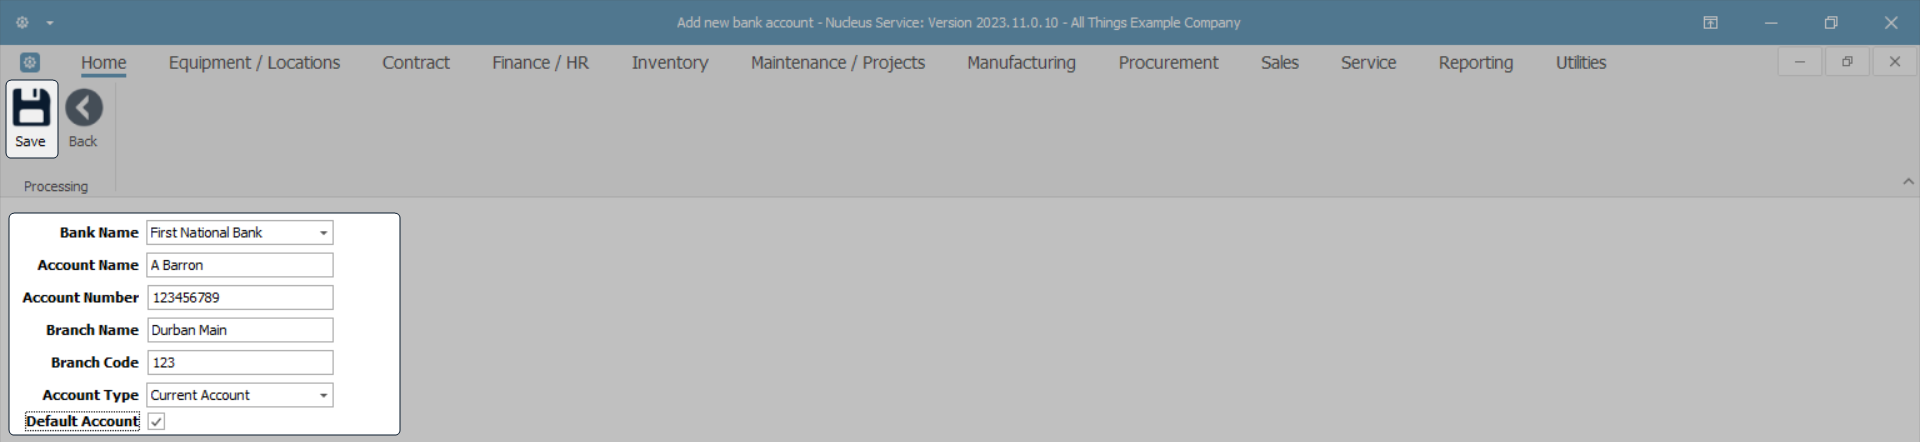
Default Account
- Default Account: Select this check box if this is to be the primary account that the employee wishes all payments to be made into.
- In this example, this bank account has been selected as the default address.
Note on Default Account: This is important if the employee has more than one account set up on the system. For example, one account may be the default for regular salary payments and a second account may be for bonus or expense payments.
Save Bank Details
- When you have completed the banking details, click on Save.
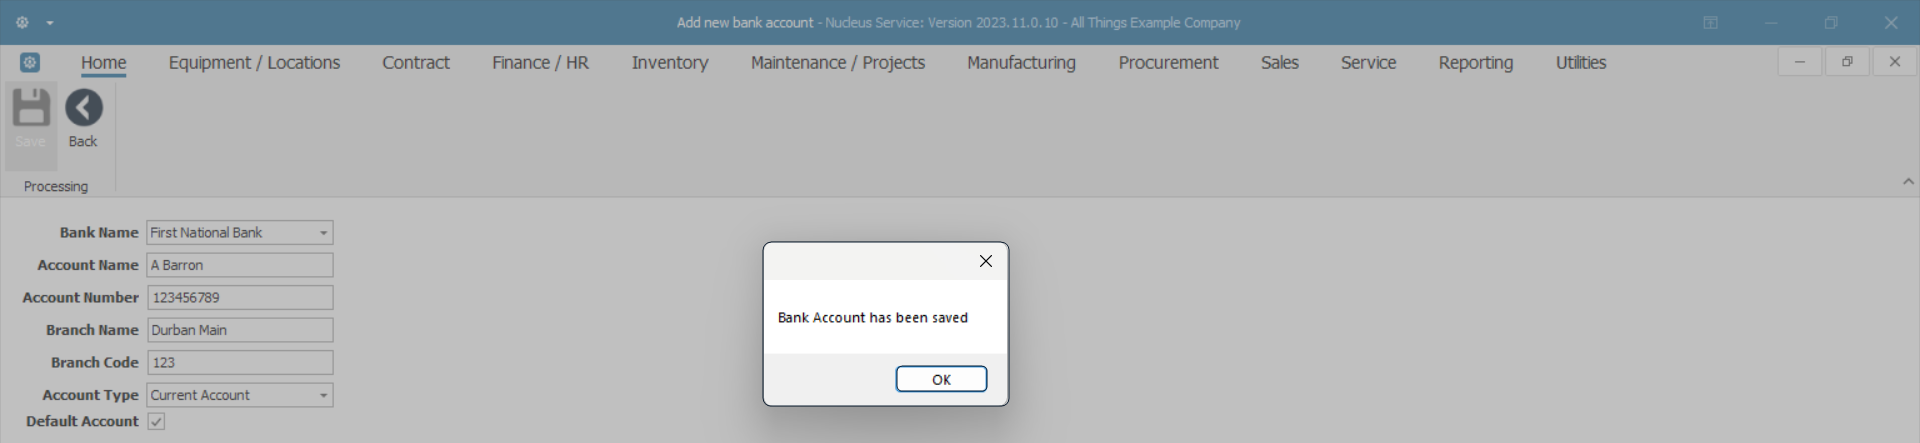
- A notification message box will pop up informing you -
- Bank account has been saved.
- Click on OK.
View Saved Bank Account
- You will return to the Banking Details for: [ ] screen.
- The new bank details can now be viewed in the data grid.
- Note that the final column IsDefault reads as 'Yes' as this bank account was selected as the Default Account in the previous step.
- Click on Back to return to the Employees listing screen.

- Or export data to Excel, if required.
Export to Excel
- In the Banking Details for: [ ] screen.
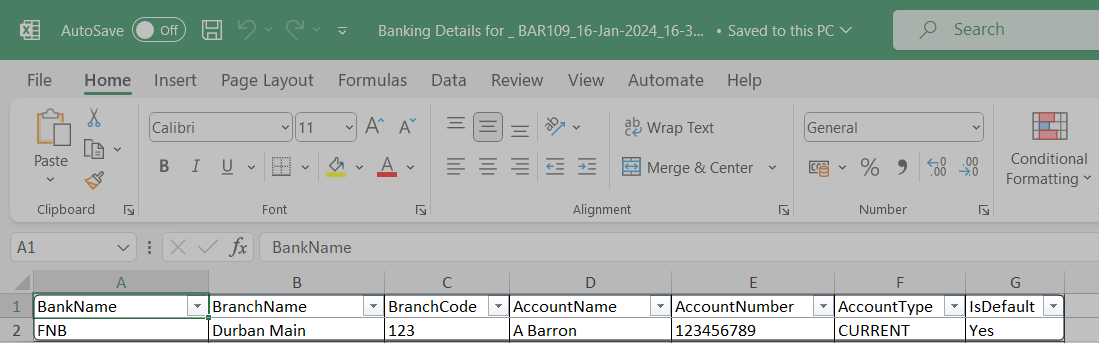
- Click on Excel.

- This will open an MS Excel spreadsheet with all the data from the data grid.
- You can choose to save, view, search for data, prepare it for printing, and so on, as required.
Edit Employee Banking Details
Select Employee
- In the Employees listing screen.
- Select the row of the employee for whom you wish to edit banking details.
- Click on the Banking Details tile in the Links panel.
Select Banking Details to Edit
- The Banking Details for : [ ] screen will open.
- Select the row of the banking details where you wish to make changes.
- Click on Edit.

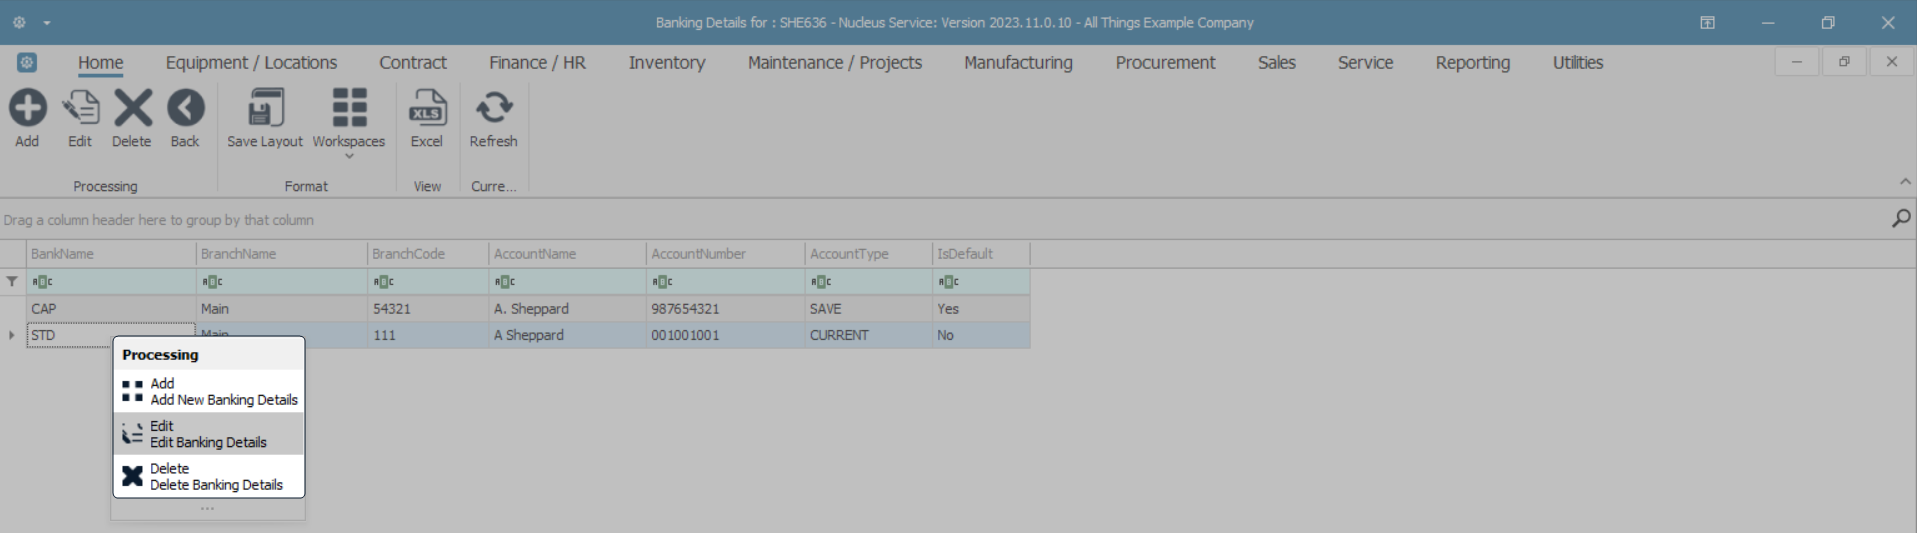
- Or right-click on the row of the banking details where you wish to make changes.
- A Processing menu will pop up.
- Click on Edit Banking Details.
- The Edit bank account screen will open.
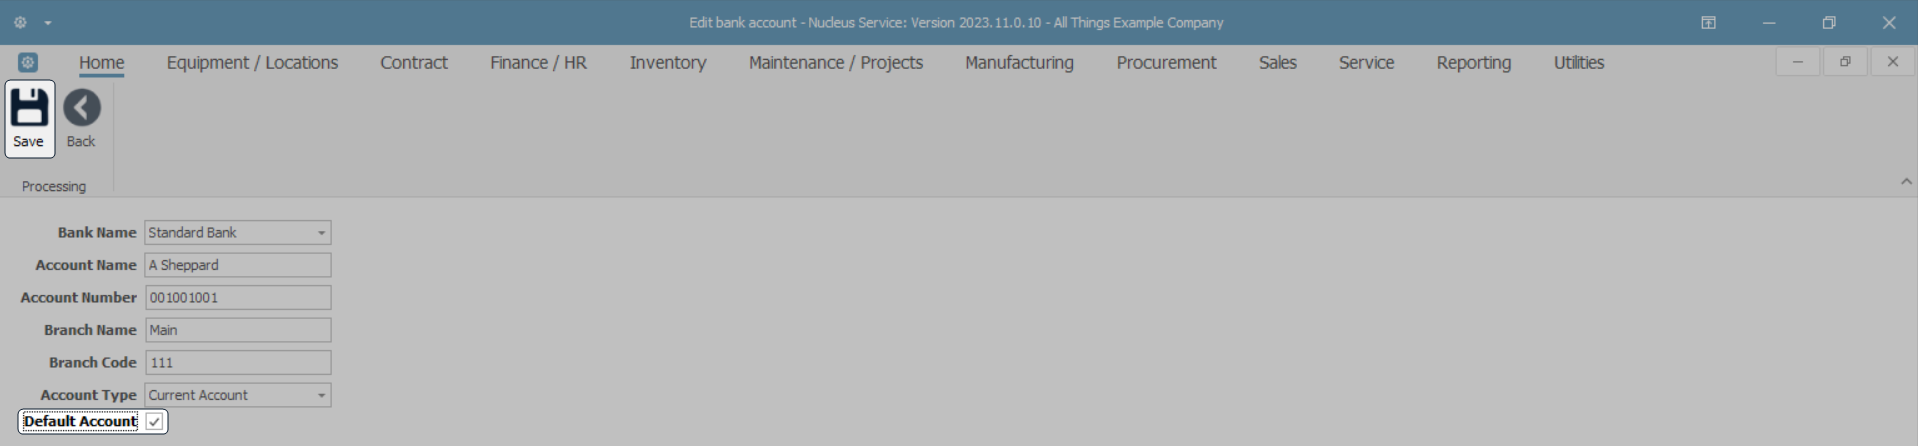
Edit Banking Details
- All of the fields, except Bank Name and Account Type and the Default Account check box, require the edited details to be typed directly into the text boxes.
- If you wish to edit the Bank Name and Account Type, click on the drop-down arrow and select an alternative from the list displayed.
- In this example, the banking detail is to be edited to become the primary or default bank account, therefore the Default Account check box is to be selected.
Save Edited Details
- When you have finished editing the banking details -
- Click on Save.
- A notification message box will pop up informing you -
- Bank Account has been saved.
- Click on OK.

View Edited Bank Account
- You will return to the Banking Details for: [ ] screen where the edited banking information can be viewed in the data grid.
- Click on Back to return to the Employees listing screen.

Delete Employee Banking Details
Select Employee
- In the Employees listing screen -
- Select the row of the employee for whom you wish to delete banking details.
- Click on the Banking Details tile in the Links panel.
Select Banking Details to Delete
- The Employee Training Courses for : [ ] screen will open.
- Select the row that you wish to delete.
- Click on Delete.
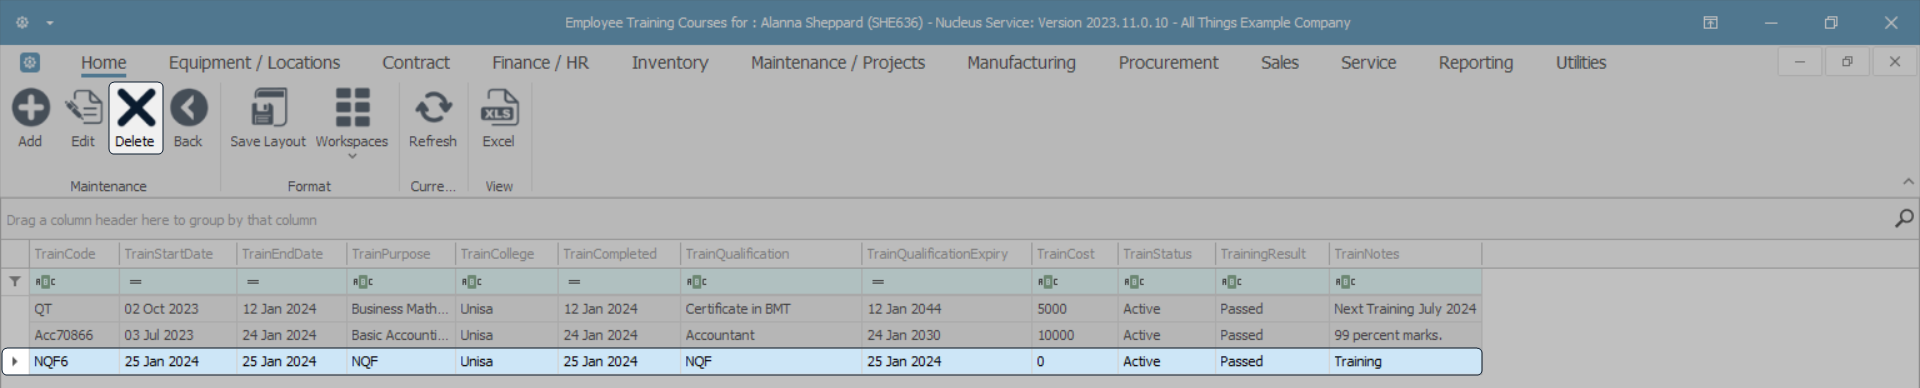
- Or right-click on the row that you wish to delete.
- A Process menu will pop up.
- Click on Delete Training Course.

Confirm Deletion
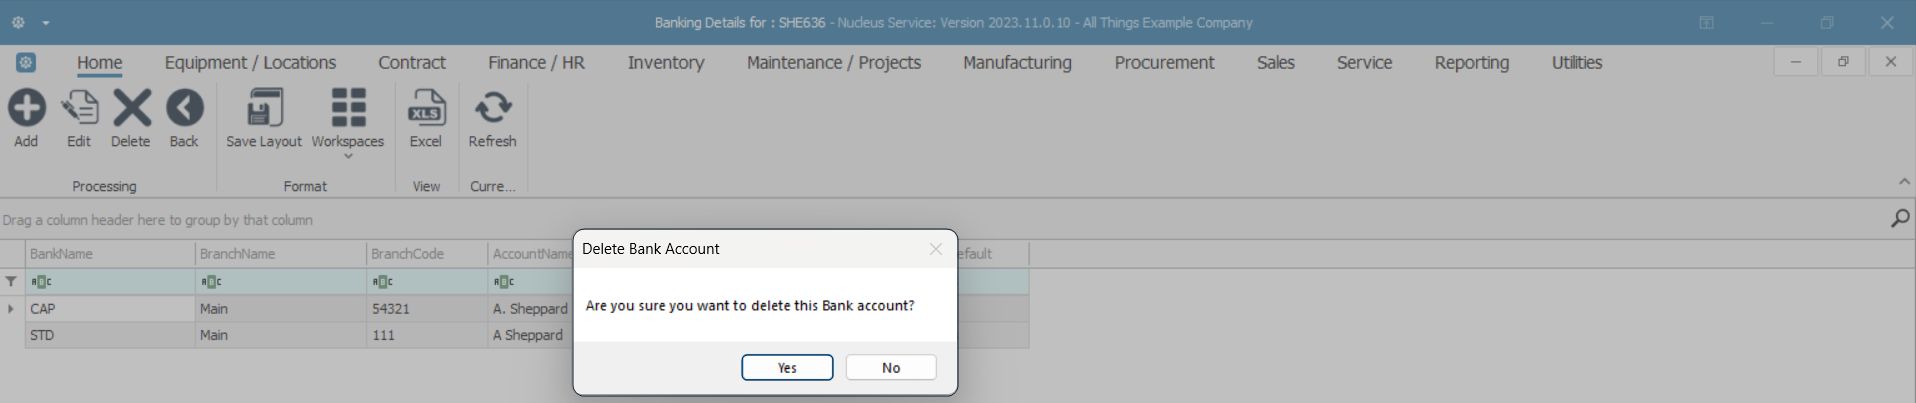
- A Delete Bank Account message box will pop up asking -
- Are you sure you want to delete this Bank account?
- Click on Yes.
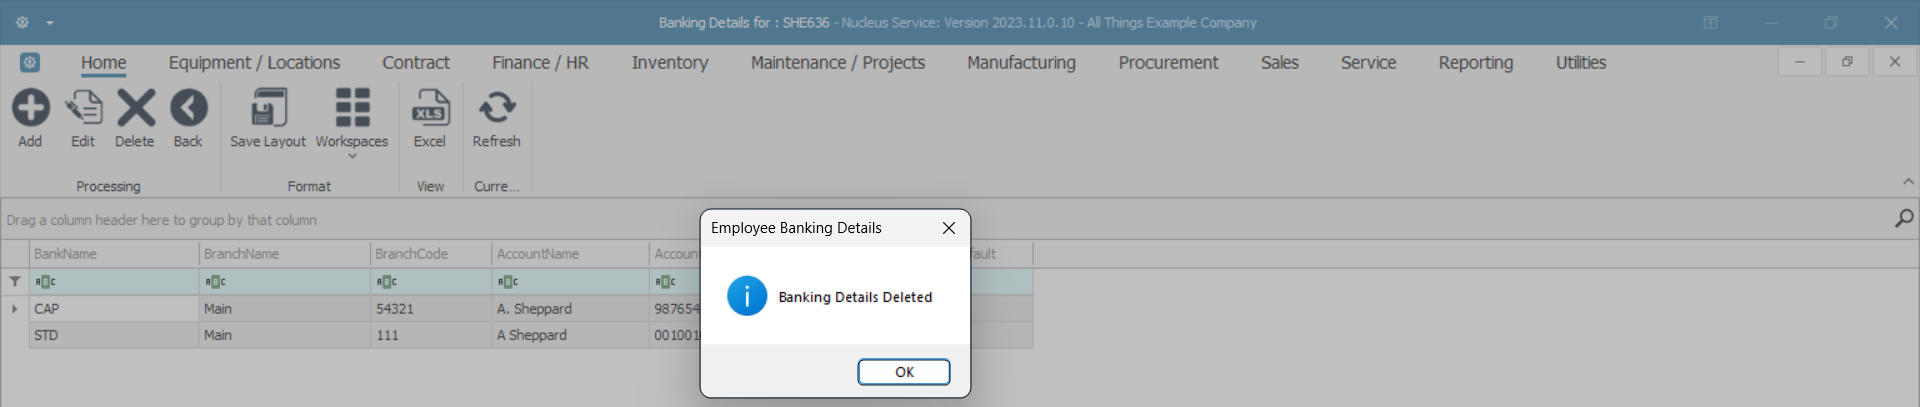
- An Employee Banking Details message box will pop up informing you -
- Banking Details Deleted.
- Click on OK.
View Deletion Results
- You will return to the Banking Details for: [ ] screen where the selected banking details have been removed from the data grid.
- Click on Back to return to the Employees listing screen.

MNU.021.016