Human Resources
Employees - Documents
The Documents tile allows you to add, edit, delete and view digital documents linked to a selected employee, for example, a contract of employment.
All your customer documents can be kept in one place by making use of this link.
The document should be saved on the server to enable all users with the relevant security rights to view the document.
If saved and linked from the workstation, another workstation cannot view the document.
| Ribbon Access: Finance / HR Employees |

View Employee Documents
Select Employee
- Select the row of the employee whose list of digital documents you wish to view.
- Click on the Documents tile in the Links panel.

View Documents List
- The Documents for Employee - [ ] screen will open.
- If there are any documents currently linked to the selected employee, they will be listed here.
- In this example, only 1 document is currently linked to the employee.

Add Employee Document
- Click on Add.

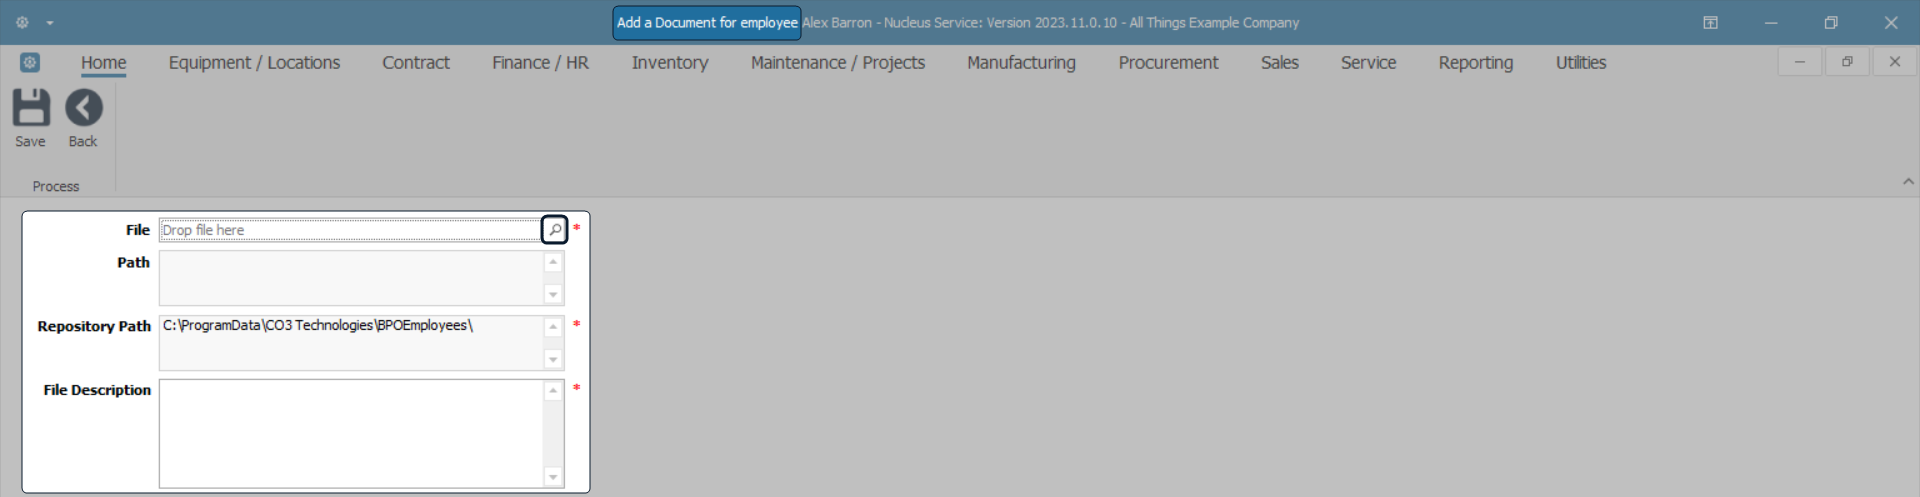
- The Add a Document for employee [ ] screen will open.
- Click on the search button in the File field.
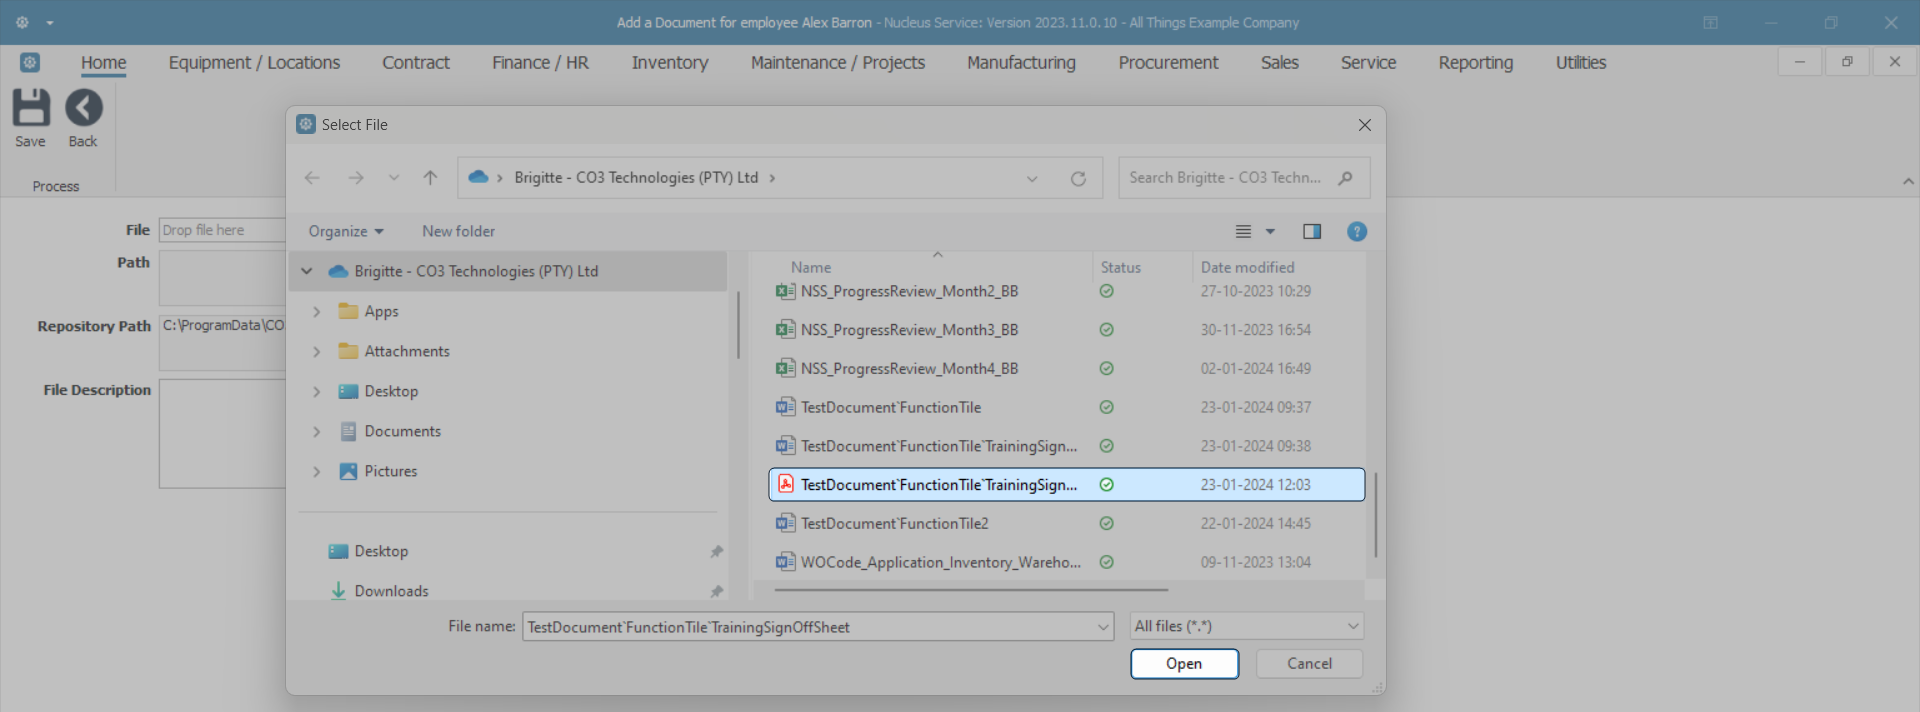
- From the Select File pop up screen -
- Find the file on your server / computer that you wish to link.
- Ensure that the document name appears in the File name: field by clicking on the document to select it.
- Click on Open.
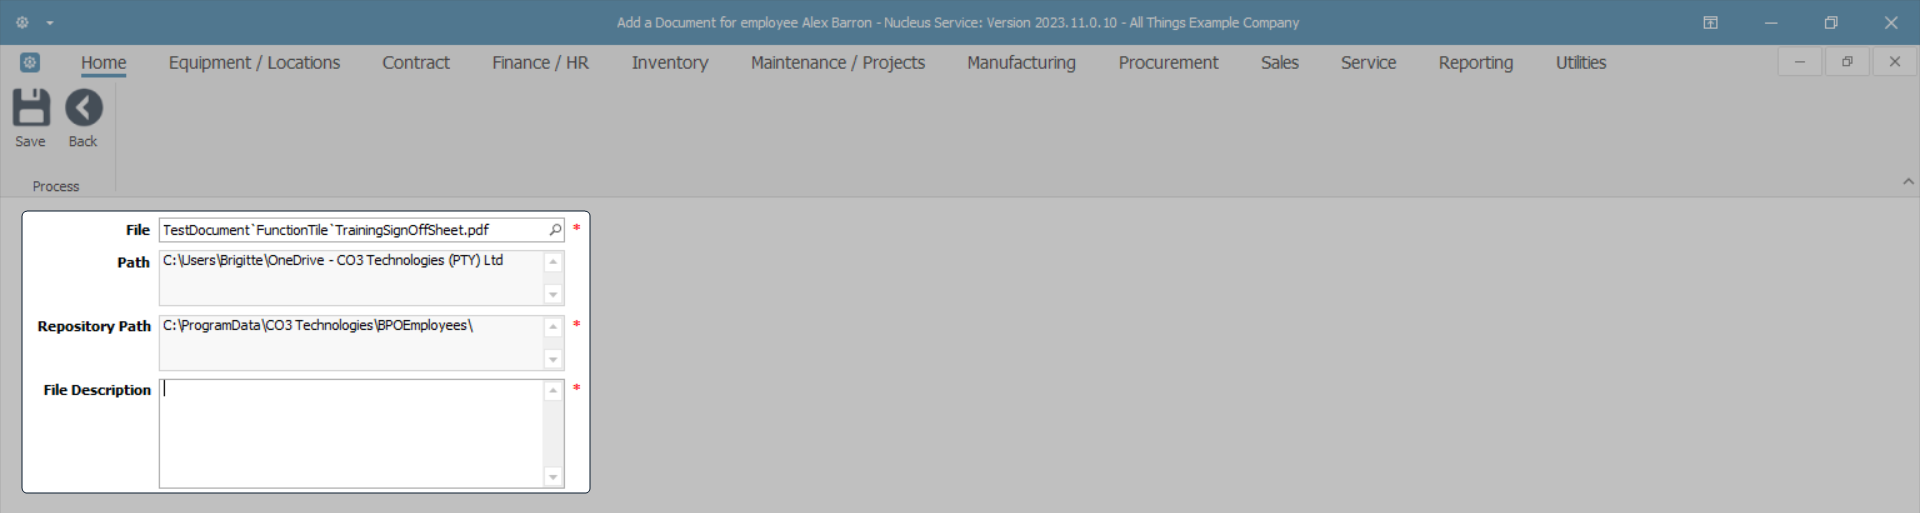
- The File and Path fields will now populate with the details of your selected document.
- Repository Path field is auto populated with what has been configured on your system.
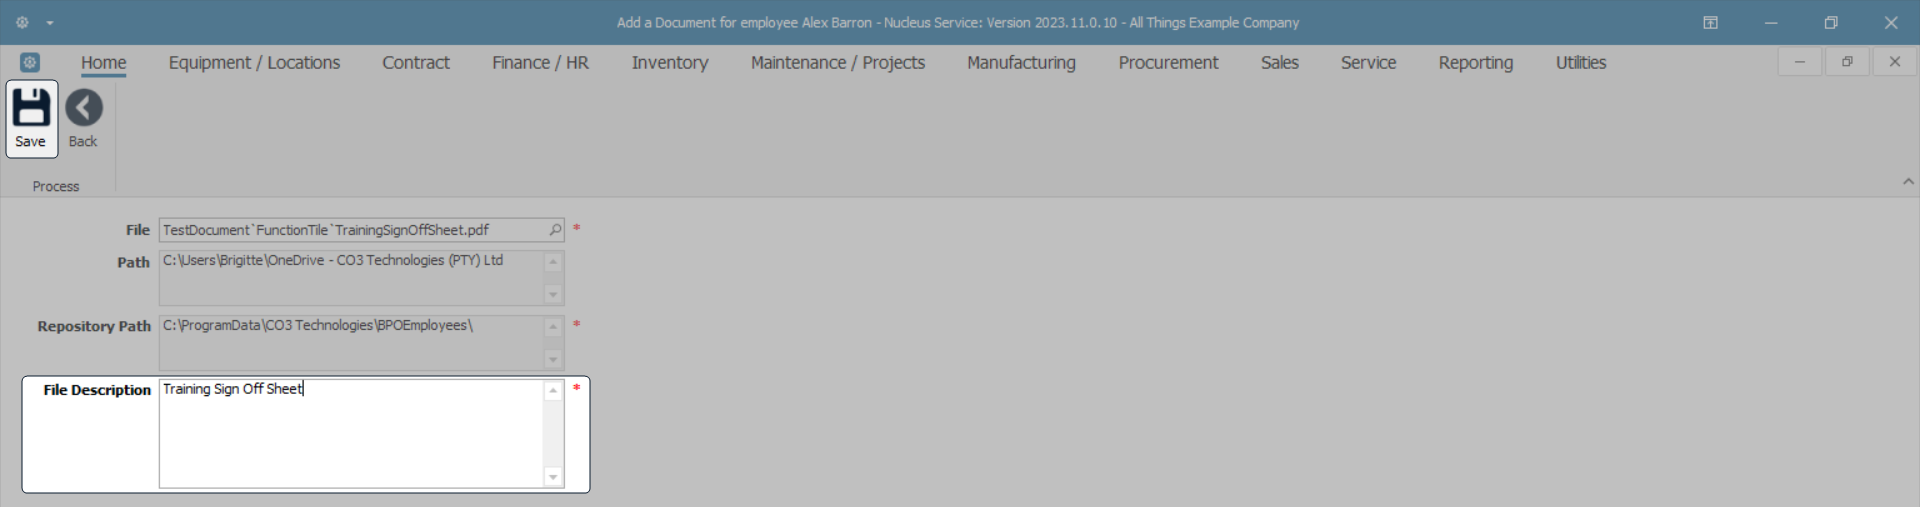
- Type a description of the attached the document in the File Description field.
- When you have added the File Description -
- Click on Save.
- You will return to the Documents for Employee - [ ] screen.
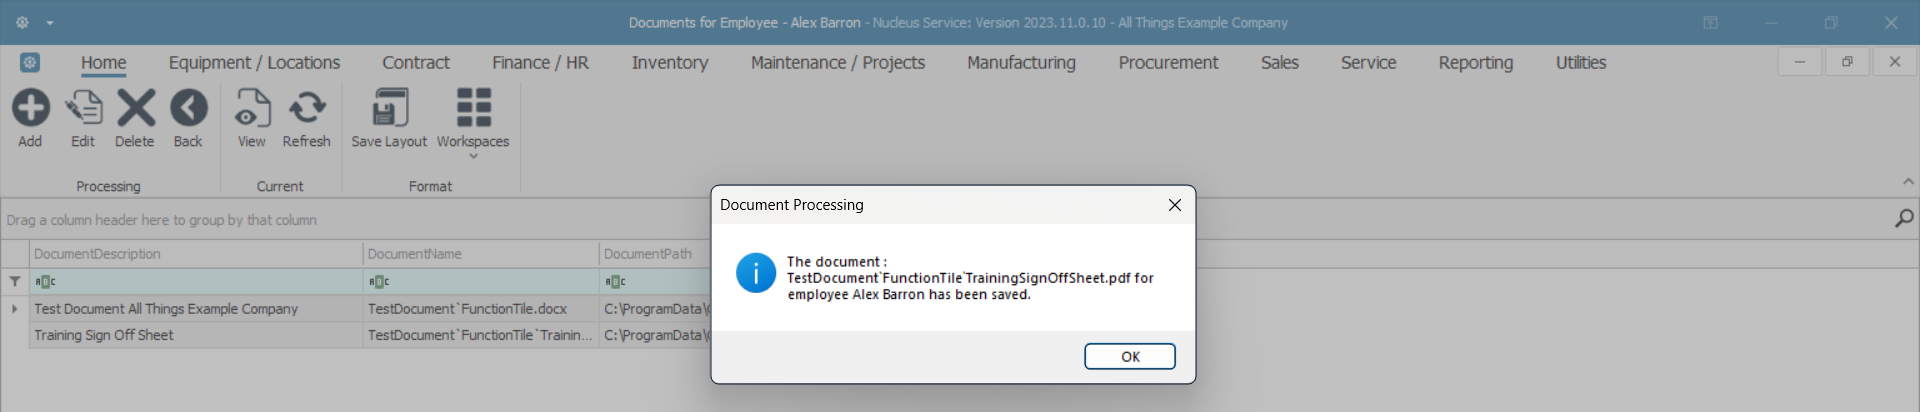
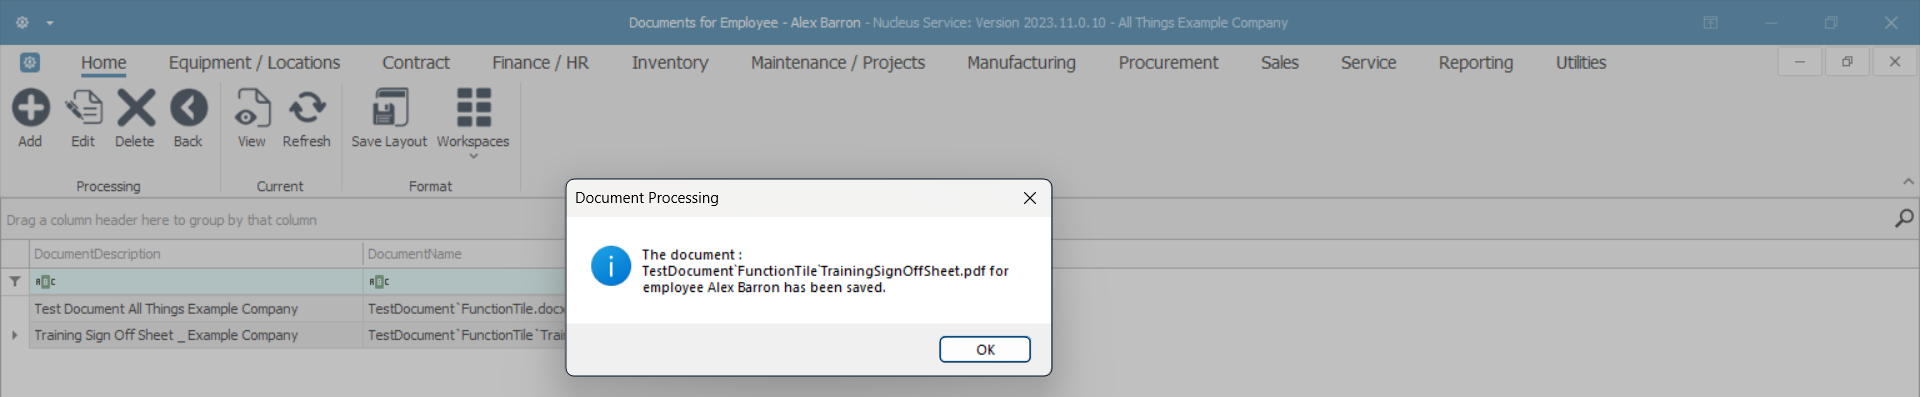
- A Document Processing message box will pop up, advising the following:
- The document: [ ] for employee [ ] has been saved.
- Click on OK.
View Added Document
- You can view the added document in the data grid.
- Click on Back to return to the Employees listing screen.

Edit Employee Document
Select Employee
- In the Employees listing screen -
- Select the row of the employee whose document you wish to edit.
- Click on the Documents tile in the Links panel.

Select Document
- The Documents for Employee - [ ] screen will open.
- Select the row of the document where you wish to make changes.
- Click on Edit.

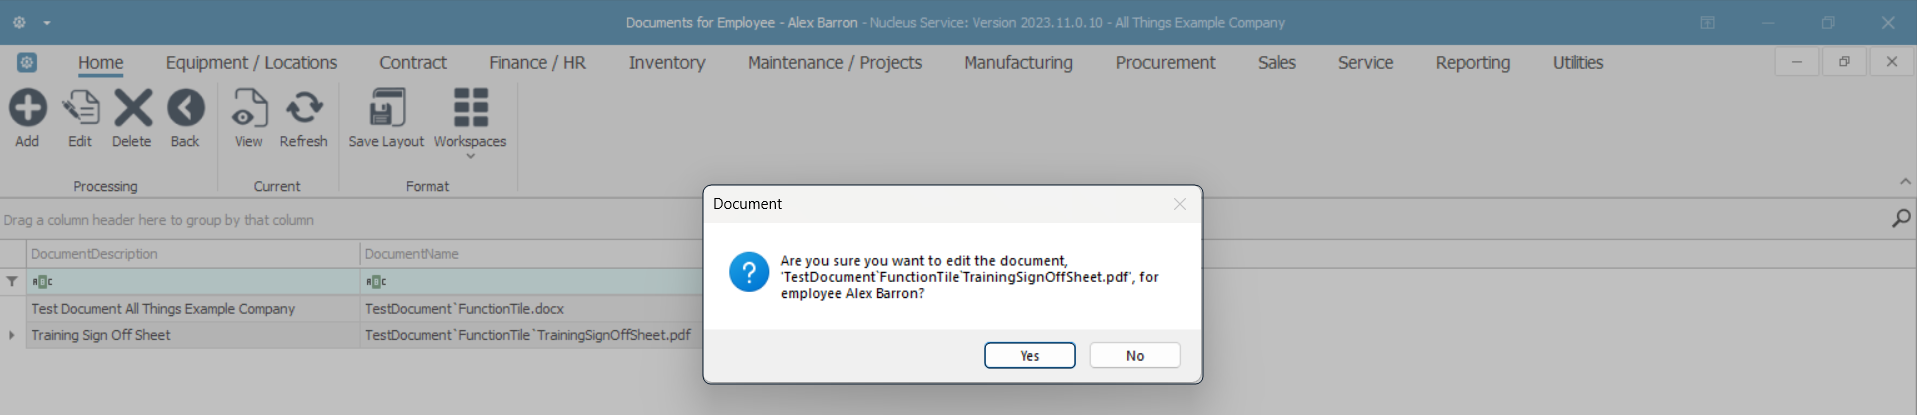
- A Document message box will pop up with the following prompt:
- Are you sure you want to edit the document, '[ ]', for employee [ ]?
- Click on Yes.
Edit Document Details
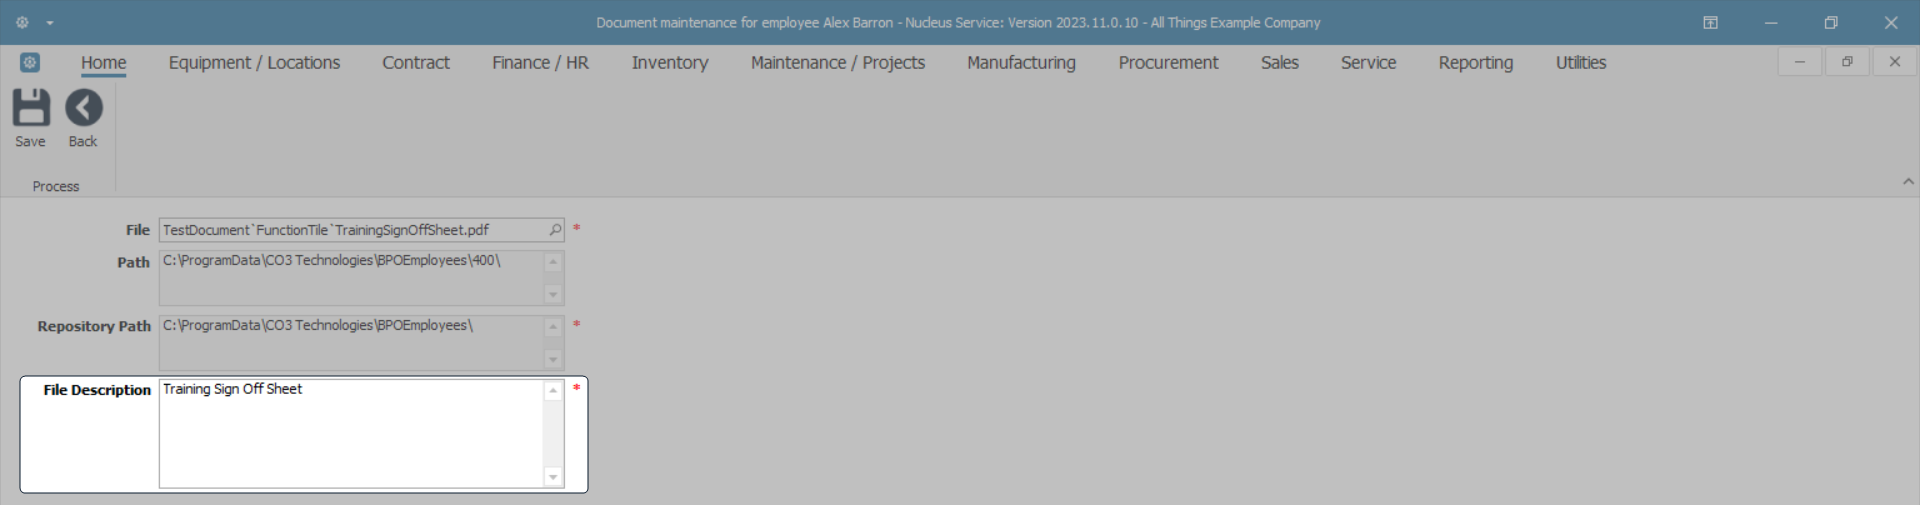
- The Document Maintenance for employee [ ] screen will open.
- Make the changes to the relevant fields, as required.
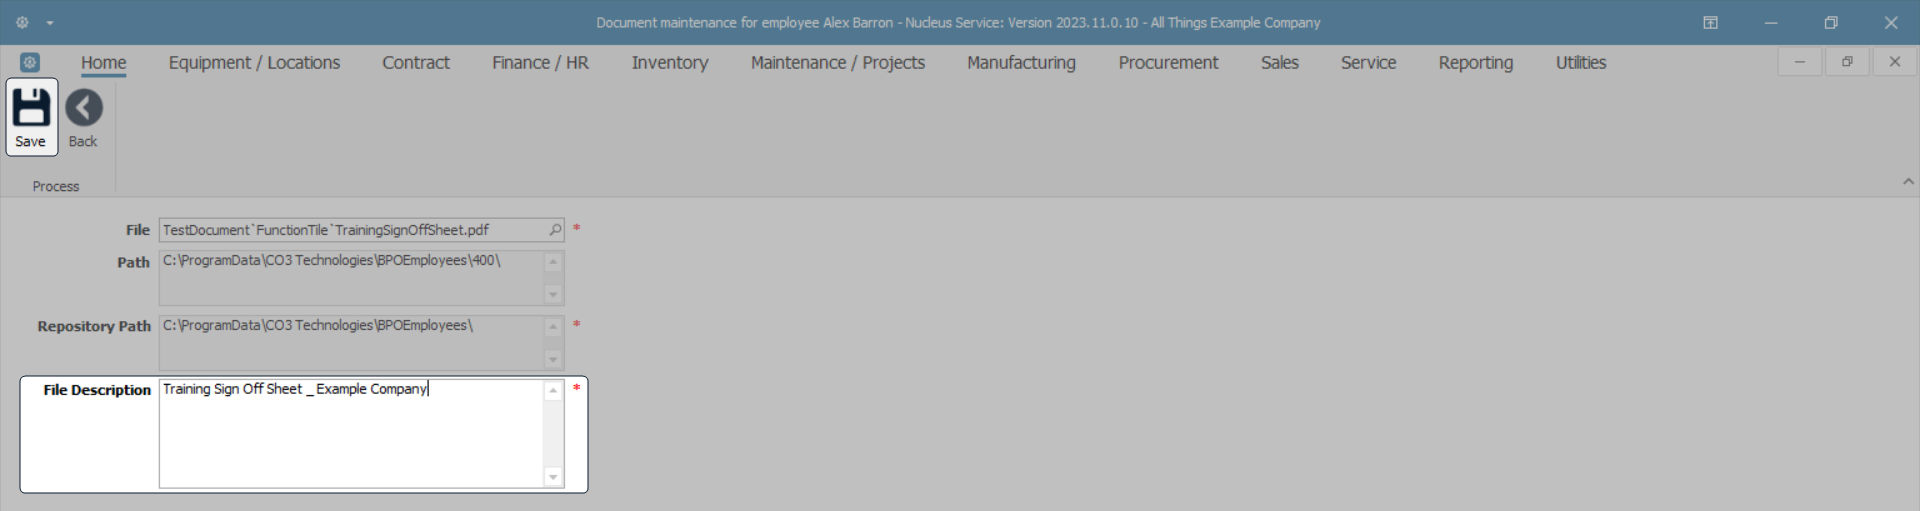
- In this example, the File Description is to be edited.
Save Edited Document
- Click on Save.
- You will return to the Documents for Employee - [ ] screen.
- A Document Processing message box will pop up advising the following:
- The document: [ ] for employee [ ] has been saved.
- Click on OK.
View Edited Document
- You can view the changes in the data grid.
- In this example, the Document Description column now displays the changes made in the previous screen.
- Click on Back to return to the Employees listing screen.

Delete Employee Document
- In the Employees listing screen -
Select Employee
- Select the row of the employee for whom you wish to delete a digital document.
- Click on the Documents tile in the Links panel.

- The Documents for Employee - [ ] screen will open.
Select Document
- Select the row of the document that you wish to remove from the data grid.
- Click on Delete.

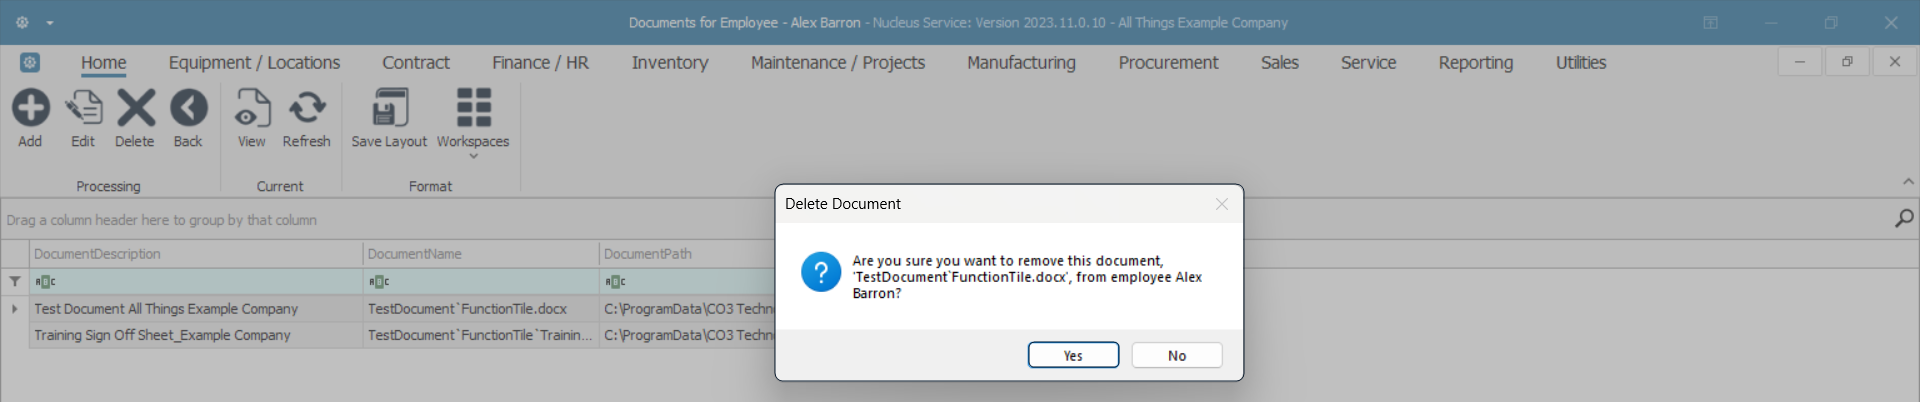
- A Delete Document message box will pop up with the following prompt:
- Are you sure you want to remove this document, '[ ]', from employee [ ]?
- Click on Yes.
- The selected document will be removed from the data grid.
- Click on Back to return to the Employees listing screen.

Open Employee Document
Select Employee
- In the Employees listing screen -
- Select the row of the employee whose document you wish to open and view.
- Click on the Documents tile in the Links panel.

- The Documents for Employee - [ ] screen will open.
Select Document
- Select the row of the document you wish to open and view.
- Click on View.

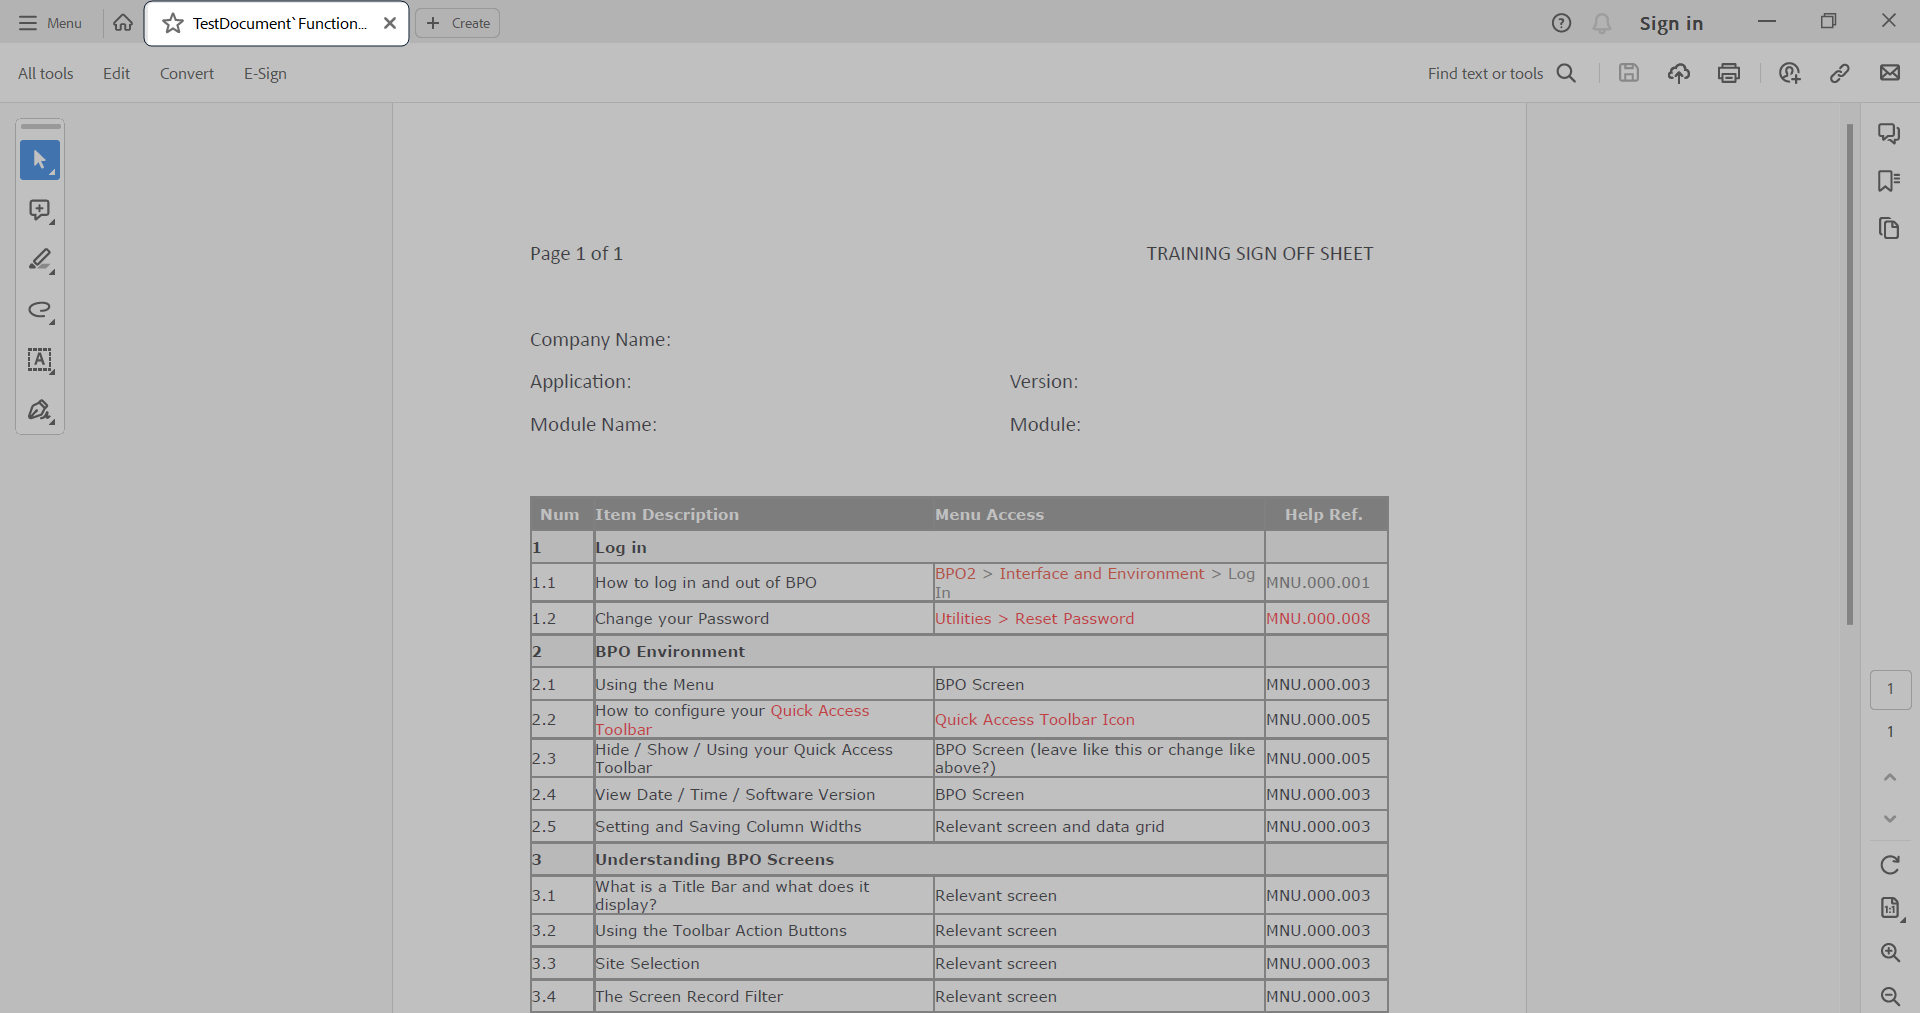
View Document Contents
- The document will open with the relevant program, for example, a pdf will open in Adobe Reader, a Word document will open with the Microsoft Word application (if installed on your PC).
- When you return to Nucleus Service to the Documents for Employee - [ ] screen, click on Back to return to the Employees listing screen.

MNU.021.019