Inventory
Categories - Edit a Category
A part category is a way of classifying a part when dealing with inventory.
You may be required to edit the category details or edit the Site Warehouse and Bin Default settings for a category.
For example, a category Class may need to be updated or a category may need to be removed from a particular Bin, Warehouse or Site.
| Ribbon Access: Inventory > Categories |
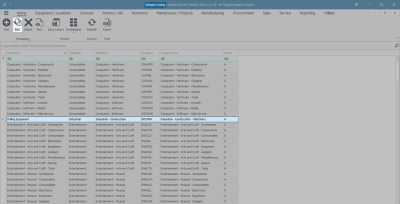
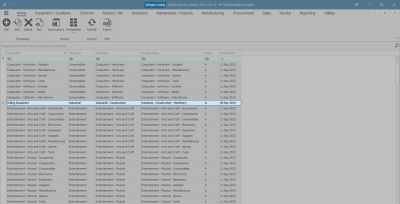
- The Category Listing screen will display.
- The data grid will contain a list of all the categories currently on the system.
Select Category
- Select the row of the category where you wish to make changes.
- Click on Edit.
Edit Category Details
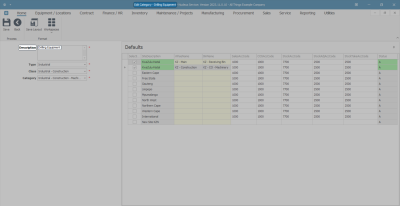
- The Edit Category screen will open.
- Make changes to the category details in this screen, as required.
- In this example, the Description field is to be updated.
- To edit the Description field, delete over or type information directly into the text box.
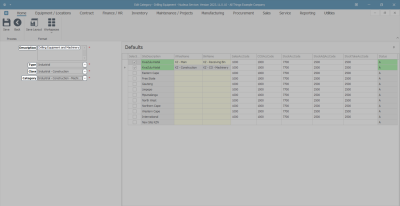
- In this example, the Description has been updated to include the text 'and Machinery'.
- To edit the Type, Class or Category information, click on the drop-down arrow in the relevant field and make your selection from the displayed list.
Note: See Add a Category for more information on selecting information in these fields.
Edit Category Defaults
- Make changes to the category Defaults in this screen, as required.
Unlink Site Warehouse
- In this example; the Kwa-Zulu Natal Site warehouse and KZ Receiving Bin are no longer to be linked to this category.
- The check box in this row will be deselected.
- The Kwa-Zulu Natal site warehouse and KZ Receiving Bin have been deselected.
- This category will no longer be linked to this warehouse.
Edit Warehouse
- To edit a warehouse within a site, click in the WhseName field of the selected site.
- In this example, the KZ Construction warehouse is selected to be edited.
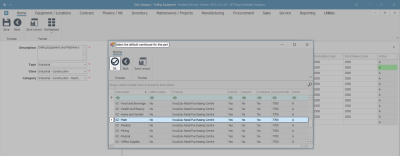
- An ellipsis button will display, click on this button.
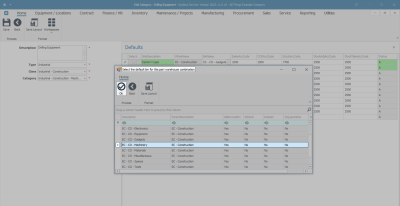
- The Select the default warehouse for this part screen will pop up.
- Select the row of the warehouse you wish to link to the part category.
- Click on Ok.
- The selected warehouse will populate the WhseName field.
- Note that the original Bin Name linked to the previous warehouse has been auto-erased from the field.
Edit Bin
- To edit a bin within a warehouse, click in the BinName field of the selected warehouse.
- In this example, the Eastern Cape warehouse Bin is selected to be edited.
- An ellipsis button will display, click on this button.
- The Select the default bin for this part warehouse combination screen will pop up.
- Select the row of bin you wish to link to the selected warehouse.
- Click on Ok.
- The selected bin will populate the BinName field.
Note: If there is only 1 bin linked to a warehouse then the name of that 1 bin will auto populate the Bin Name field as you click on the ellipsis button, the 'Select....' screen will not pop up.
Save Changes
- When you have finished editing the category information, click on Save.
View Edited Details
- You will return to the Category Listing screen.
- The data grid will update to show the changes made to the category details.
Note: You may need to Refresh your screen
- For more comprehensive information, you will need to navigate to the View Category screen.
MNU.027.002

