We are currently updating our site; thank you for your patience.
Procurement
Suppliers - Items Supplied
Linking Items Supplied means that you can associate a part with a supplier for procurement.
You can:
- Set the Supplier as the Primary Supplier.
- Set up a Supplier Part Code, Unit Cost, Lead Time and more.
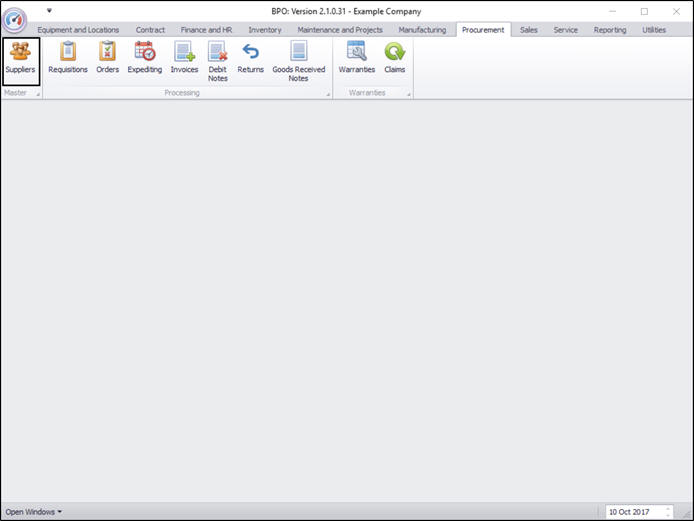
| Ribbon Access: Procurement > Suppliers |
Add Items Supplied
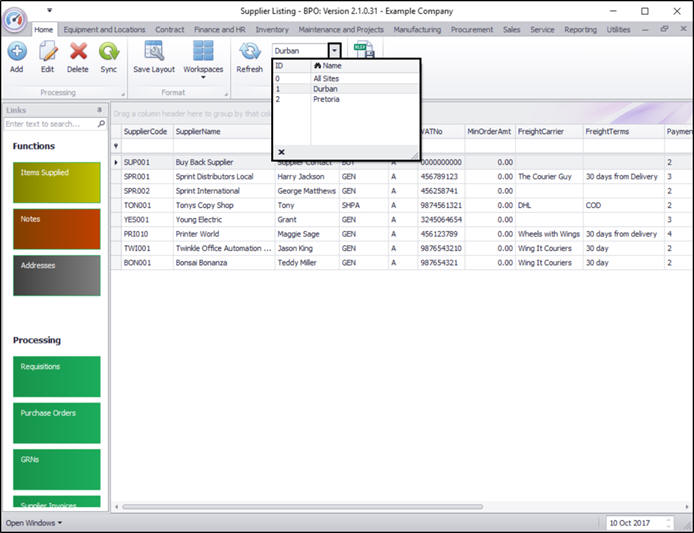
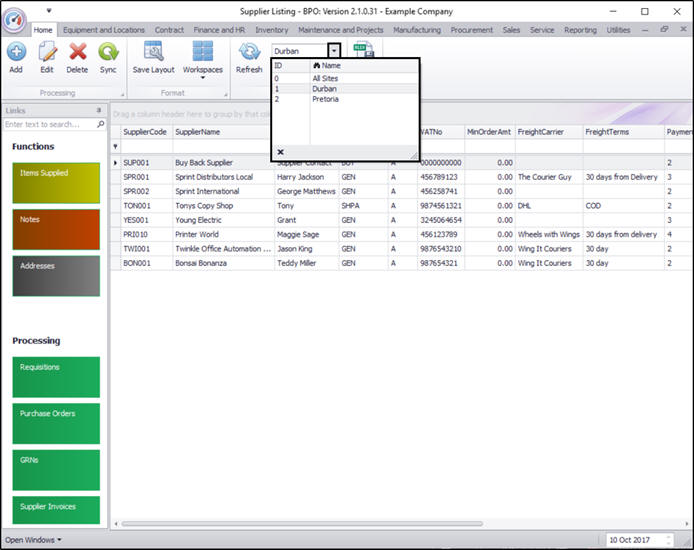
The Supplier Listing screen will be displayed.
Select the Site.
- In this image Durban has been selected.

Select Supplier
- Select the row of the Supplier to whom you wish to add an item.
- Click on the Items Supplied tile.

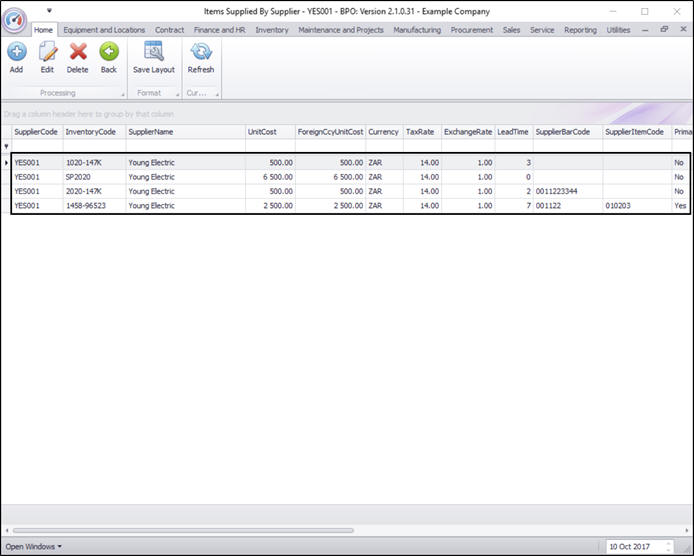
Link Item to Supplier
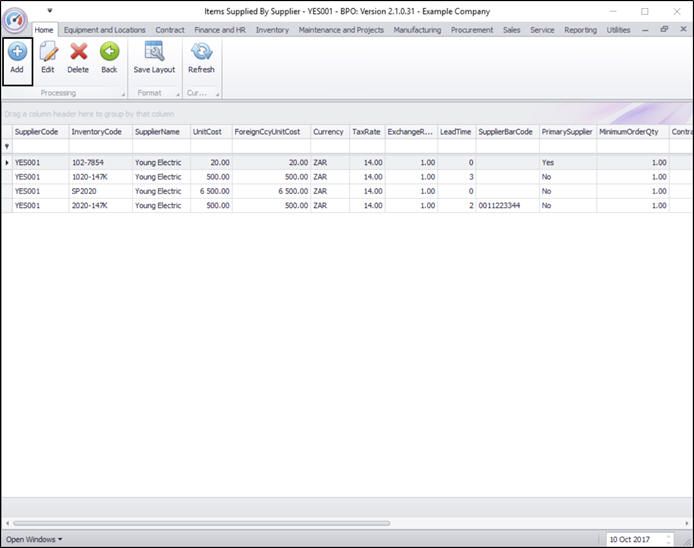
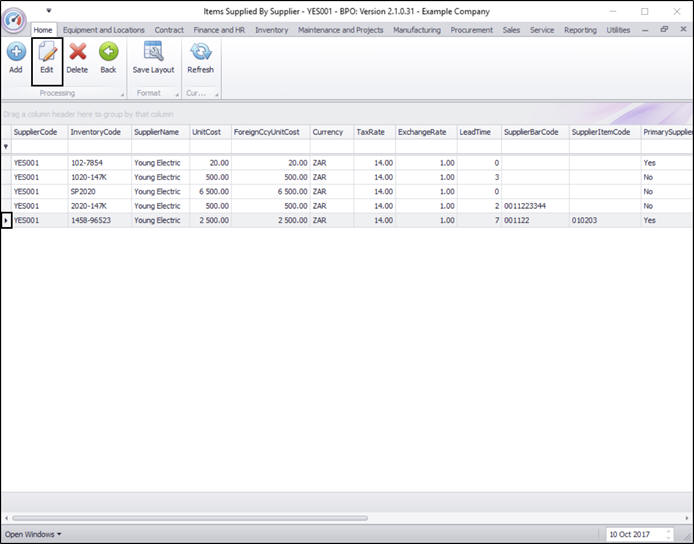
- The Items Supplied By Supplier - [ ] screen will be displayed.
- Click on Add.
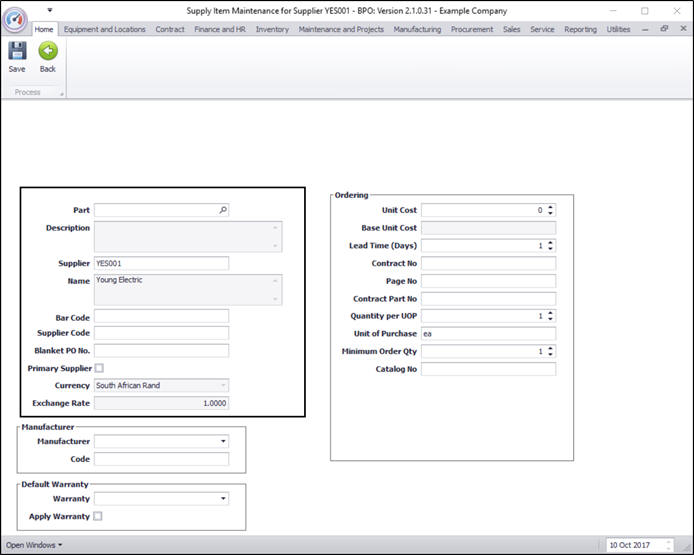
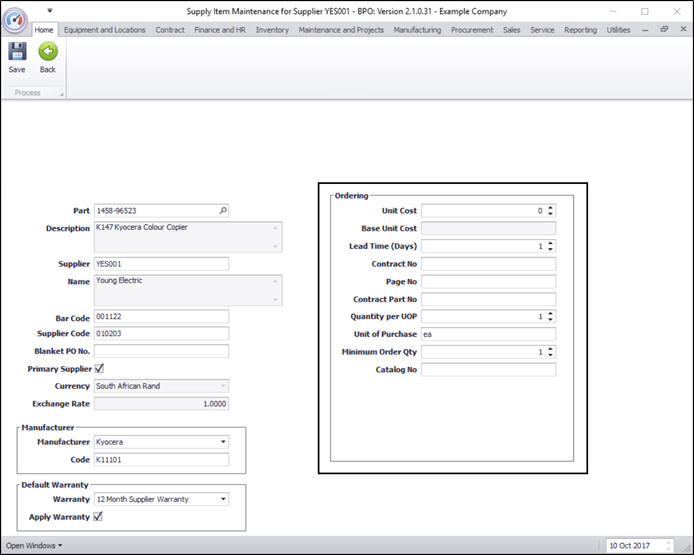
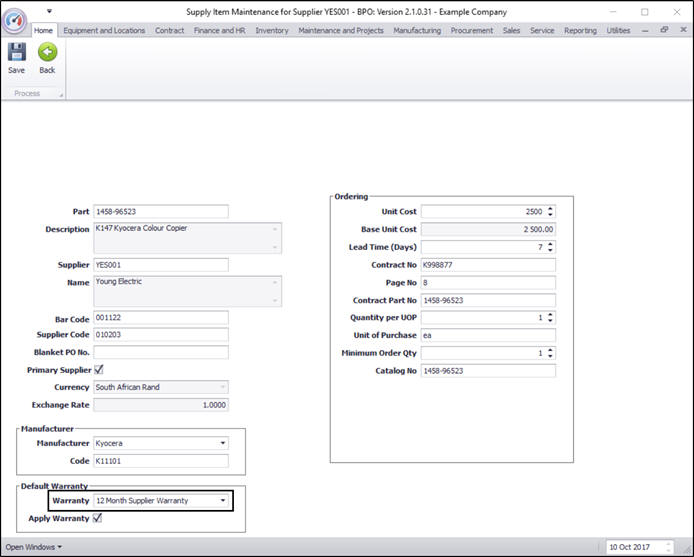
Add Item Details
- Part: Click on the search icon and select the relevant part.
- Description: This will auto populate depending on the part you have selected.
- Supplier: This will auto populate depending on the Supplier you initially selected.
- Name: This will auto populate depending on the Supplier you initially selected.
- Bar Code: Type in the bar code that is linked to the supplier on the part code. (This is important if you are using a Handheld Scanner to scan stock items.
- Supplier Code: Type in the part number used by the Supplier. (You can update this if the supplier changes their part number - as this will filter through to the Purchase Order).
- Blanket PO No: Purchase Order number relating to the contract if a SLA agreement has been signed with the supplier to procure only from them for a specified period. This is similar to an 'account no'. Leave blank if not applicable.
- Primary Supplier: Click on the check box if this is the primary supplier. Each part definition can only have one primary supplier.
- Currency: Will be populated based on the currency set up on the supplier.
- Exchange Rate: Will be populated based on the Exchange Rate set up in the system.
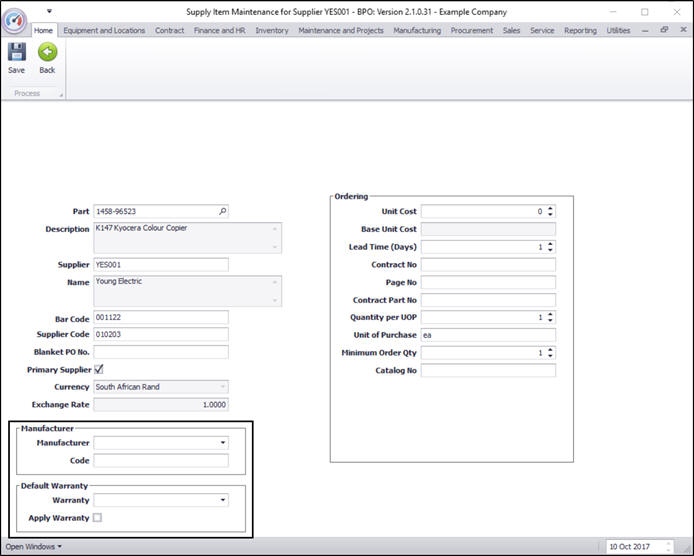
Manufacturer
- Manufacturer: Click on the search button to select the manufacturer, if required.
- Code: Type in the part number used by the manufacturer, if required.
Default Warranty
- Default Warranty: Search for and select the relevant warranty, if required, only for A-class (serialised) part definitions.
- Apply Warranty: Select this if the warranty should be auto-linked to the asset when it is GRN'd into store.
Ordering
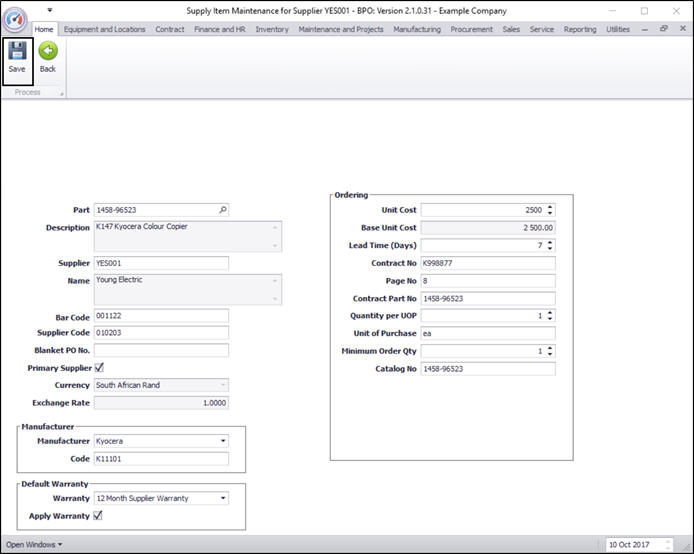
- Unit Cost: Type in the cost per unit
- Base Unit Cost: Calculated on the Unit cost
- Lead Time (Days): Type in the lead time in days
- Contract No: If you have a contract with the Supplier, type in the contract number. Leave blank if not applicable.
- Page No: Type in the contract page number that relates to this part. Leave blank if not applicable.
- Contract Part No: Type in the part number agree to on this contract. Leave blank if not applicable.
- Qty per UOP: Type in the quantity per Unit of Purchase. This ties up with Unit of Purchase - you can set up the part to procure 1 each or 10 in a box, etc. Usually the default of 1 is used. The only difference this will make, is change the value displayed on the Purchase Order document. If there are 10 in a box - you will still Order 10 and Receive 10, but the PO will display 1.
- Unit of Purchase: Type in the unit that ties up with the Qty per UOP, e.g. each or box. Usually the default of 'ea' is used.
- Minimum Order Qty: This is the minimum the Supplier will supply per order. Usually the default of 1 is used.
- Catalog No: Type in the part number as per the supplier's catalogue.
Save Item Supplied
- When you have finished adding the Items Supplied details, click on Save.
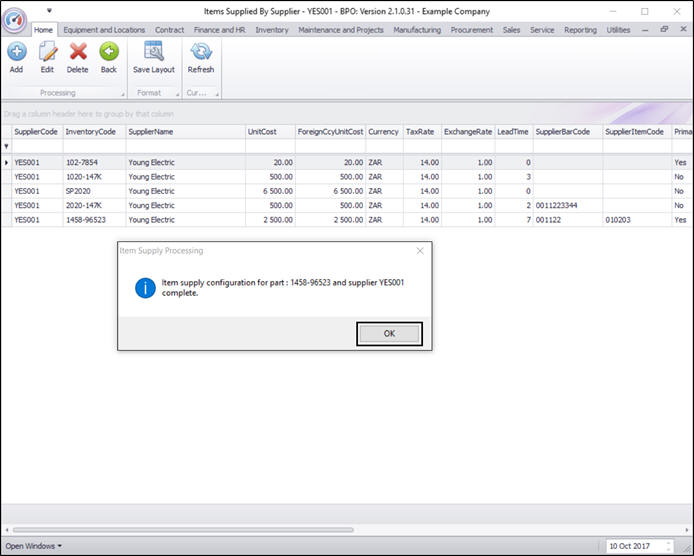
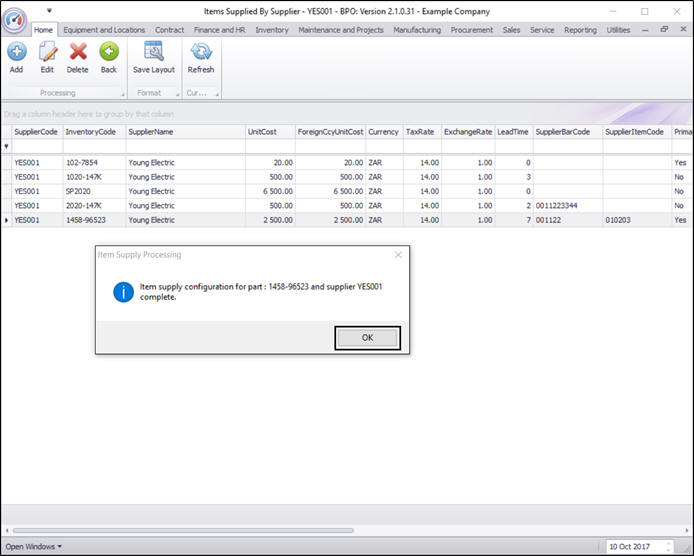
- An Item Supply Processing message box will appear informing you that;
- Item supply configuration for part: [ ] and supplier [ ] complete.
- Click on OK.
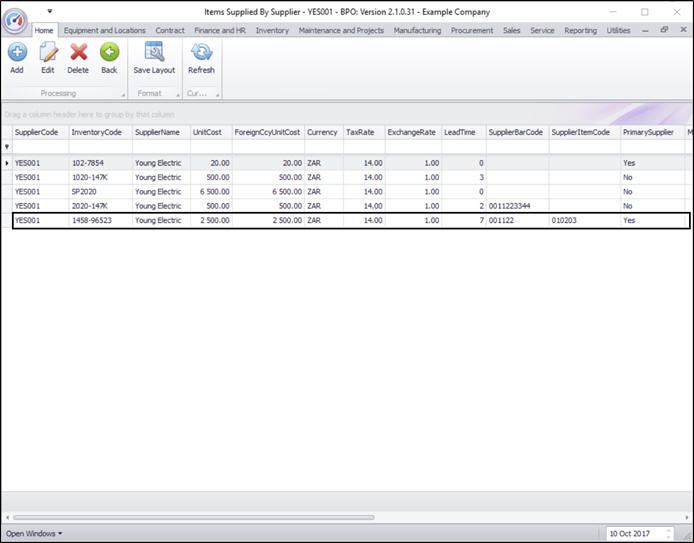
View New Item Supplied
- The Item supplied details can now be viewed in the Items Supplied by Supplier - [ ] screen.
Edit Items Supplied
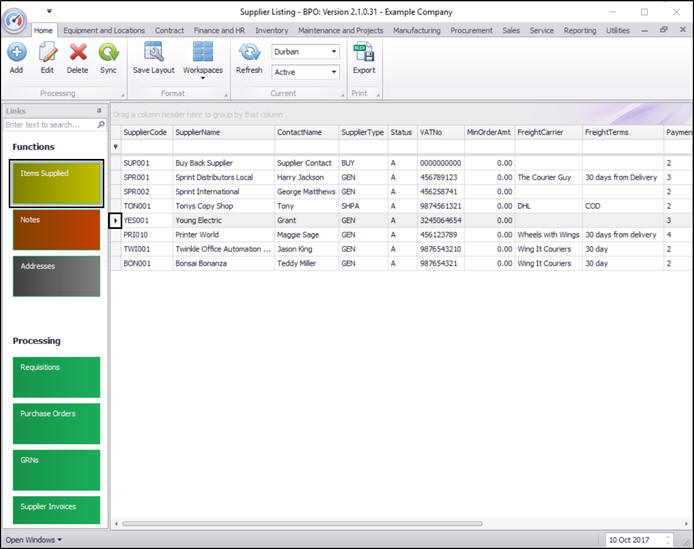
In the Supplier Listing screen,
Select the Site
- In this image Durban has been selected.
Select Supplier
- Select the row of the Supplier whose items supplied details you wish to edit.
- Click on the Items Supplied tile.
Select Item
- Select the row of the item you wish to edit.
- Click on Edit.
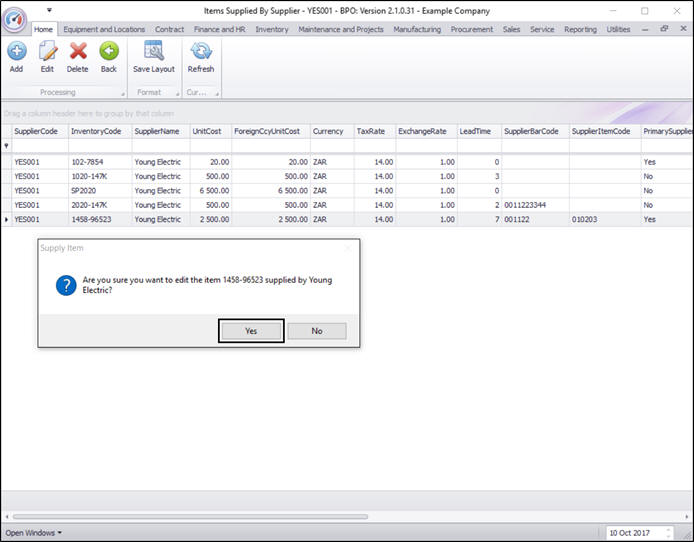
- A Supply Item message box will pop up asking;
- Are you sure you want to edit the item [ ] supplied by [ ]?
- Click on Yes.
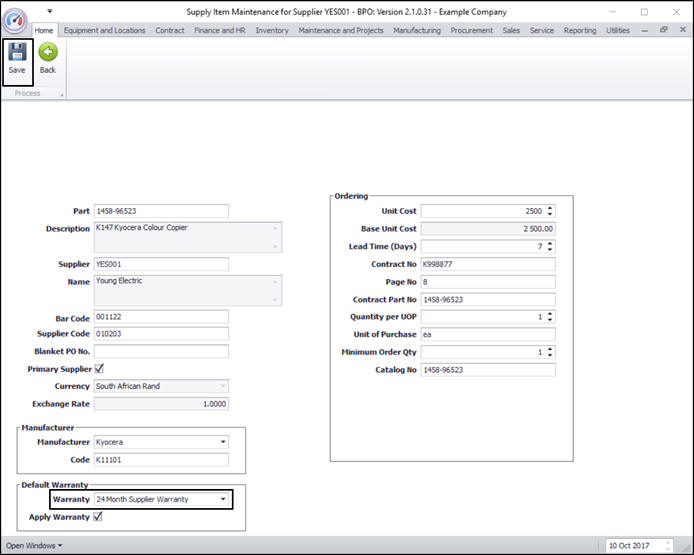
- The Supply Item Maintenance for Supplier [ ] screen will be displayed.
- Select the detail(s) to be edited.
- In this image Warranty has been selected to be edited.
- Make the required changes.
- In this image the Warranty was changed to 24 Month Supplier Warranty.
Save changes
- When you have finished editing the details, click on Save.
- An Item Supply Processing message box will pop up informing you that;
- Item supply configuration for part: [ ] and supplier [ ] complete.
- Click on OK.
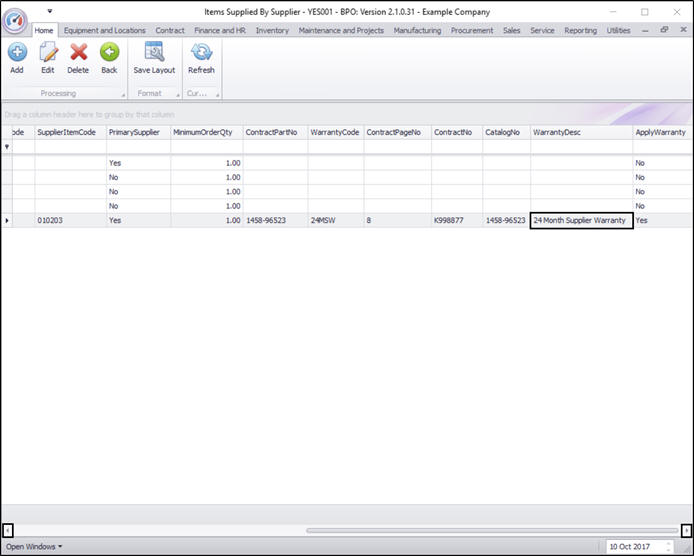
View Edited Item Supplied
- The edited detail(s) can now be viewed in the Items Supplied by Supplier - [ ] screen.
- (Use the scroll bar to find the correct column if necessary).
Delete Items Supplied
In the Supplier Listing screen,
Select the Site
- In this image Durban has been selected.
Select Supplier
- Select the row of the Supplier where you wish to delete the linked Item Supplied.
- Click on the Items Supplied tile.

The Items Supplied by Supplier - [ ] screen will be displayed.
Select Item to Delete
- Select the row of the item you wish to delete.
- Click on Delete.

Confirm Deletion
- A Delete Supply Item message box will appear asking;
- Are you sure you want to remove this supplied item for this supplier?
- Click on Yes.

- The selected item supplied has now been removed from the Items Supplied By Supplier - [ ] screen.
MNU.056.004