We are currently updating our site; thank you for your patience.
Projects
Projects - Documents
The Documents tile allows you to link, view or delete digital documents effortlessly. All the project documents are kept in one place by making use of this function.
These documents need to be saved in a shared folder on the server.
| Ribbon Access: Maintenance / Projects > Projects |

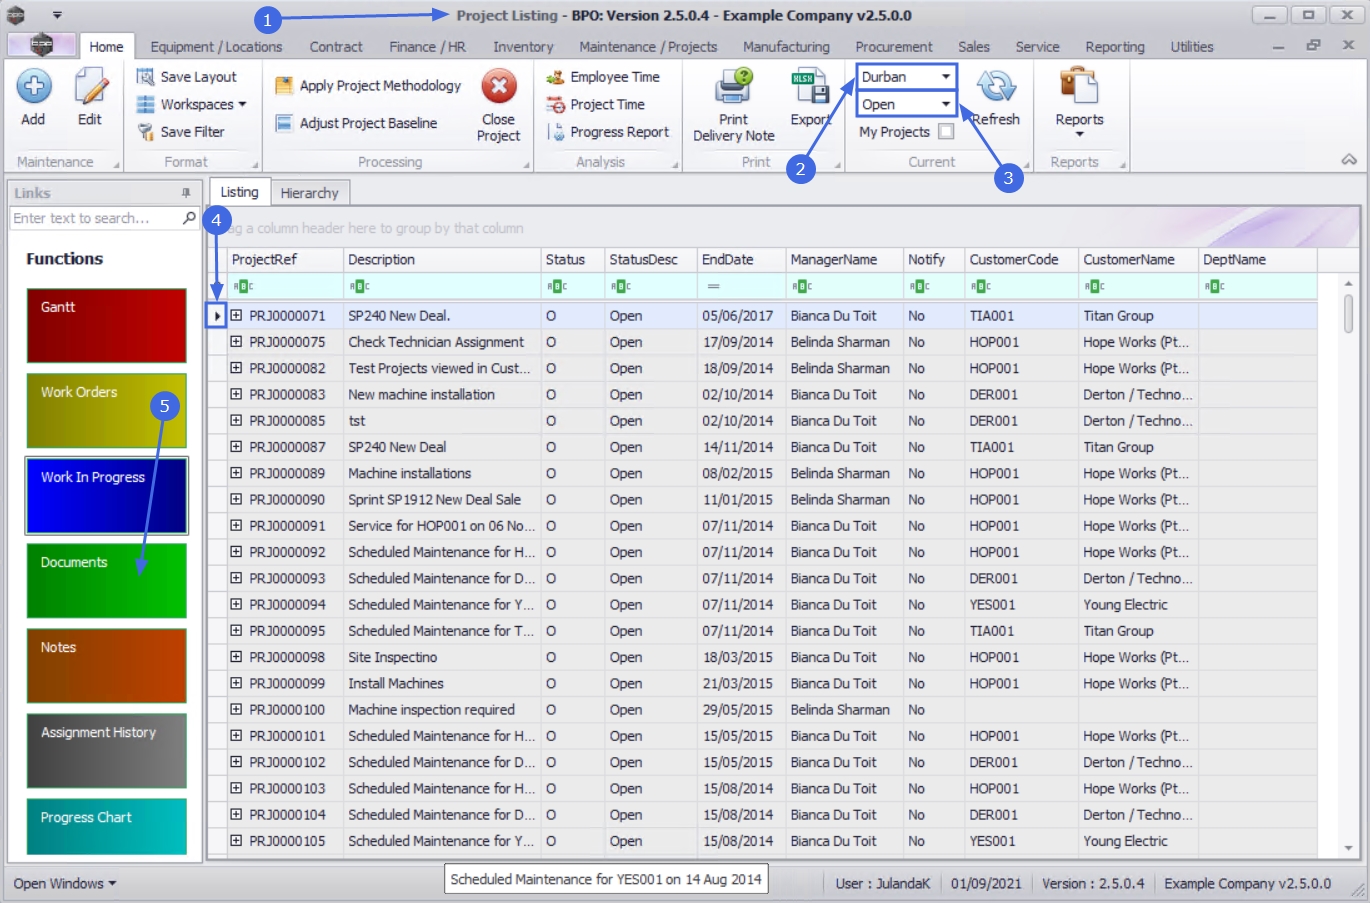
- The Project Listing screen will be displayed.
- Select the Site where the project can be located.
- The example has Durban selected.
- Select the Status for the project.
- The example has Open selected.
- Click on the row of the project you wish to link documents to.
- Click on the Documents tile.
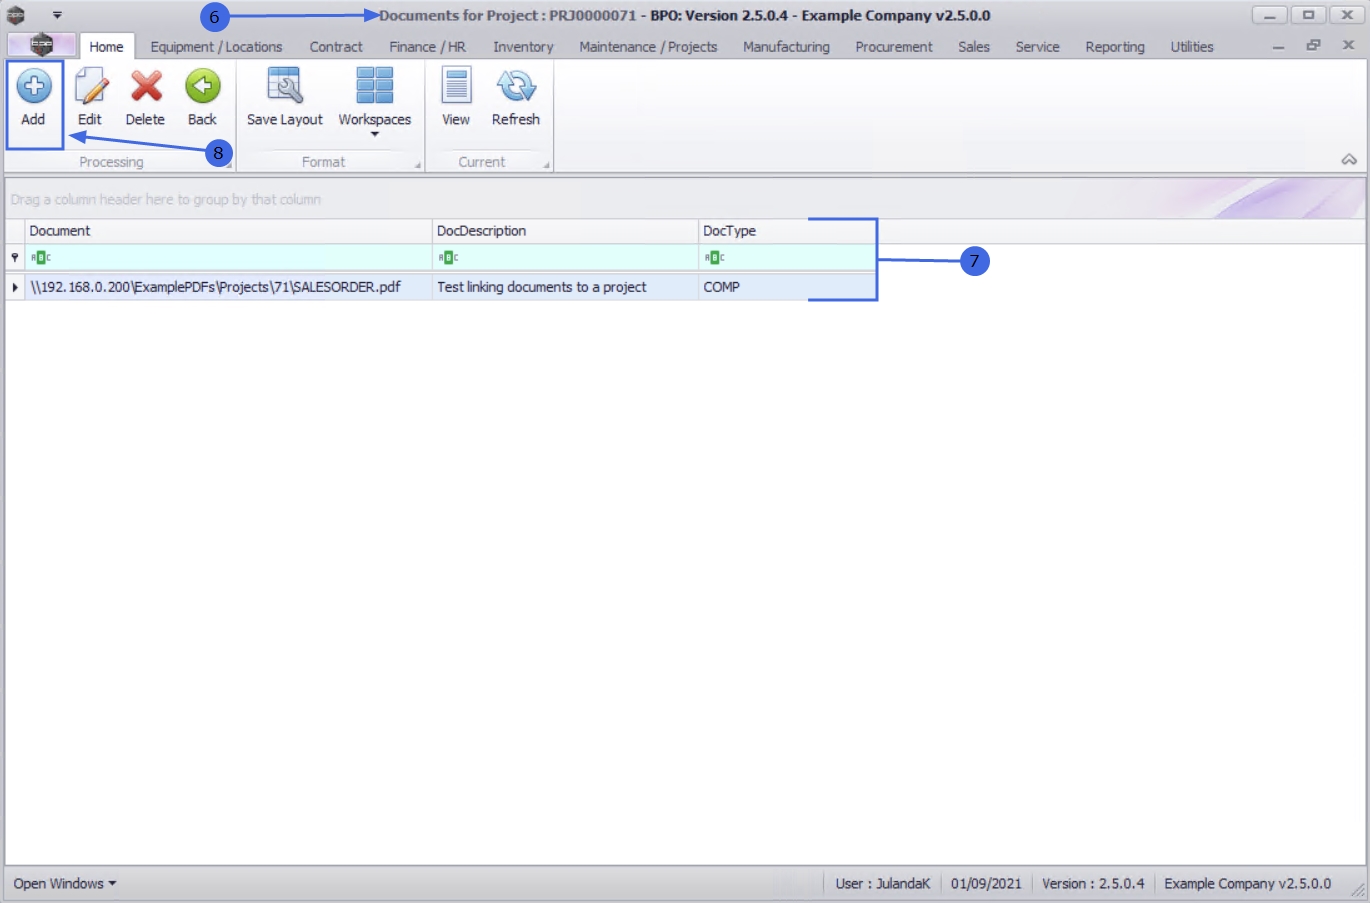
- The Documents for Project : [project ref number] screen will be displayed.
- A list of documents currently linked to the project will display.
Add Project Documents
- Click on Add.
![]() Short cut key: Right click to display the Process menu list. Click on Add.
Short cut key: Right click to display the Process menu list. Click on Add.
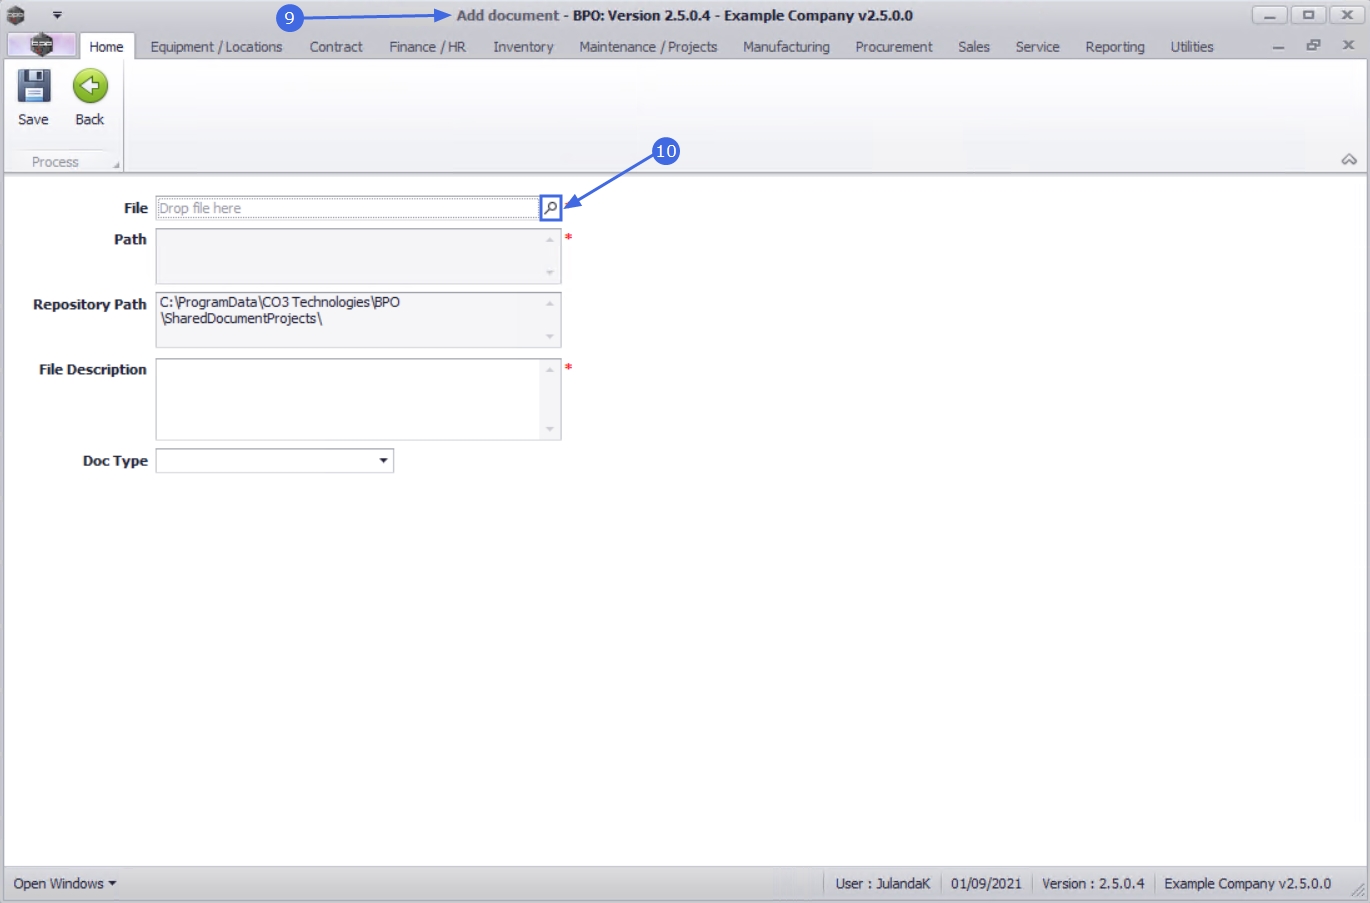
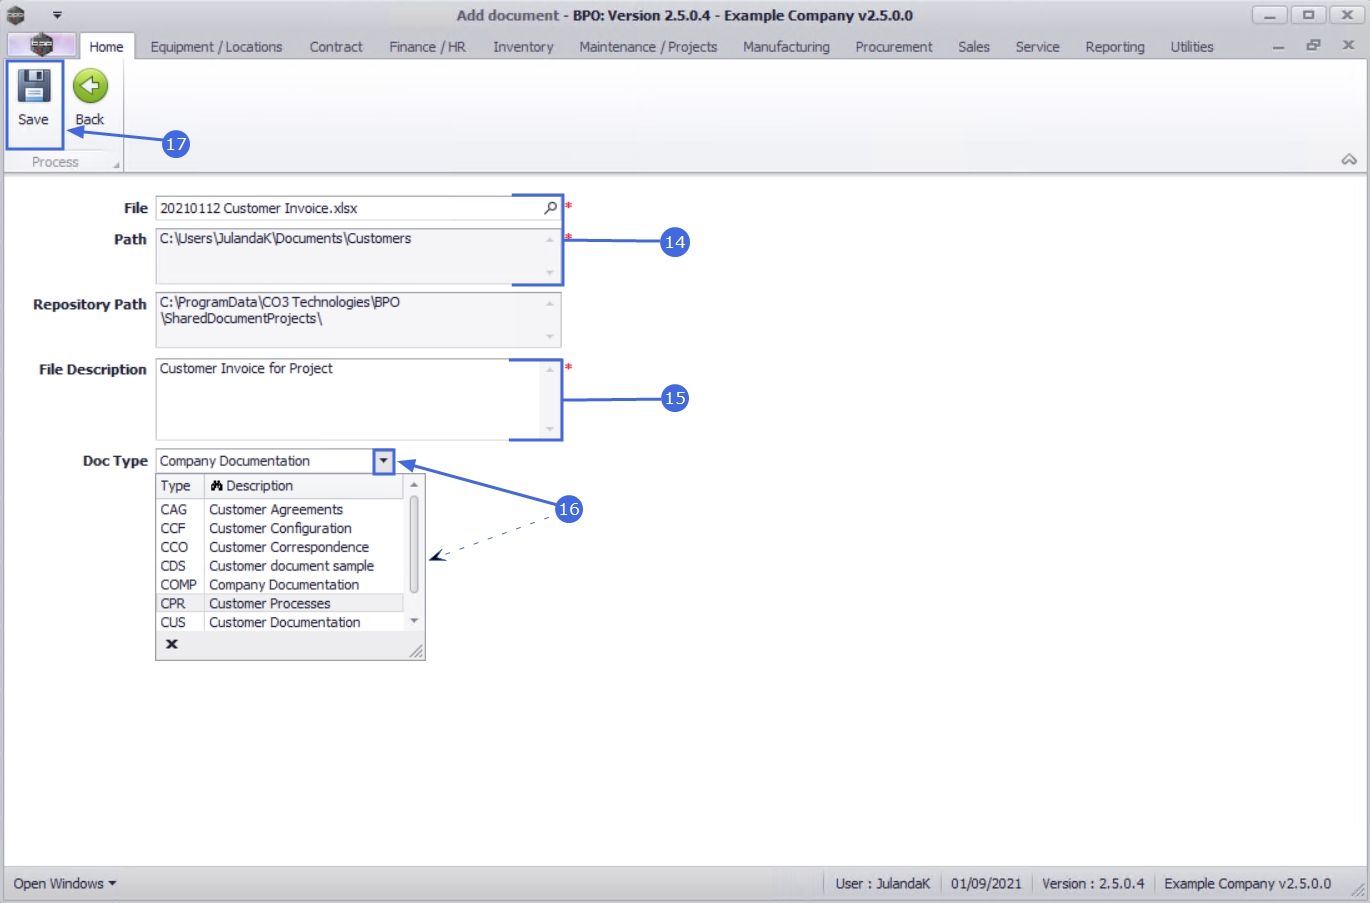
- The Add document screen will be displayed.
 Note that the Repository Path field is populated with the path that has been configured in the Company Configuration.
- Click on the search button in the File field.
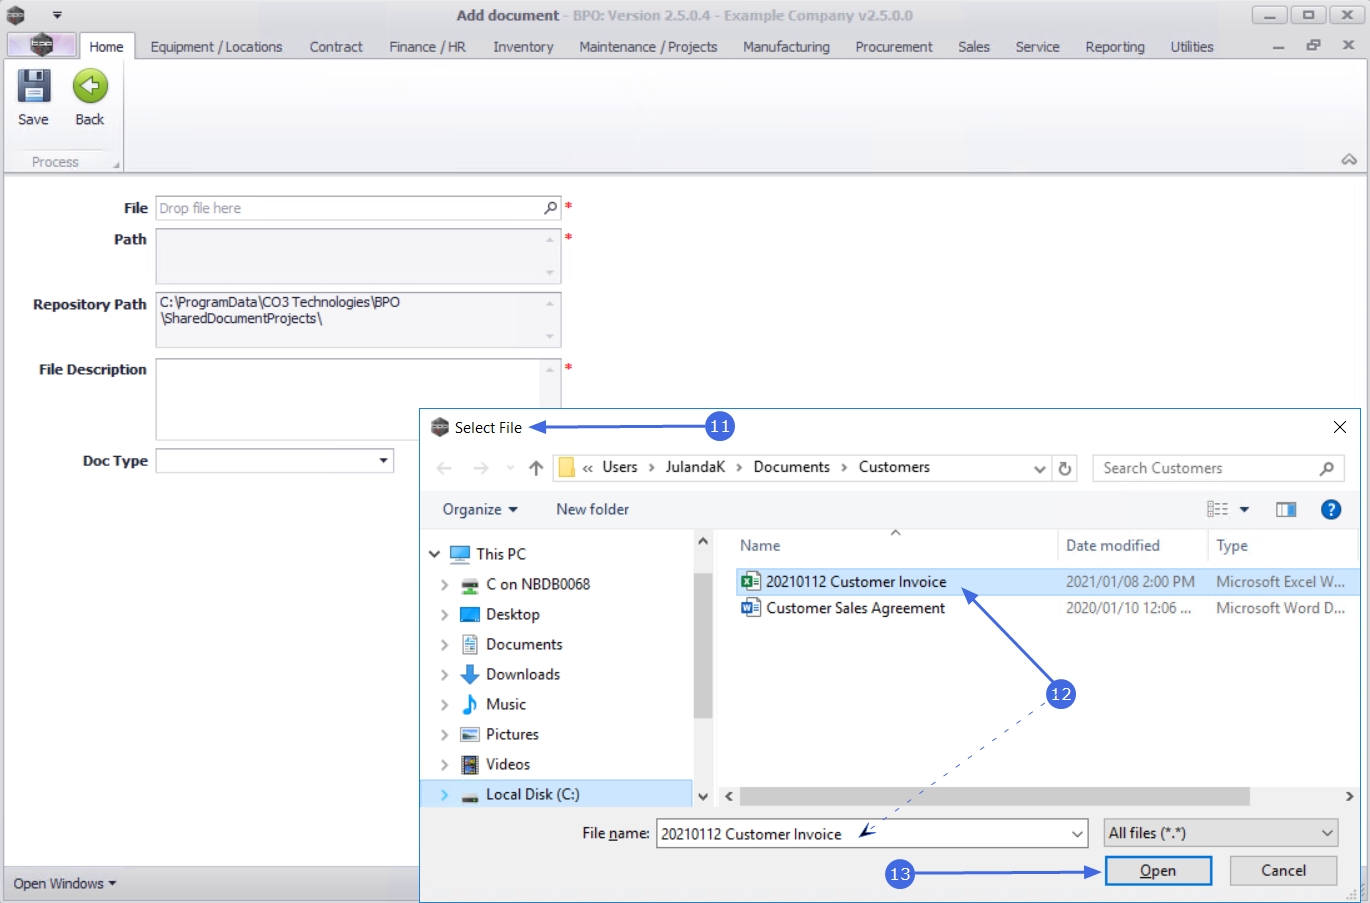
- From the Select File pop up screen,
- Locate the file on your server / computer that you wish to link. Ensure that the document name appear in the File name: field
by clicking on the document to select it.
- Click on Open.
- The File and Path fields will be populated with the details of the selected document.
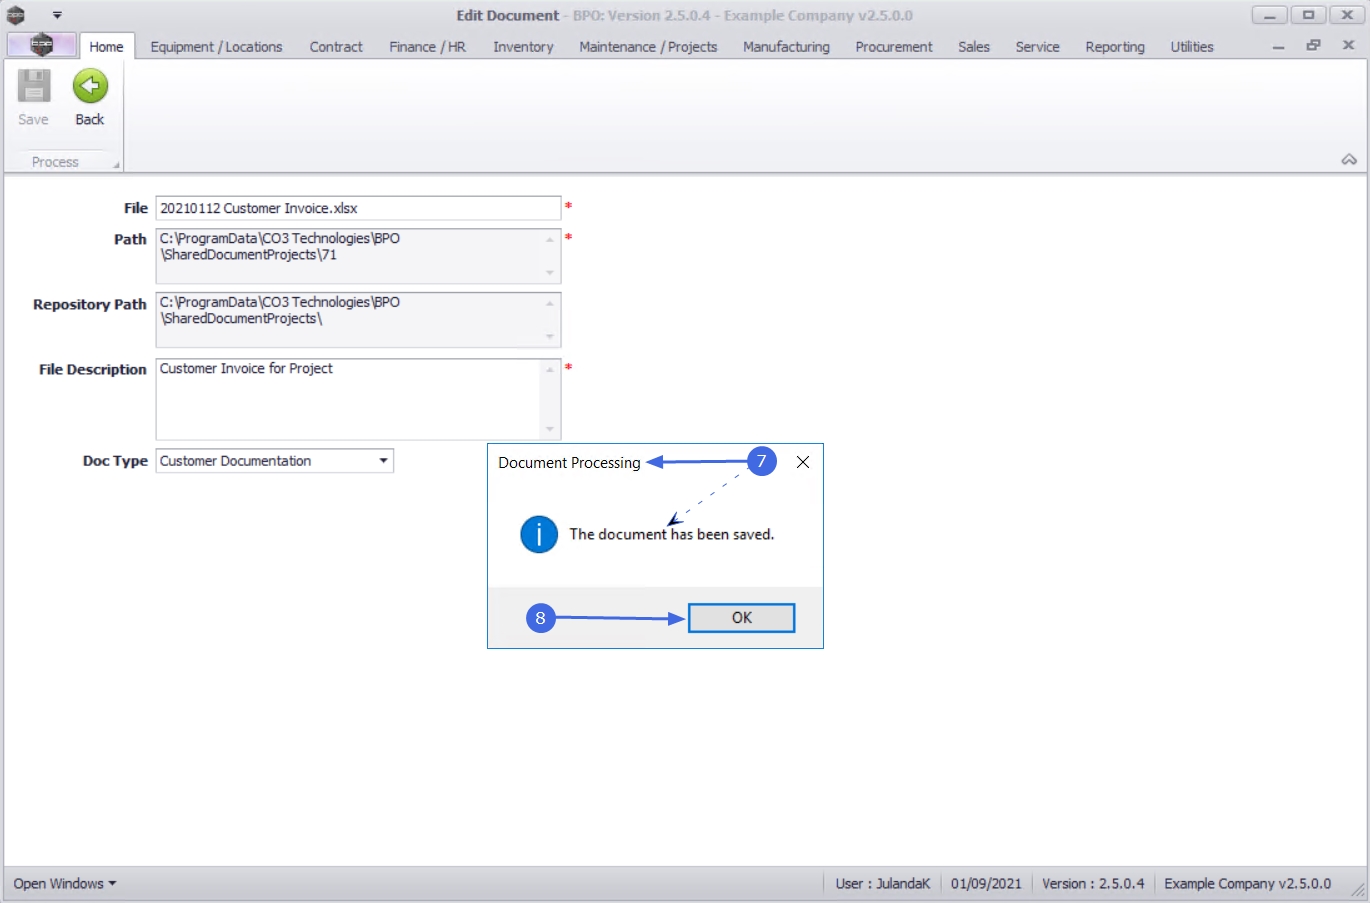
- Click in the File Description field and type a description for the document.
- Click on the down arrow in the Doc Type field to select the document type from the drop-down menu.
- Click on Save to save the link.
- When you receive the Document Processing message confirming that;
- The document has been saved.
-
Click on OK.
Note that BPO does not save the physical document, but a link to where the document has been saved.

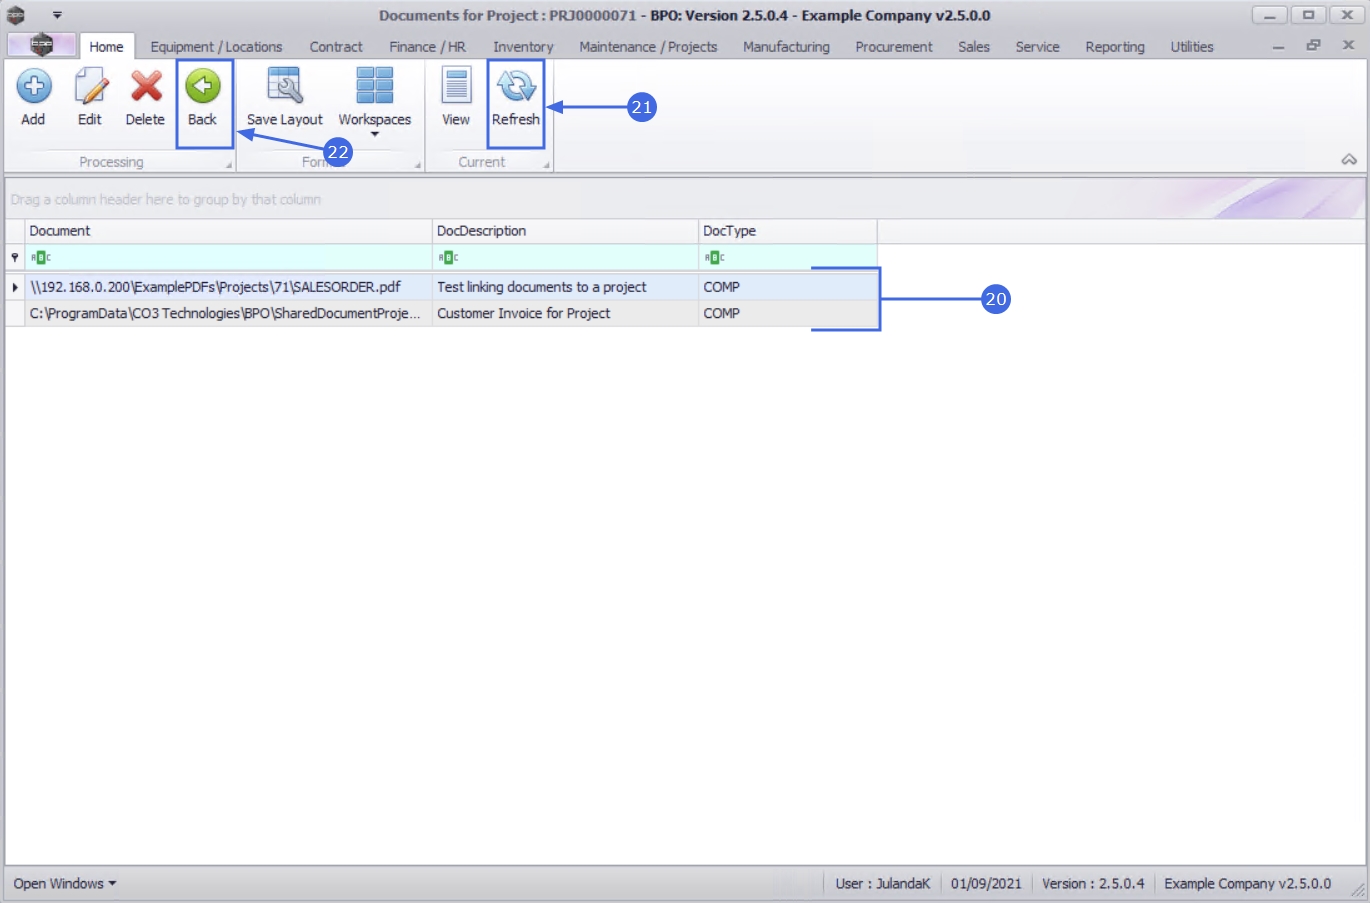
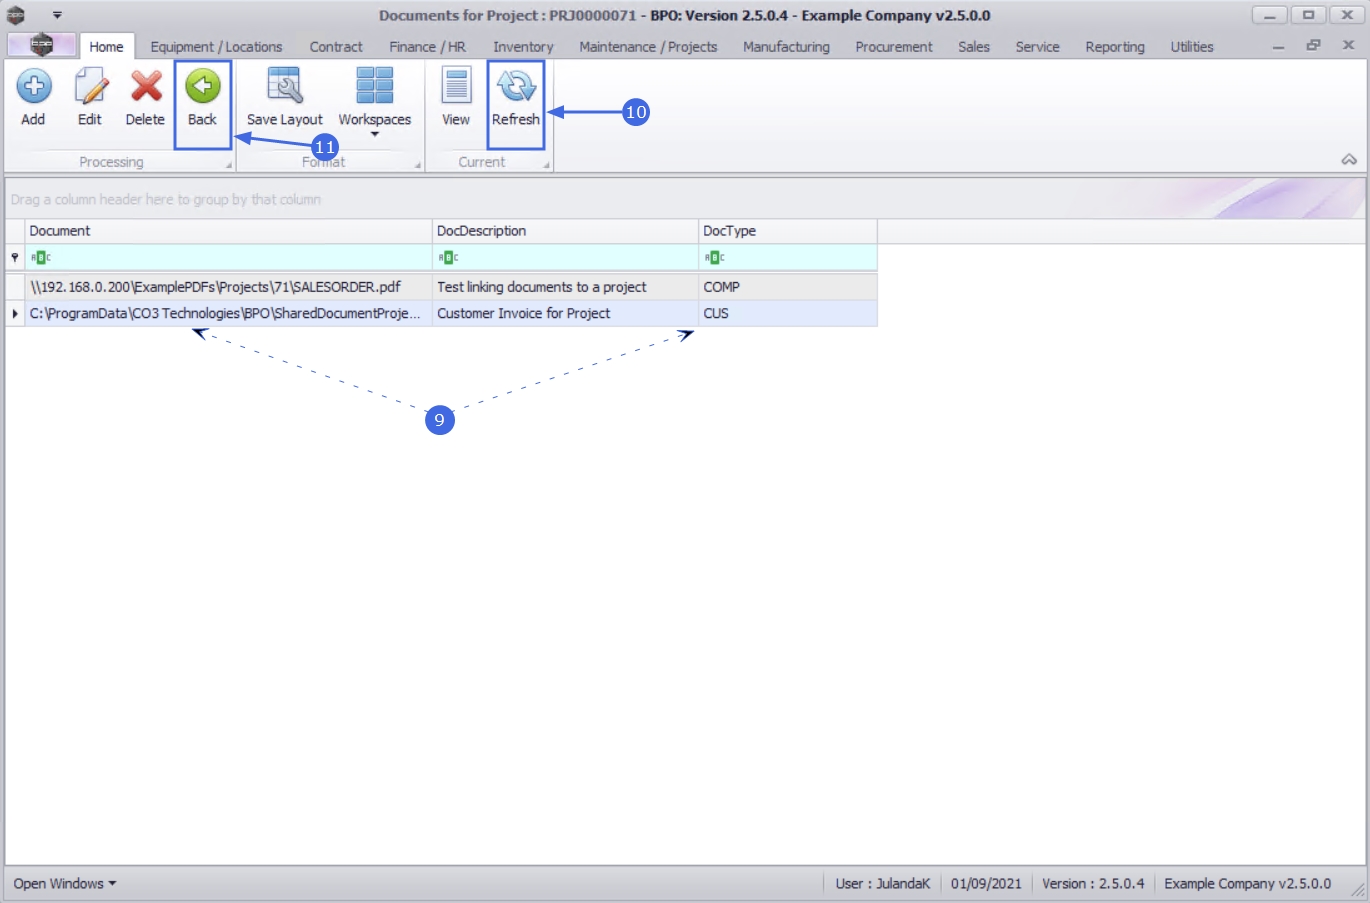
- The Documents for Project screen has been updated with the document you have linked.
- Click on Refresh to update your screen, if required.
- Click Back to return to the Project Listing Screen.
Edit Project Documents
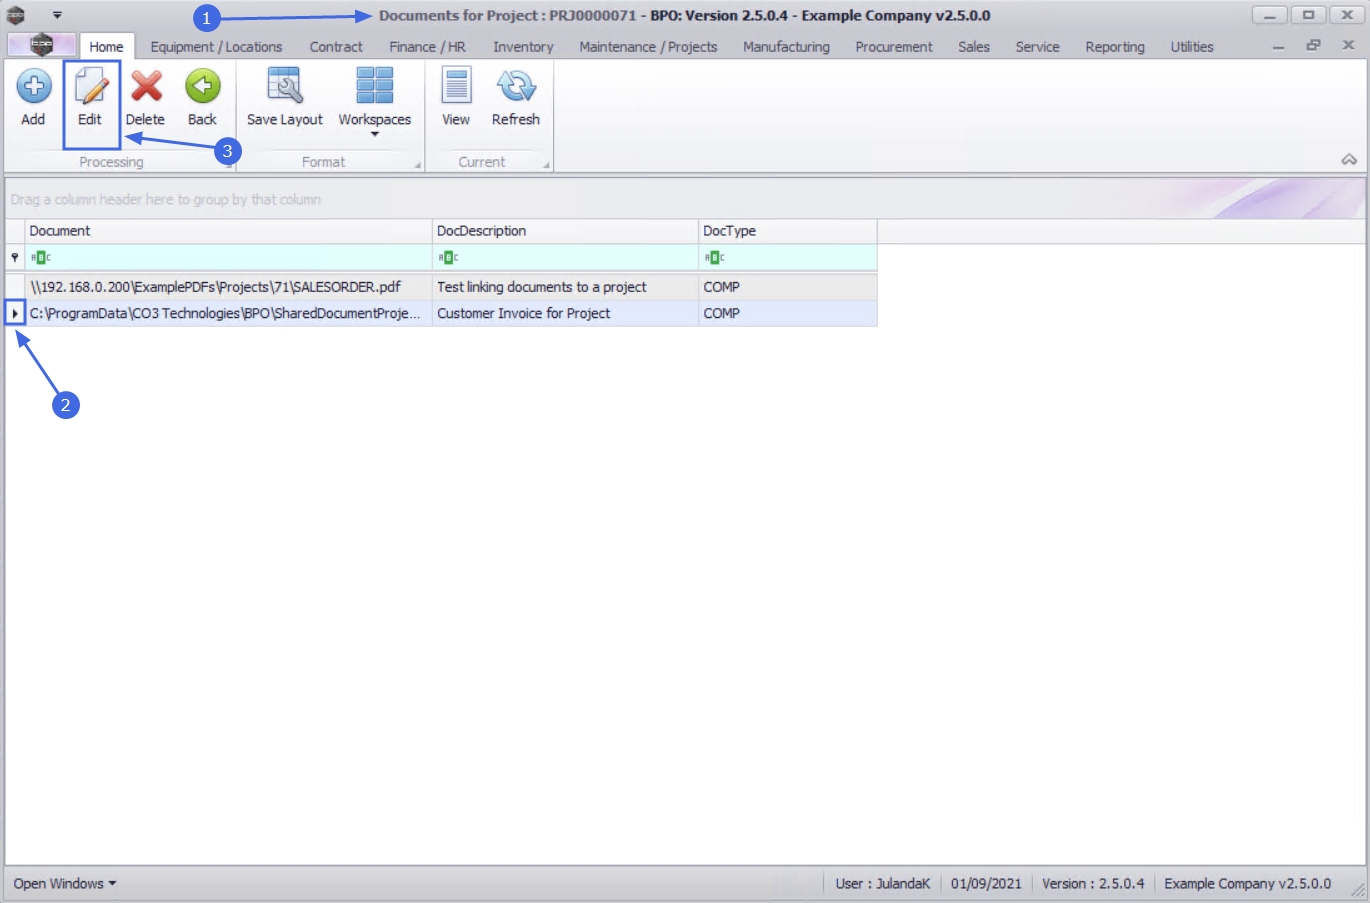
- From the Documents screen,
- Click on the row of the document you wish to edit.
- Click on Edit.
![]() Short cut key: Right click to display the Process menu list. Click on Edit.
Short cut key: Right click to display the Process menu list. Click on Edit.
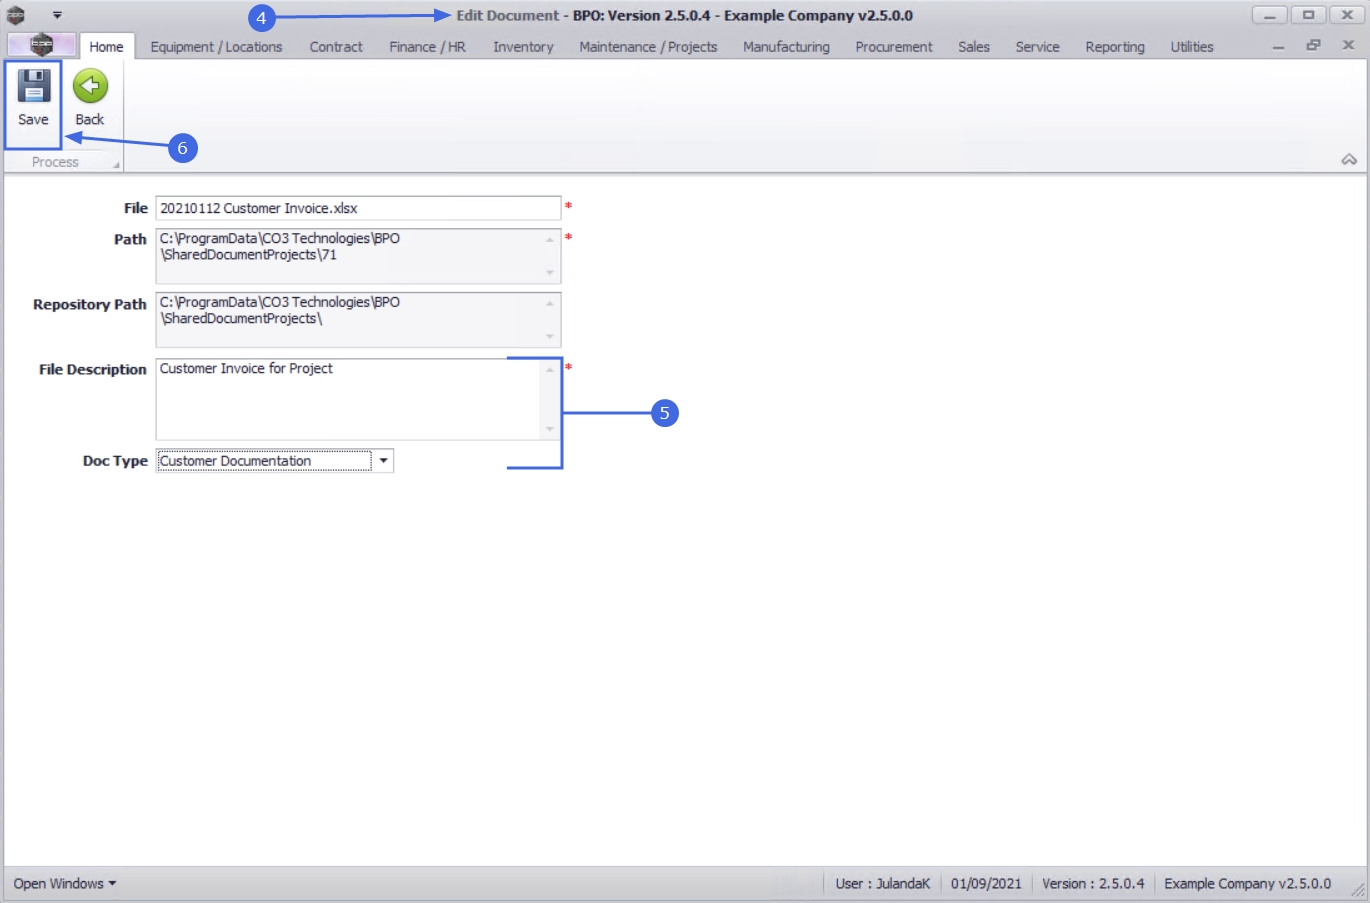
- The Edit Document screen will be displayed with the selected file information populating the fields.
- You can make changes to the File Description or select an alternative Document Type.
- Click on Save.
- When you receive the Document Processing message to confirm;
- The document has been saved.
- Click on OK.
- The Documents for Project : [project ref number] screen has been updated.
- Click on Refresh to update the screen, if required.
- Click on Back to return to the Project Listing Screen.
Delete Project Document
- From the Documents for Project : [project ref number] screen,
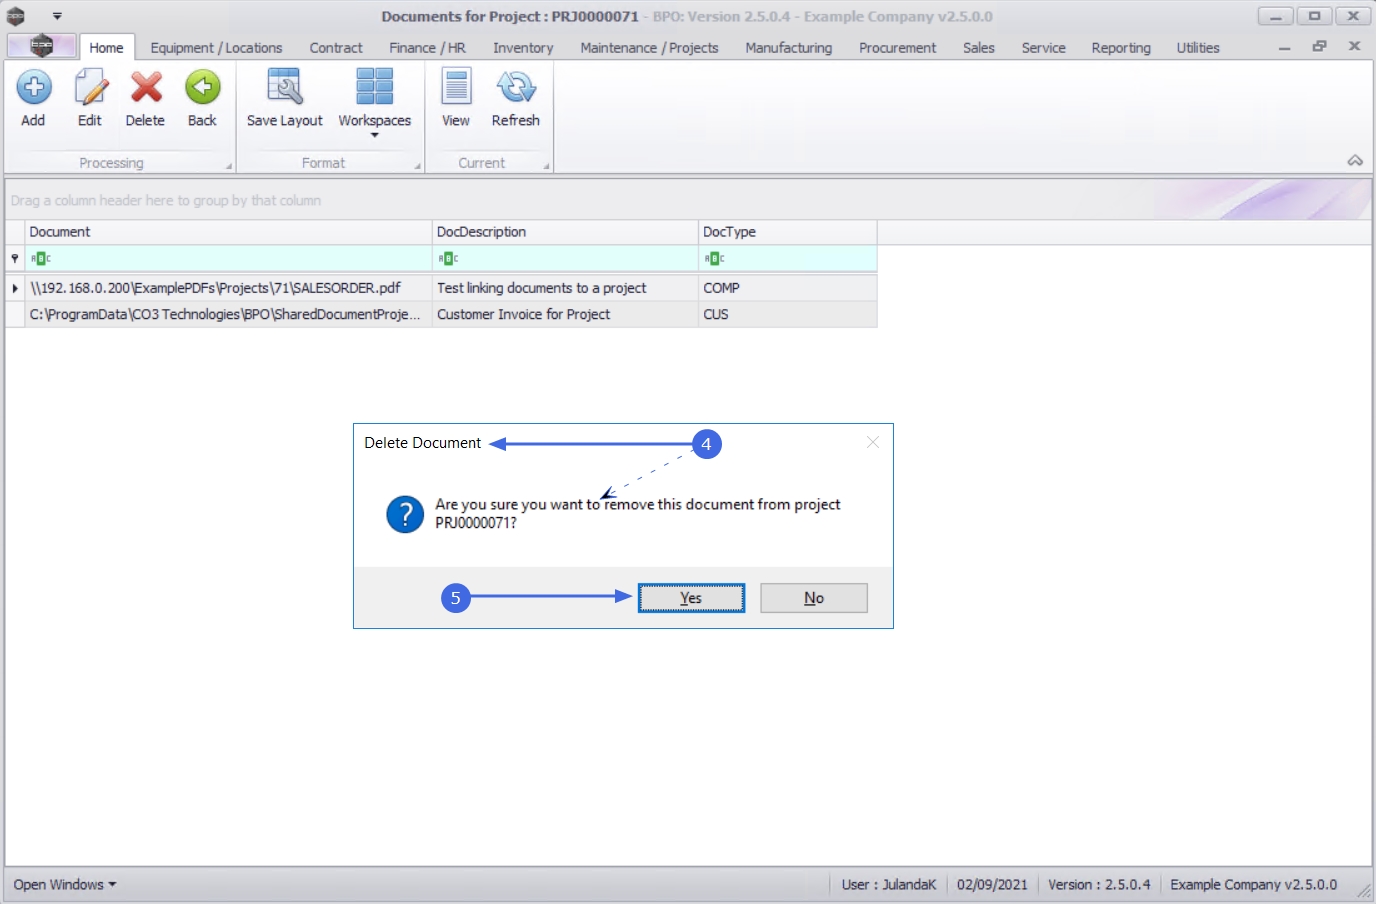
- Select the row of the document you with to remove from the project.
- Click on Delete.
![]() Short cut key: Right click to display the Process menu list. Click on Delete.
Short cut key: Right click to display the Process menu list. Click on Delete.

- When you receive the Delete Document message to confirm;
- Are you sure you want to remove this document from project [project ref number]?
- Click on Yes.
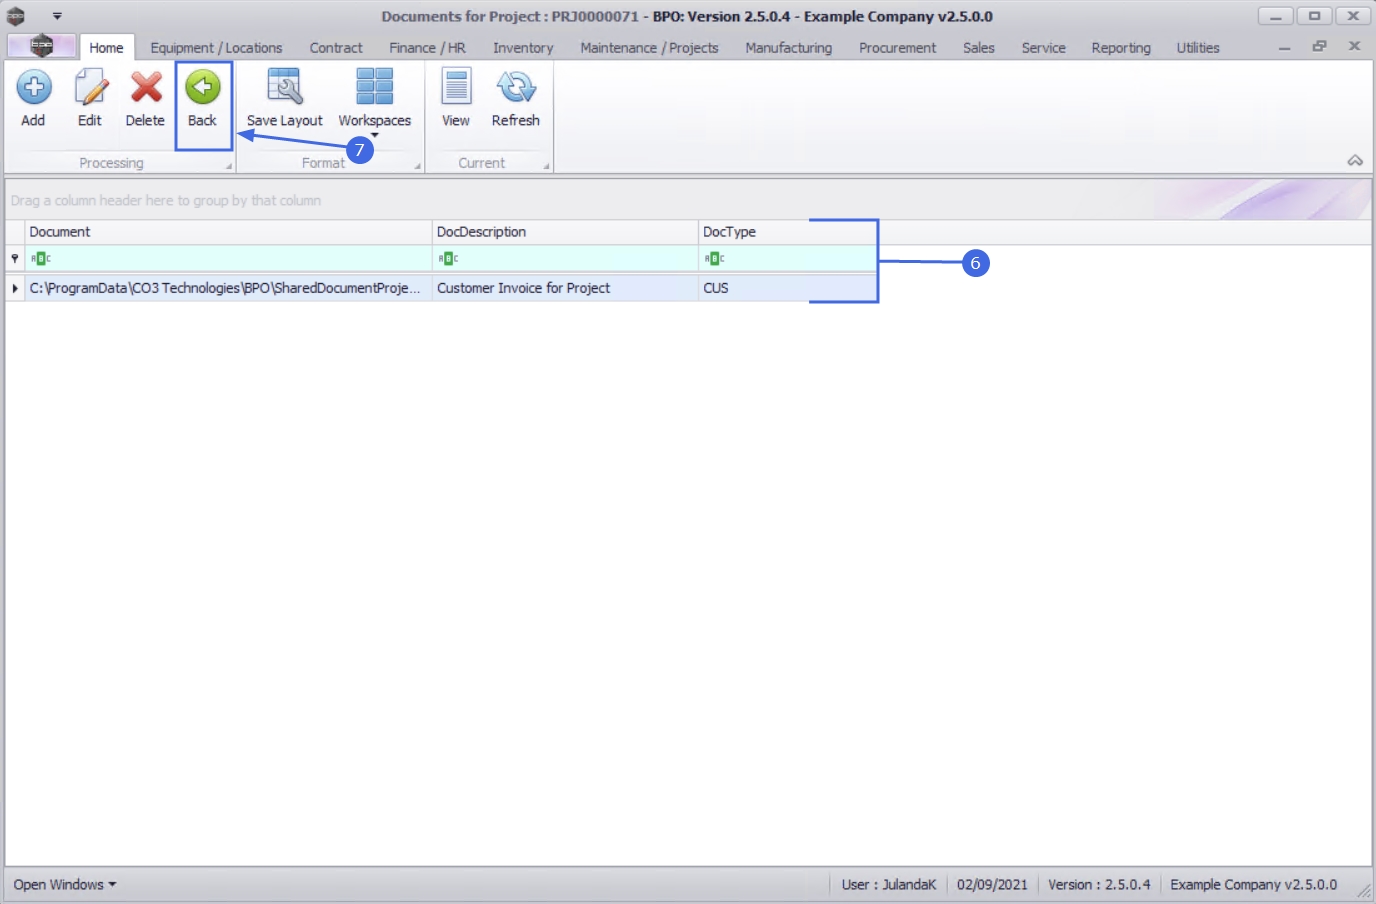
- The document link has been removed from the Documents for Project screen.
- Click on Back to return to the Project Listing screen.
View Project Documents
- From the Documents for Project : [project ref number] screen,
- Click on the row of the document you wish to view.
- Click on View.

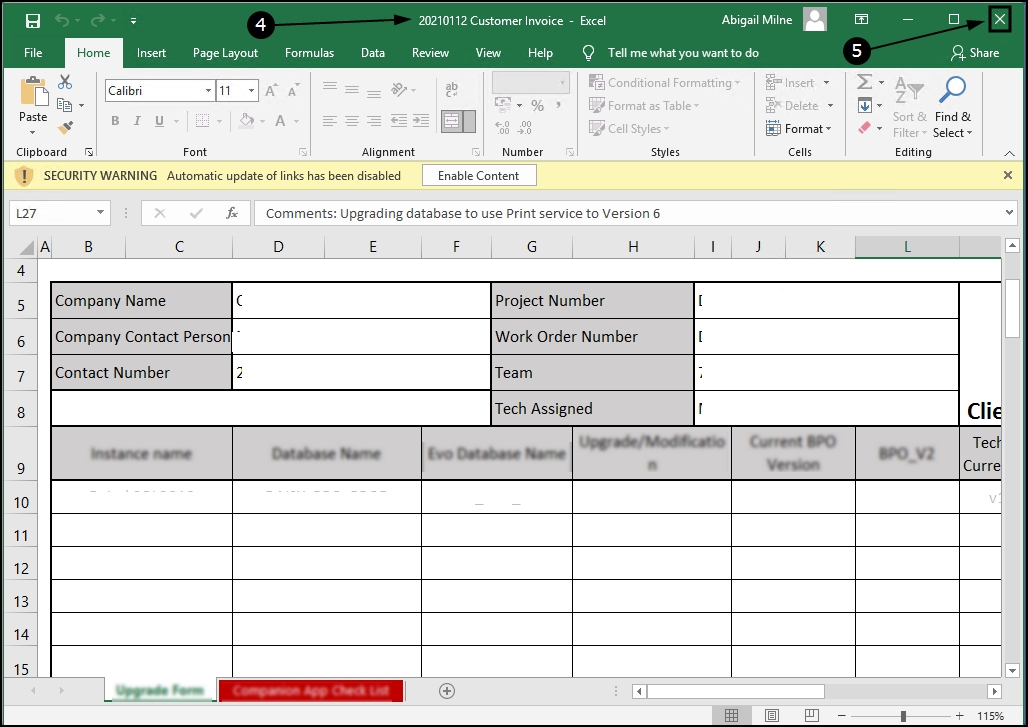
- The digital document will open in the format the document was been saved in.
- In this example, an Excel document has opened.
- When you have finished reviewing the document, close the document screen that you are in, to return to the Project Listing screen.
MNU.058.046