Inventory
Stock Take - Procedure
All bins within a stock take batch will be locked for editing (resulting in the system preventing any stock issues /returns to these locations until the stock take batch has been updated).
Only one person should update the Stock on Hand quantities in a stock take batch at a time. If two people open the same stock take batch for editing, only the first person's updates will be saved.
If you are using the Stock Batch Tracking option, make sure you take note of the Batch Number for C-Class (non-serialised) items when counting and updating stock quantities. For more details, refer to Inventory: Stock Batches.
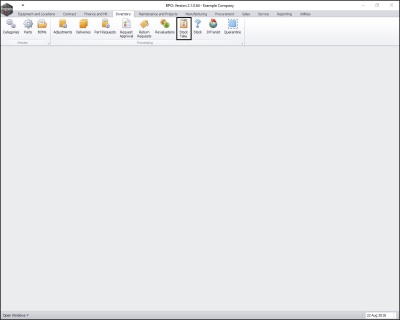
| Ribbon Access: Inventory > Stock Take |
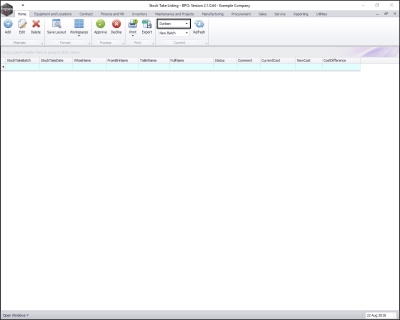
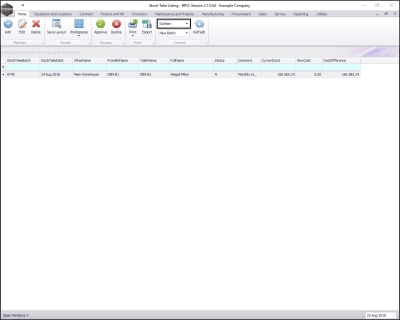
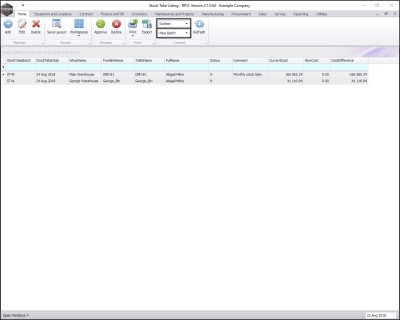
The Stock Take Listing screen will be displayed.
Create Stock Take Batch
- Select the site.
- In this image, Durban has been selected.
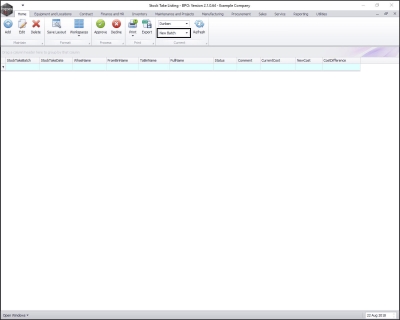
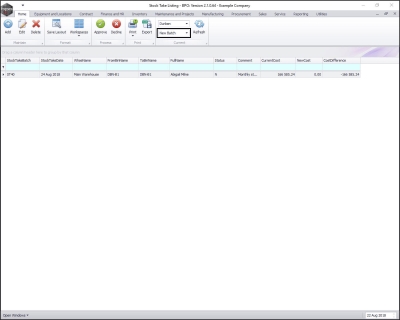
- Select the status.
- This should be set to New Batch.
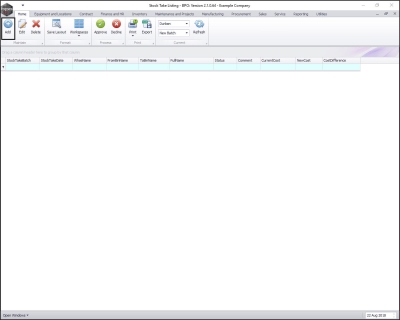
- Click on Add.
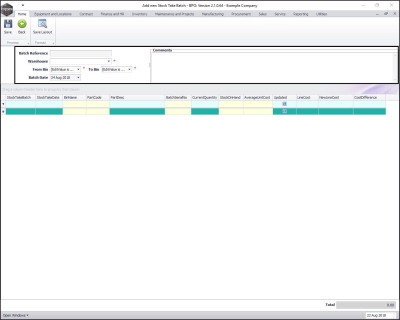
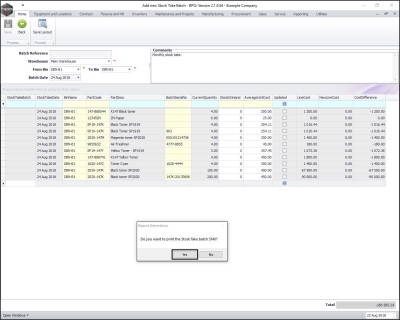
- Batch Reference: The system will allocate a batch reference number when the stock take batch is saved.
- Warehouse: Click on the drop-down arrow and select the warehouse.
- From Bin: Select the bin with which you wish the stock take list to begin.
- To Bin: Select the bin with which you wish to end your stock take list (select the same bin if you are doing stock take one bin at a time).
- Note: Doing the stock take one bin at a time may be useful, as all movement of the parts within that bin will be suspended until the stock take batch is updated.
- Batch Date: This will auto populate with the current date. You can either type in or click on the drop-down arrow and use the calendar function to select alternative date if required.
- Comments: Type in a relevant comment concerning this stock take if required.
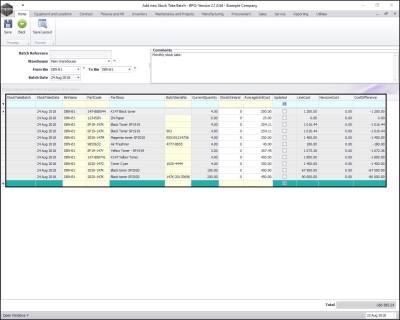
- The Stock data grid will now populate with a list of all the parts within the selected bin(s).
Note: A part will not be included in the stock take if it has no procurement history.
Save Stock Take Batch
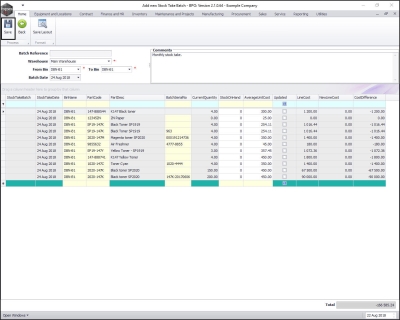
- Click on Save.
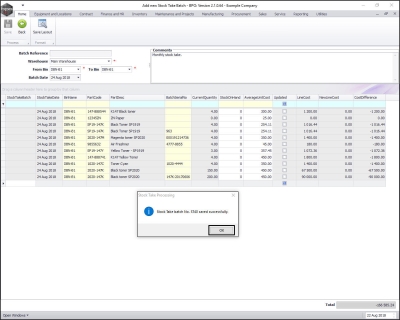
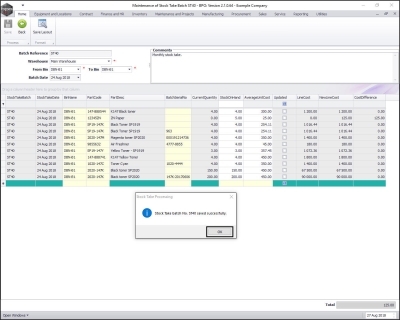
- A Stock Take Processing message box will pop up informing you that;
- Stock Take batch No. [ ] saved successfully.
Note: In this image, you can see that the system has generated a batch number.
- Click on OK.
Note: Remember that stock cannot be issued or transferred until Stock Take is completed, in order to keep stock quantities correct.
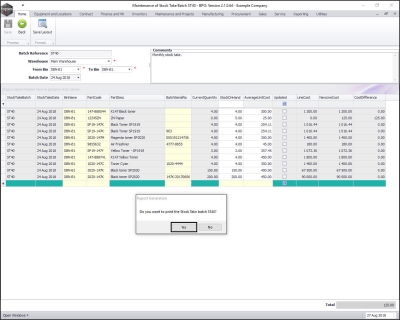
- A Report Generation message box will pop up asking you;
- Do you want to print the Stock Take batch [ ]?
- Click on Yes.
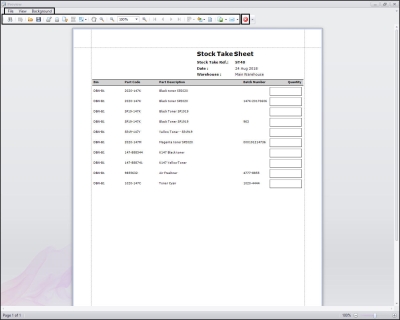
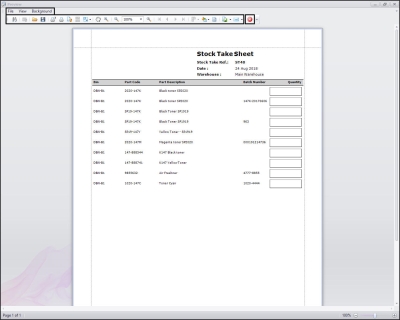
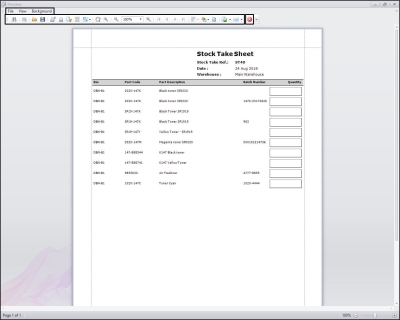
- The Report Preview screen will be displayed.
- From here you can View, Print, Email and Export the Stock Take Sheet.
- Close the report preview screen when you are done.
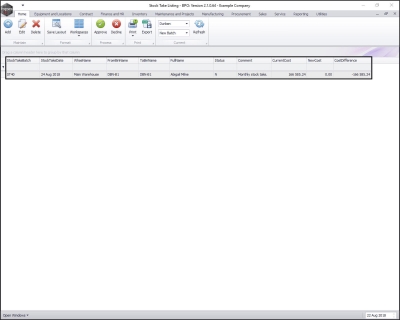
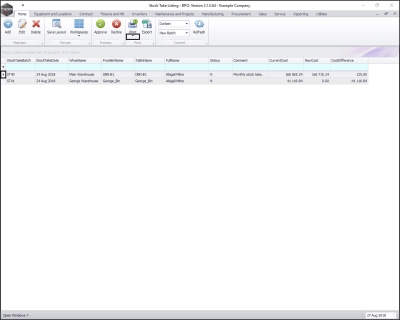
- You will return to the Stock Take Listing screen.
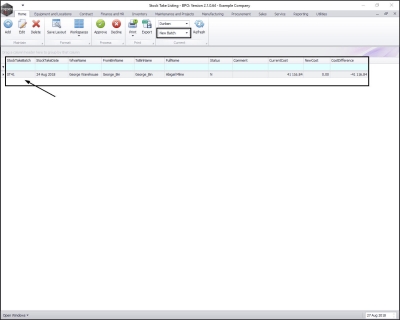
- The Stock Take data grid will now be populated with the details of the new stock take batch.
Export Stock Take Batch
-
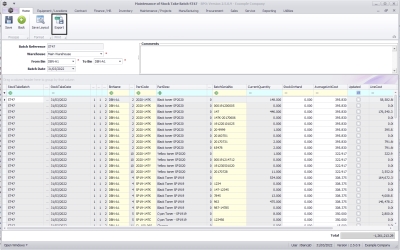
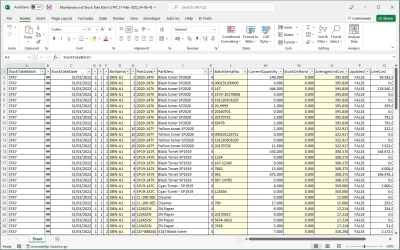
On adding or editing the stock take batch, you can click on the Export button to export stock take batch items to an excel document.
-
The list will be exported and opened in a MS Excel document.
Print Asset Verification Report
(A-Class Items)
The Asset Verification Report, will give you a list of serialised items in the store (or per bin - depending on your selection), to print out and verify that those serialised items are physically in the store.
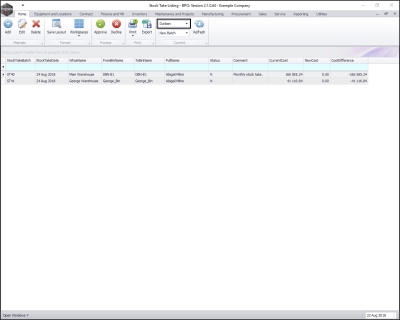
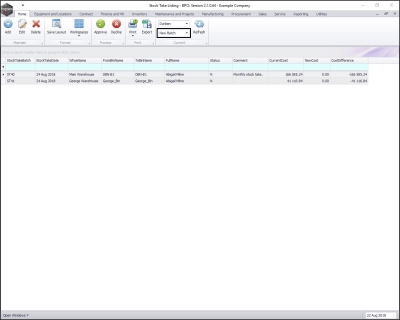
- In the Stock Take Listing screen, ensure that the correct site is selected.
- In this image, Durban has been selected.
- The status must be set to New Batch.
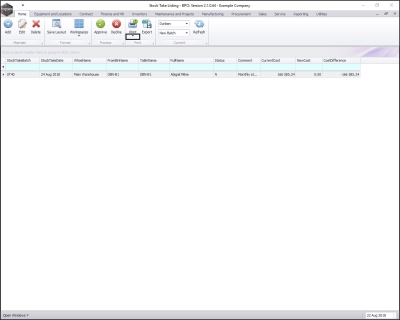
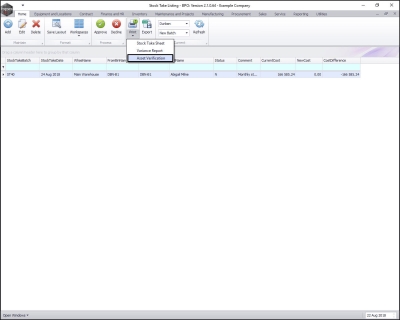
- Click on the drop-down arrow on the Print button.
- A Print drop-down menu will appear.
- Click on Asset Verification.
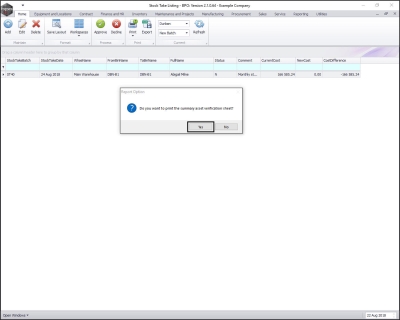
- A Report Option message box will pop up asking;
- Do you want to print the summary asset verification sheet?
- Click on Yes.
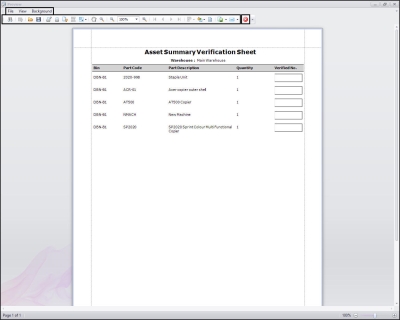
- The Report Preview screen will be displayed.
- From here you can View, Print, Email and Export the Asset Summary Verification Sheet.
Note: This report can be printed, and used to count and verify the serialised items in store if you find discrepancies with the asset quantities or serial numbers, or a stock adjustment is required.
- Close the report preview screen when you are done.
Print Stock Take Sheet
(C-Class Items)
- In the Stock Take Listing screen, ensure that the correct site is selected.
- In this image, Durban has been selected.
- The status must be set to New Batch.
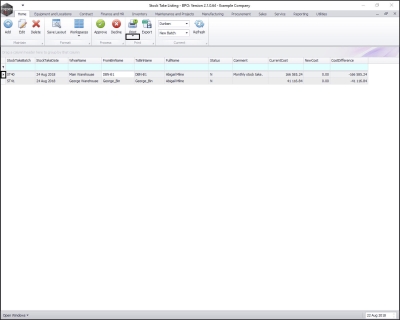
- Ensure that the row selector is in front of the correct batch number.
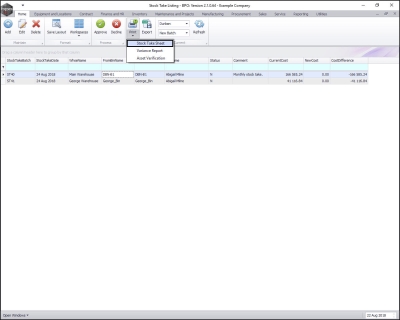
- Click on the drop-down arrow on the Print button.
- The Print drop-down menu will appear.
- Click on Stock Take Sheet.
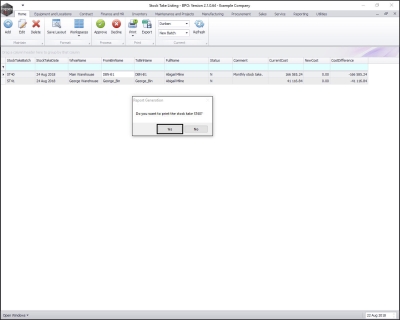
- A Report Generation message box will pop up asking;
- Do you want to print the stock take [ ]?
- Click on Yes.
- The Report Preview screen will be displayed.
- From here you can View, Print, Email and Export the Stock Take Sheet.
Note: This Stock Take Sheet can be printed and used in the count.
- Close the report preview screen when you are done.
Re-open Saved Stock Take Batch
- In the Stock Take Listing screen,
- Select the site.
- Ensure that the status is set to New Batch.
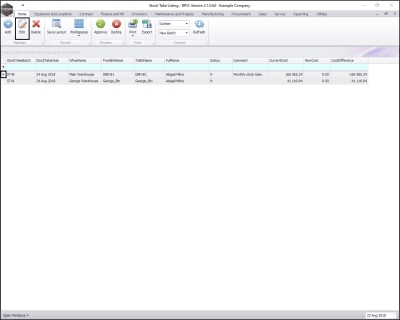
- Click on the row selector in front of the batch you wish to re-open.
- Click on Edit.
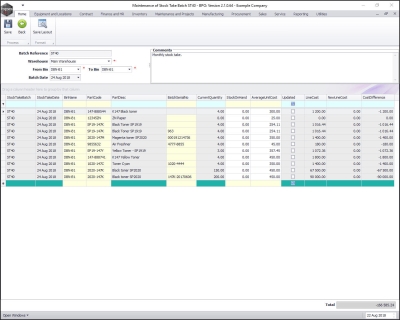
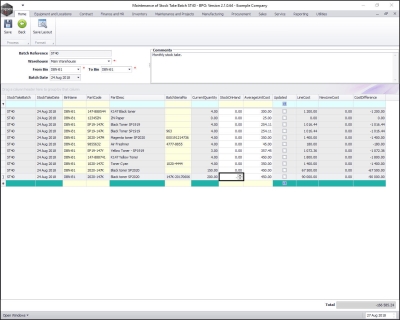
- The Maintenance of Stock Take Batch [ ] screen will be displayed.
Update/Edit Stock Quantities (C Class Items)
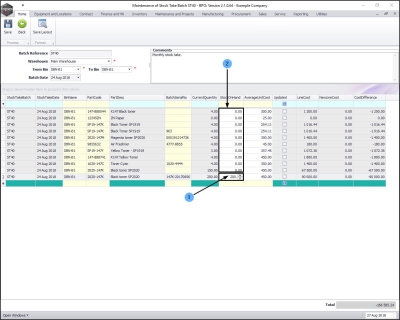
- In the Stock on Hand column, click in the text box of the item that you wish to update.
- Directional arrows will appear in the text box.
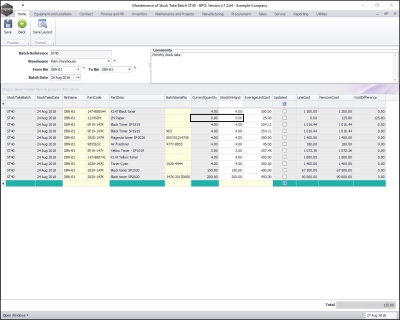
- Either type in or use the directional arrows to select the current Stock On Hand quantity.
- Continue using this procedure to update all items in the batch.
You may find a discrepancy between the current quantity and stock on hand quantity, record the stock on hand figure. (This will be addressed in the Print Variance Report section of this manual).
- In this image, the current quantity is 0 but the stock on hand quantity is actually 5. Record this figure in the Stock on Hand column.
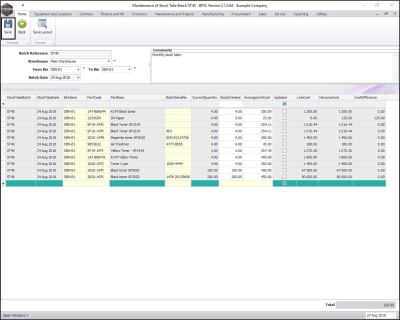
- When you have finished updating the Stock on Hand column, click on Save.
-
Note:
- If you do not type in a quantity, the Stock on Hand will be set to 0.
- You can click on the Save button at any time to save the quantities you have already entered, in case you need to close this screen and come back to it later.
- A Stock Take Processing message box will pop up informing you that;
- Stock Take batch [ ] saved successfully.
- Click on OK.
- A Report Generation message box will pop up asking;
- Do you want to print the Stock Take batch [ ]
- If you click on No, you will return to the Stock Take Listing screen.
- Click on Yes.
The Report Preview screen will be displayed.
From here you can View, Print, Email and Export the Stock Take Sheet.
- Note: This report can be printed, and used to count and verify the items in store if you find discrepancies with the item quantities or batch/serial numbers, or a stock adjustment is required.
- Close the report preview screen when you are done.
- You will return to the Stock Take Listing screen.
Print Stock Variance Report
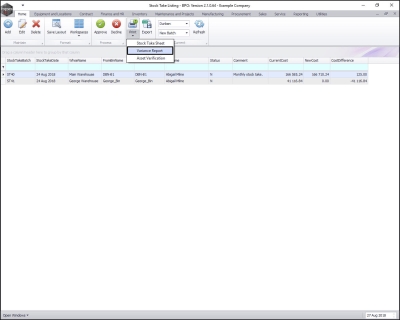
- Click on the row selector in front of the Stock Take batch that you wish to print the Variance Report of.
- Click on the drop-down arrow on the Print button.
- The Print menu will be displayed.
- Click on Variance Report.
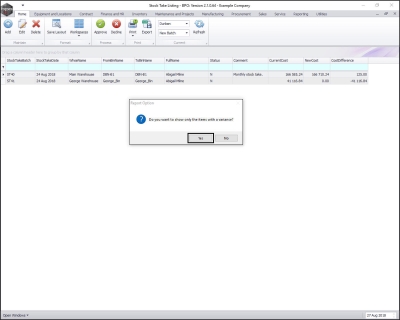
- A Report Option message box will pop up asking;
- Do you want to show only the items with a variance?
- Click on Yes.
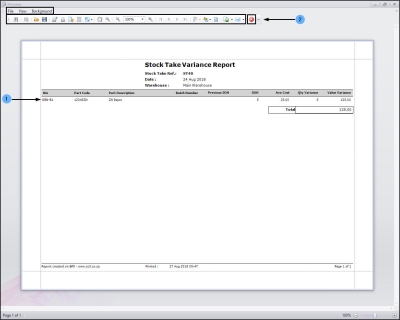
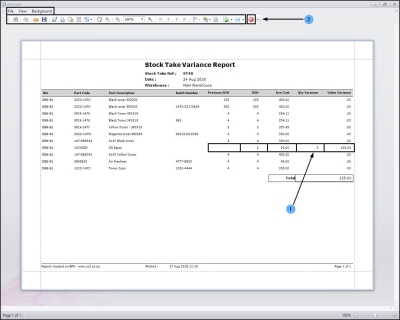
The Report Preview screen will be displayed.
- In this image, you can see that the Variance Report only contains the details of the items with a variance (discrepancy).
- From here you can View, Print, Email and Export the Stock Variance Report.
Close the report preview screen when you are done.
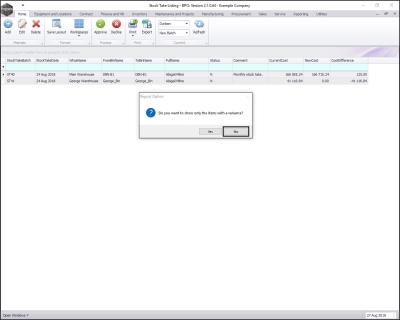
- If, when the Report Option message box popped up, you selected No,
- The Variance Report displayed, will contain all part numbers listed in the stock take batch.
- In this image, the item with the variance has been highlighted.
- (From here you can View, Print, Email and Export the Stock Variance Report.
- Close the report preview screen when you are done.
Update / Approve the Stock Batch
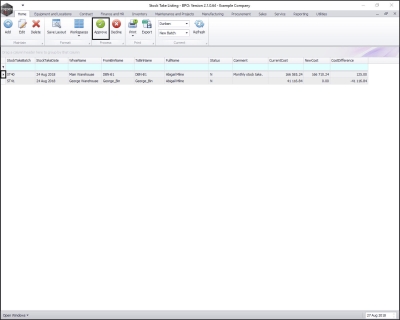
- In the Stock Take Listing screen, click on the row selector in front of the batch that you wish to update or approve.
- Click on Approve.
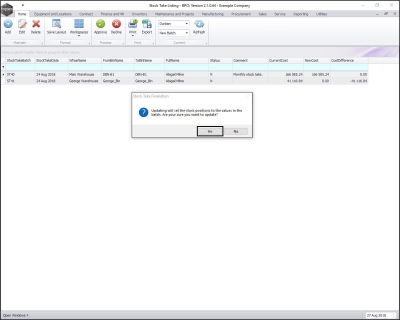
- A Stock Take Finalisation message will come up:
- Updating will set the stock positions to the values in the batch. Are you sure you want to update?
- If you are not sure that all details are correct,
- Select No then go back to the Maintenance of Stock Take Batch [ ] screen and check that all stock quantities have been typed in and are correct.
- Once you are sure, click on Yes.
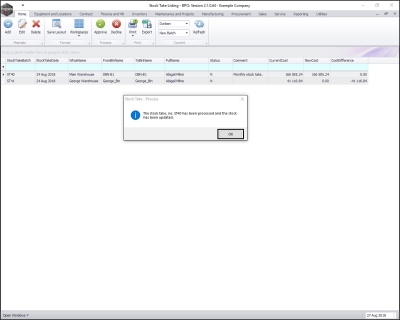
- A Stock Take - Process message box will pop up informing you that;
- The stock take, no. [] has been processed and the stock has been updated.
- Click on OK.
- You will return to the Stock Take Listing screen.
- The approved stock take batch has now been removed from this screen where the status is set to New Batch.
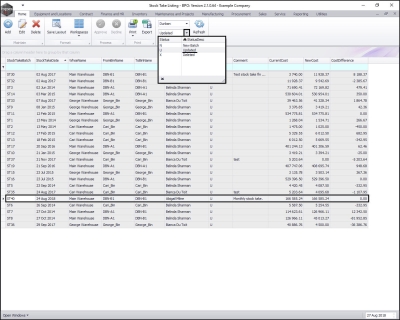
- It can now be found in the Stock Take Listing screen where the status is set to Updated.
MNU.036.003
