Inventory
Stock - Requisition - To Replenish Stock Levels
Stock replenishment is a supply chain operation that involves ordering enough stock to cover average demand. This average demand is determined by monitoring stock usage over a period of time.
Once stock movement has been processed on our system for a period of time, the Stock Age Analysis report can be run to view the quantity over a period from 1 month to 12 months.
This will help the store manager to set up an appropriate Min/Max level.
Stock can then be purchased at regular intervals to constantly maintain the Max level plus any additional client demand requests that exist.
You can create a Purchase Requisition directly from the Stock screen.
Ribbon Select Inventory > Stock
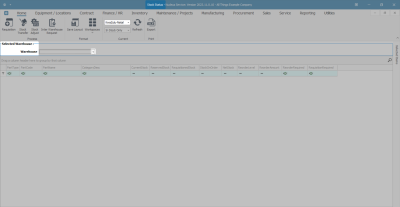
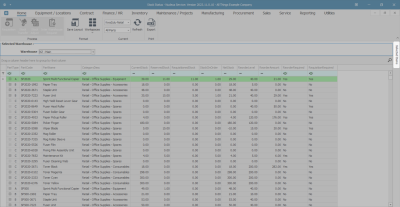
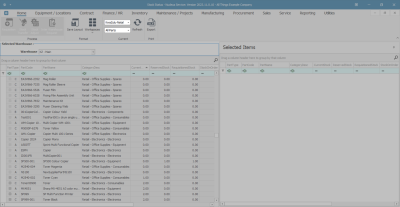
- The Stock Status screen will be displayed.
Single Link Stock Requisition
- Select the Site.
- In this example, KwaZulu-Natal has been selected.
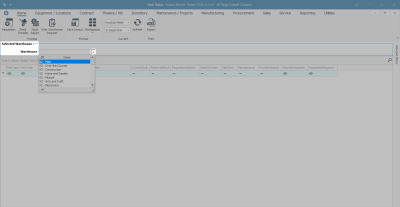
- Click on the drop-down arrow in the Warehouse field to display the Warehouse Selection menu.
- The Warehouse Name menu will be displayed.
- Click on the warehouse that you wish to view the stock of.
- In this example, KZN Main has been selected.
Select Stock Status
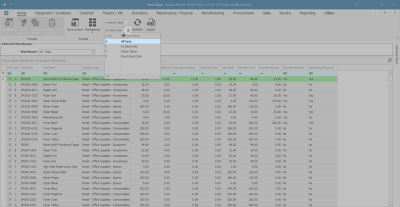
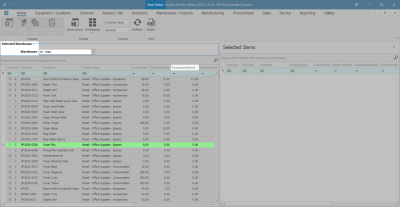
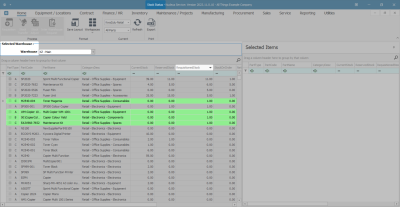
- The Selected Warehouse frame auto populates with a list of all the items In Stock Only.
- Click on the drop-down arrow and select All Parts or Short Stock Only.
- Note: The In Stock list will give you a list of only what is currently in stock - if you are ordering stock then you will want to view either All Parts or Short Stock so that you can find the part that needs replenishing in either of these lists.
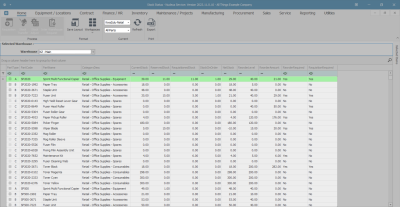
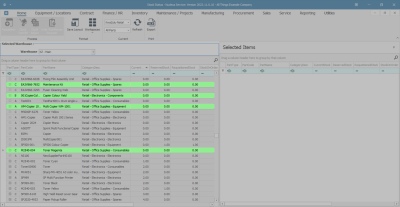
- The screen will now display a list of all of All Parts in the selected warehouse.
- Here you can view A-Class, B-Class and C-Class items.
Selected Items panel
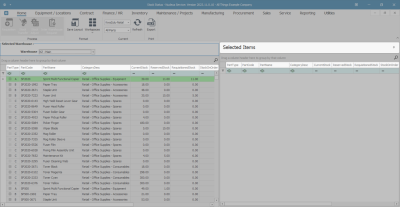
- Click on the Selected Items tab.
- The Selected Items panel will be expanded.
- Dock this panel to make it easier to work in.
Refer to Docking Panels and Save Layout for detailed handling on these topics.
Note: You will see that this Selected Items header row contains exactly the same header row details as the Selected Warehouse panel.
Select Part to be Requisitioned
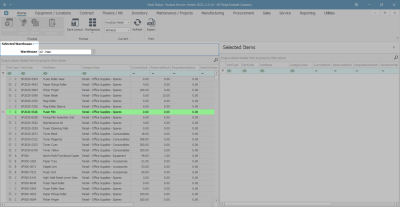
- Either scroll down the list or use the filter row to search for the part code or name of the item you wish to raise a requisition for.
- Click on the row selector in front of the item.
- In this image, part code SP2020-5526 Fuser Film has been selected.
- Drag and drop the item line from the Selected Warehouse frame into the Selected Items frame.
- The item line will be copied from the Selected Warehouse frame into the Selected Items frame.
Raise a Requisition
Method 1
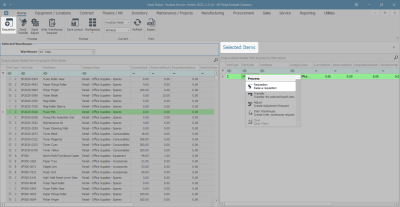
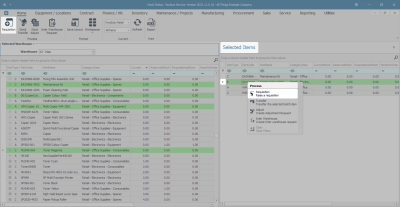
- Right click in the row of a selected item line.
- A Process menu will pop up.
- Click on Requisition - Raise a requisition.
Method 2
- Click on an item line in this frame, then click on Requisition.
Add New Requisition Screen
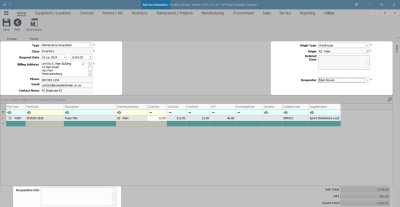
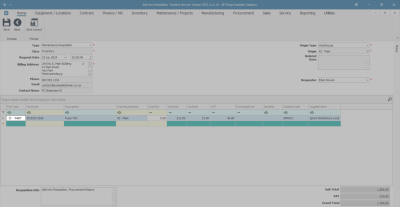
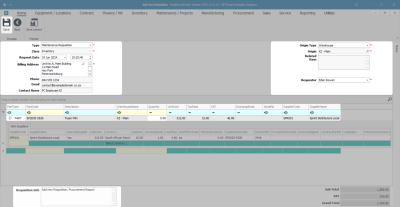
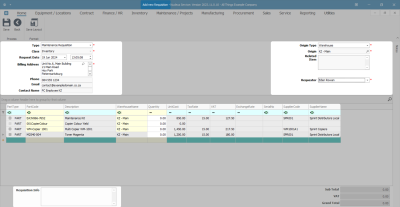
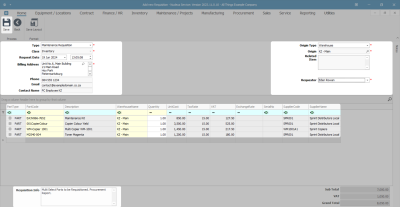
- The Add new Requisition screen will be displayed with all relevant details filled in.
- Requisition Info: Type in any extra information in this text box, if required. This will pull through to the Procurement Report.
- In the Parts data grid, make sure the part number and quantity required are correct.
- Note 1: If the Min / Max levels are set up, the Quantity (re-order) amount will be auto calculated.
- Note 2: You can click in the Quantity field and either type in or use the directional arrows to edit the quantity if required.
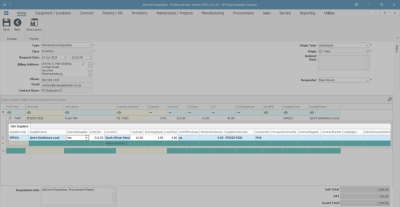
- Click on the expand button in the row of the part.
Item Suppliers Frame
- The Item Suppliers frame will be expanded. This is a list of the suppliers who are used to procure this item. If a supplier is not listed then you can add a supplier here.
- Note: Each requisition item must have one selected supplier, before the requisition can be released for approval. You can link more than one supplier to an item, with the main supplier as the default.
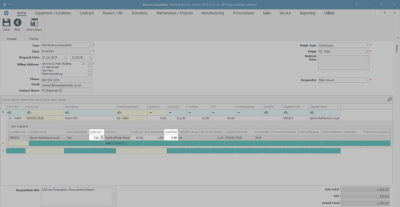
- Ensure that the Selected Supplier field is set to Yes for the supplier that you wish to purchase this item from.
- Note: Linking a supplier to the requisition, will pull through the supplier's details to the procurement documentation.
- You can add and / or edit the Unit Cost and Lead Time fields, specific to the selected supplier if required.
Save Requisition
- When you have finished checking the details of the requisition, click on Save.
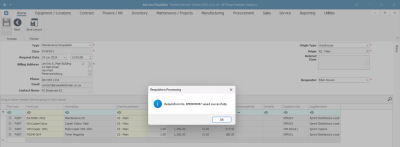
- A Requisition Processing message box will pop up informing you that -
- Requisition No. [ ] saved successfully.
- Click on OK.
Print Requisition
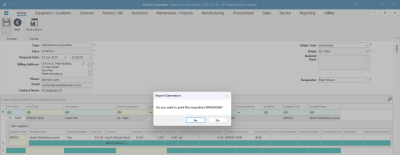
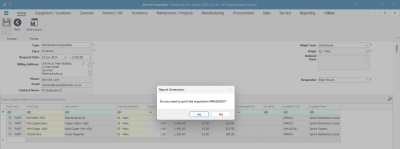
- A Report Generation message box will pop up asking -
- Do you want to print the requisition [ ]?
- Click on Yes.
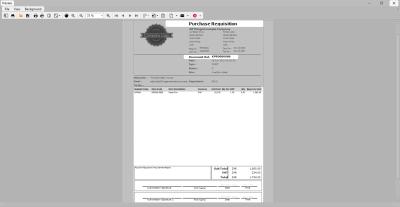
- The Report Preview screen will be displayed.
- From here you can View, Print, Email and Export the Purchase Requisition.
- Close the preview screen when you are done.
- You will return to the Stock Status screen.
- The item will no longer be listed in the Selected Items frame.
- In the warehouse frame, you will see the requisition quantity reflecting in the Requisitioned Stock column.
- You can find the new Purchase Requisition in the Purchase Requisition Listing screen in status New.
- You may want to change details on the purchase requisition once it has been created. You can follow the process to Add/Edit Requisition Items (Parts Quantity) Add/Edit Supplier / Unit Cost.
Multi Line Stock Requisition
- In the Stock Status screen, ensure that you have selected the correct Site and that the status is set to All Parts or Short Stock Only.
Multi Select Parts to be Requisitioned
- Click on the first item line that you wish to select.
Method 1
- Hold the CTRL button down on your keyboard whilst you use the mouse to click on the other item line(s) you wish to add to this multi-line requisition. (The lines will highlight as they are selected.)
- When you have selected all the item lines required, let go of the CTRL button, hold down on the Shift key and single click on the last selected line.
- Drag and drop this line into the Selected Items frame.
Method 2
- Drag and drop item lines one at a time into the Selected Items frame until you have all the items you wish to add.
- Either process will bring all of the selected item lines into the Selected Items frame.
Raise a Requisition
Method 1
- Right click in the row of a selected item line.
- A Process menu will pop up.
- Click on Requisition - Raise a requisition.
Method 2
- Click on an item line in this frame, then click on Requisition.
- The Add new Requisition screen will be displayed with all relevant details filled in and all the selected item lines listed in the Parts data grid.
- Follow the same process as for the Add new Requisition screen to add requisition info and check item and supplier details for each item line.
Save Multi-Line Requisition
- When you have finished checking the requisition details, click on Save.
- A Requisition Processing message box will pop up informing you that -
- Requisition No. [ ] saved successfully.
- Click on OK.
Print Multi-Line Requisition
- A Report Generation message box will pop up asking -
- Do you want to print the requisition [ ]?
- Click on Yes.
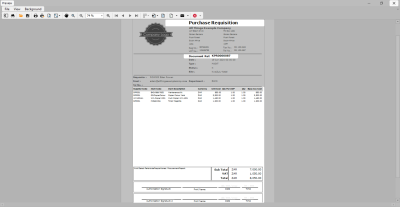
- The Report Preview screen will be displayed.
- In this image, you can see that all the item lines have pulled through to the purchase requisition.
- From here you can View, Print, Email and Export the Purchase Requisition.
- Close the preview screen when you are done.
- You will return to the Stock Status screen.
- The item will no longer be listed in the Selected Items frame.
- In the warehouse frame, you will see the requisition quantity reflecting in the Requisitioned Stock column for each item.
View New Purchase Requisition
- You can find the new Purchase Requisition in the Purchase Requisition Listing screen in status New.
- You may want to change details on the purchase requisition once it has been created. You can follow the process to Add/Edit Requisition Items (Parts Quantity) Add/Edit Supplier / Unit Cost.
MNU.037.001

