We are currently updating our site; thank you for your patience.
BPO Bulk GRN Manager
This functionality allows for importing a high volume of serial numbers by part code and to quickly select and drag multiple items to be GRN’d. The Bulk GRNs will be saved on the GRN screen and then processed in the BPO_BulkGRNManager console application (run via Task Scheduler). This will decrease time taken to process GRNs that have a large number of items.
Configuration
To use this functionality, the following configuration is required:
-
The Company Configuration BulkGRNLimit
 The number of lines within a GRN that must be reached in order to generate a Bulk GRN in order to decrease time taken to process GRNs that have a large number of items. must be set.
- BPO_BulkGRNManager console application to be installed, configured and running on the application server.
Notes
- Current stock GRN processing will remain unchanged, except for when the number of items to process is greater than the limit value set for the Company Configuration Flag BulkGRNLimit.
- The imported details required are the PartCode and SerialNo.
- Select either a CSV or EXCEL file to be imported.
- Once all the items are valid and processed by the console application, then it will create an entry into the processing queue for the PostingEngine application to process to the financial system.
![]() Refer toConfiguration for more information relating to the process
required for information to be processed by this application.
Refer toConfiguration for more information relating to the process
required for information to be processed by this application.
Requirements
- BPO2 v2.5.0.8 or later
- This application will be installed by your CO3 Analyst or BPO System Administrator on your company's application server, and scheduled to run automatically. Confirm with your System Administrator to check on the interval configured for your company.
Installation
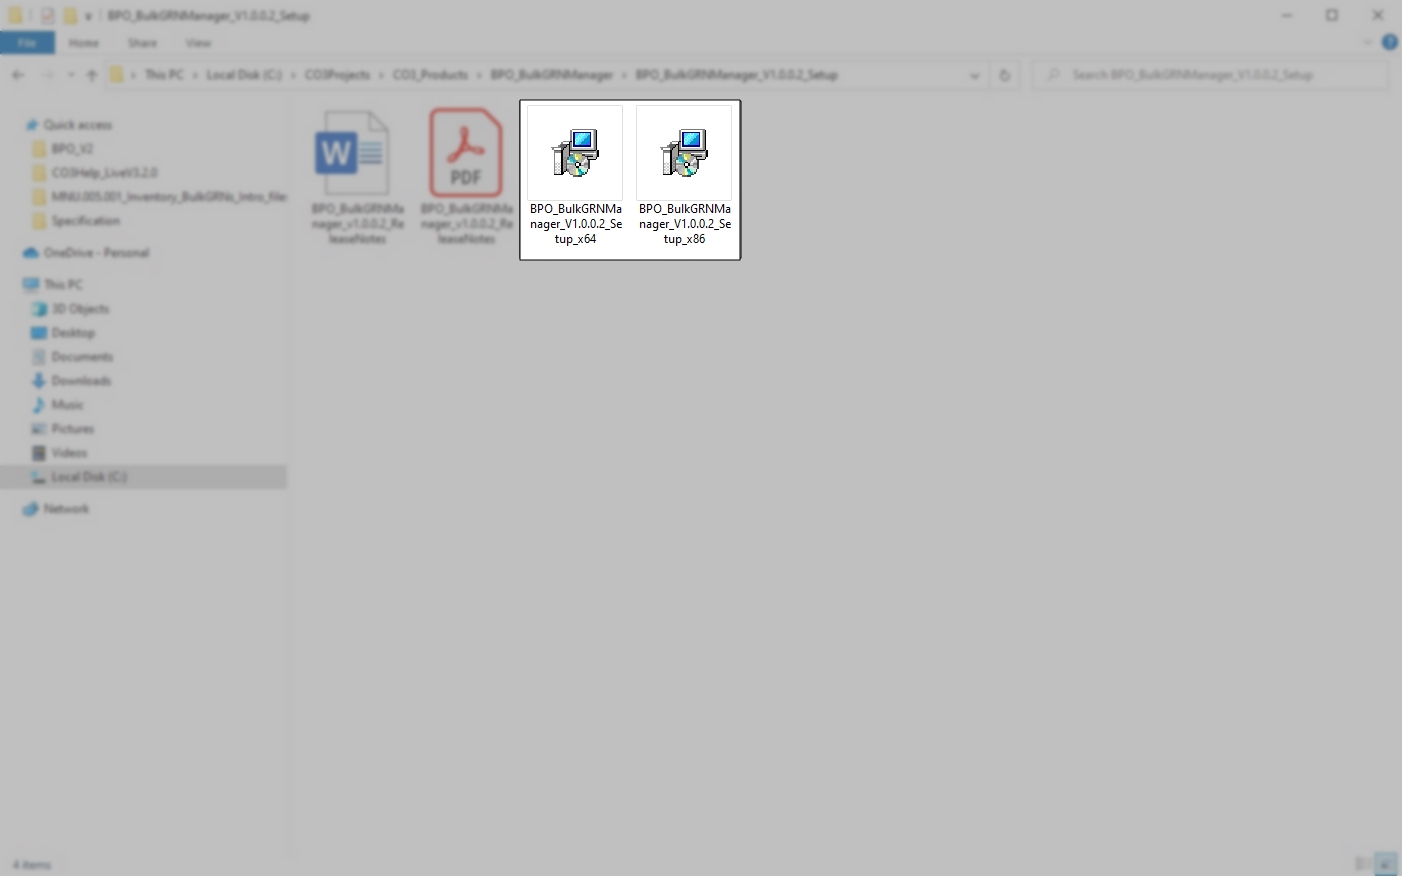
- Double click on the 'BPO_BulkGRNManager' install file.
- Note: Check that you have the latest version compatible with your version of BPO.
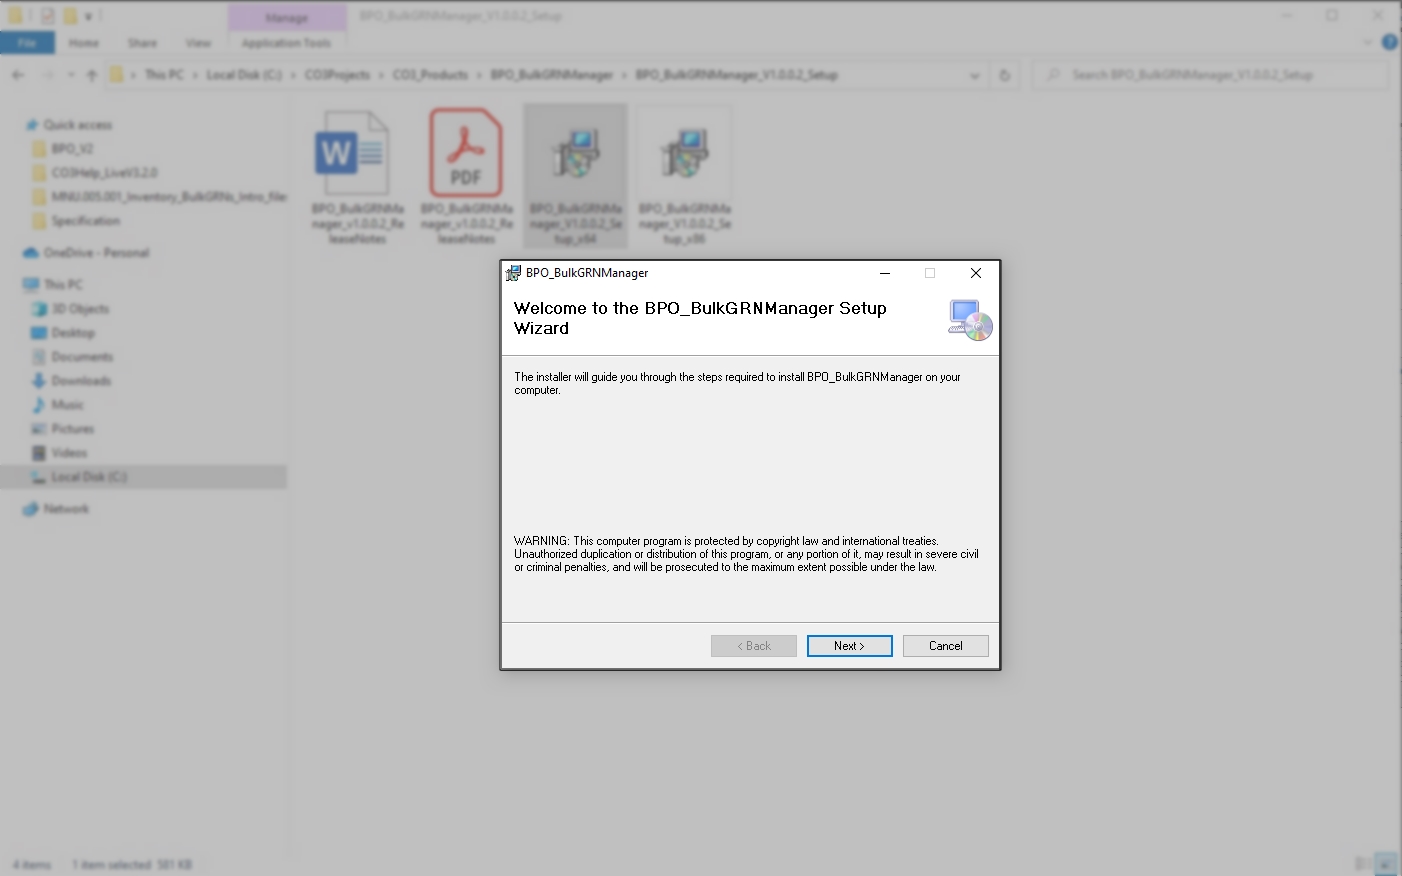
- The Installation Wizard will open.
- Click on Next.
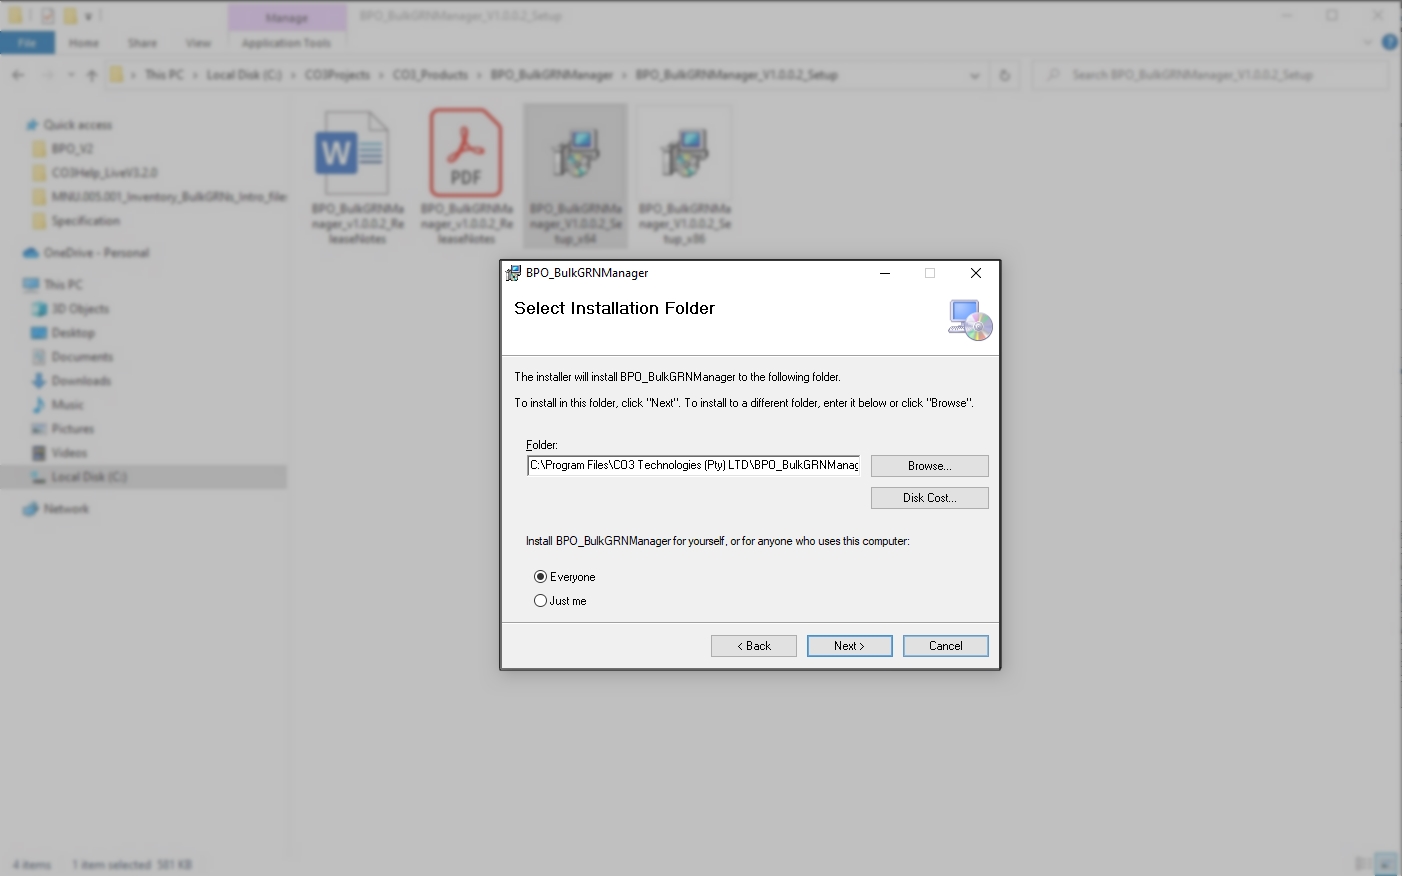
- The default location for installation is:
- C:\Program Files\CO3 Technologies (Pty) LTD\BPO_BulkGRNManager
- It is recommended that you keep this default location. Keeping a standard will make upgrades
easier.
- Ensure that Everyone is selected for the install.
- Click on the Next button.
- The installer will ask you to Confirm Installation.
- Click on Next to start the installation.
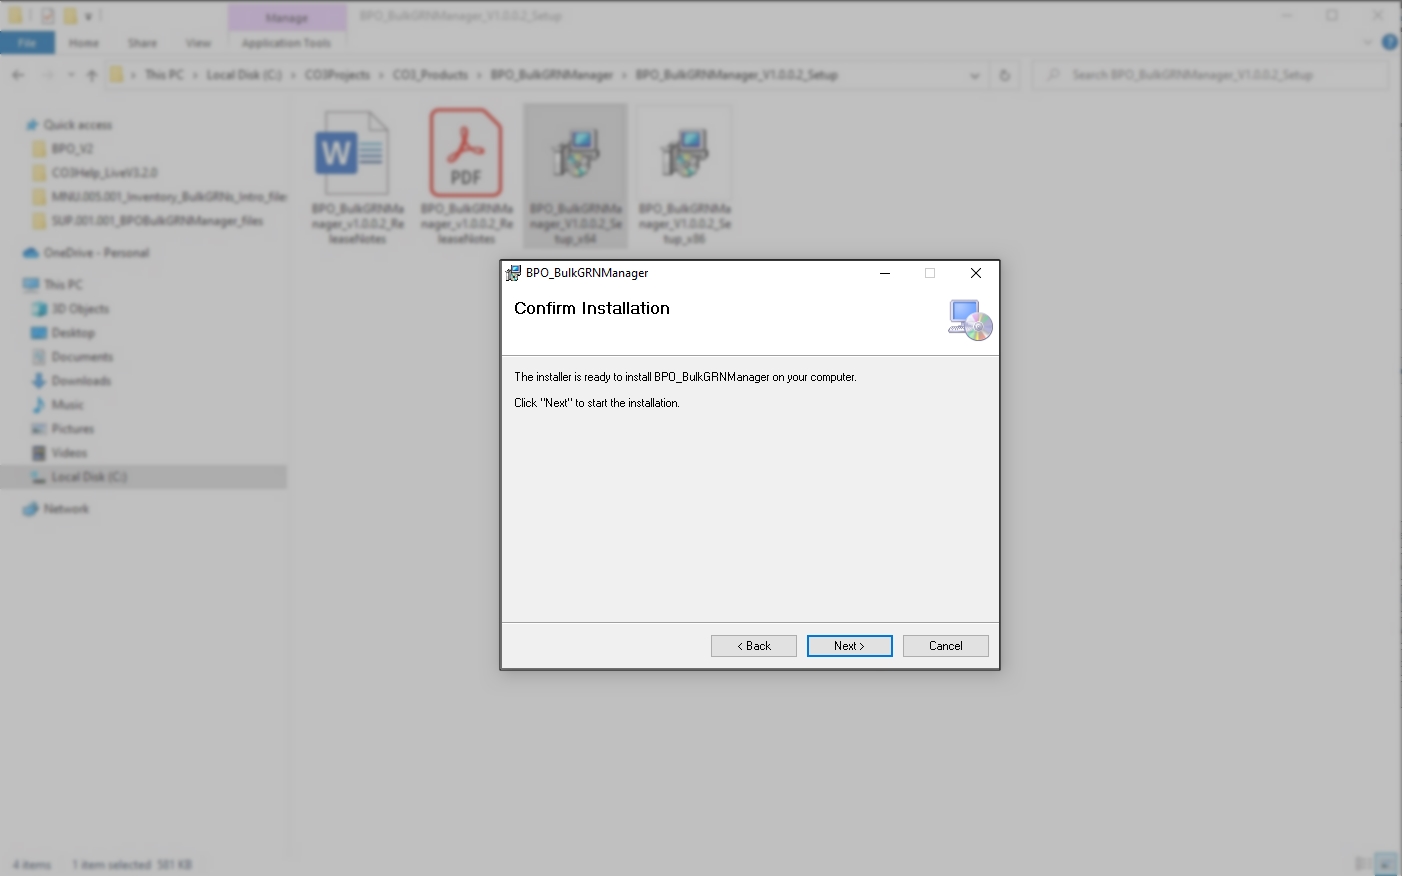
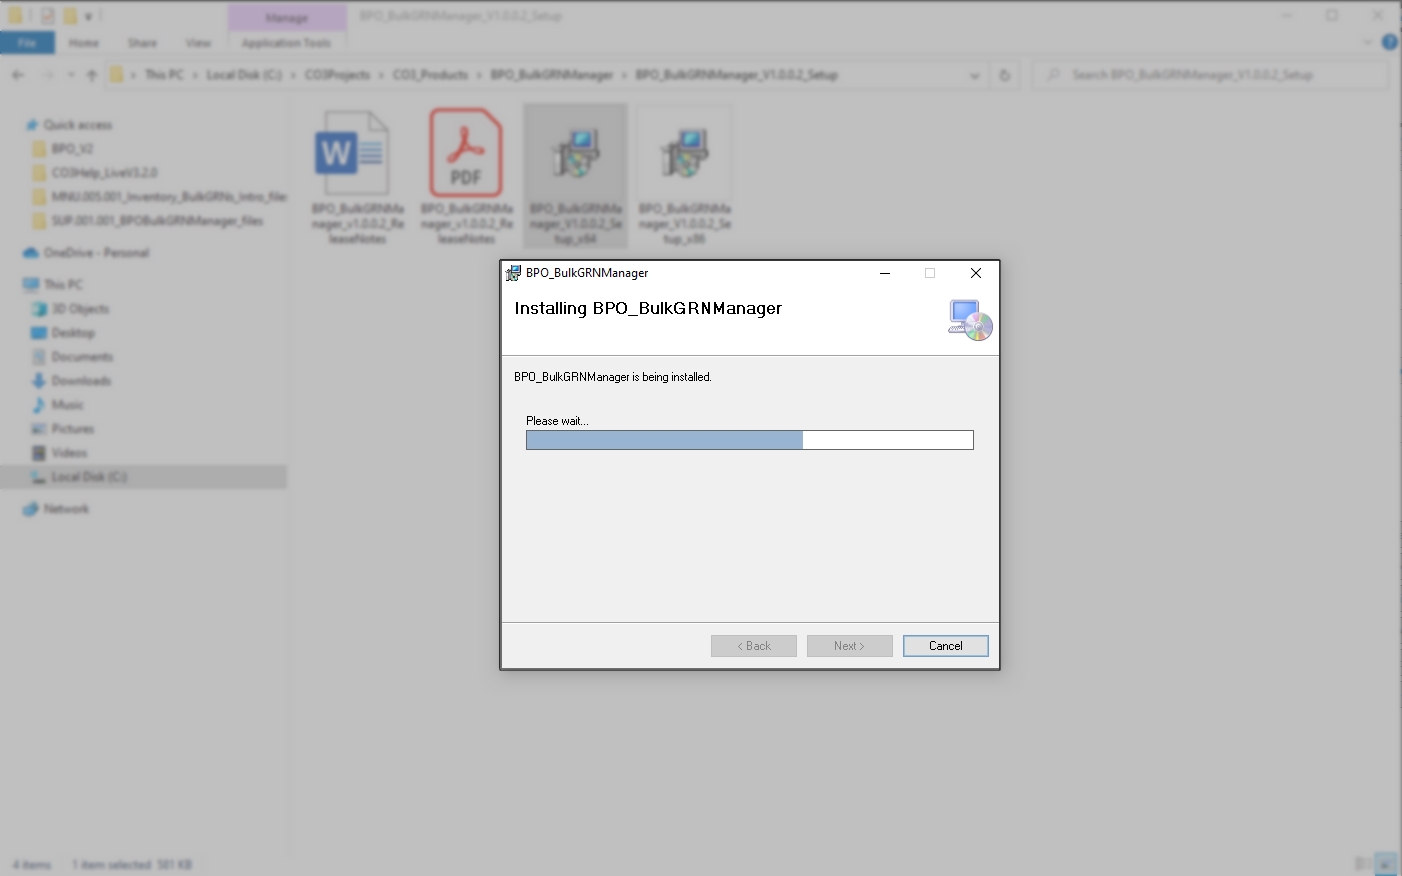
- The BPO Bulk GRN Manager installation will begin.
- Wait for it to be completed.
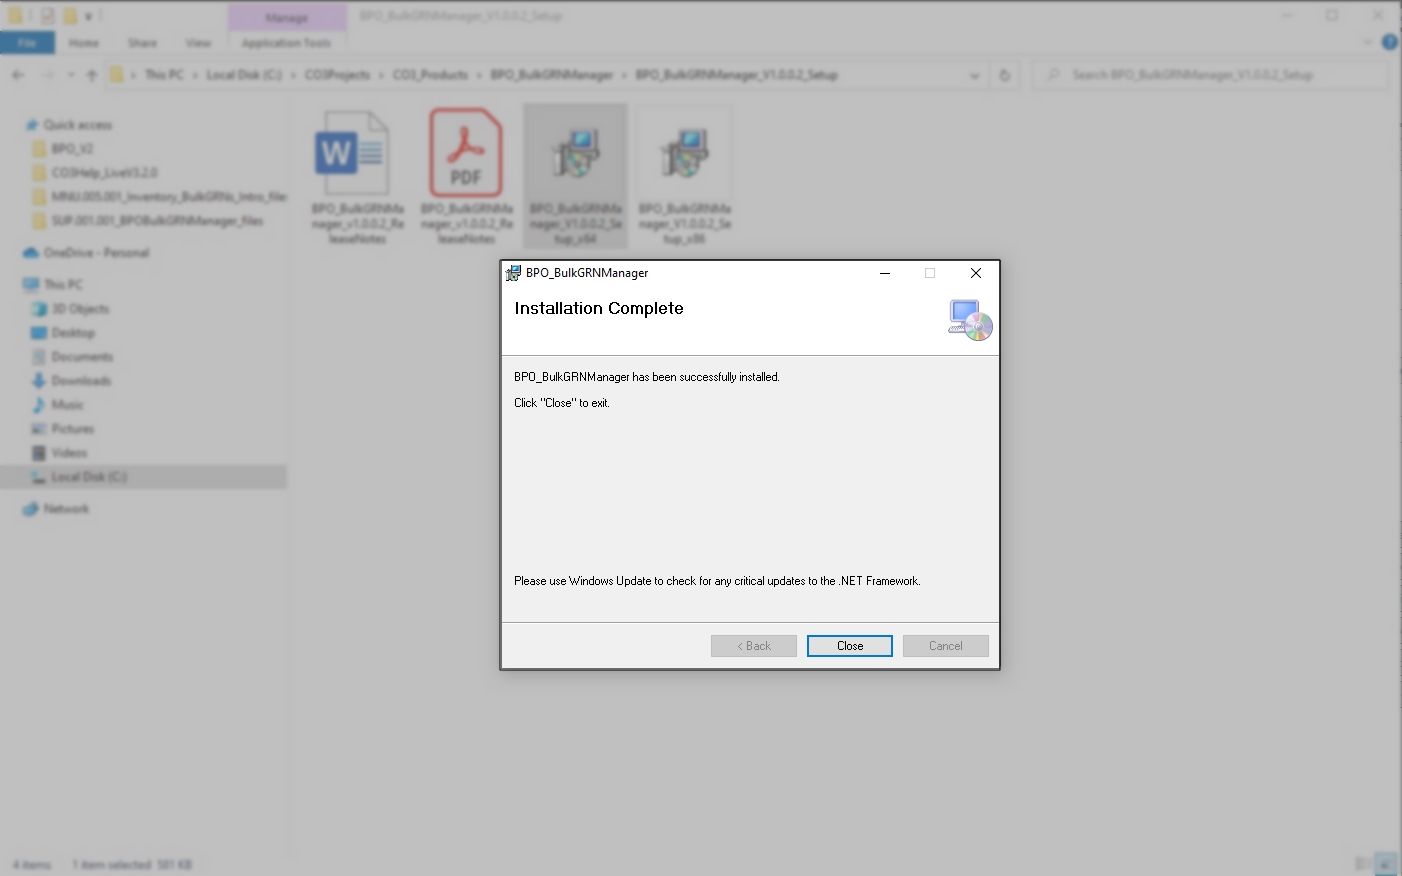
- Once Installation is Complete.
- Click on Close.
Configuration
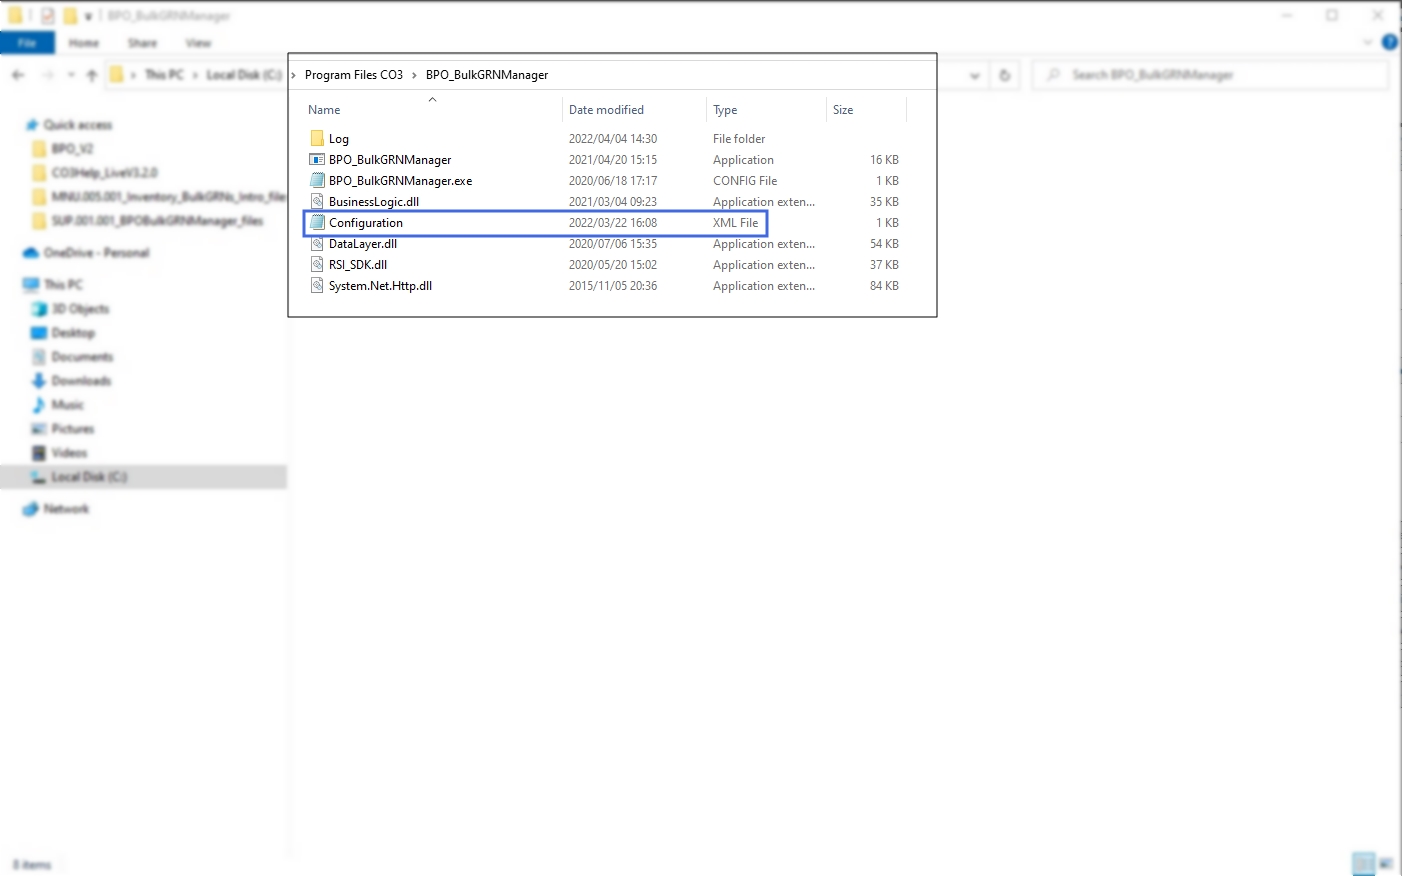
- In your File Explorer, search for the following file location:
- C:\Program Files\CO3 Technologies (Pty) LTD\BPO_BulkGRNManager
- Right click on the Envn.xml file.
- The File menu will open.
- Select to either Open with Notepad or Edit with Notepad++ (or any program that will allow editing and saving an xml file).
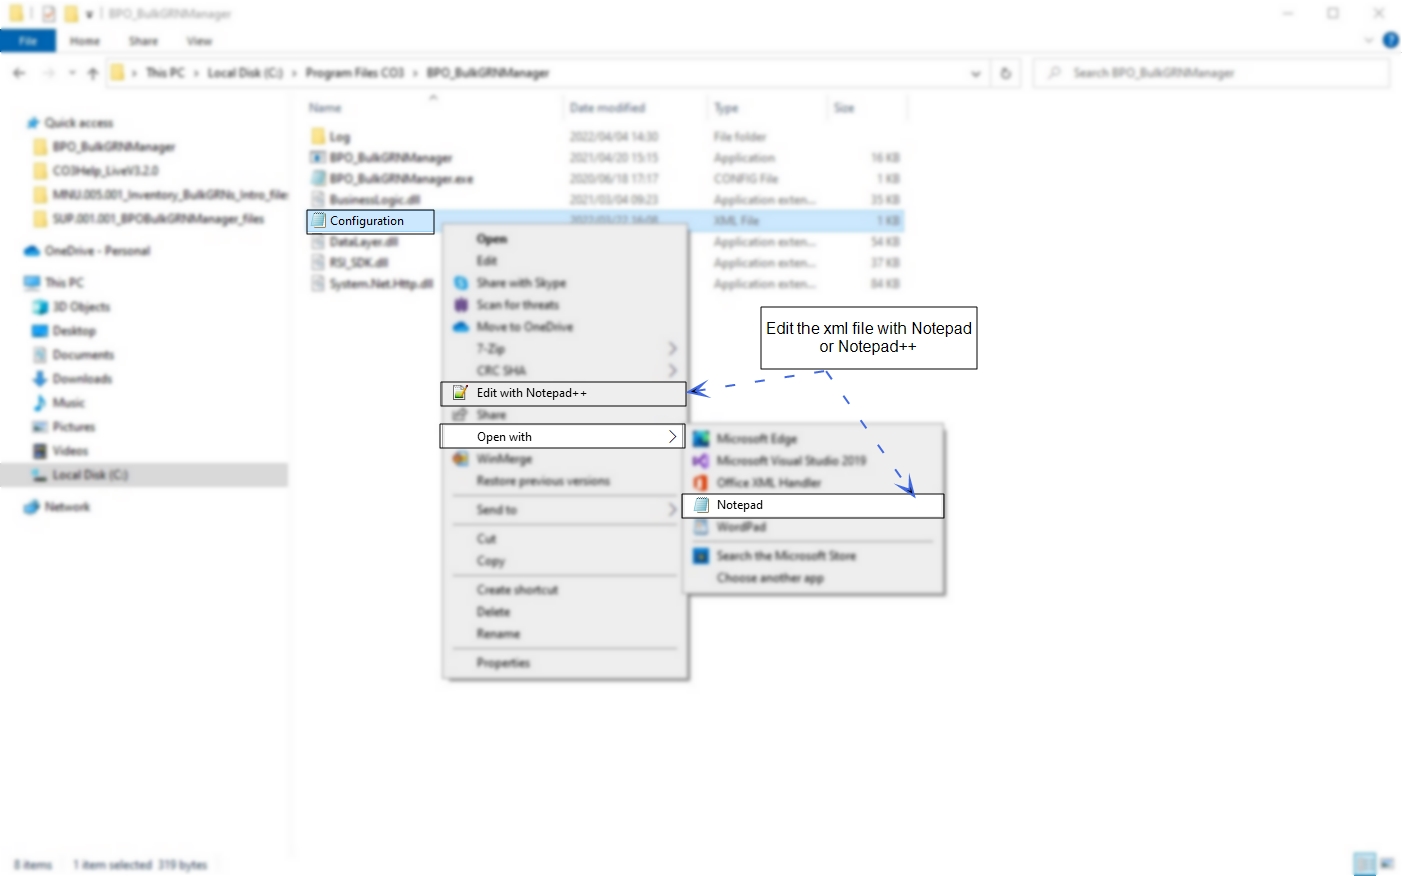
The xml file will open in the selected program.
- Type in the Environment Name as defined for this database, in the Service Manager.
- Select Yes to Process the selected environment.
- Keep the default EmailLayout, as this field is used for the error notification description.
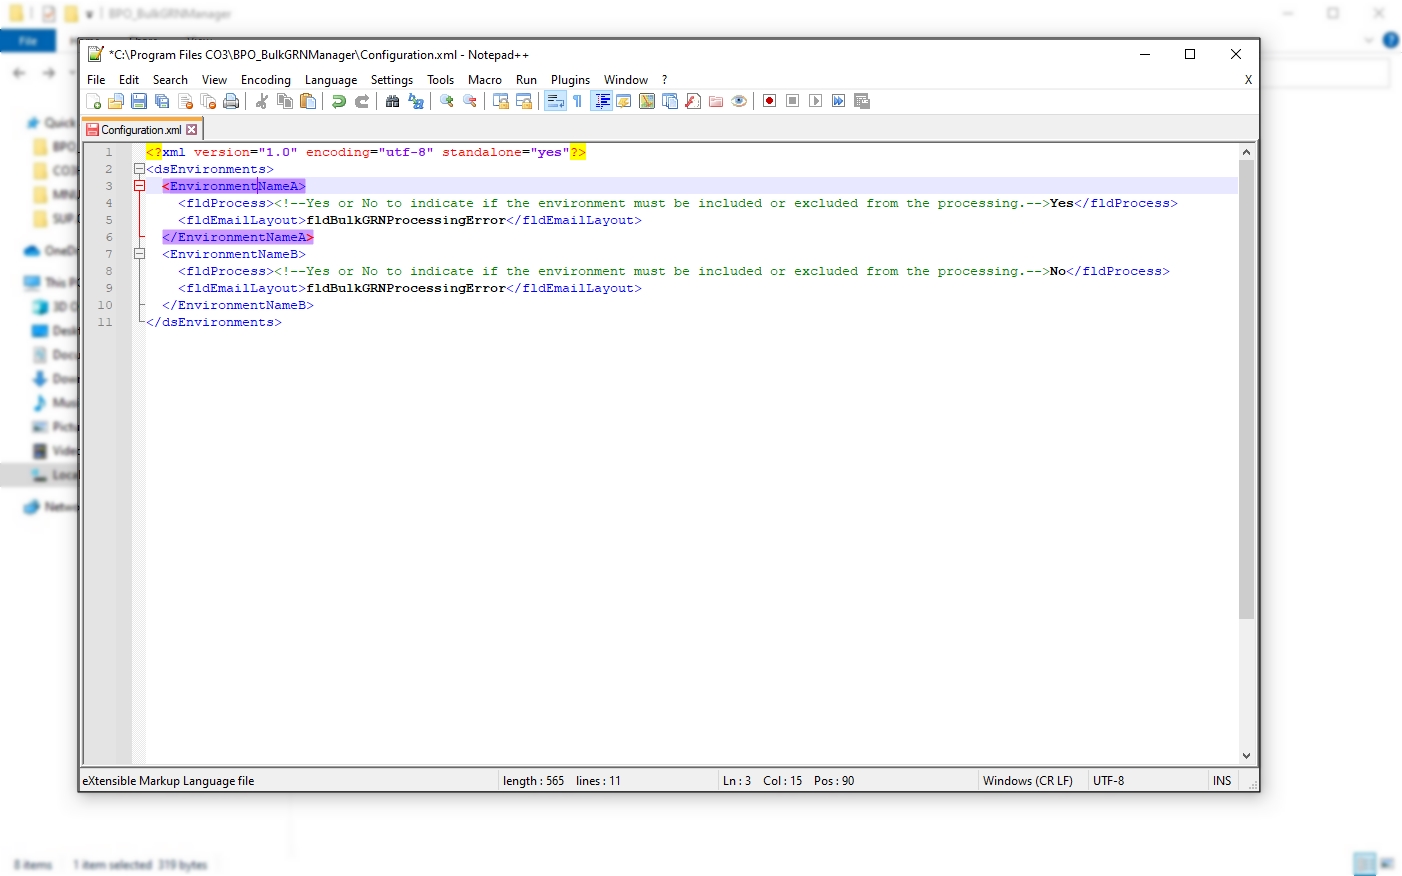
- Multiple environments are configured by setting up additional <Environment> tags within the main <dsEnvironments> tag.
Configure Scheduled Task
BPO Supporting Console Applications can be run manually to test all configuration has been set up correctly, but must be set up to run via a Windows Scheduled Task, to run at an interval that meets your company's requirements. It is recommended to run bulk processing applications to run nightly to avoid load on the system during the day when users are working.
- Search for and open Task Scheduler

- Right click on the Windows Start button and select Task Manager
![]() Refer toAdd Scheduled Task for more information
relating to setting up a Windows Scheduled Task for BPO Bulk GRN Manager.
Refer toAdd Scheduled Task for more information
relating to setting up a Windows Scheduled Task for BPO Bulk GRN Manager.
Run Application and Check Logs
Running the application after installation and configuration is important, in order to ensure all configuration has been done correctly.
![]() Refer toManually Test Run Scheduled Task for
more information relating to running a Windows Scheduled Task for BPO Bulk GRN Manager.
Refer toManually Test Run Scheduled Task for
more information relating to running a Windows Scheduled Task for BPO Bulk GRN Manager.
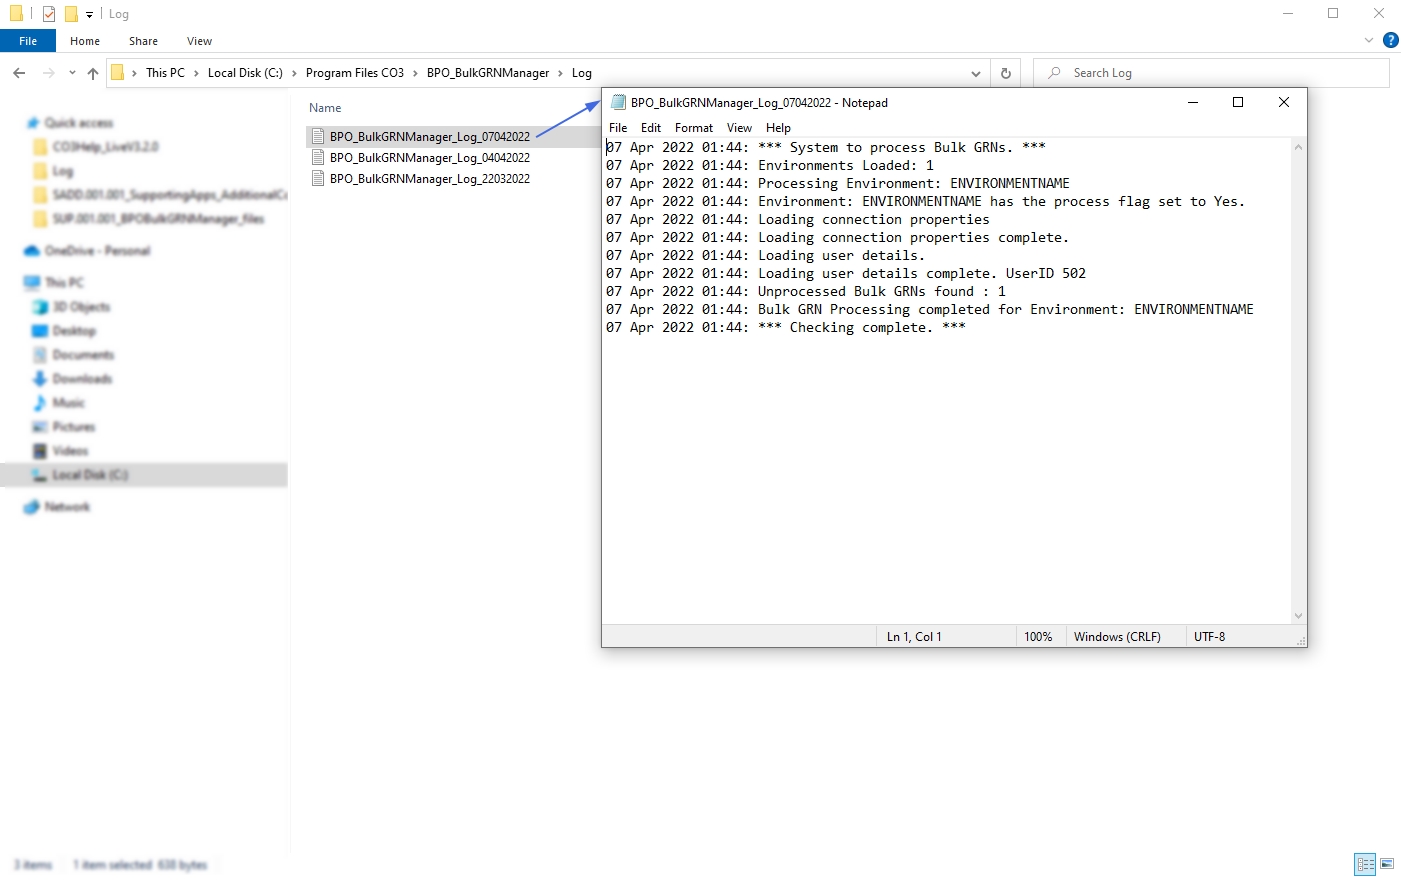
After running the application check the application's log to ensure the application is running correctly.
- Browse to the application's installation folder.
- Log text files are generated by date within the Log folder.
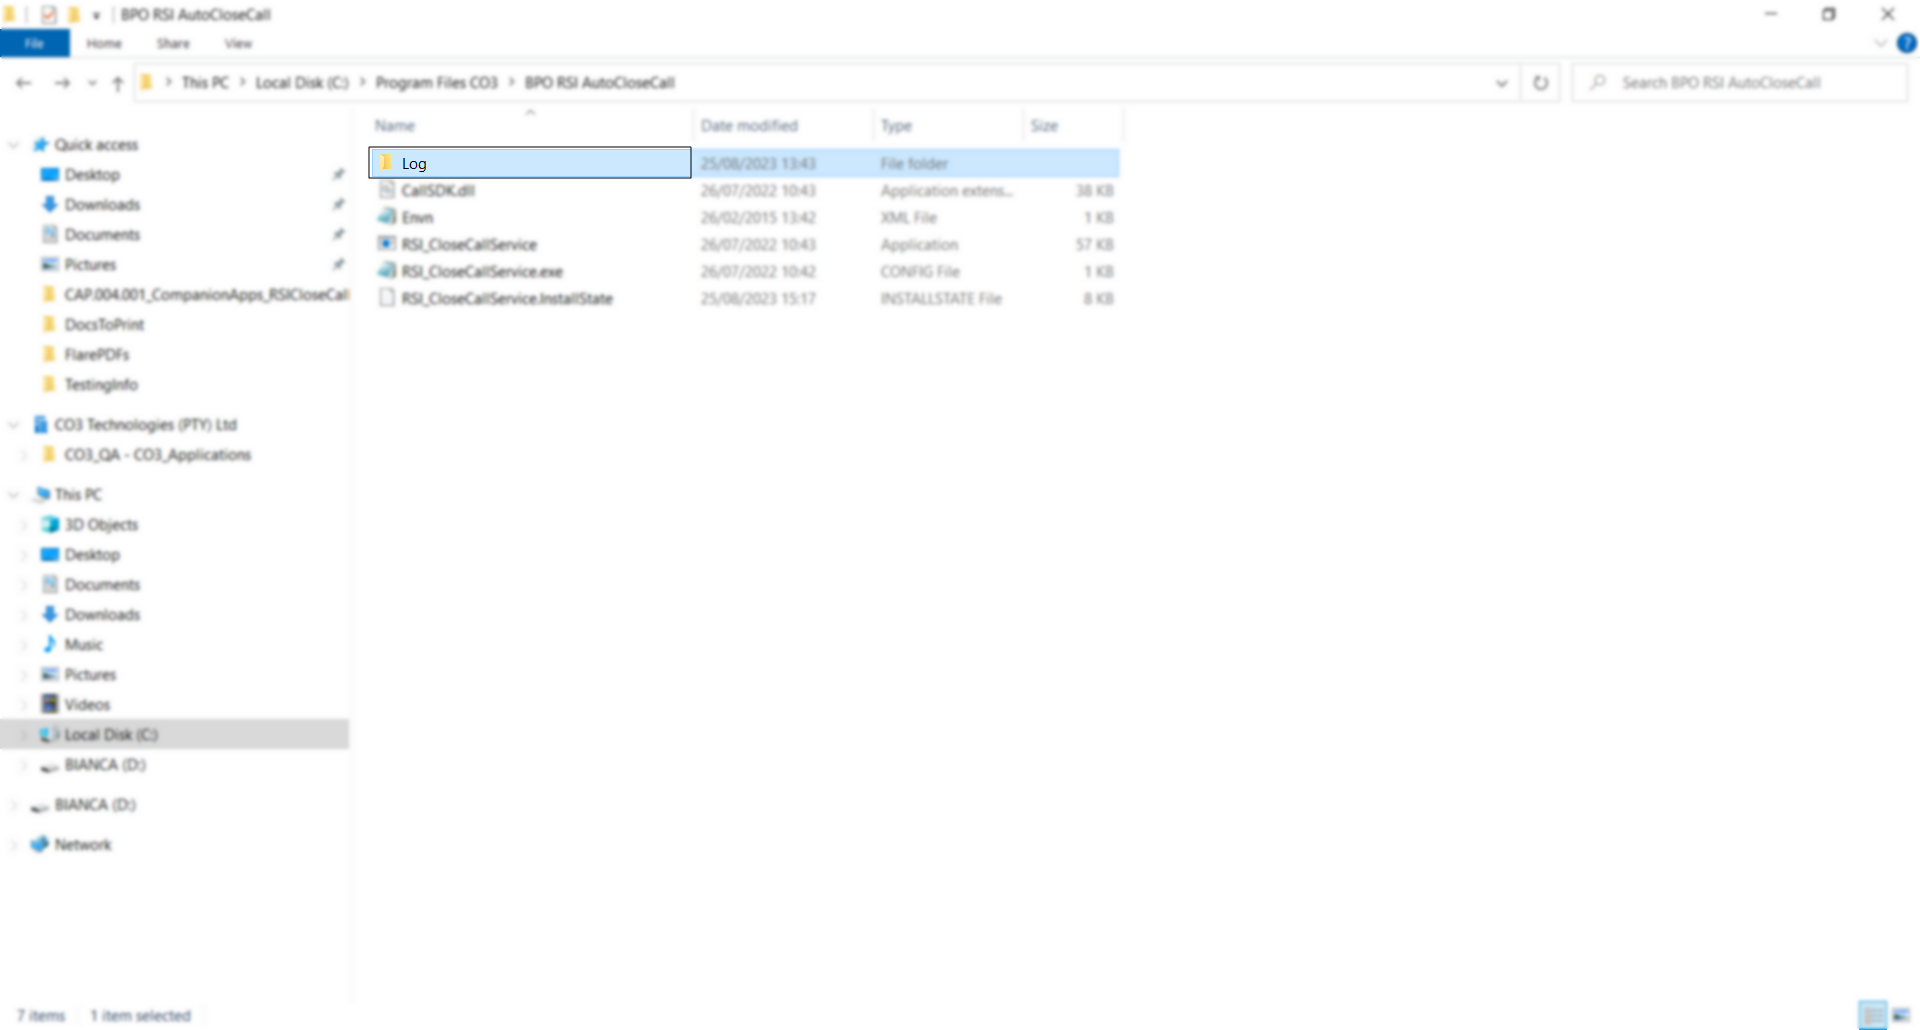
- Open the Log file generated for the corresponding date.
- Check that connection was successful, and that there are no errors in the log.
- Resolve any issues until the log file is clear of errors.
- It is recommended that you check the log files the following day to make sure the Scheduled Task fired that there are no errors in the log.
- This application can now be left to run via the Windows Scheduled Task.
- Review the log if any issues arise on BPO related to this functionality.
SUP.001.001