We are currently updating our site; thank you for your patience.
Equipment
Assets - View, Add, Edit, Delete Documents
Digital documents (for example, documents scanned to PDF) can be linked in various places in BPO.
The document should be saved on the server to enable all users with the relevant security rights to view the document. If saved and linked from the workstation, another workstation cannot view the document.
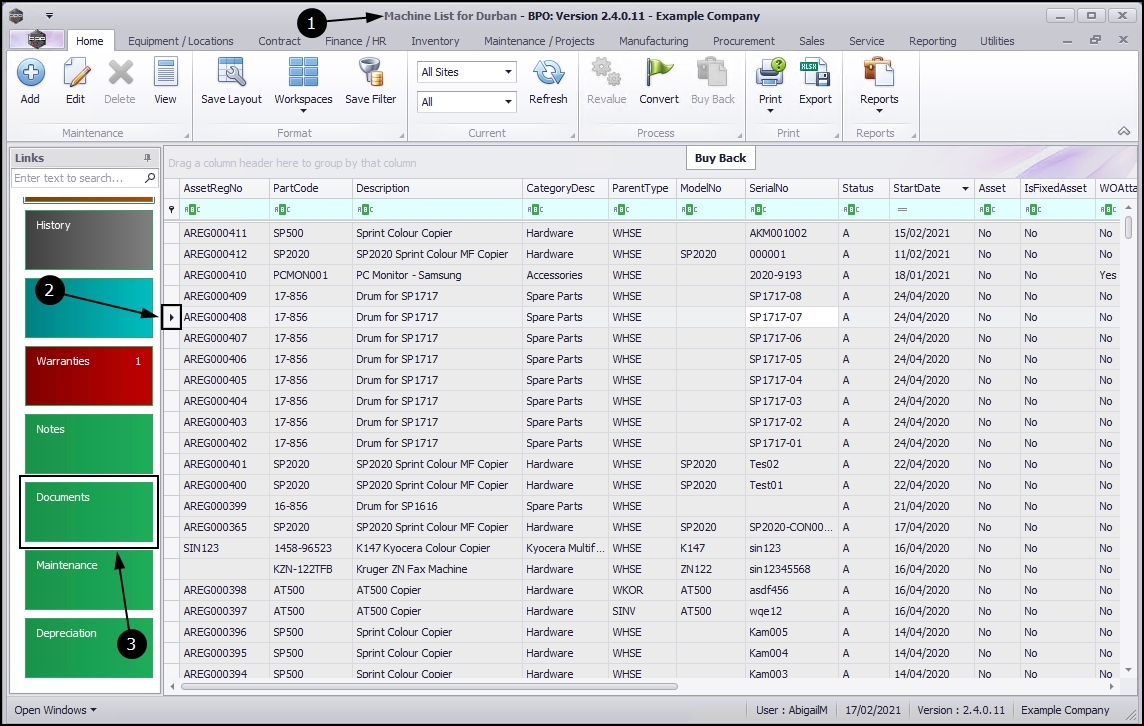
| Ribbon Access: Equipment and Locations > Assets |

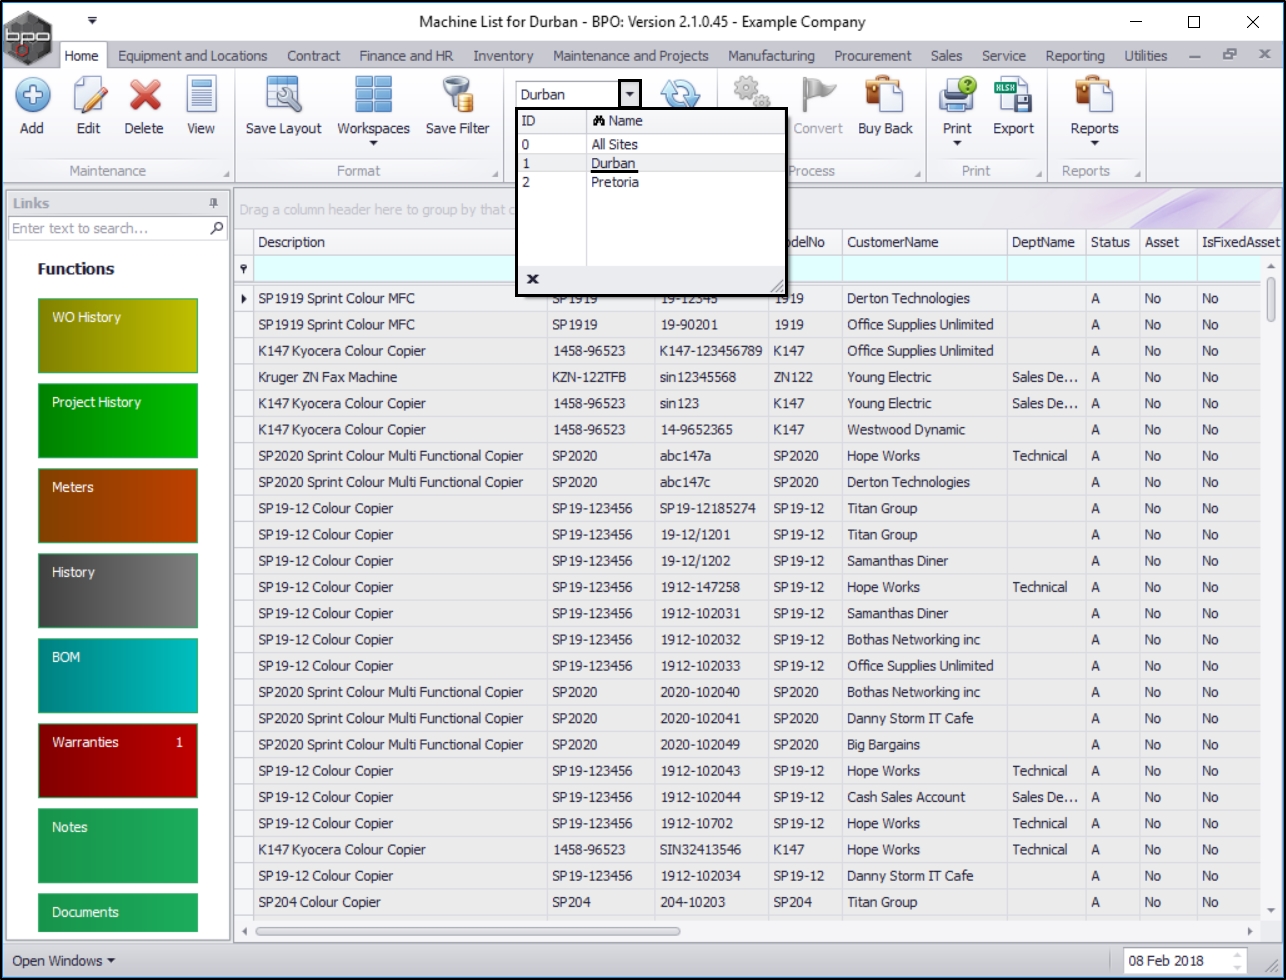
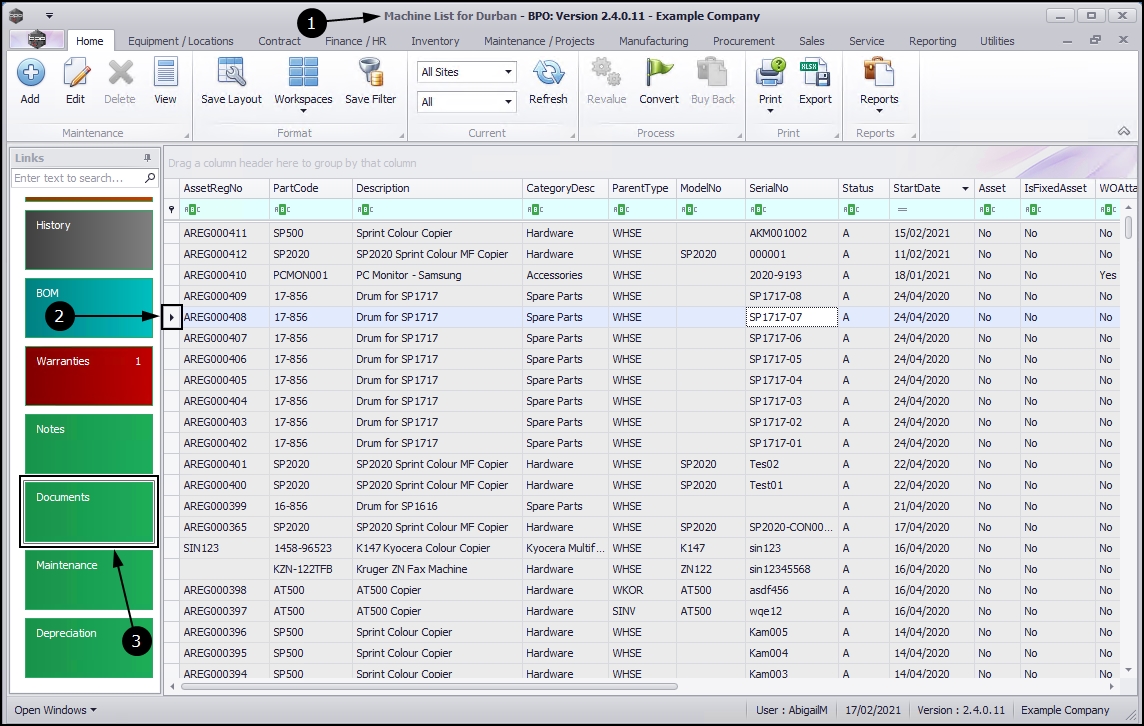
- The Machine List for [] screen will be displayed.
- The data grid will list all the assets currently on the system.
The Site and Type Filters
- Depending on your company configuration, you may need to click on the drop-down arrow and select the correct Site from the list, before proceeding.
Note: Refer to Site Selection for more information
-
In this example, Durban is selected.
This screen will open by default in the All Type. You do not need to change this Type to view or add asset documents. If this screen is already open in another Type for example, 'Internal Assets', then click on the drop-down arrow and select from the list, the right Type that contains the asset you wish to work with.
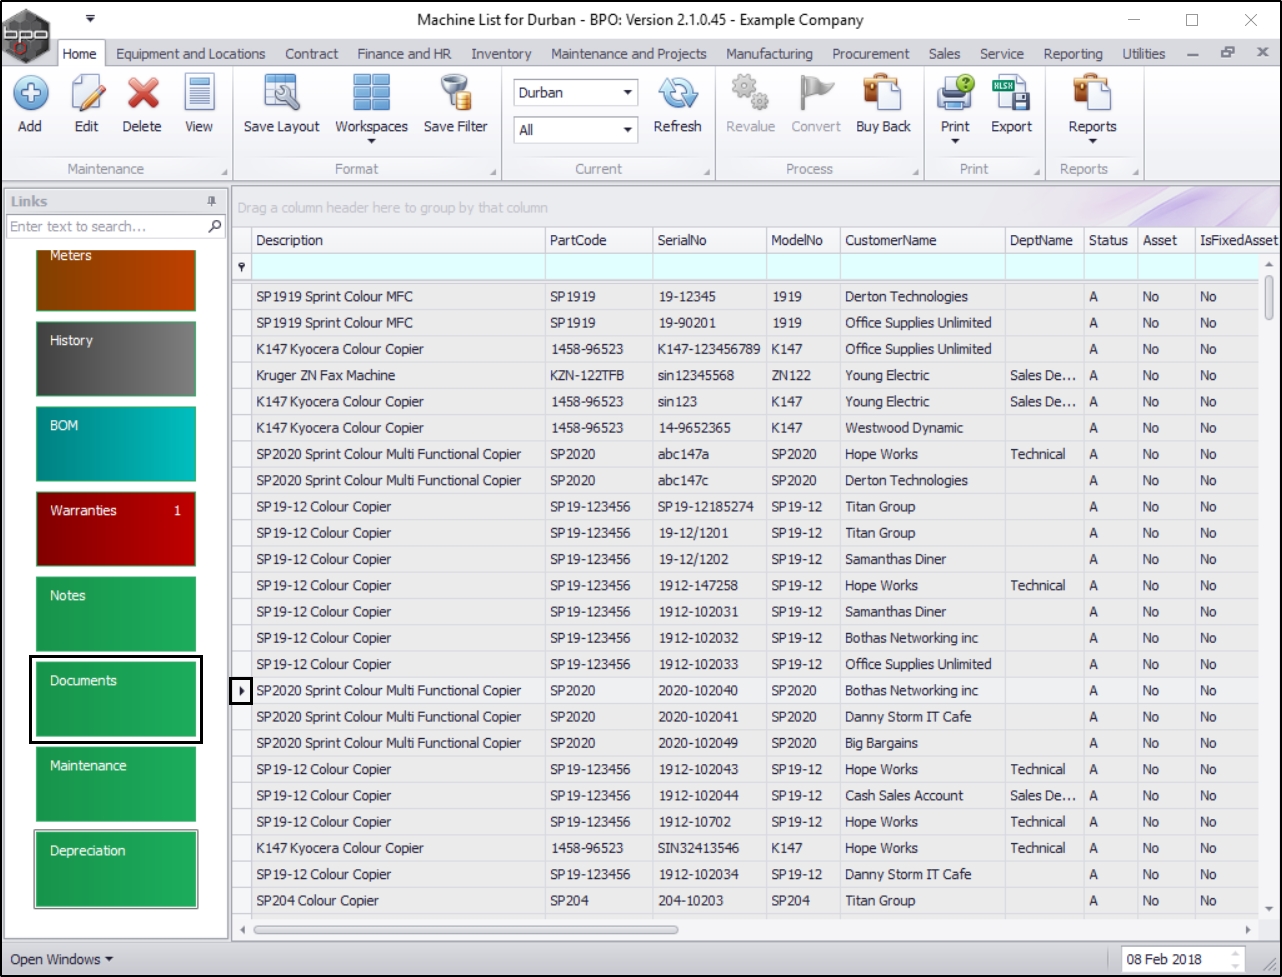
Select the Asset
- Select the row of the asset where you wish to view the linked digital document(s).
- Click on the Documents tile.
View Linked Document Contents
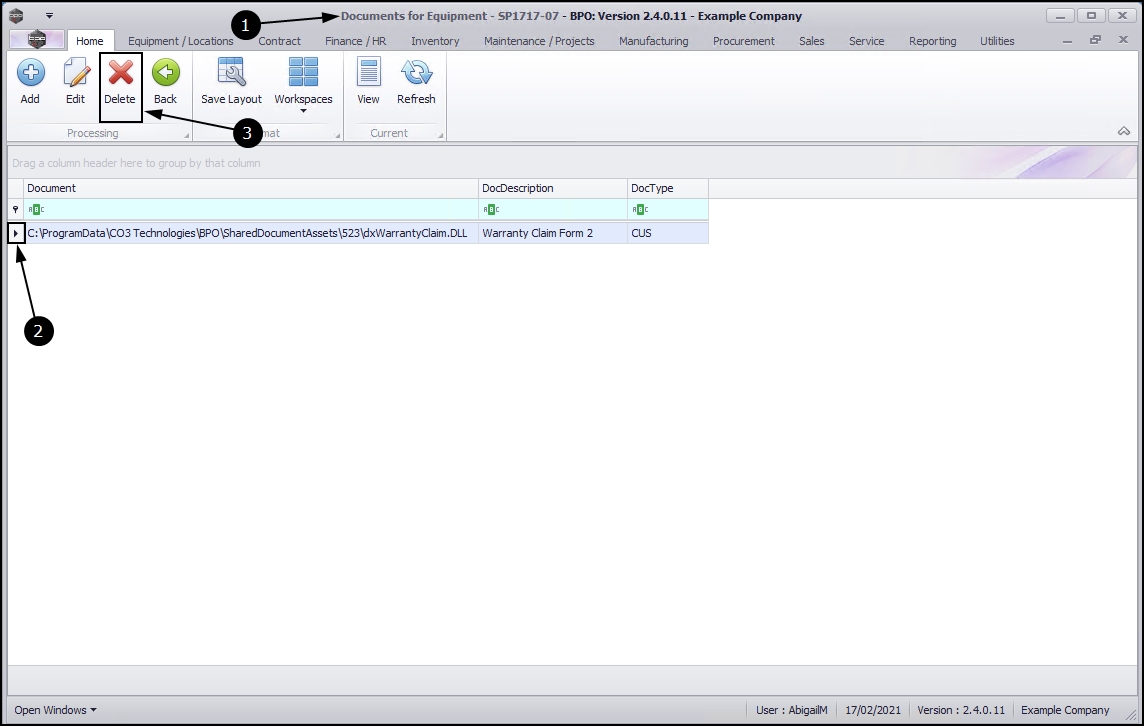
- The Documents for Equipment [] screen will open.
- Here you can view a list of the documents currently linked to the selected asset.
- Select the row of the document where you wish to view the contents.
- Click on View.

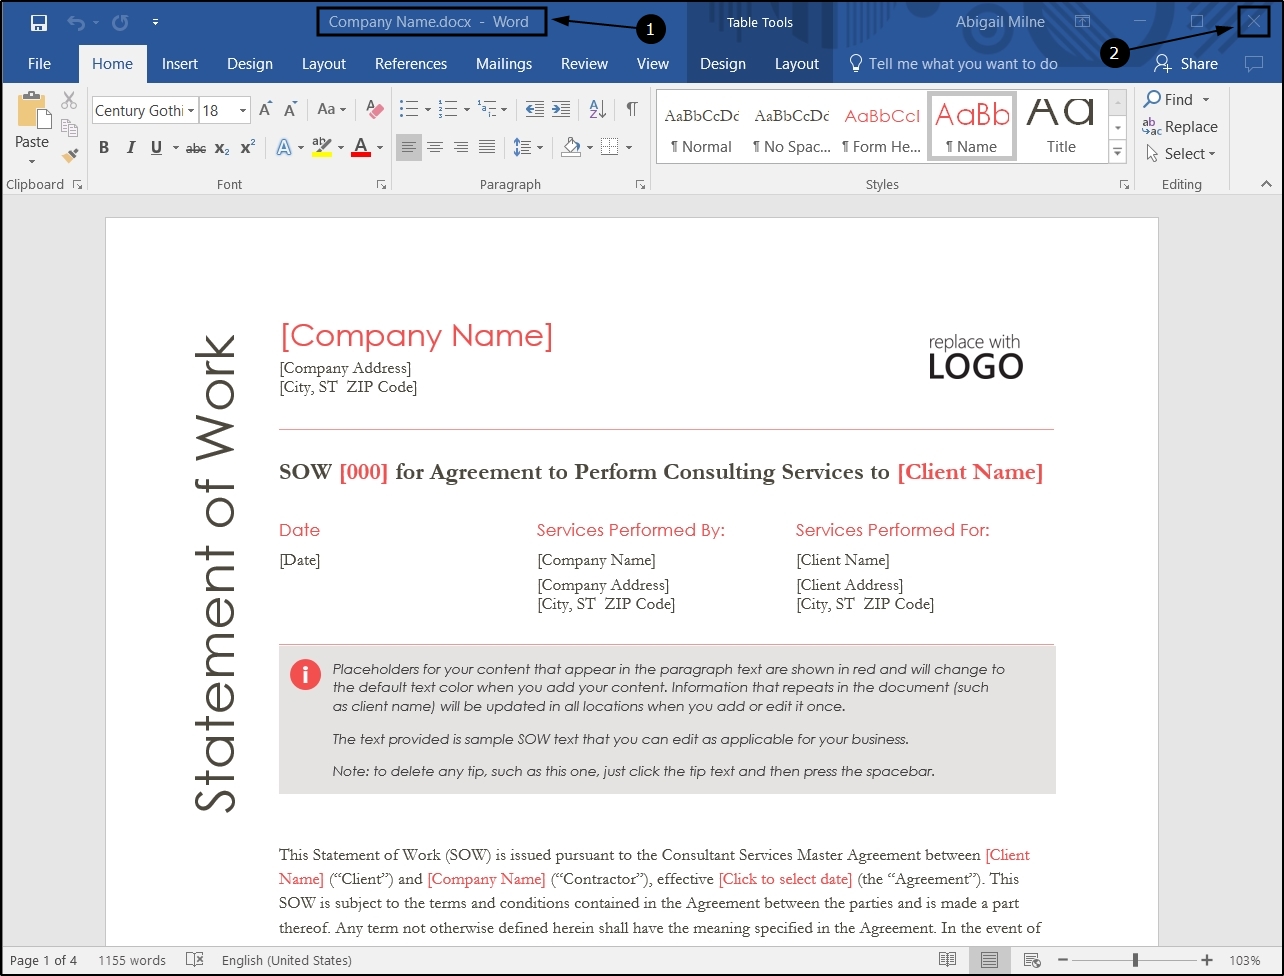
- The document will open with the relevant program, for example, a PDF will open in Adobe Reader, a Word document will open the Microsoft Word application (if installed on your PC).
- Close this screen to return to the Documents for Equipment [] screen.
Add a Document
Select Asset
- In the Machine List for [] screen, select the row of the asset where you wish to add a document.
- Click on the Documents tile.
- The Documents for Equipment - [] screen will open.
- Click on Add.

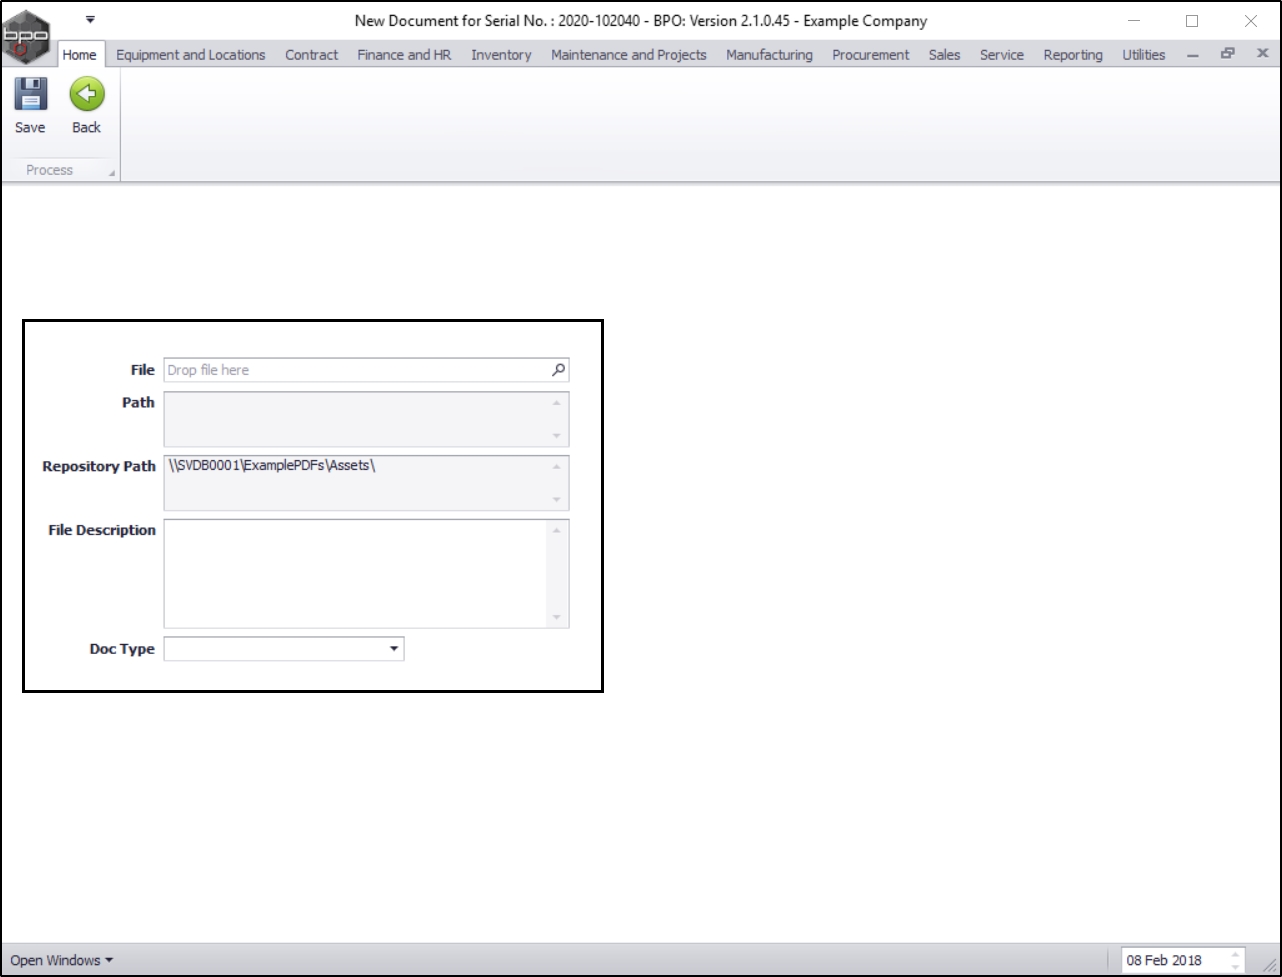
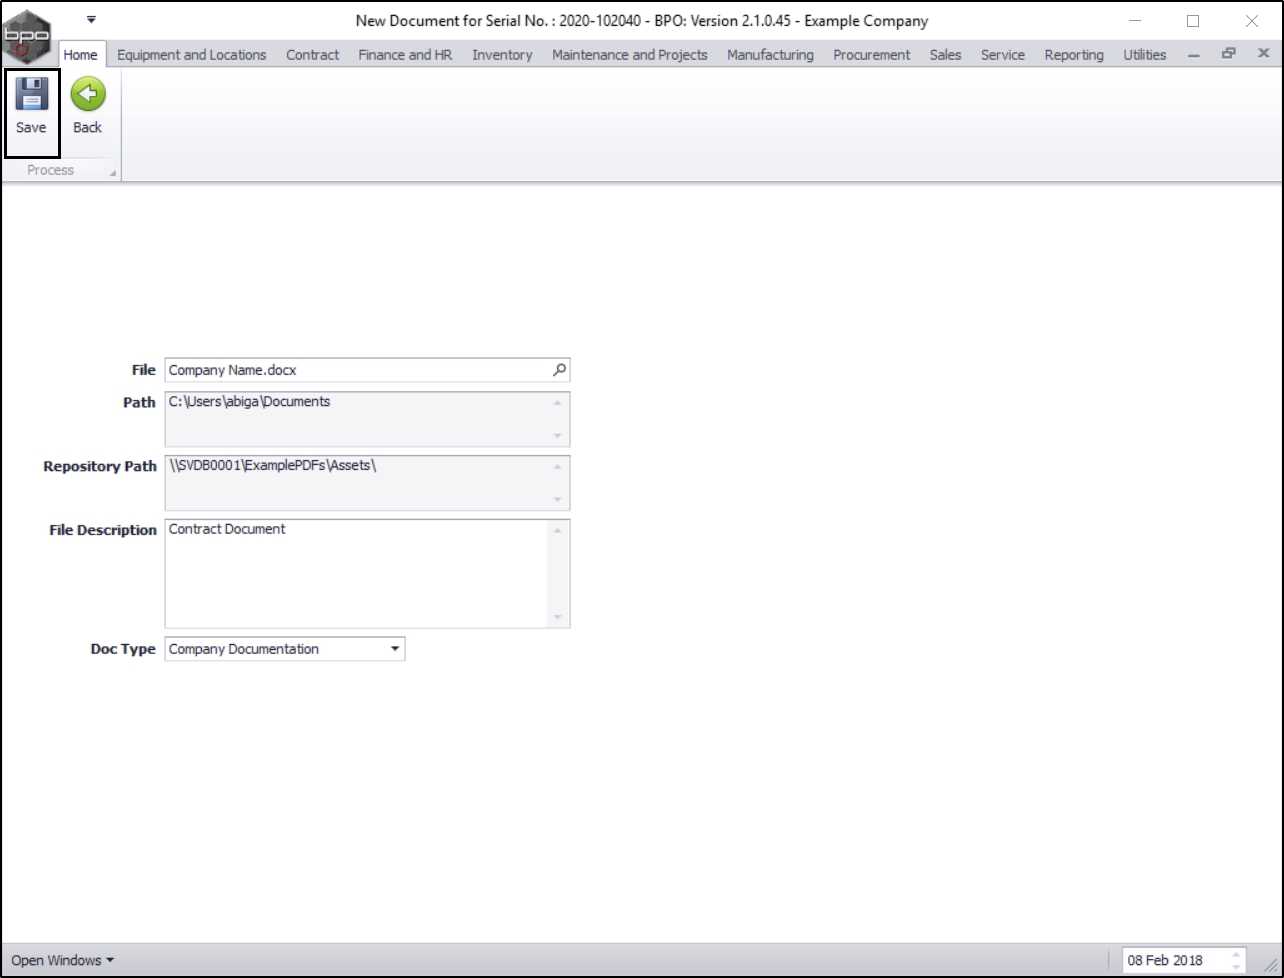
Add Document File and Path Details
- File: Click on the search button and browse your computer for the file you wish to attach.
- Path: This will auto populate according to the selected file.
- Repository Path: This will be auto populated with the configured location - Document Repository Path.
- File Description: Type in the title or a description for this document.
- Doc Type: Click on the drop-down arrow and select the appropriate Document Type from the list.
Save Added Document
- When you have finished linking the document details, click on Save.
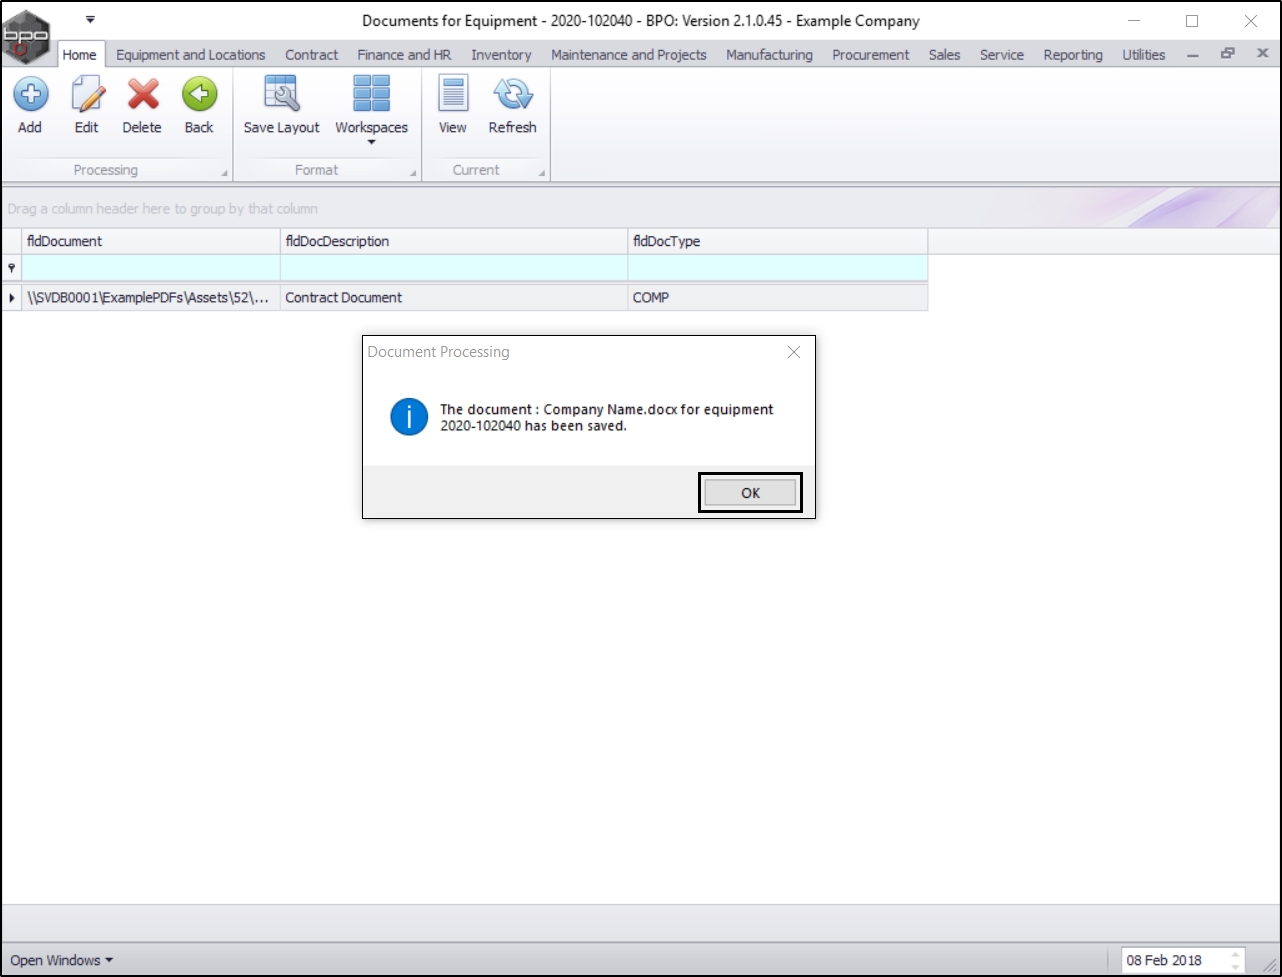
- You will return to the Documents for Equipment - [] screen.
- A Document Processing message box will pop up informing you:
- The document: [] for equipment [] has been saved.
- Click on OK.
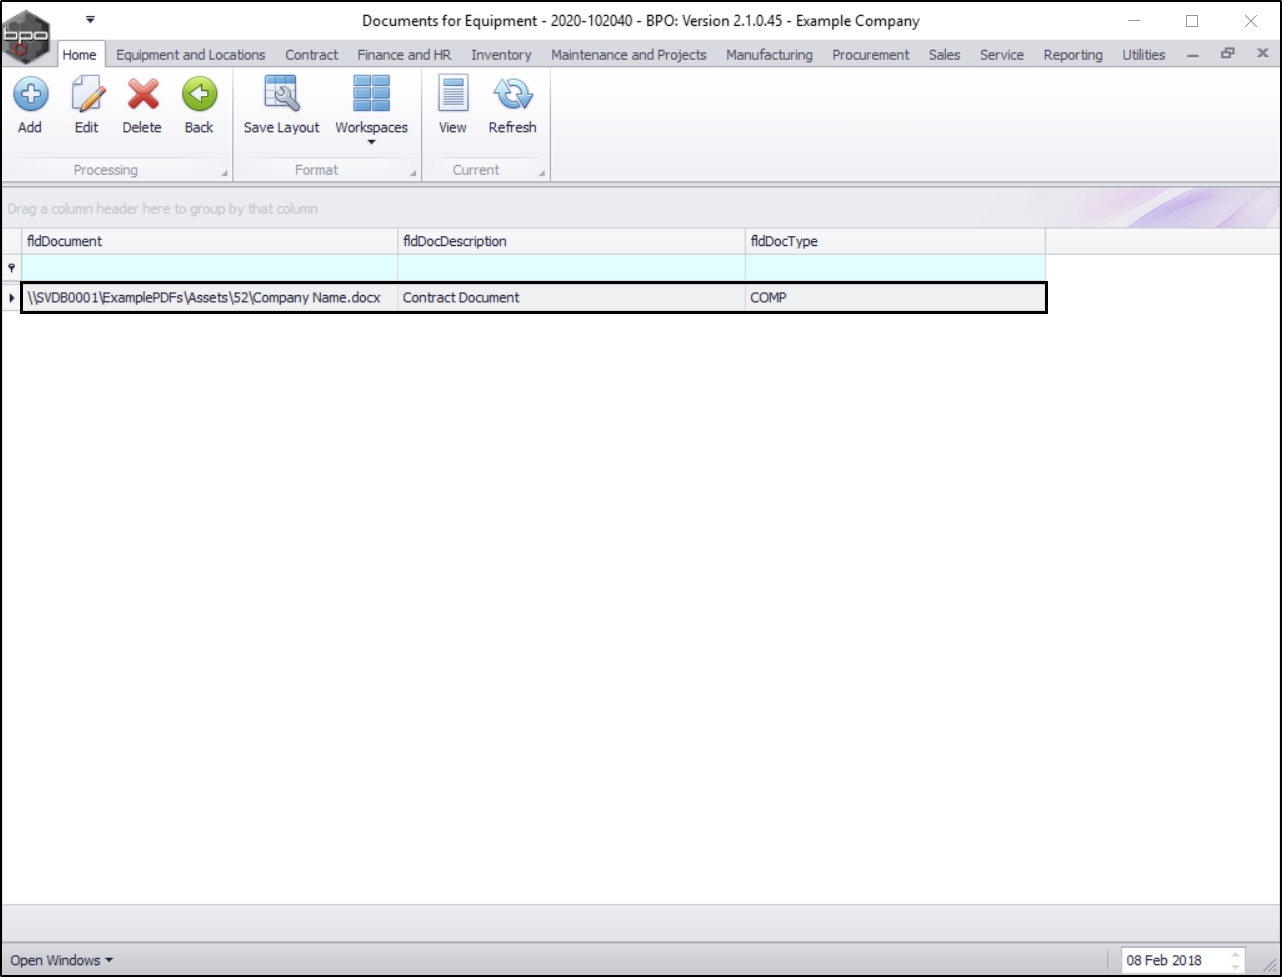
View Added Document
- You can now view the linked document detail listed in this screen.
Edit a Document
- In the Machine List for [] screen,
- Select the row of the asset where you wish to edit a document.
- Click on the Documents tile.
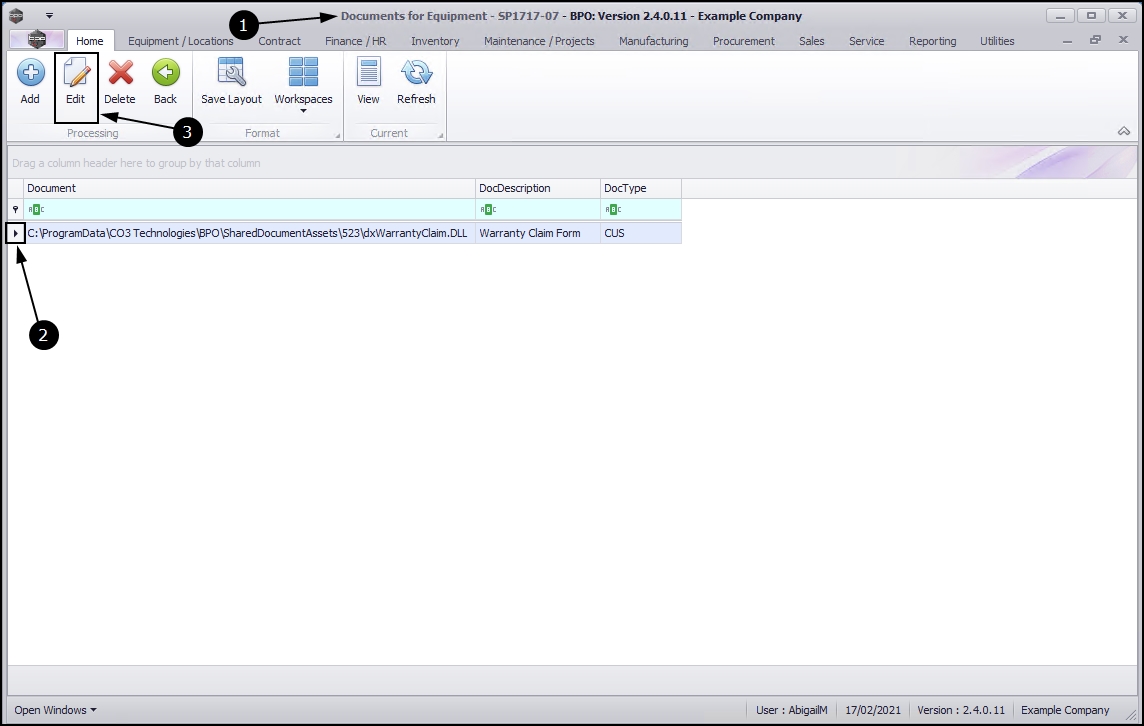
- The Documents for Equipment - [] screen will open.
- If there is more than one linked document in the list, select the row of the document that you wish to edit.
- Click on Edit.
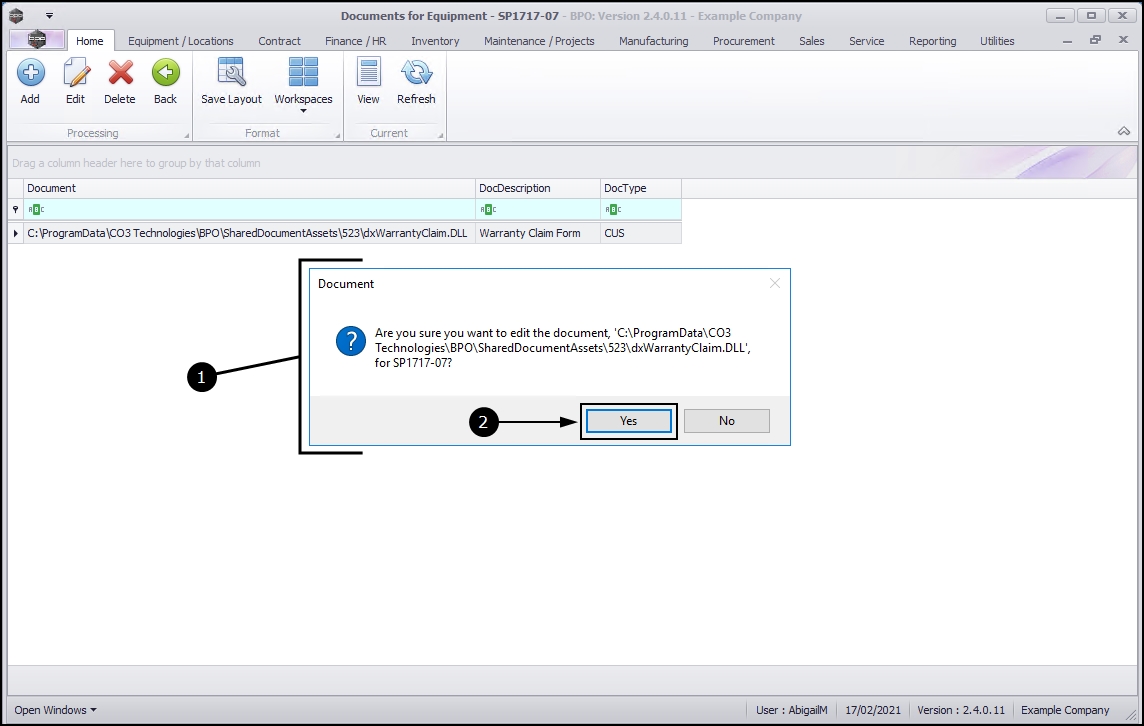
- A Document message box will pop up:
- Are you sure you want to edit the document, '[]' for []?
- Click on Yes.
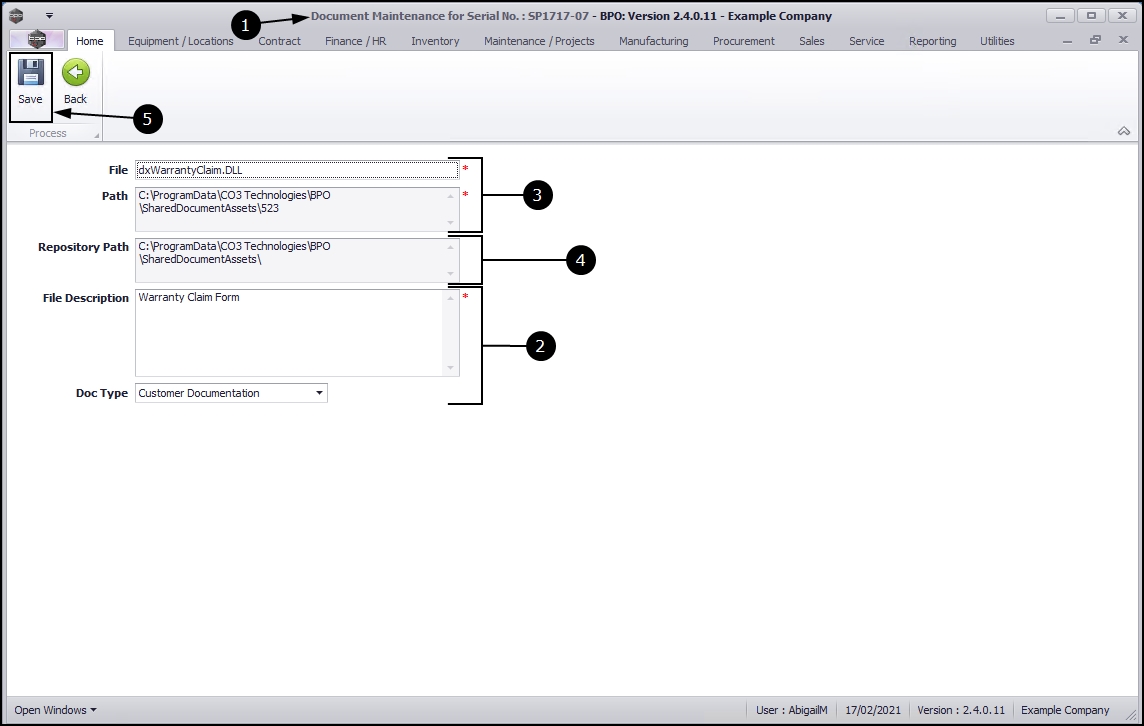
- The Document Maintenance for Serial No.: [] screen will open.
- Only the File Description and Doc Type fields are editable from this screen.
- If you need to make changes to the File and Path fields, you will need to delete this document link from the Documents for Equipment - [] screen as explained above and add the document with the correct file and the correct path.
- If required, the Repository Path will need to be edited in the Configurator.
- Make the required changes to the relevant fields and click on Save.
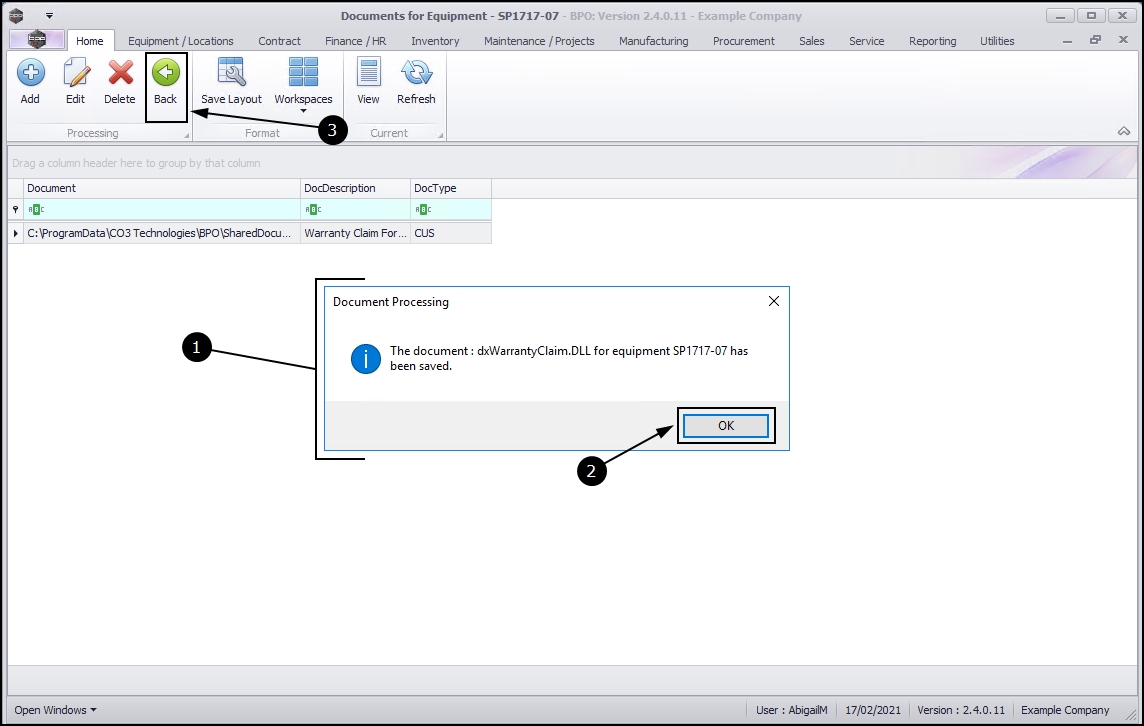
- You will return to the Documents for Equipment - [] screen.
- A Document Processing message box will pop up:
- The document, [] has been saved.
- Click on OK.
- Click on Back to return to the Machine List for [] screen.
Delete a Document
- In the Machine List for [] screen,
- Select the row of the asset where you wish to delete a document.
- Click on the Documents tile.
- The Document Maintenance for Serial No.: [] screen will open.
- If there is more than one linked document in the list, select the row of the document that you wish to delete.
- Click on Delete.
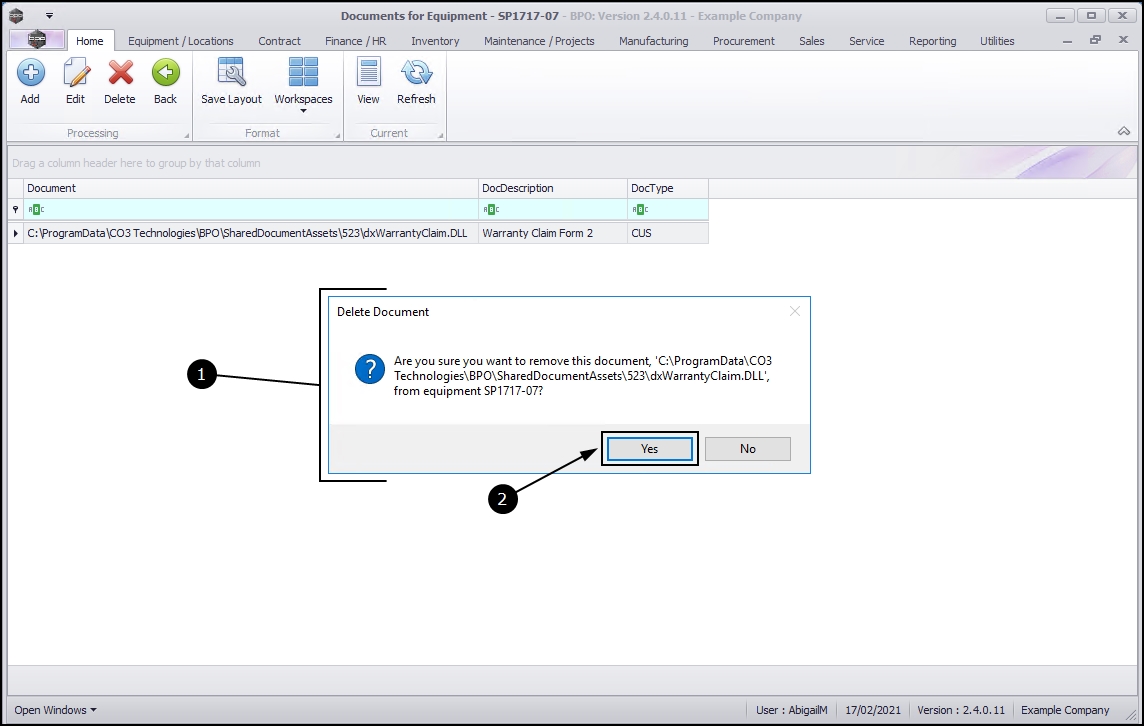
- A Delete Document message box will pop up:
- Are you sure you want to remove this document, '[]' from equipment []?
- Click on Yes.
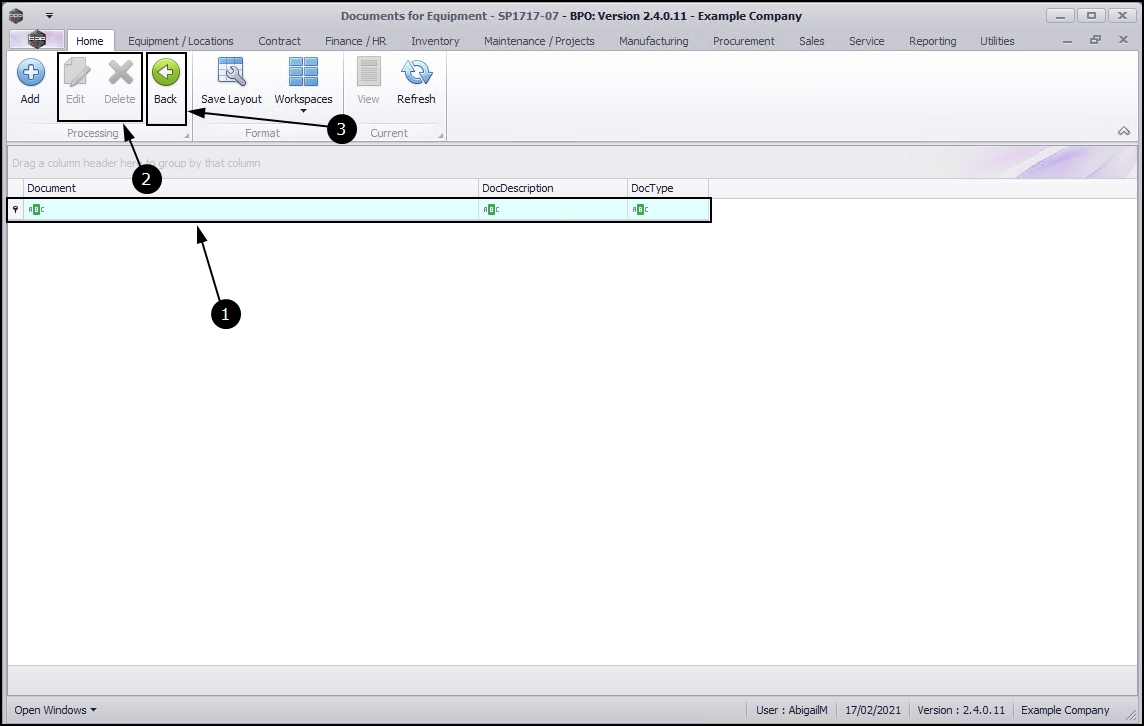
- The selected document will be removed from the Documents data grid.
- You will note that the Edit and Delete buttons are now inactive (greyed out) this is because, in this example, there are no documents left in this screen to edit or remove.
- Click on the Back button to return to the Machine list for [] screen.
MNU.007.012