We are currently updating our site; thank you for your patience.
Inventory
Parts - Requests - Requisition
A purchase requisition to fulfil a part request can be raised from the Part Requests for Part [ ] listing screen.
This process can be used when there is no stock available in the company warehouse(s) and you wish to buy stock specifically for the part request.
You can either raise a requisition for a single part request or for multiple part requests. More than one part request linked to a work order is considered 'multiple part requests'.
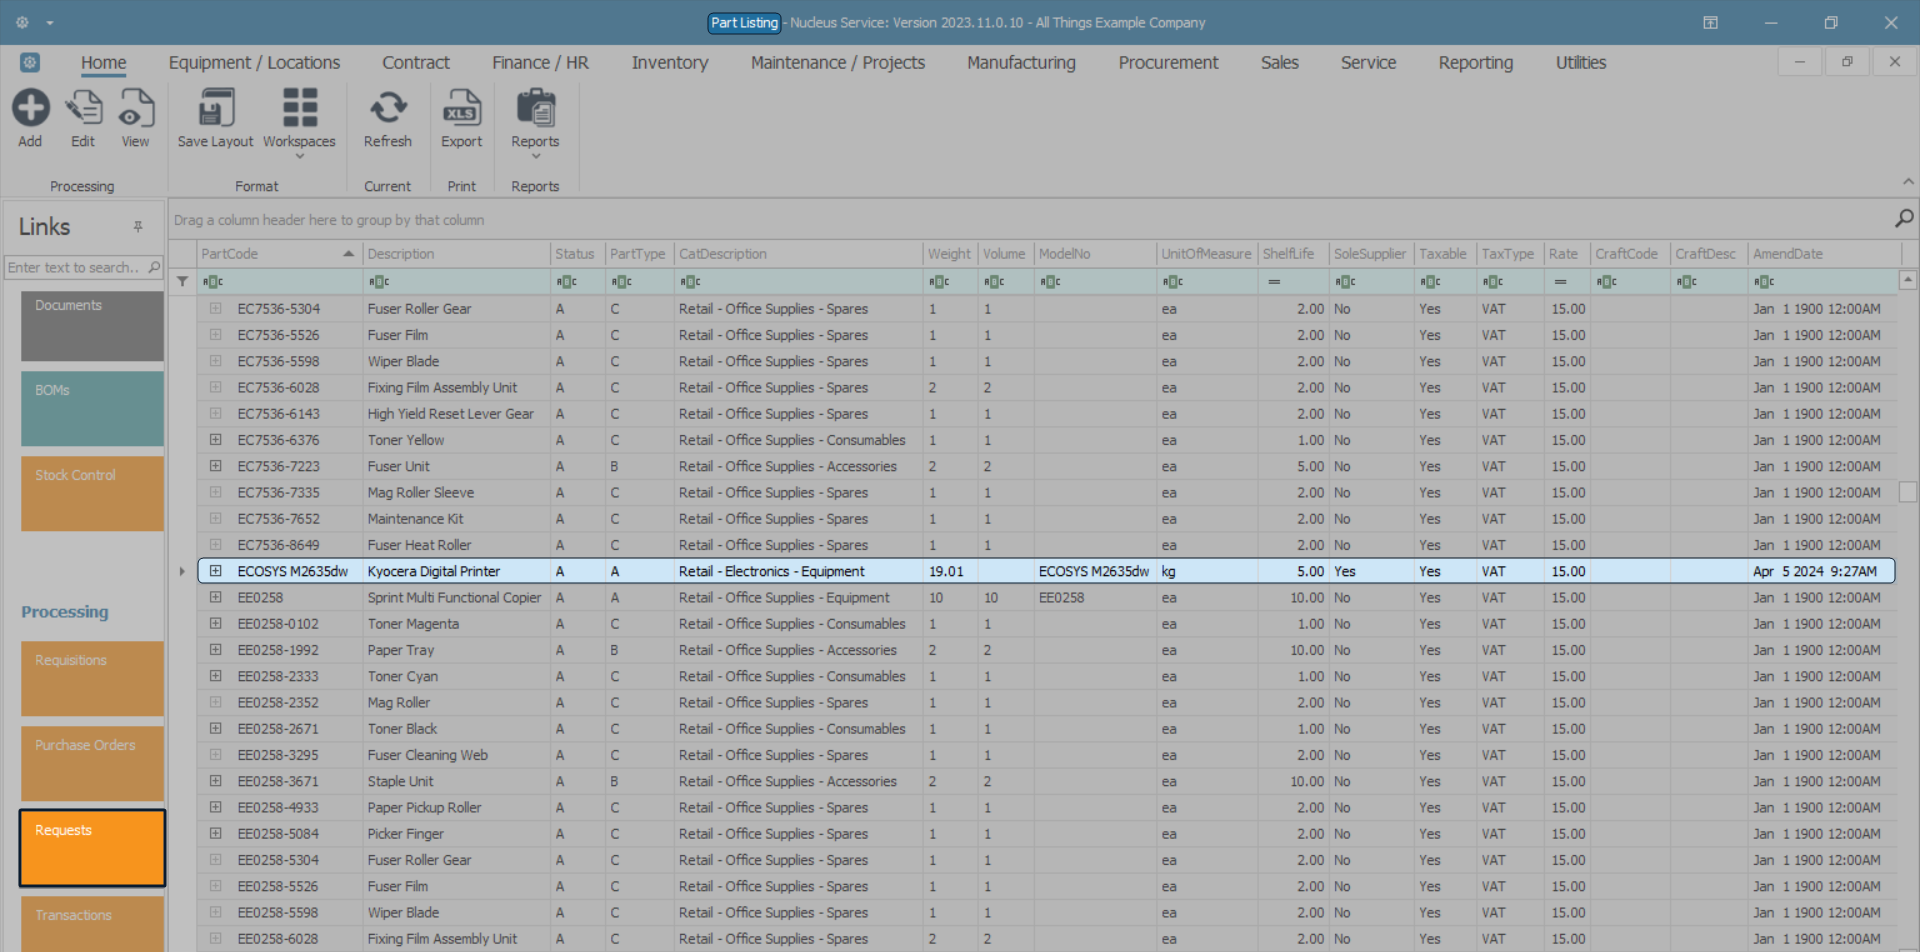
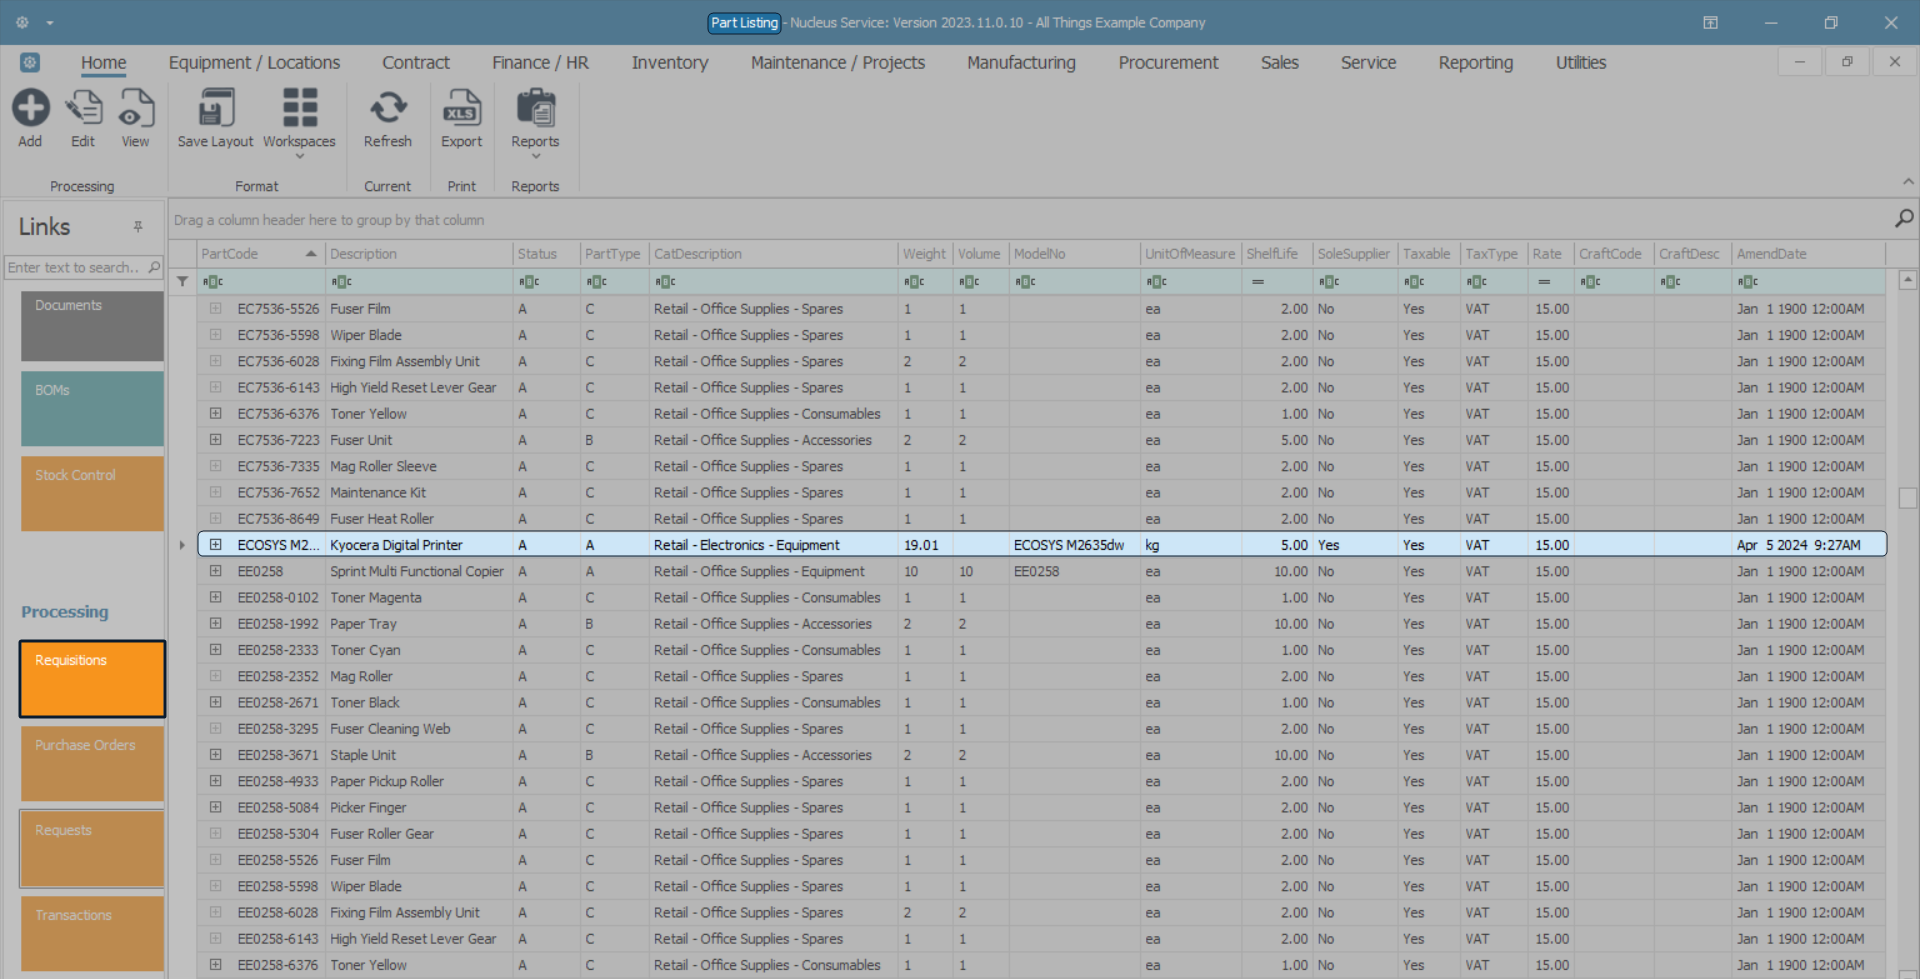
Ribbon Select Inventory > Parts

- The Part Listing screen will be displayed.
- Here you can view a list of part definitions that have been set up on the system.
- Select the row of the part definition where you wish to raise a requisition for a linked part request.
- Click on the Requests tile.
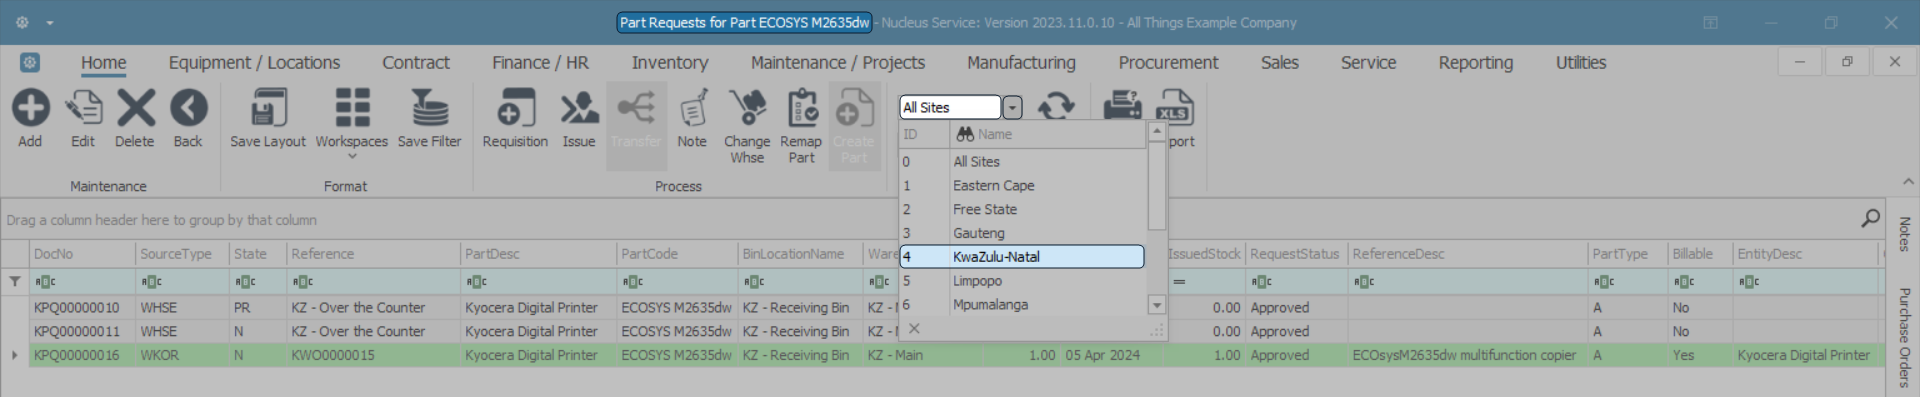
- The Part Requests for Part [ ] screen will open.
- The data grid will list a history of all the part requests for the selected part.
- Depending on your company configuration, you may need to click on the drop-down arrow and select the correct Site from the list, before proceeding.
Note: Refer to Site Selection for more information.
- In this example, KwaZulu-Natal is selected.
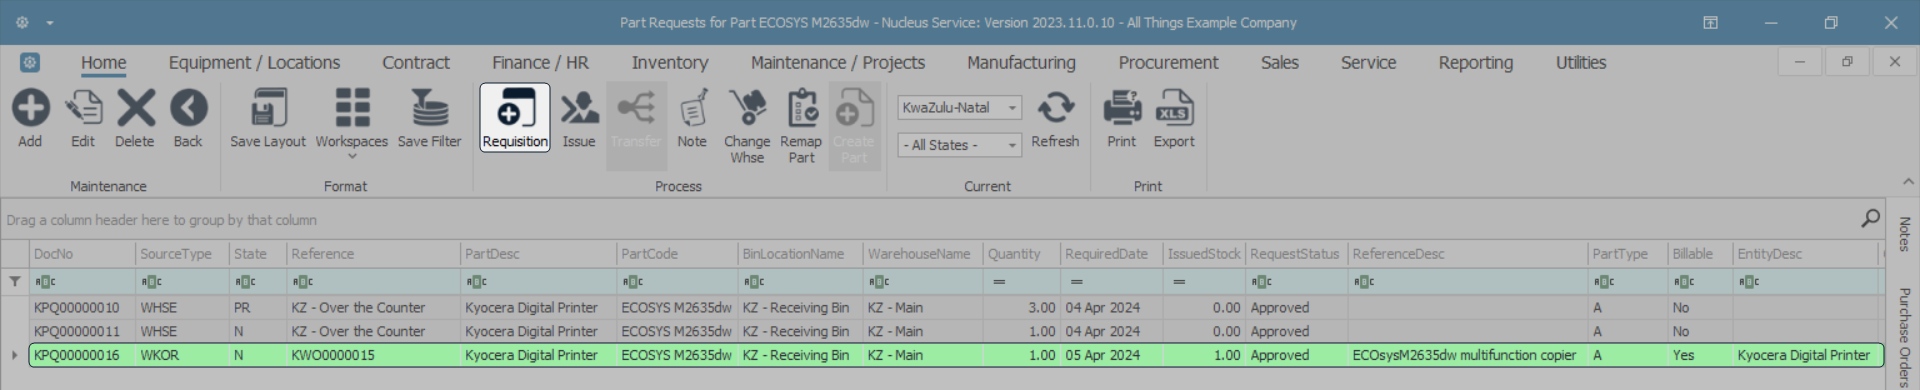
- The State filter will be set to 'All States' by default. This filter does not need to be changed to proceed with the Requisition process.
- Scroll through the data grid or use the The Auto Filter Row to find the part request you wish to fulfil by raising a requisition.
- Select the row of the part request.
- Click on Requisition.
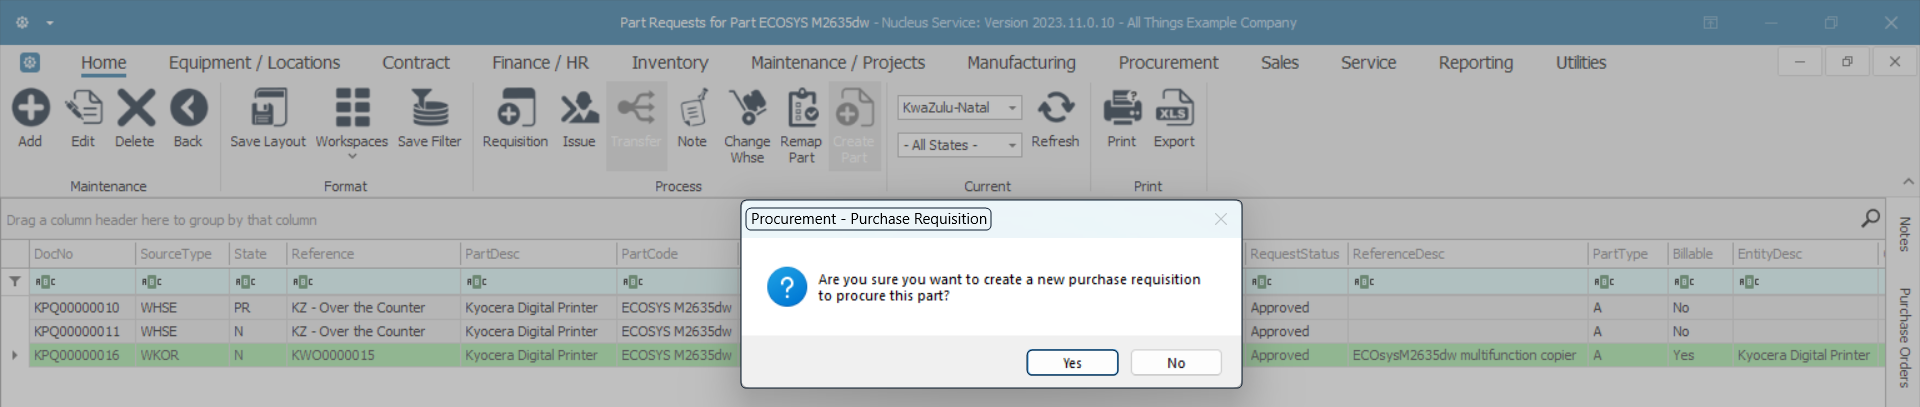
- A Procurement - Purchase Requisition message box will pop up with the following prompt:
- Are you sure you want to create a new purchase requisition to procure this part?
- Click on Yes.
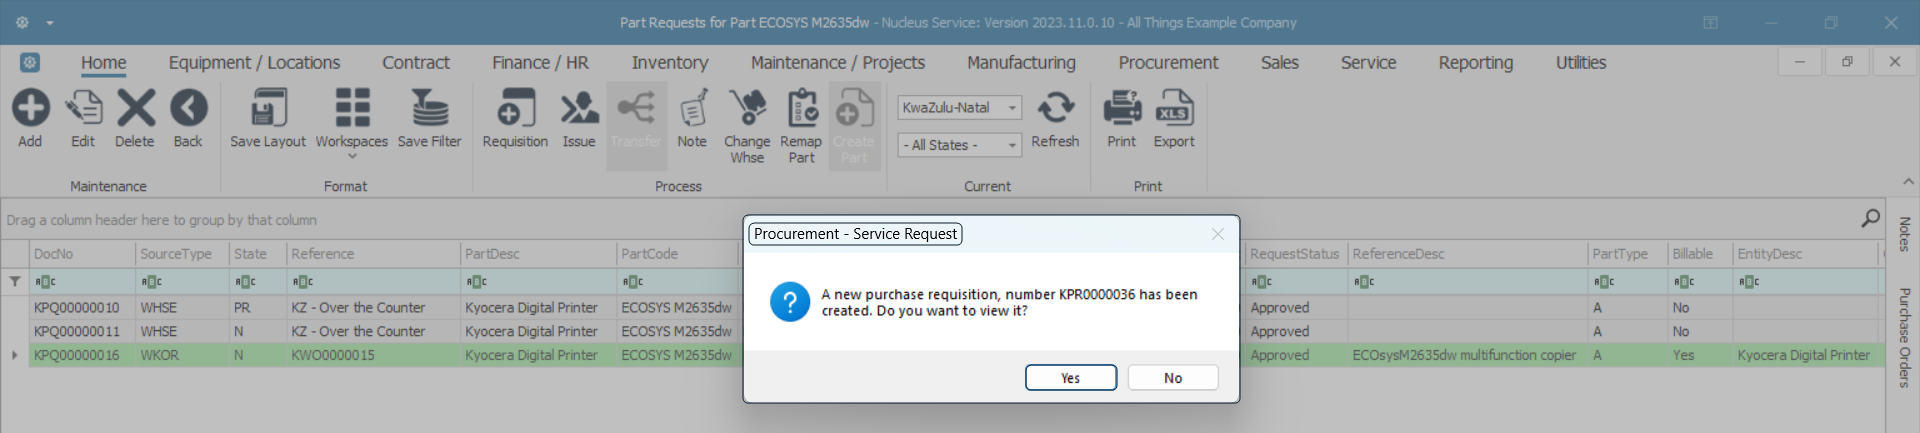
- A Procurement - Service Request message box will pop up with the following prompt:
- A new purchase requisition, number [ ] has been created. Do you want to view it?
- Click on Yes.
![]() It is worth noting down the new purchase requisition number at this point. You will need to recall it for processes explained further in this topic.
It is worth noting down the new purchase requisition number at this point. You will need to recall it for processes explained further in this topic.
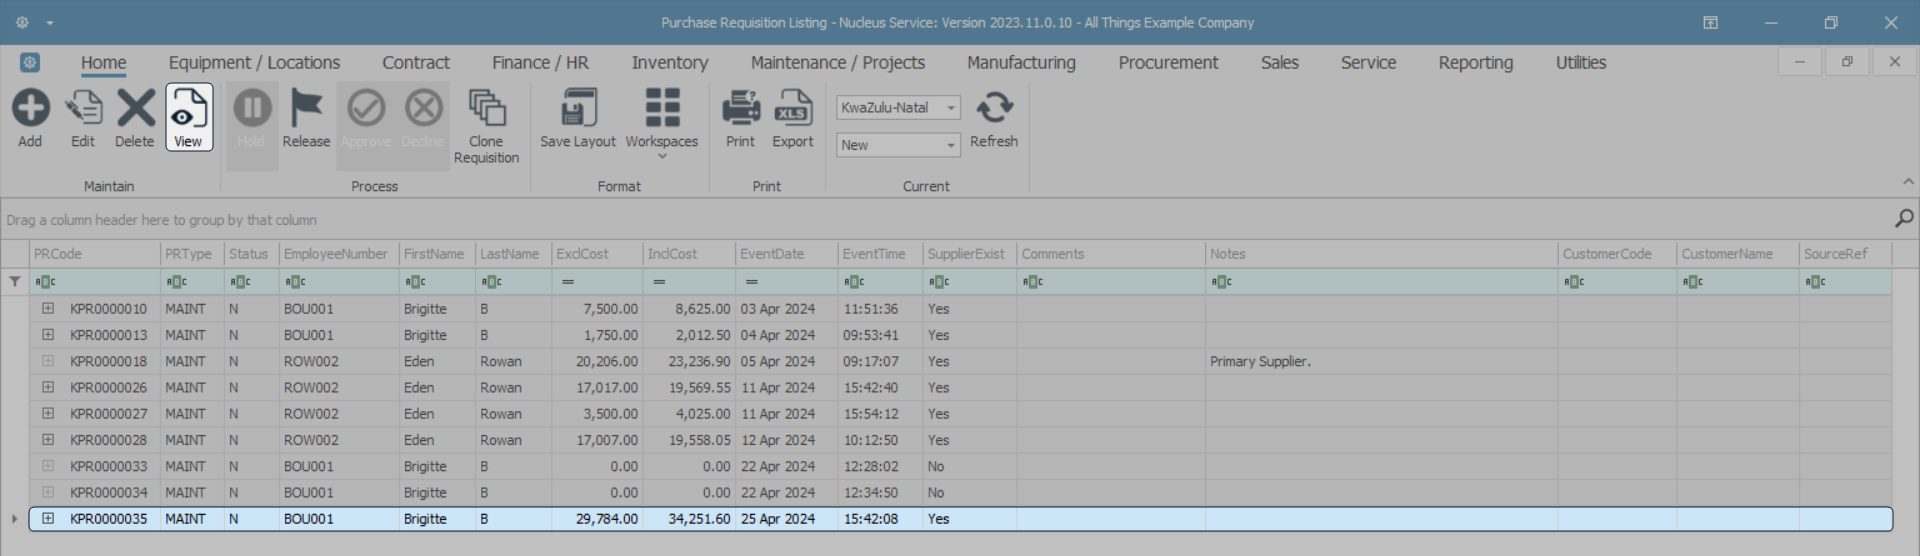
- The system will transport you to the Purchase Requisition Listing screen.
- The Site filter will be set to the site where you began this process.
- The Status will be auto-set to New as this is a new purchase requisition.
- The new purchase requisition row will be selected.
- From this screen, you can continue the process to Release or Clone the requisition as required.
- Click on View.
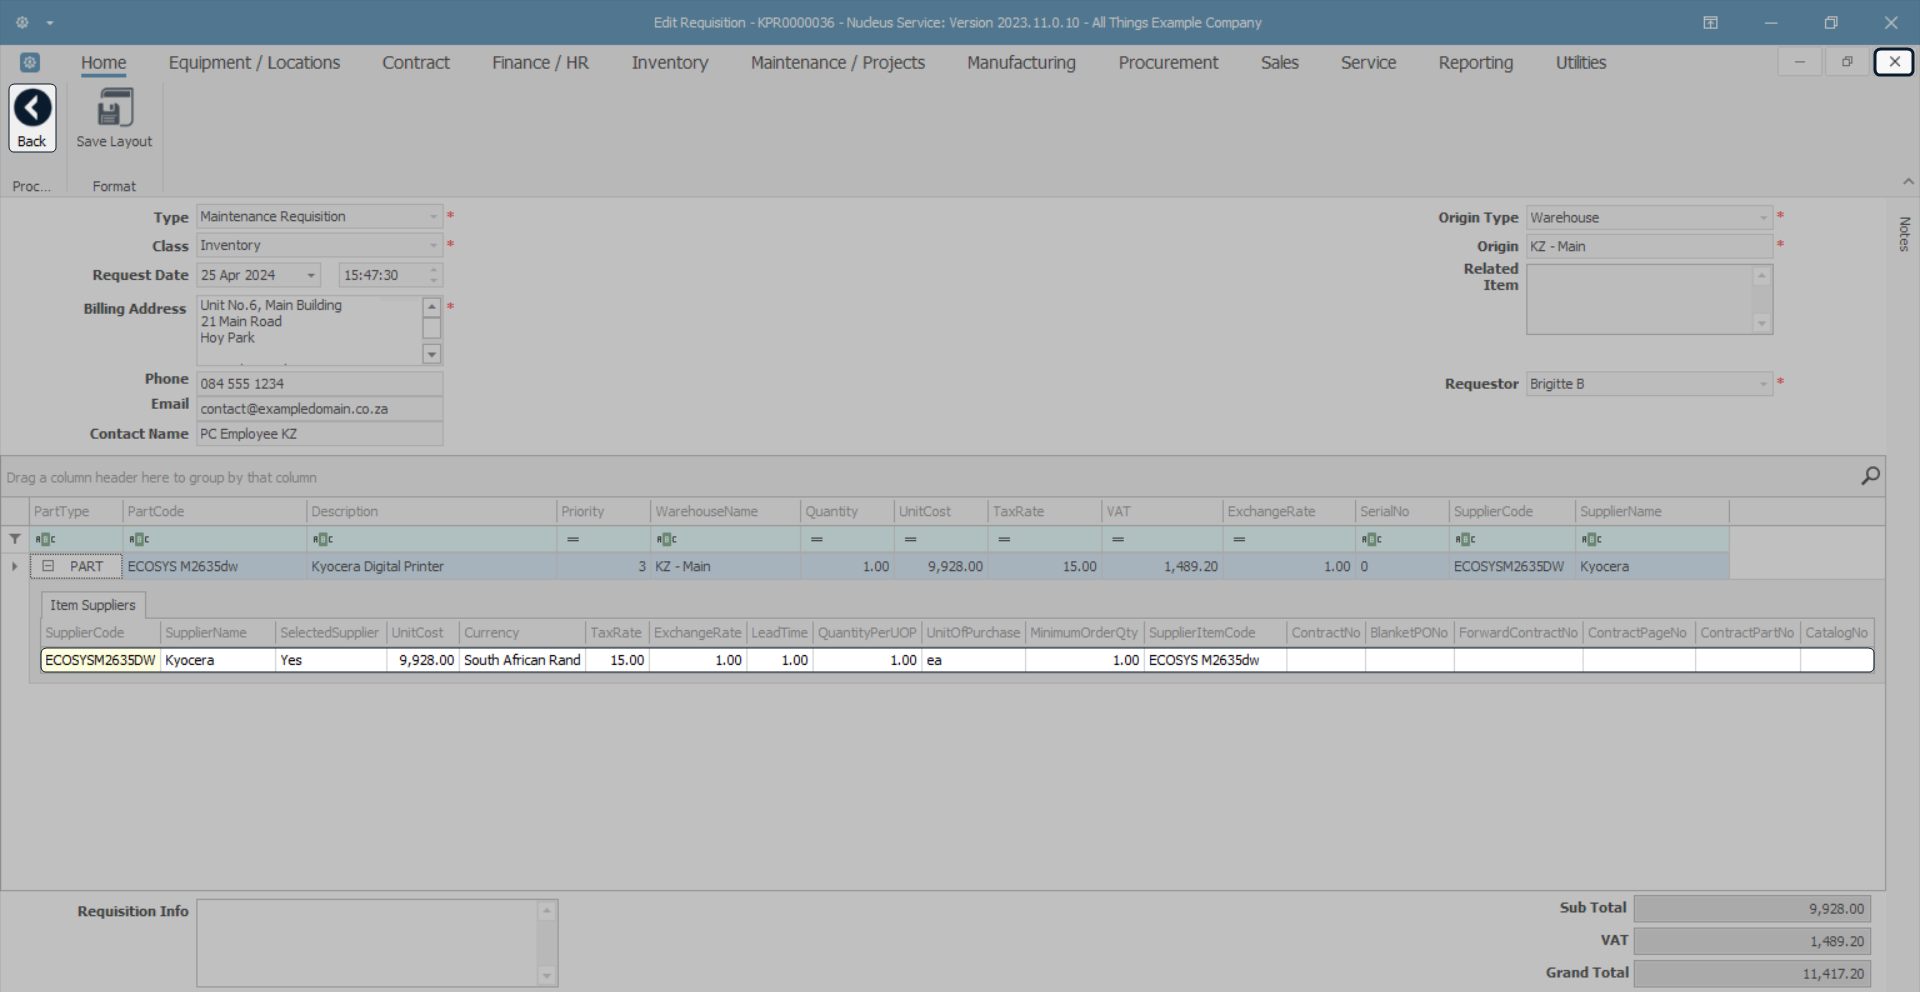
- The Edit Requisition screen will open.
![]() Although this screen is called 'Edit Requisition', it is actually a View-only screen. There is no Save button, only a Back button.
Although this screen is called 'Edit Requisition', it is actually a View-only screen. There is no Save button, only a Back button.
- Here you can view the requisition header details and part details.
- Click on the expand button in the row of the part code.

- The Item Suppliers sub grid will open.
- Here you can view the item suppliers that are currently linked to the part definition.
![]() For more information about purchase requisition item suppliers, refer to this link.
For more information about purchase requisition item suppliers, refer to this link.
- Click on Back or Close the screen to return to the Purchase Requisition Listing screen.
Although the system has directed you to the Procurement module to view the new purchase requisition, it can also be viewed from the Part Listing screen.
- Either Close this screen and the subsequent Part Requests for Part [ ] listing screen,
- Or use the Open Windows functionality to ultimately return to the Part Listing screen.
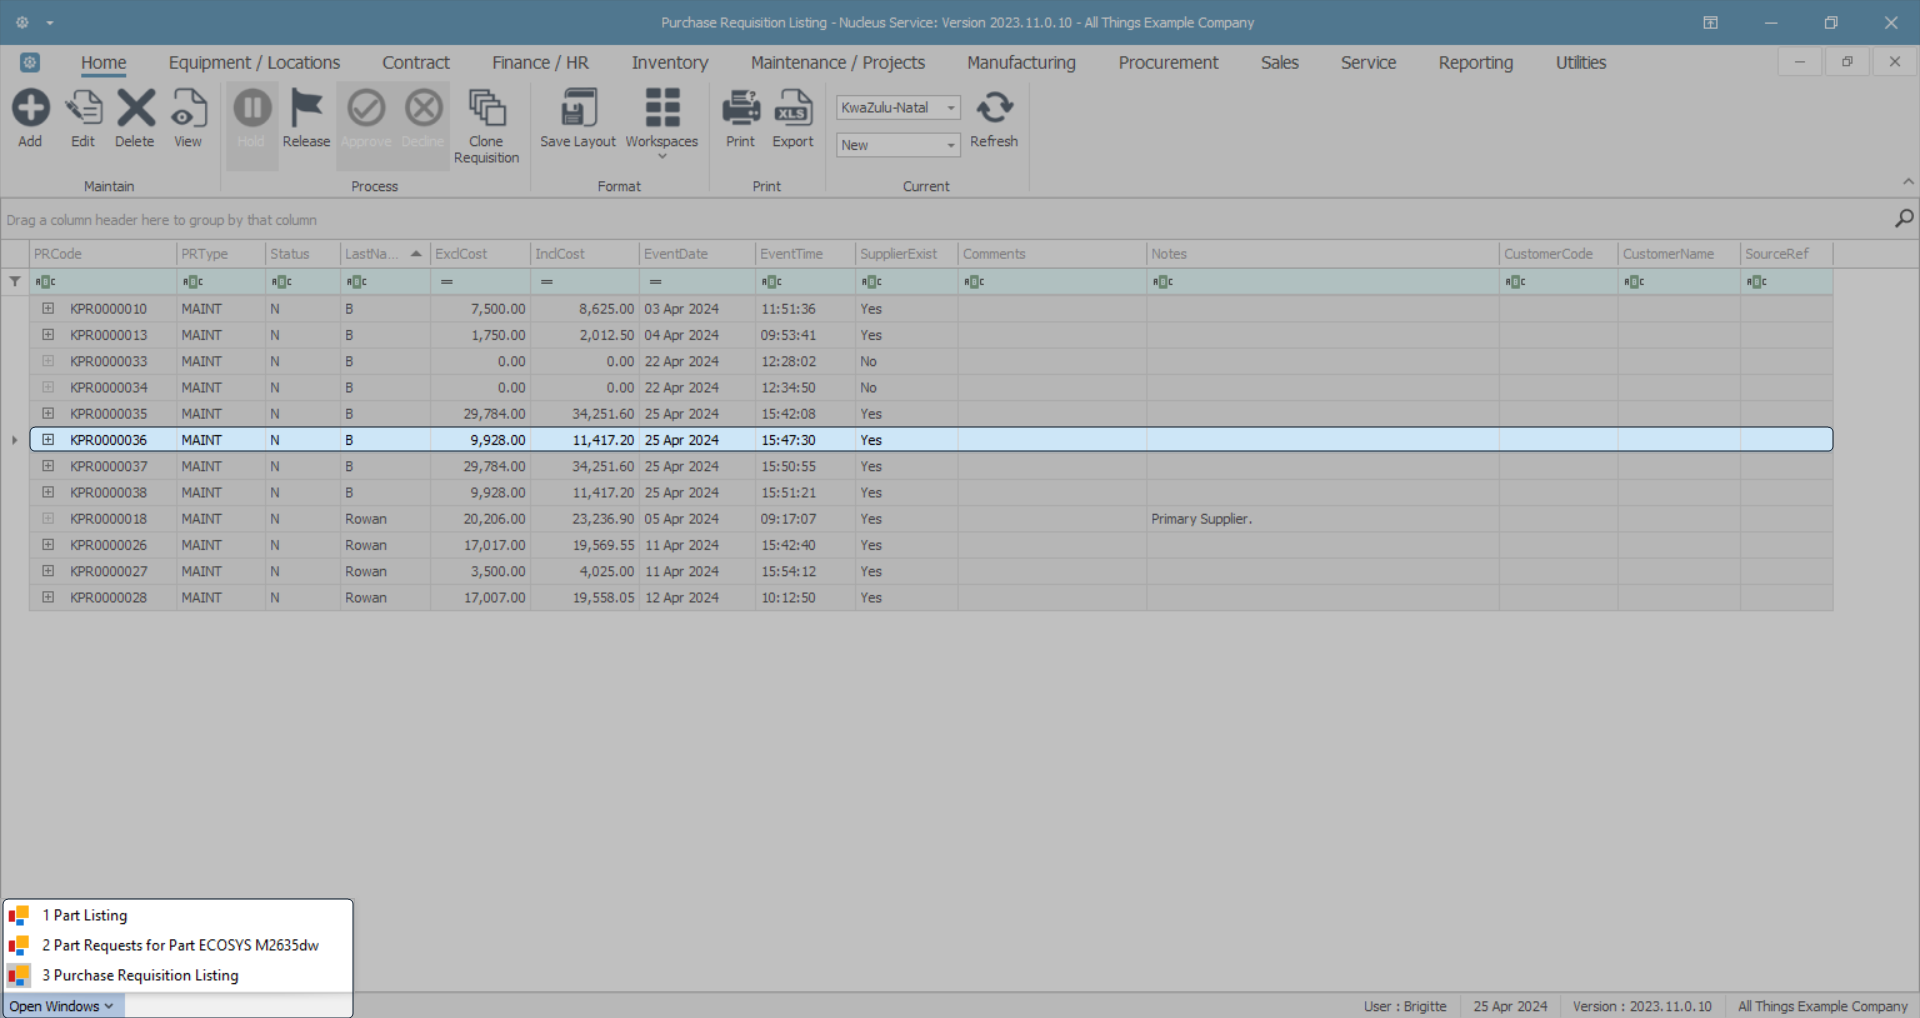
- The Part Listing screen will display.
- The row of the part linked to the raised purchase requisition will still be selected.
- If not, scroll through the data grid or use the The Auto Filter Row to find and re-select the part.
- Click on the Requisitions tile.
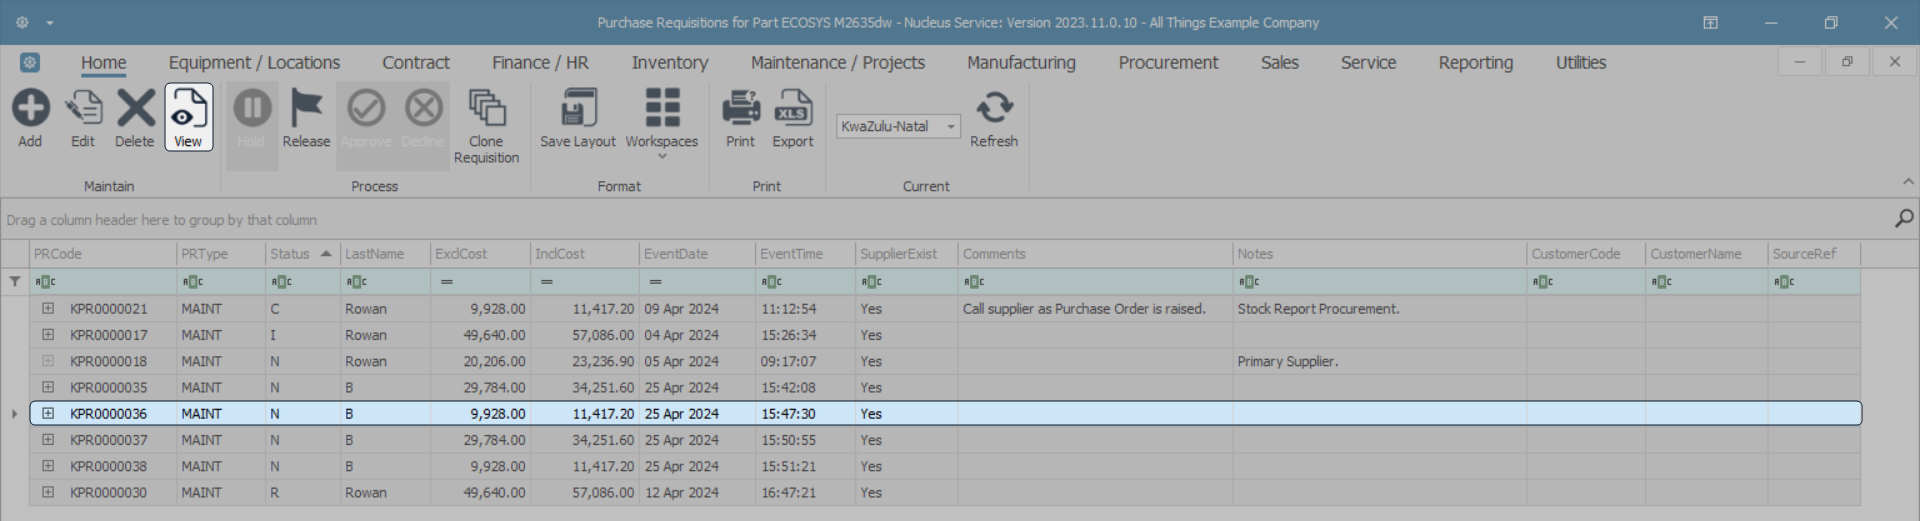
- The Purchase Requisitions for Part [ ] screen will open.
- Recalling the new requisition number, either scroll through the data grid or use the The Auto Filter Row to find the new purchase requisition for this part.
- Select the row of the new requisition.
- Click on View.
- The Edit Requisition screen will open.
![]() Although this screen is called 'Edit Requisition', it is a View-only screen. There is no Save button, only a Back button.
Although this screen is called 'Edit Requisition', it is a View-only screen. There is no Save button, only a Back button.
- Here you can view the requisition header details and parts details.
- Click on the expand button in the row of the part.
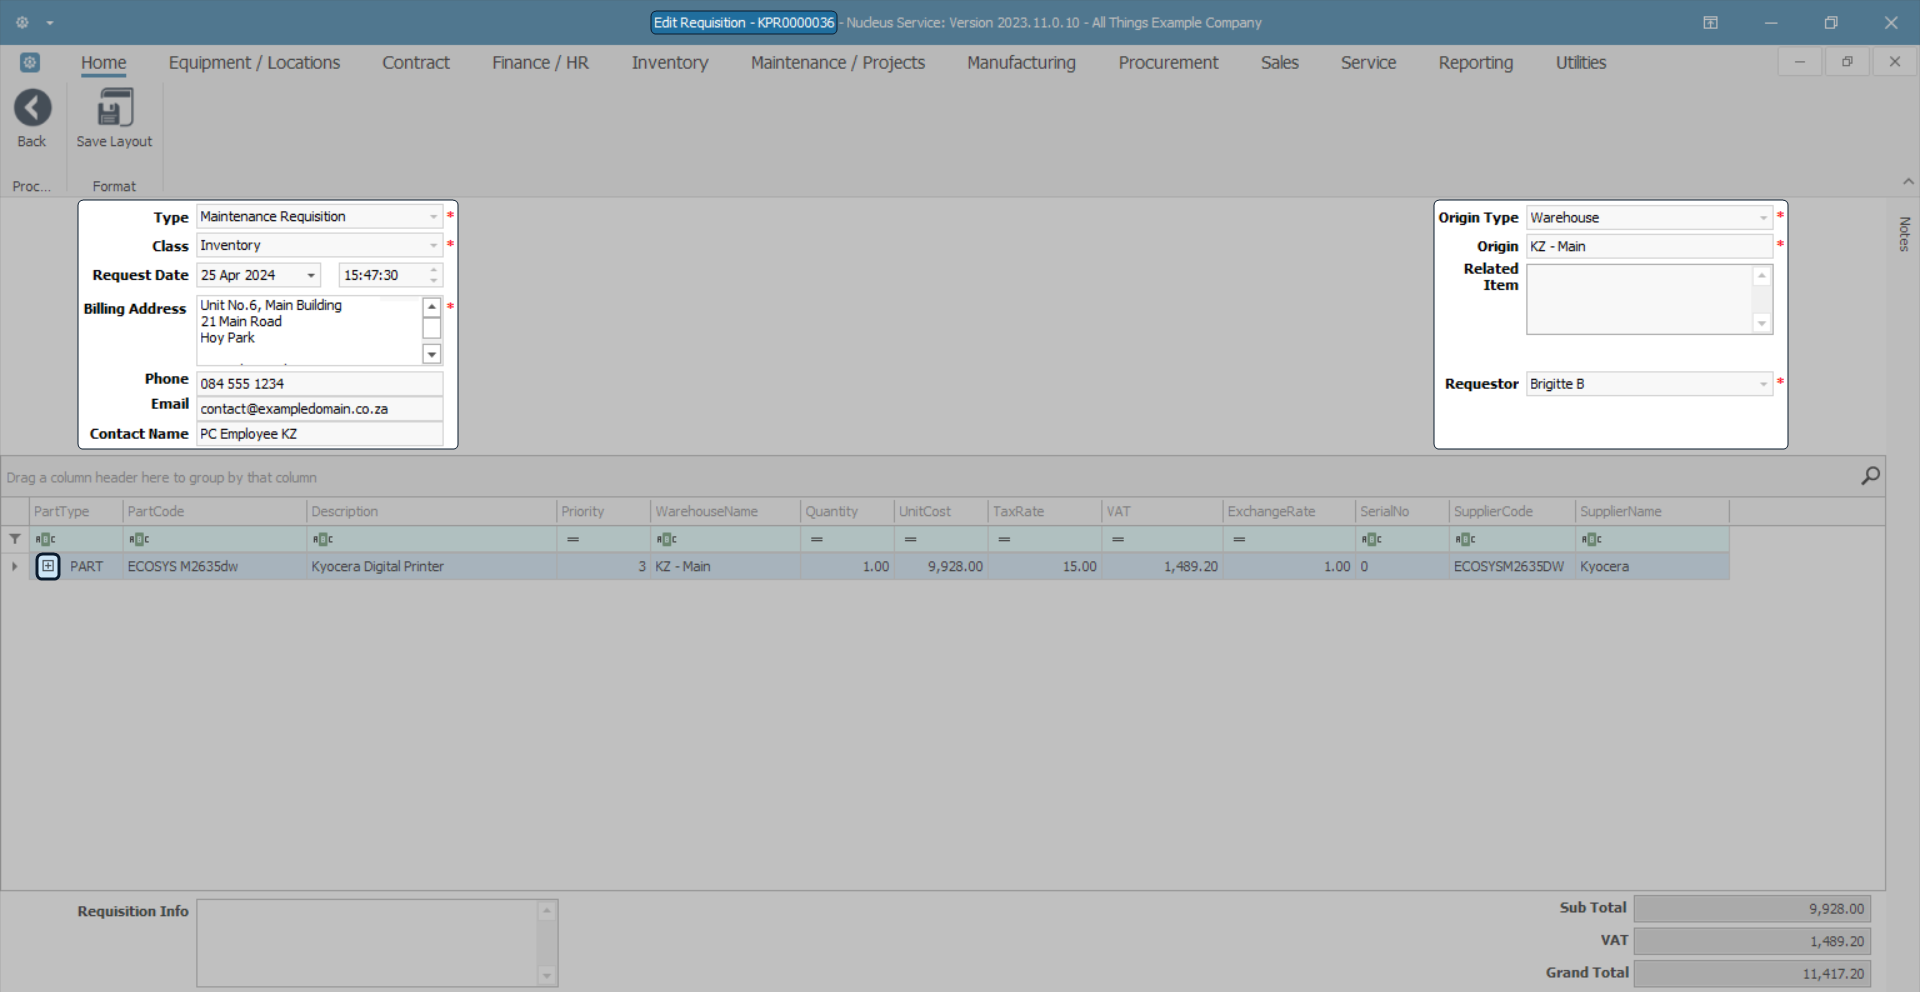
- The Item Supplier sub grid will open.
- Here you can view the item suppliers that have been linked to the part definition.
![]() For more information about purchase requisition item suppliers, refer to this link.
For more information about purchase requisition item suppliers, refer to this link.
- Click on Back or Close the screen to return to the Purchase Requisitions for Part screen.

MNU.034.005