We are currently updating our site; thank you for your patience.
Company
Purchasing Centres - Add Purchasing Centre
The purchasing centre holds configuration and numbering conventions for procurement transactions.
The purchasing centre can be set up in two ways:
![]() One global purchasing centre, linked to all branches - document prefix and numbering is globally sequential.
One global purchasing centre, linked to all branches - document prefix and numbering is globally sequential.
![]() One purchasing centre per branch - each site will have its own prefix and numbering.
One purchasing centre per branch - each site will have its own prefix and numbering.
| Ribbon Access: Company > Purchasing Centres |
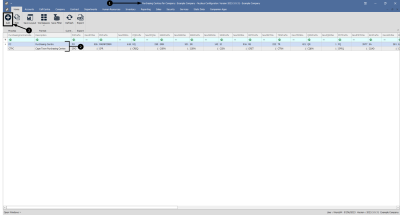
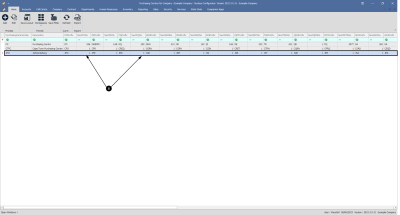
- The Purchasing Centres for Company: [Company Name] listing screen will be displayed.
- Any existing purchasing centres that have been created for the company will display in the data grid.
Add Purchasing Centre
- Click on Add.
![]() Short cut key: Right click to display the Process menu list. Click on Add.
Short cut key: Right click to display the Process menu list. Click on Add.
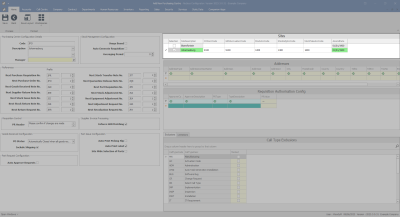
- The Add New Purchasing Centre screen will be displayed.
Purchasing Centre Configuration Details
- Code: Type in the code that you wish to use for this purchasing centre.
- Description: Type in the description for the purchasing centre.
- Manager: The site needs to be selected before you can search for the purchasing centre manager. This will be attended to at the end of the process.
References
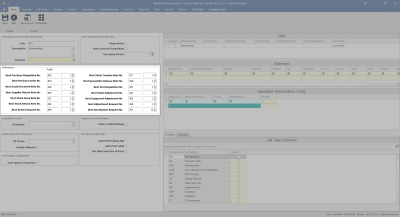
The reference section is used to set the documentation prefixes and next number to be generated by the system at Go-Live.
 Note the Next Purchase Requisition No. has a J (Johannesburg) prefix followed by a PR (Purchase Requisition) prefix and will start with No.1, i.e. JPR1.
- Continue setting the references as required.
Procurement
- PR Header: Type in the default heading to be included on all purchase requisitions.
Supplier Invoice Processing
- Enforce GRN Matching: Click on the check box if GRNs must be linked to a supplier invoice when processing.
Goods Received Configuration
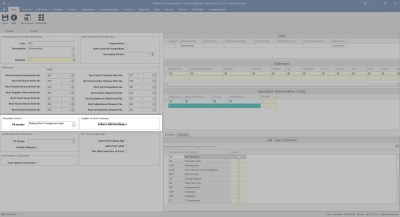
- PO Status: Click on the down arrow to select one of 2 options:
- Automatically closed when all goods received
- Manually change Purchase Order Status
- Include Shipping: Click to select the check box if you wish shipping costs to be added separately to the cost of the parts or items purchased when you receive goods from a supplier. This is used in conjunction with the Shipping Costs Included Flag functionality on the Supplier.
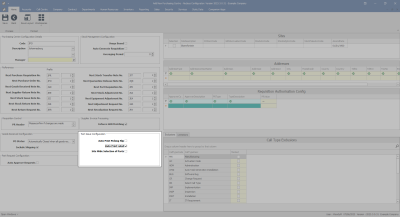
Part Issue Configuration
- Auto Print Picking Slip: Click to select the check box if you wish a picking slip to be generated with a part issue.
- Auto Print Label: Click to select the check box if you wish a label to be printed with a part issue.
- Site Wide Selection of Parts: Click to select the check box if you wish a site wide selection of parts to be available for a part issue.
Part Request Configuration
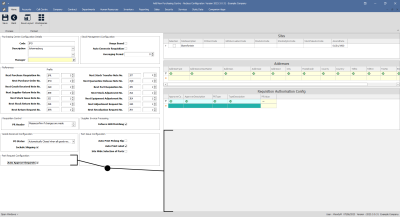
The auto approve selection you make will affect the availability of the Exclusions and Limitations panel on the right hand side of the screen.
- Auto Approve: Click to select the auto approve check box if part requests (from calls and/or work orders) to store, should automatically be approved.
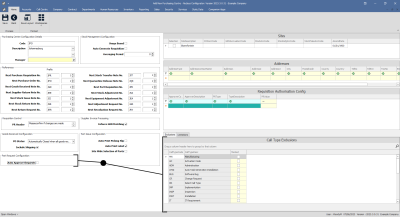
 Note that the Exclusions and Limitations panel is not available for this selection as part requests gets automatically approved.
- Leave the auto approved check box unselected, if part requests needs to be authorised first before the request is sent to store for stock issue.
- Ensure that the Exclusions and Limitations for the part request approval has been set.
![]() Refer to Edit Purchasing Centre for details on how to complete the Exclusions and Limitations frames.
Refer to Edit Purchasing Centre for details on how to complete the Exclusions and Limitations frames.
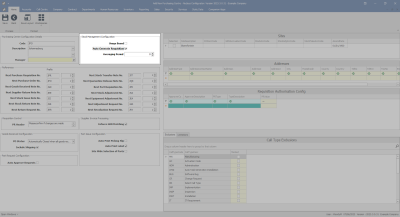
Stock Management Configuration
- Usage Based: Click to select the check box if you wish the system to calculate stock requirements based on actual usage and supplier lead times.
- Auto Generate Requisition: Click to select in this check box if you wish the system to automatically generate the purchase requisition to maintain stock levels.
- Averaging Period: Type in or use the arrow indicators to set the averaging period. The system will calculate the period in months over which usage is averaged, based on stock levels.
Sites Frame
- Click in the check box in front of the site you wish to associate with this Purchasing Centre.
- The example has the Johannesburg site selected.
- COSAccCode: Type in the cost of sales account code.
- GRNAccrualAccCode: Type in the GRN accrual account code.
- StockAccCode: Type in the stock account code.
- StockAdjAccCode: Type in the stock adjustment account code.
- StockTakeAccCode: Type in the stock take account code.
- AmendDate: This field will be updated with the date the codes were amended. Refer to Purchasing Centre Address to view amended date.
Purchasing Centre Manager
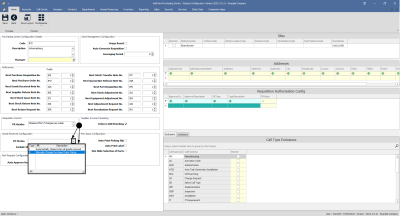
Once the associated site has been selected, the Purchasing Centre Manager can be selected in the Purchase Centre Configuration Details frame.
- Manager: Click on the search button to select the Procurement Manager.
 If no items are available for selection, ensure that the Crafts have been set up for the relevant site, and that the Purchasing Manager has been linked to the Craft for that Site.
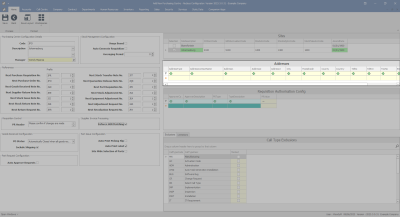
Addresses Frame
![]() Refer to Company Purchasing Centre Addresses to complete the Addresses frame.
Refer to Company Purchasing Centre Addresses to complete the Addresses frame.
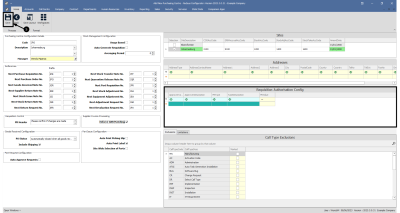
Requisition Authorisation Configuration Frame
![]() Refer to the Company Purchase Centre Requisition Approval manual to complete the Requisition Authorisation Configuration frame.
Refer to the Company Purchase Centre Requisition Approval manual to complete the Requisition Authorisation Configuration frame.
Save Purchasing Centre
- When you have finished adding details for the new purchasing centre, click on Save.
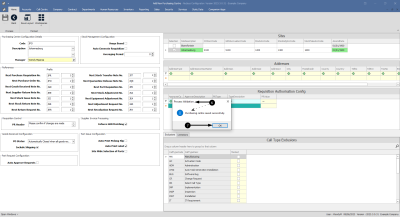
- When you receive the Process Validation message to confirm;
- Purchasing centre saved successfully.
- Click on OK.
- You will return to the updated Purchasing Centres for Company listing screen where you can view the new purchasing centre in the data grid.
- Use the scroll bar at the bottom of the screen to scroll to the Amend Date to display the date amendments were made to the purchasing centre for the site.
MNU.091.003

