We are currently updating our site; thank you for your patience.
Equipment
Assets - Edit - User Defined Fields
A User Defined panel has been added to the Asset Maintain screen (the Equipment Maintenance for Serial No: [] screen).
At present, these fields in the Equipment - Assets module can be used to add extra information relevant to the selected asset. The added fields will reflect in the User Defined panel in the Asset Maintain screen across all assets on the system, but the Variable Values selected for each User Defined field will be unique to the selected asset.
This information will also reflect in the Call Maintain screen where the asset is linked. Although the fields can be viewed from the Call Maintain screen, the actual information can only be edited in the Asset Maintain screen.
This topic will expand on how to edit the User Defined custom fields for a selected asset. Not all custom fields can be edited in the same way, it depends on what Input Type they have been set up with.
![]() Note: It will be useful to familiarise yourself with the Add Asset User Defined topic before progressing with this manual.
Note: It will be useful to familiarise yourself with the Add Asset User Defined topic before progressing with this manual.
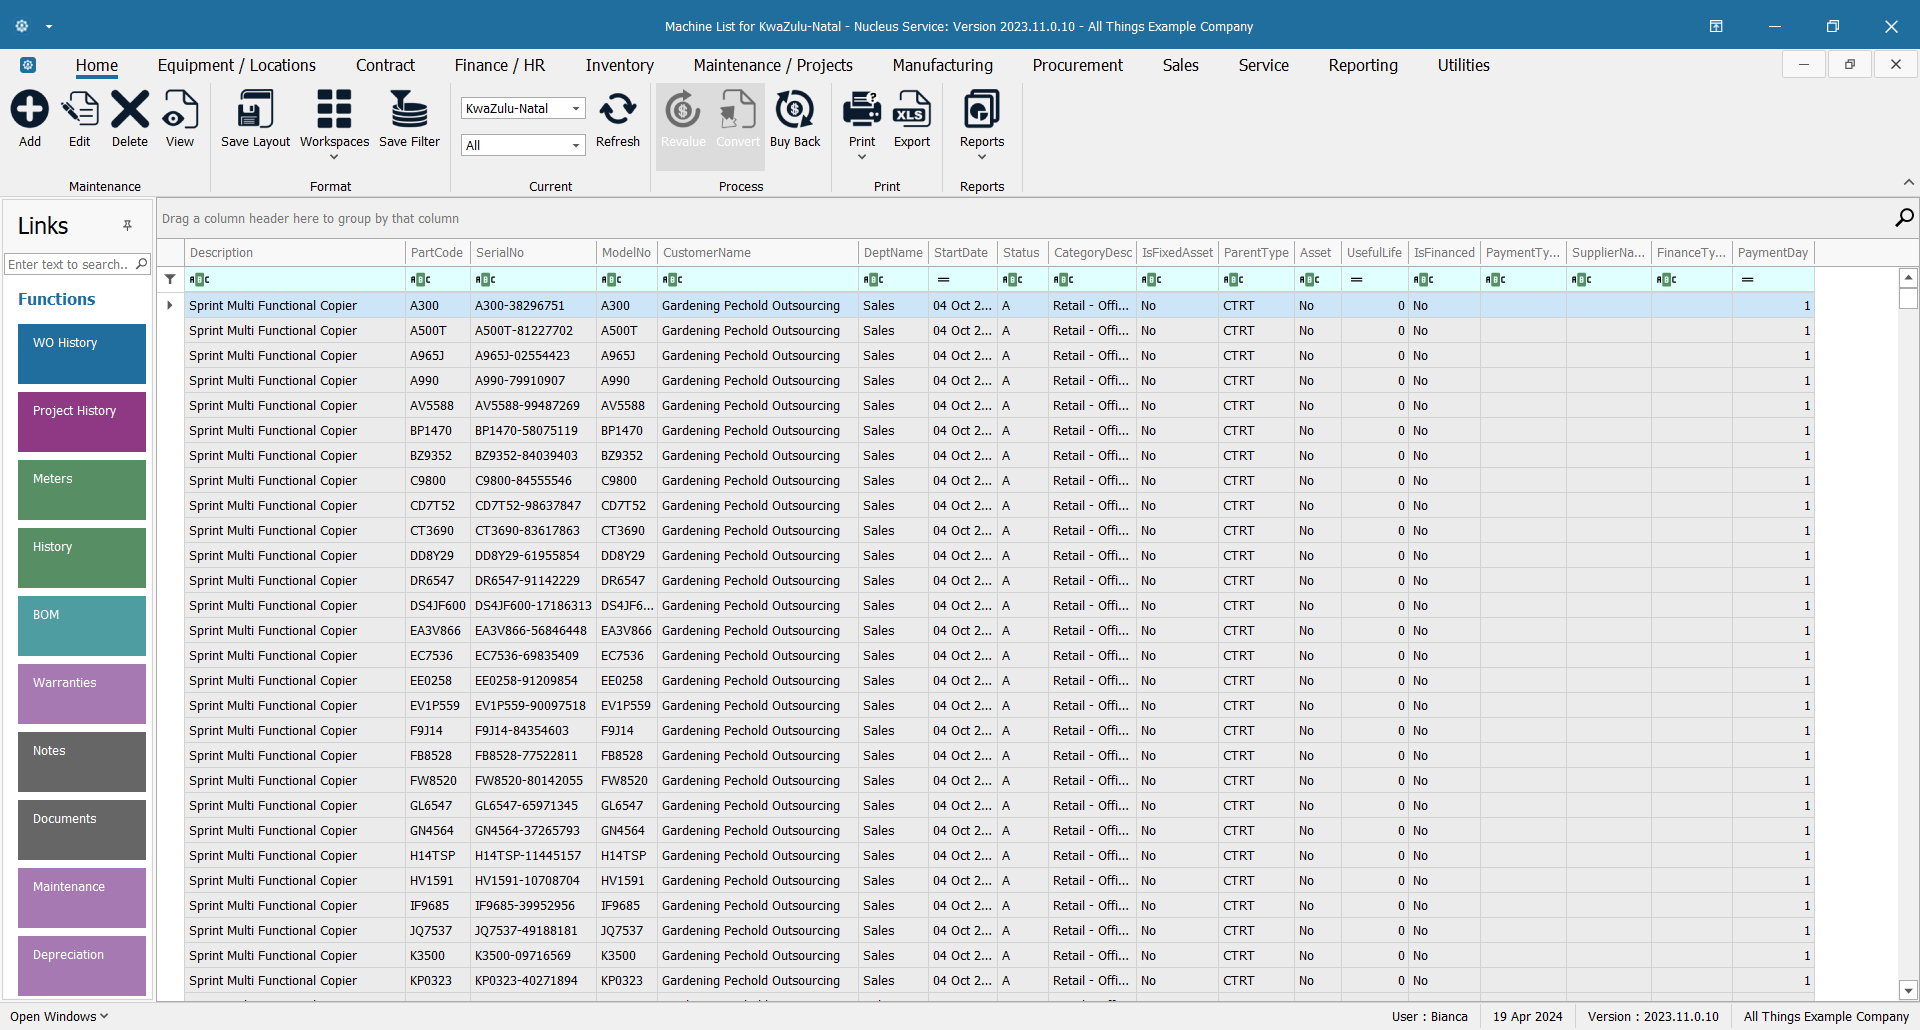
Asset Listing Screen
Ribbon Select Equipment and Locations > Assets

- The Machine Listing screen will be displayed.
Your employee user record should be linked to a default site. In this case, the site will auto populate with this default, otherwise the site must be manually selected.
Another site can be selected, if required, and if you have the security rights to access the site.
If All Sites displays here, then you do not have a default site configured on your user record, and need to select the required site.
- By default, this screen will open with the Type filter set to 'All' , listing all of the assets on the system (Customer Assets, Internal Assets and Serialised Stock Items).
- You can click on the drop-down arrow in the Type field and select an alternative Type, (such as Client Machines), if required.

Select the Asset
- Select the row of the asset you wish to edit.
- Click on Edit.
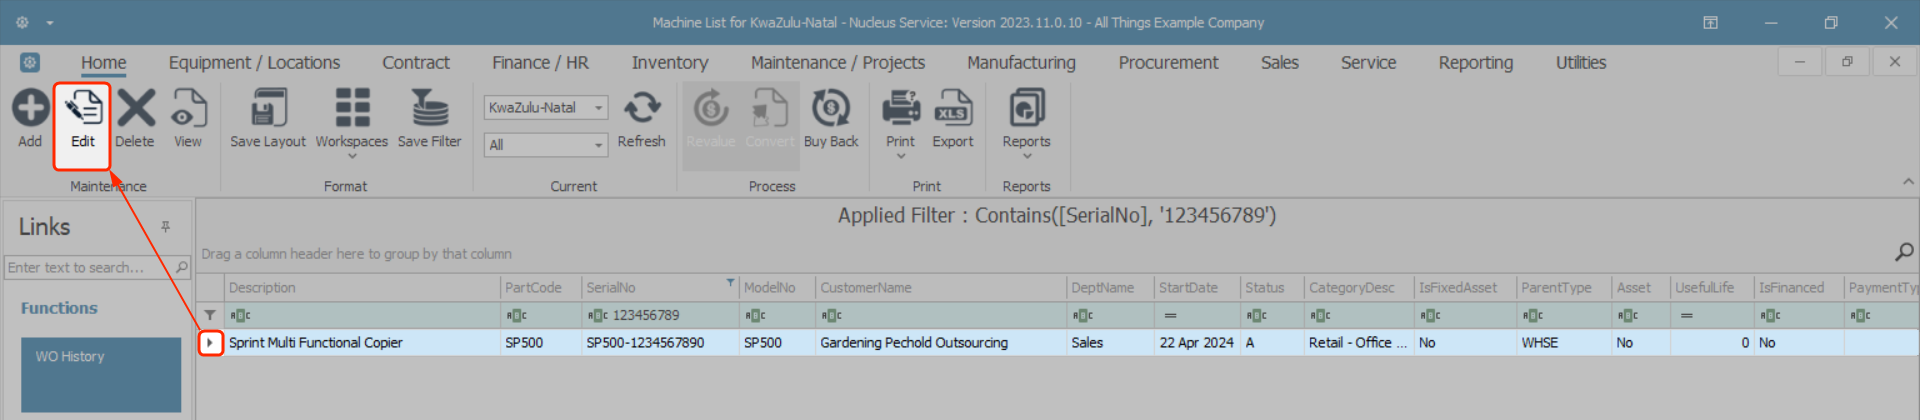
- The Equipment Maintenance for Serial No: [] screen will open.
- If the User Defined field is not yet extended, click on the User Defined tab.
- The User Defined panel will open.

Edit Variable Values
Lookup List
- Click on the Variable Value field and select an item from the lookup list.

Free Input Text
- Click in the Variable Value field and either modify the original text or delete and add new text, as required to make the correct changes.

Yes or No Value
- Clicking in the Yes or No variable value field will bring up a check box. Select and Unselect the check boxas required.

- When you have finished editing the Variable Values of the asset User Defined fields, click on Save.

- Your changes will be saved and you will return to the Machine List for [] screen.
- The edited asset will be selected in the data grid.
- You will return to the Machine List for [] screen.
- You will be able to view the added customer asset in the data grid.
Edit Custom Fields
Follow the processes set out below to edit the custom fields.
- Select the row of the asset you wish to edit.
- Click on Edit.
- Right-click in the row of the custom field where you wish to make changes.
- Ensure that you have selected a custom field that has Input Type: Lookup List.
- A Process menu will pop up.
- Click on Edit - Edit Custom Field.

- The Add new custom element screen will open.
- Even though the screen title is Add new custom element, you can edit some of the details from here.
- The Code, Description and Input Type can be edited for Yes / No and Free input Text user defined fields. For Lookup List only the Description can be edited.
- Click on Save when done.

- You will return to the Equipment Maintenance for Serial No: [] screen.
- The Code Description has been updated in the User Defined panel.
- When you have finished making changes to the User Defined fields, as required,
- Click on Save.

Follow the process to navigate to the Call Maintenance screen and Calls User Defined Fields panel. with the updated custom fields.
MNU.007.016