Inventory
Adjust Stock Into Store
If you are using the Stock Batch Tracking option, make sure to select the Batch Number for C-Class (non-serialised) items when adjusting stock. For more details, refer to Inventory: Stock Batches.
Ribbon Select Inventory > Adjustments
- The Adjustment Requests listing screen will be displayed.
Add New Adjustment
- Select the Site.
- In this image, KwaZulu-Natal has been selected.
- The status will default to New.
- Click on Add
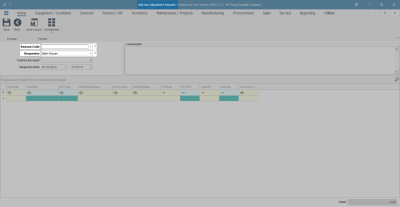
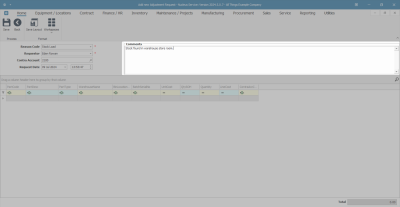
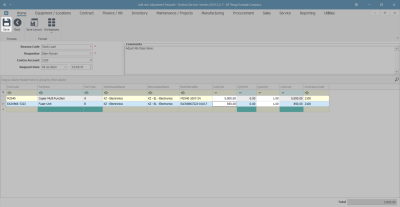
- The Add new Adjustment Request screen will be displayed.
Adjustment Request Reason/Details
- Reason Code: Click on the drop-down arrow and select from the menu the applicable reason code.
- Requestor: This will auto populate with the person currently logged on to the system. Click on the drop-down arrow and select from the list an alternative person, if required.
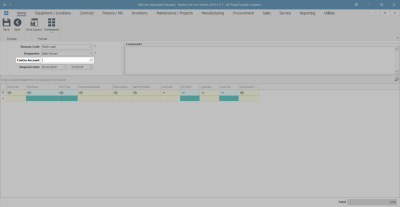
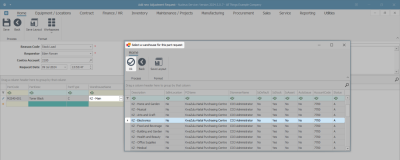
- Contra Account: Click on the search button in this text box.
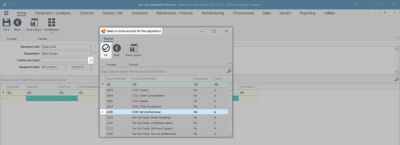
- The Select a contra account for this adjustment screen will pop up.
- Click on the row of the account number that you wish to link to this adjustment.
- Click on Ok.
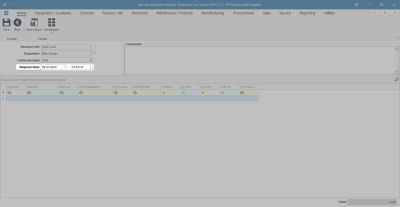
- Request Date and Time: This will populate with the current date and time.
- Date: You can either type in or click on the drop-down arrow and use the calendar function to select an alternative date if required.
- Time: You can either type in or click on the arrow indicators to select an alternative time if required.
Request Comments
- Comments: Click in this text box and type in a comment relating to this adjustment.
Request Parts/Items Frame
- Method 1
- Click in the Part Code text box. (As you click in this field, the Contra Account Code text box will populate with the previously selected Contra Account Code.)
- An Ellipsis button will be revealed.
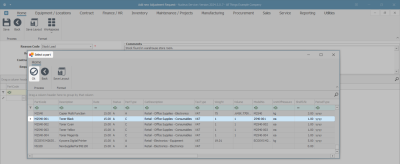
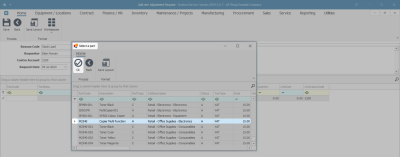
- Click on this button to display the Select a part pop-up screen.
- Method 2
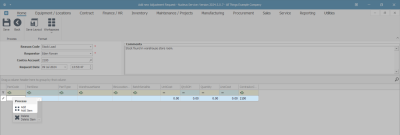
- In the Parts / Items frame, right click anywhere in a row of this data grid. (As you click in this field, the Contra Account Code text box will populate with the previously selected Contra Account Code.)
- A Process menu will pop up.
- Click on Add - Add Item to display the Select a part pop-up screen.
Stock Adjustment - C-Class Items
- In the Select a part pop-up screen.
- Select the row of the C-Class part/item that you wish to adjust into store.
- Click on Ok.
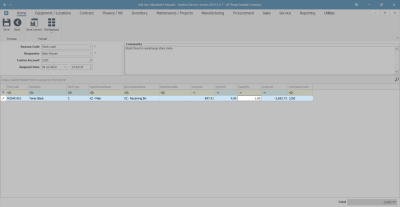
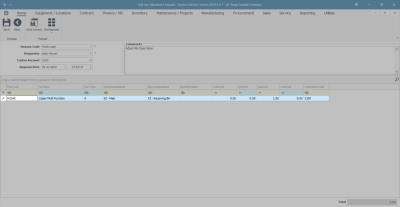
- The row will now populate with the Part Code, Part Description, and Part Type details.
- Note: The Quantity column will populate with 1, but this number can be changed only for C-Class items when you move along this row adjusting the details as required.
A-Class and B-Class serialised items can only be adjusted one item at a time, so the quantity will always be 1.
Select Warehouse and Bin
- If the warehouse does not auto populate or if you want to change the warehouse, do the following:
- Click in the Warehouse Name text box.
- An ellipsis button will be revealed.
- Click on this button.
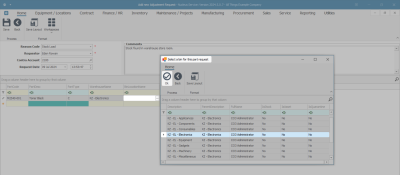
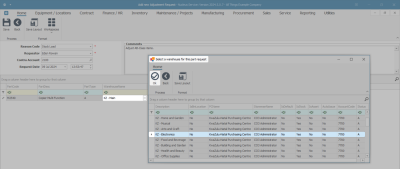
- The Select a Warehouse for this part request screen will pop up.
- Click on the row of the Warehouse where you wish to store this item/part.
- Click on Ok.
- Click in the Bin Location Name text box.
- An ellipsis button will be revealed.
- Click on this button.
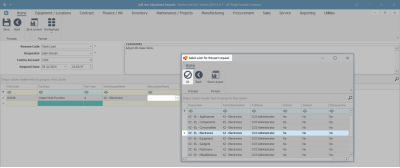
- The Select a bin for this part request screen will pop up.
- Note: If there is only one bin linked to the selected warehouse then the BinLocationName field will populate with that one bin name. Otherwise the Select screen will pop up.
- Click on the row of the Bin Location where you wish to store this item/part.
- Click on Ok.
Select Batch/Serial Number
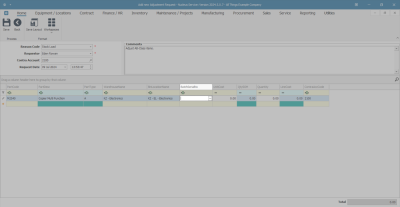
- Click in the Batch Number text box.
- An ellipsis button will be revealed.
- Click on this button.
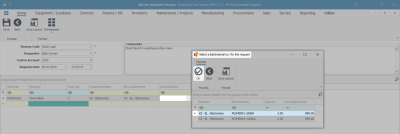
- The Select a batch//serial no. for this request screen will pop up.
- Click on the row of the batch/serial numberthat you wish to adjust.
- Click on Ok.
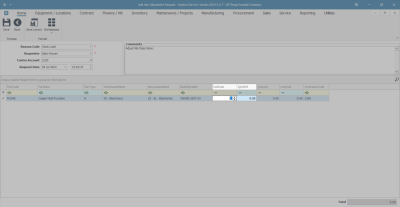
- Unit Cost: This will auto populate with the cost of the selected part once the batch/serial number has been selected.
- Qty SOH: This is the current Stock on Hand quantity and auto populates when the batch/serial number has been selected.
Select Quantity
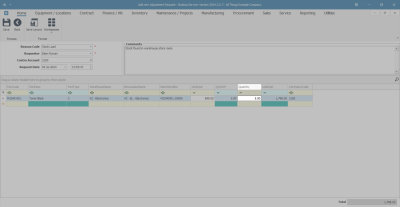
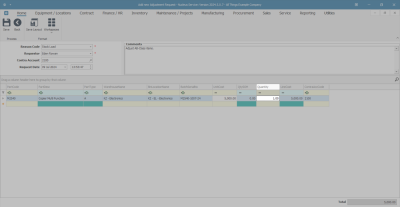
- Quantity: Type in or use the arrow indicators to select the end stock on hand quantity, i.e., the quantity of stock you'll have after the adjustment is complete.
(Example: Currently 3 in stock, adjusting in 2, Quantity must be 5). - Note: A-Class and B-Class serialised items can only be adjusted one item at a time, so the quantity will always be 1.
Line Cost for C-Class Item
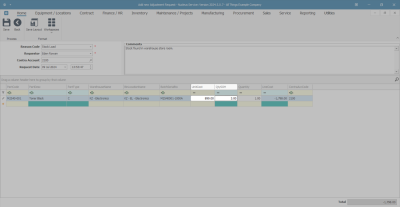
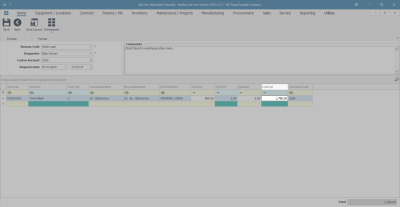
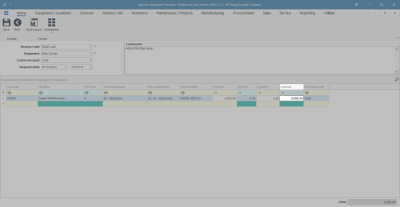
- Line Cost: The system will auto calculate the sum of the unit cost x the quantity. (In this case, 899 Unit Cost x 5 Quantity = 1798 Line Cost).
- In the new row you can add more items to the list if required.
- Note: You cannot adjust multiple line items of the same part number in one adjustment for C-Class items.
Save Request
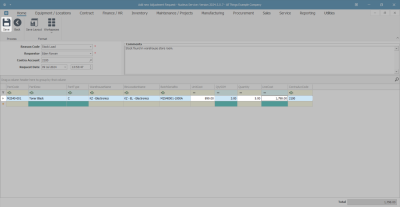
- When you have finished adding the adjustment request items, click on Save.
Print Request
- A Report Generation message box will pop up asking:
- Do you want to print the adjustment request [ ]?
- Click on Yes.
- You will return to the Adjustment Requests listing screen.
- An Adjustment Request Processing message box will pop up informing you that -
- Adjustment Request No. [ ] saved successfully.
- Click on OK.
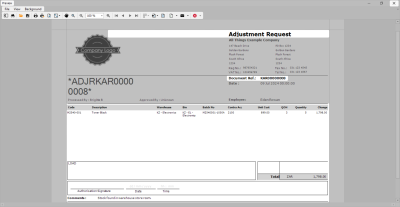
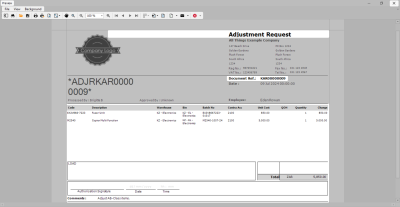
- You can then view the Adjustment Request report preview screen.
- From here you can View, Print, Export or Email.
- Close the report preview screen when done.
Authorise Request
- Note: This request must be authorised before the Stock Adjustment is completed.
Stock Adjustment A / B-Class Item
- Method 1
- Click in the Part Code text box. (As you click in this field, the Contra Account Code text box will populate with the previously selected Contra Account Code.)
- An Ellipsis button will be revealed.
- Click on this button for the Select a part screen to open.
- Method 2
- In the Parts / Items frame, right click anywhere in a row of this data grid. (As you click in this field, the Contra Account Code text box will populate with the previously selected Contra Account Code.)
- A Process menu will pop up.
- Click on Add - Add Item for the Select a part screen to open.
- In the Select a part screen.
- Select the row of the A/B-Class part/item that you wish to adjust into store.
- Click on Ok.
- The row will now populate with the Part Code, Part Description, and Part Type details.
- Note: The Quantity column will populate with 1 but this number can be changed only for C-Class items when you move along this row adjusting the details as required.
A-Class and B-Class serialised items can only be adjusted one item at a time, so the quantity will always be 1.
Select Warehouse and Bin for A / B-Class Item
- If the warehouse does not auto populate or if you want to change the warehouse, click in the Warehouse Name text box.
- An ellipsis button will be revealed.
- The Select a Warehouse for this part request screen will pop up.
- Click on the row of the Warehouse where you wish to store this item/part.
- Click on Ok.
- Click in the Bin Location Name text box.
- An ellipsis button will be revealed.
- Click on this button.
- The Select a bin for this part request screen will pop up.
- Note: If there is only one bin linked to the selected warehouse then the BinLocationName field will populate with that one bin name. Otherwise the Select screen will pop up.
- Click on the row of the Bin Location where you wish to store this item/part.
- Click on Ok.
Batch/Serial Number for A / B-Class Item
- Click in the Batch Number text box.
- Type in the Serial No of the part you want to adjust into stock.
Unit Cost and Quantity Stock on Hand for A / B-Class Item
- Unit Cost: Type in the unit cost of this part.
- Qty SOH: This is the current Stock on Hand quantity and will always auto populate as 0 for A/B-Class items since each item has a unique serial number.
Quantity for A / B-Class Item
- Quantity: The quantity will always auto populate as 1 for A / B-Class items since each item has a unique serial number.
Line Cost for A / B-Class Item
- Line Cost: The system will auto calculate the sum of the unit cost x the quantity. (In this case, 5 000 Unit Cost x 1 Quantity = 5 000 Line Cost). For A / B-Class items, the Line Cost will always be equal to the Unit Cost.
- Add more items in the new row if required.
- Note: You can adjust multiple line items of the same part number in one adjustment for A/B-Class items.
Save Adjustment Request - A / B-Class Item
- When you have finished adding the adjustment request items, click on Save.
Print Adjustment Request - A / B-Class Item
- A Report Generation message box will pop up asking:
- Do you want to print the adjustment request [ ]?
- Click on Yes.
- You will return to the Adjustment Requests listing screen.
- An Adjustment Request Processing message box will pop up informing you that -
- Adjustment Request No. [ ] saved successfully.
- Click on OK.
- You can then view the Adjustment Request report preview screen.
- From here you can View, Print, Export or Email the Adjustment Request.
- Close the report preview screen when done.
Authorise Request
- Note: This request must be authorised before the Stock Adjustment is completed.
MNU.131.002


