We are currently updating our site; thank you for your patience.
TechConnect
Work Options
Call Options
- All the call options are available in Status - Start Work. In other statuses, you can only access some of the call options.
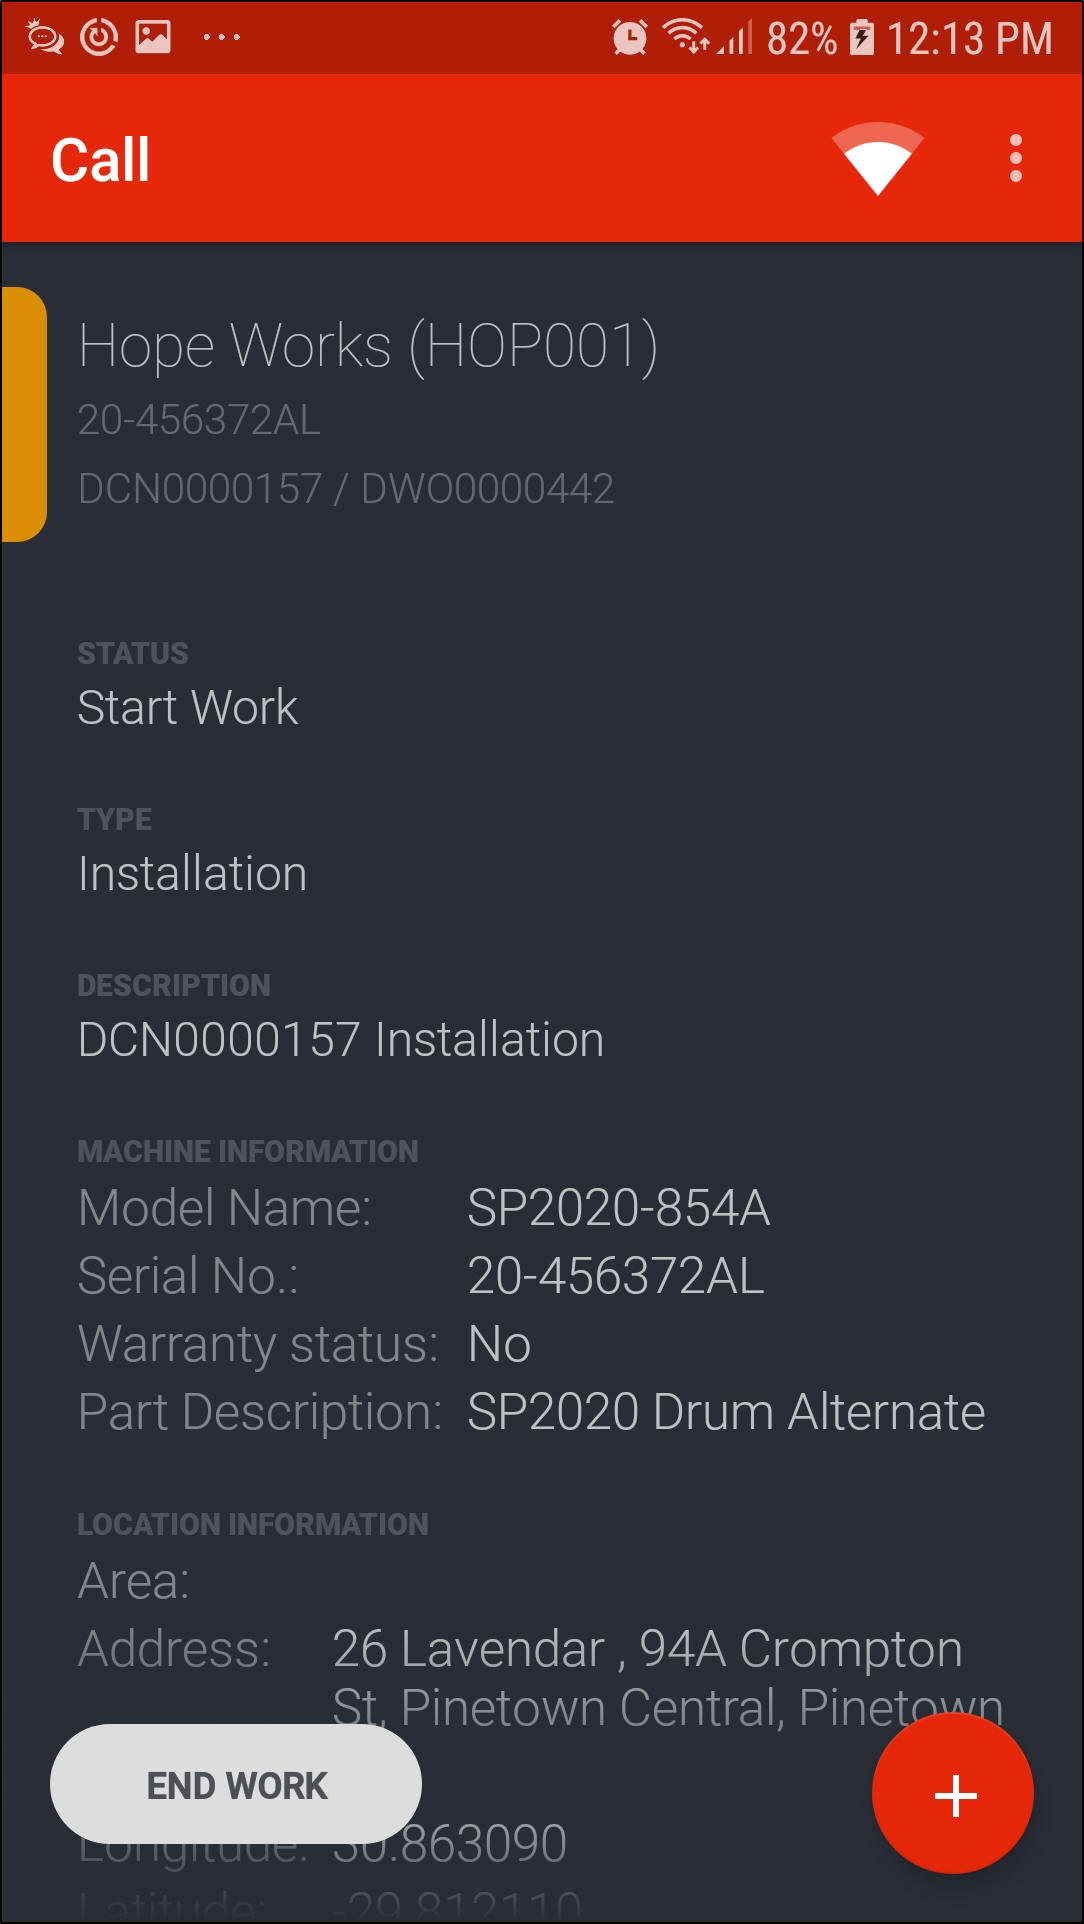
- In the Calls List screen, click on the call / project you wish to work on.
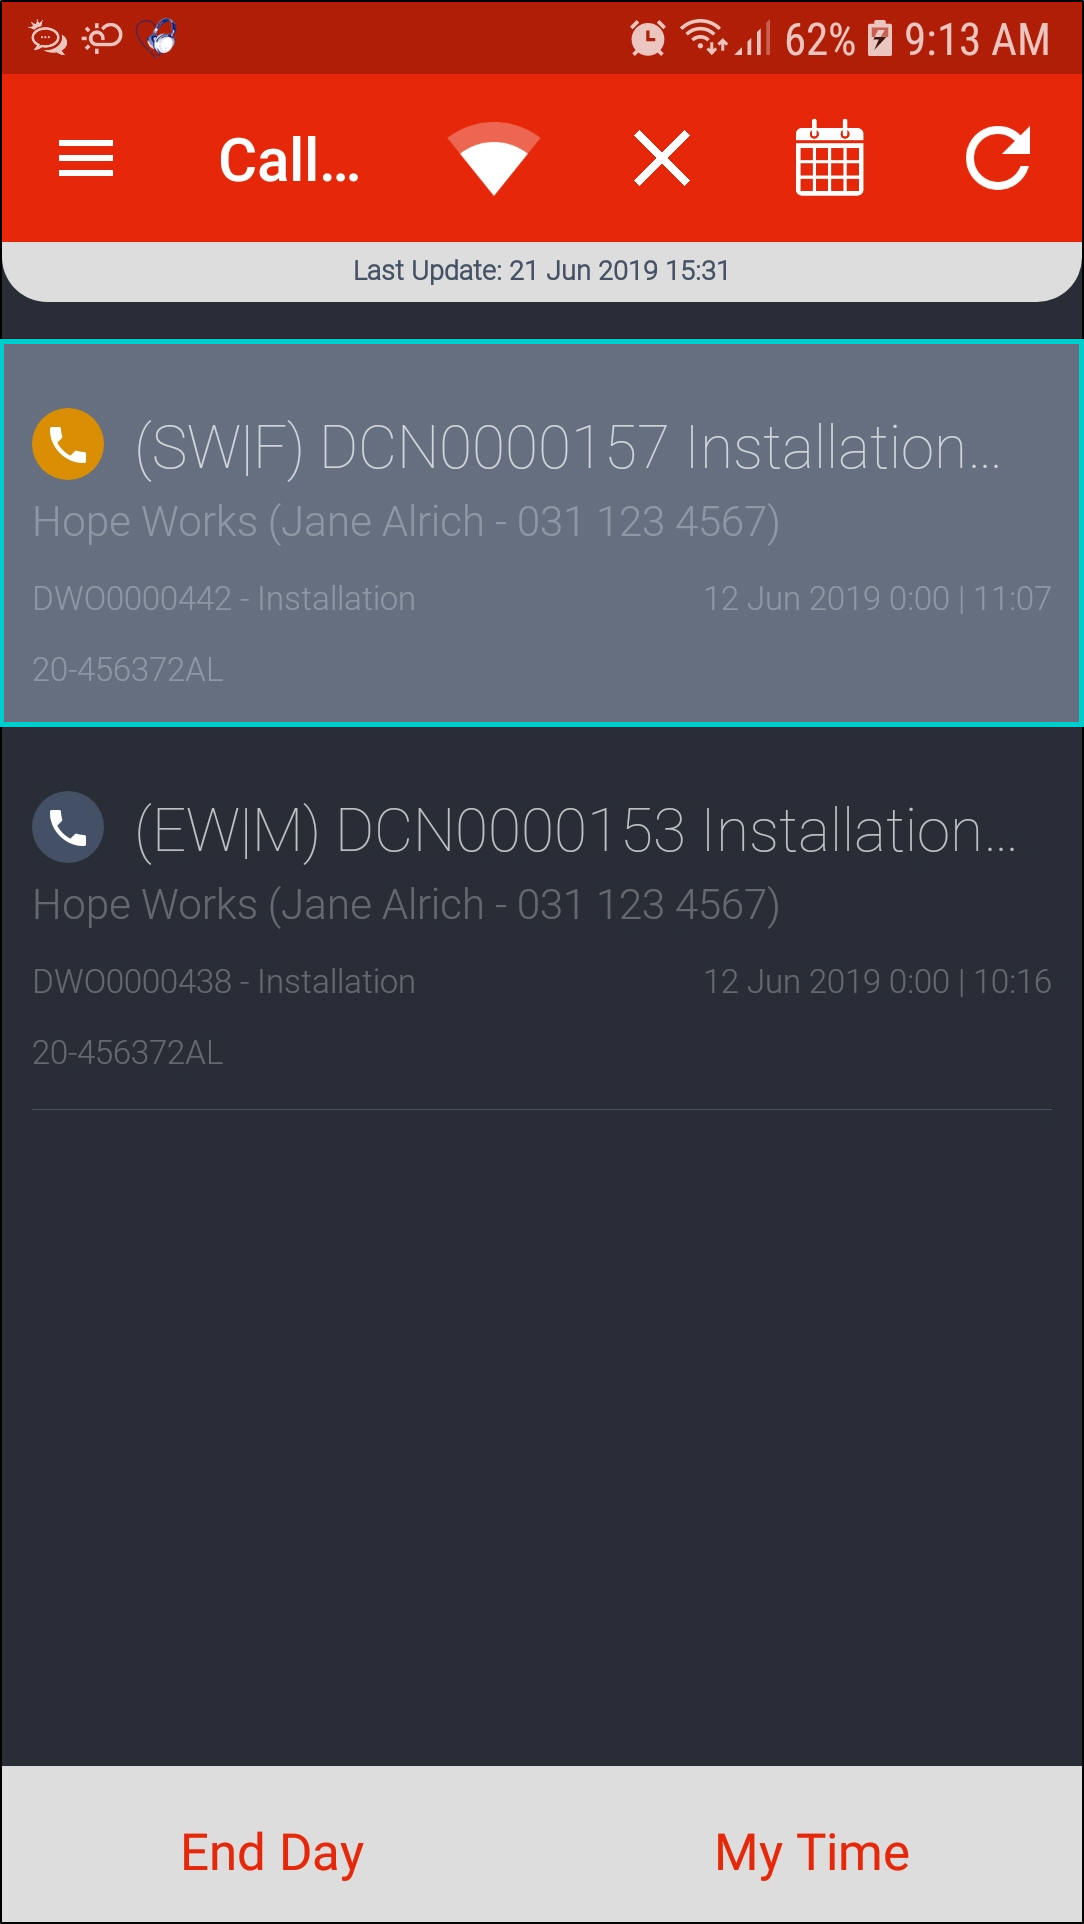
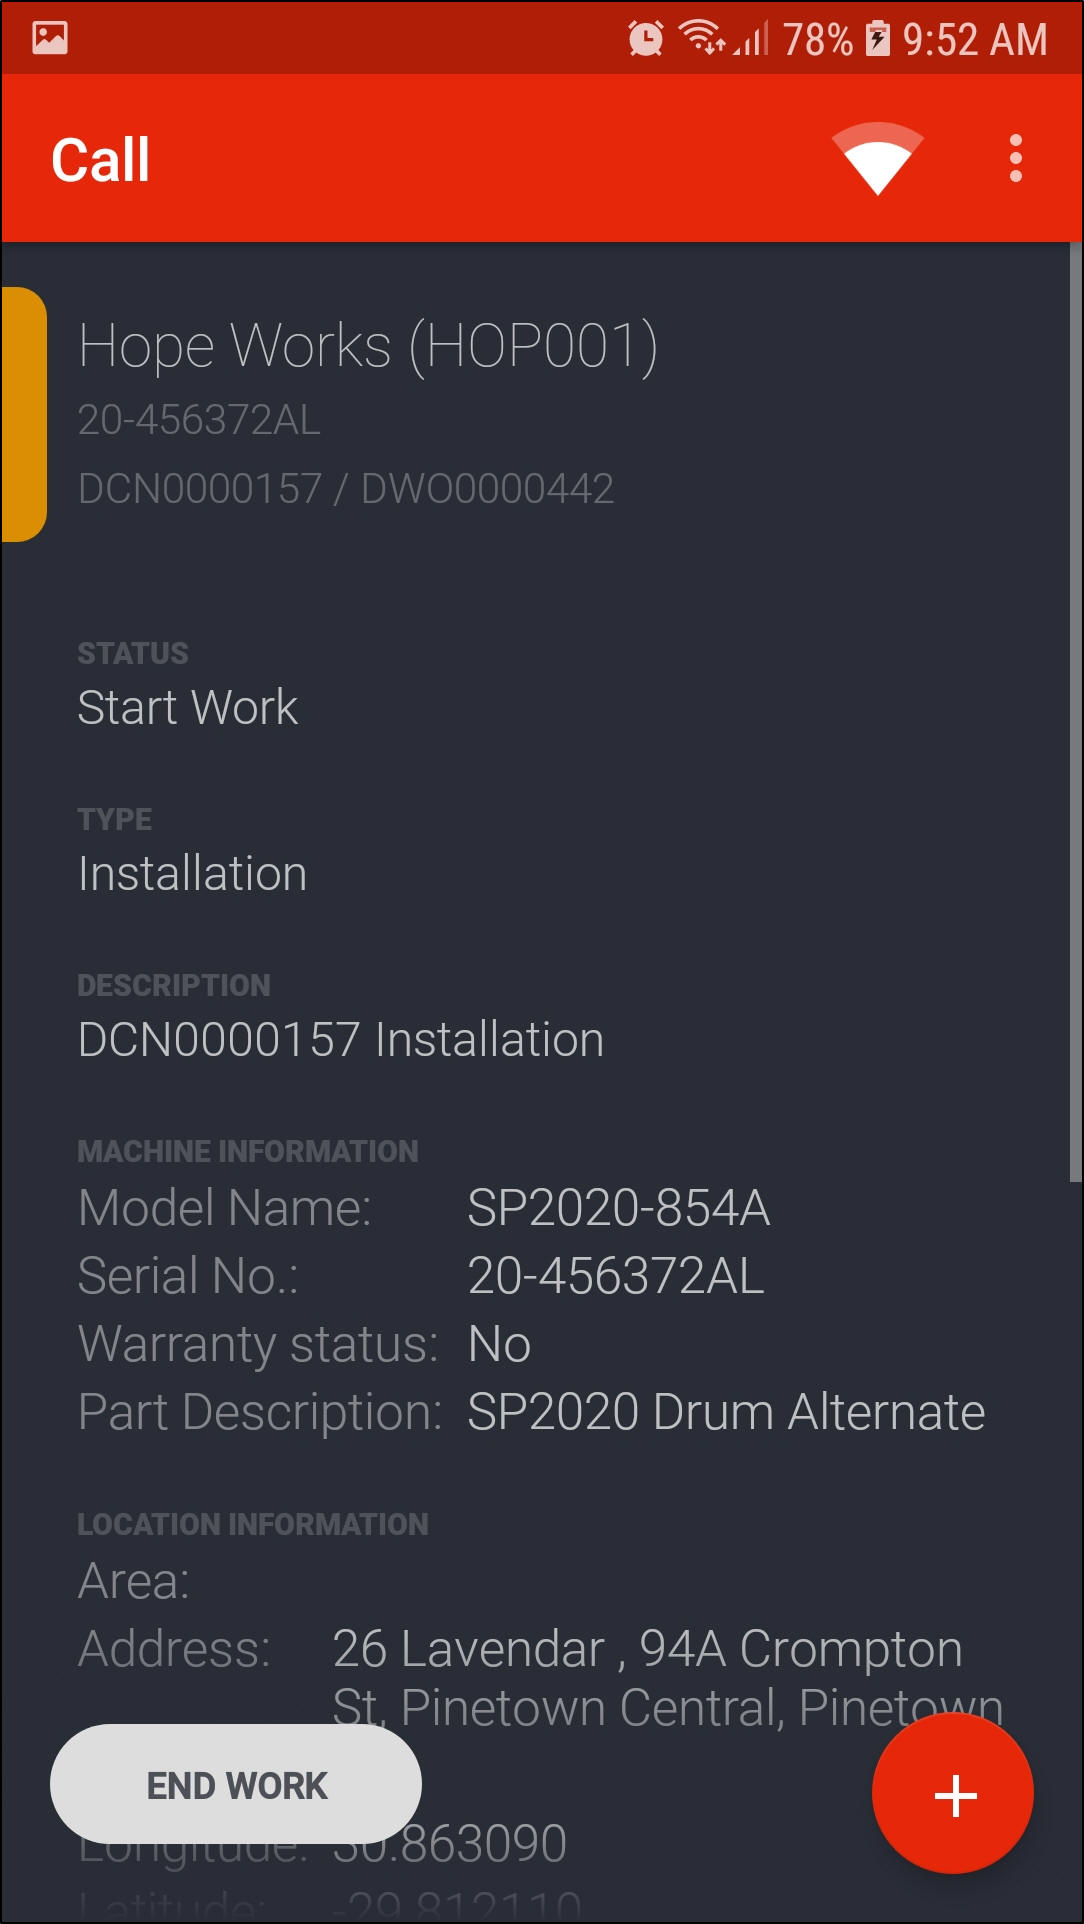
- The Call screen will be displayed.
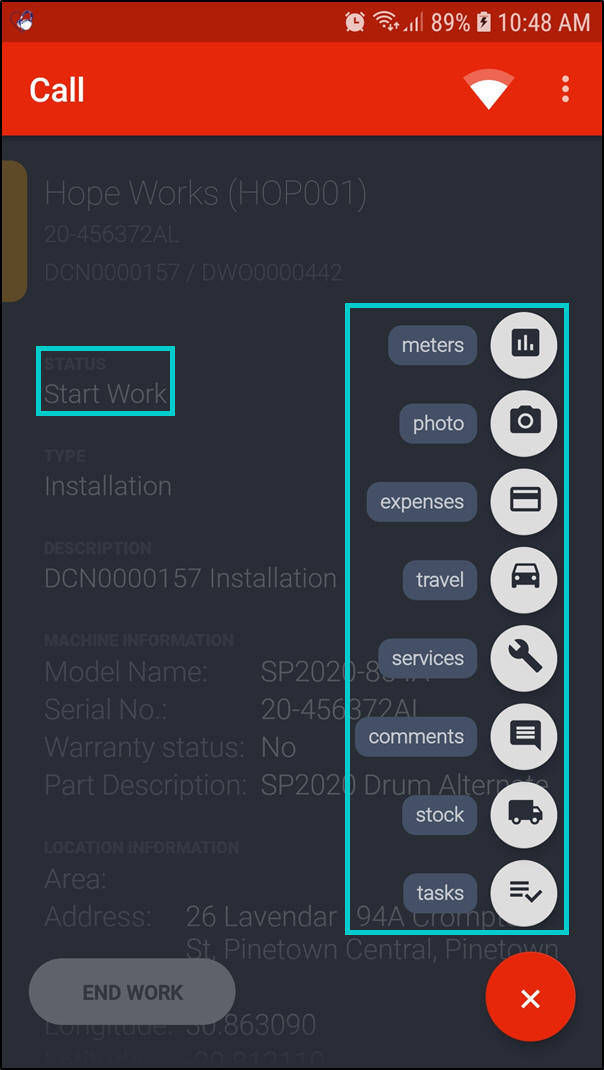
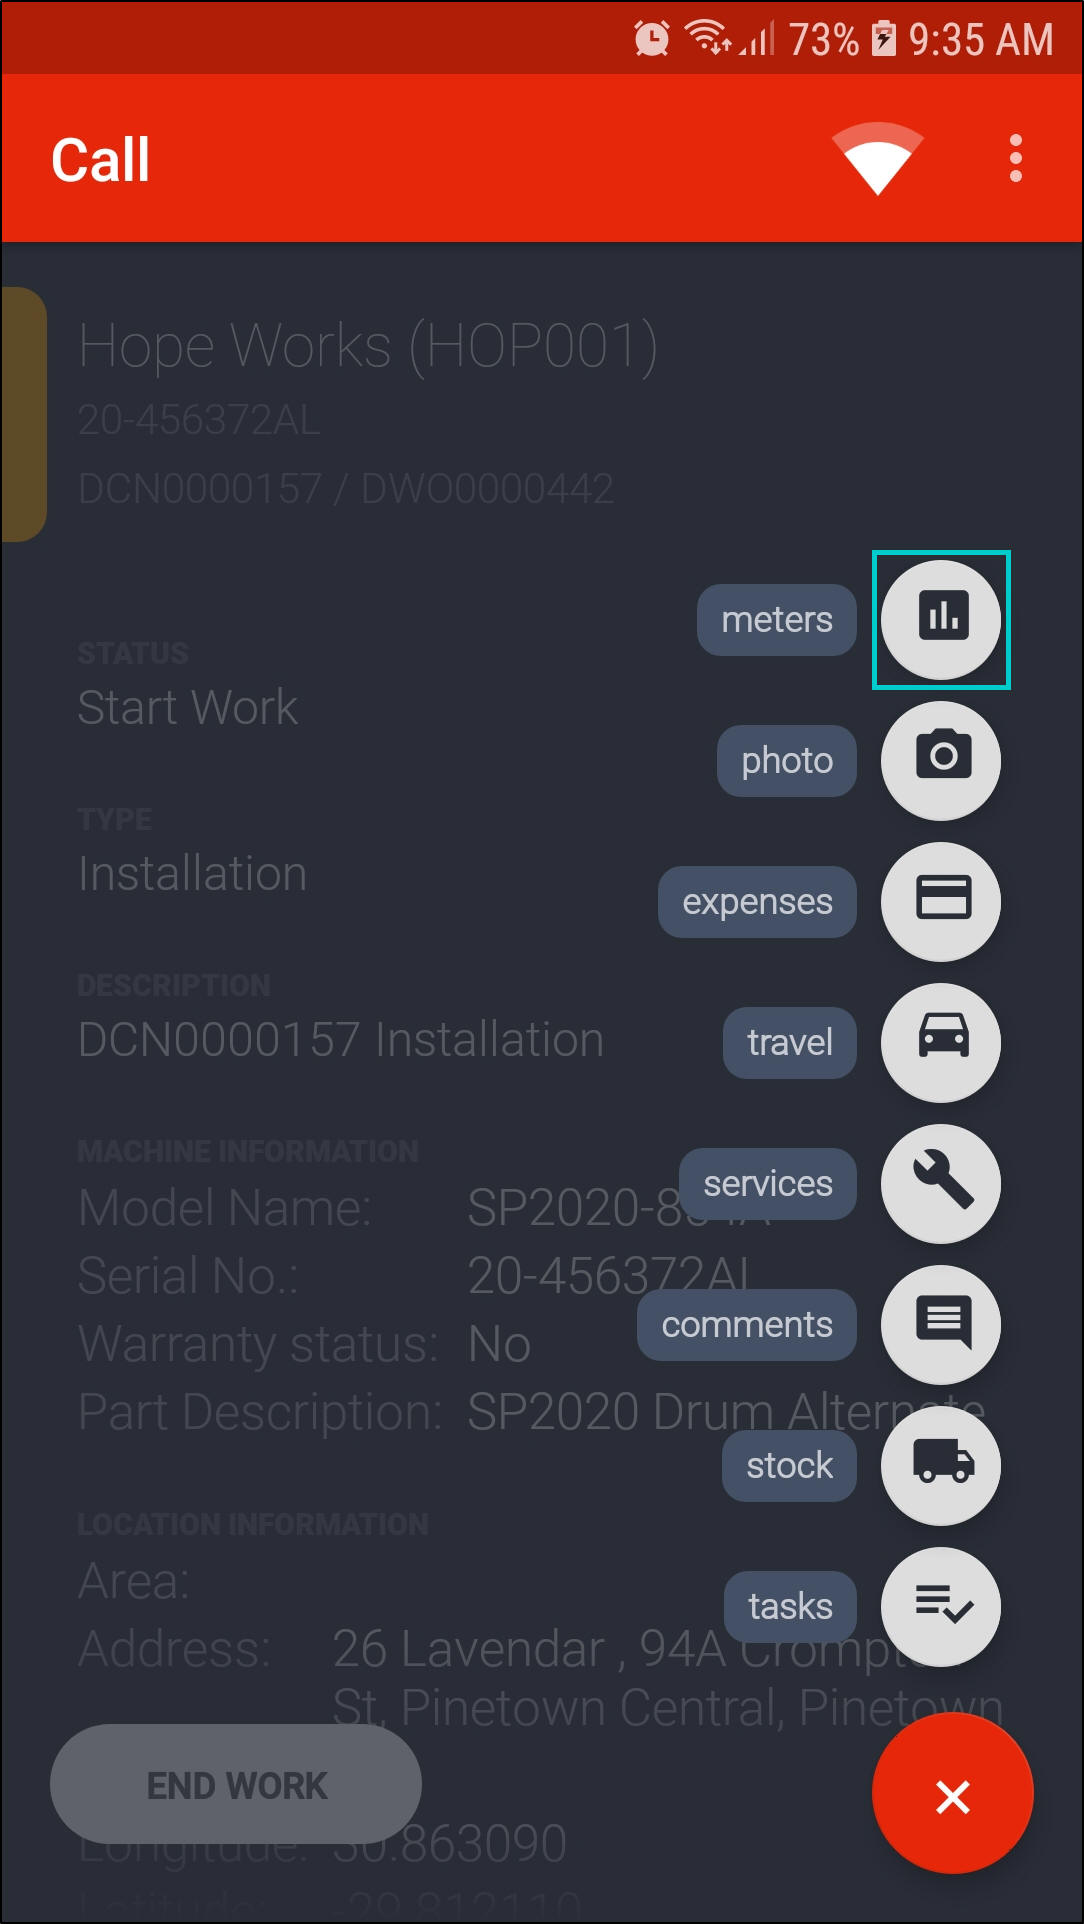
- Click on the '+' button.

- A call options menu will be displayed.
- Note: All call options are only displayed in status - Start Work.
Tasks / Instructions
- Click on Tasks.
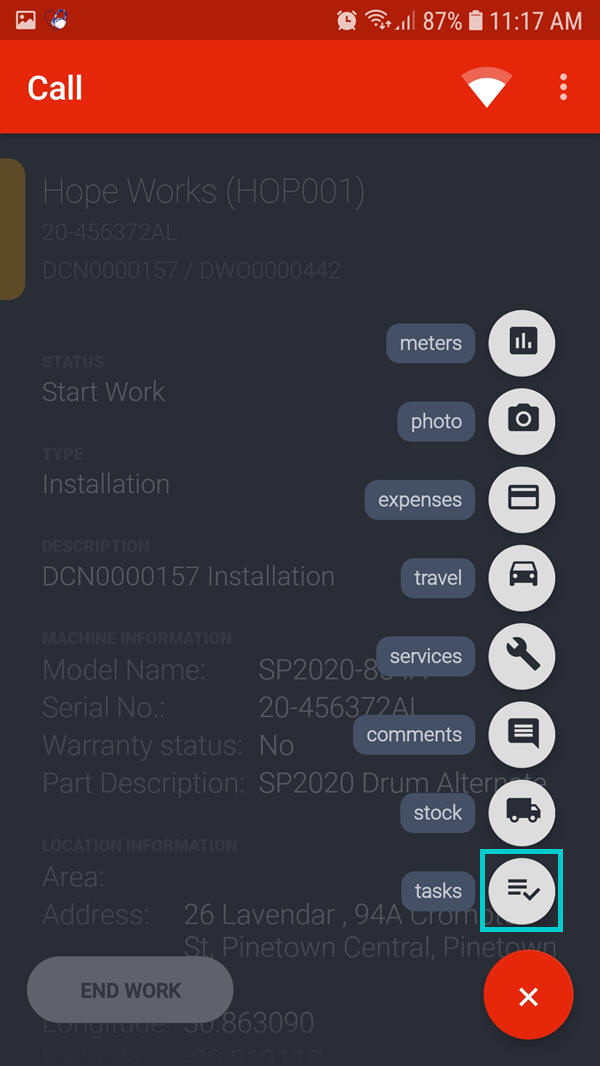
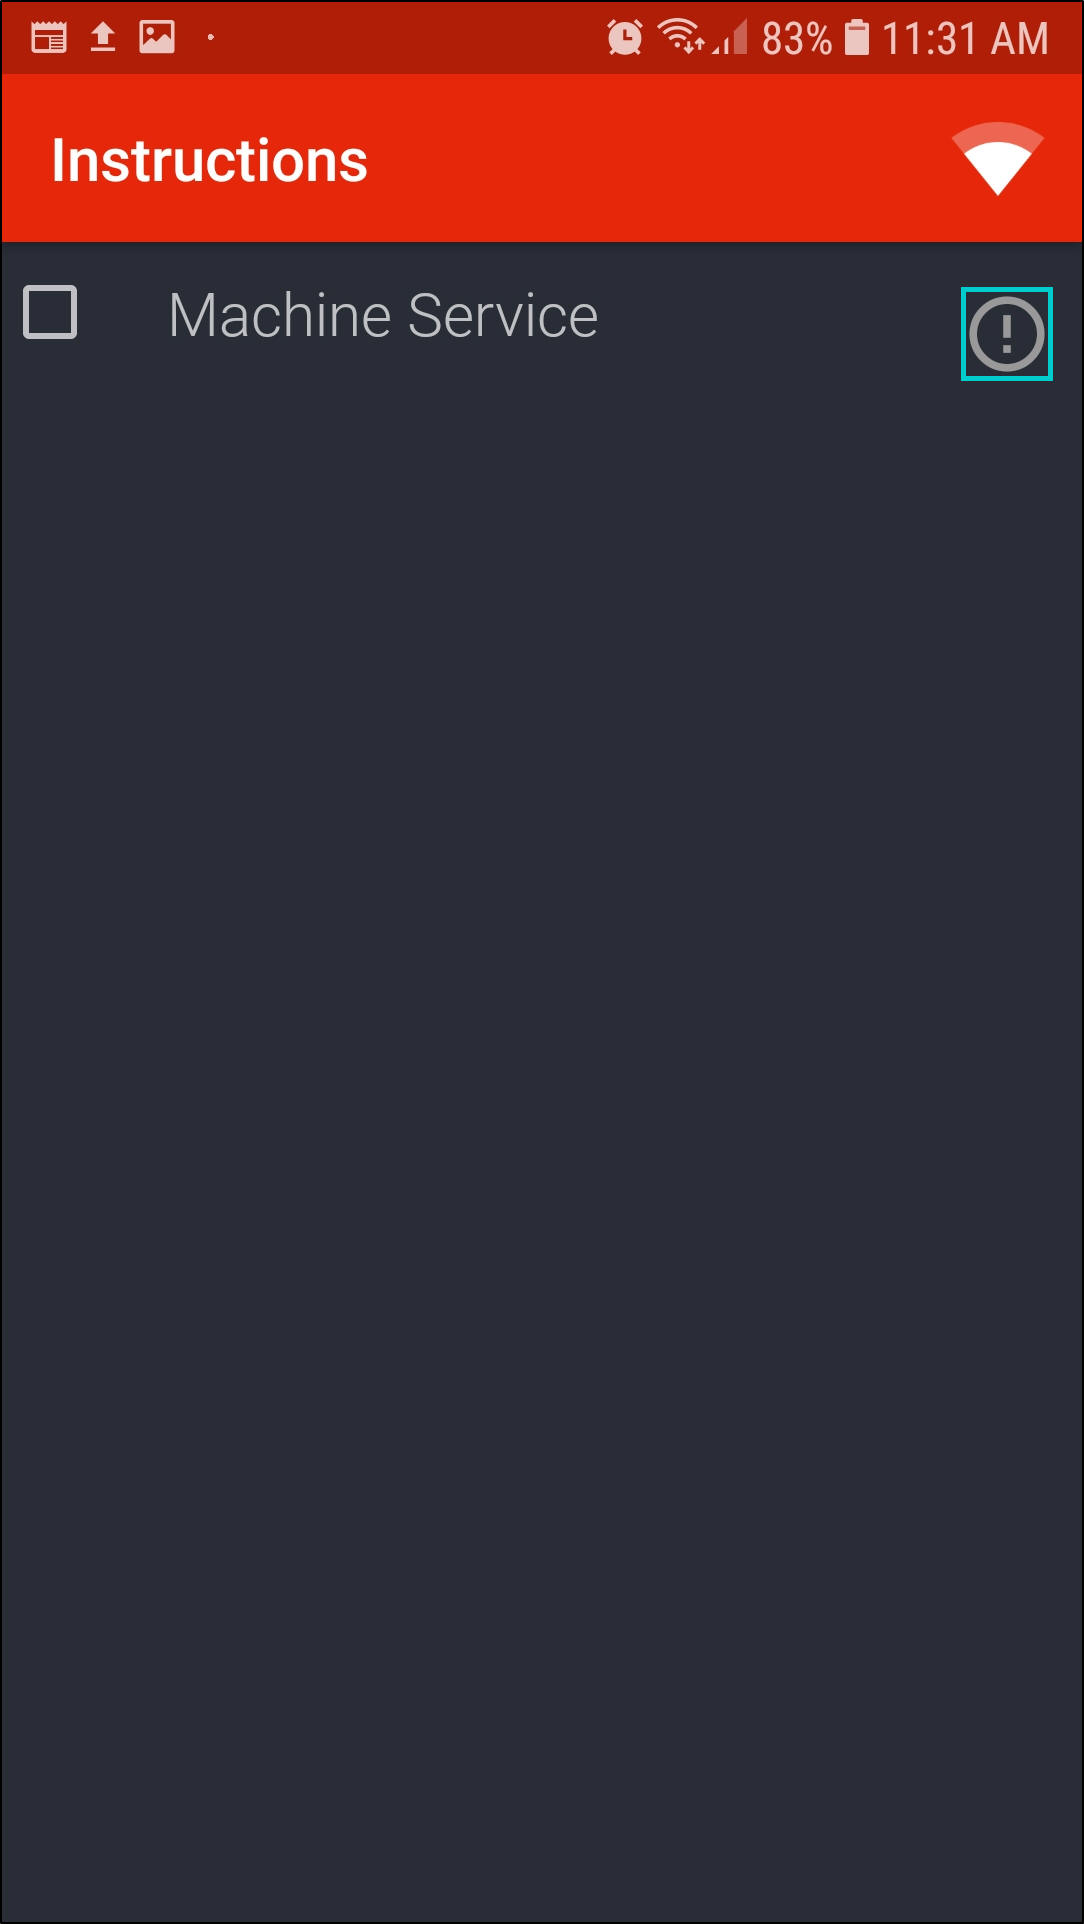
- The Instructions screen will be displayed.
- If the call / project was generated from a scheduled maintenance task, a list of work instructions will display.
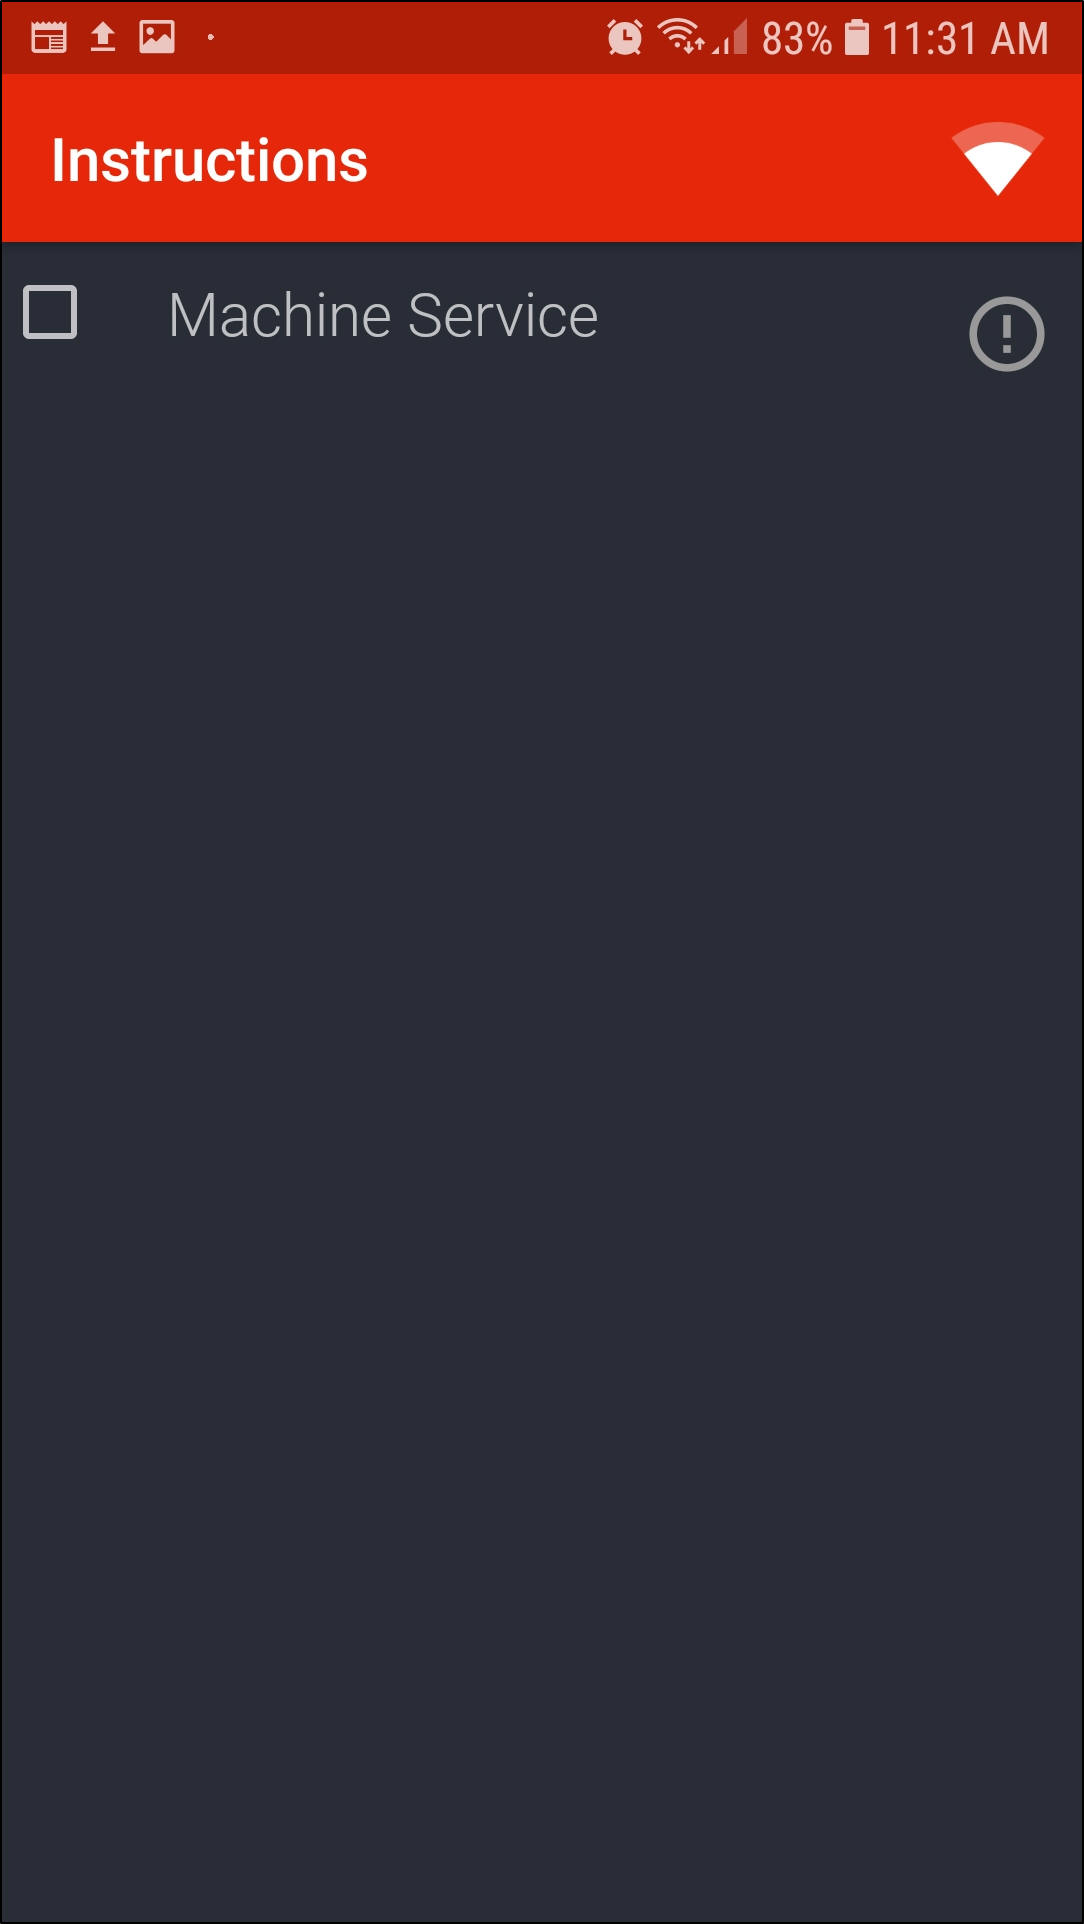
- Click on the '!' - Information icon to view more details regarding the instruction.
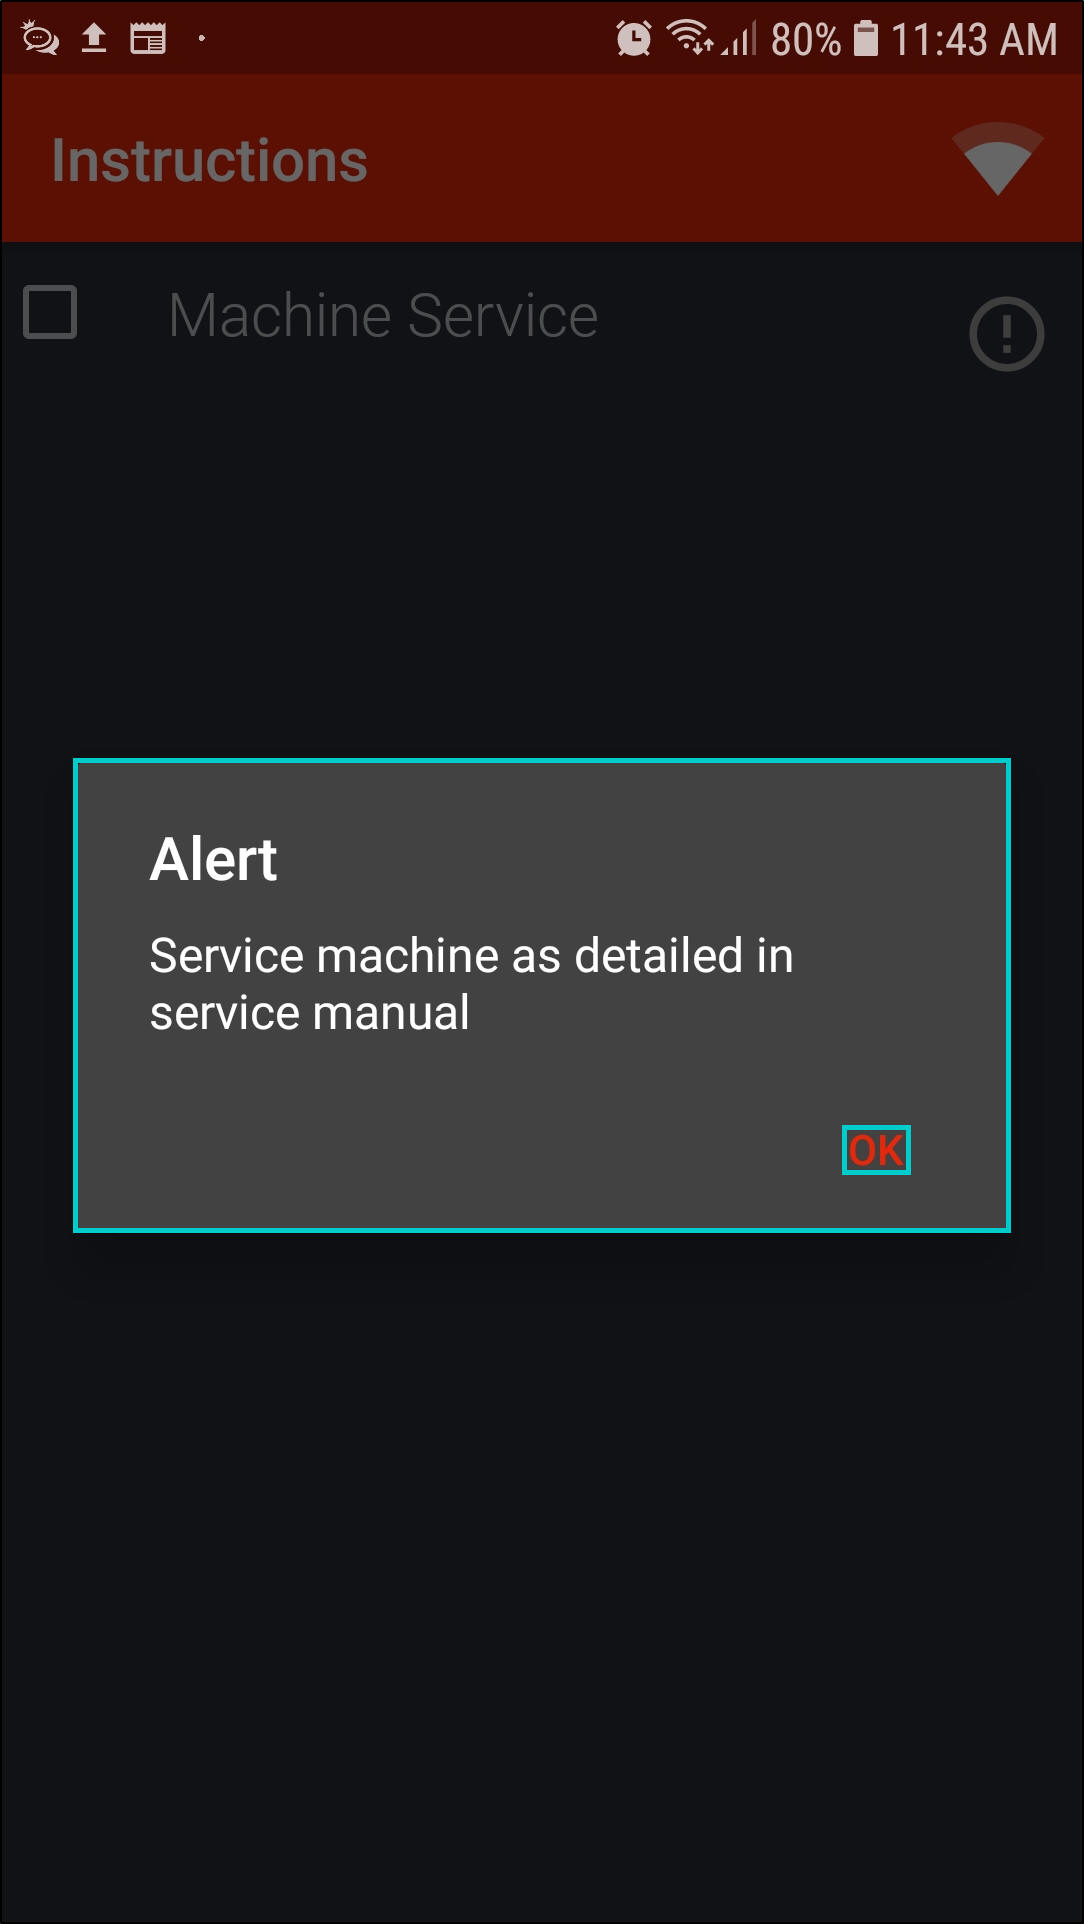
- An Alert message box will be displayed with more details regarding the instruction.
- Click on Ok when you are done with the instruction details.
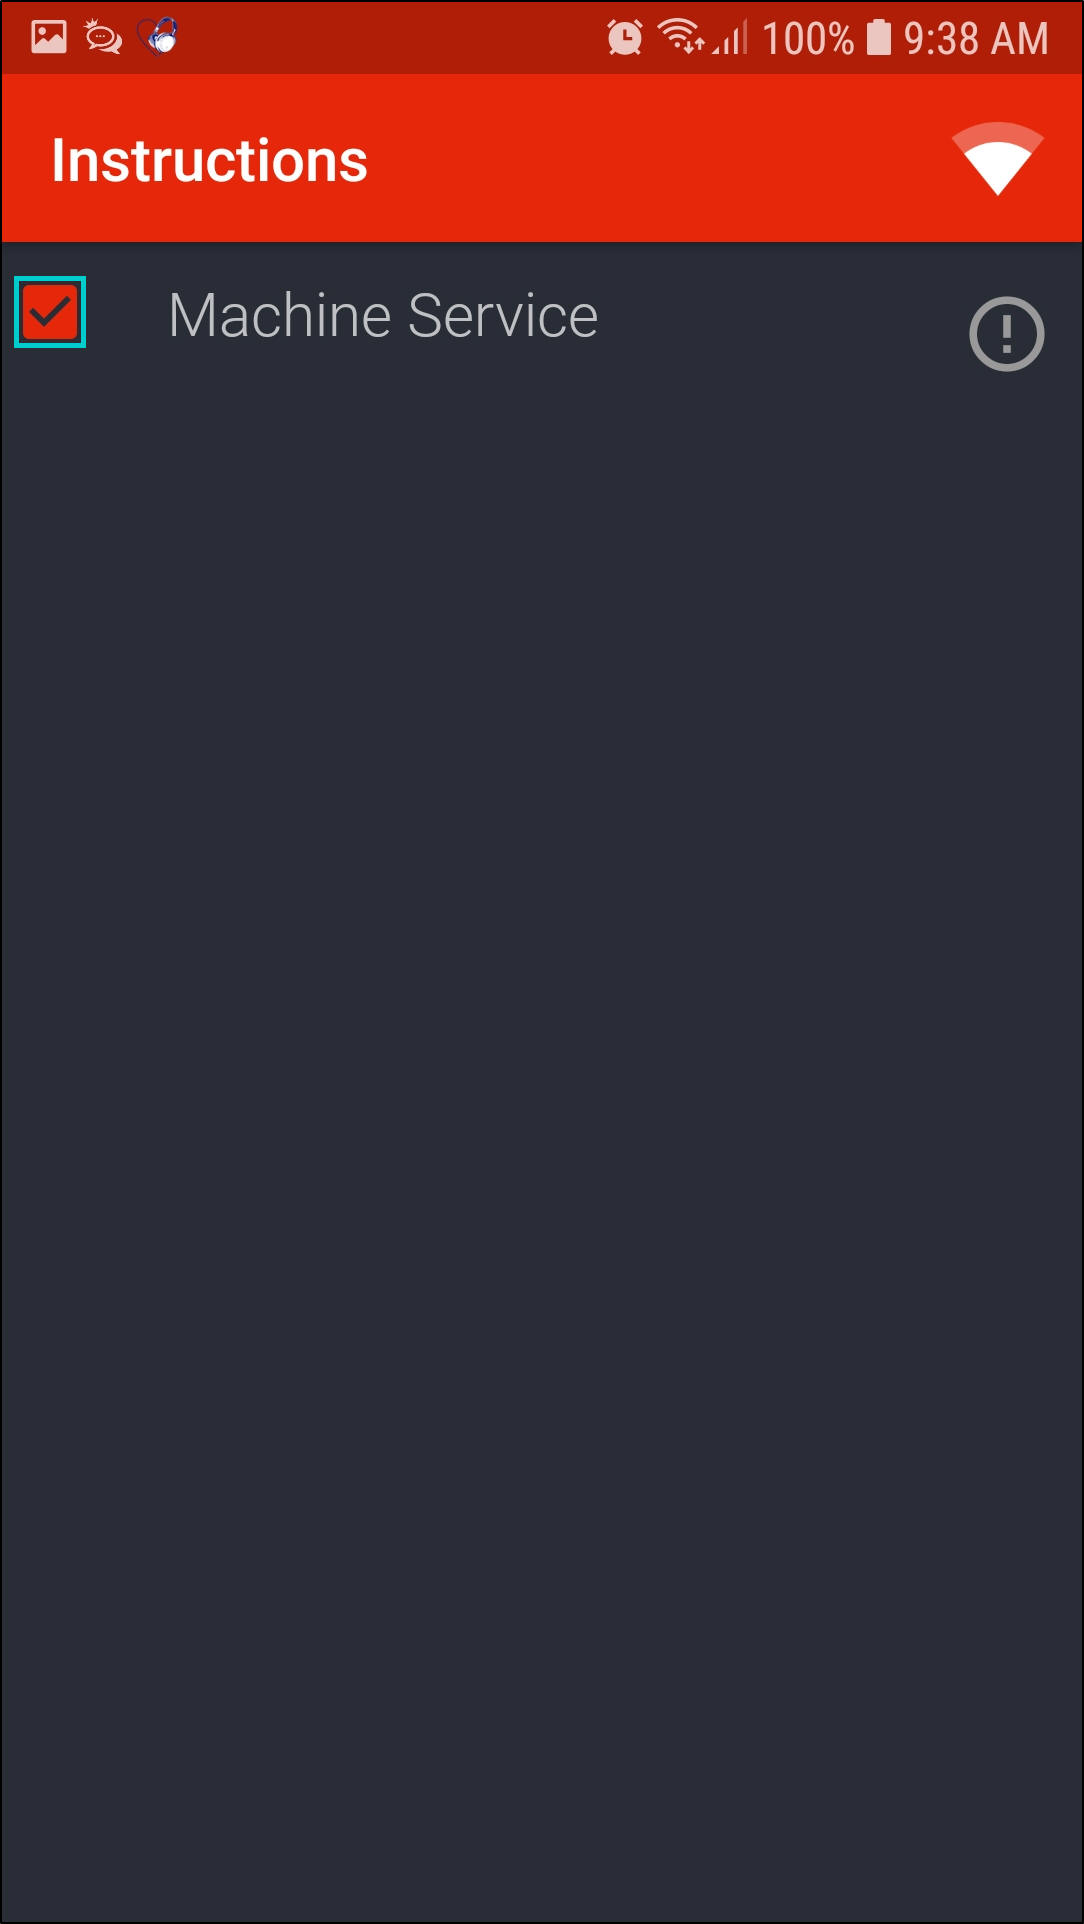
- To mark the task / instruction as done, click in the check box.

- The check box will now be marked.
- The check box colour will now red.
Stock
(refer to Work options - Stock)
Work Comments
- You can add work comments whilst work is in progress. These comments will pull through to the Technician end work rectification comments field.
- Click on Comments.

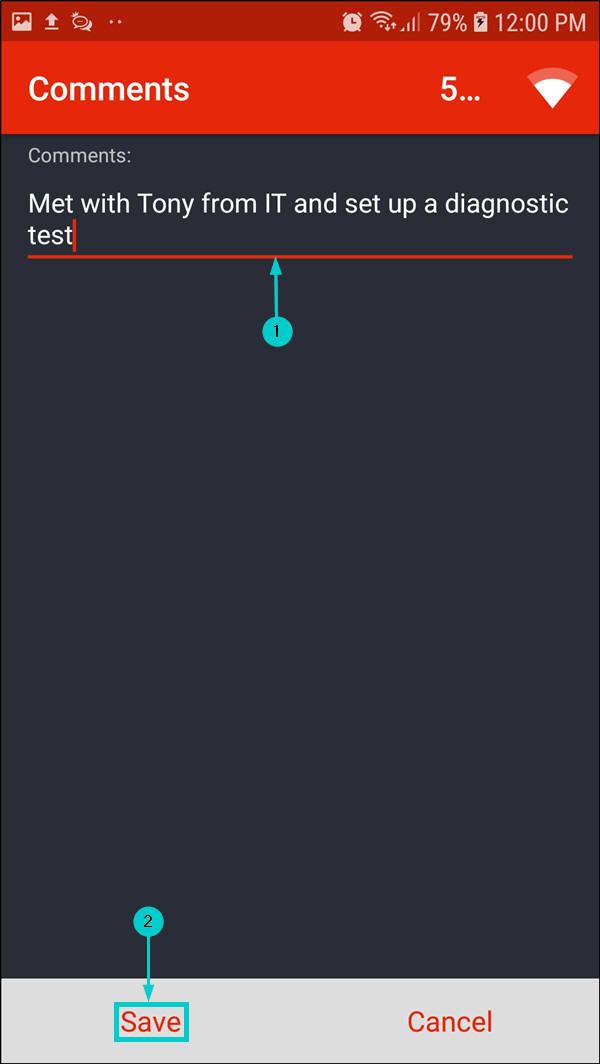
- The Comments screen will be displayed.
- Type in your comment.
- Click on Save.
- You will return to the Call screen.
Third Party Service Request
- If a Third Party Sub-contract is required for work that must be done, a Service Request must be raised.
- Click on the Services.

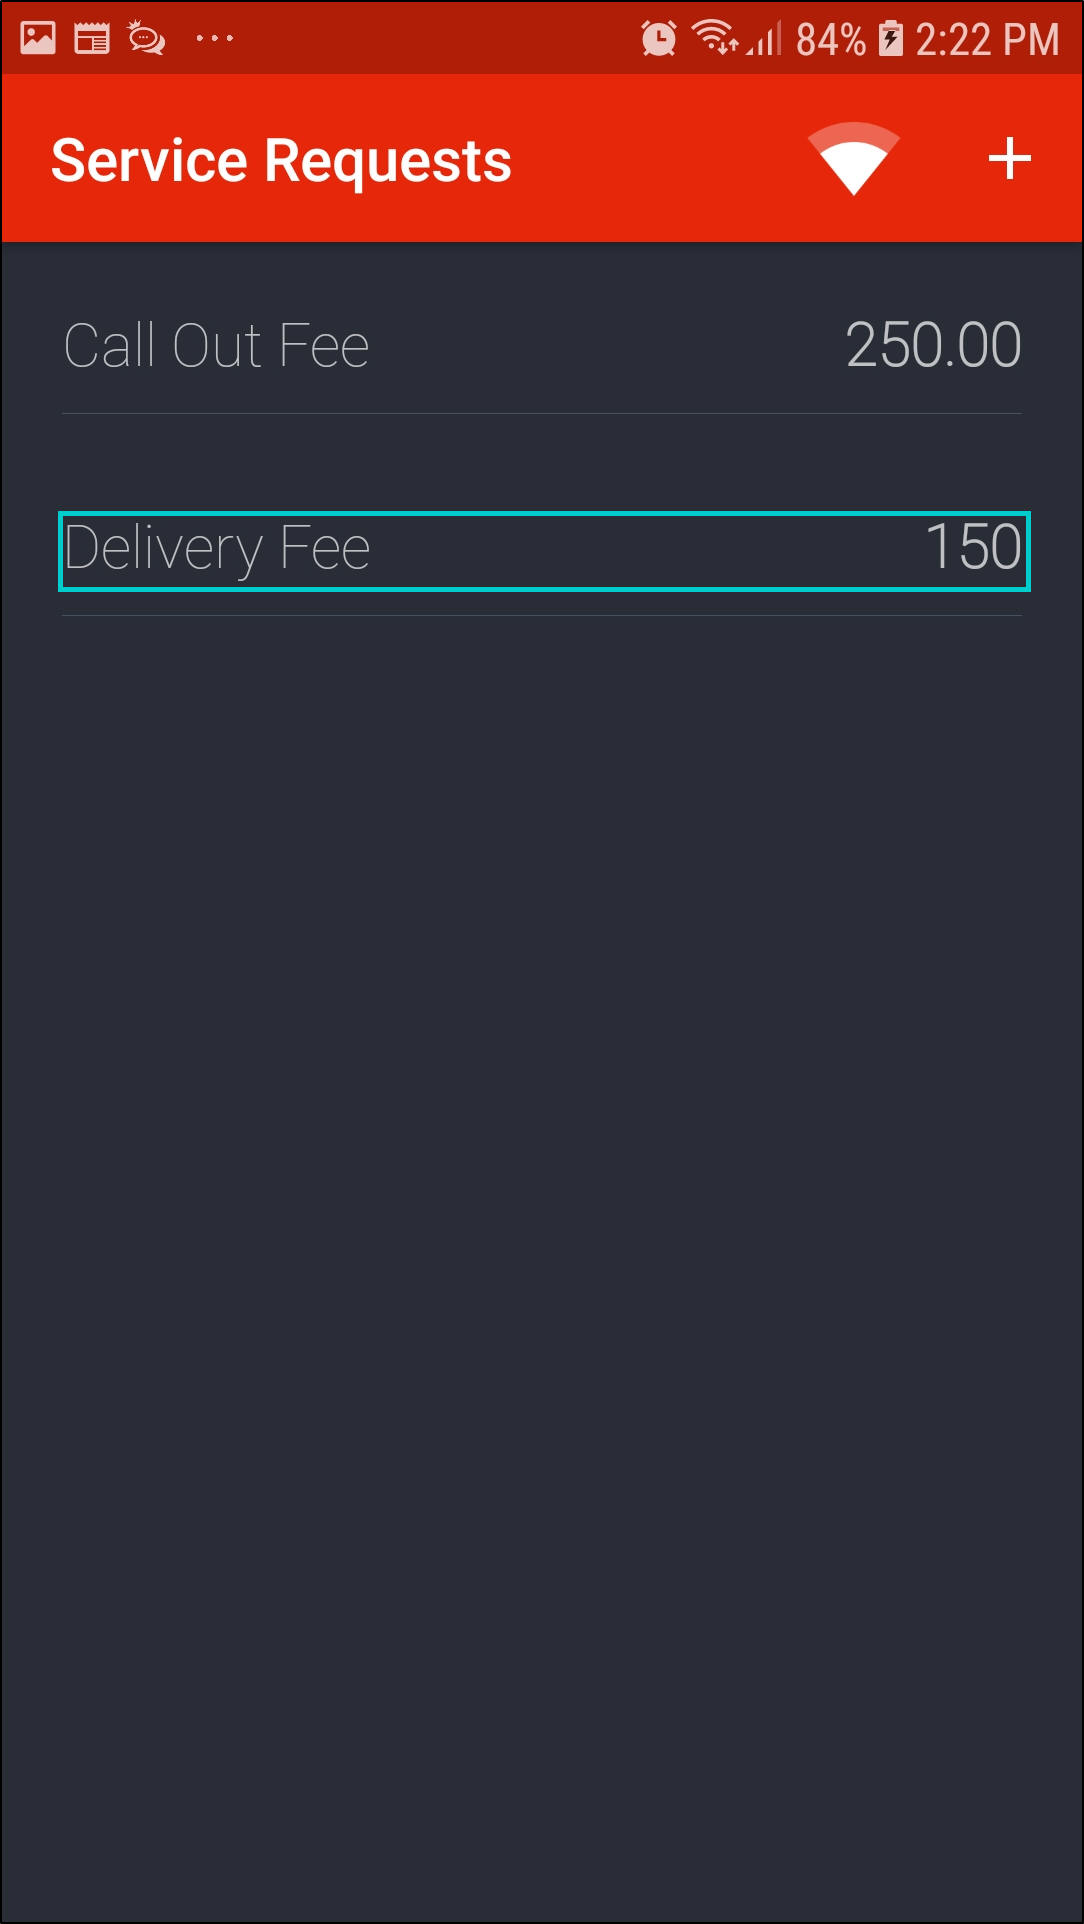
- The Service Requests screen will be displayed.
- Any services that have already been requested will be displayed in this screen.
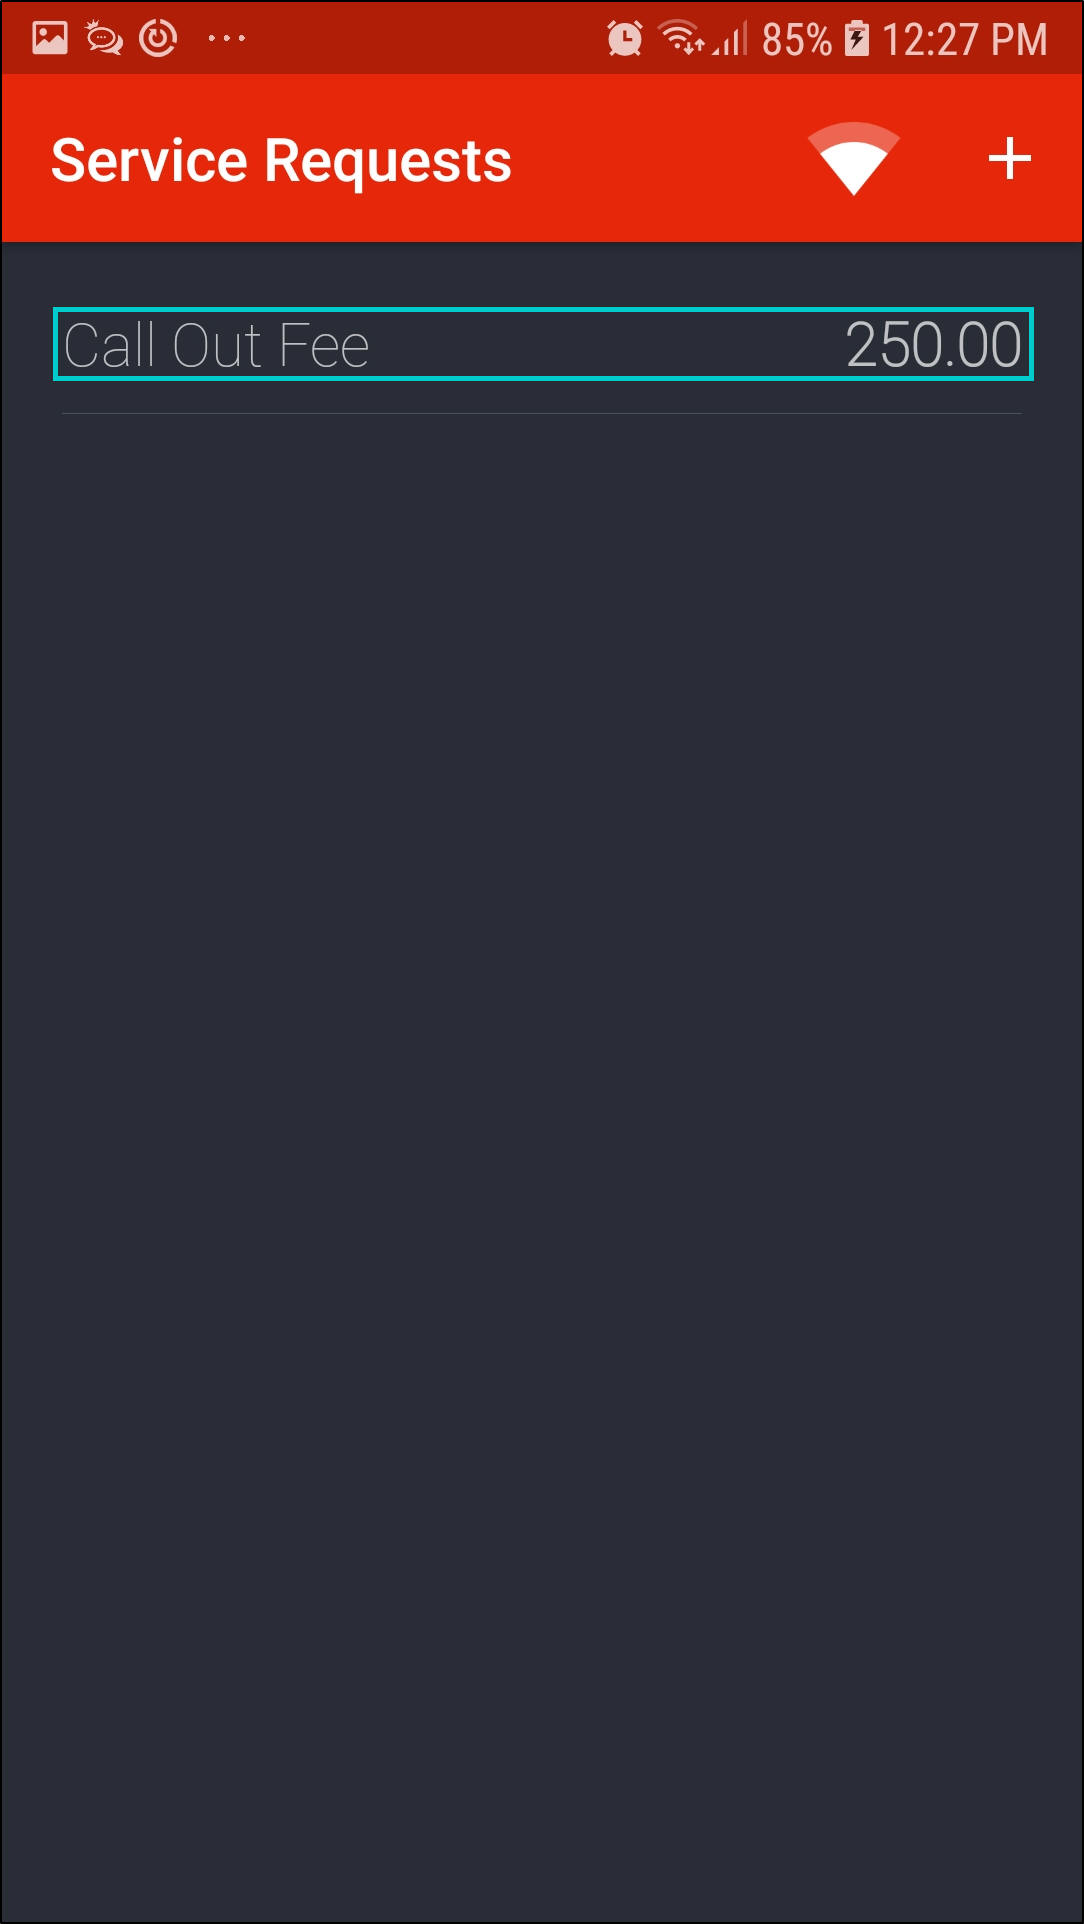
- To add a Service Request, click on the '+' icon.
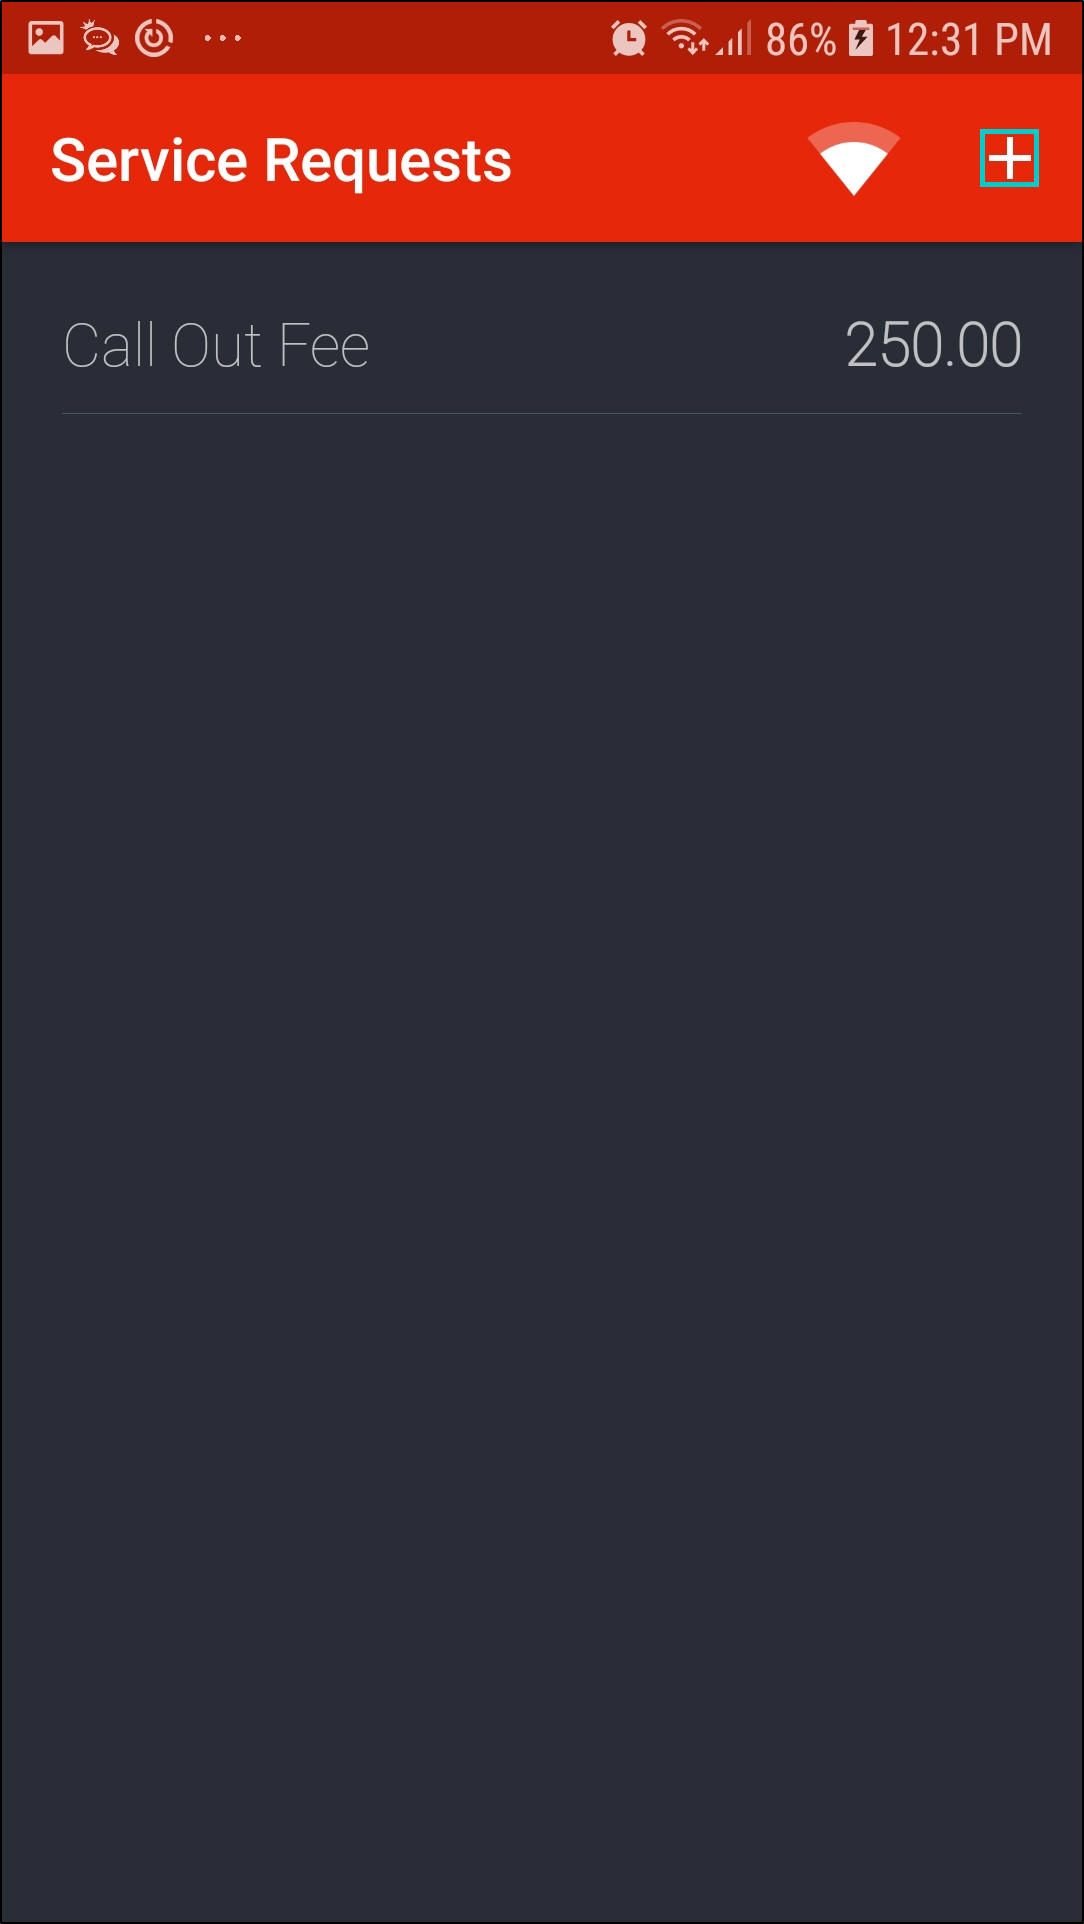
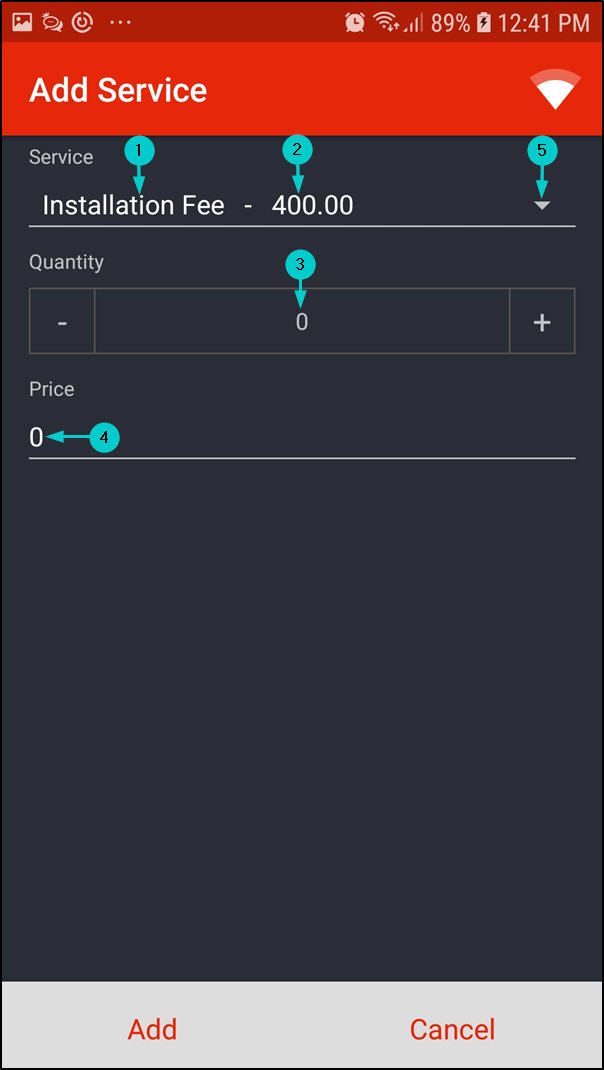
- An Add Service screen will be displayed.
- A service and the
- service fee will auto populate.
- The Quantity will default as 0.
- The Price will default as 0.
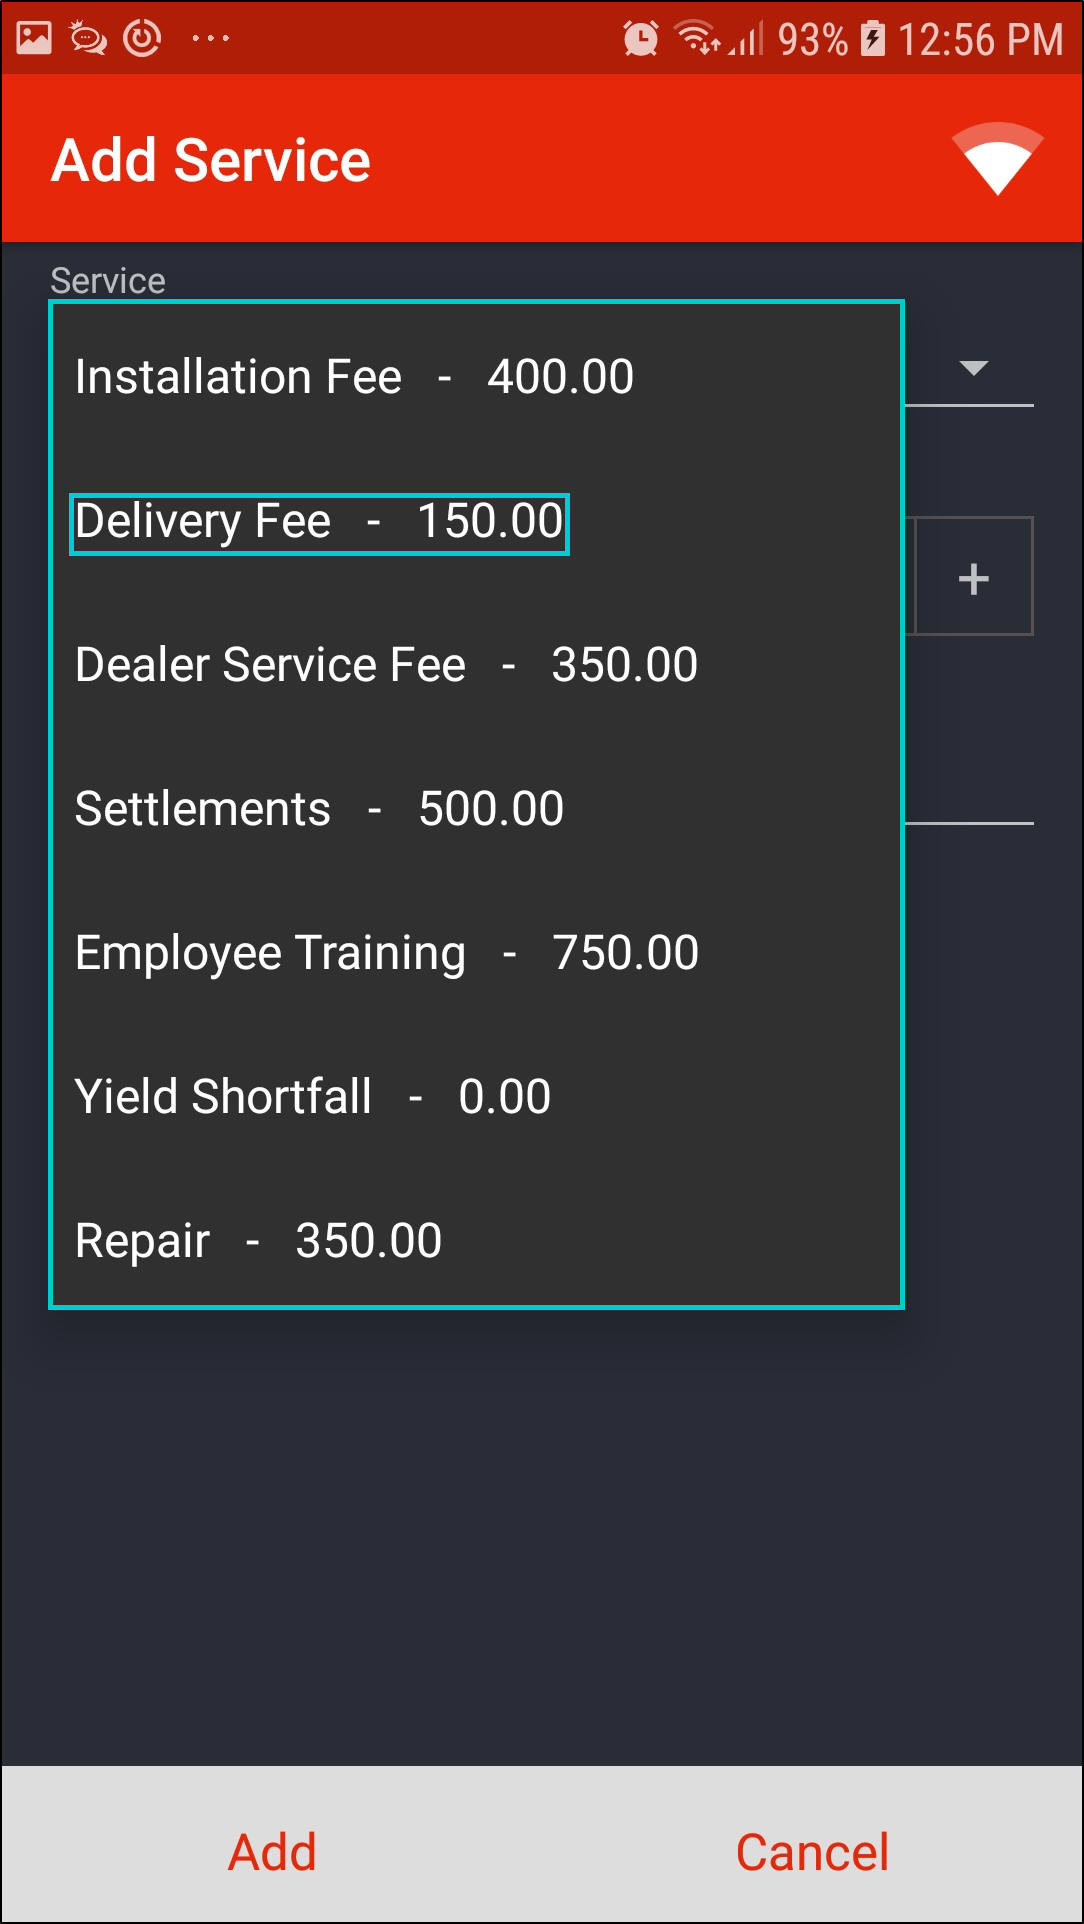
- You can change the service by clicking on the down arrow and selecting the required service.
- Note: The price shown for each service is based on the Service Unit Cost.
- A menu will be displayed.
- Select the required service.
- In this image, Delivery Fee was selected.
- The selected service will now be displayed.
- Click on '+' icon to add the required quantity.
- Note: Use '+' icon to increase the quantity and '-' icon to decrease the quantity.
- The price will auto populate but you can change this by deleting the price and typing in a new price.
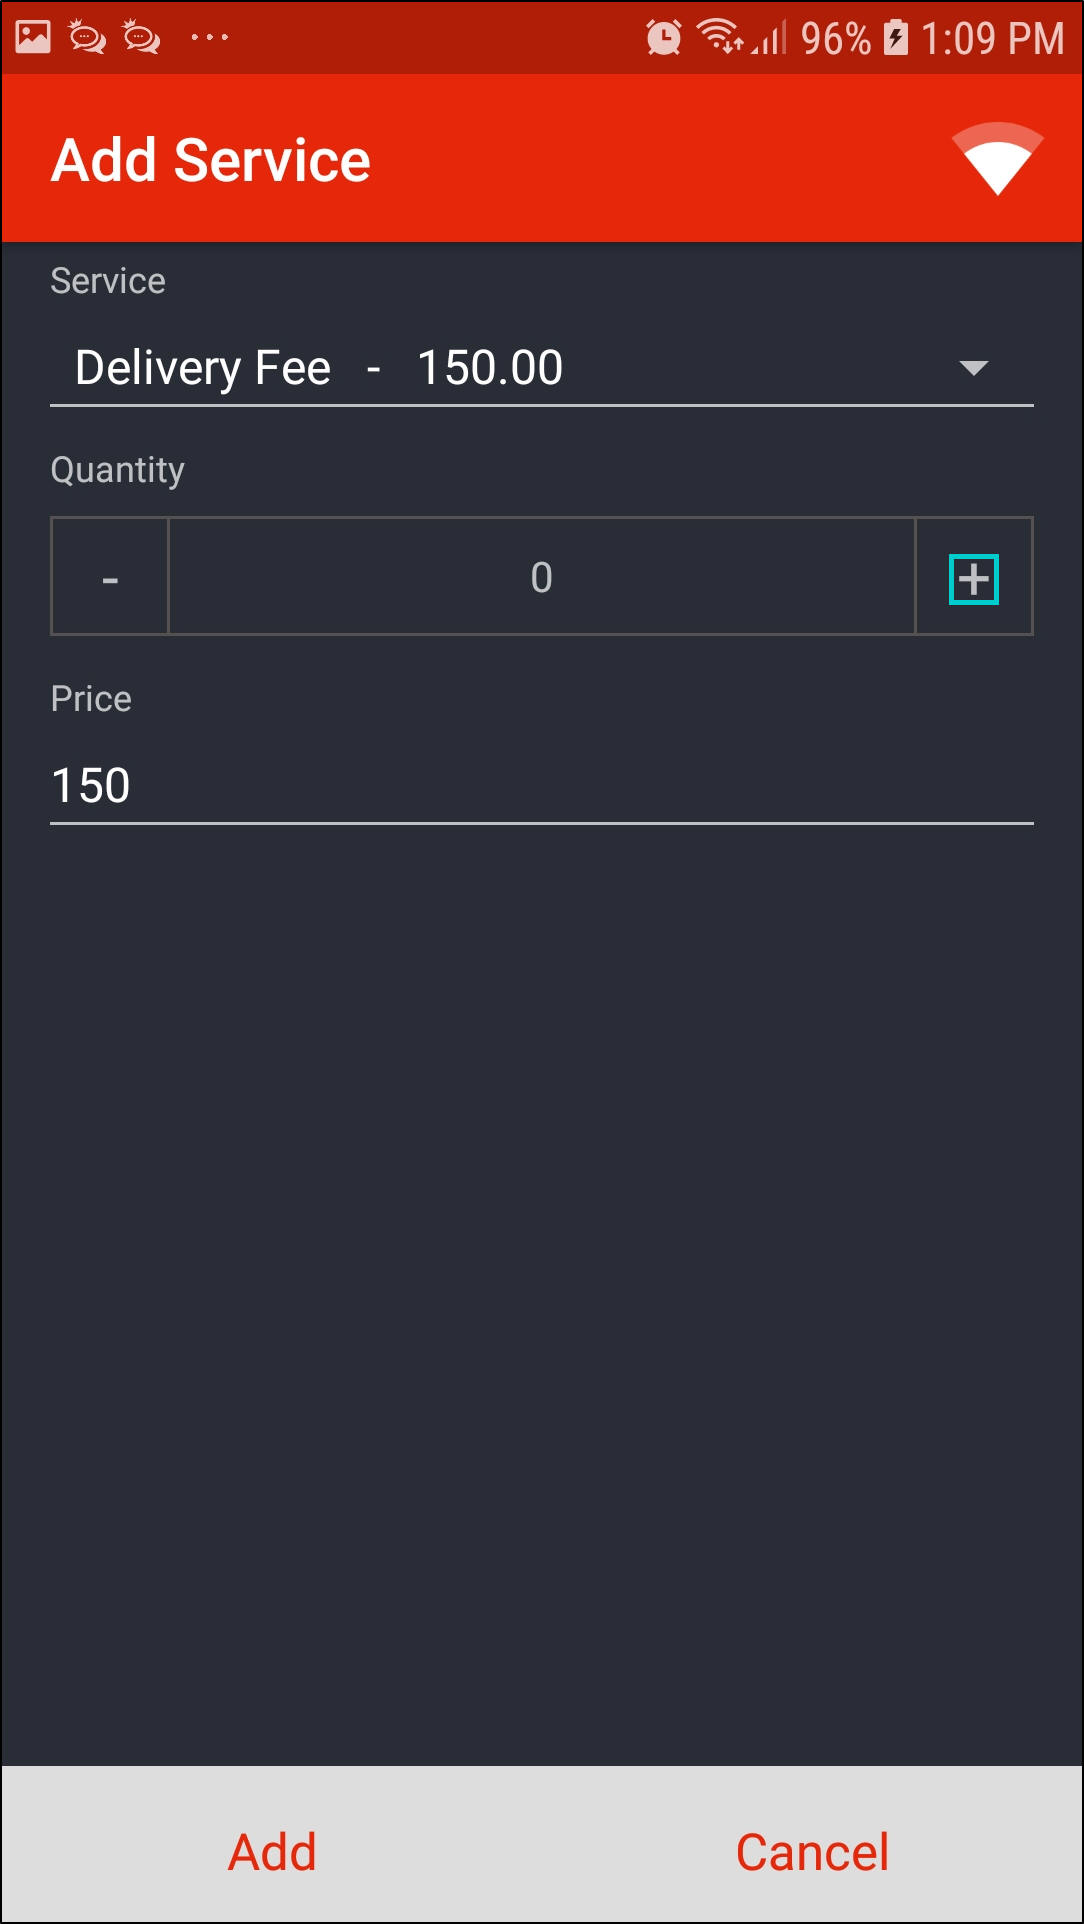
- Click on Add.

- The service request will now be displayed in the Service Requests screen.
- The Call Centre can then follow up by creating a Service Requisition and completing the Third Party Non - Stock Procurement Process.
Travel
- You can view or edit travel done on the call you are working on.
- Click on Travel.
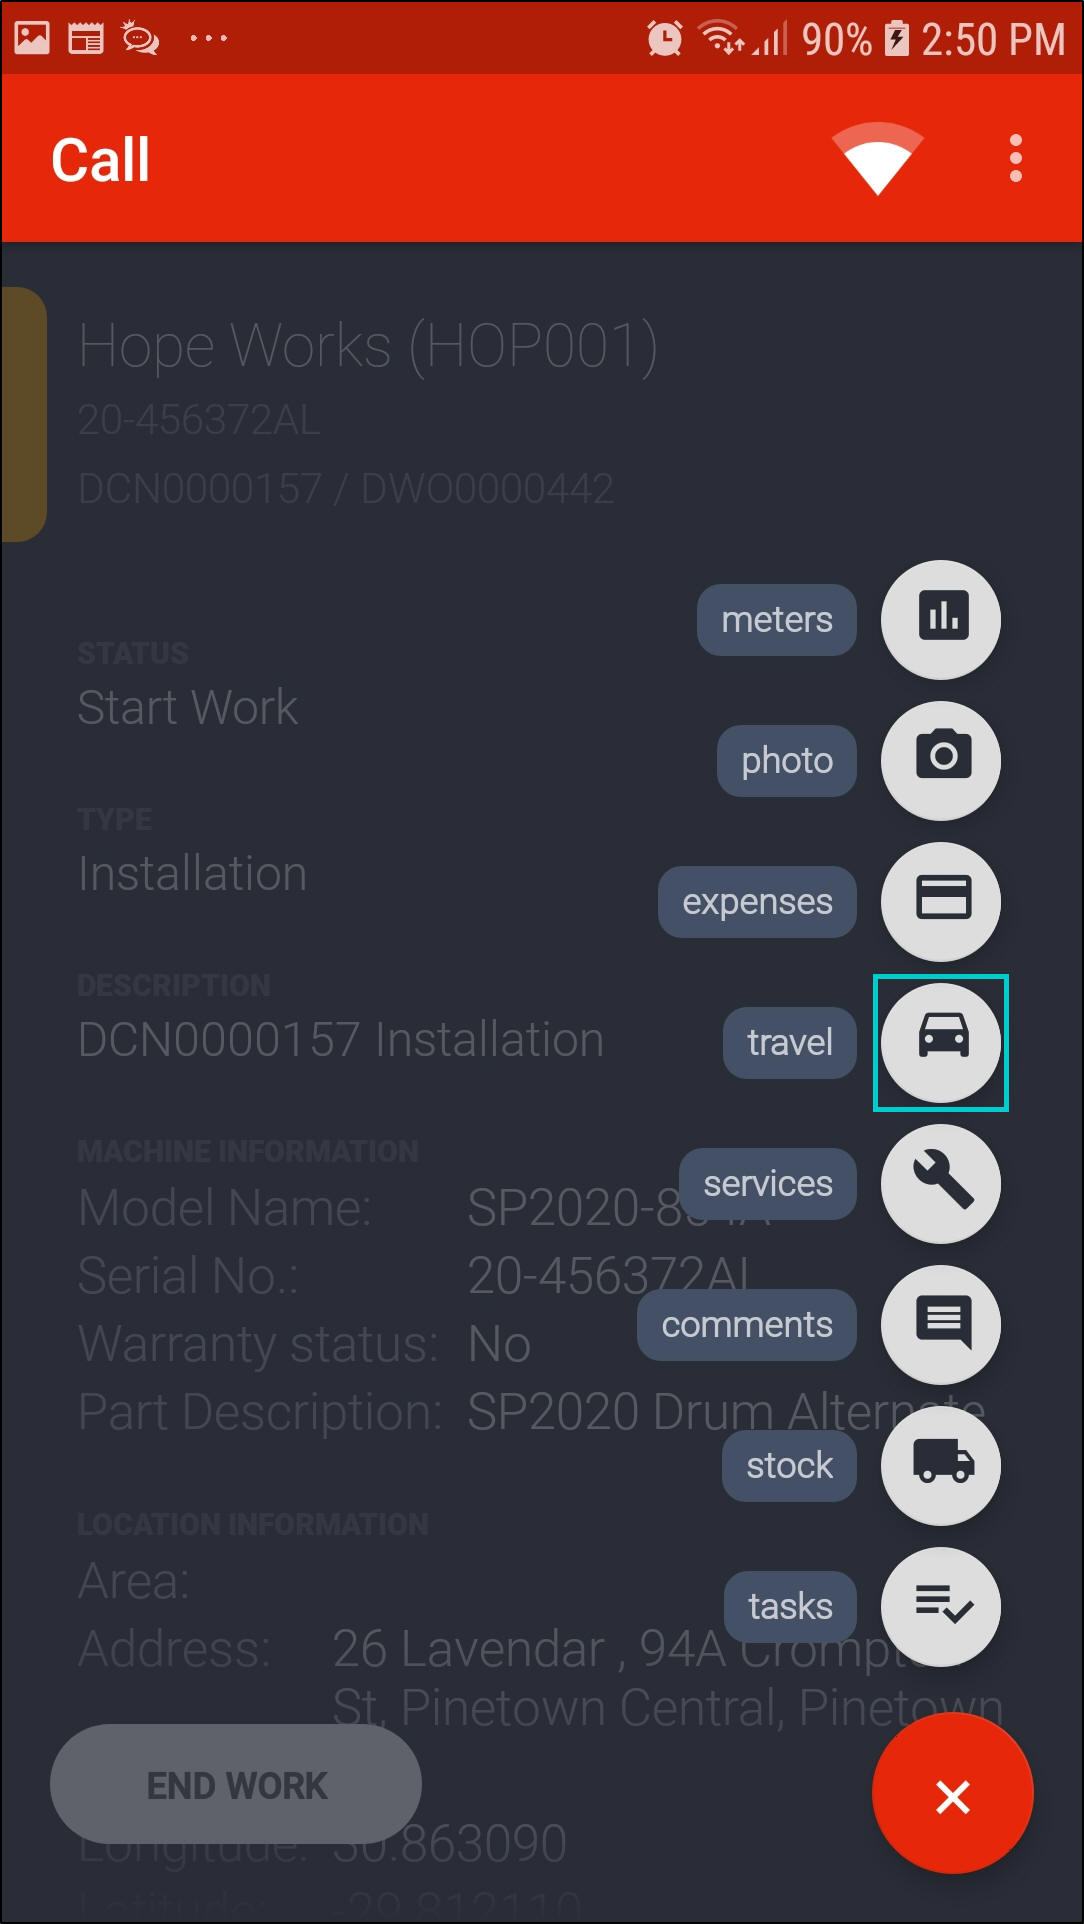
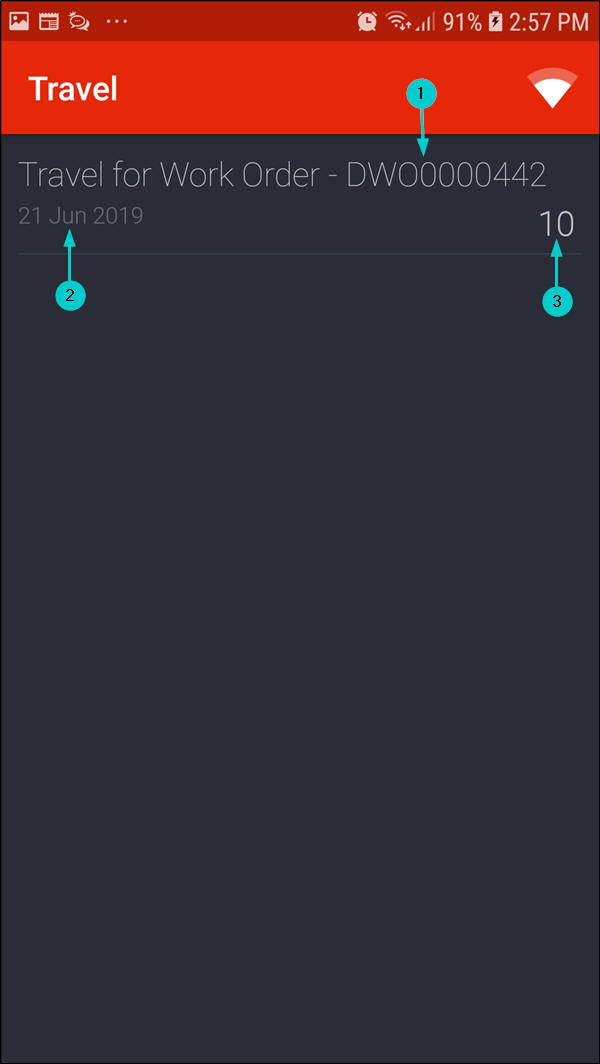
- The Travel screen will be displayed.
- Any travel linked to the call you are working on will be displayed in this screen showing the;
- work order number,
- date the travel was logged and the
- distance travelled in km(s).
Travel Entry:
- To edit the travel record, click on the travel record you wish to edit.
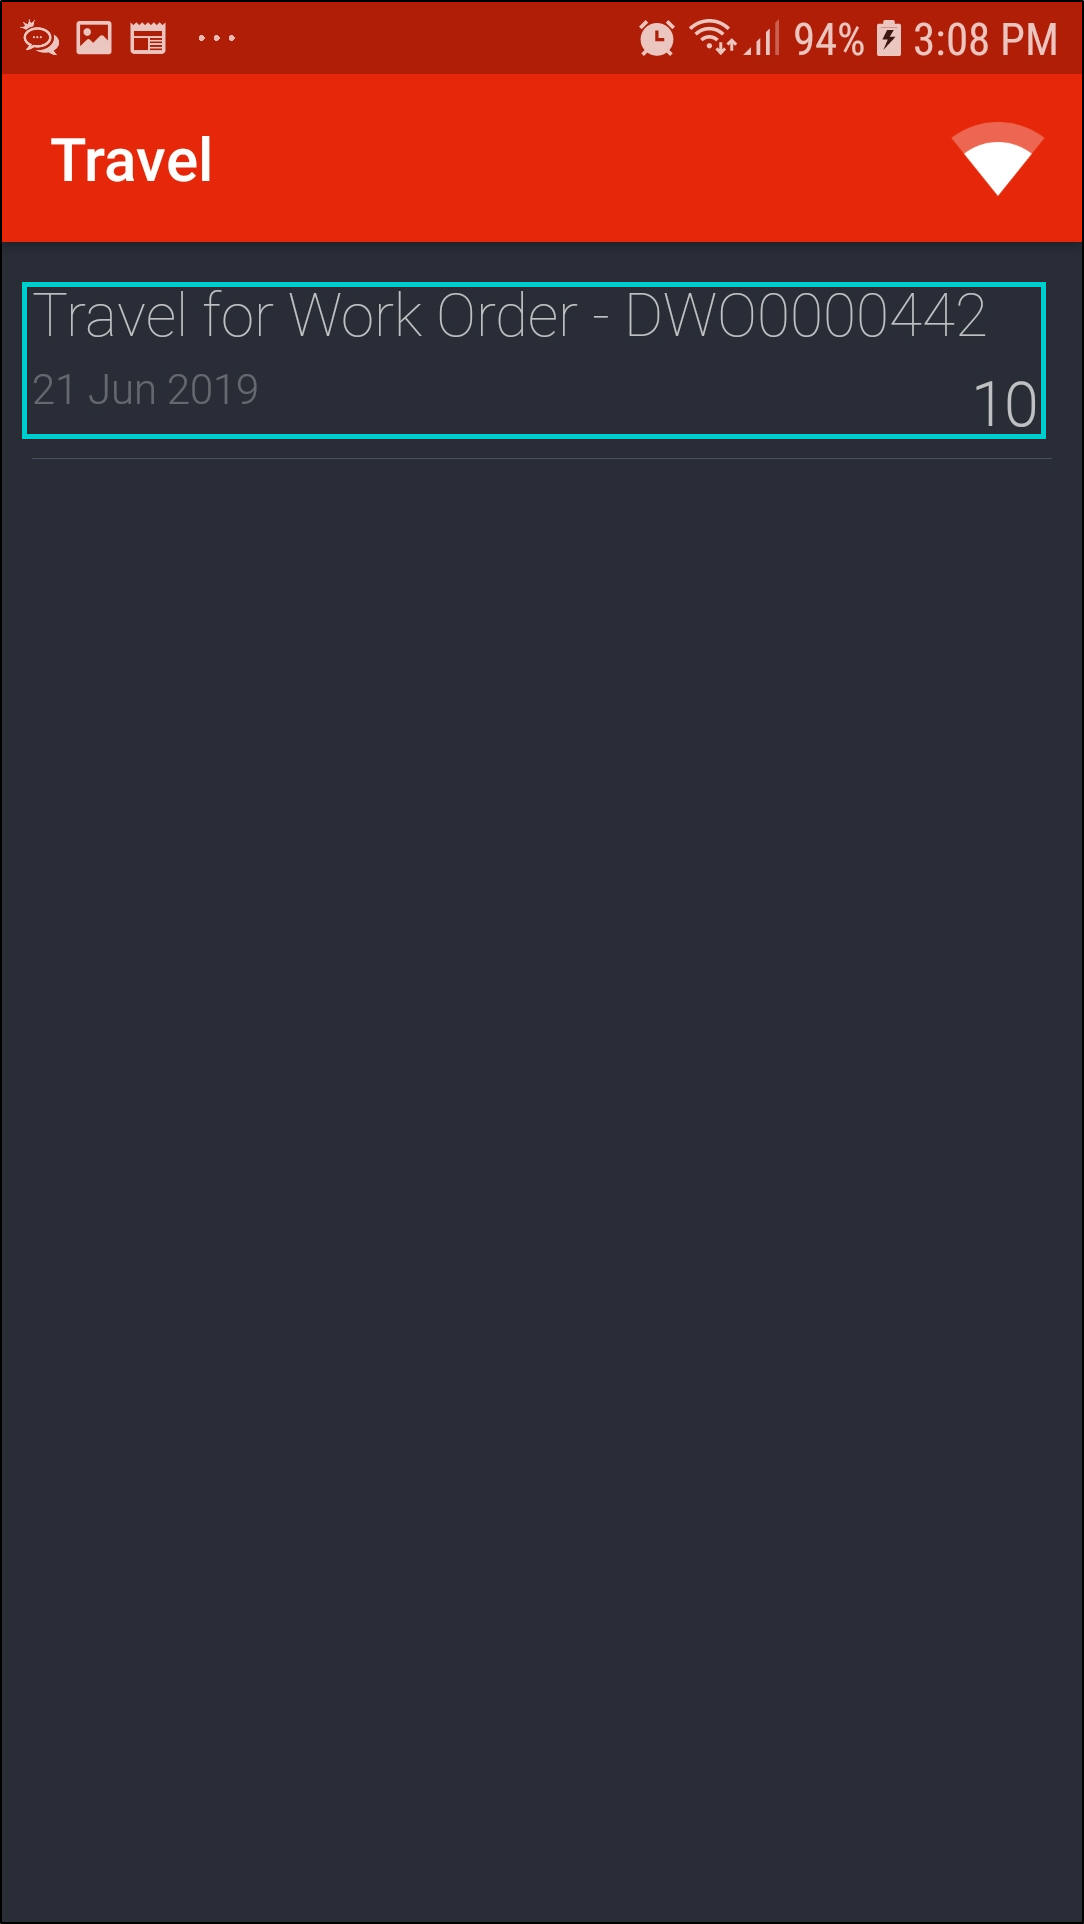
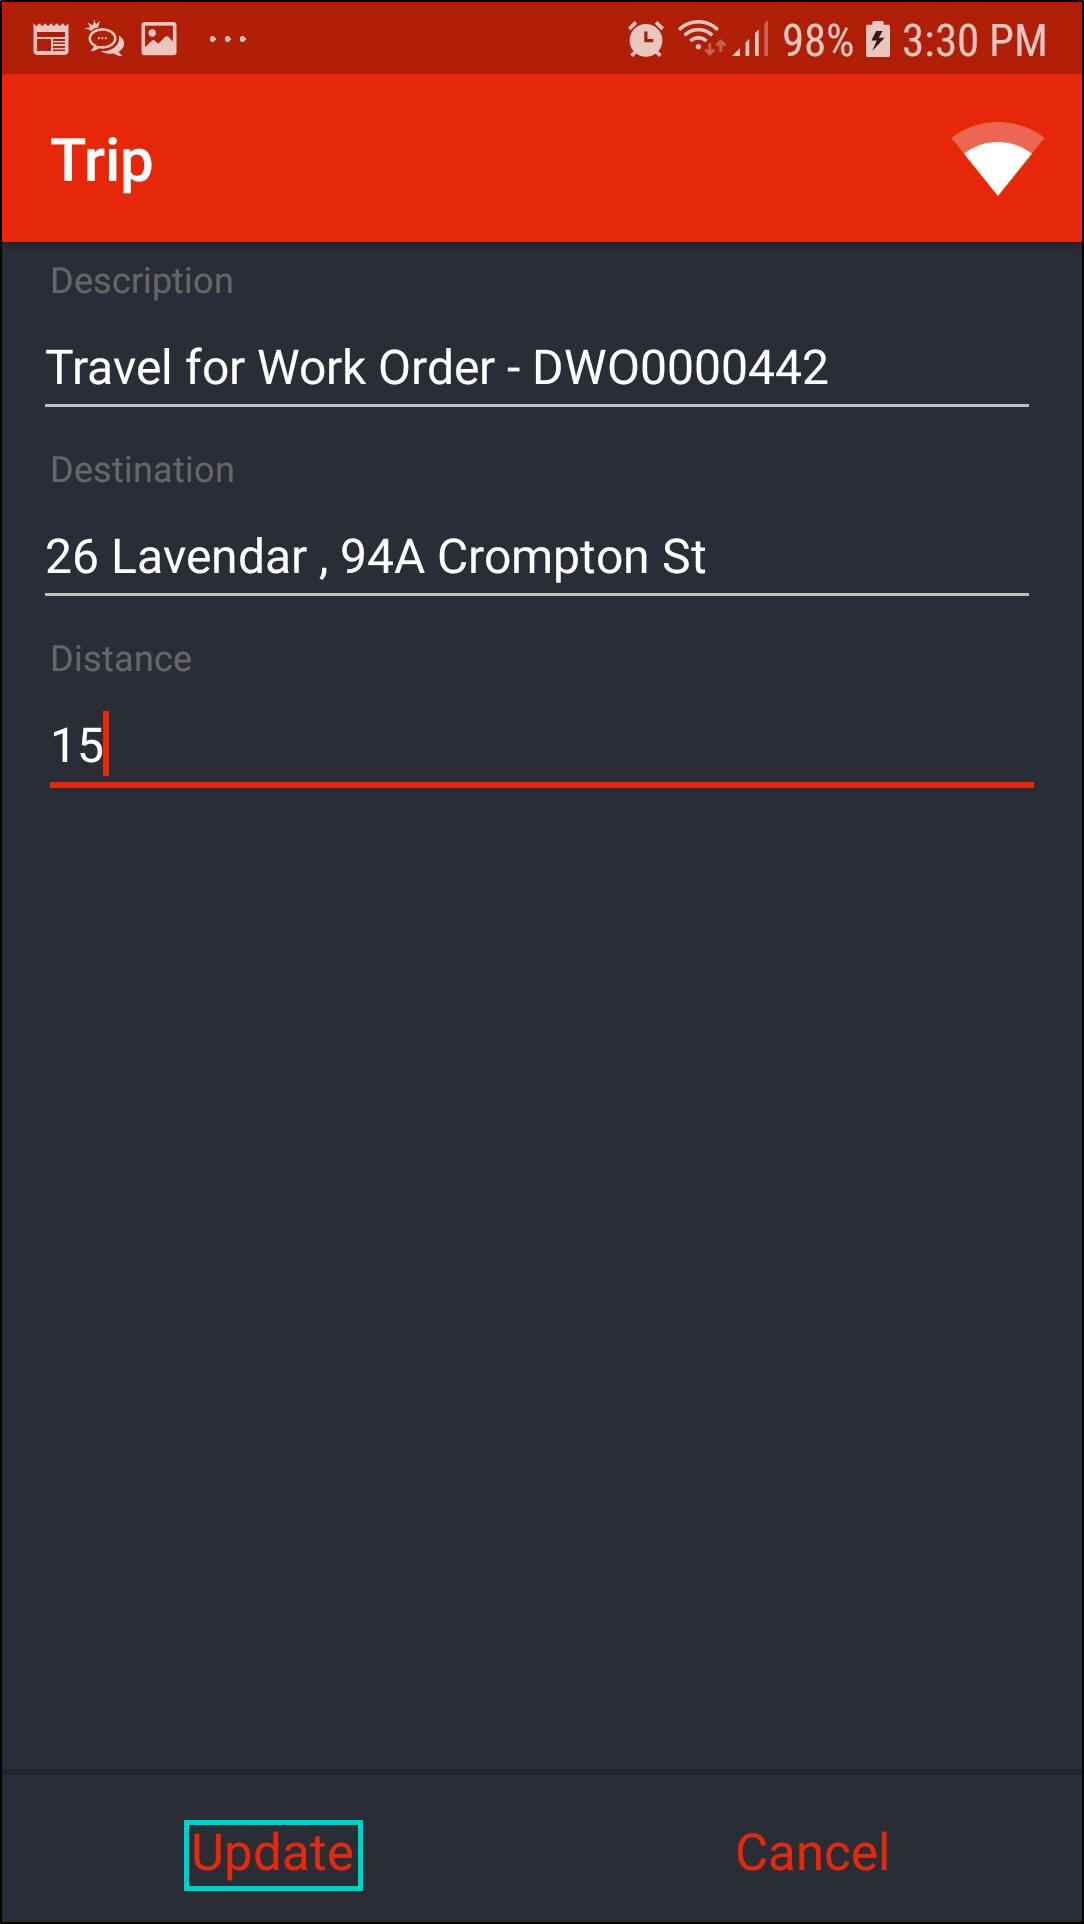
- The Trip screen will be displayed.
- Edit the relevant details.
- Click on Update.
- In this image, Distance was updated.
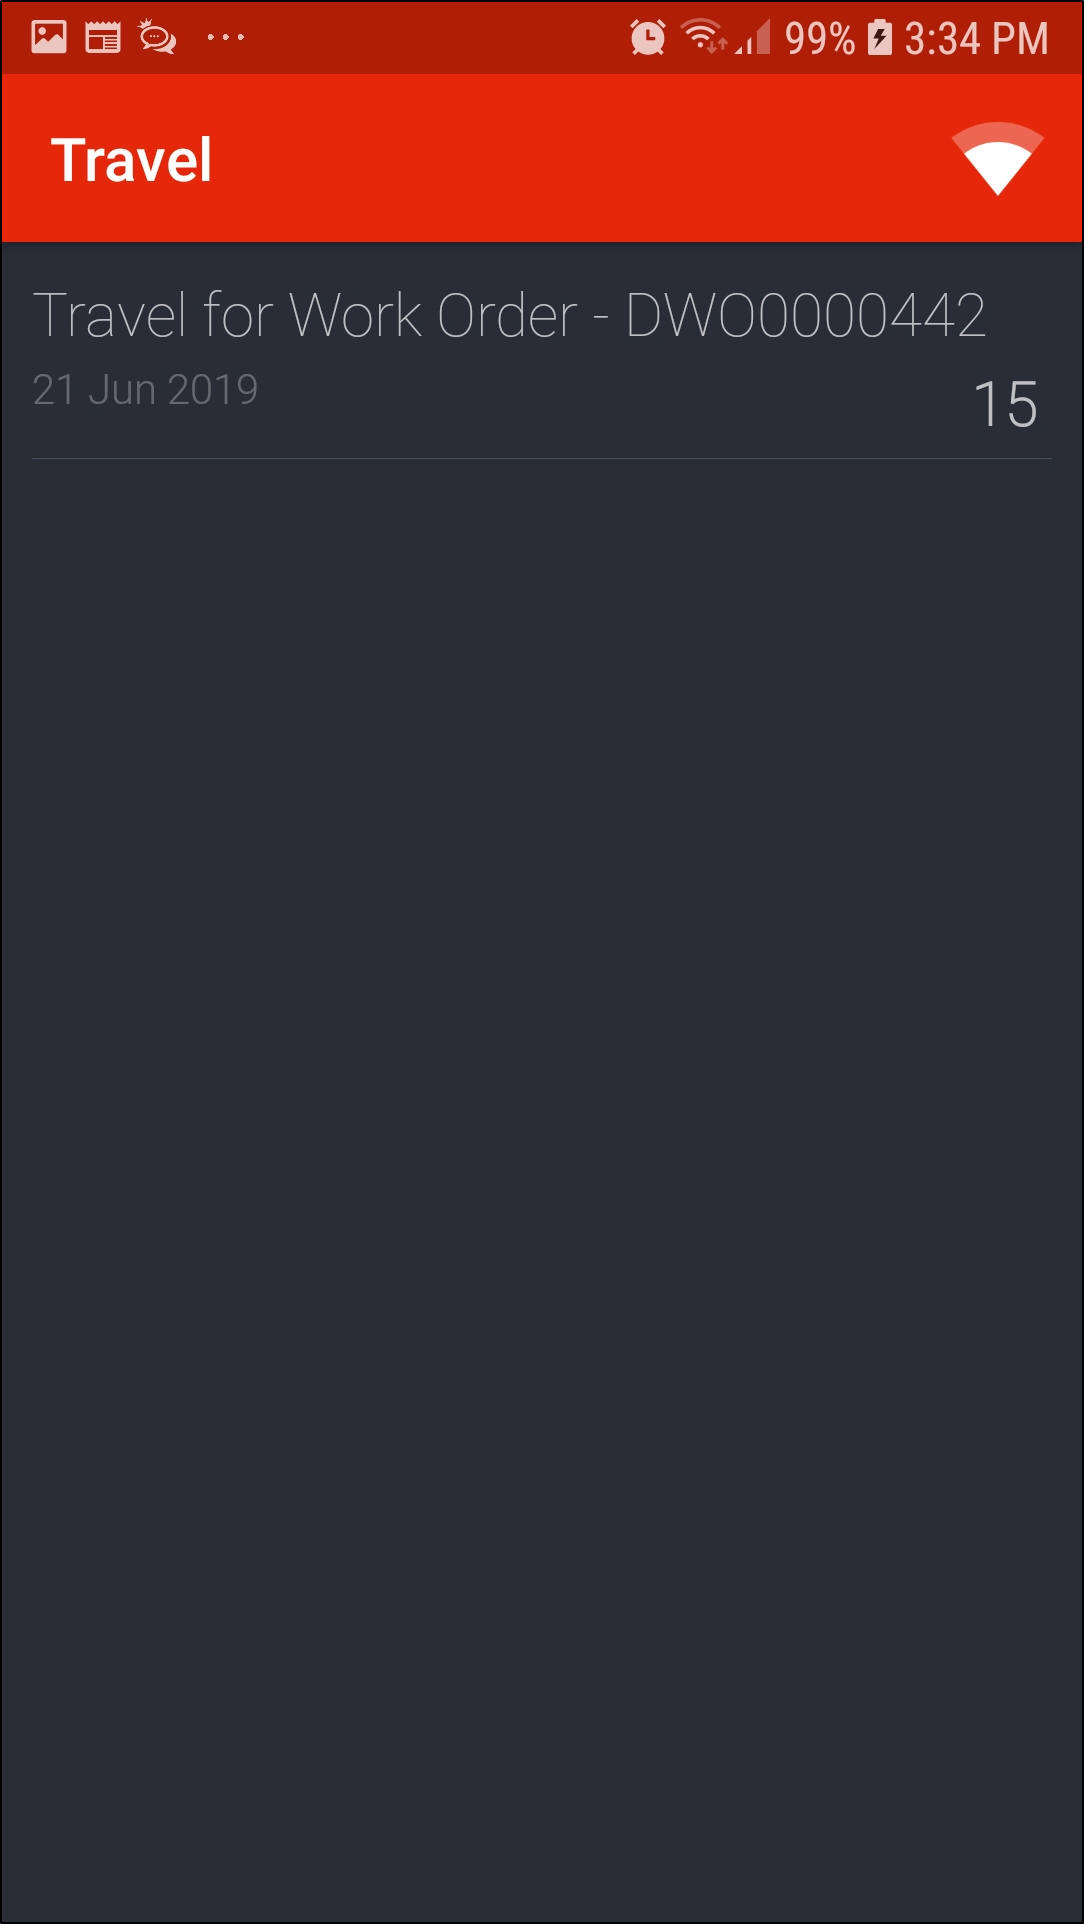
- The updated travel record will now be displayed in the Travel screen.
Expenses
- You can view or add expenses on the call you are working on.
- Click on Expenses.

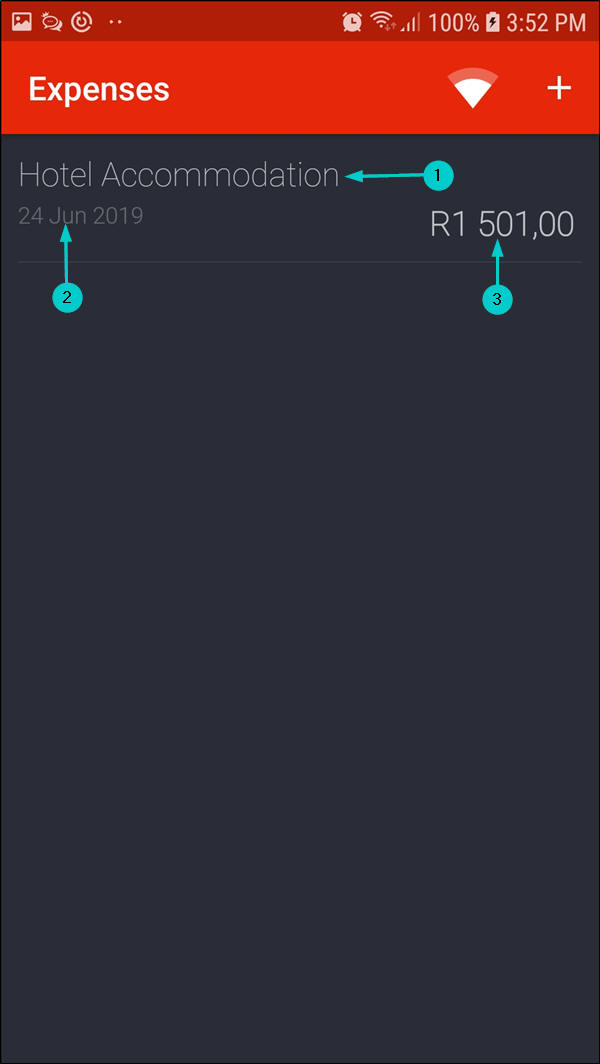
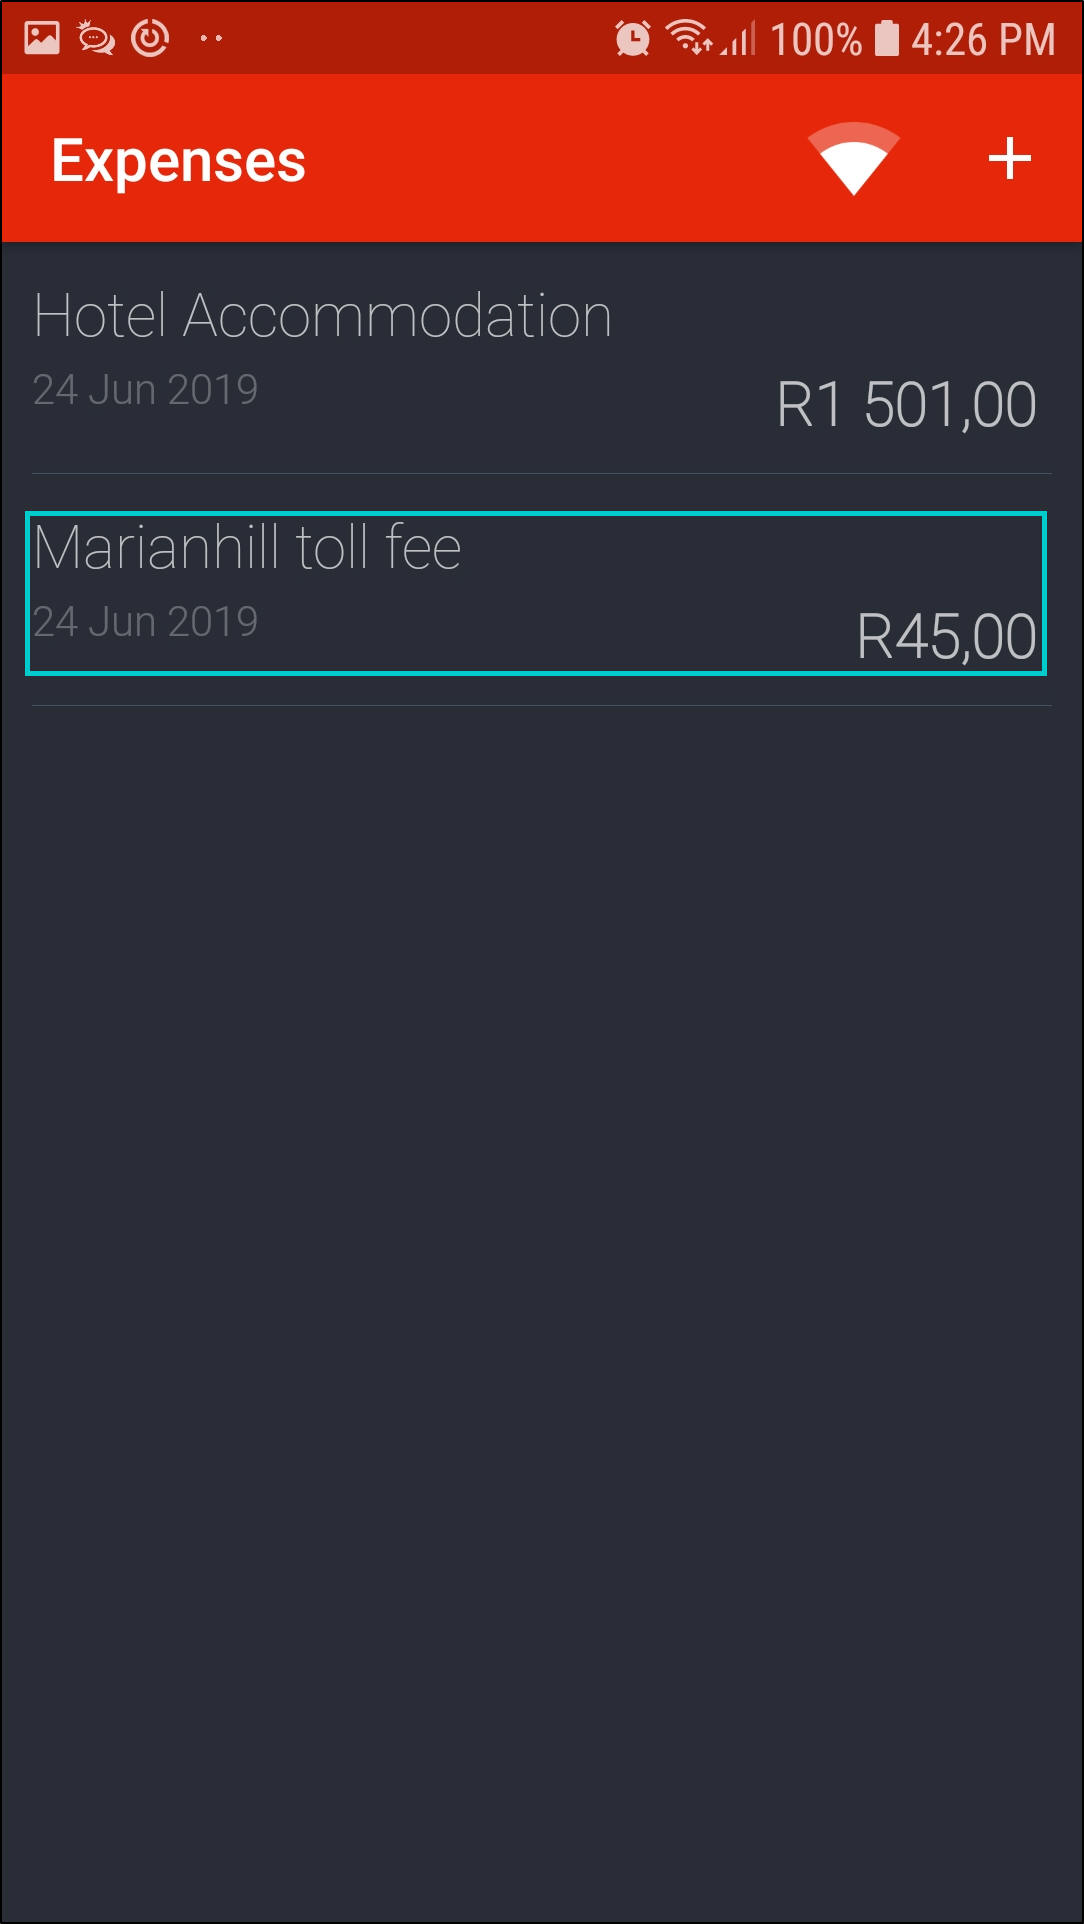
- The Expenses screen will be displayed.
- Any expenses linked to the call you are working on will be displayed in this screen showing the;
- expense description, the
- date when the expense was logged and the
- expense cost.
- To view more details, click on the expense you wish to view more details for.
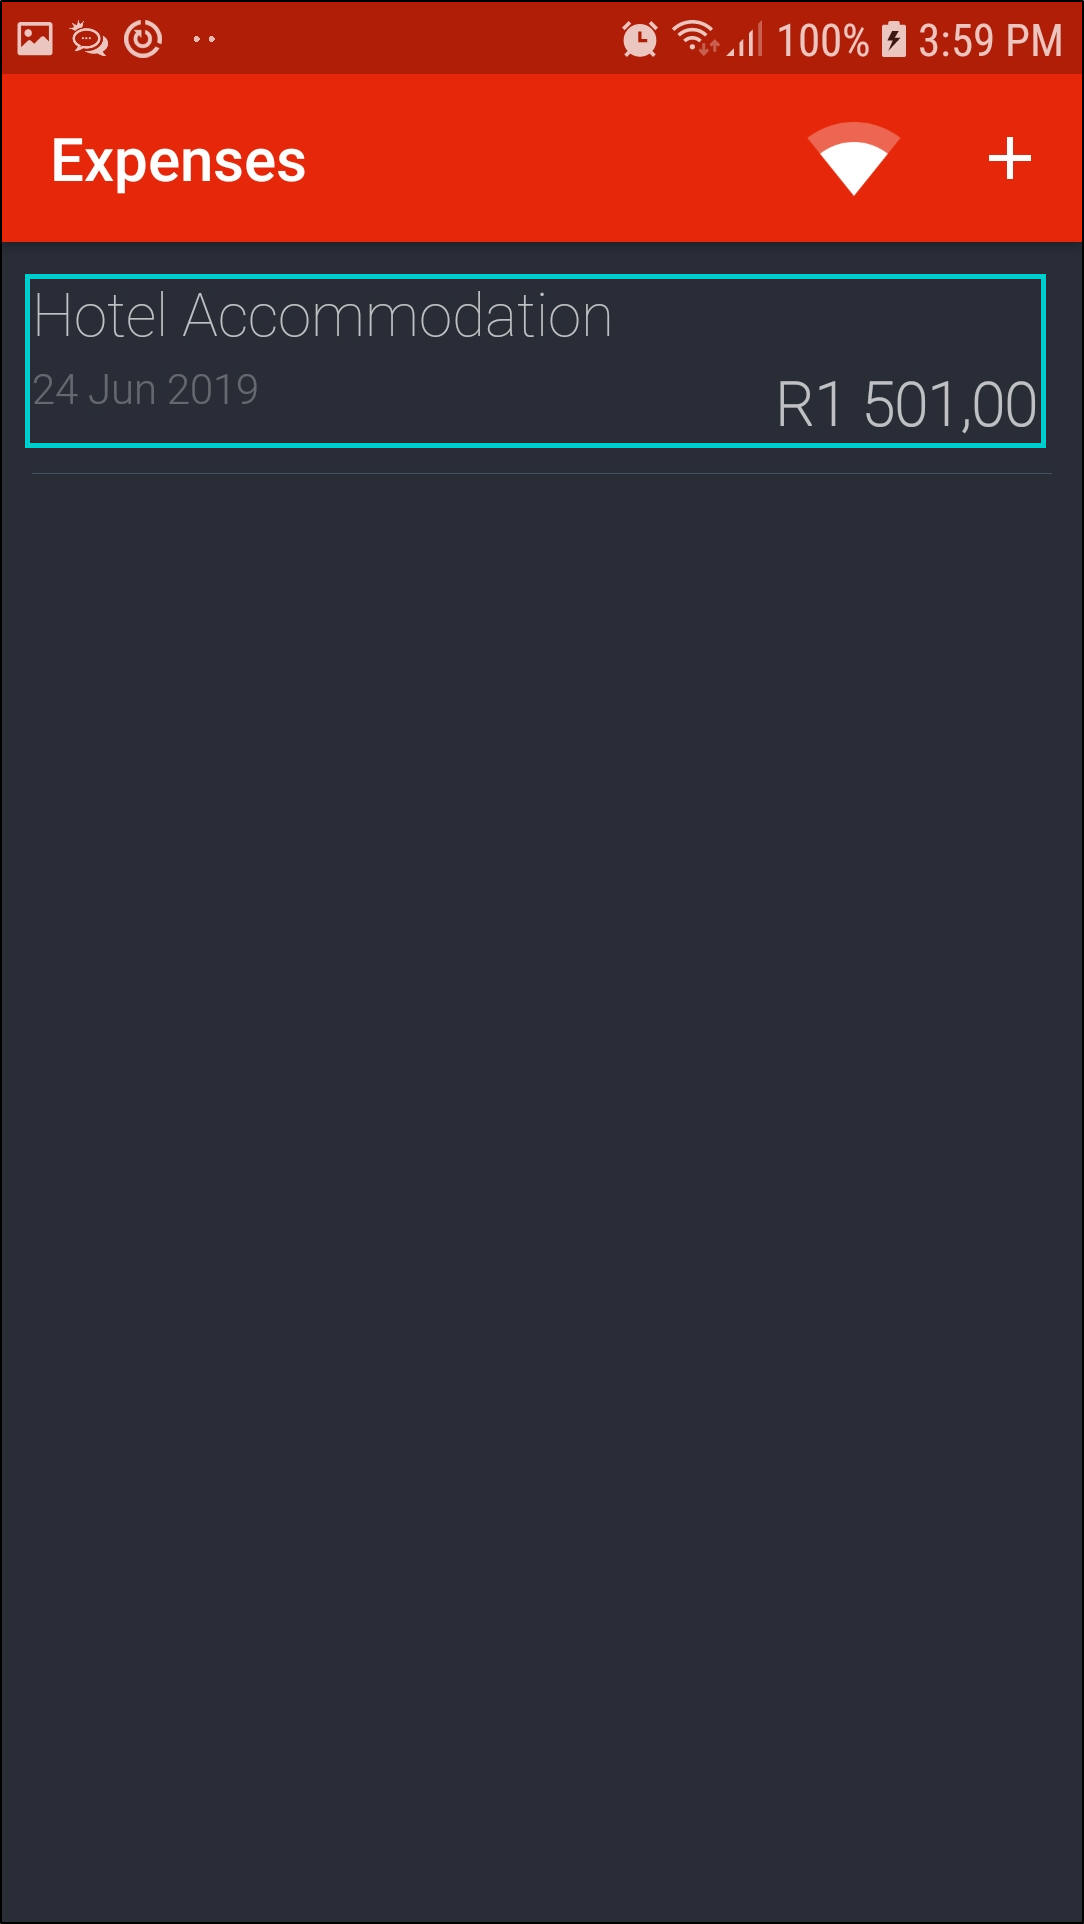
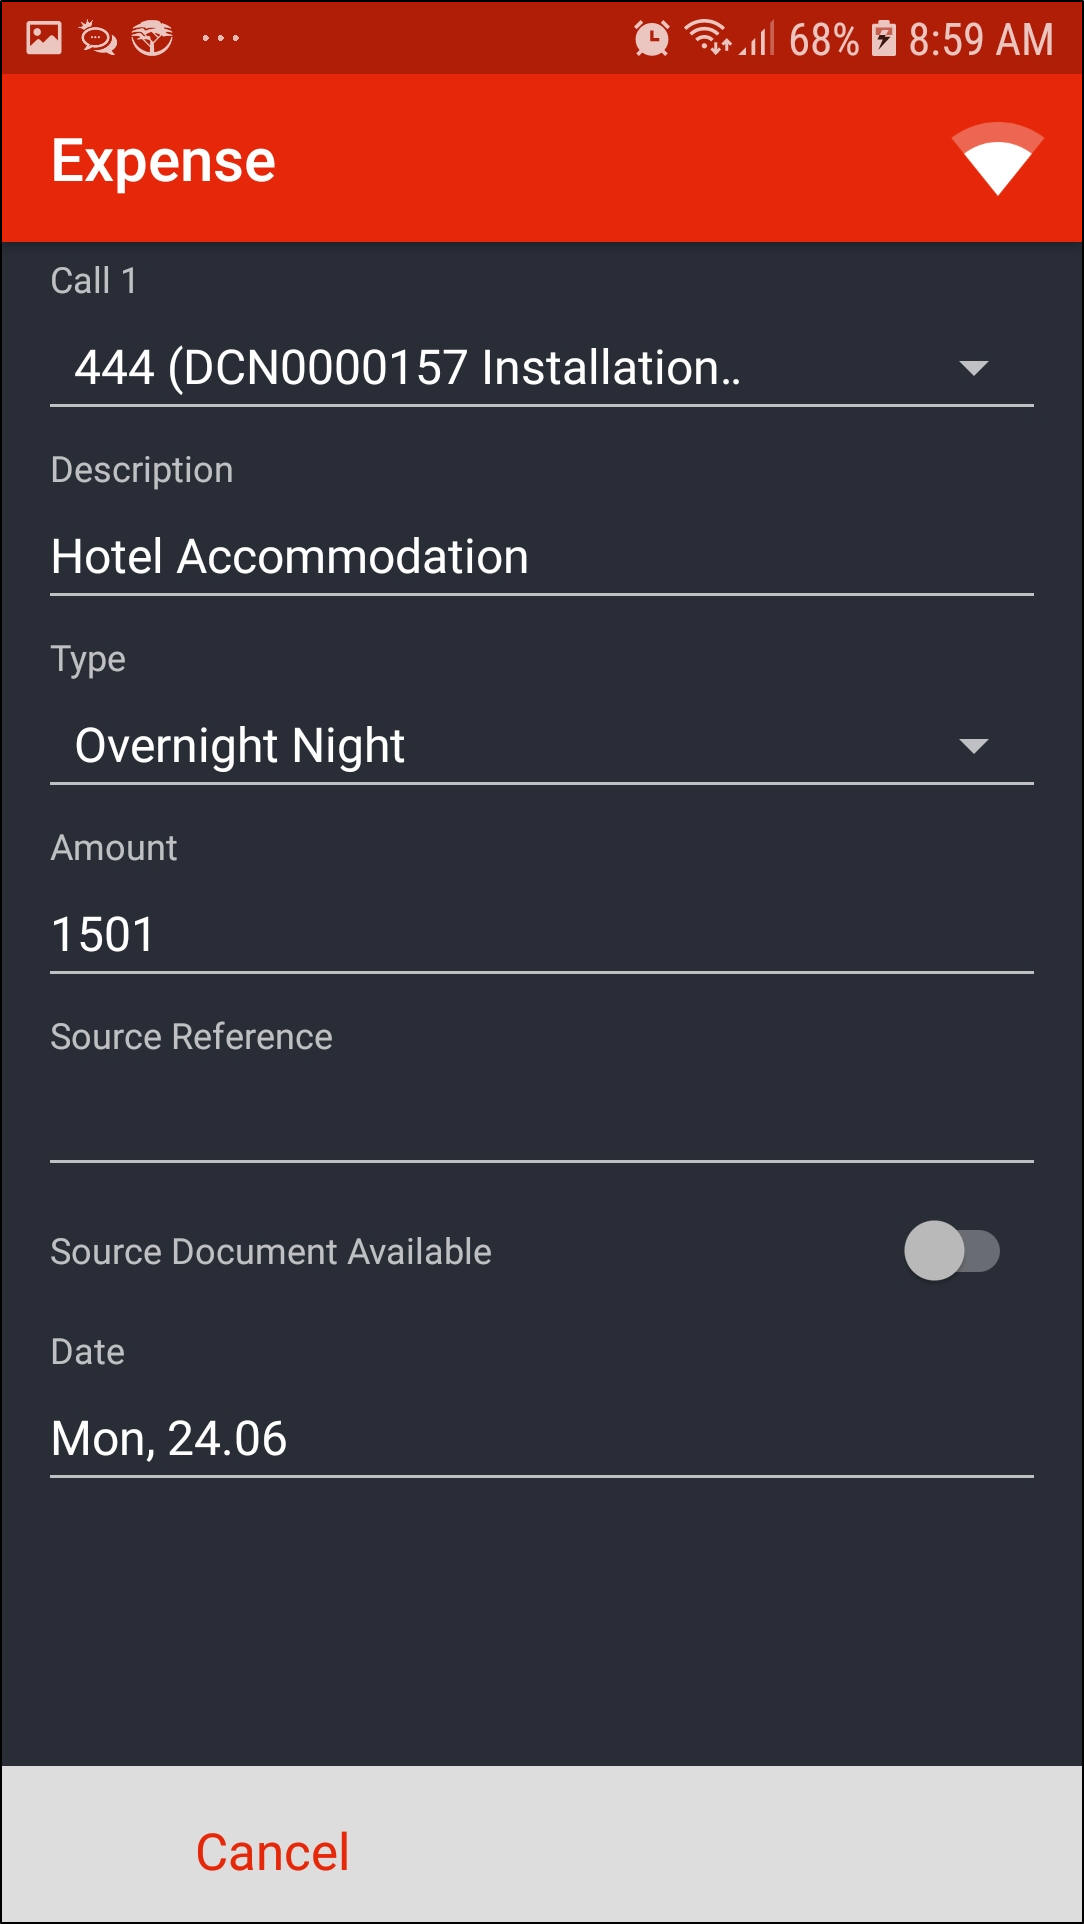
- The Expense screen will be displayed.
- Call [ ]: This will auto populate with the call number you are currently working on.
- Description: This shows the call / project description.
- Type: This shows the expense type.
- Amount: This shows the expense amount.
- Source Reference: This shows the receipt number if applicable.
- Source Document Available: This shows whether the source document is available or not.
- Note 1: When the Toggle button is to your left and grey, it means the source document is not available.
- Note 2: When the Toggle button is to your right and red, it means the source document is available.
- Date: This shows the date the expense was logged.
Add an Expense
- Click on the '+' icon in the Expenses screen.
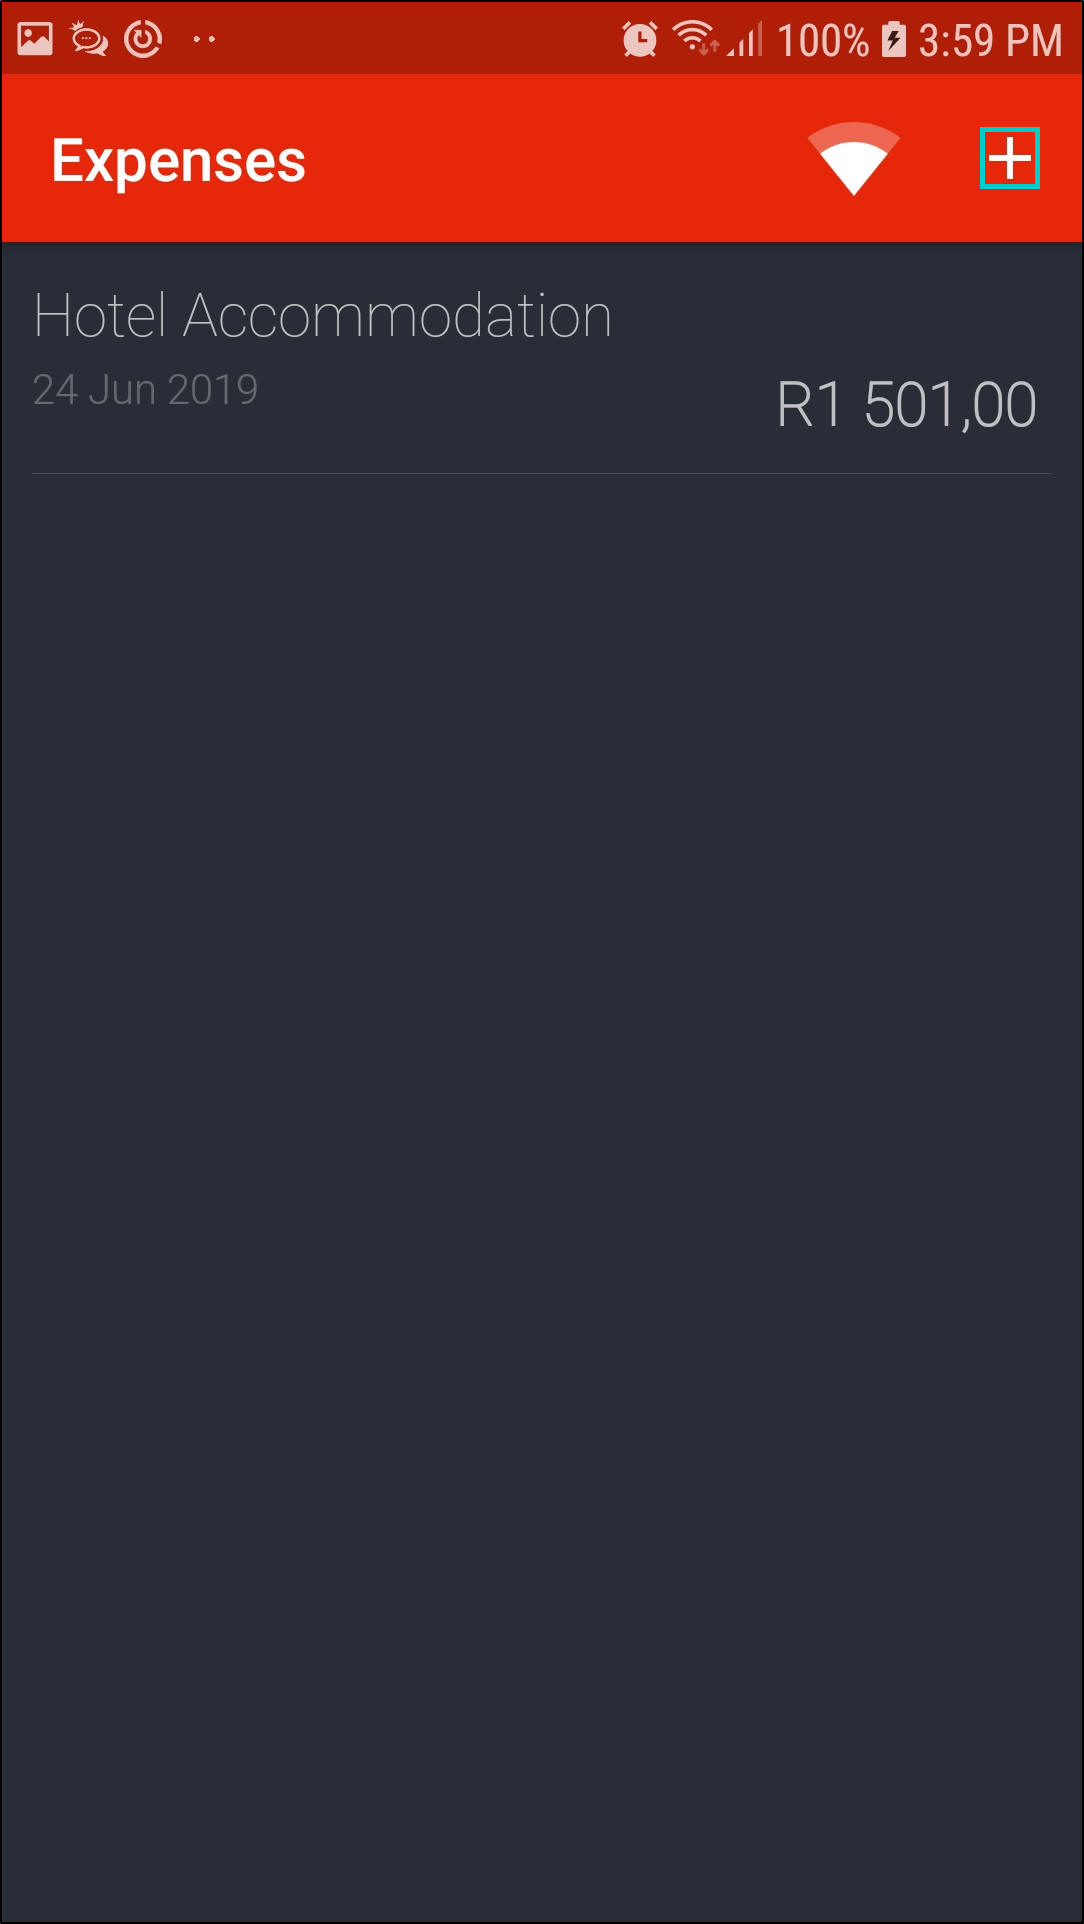
- The Expense screen will be displayed.
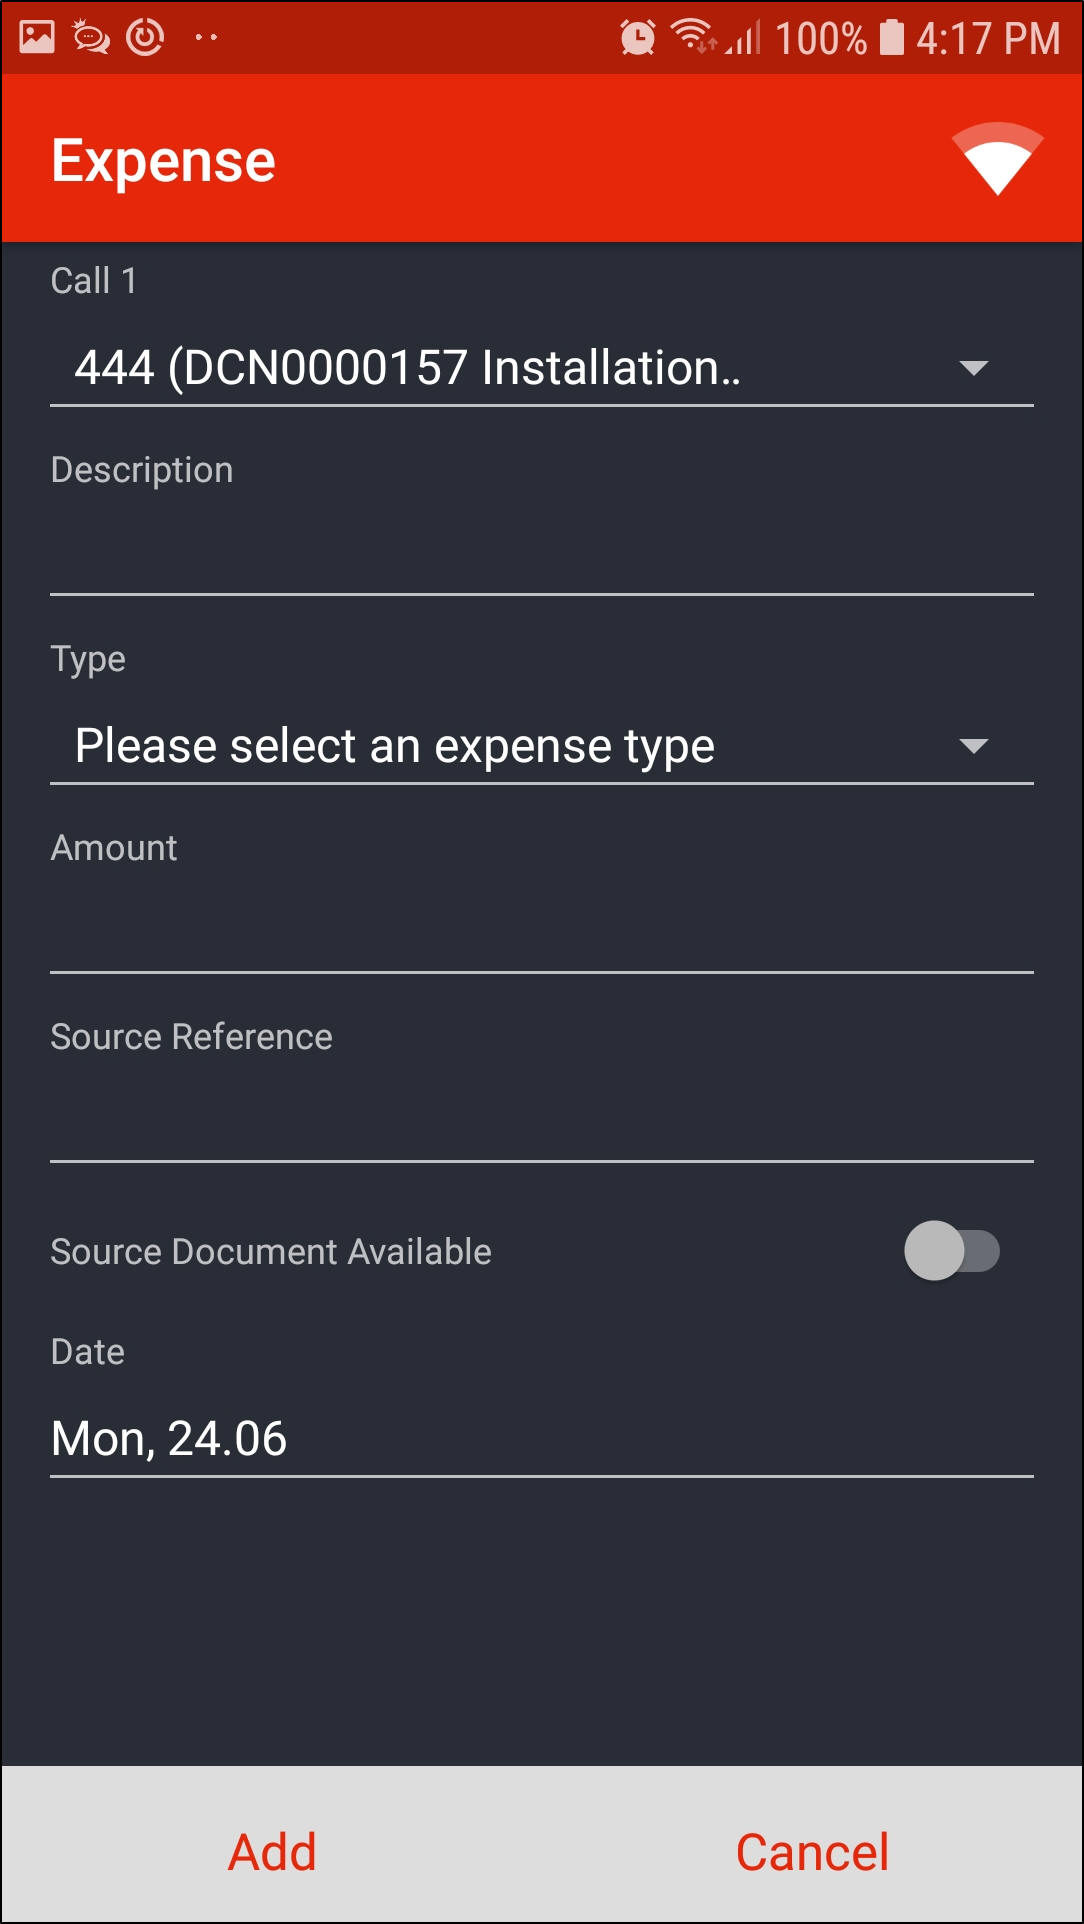
- Call [ ]: This will auto populate with the call number you are currently working on but you can change this by clicking on the down arrow and selecting a different call.
- Note: If you choose a different call from the one you are working on, on save, the expense will not be displayed in this screen but in Expenses - Basics.
- Description: Type in the relevant description.
- Type: Click on the down arrow and select the relevant expense type.
- Amount: Type in the Expense Amount.
- Source Reference: Type in the Receipt Number if applicable.
- Source Document Available: This is set to Yes by default on save. Only change this if you do not have the Receipt / relating document.
- Note 1: When the Toggle button is to your left and grey, it means the source document is not available.
- Note 2: When the Toggle button is to your right and red, it means the source document is available.
- Date: The current date will auto populate but you can change this by clicking on the date and selecting the relevant date.
- Click on Add.
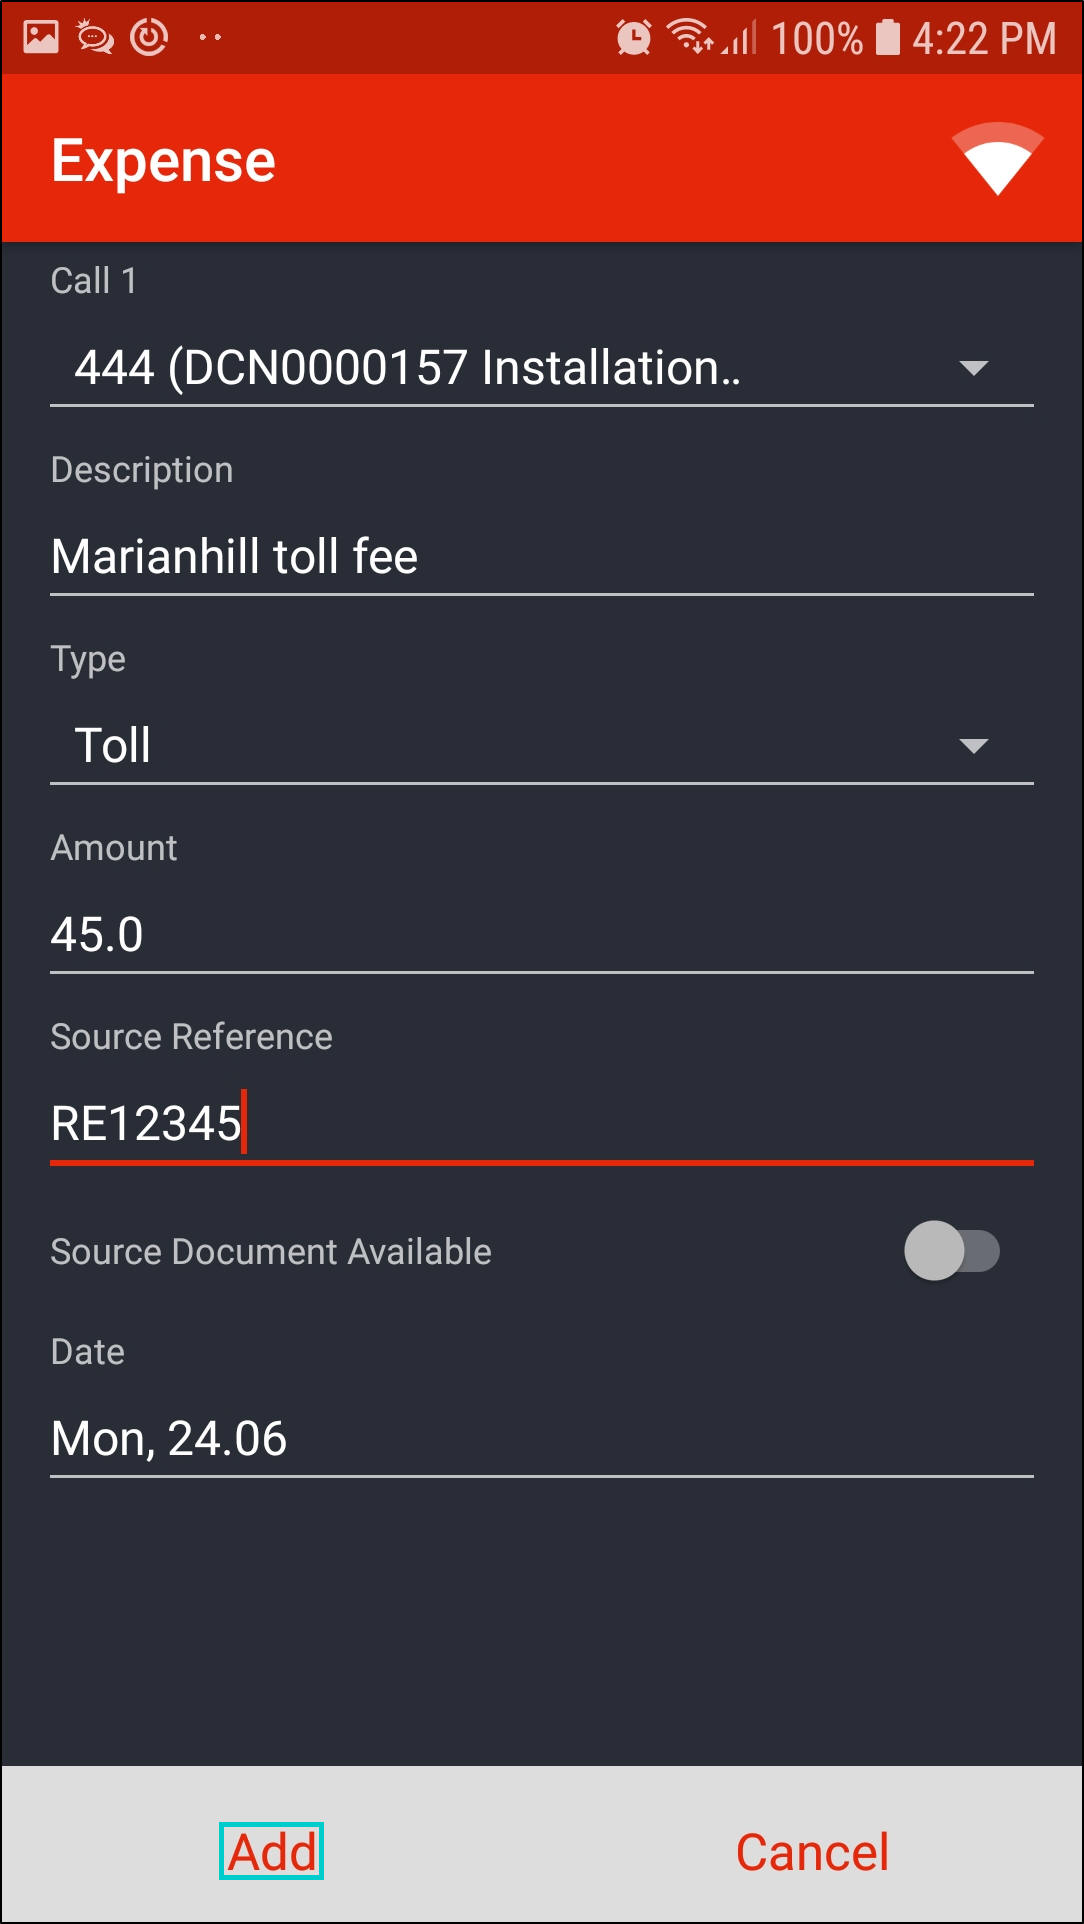
- The expense record will now be displayed in the Expenses screen.
Save Image to Work Order
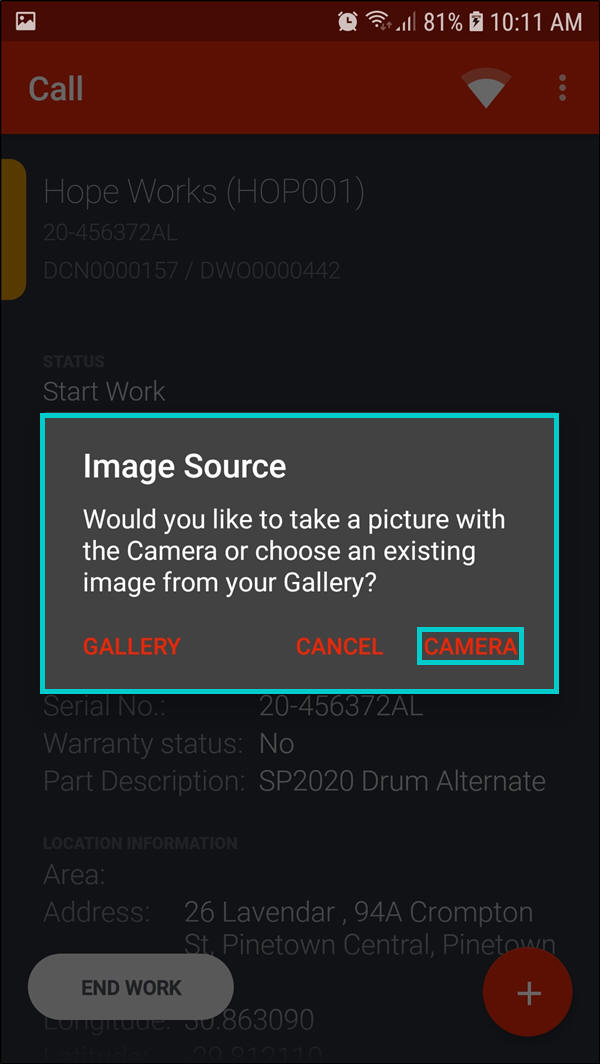
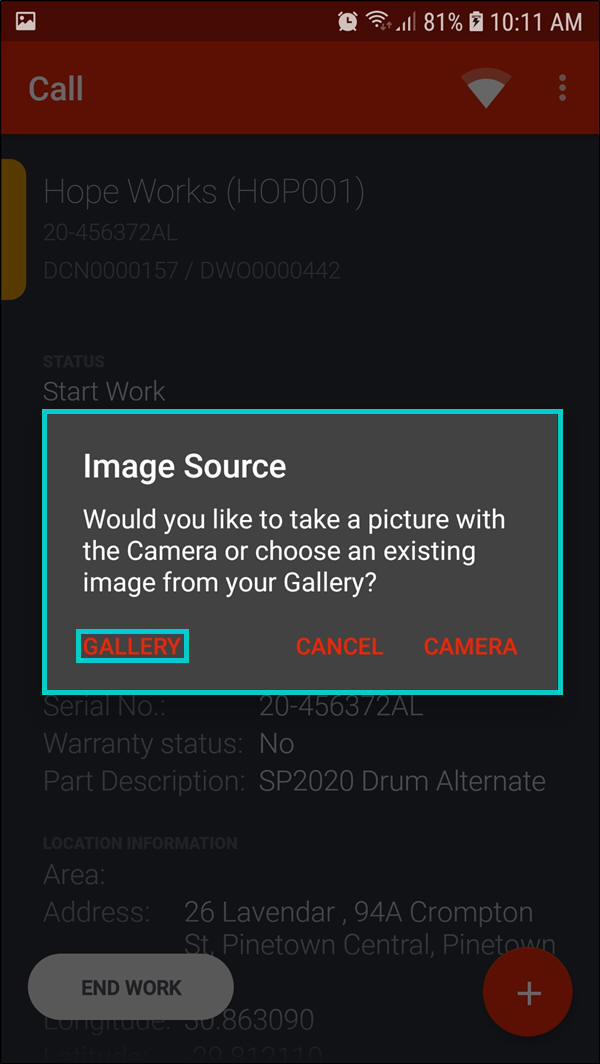
- Click on Photo.

- An Image Source message box will pop asking you;
- Would you like to take a picture with the Camera or choose an existing image from your Gallery?
- You can either click on Gallery or Camera.
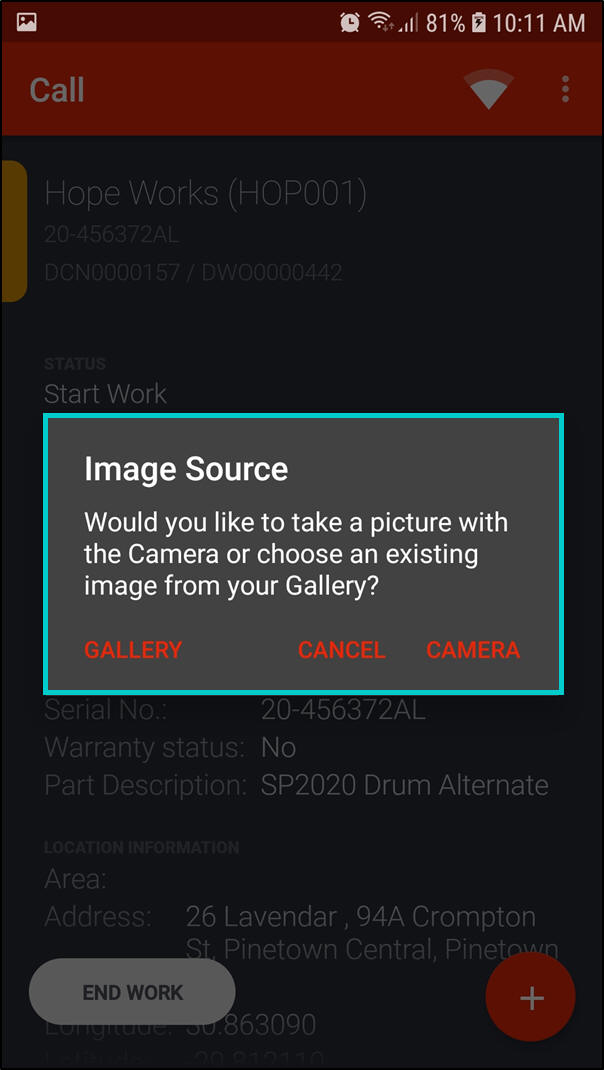
Image Source - Camera
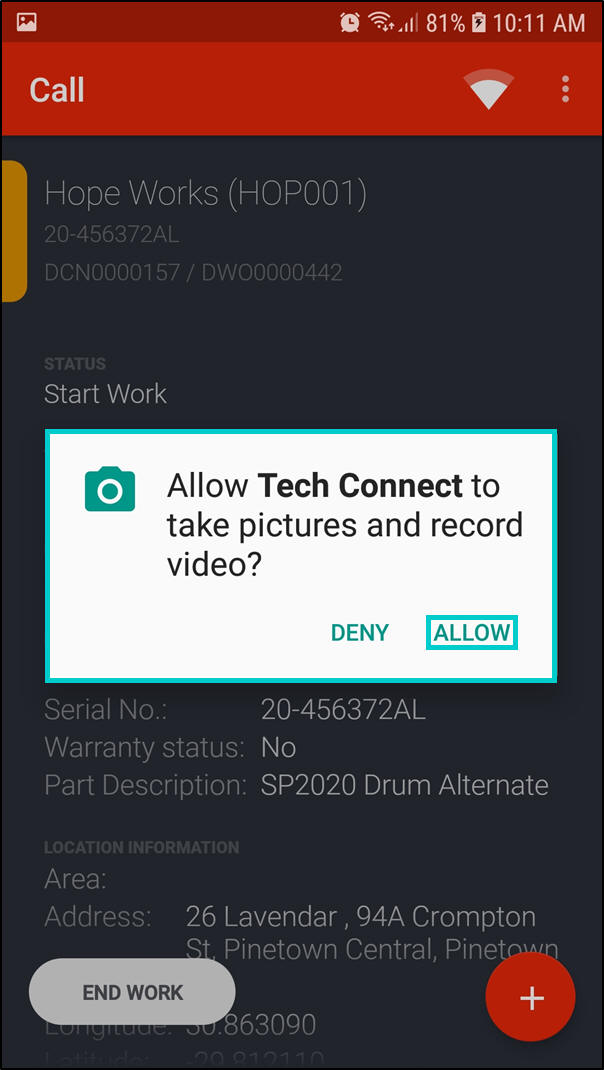
- Click on Camera.
- A message box may pop up asking you;
- Allow Tech Connect to take pictures and record video?
- Click on Allow.
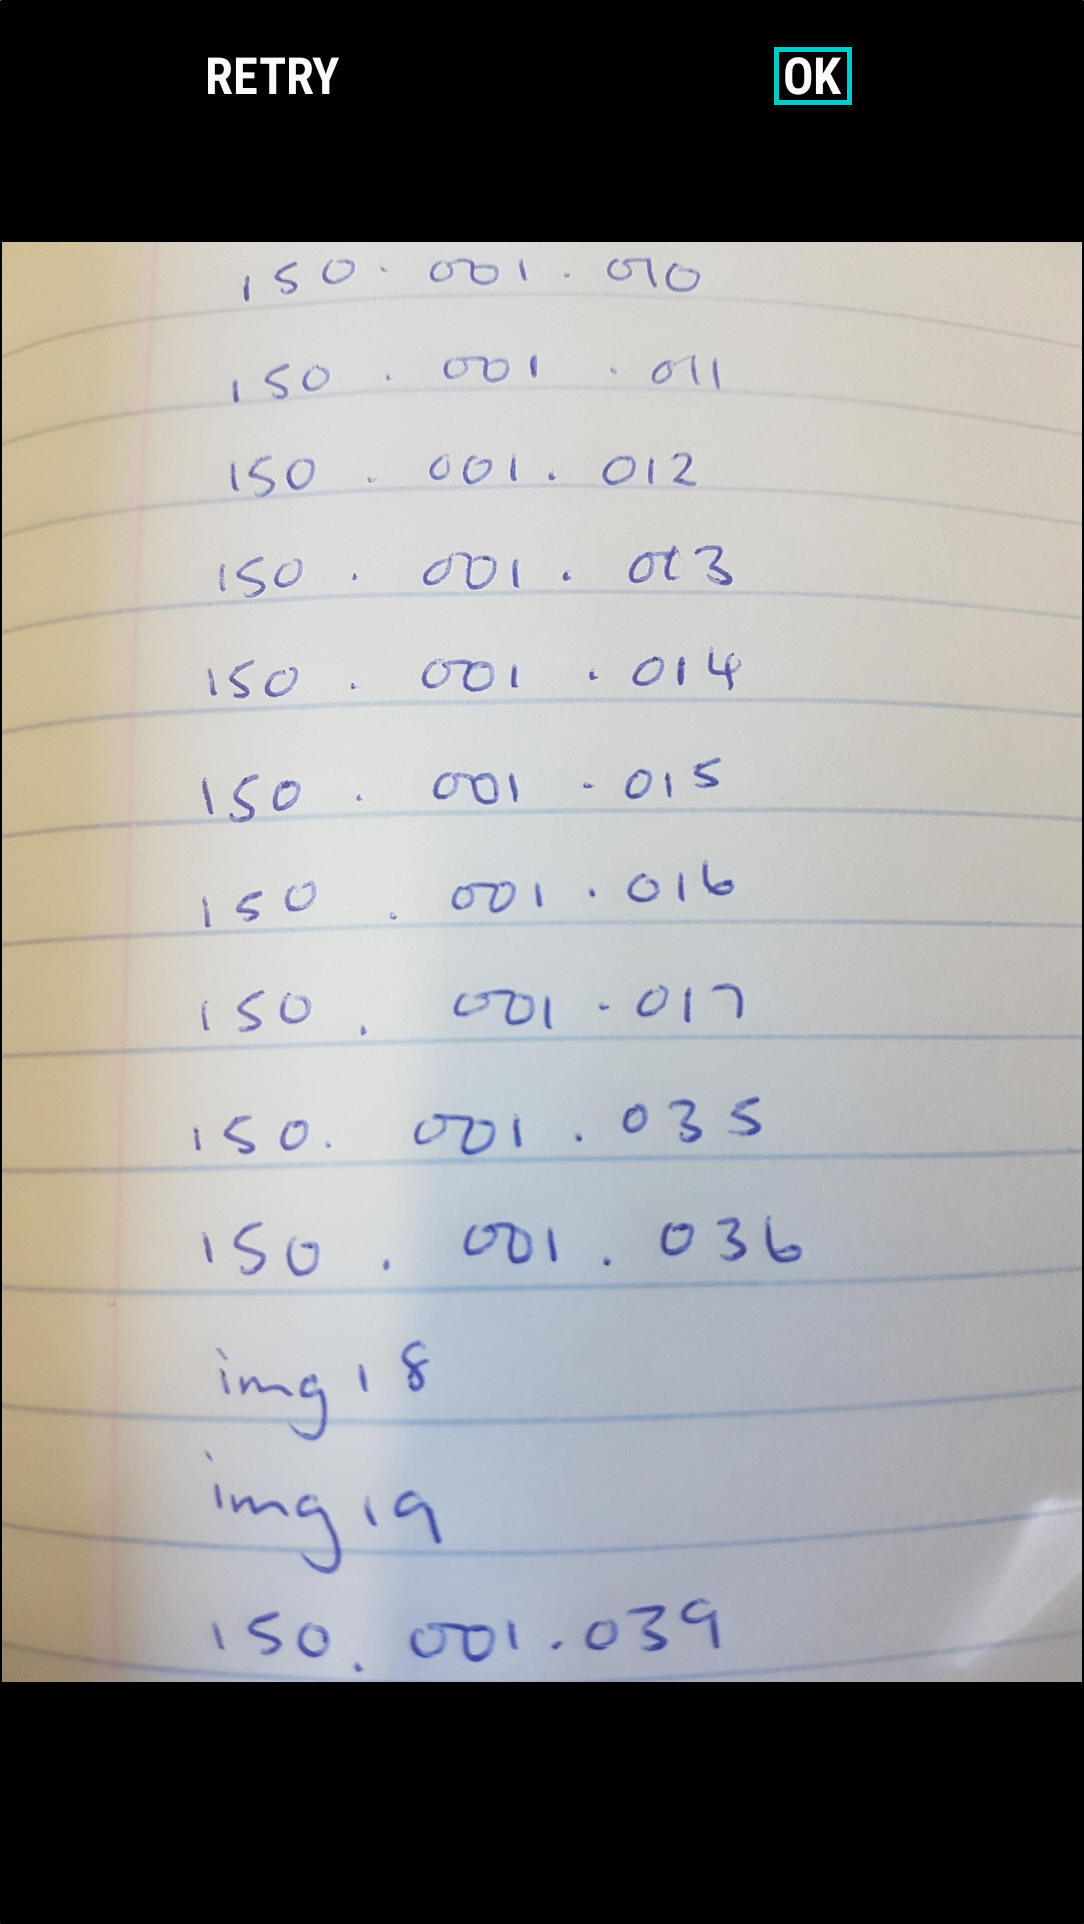
- The application will open the camera app. This may look different depending on your phone / tablet.
- Take the photo.
- Click on OK if you are satisfied with the photo or click on Retry to retake the photo if you are not satisfied with the photo.
- For the purpose of this manual, OK was selected.
- You will return to the Call screen.
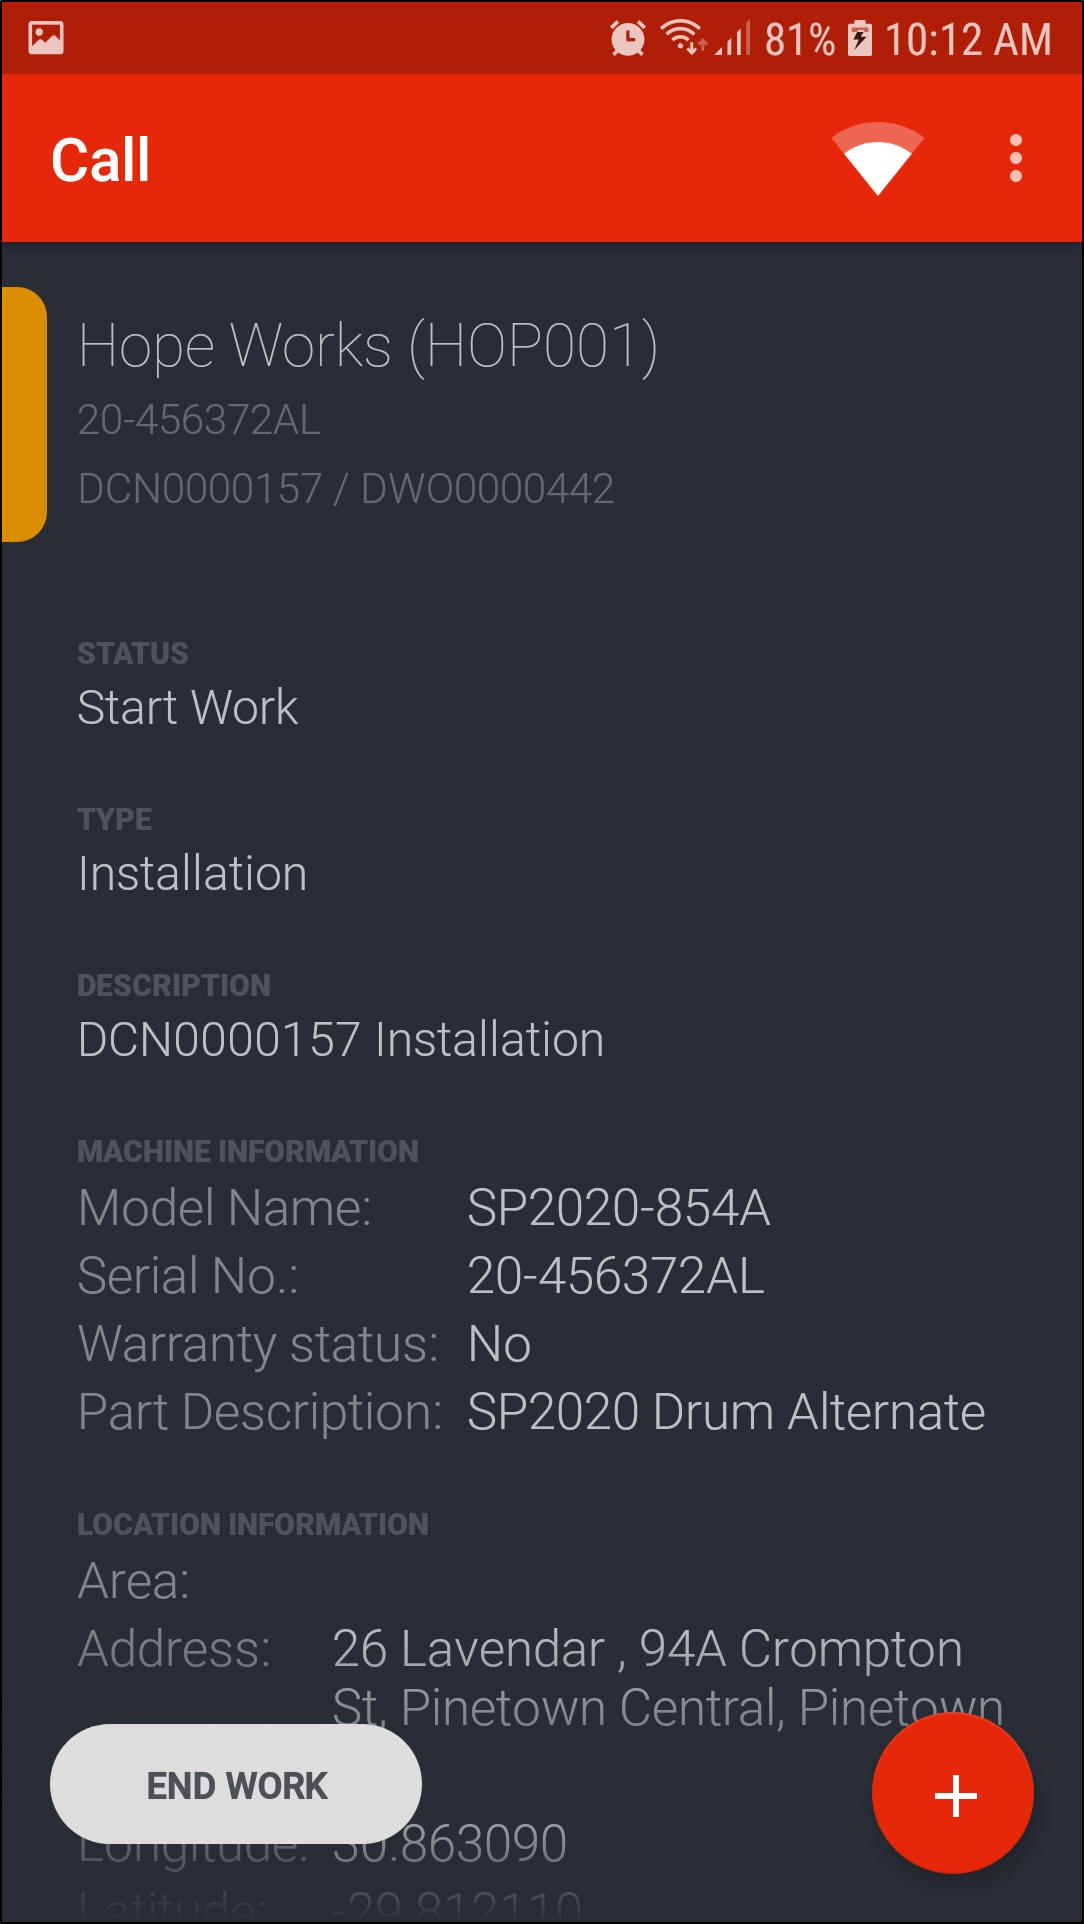
Image Source - Gallery
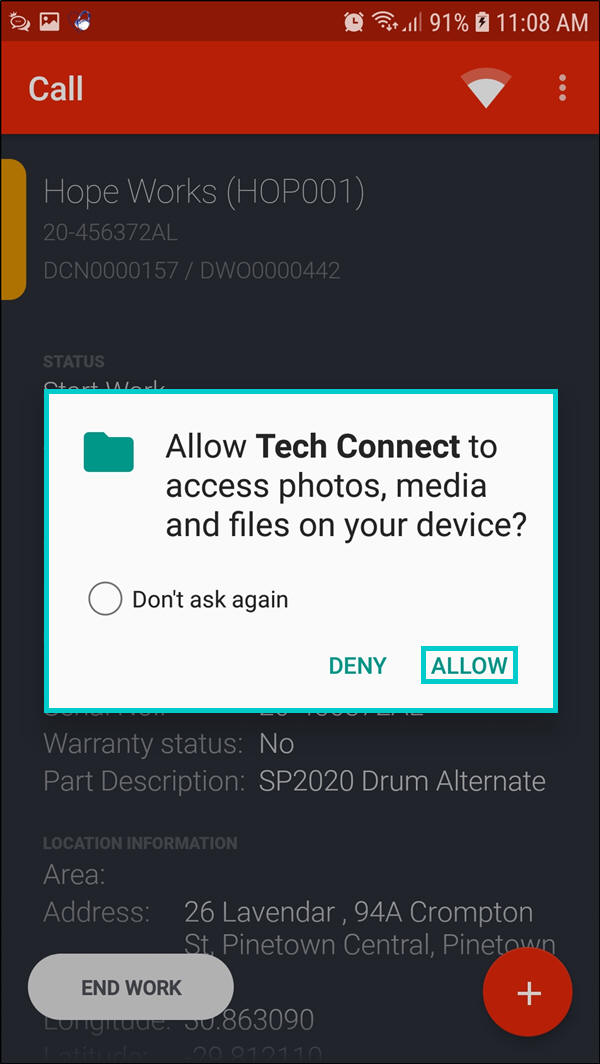
- Click on Gallery.
- A message box may pop up asking you;
- Allow TechConnect to access photos, media and files on your device?
- Click on Allow.
- The application will open the Gallery. This may look different depending on your phone / tablet.
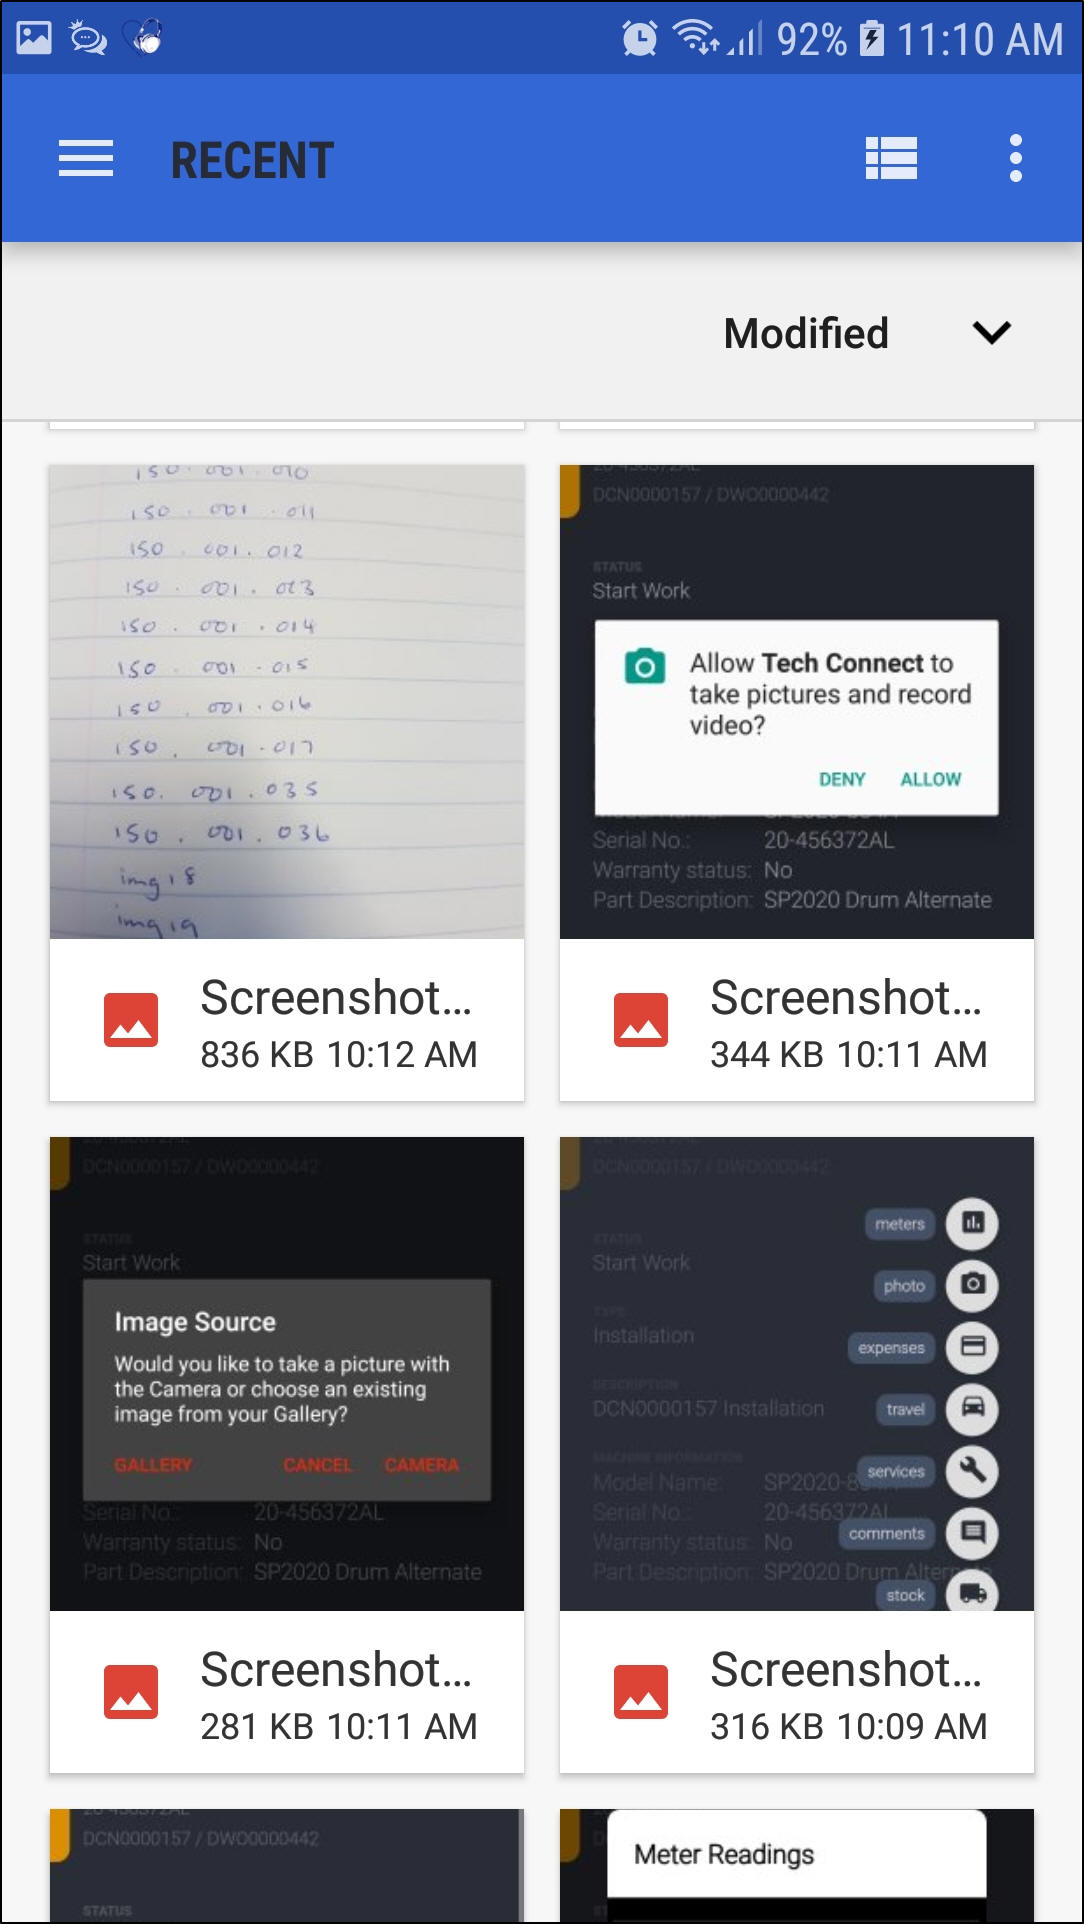
- Select a photo.
- Click on Open.
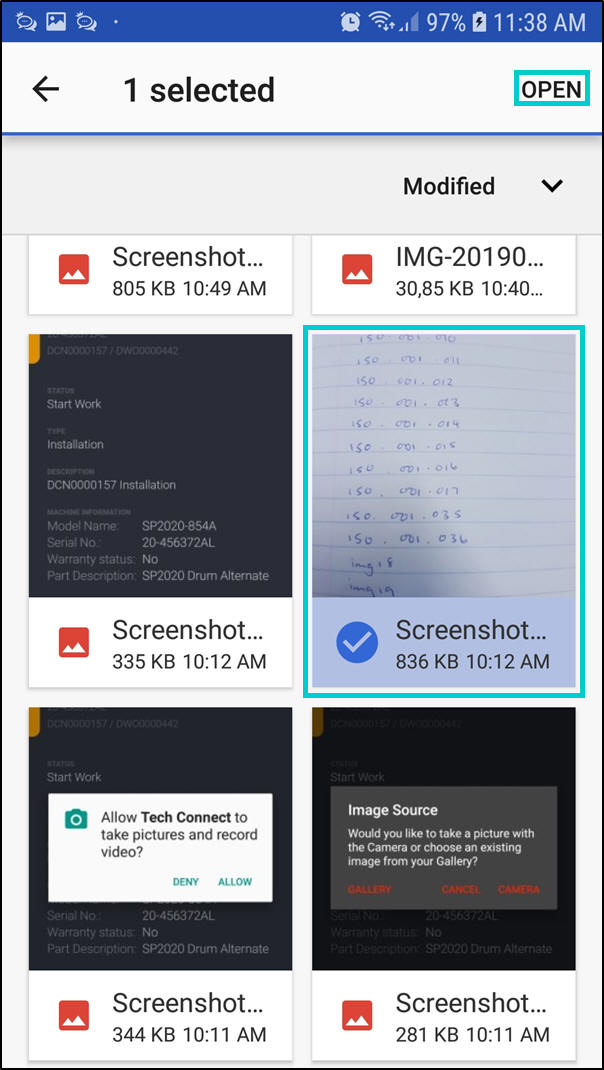
- You will return to the Call screen.
Add A Meter Reading
- Click on Meters.
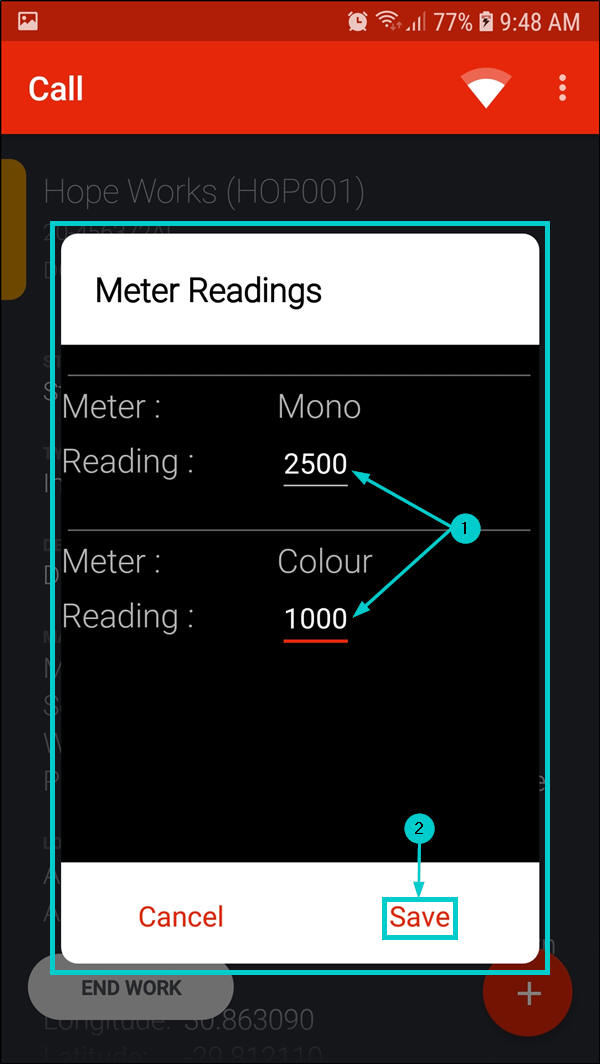
- The Meter Readings message box will pop up.
- On the meter you wish to update, e.g. 'Mono', type in the meter reading in the Reading field.
- Click on Save.
- In this image, Mono and Colour meter readings were updated.
- You will return to the Call screen.
More Call Options
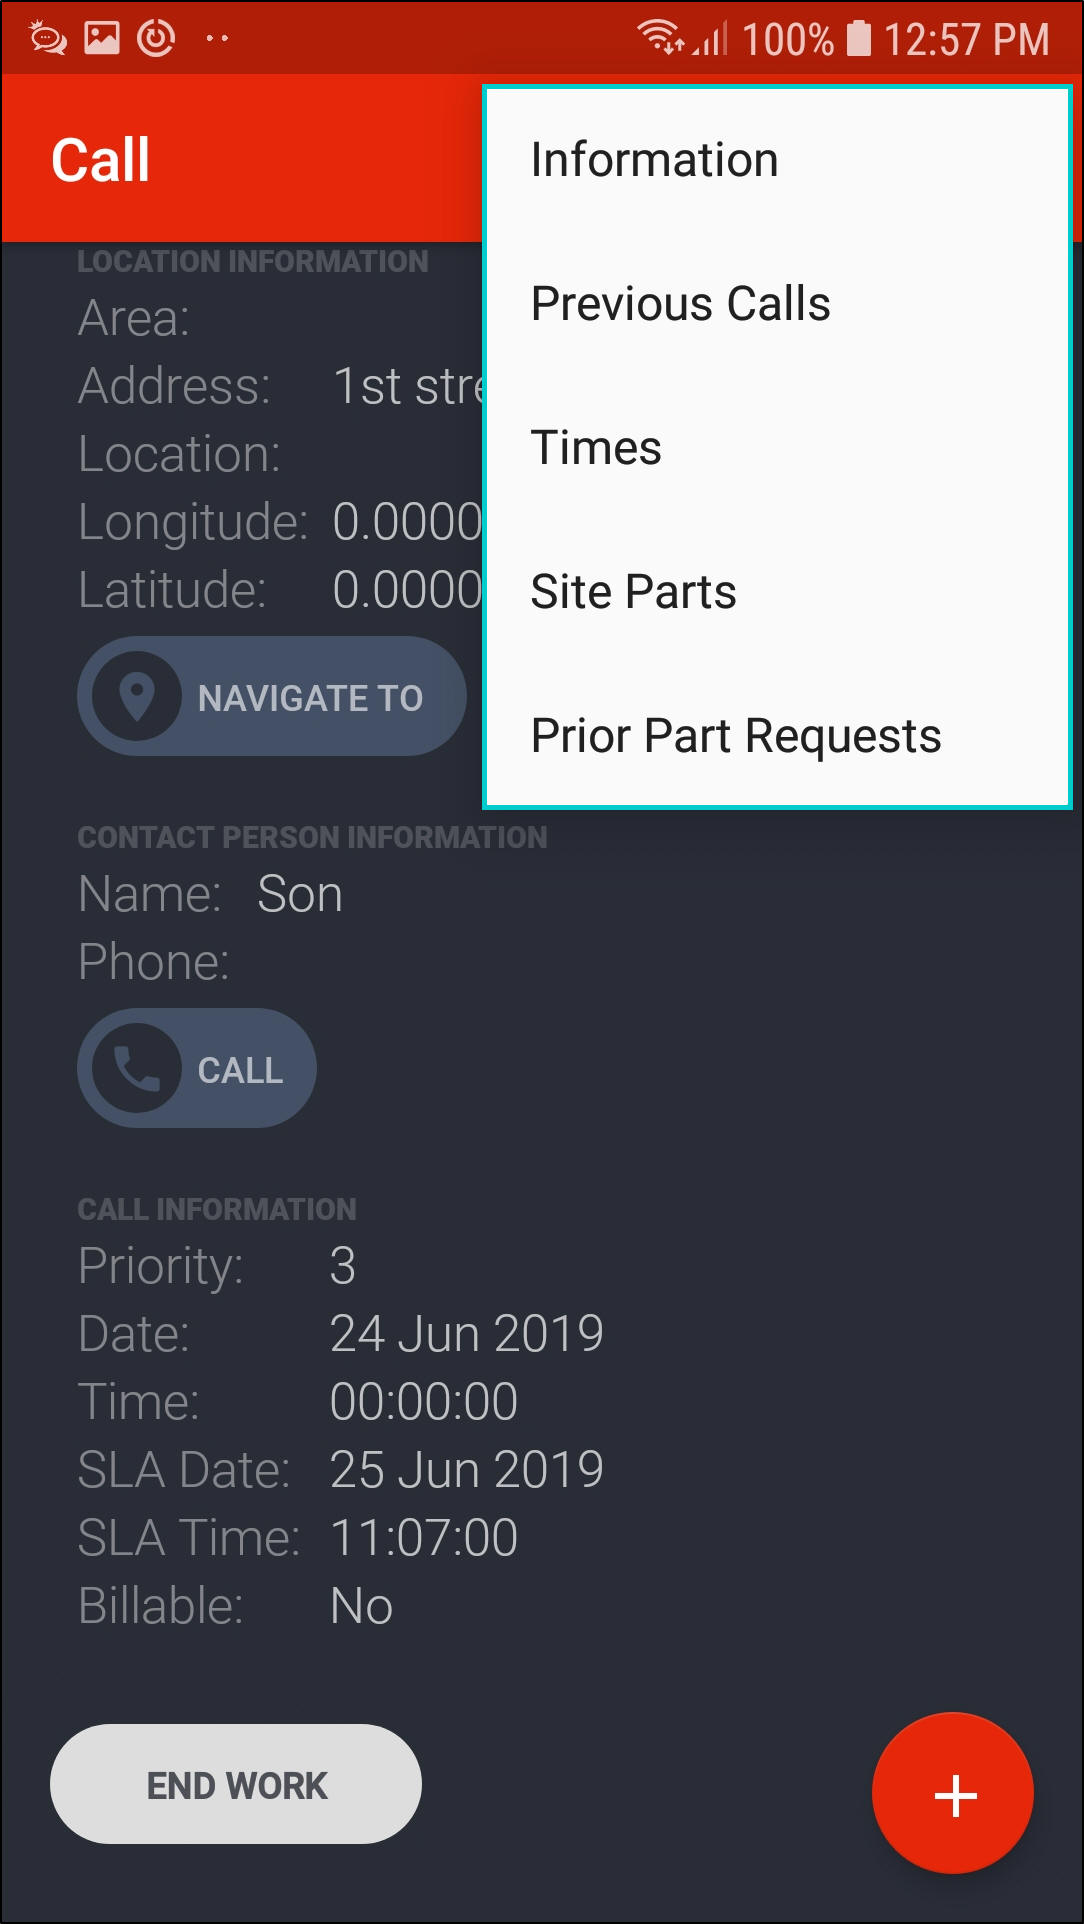
- In the Call screen, click on the Side Menu.
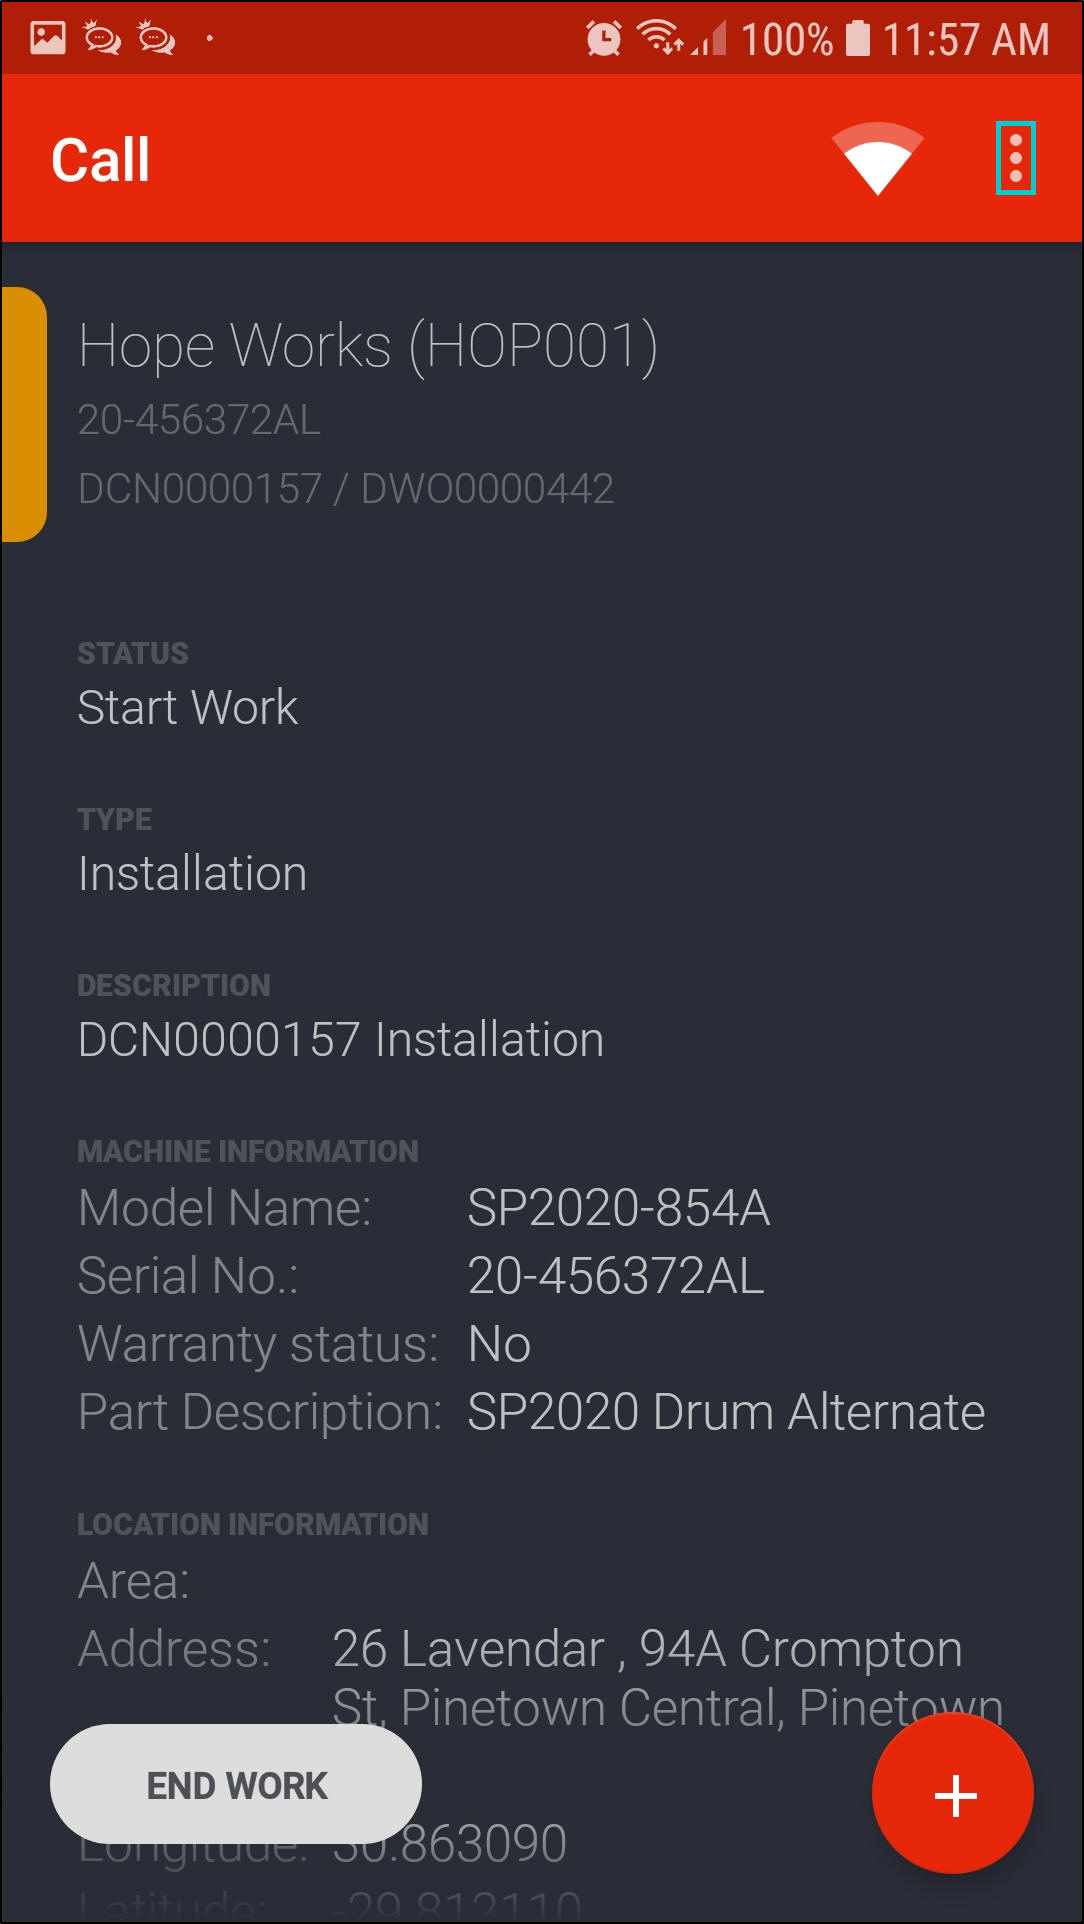
- A menu will be displayed.
Information / Call Notes
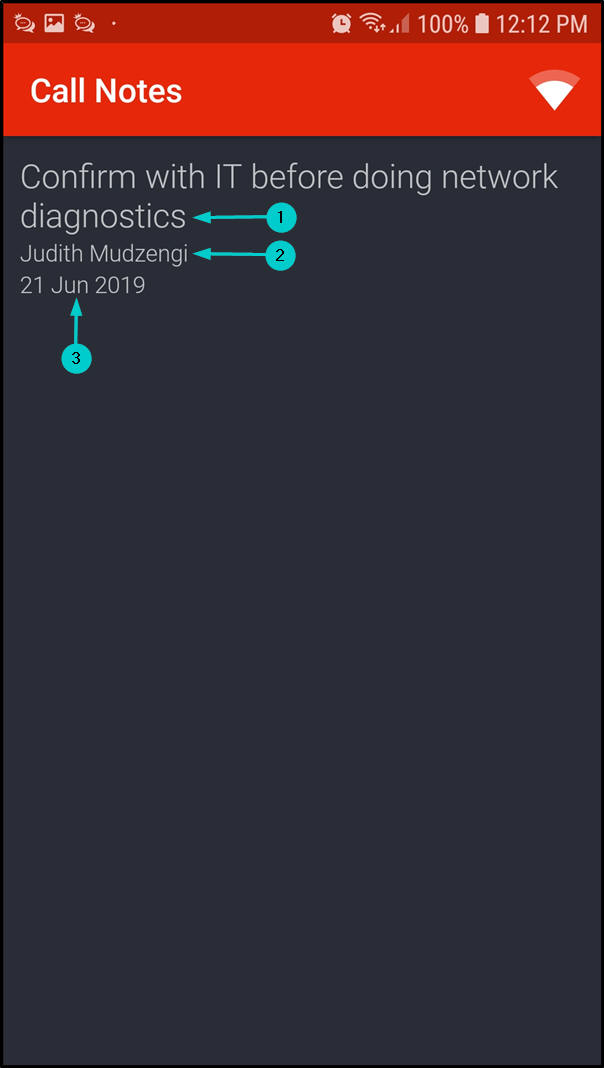
- Click on Information.

- The Call Notes screen will be displayed.
- You can now view the
- notes that were added to the call,
- the name of the person who added the notes and
- the date the notes were added.
Previous Calls
- Click on Previous Calls.
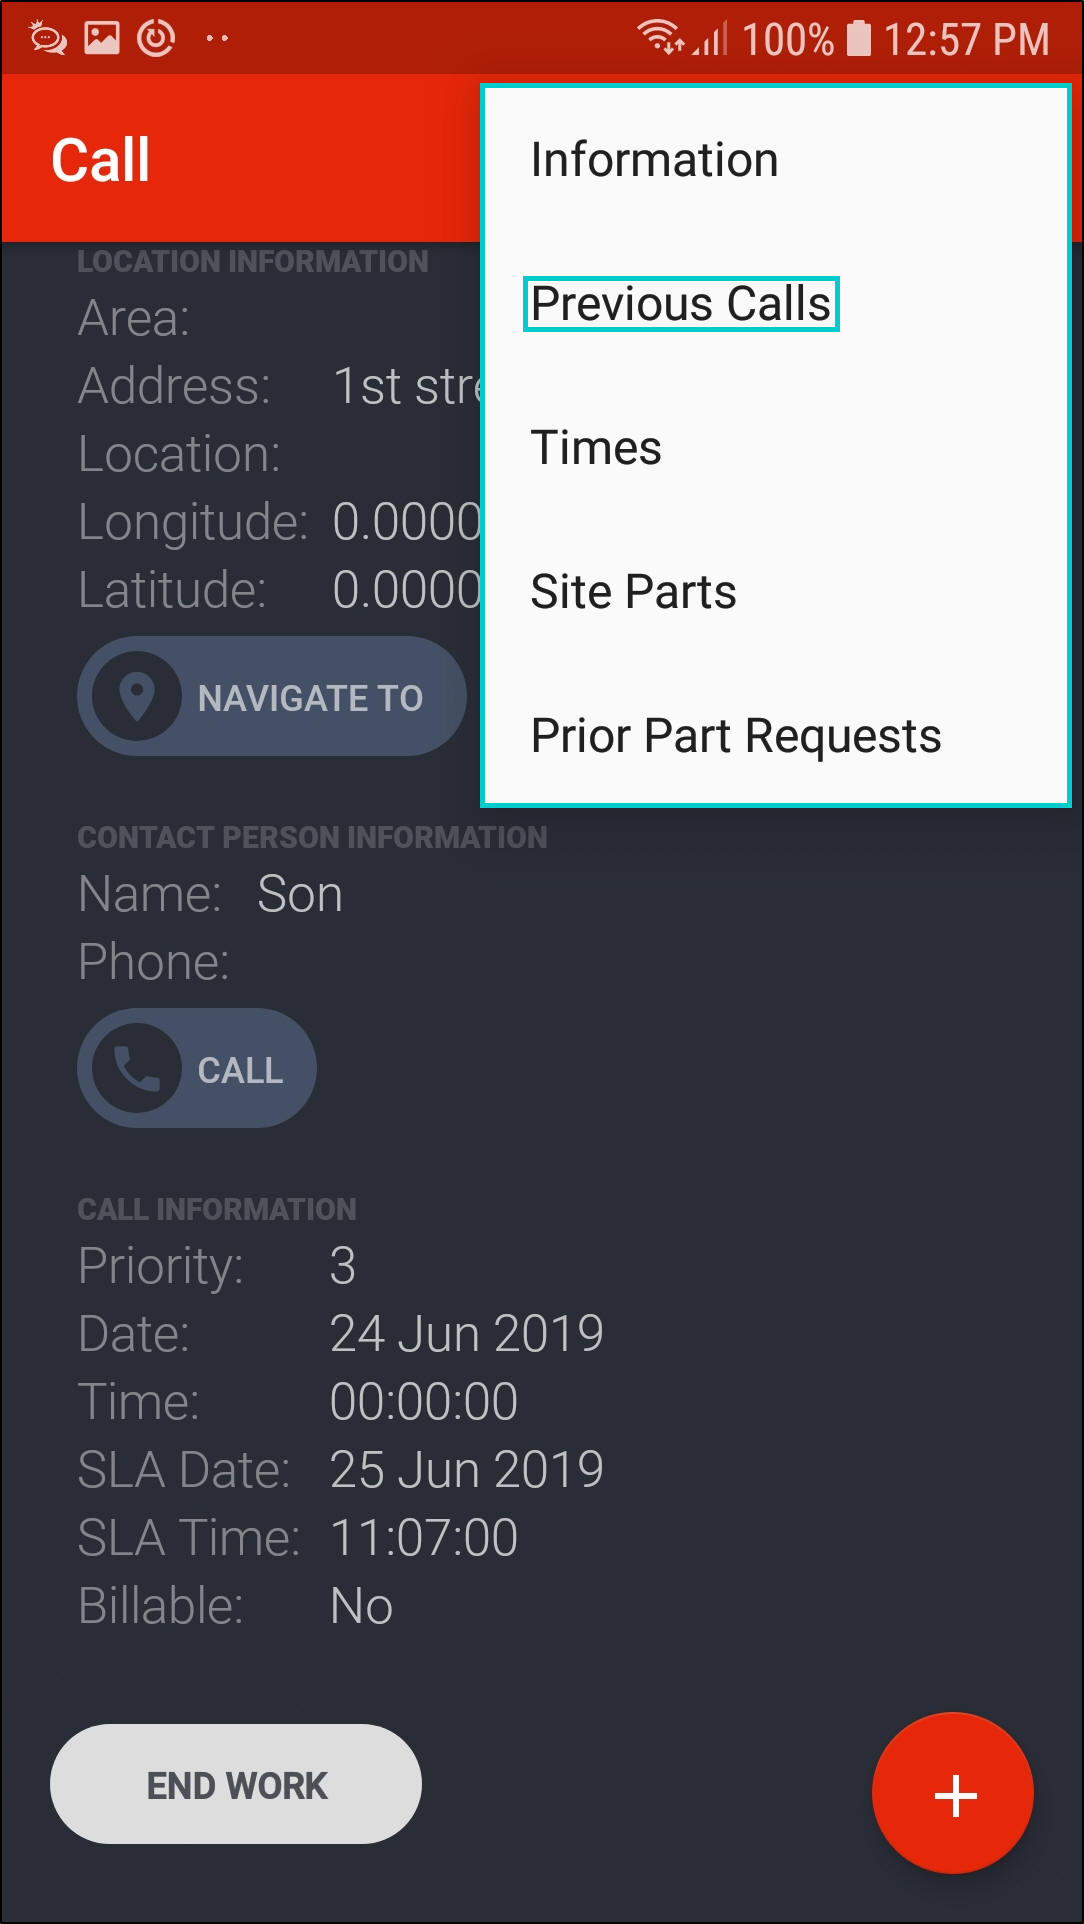
- The Previous Calls screen will be displayed.
- A list of prior calls linked to the serial number on the call you are currently working on will be displayed.

Times
- Click on Times.
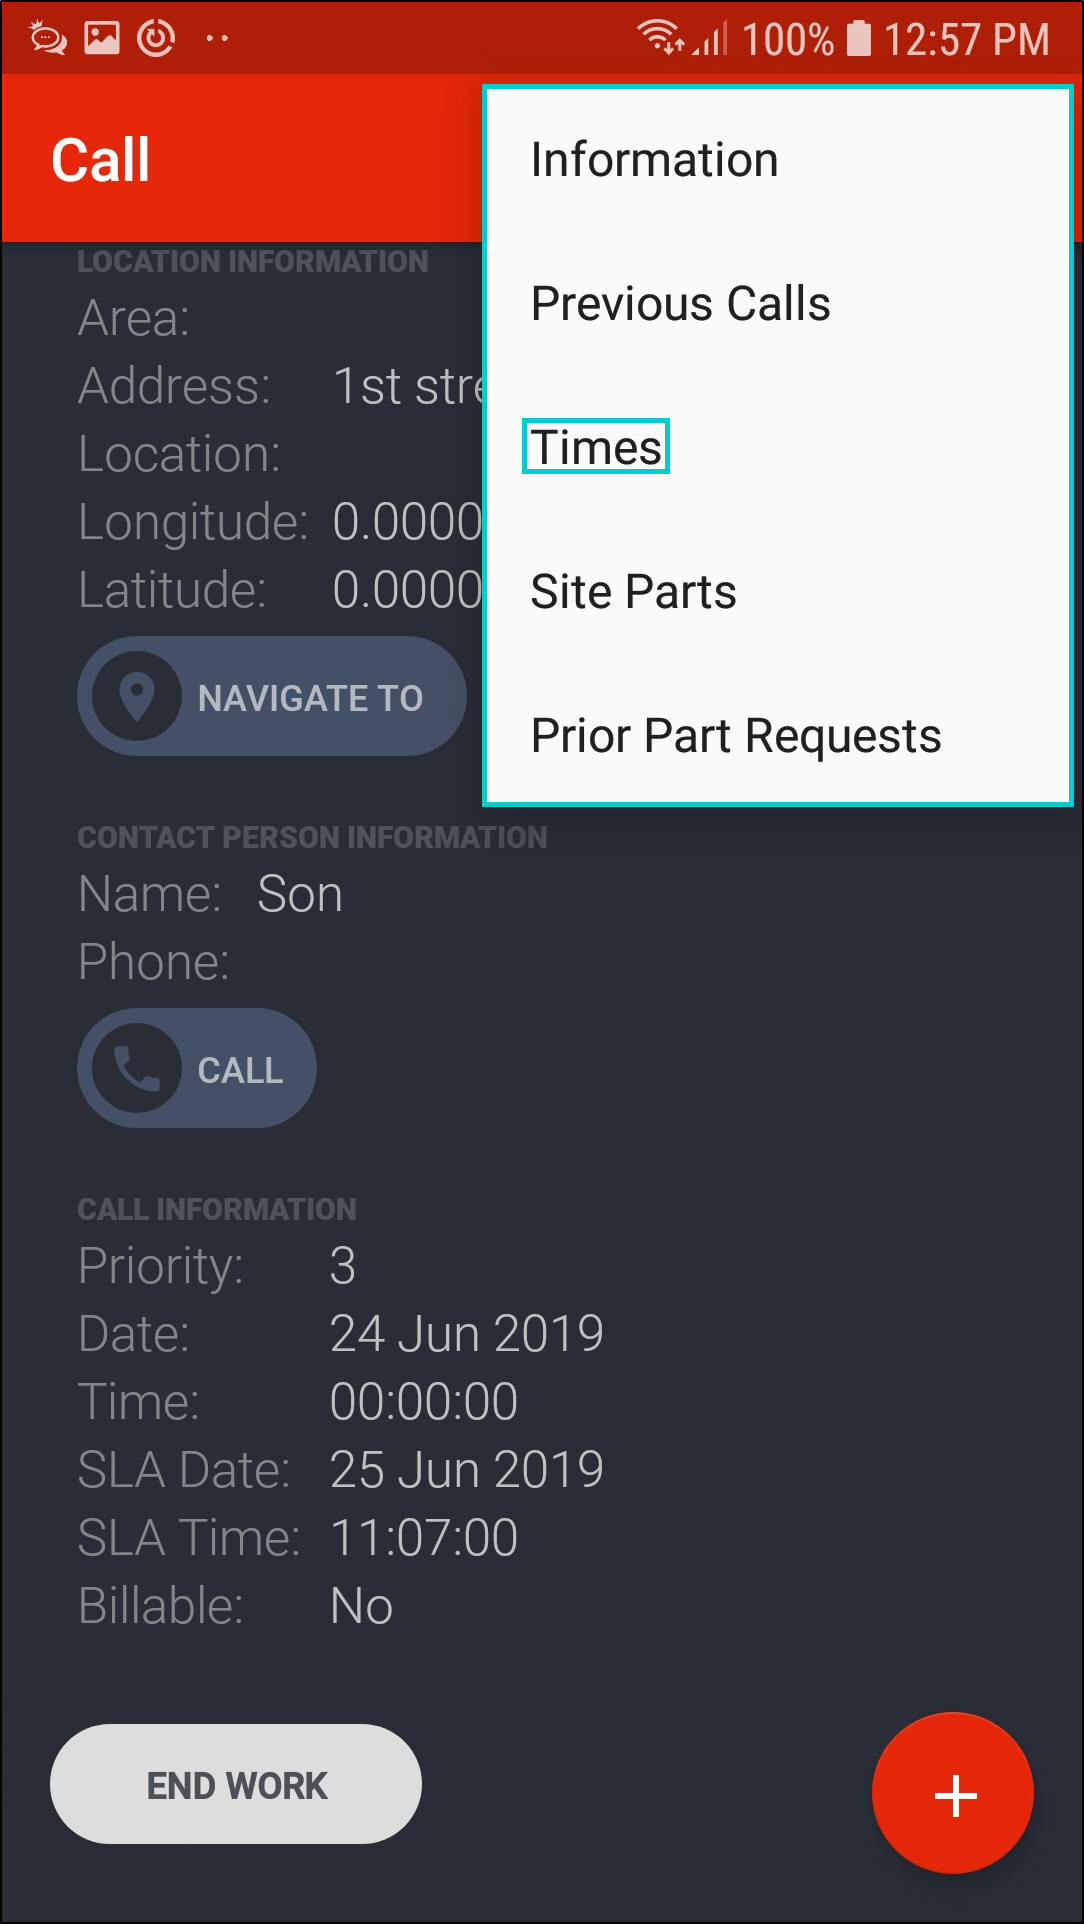
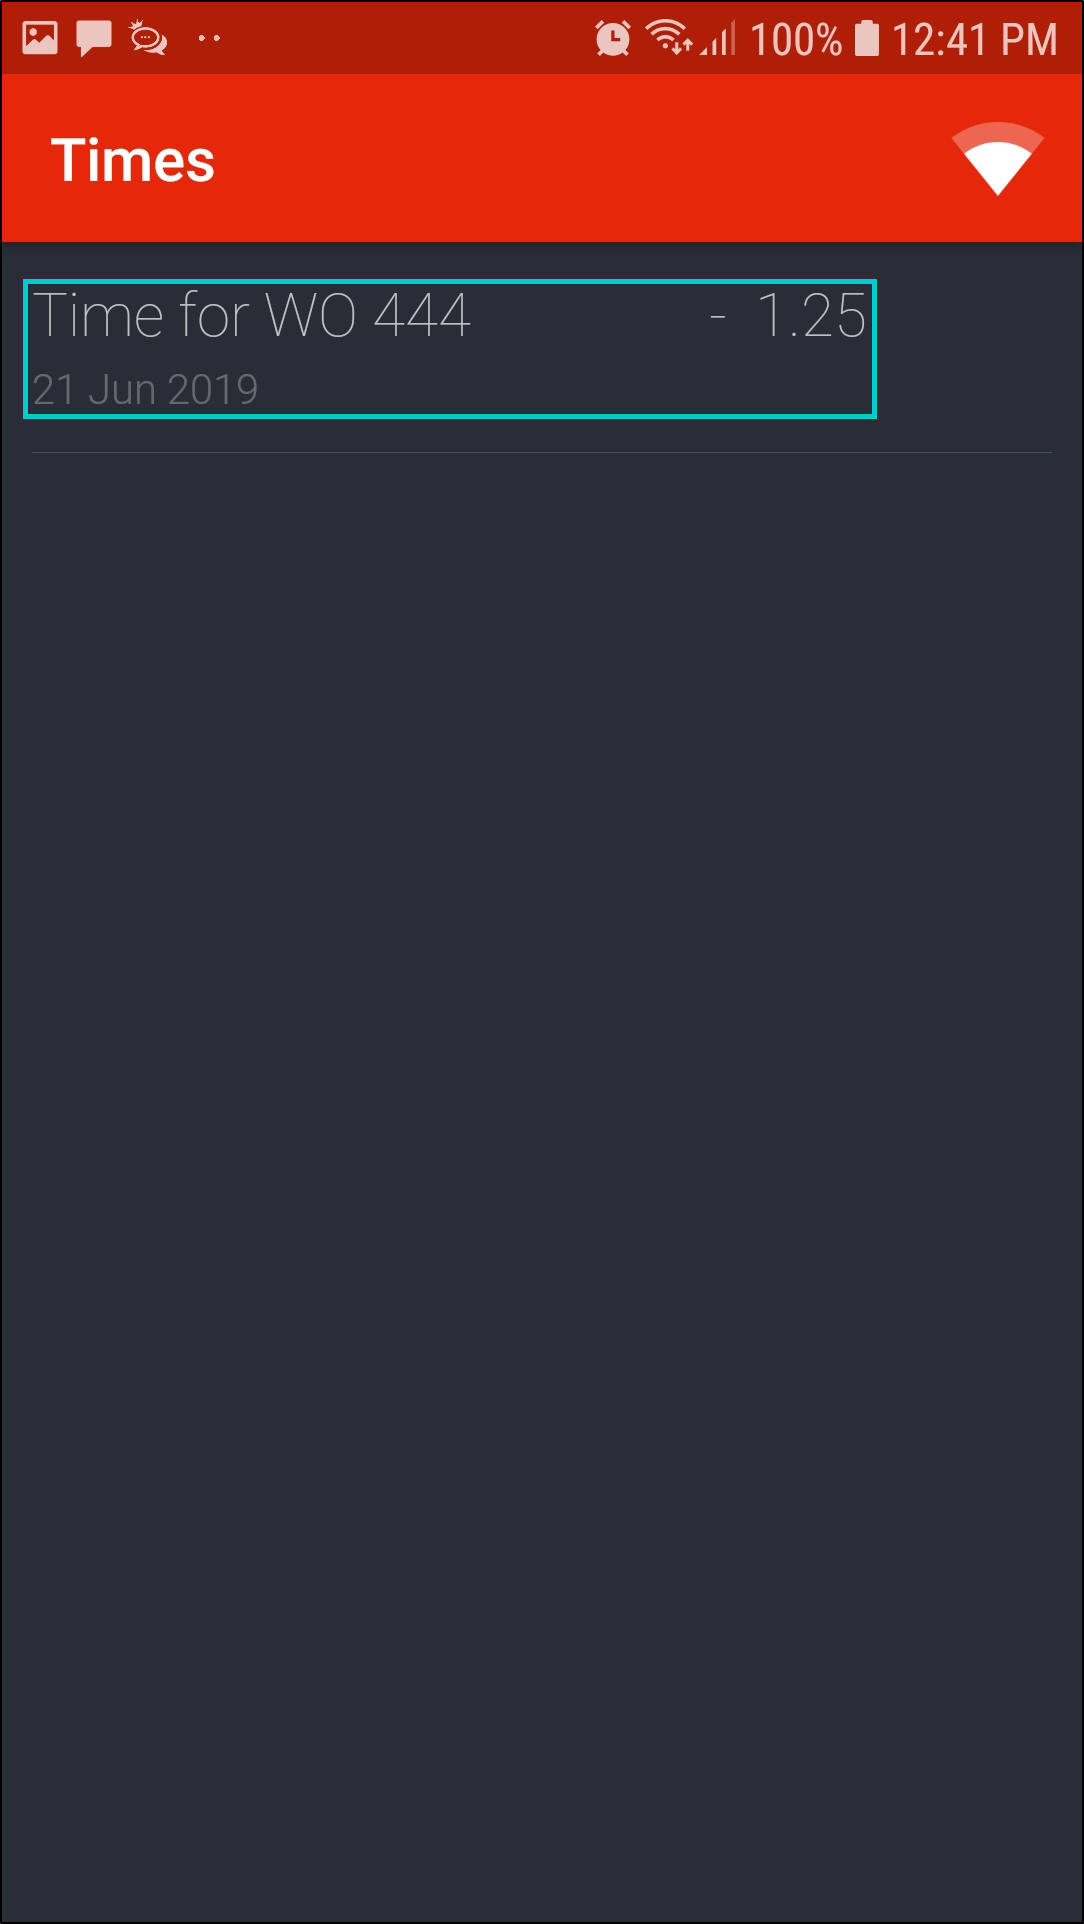
- The Times screen will be displayed.
- Any time logged on the call you are working on will be displayed in this screen showing the;
- work order number the time was booked for,
- the time duration of the task and
- the date the time was logged.

- You can view more details by clicking on the time record you wish to view more details for.
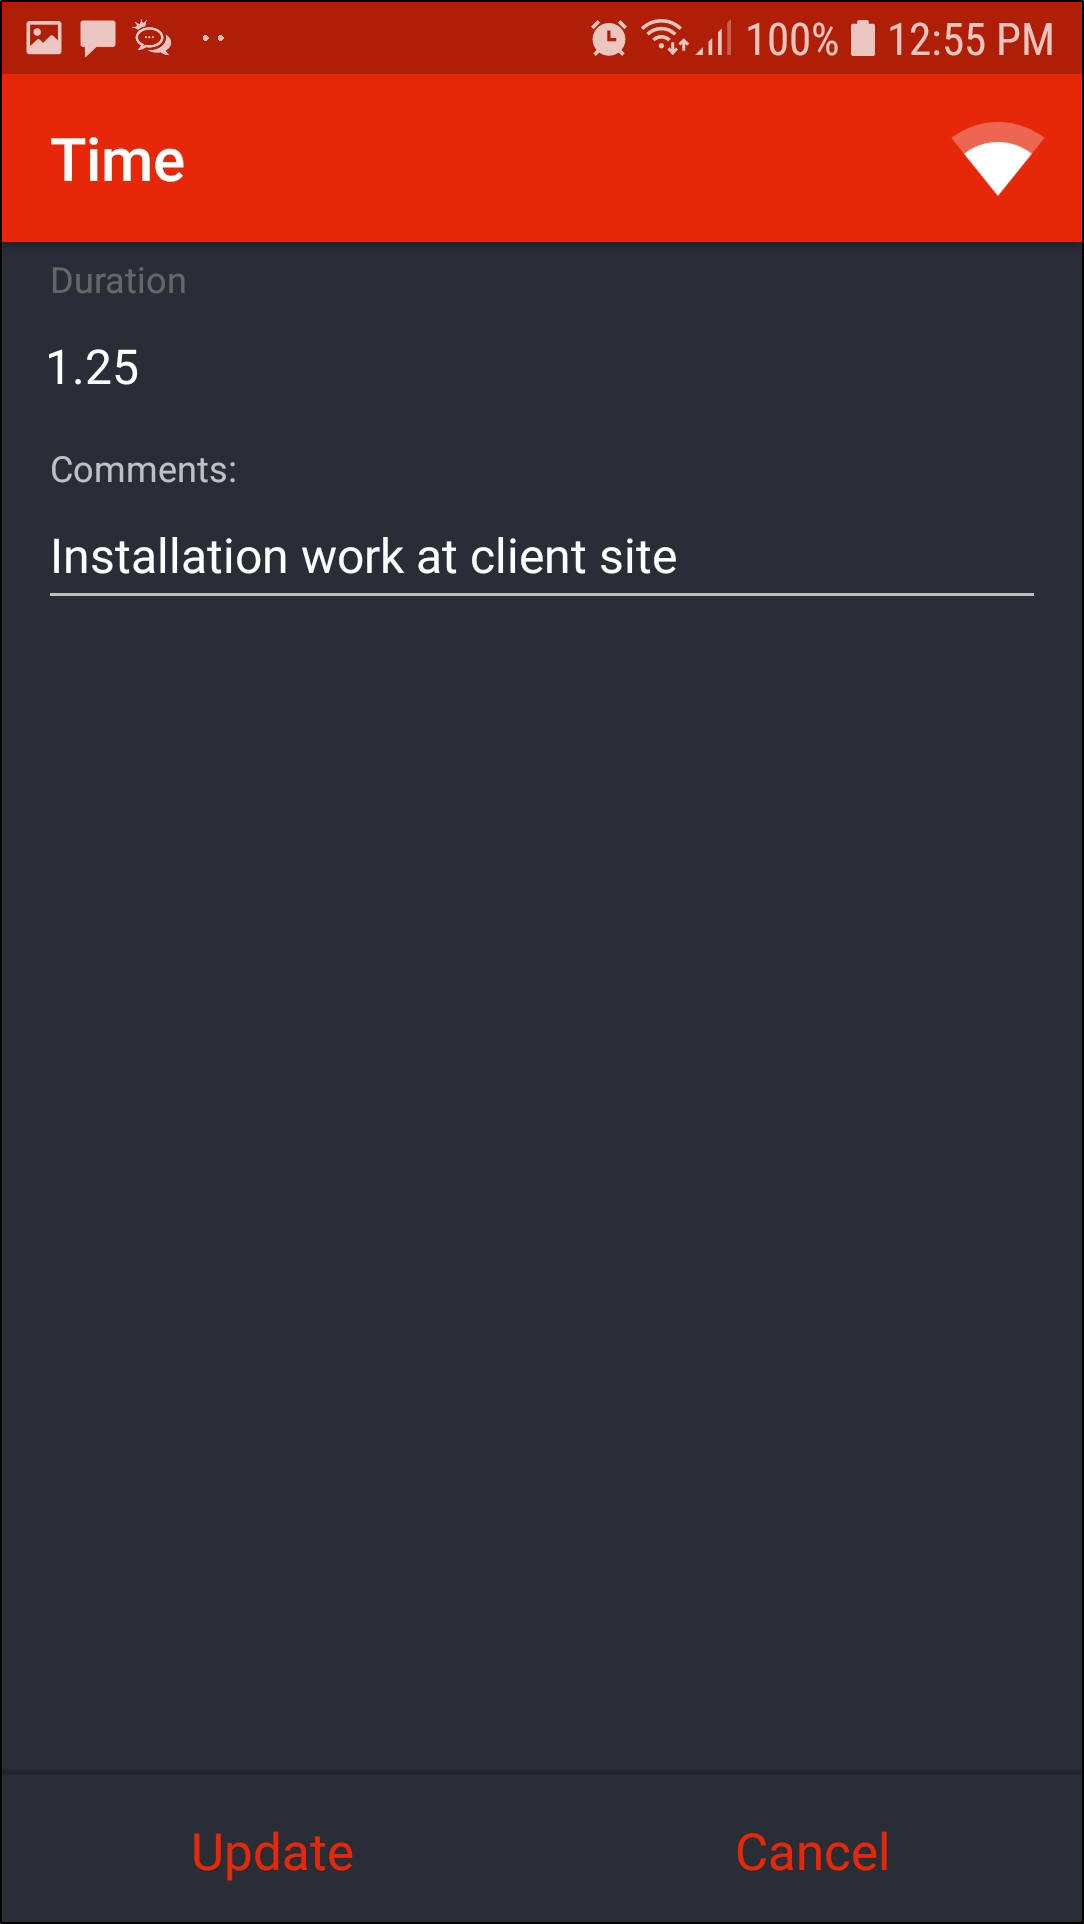
- The Time screen will be displayed.
- From this screen, you can view the time duration and comments of the selected time record.
Update Time Comments
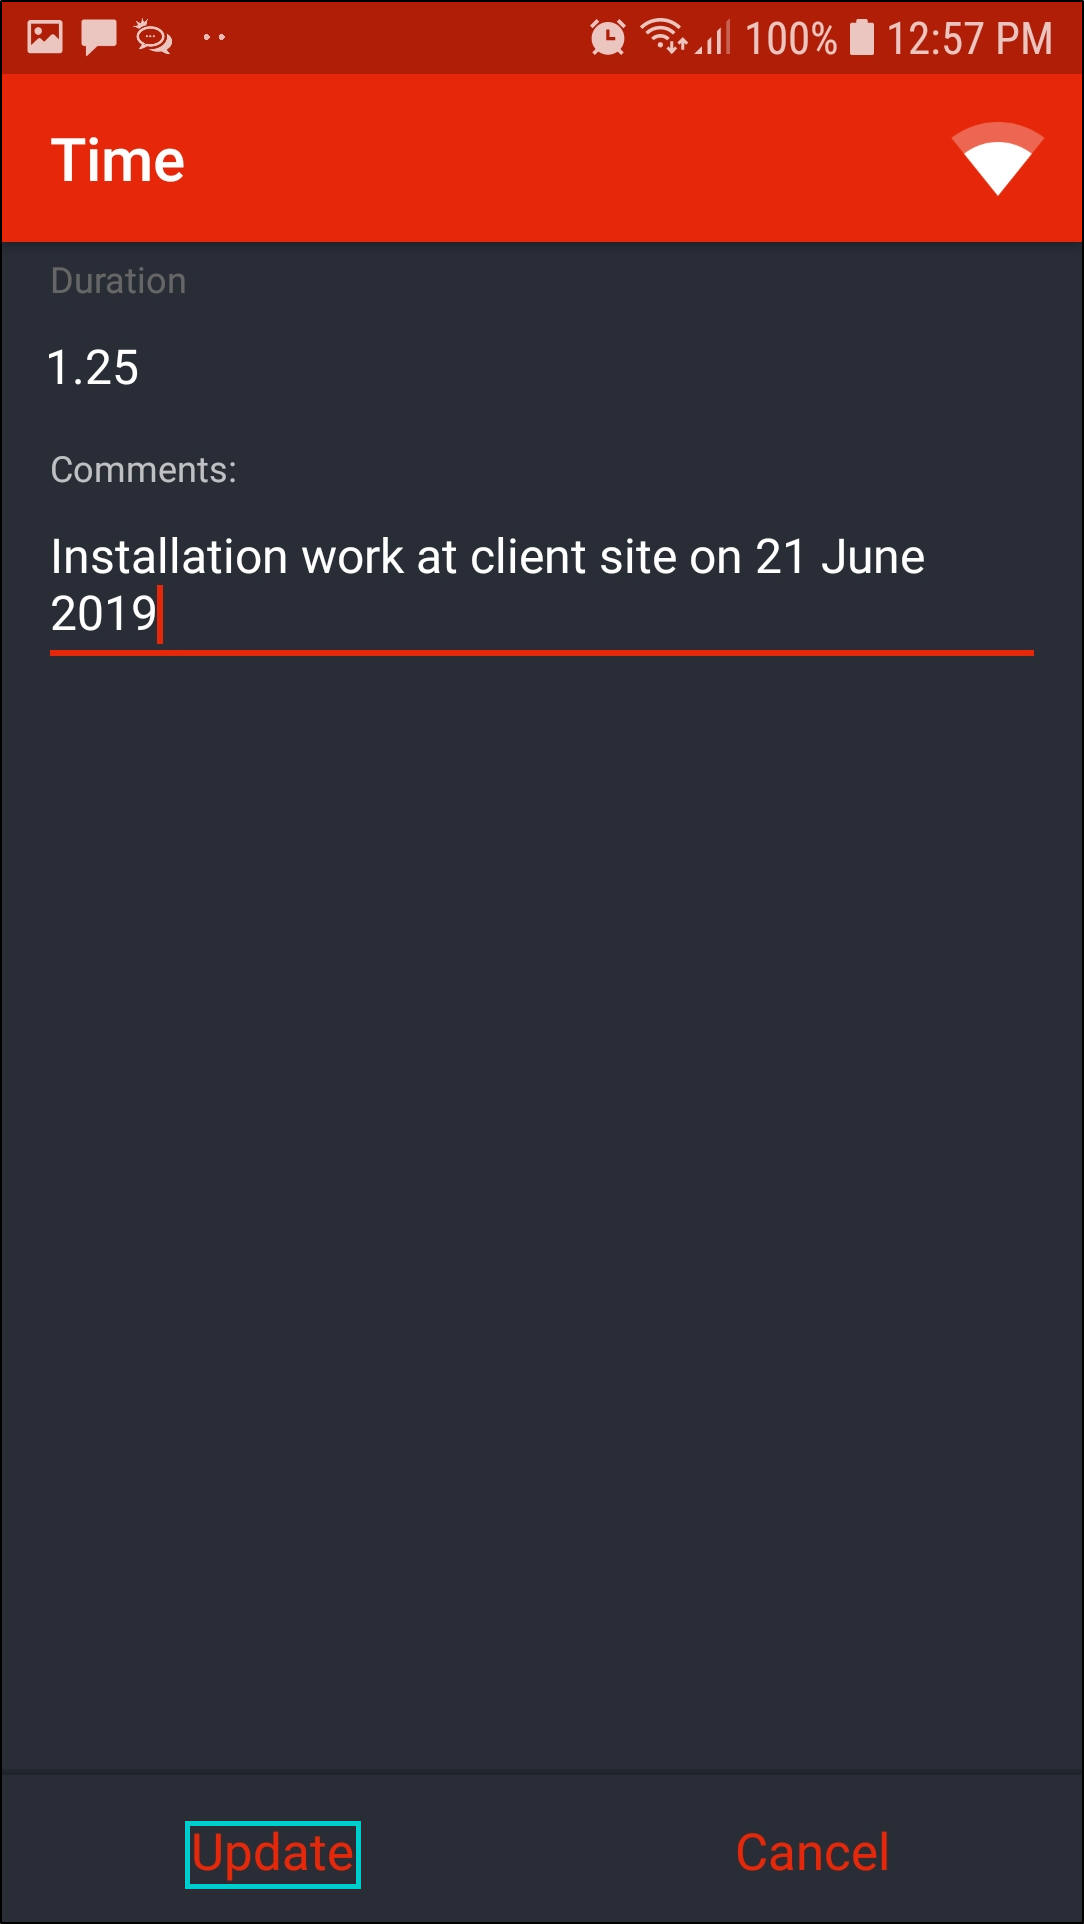
- Click on the time record you wish to amend.
- The Time screen will be displayed.
- Update the comments accordingly.
- Click on Update.
- Note: The system does not allow you to update the time duration from this screen.
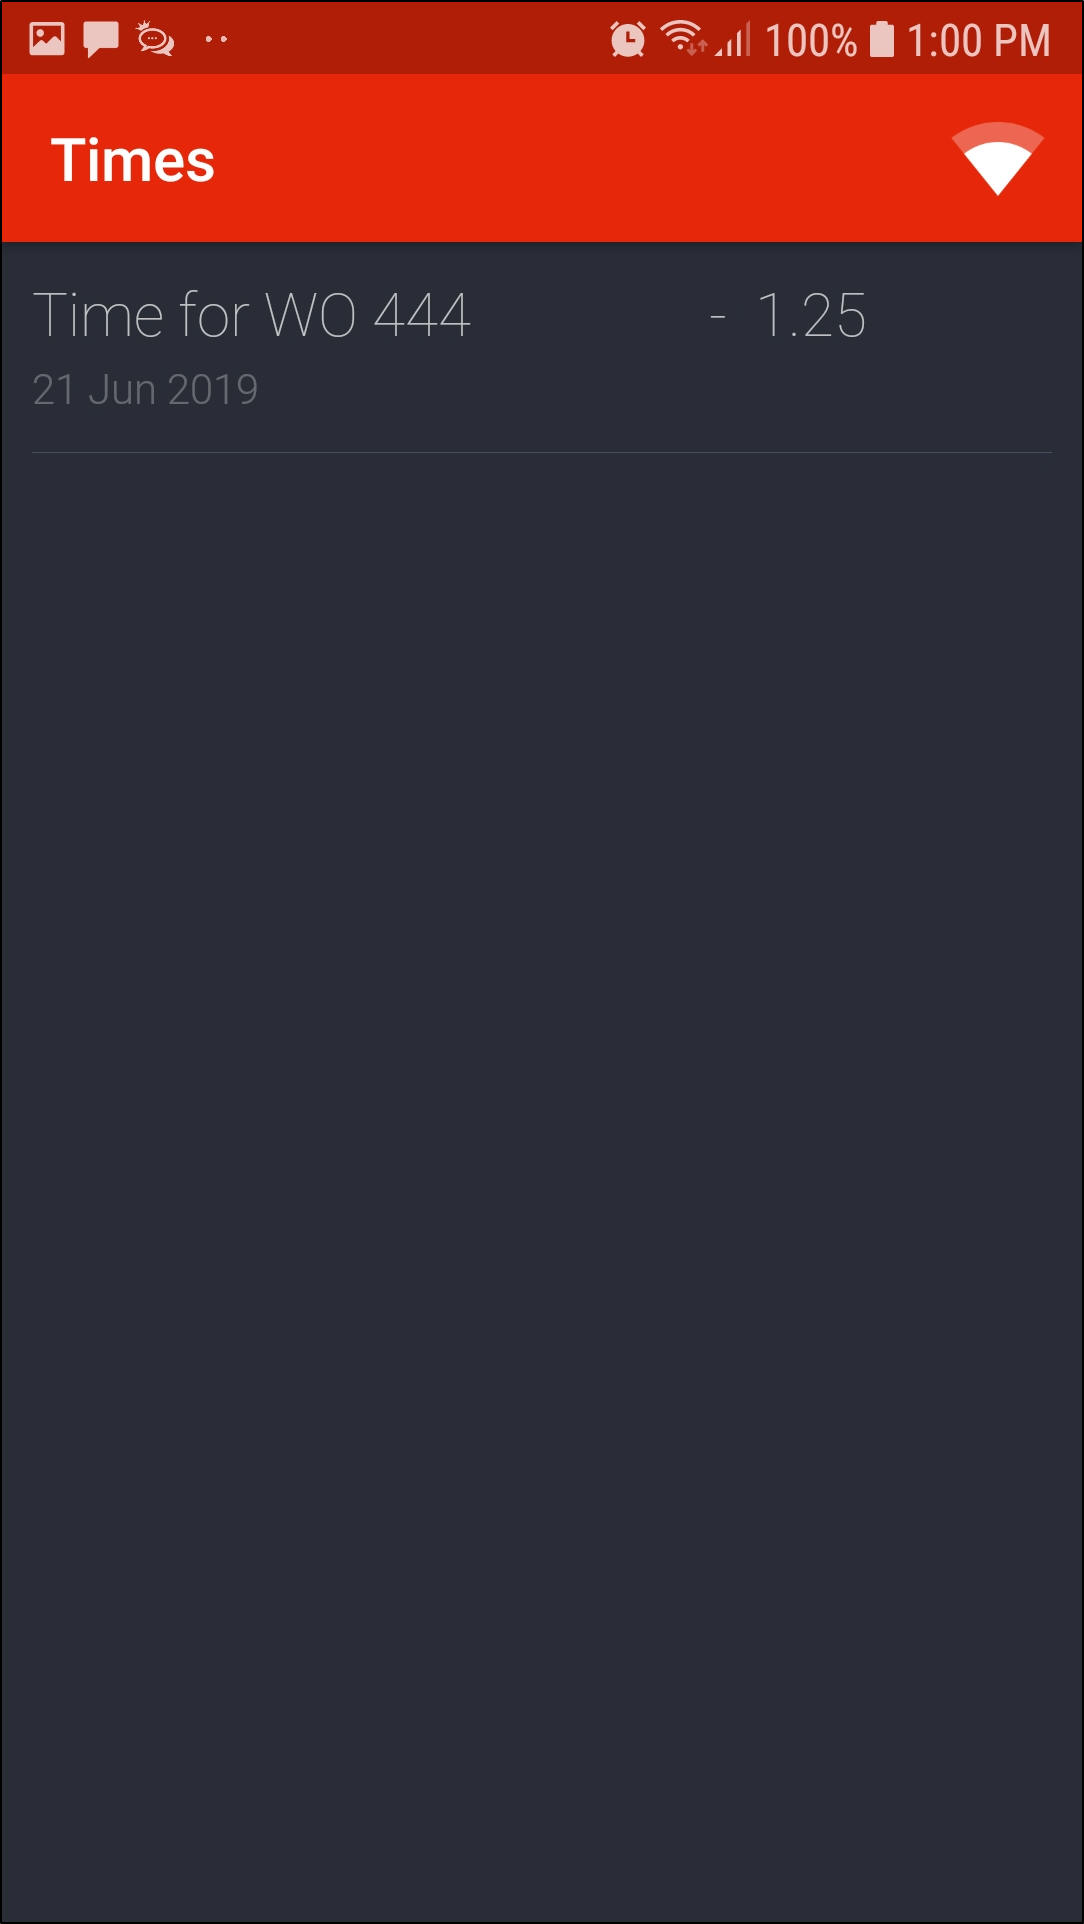
- You will return to the Times screen.
Prior Part Requests
- Click on Prior Part Requests.
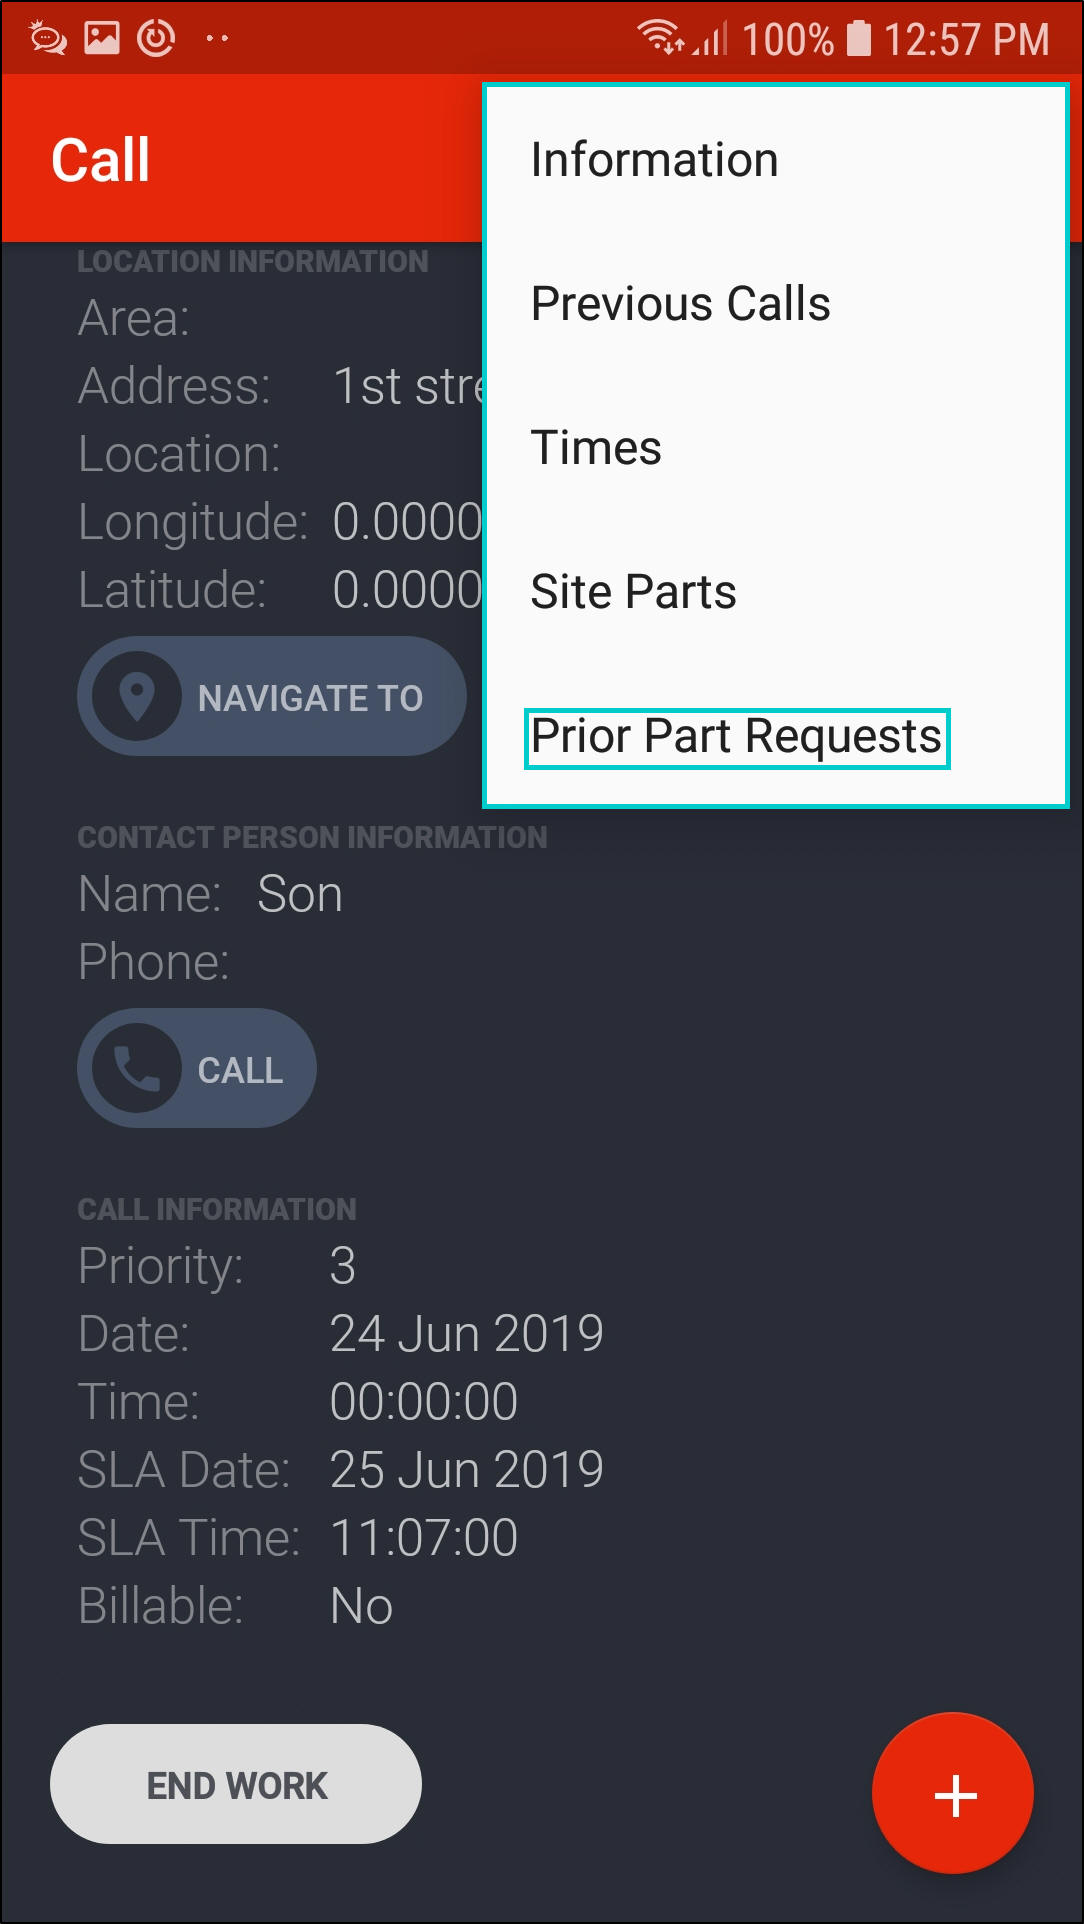
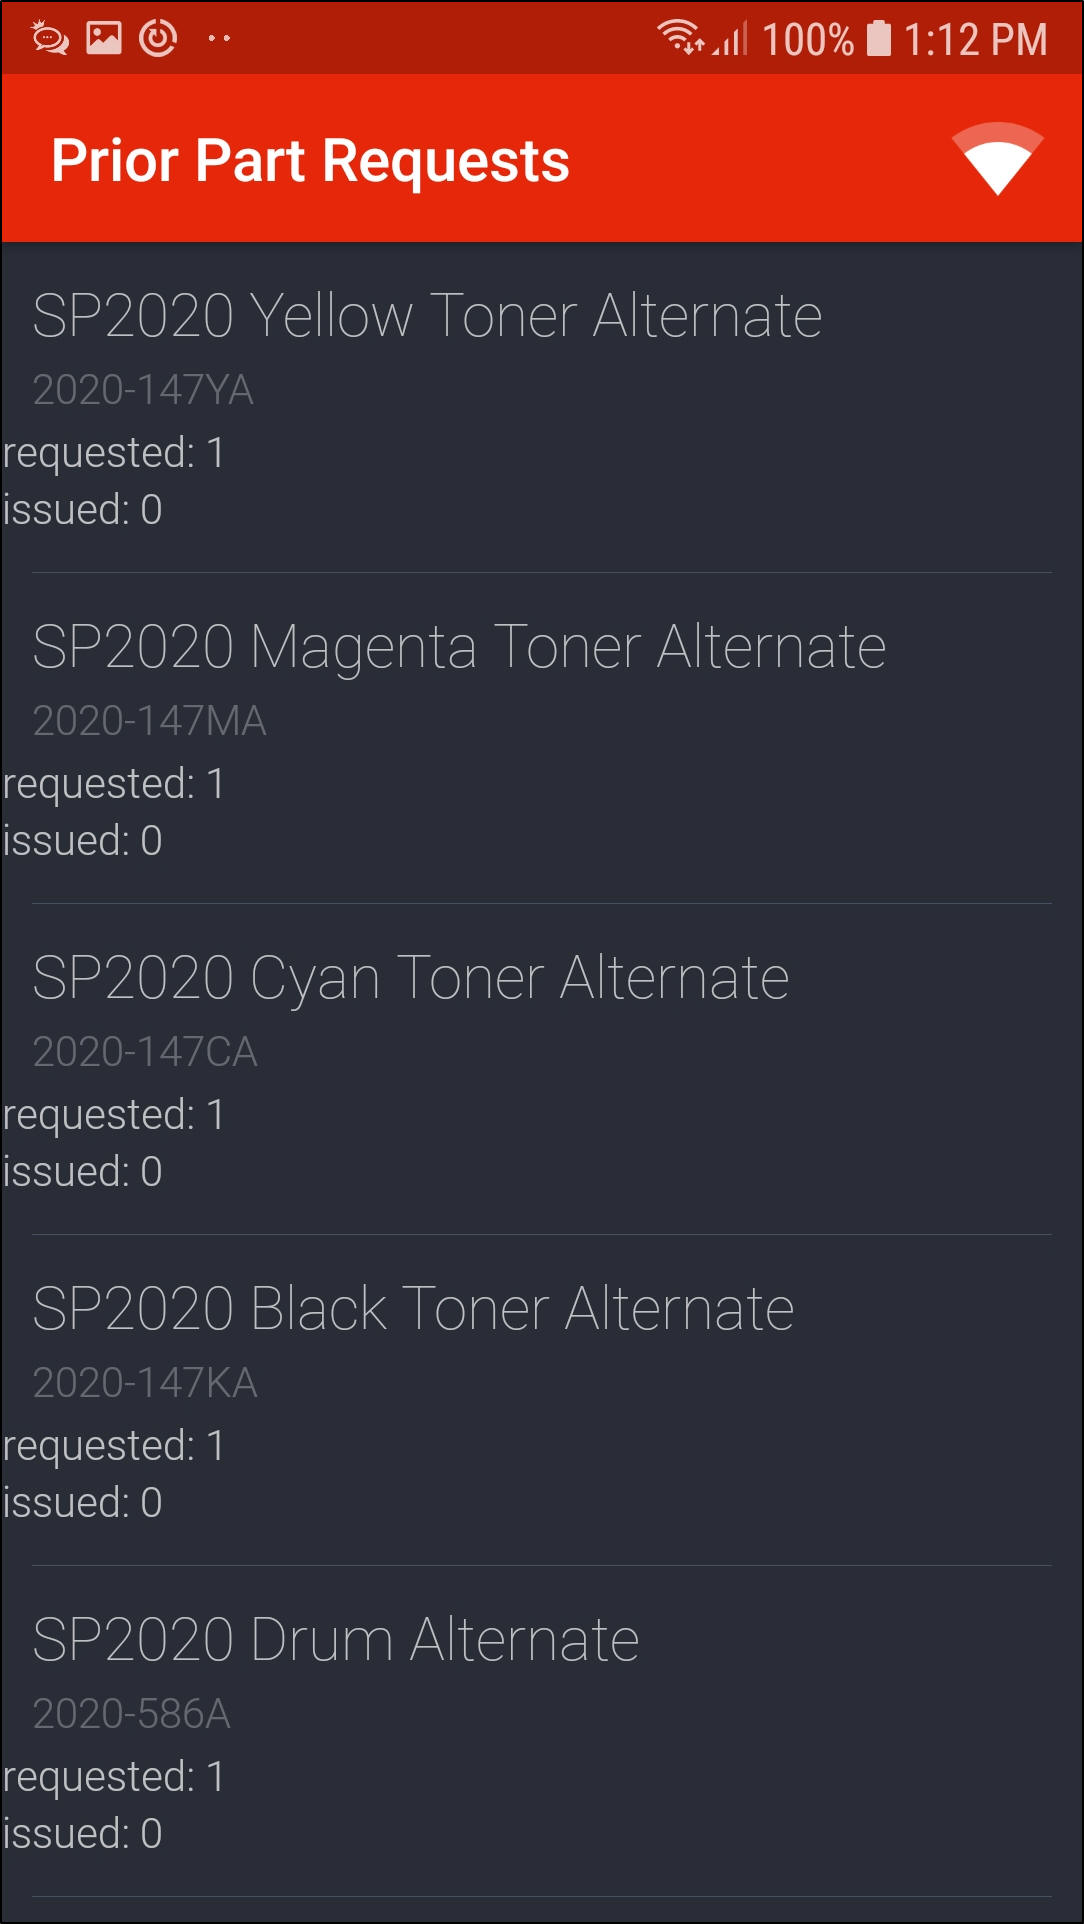
- The Prior Part Requests screen will be displayed.
- A list of Prior Part Requests linked to the serial number on the call you are currently working on will be displayed. The last 6 issues will be displayed.
MNU.150.005