We are currently updating our site; thank you for your patience.
Sales Connect
Log Start and End Travel
You can log Start and End Travel details to a Meeting Activity directly in Sales Connect. This functionality will record the odometer reading at the beginning and the end of the salesman's journey
Select the Activity that requires Travel Details to be Logged
- After initial login to Sales Connect, the Activities screen will open. This will display a calendar view of the current month.
- Swipe left to view future months.
- Swipe right to view previous months.
- Tap on the date that contains the Activity that you wish to log Travel Details for.
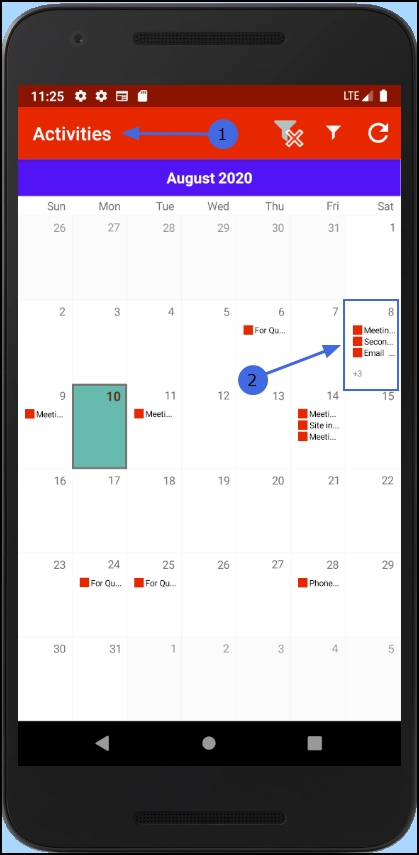
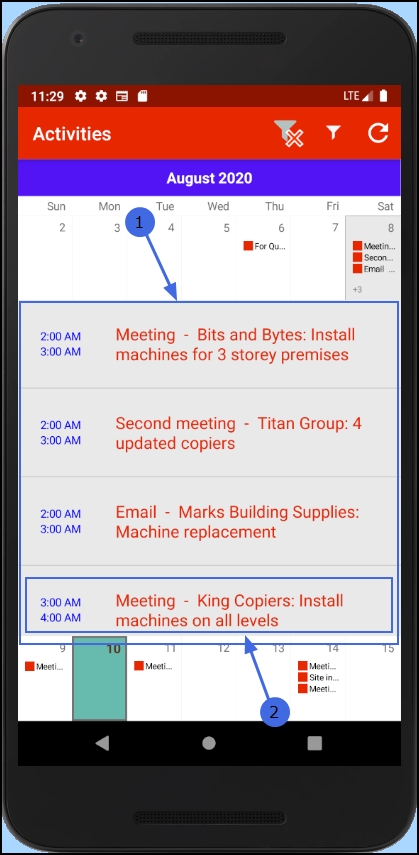
- A text box will pop up, with more information regarding the activity linked to that date. (In this example there is more than 1 activity on this date and therefore more than 1 text box.)
- Tap on the text box that pertains to the specific activity that you wish to log travel details against.
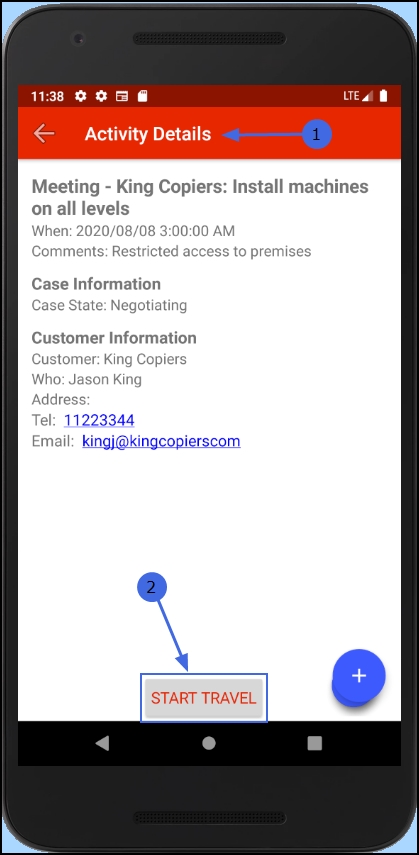
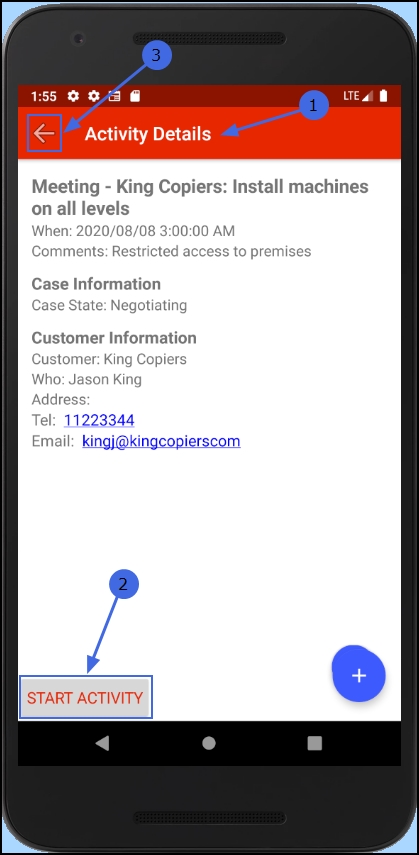
The Activity Details Screen
- The Activity Details screen will be displayed.
- Tap on the Start Travel button.
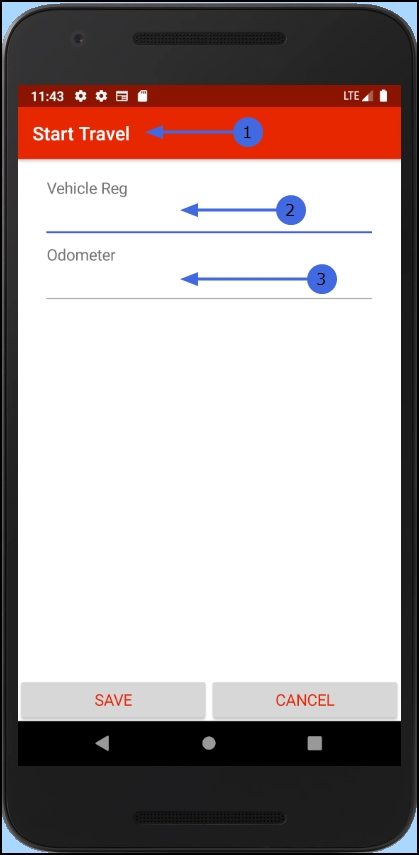
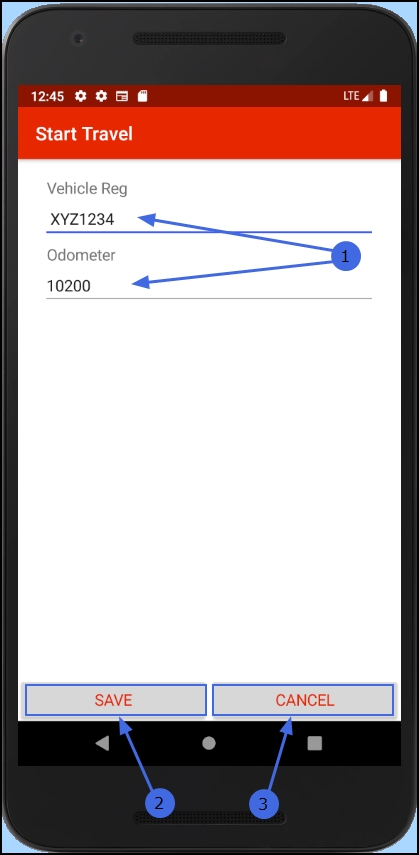
The Start Travel Screen
- The Start Travel screen will be displayed
- Note: As you tap in any editable text field, your device keyboard will pop up.
- Type in the vehicle registration number.
- Type in the current odometer reading.
Save the Start Travel Details
- When you have finished adding the start travel log, either
- Tap on Save to retain the information, or
- tap on Cancel to return to the Activity Details screen.
For the purpose of this manual, Save is selected.
- You will return to the Activity Details screen.
End Travel
- You will note that the Travel button has updated to End Travel.
- When you are ready to record the End Travel details click on this button

- The End Travel screen will be displayed.
- You will note that the Vehicle Reg number field and the Odometer field will be auto populated with the details entered in the Start Travel screen. This will ensure that you do not enter a different vehicle number by mistake and will remind you of the start travel reading, so that you are sure to enter a higher end travel reading.
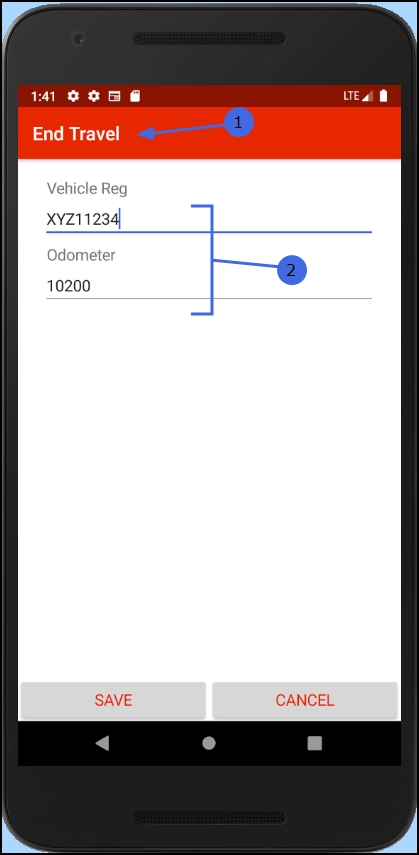
- When you have updated the Odometer reading.
- Tap on Save to keep the changes or
- tap on Cancel to return to the Activity Details screen.
For the purpose of this manual, Save is selected.

- You will return to the Activity Details screen.
- The Start Activity button will now be available in this screen.
- Tap on Back to return to the calendar in the Activities screen.
MNU.160.007