We are currently updating our site; thank you for your patience.
Contract
Short Term Contract - Add Contract
In order to create a Short Term Contract , you need to ensure that a Short Term Contract Type is configured on the system.
You will also need to configure the standard short term charges for Short Term Products.
Only internal assets can be linked to short term contracts.
The system auto creates the work order, the part request and auto issues the internal asset.
If a deposit is set at contract creation, the system auto creates the deposit invoice.
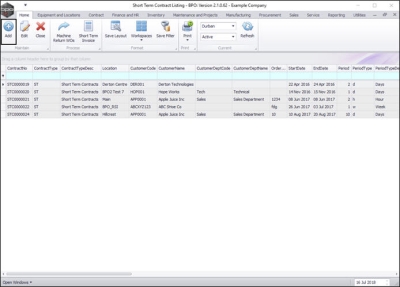
| Ribbon Access: Contract > Short Term Contracts |
The Short Term Contract Listing screen will be displayed.
- Click on Add.
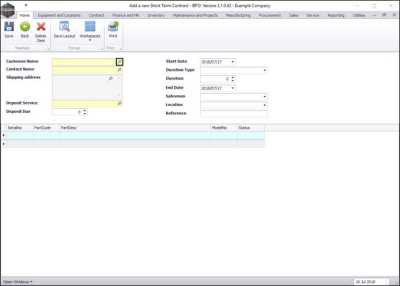
Add Customer Details
- Click on the search button in the Customer Name field.
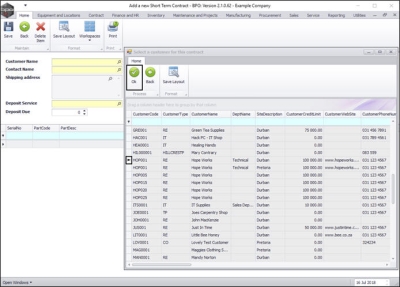
- The Select a customer for this contract pop up screen will appear.
- Select the row of the customer that you wish to create a short term contract for.
- Click on Ok.
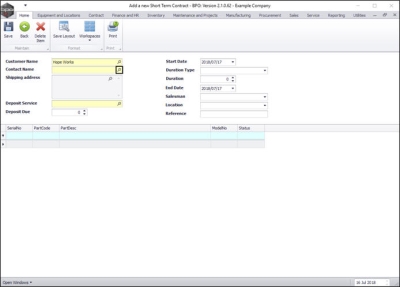
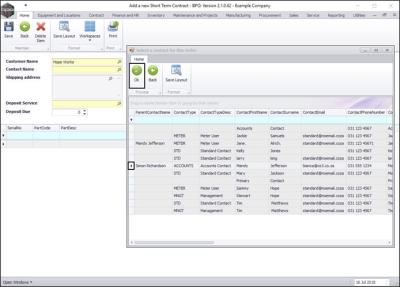
- Click on the search button in the Contact Name field.
- The Select a contact for this Order pop up screen will appear.
- Select the row of the contact that you wish to link to this short term contract.
- Click on Ok.
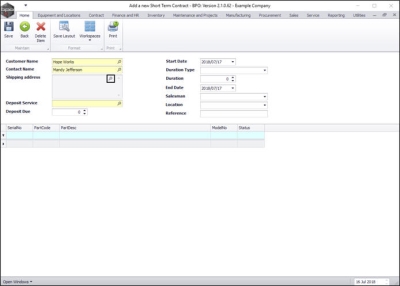
- Click on the search button in the Shipping address field.
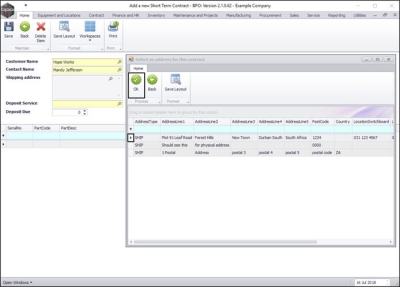
- The Select an address for this contract pop up screen will appear.
- Select the row of the address that you wish to link to this short term contract.
- Click on Ok.
Deposit Service and Deposit Due
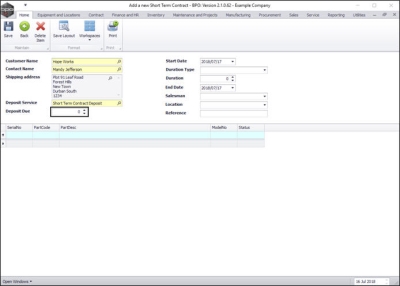
If a deposit is required, you need to ensure that it is logged at this point. In this step you will need to search for and select the Deposit Service as configured in Services.
If a deposit is not to be paid, continue this process at the contract details section.
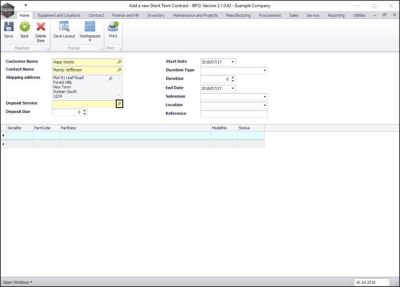
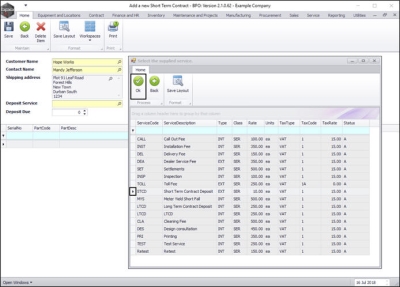
- Click on the search button in the Deposit Service field.
- The Select the supplied services pop up screen will appear.
- Select the row of the service that you wish to link to this short term contract.
- Click on Ok.
- In the Deposit Due field, either type in or use the arrow indicators to select the amount of deposit due.
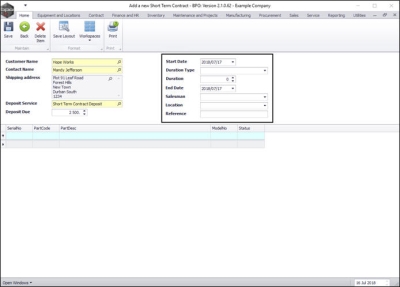
Contract Details
- Start Date: Either type in or click on the drop-down and use the calendar function to select the start date for this contract.
- Duration Type: Click on the drop-down arrow and select from the list the duration type for this short term contract (Hours, Day, Week).
- Duration: Either type in or use the arrow indicators to select the duration amount.
- End Date: This field will auto populate depending on the information entered in the Start Date, Duration Type and Duration fields. You can either type in or click on the drop-down and use the calendar function to select an alternative end date for this contract if required.
- Salesman: Click on the drop-down arrow and select from the list the salesman responsible for this short term contract
- Location: Click on the drop-down arrow and select from the list the location for this short term contract
- Reference: Type in a reference for this short term contract if required. This may be a customer reference.
Add a New Part (Item)
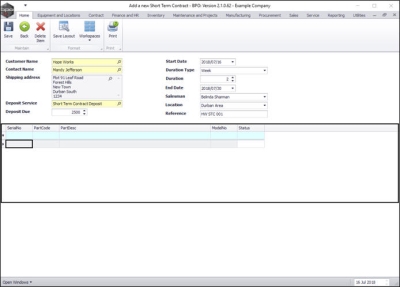
When you have finished adding details to the short term contract information frame, move down the screen to the Parts frame.
- Click in the Serial No field.
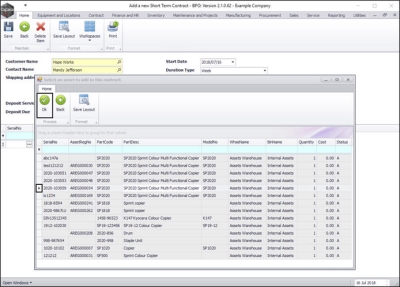
- The Select an asset to add to this contract pop up screen will appear.
- Click on the row selector in front of the asset that you wish to link to this short term contract.
Note: As explained in the introduction, only internal assets can be linked to a short term contract. In this image you can see in the Warehouse Name and Bin Name columns, that the system has only displayed the parts available in the Assets Warehouse and the Internal Assets bin.
- Click on Ok.
- The selected part details will now populate the Serial No, Part Code, Parts Description, Model No and Status fields.
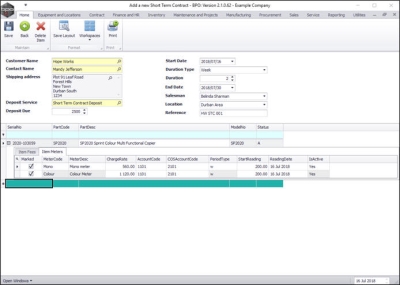
- A new row will be created for another part to be added to this frame if required.
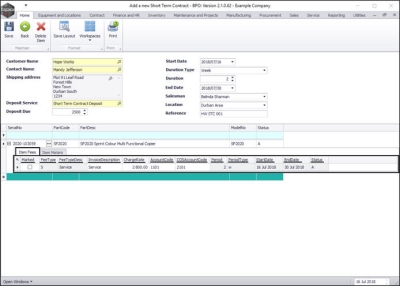
- Click on the expand icon in the row of the added part.
- The Item Fees and Item Meters frames will be expanded
Item Fees
- This columns in this frame will populate with the default charge(s) from the product configuration.
- Marked: Click on this check box if you wish to link this item fee.
Item Meters
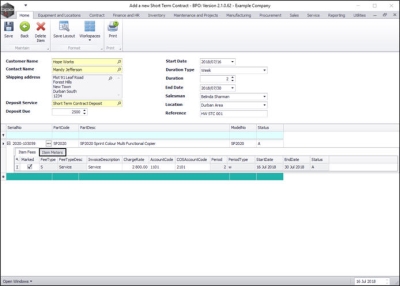
- Click on the Item Meters tab.
The Item Meters frame will be expanded.
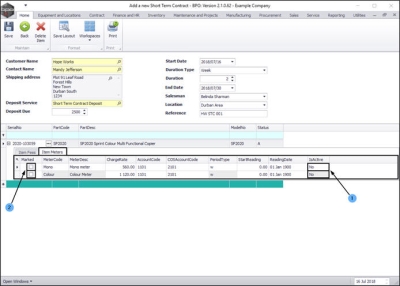
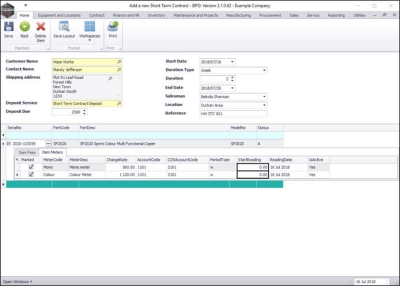
- You will note that the Is Active column initially states 'No'.
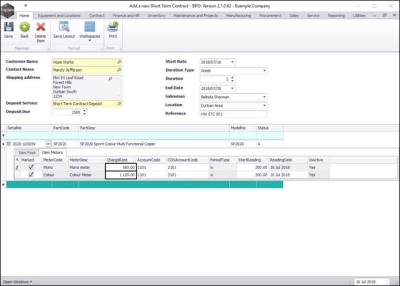
- Click on the Marked check box(es) in front of the meters(s) you wish to link to this short term contract.
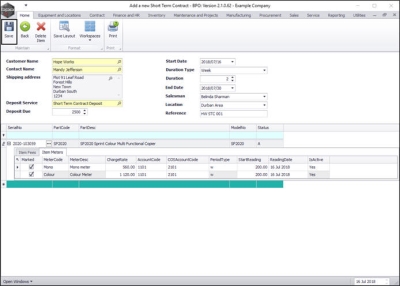
- In this image you can see that the Marked check boxes are now ticked and the Is Active fields now display 'Yes'.
- Now go to the Reading Date fields and either type in or click on the drop-down arrow and use the calendar function to select the date. (This reading should be taken on the date the contract starts - so that the contract invoice will be correct).
- Click in the Start Reading fields and either type in or use the directional arrows to select the correct meter reading amount. (This reading must be recorded - so that the contract invoice will be correct).
- Click in the Charge Rate fields and either type in or use the directional arrows to select an alternative charge rate if required.
Link Additional Items
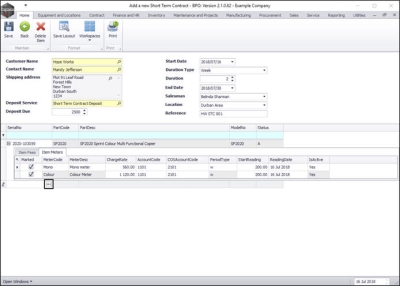
- If you wish to add additional items to this contract, click in the Serial No field in the new row of the Parts frame.
- An ellipsis button will be revealed. Follow the Add a New Part (Item) steps to complete this process.
Save Short Term Contract
- When you have finished adding the details and linking the parts to the short term contract, click on Save.
- The contract will be saved and you will return to the Short Term Contract Listing screen.
- Here you can view the new contract information.
- If you updated the Deposit Charge details, a Sales Deposit Invoice will be automatically created, which you can print.
MNU.158.002

