Inventory
Parts - Edit Part Definition Defaults
The information in the part definition Defaults panel may need to be edited.
For example, you may wish to change the part site warehouse selection or change the primary site warehouse.
Ribbon Select Inventory > Parts

- The Part Listing screen will be displayed.
- Select the row of the part definition where you wish to make changes to the part site Defaults information.
- Click on Edit.
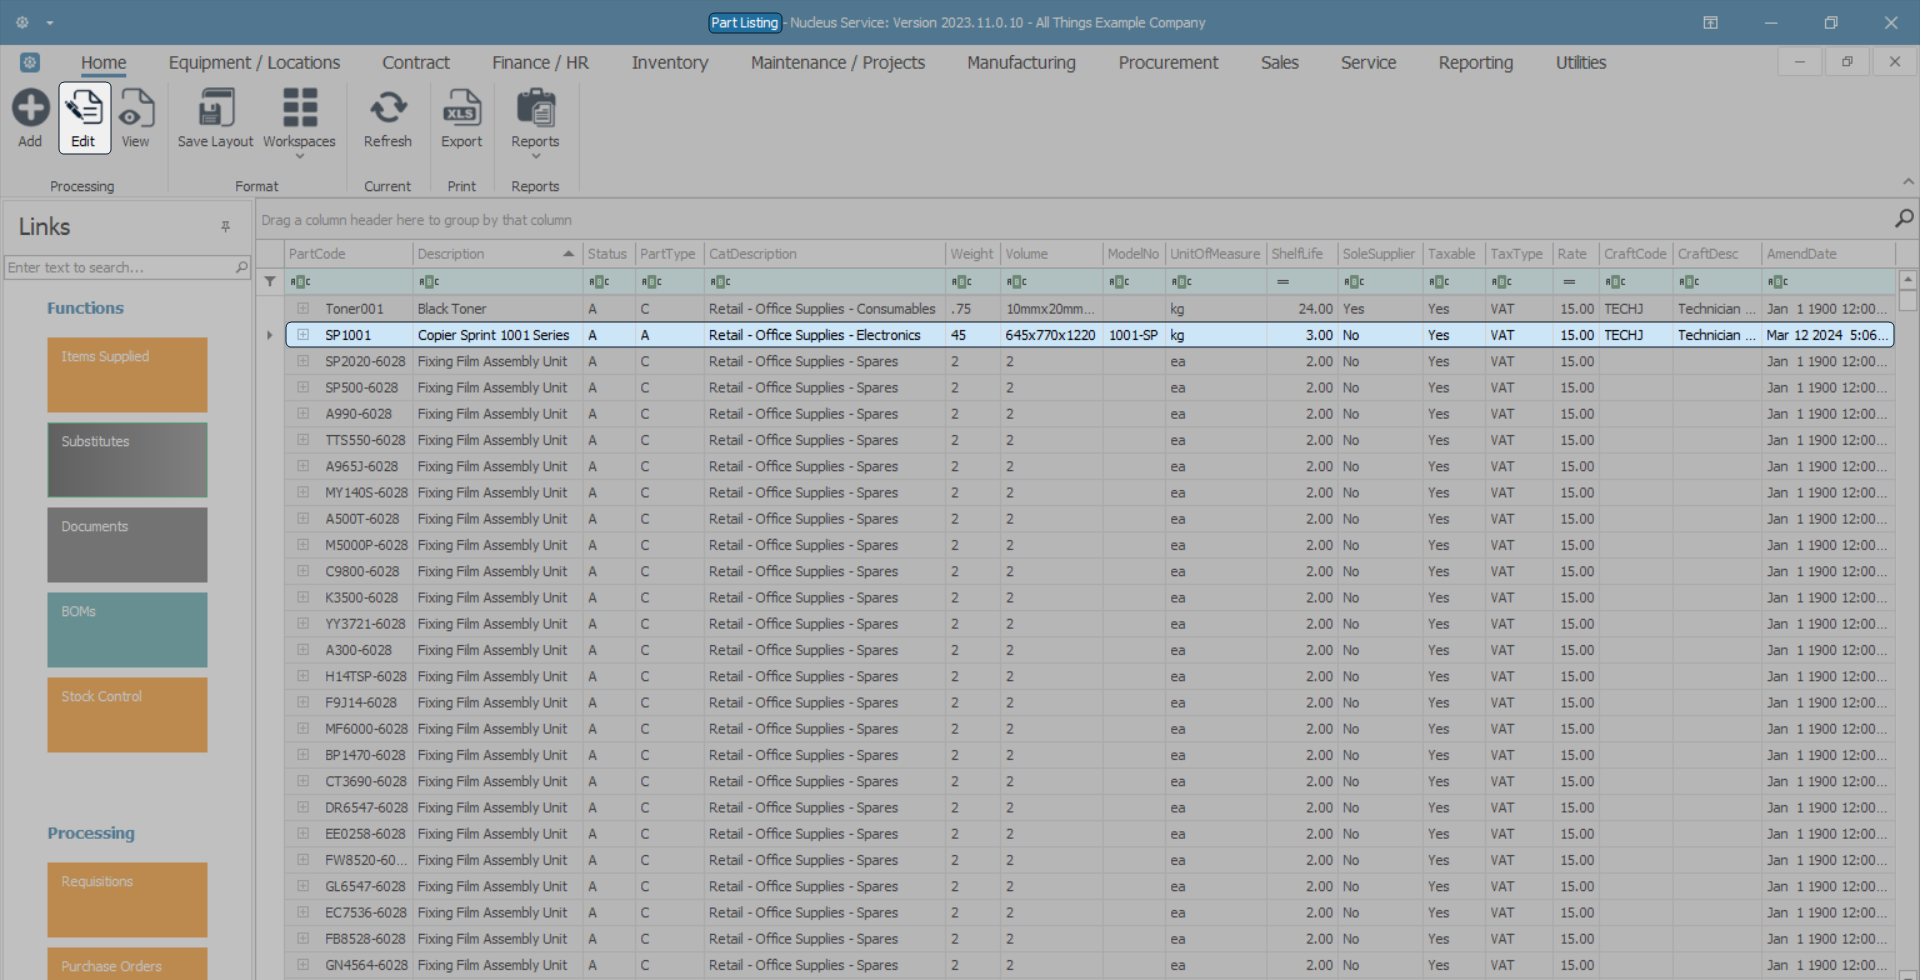
- The Edit Part - Code [ ] screen will display.
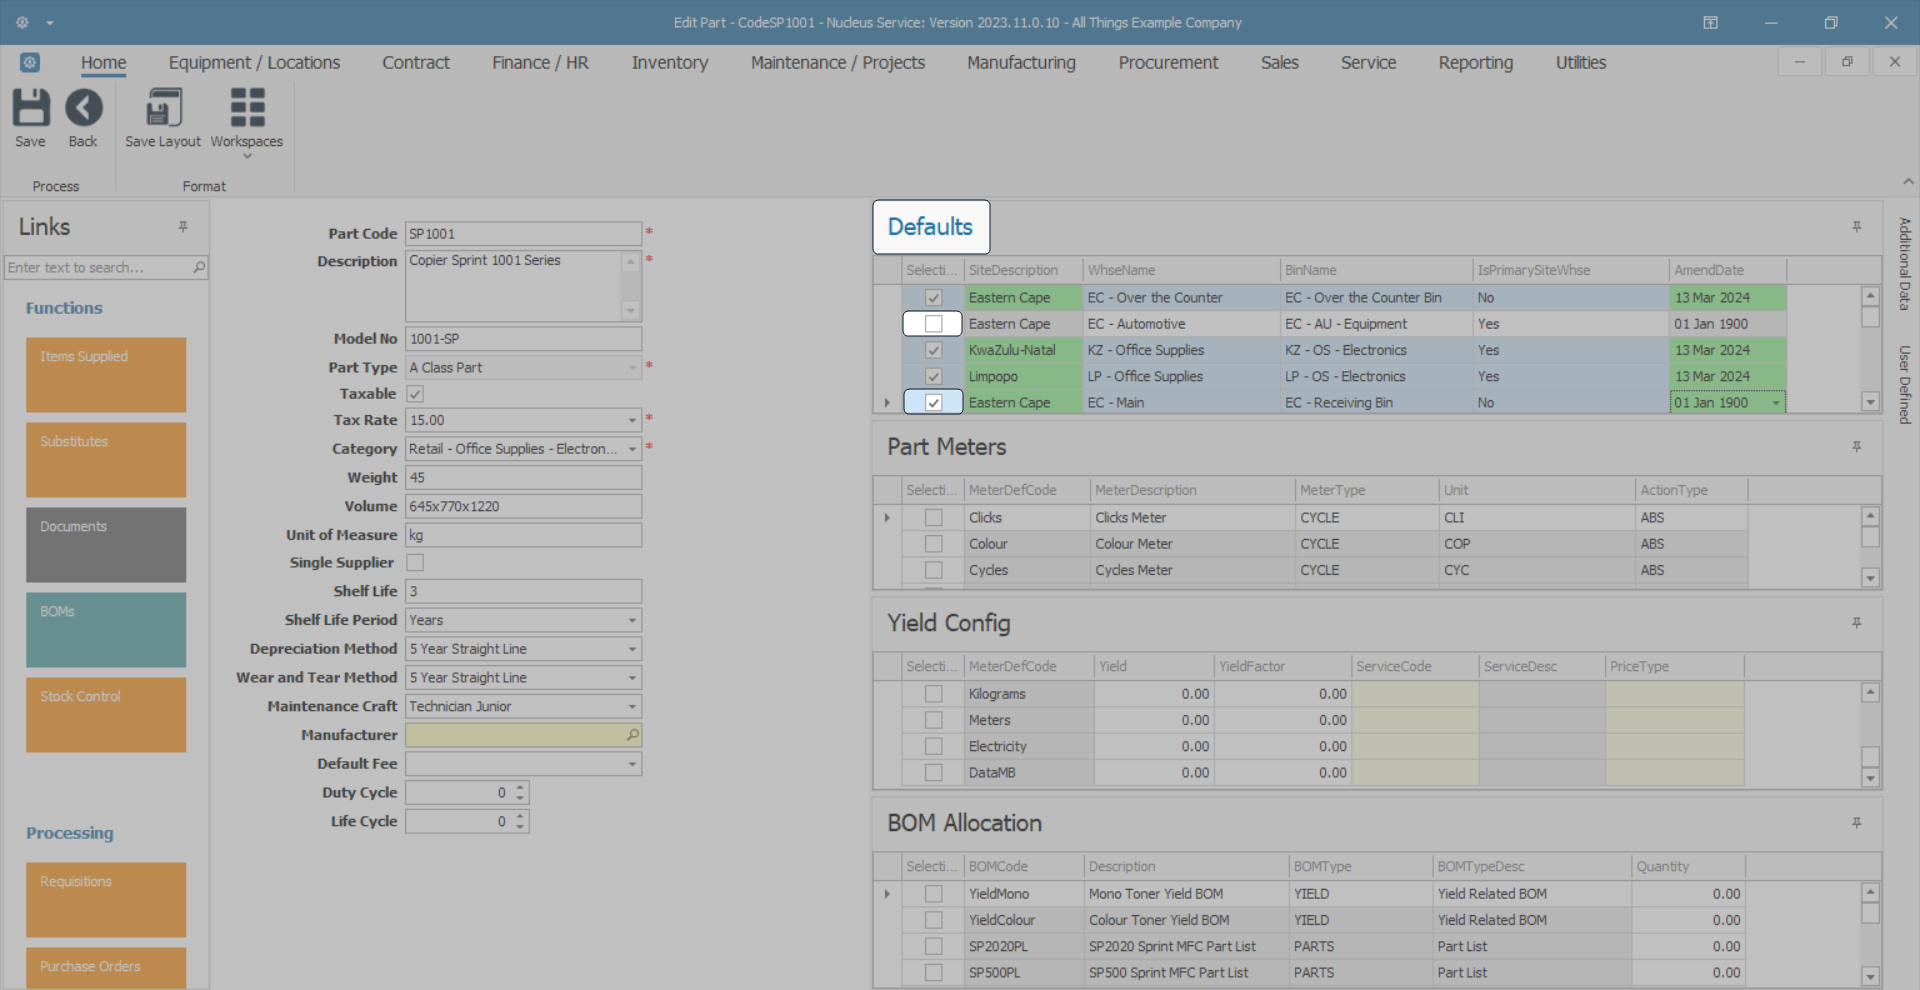
- Expand the Defaults panel if necessary to make it easier to work in.
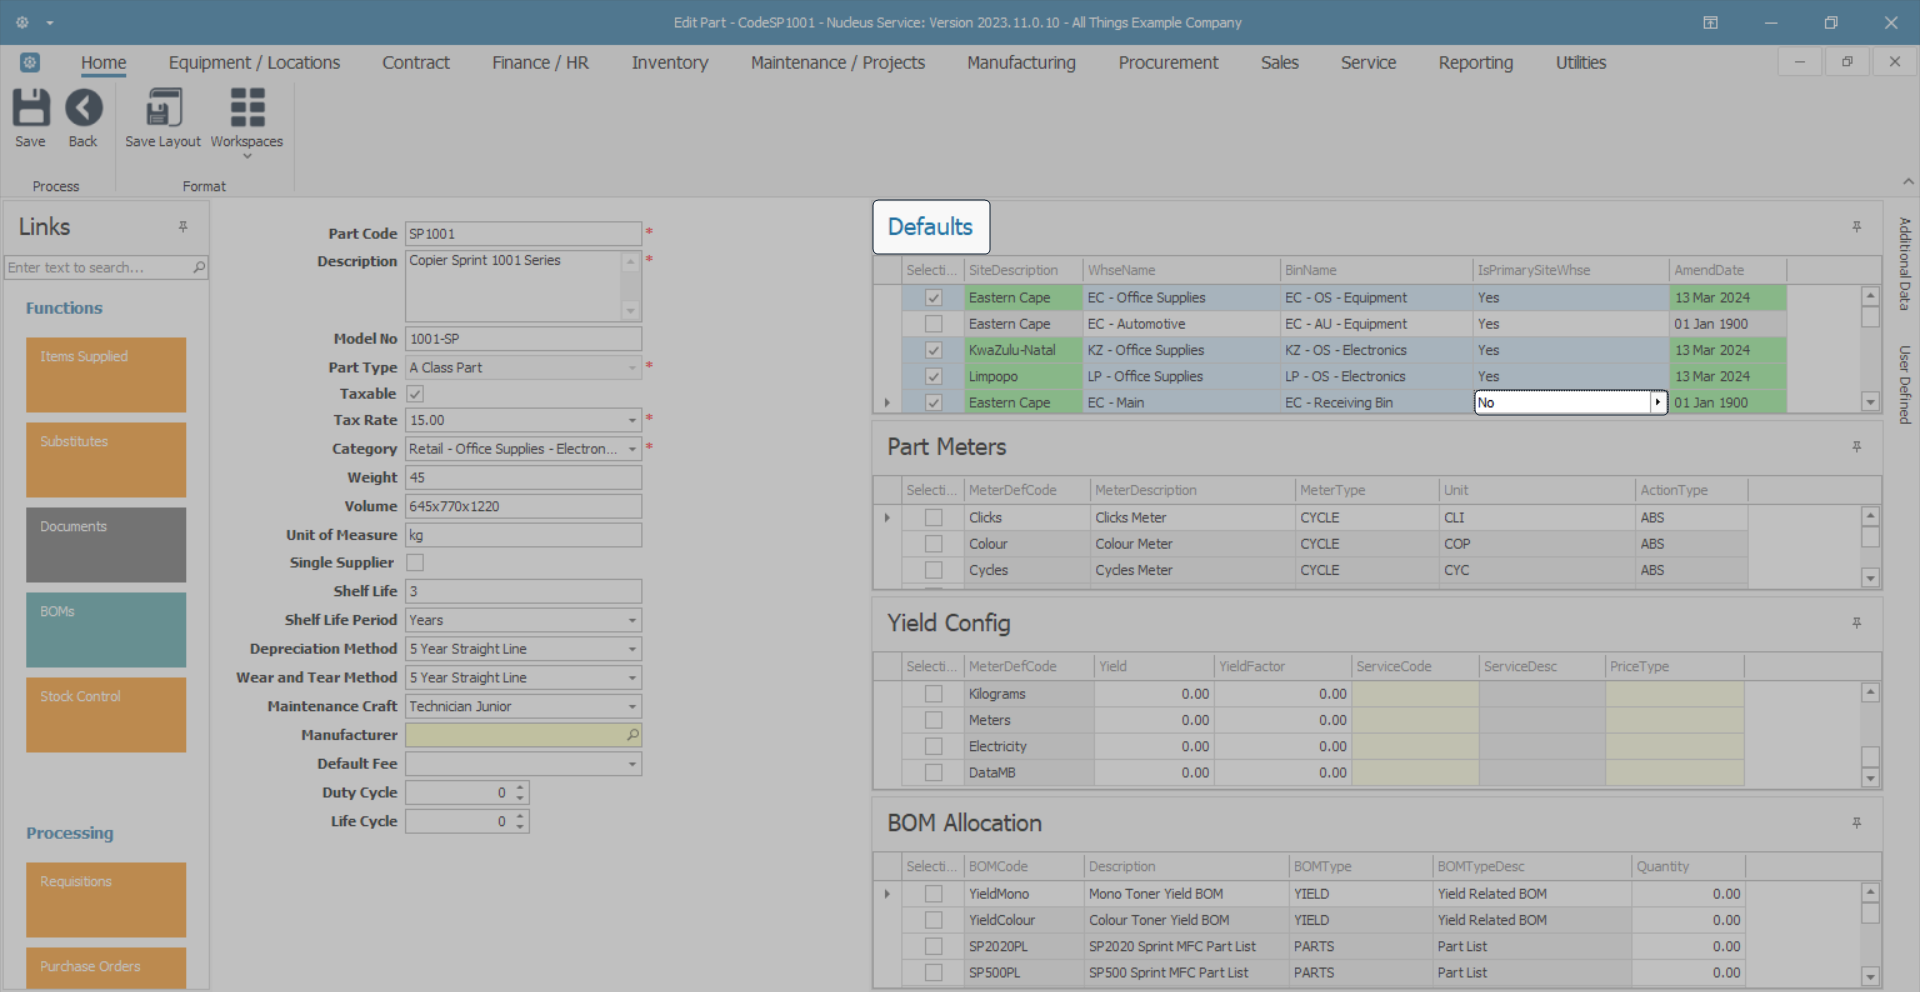
- Note that the site warehouses currently linked to the part definition are: Eastern Cape - Over the Counter Warehouse, Eastern Cape - Automotive Warehouse, Kwa-Zulu Natal - KZ - Office Supplies Warehouse, Limpopo - LP - Office Supplies Warehouse.

Edit Part Site Warehouse Selection
To edit a site warehouse(s) linked to the part definition, you will either wish to link a new site warehouse(s) or unlink a current site warehouse(s).
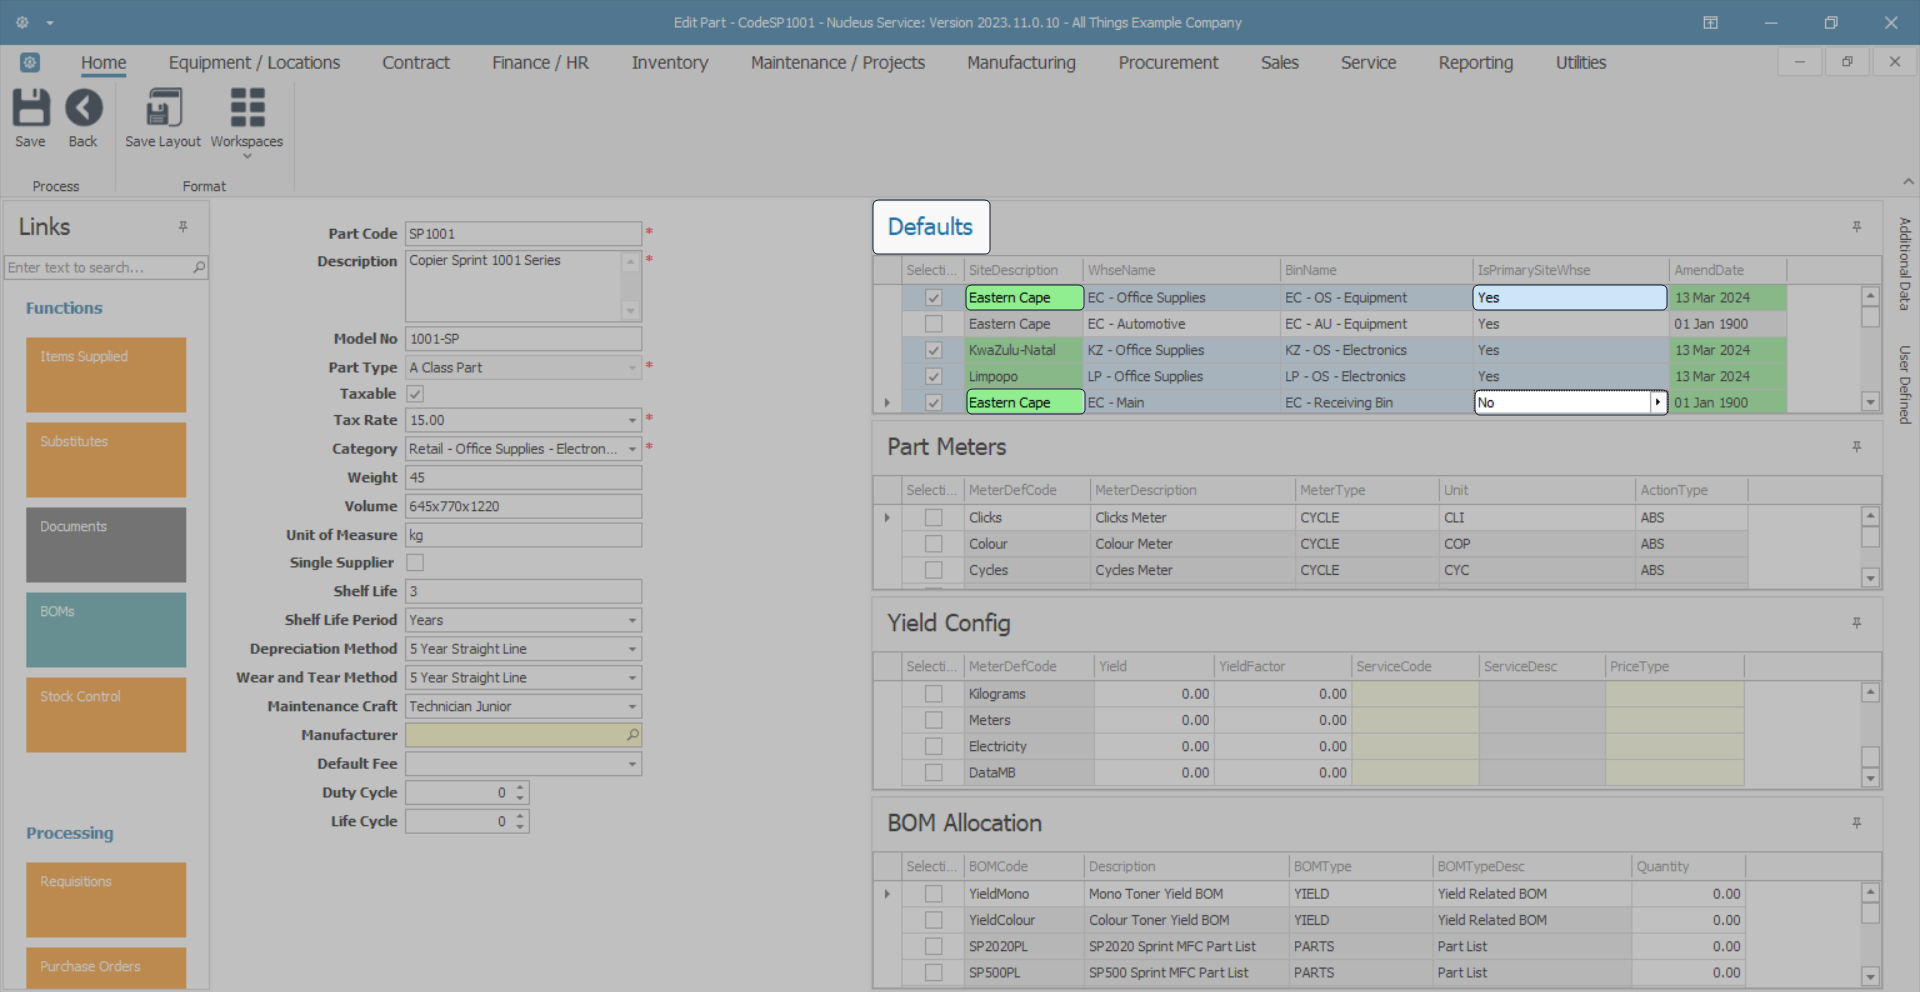
- To link a new site warehouse, ensure that you mark the Selection check box in the row of the site warehouse.
- To unlink a current site warehouse, ensure that you unmark the Selection check box in the row of the site warehouse.
- In this example, the Eastern Cape - Automotive Warehouse is being unlinked and the Eastern Cape - Main Warehouse is being linked.
Note: You will need to link a BinName to the newly linked site warehouse before you can Save your changes. See how to Add a Part Site Warehouse Bin or Edit a Part Site Warehouse Bin (below) for more information.
Edit Part Site Warehouse
To edit a Warehouse Name:
- Click in the WhseName field to reveal an ellipsis button.
- Click on this button to display the Select the default warehouse for this part pop up screen.
- Select the row of the alternative warehouse description in the data grid and click on OK.
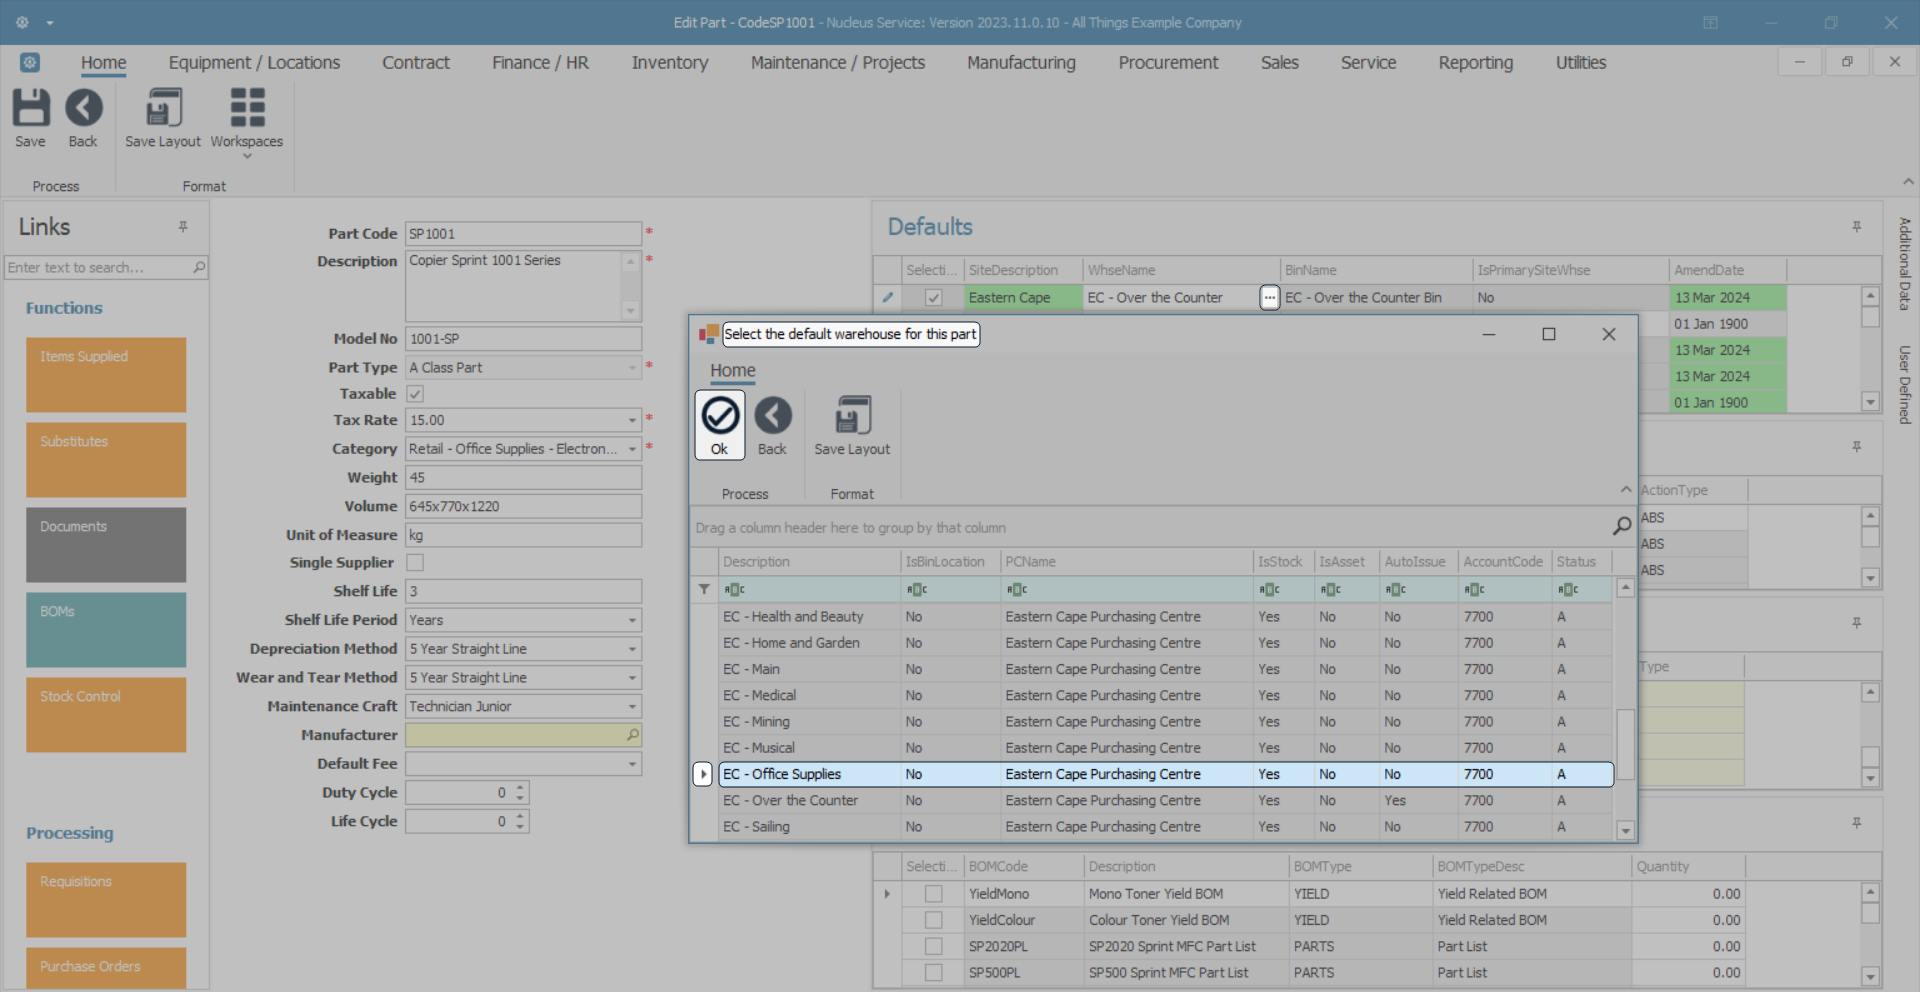
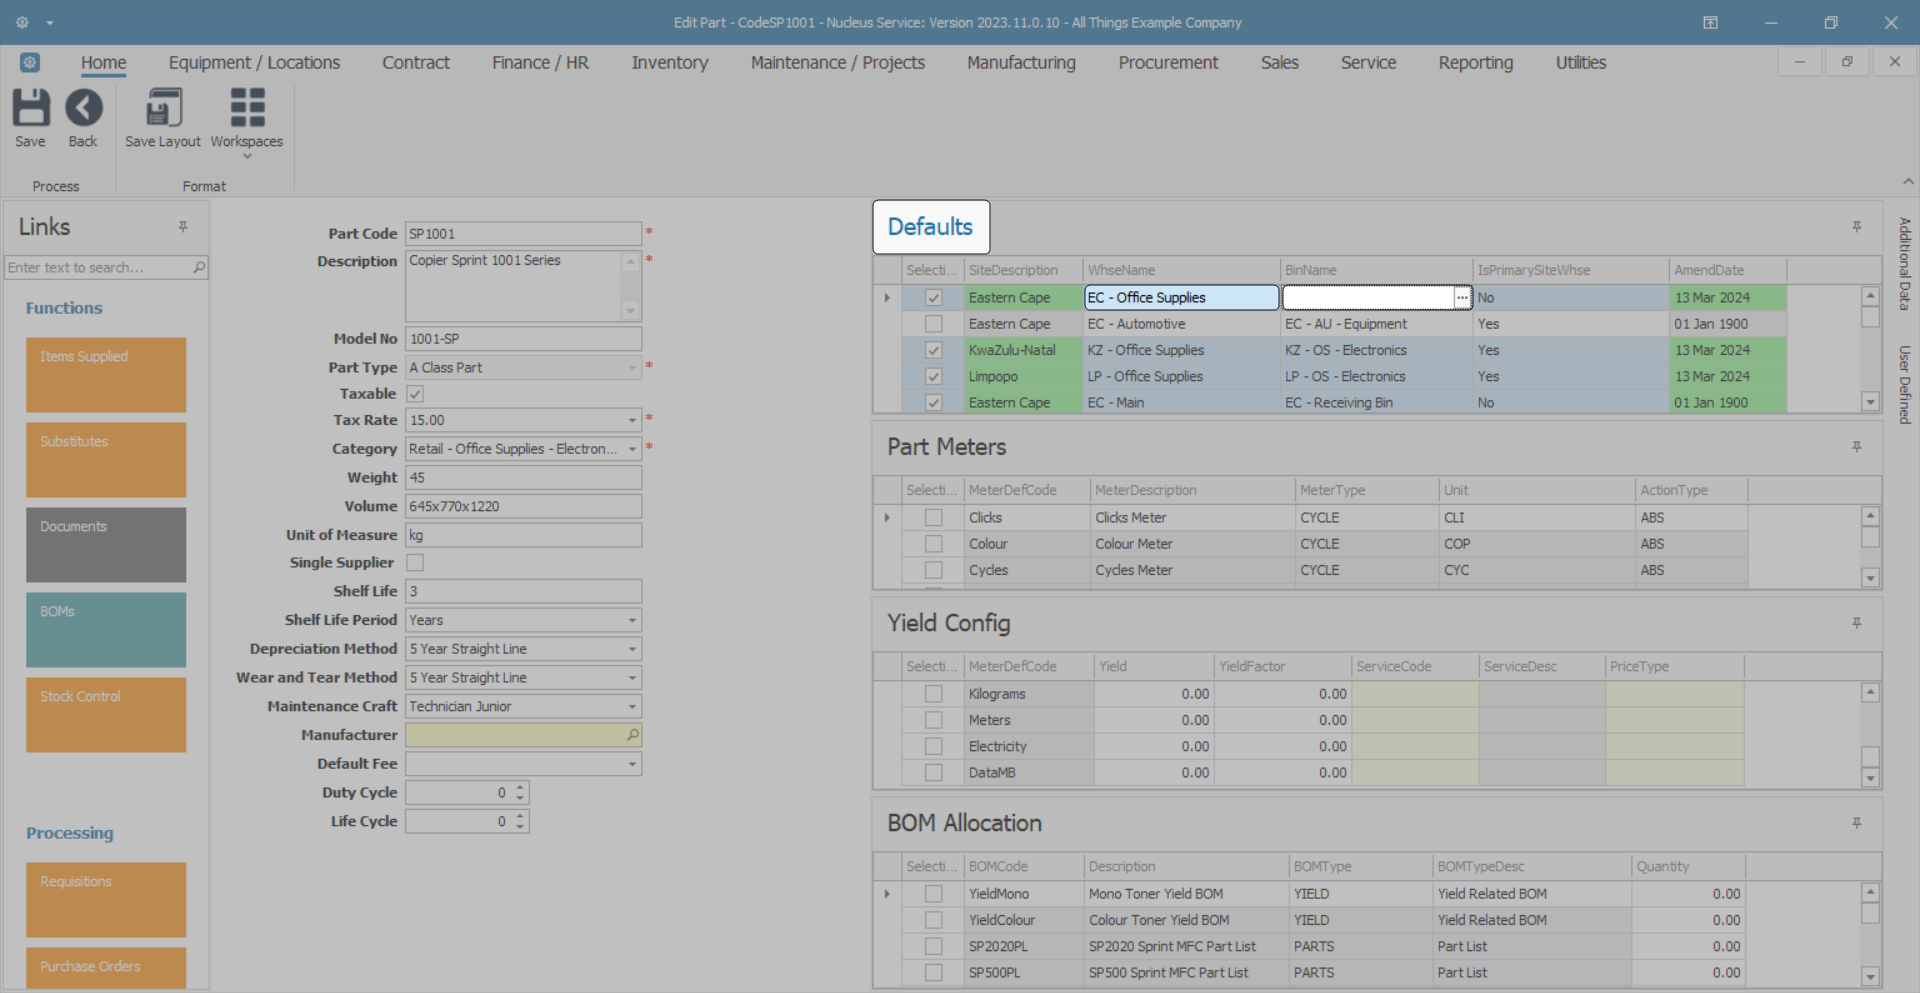
- The selected warehouse name will now populate the WhseName field.
- Note that the BinName field is now unpopulated. A bin specific to this warehouse will need to be selected before you can Save your changes.
Note: See how to Add a Part Site Warehouse Bin or Edit a Part Site Warehouse Bin (below) for more information.
Edit Part Site Warehouse Bin
To edit a Bin Name:
- Click in the BinName field to reveal an ellipsis button.
- Click on this button to display the Select the default Bin for this part warehouse combination pop up screen.
- Select the row of the alternative bin description in the data grid and click on OK.
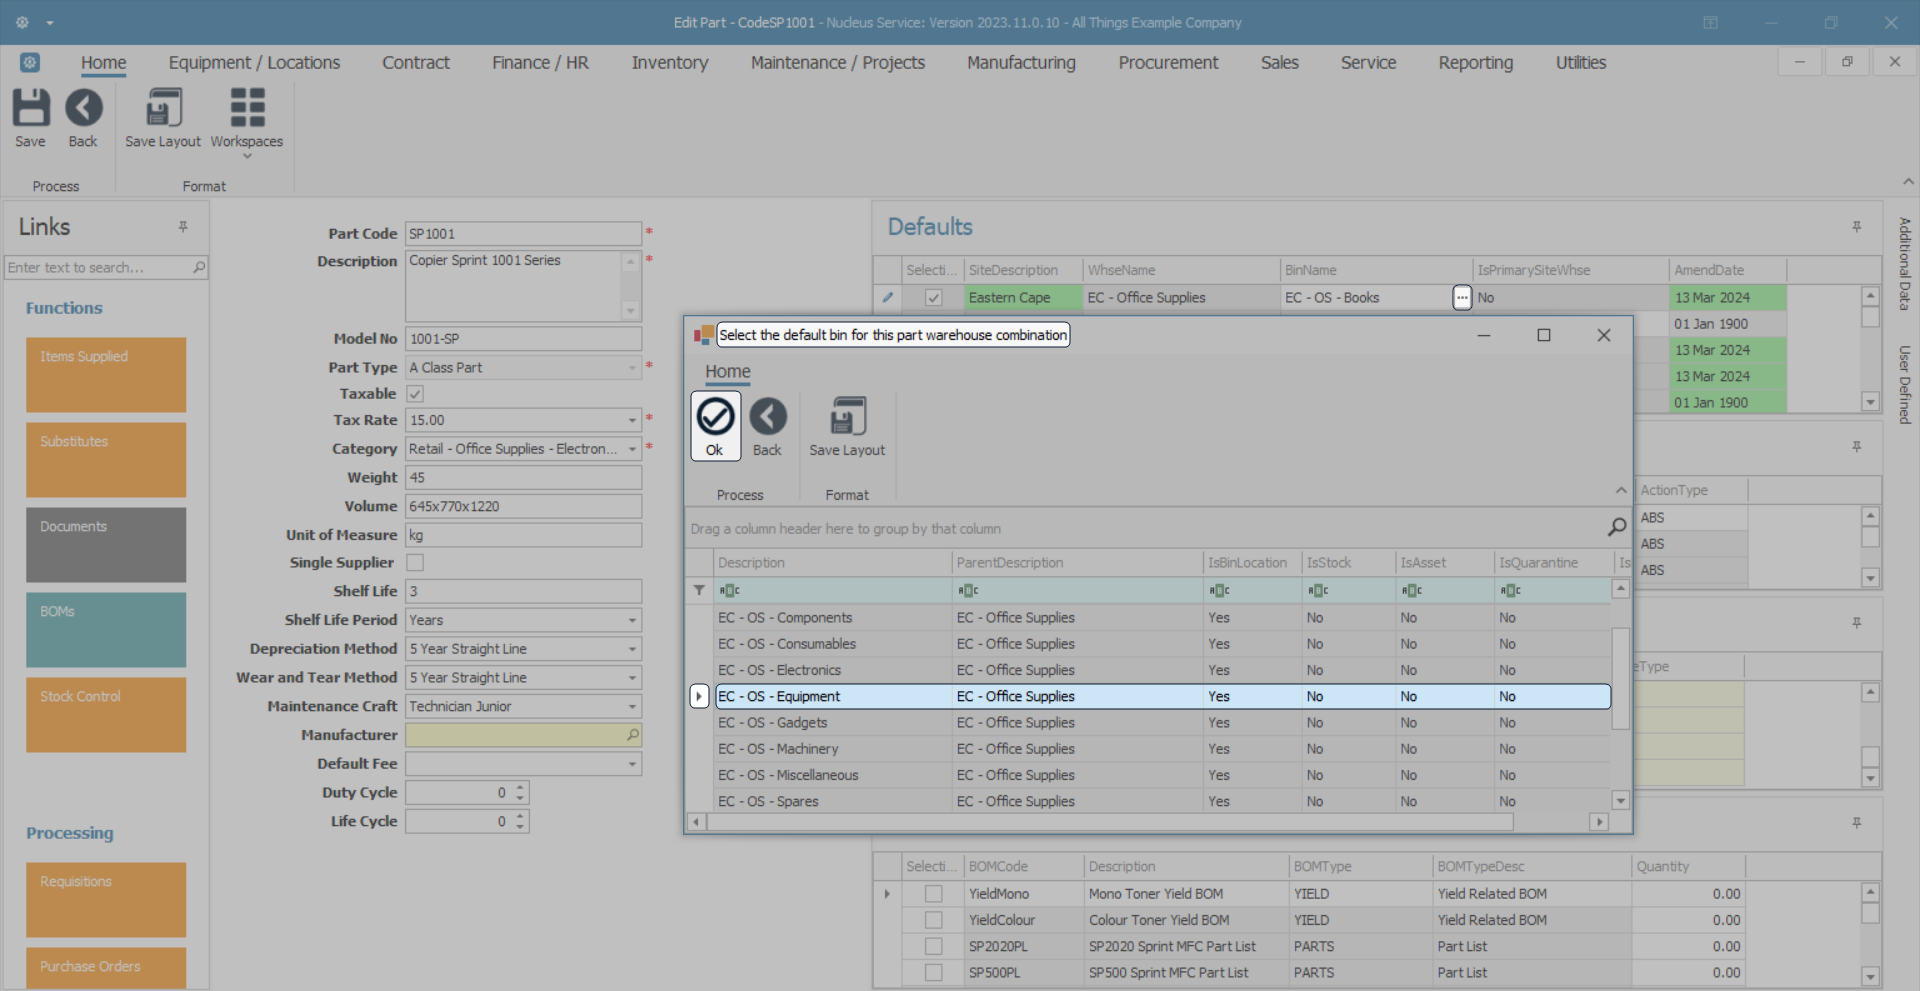
- The selected bin name will now populate the BinName field.
Edit Primary Part Site Warehouse
You may wish to change the primary site warehouse.
For example, one of the newly selected site warehouses may need to be linked as the primary one.
To edit the primary site warehouse:
- Ensure that you are in the row of the warehouse that you wish to make the primary default warehouse.
- Click in the IsPrimarySiteWhse field to reveal an arrow button.
Note: The IsPrimarySiteWhse field will be populated with "No" at this point.
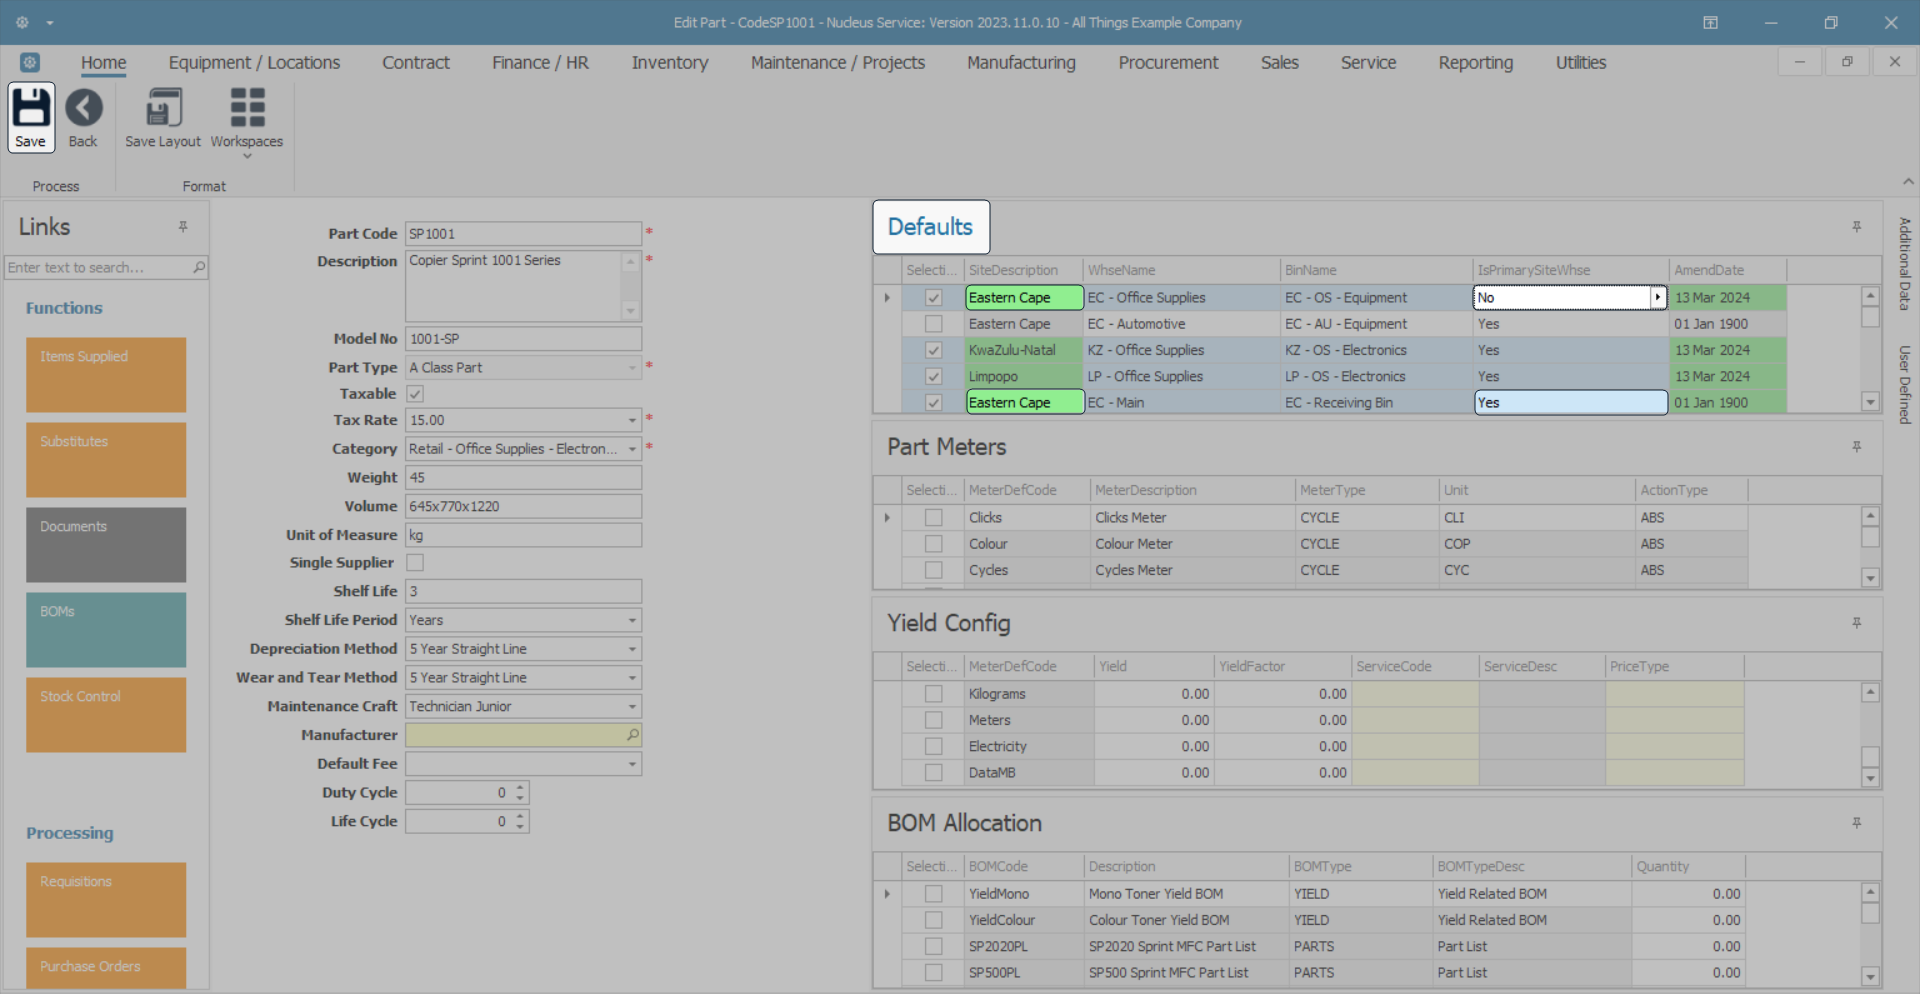
- Click on the arrow button to edit the text to "Yes".
- It is important to ensure that no other warehouses in the same site are selected as the primary site warehouse. The system will not allow you to save the changes if there is more than one IsPrimarySiteWhse field within the same site marked as "Yes".
- An Input Validation message will pop up stating:
- Only 1 primary default warehouse must be specified for each site. Please deselect one of the primary selections.
- Click on OK and go back and reselect the appropriate warehouses.
Note: You can select a primary warehouse per site e.g. the Kwa-Zulu Natal site and the Eastern Cape site can each have a primary default warehouse.

Save Changes
When you have finished editing the details in the part definition Defaults panel, click on Save.
Your changes will be saved and you will return to the Part Listing screen.
MNU.026.041