Inventory
Parts - Edit Part Definition User Defined
An Additional Data panel has been added to the Part Maintain screens: the Add new part screen and the Edit Part screen.
User defined fields in Nucleus Service enable the user to provide more information within a module so that work or associated processes can be carried out more efficiently.
These custom fields benefit the user in the following ways:
- They cut down the transition time between screens.
- They reduce the amount of screens open in order to find information.
In essence these fields serve as a shortcut, so that users do not have to leave the listing or maintain fields affected.
At present, these fields in the Inventory - Parts module can be used to add extra information relevant to the selected part definition.
The added fields will reflect in the User Defined panel in the Add new Part screen and the Edit Part screen across all part definitions on the system, but the Variable Values selected for each User Defined field will be unique to the selected part definition.
This topic will expand on how to edit the User Defined custom fields for a selected part definition.
Not all custom fields can be edited in the same way, it depends on what Input Type they have been set up with.
![]() Note: It will be useful to familiarise yourself with the Add Part Definition User Defined topic before progressing with this manual.
Note: It will be useful to familiarise yourself with the Add Part Definition User Defined topic before progressing with this manual.
Ribbon Select Inventory > Parts
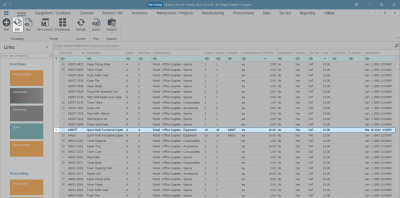
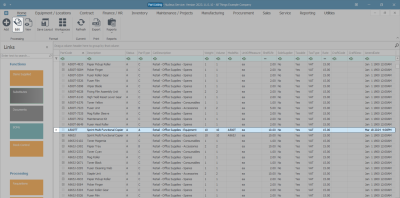
- The Part Listing screen will open.
Select Part Definition
- The data grid will display a list of all the part definitions currently on the system.
- Select the row of the part definition where you wish to edit the User Defined custom fields.
- Click on Edit.
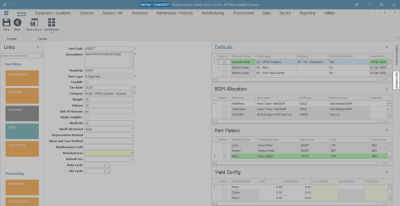
- The Edit Part - [ ] screen will open.
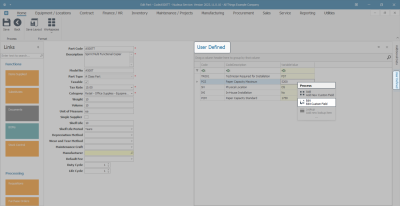
- If the User Defined panel is not already extended, click on the tab.
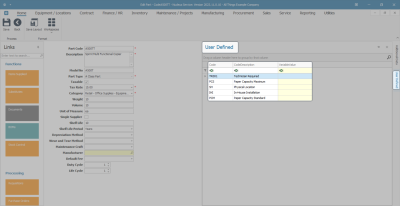
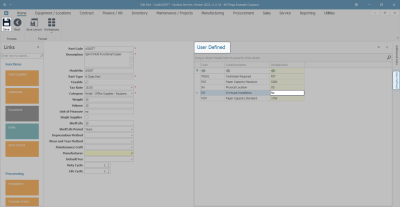
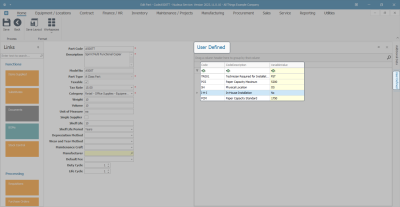
- The User Defined panel will open.
- In this example, there are custom fields already set up in the system.
- The Code and Code Description fields will reflect across all part definitions.
- The data entered or added to the Variable Value field is unique to the selected part definition and will not reflect in any other part or other module User Defined fields.
![]() Note: The content of these fields can be populated according to individual company requirements. The examples given here are pertinent to the system being demonstrated and are not universal.
Note: The content of these fields can be populated according to individual company requirements. The examples given here are pertinent to the system being demonstrated and are not universal.
Although the data selected or entered into the Variable Value field is unique to the selected part definition, the Input Type set up in the Variable Value field will reflect across all part definitions.
The capacity to edit the Variable Value field will then depend on the Input Type set up:
Edit Variable Values
Lookup List
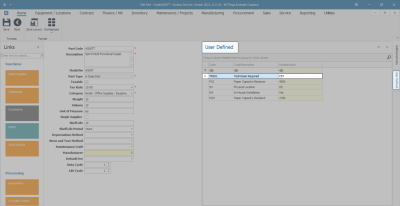
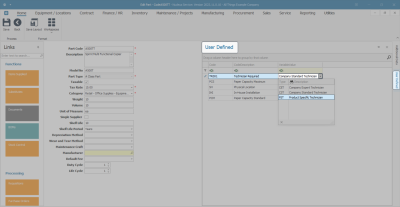
- In this example, the TR001 - Technician Required User Defined field has a Lookup list as the Input Type.
- Currently, the Variable Value is CST.
- Click in the Variable Value field.
- A drop-down arrow and list will appear - this is a Lookup List Input Type.
- Select the row of the alternative Type you wish to link to this custom field.
- In this example, PST - Product Specific Technician is selected.
- The edited selection will populate the Variable Value field.
Free Input Text
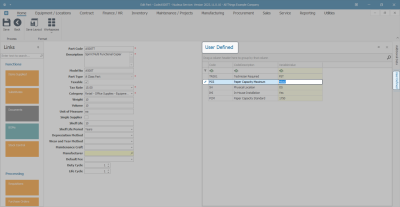
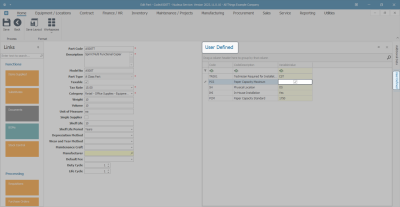
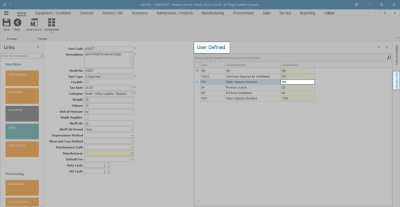
- In the next example, the PCM - Paper Capacity Max User Defined field has Free Input Text as the Input Type.
- Currently, the Variable Value is 4500.
- Click in the Variable Value field and either modify the original text or delete and add new text, as required to make the correct changes.
- The edited text will populate the Variable Value field.
Yes or No Value
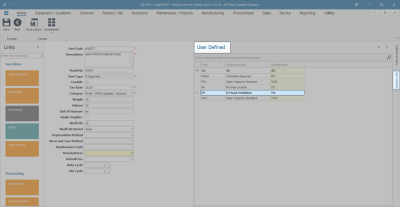
- In the next example, the IHI - In-House Installation User Defined field has Yes or No value as the Input Type.
- Currently, the Variable Value is Yes.
- Click in the Variable Value field.
- The "Yes" text will be replaced with a check box that is unselected.
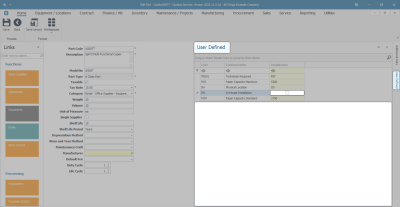
- Click anywhere in the panel, outside of the Variable Value field.
- 'No' will now populate the Variable Value field.
- When you have finished editing the Variable Values of the User Defined fields, click on Save.
- Your changes will be saved and you will return to the Part Listing screen.
- The edited part definition will be selected in the data grid.
Edit Custom Fields
Follow the processes set out below to edit the custom fields.
- Select the part definition where you wish to make changes to a custom field and click on Edit.
Lookup List
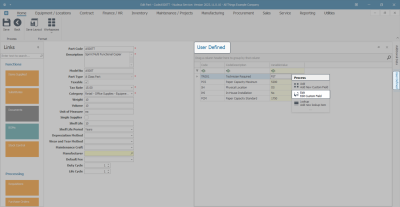
- Right-click in the row of the custom field where you wish to make changes.
- Ensure that you have selected a custom field that has Input Type: Lookup List.
- A Process menu will pop up.
- Click on Edit - Edit Custom Field.
- The Add new custom element screen will open.
- Even though the screen title is Add new custom element, you can edit the Description field from here.
Edit Code
- This field is greyed out, it is not possible to edit the Code from this screen.
Edit Description
- Click in this field and either add new text or remove text from the Description, as required.
Edit Input Type
- This field is greyed out, it is not possible to edit the Input Type: Lookup List from this screen.
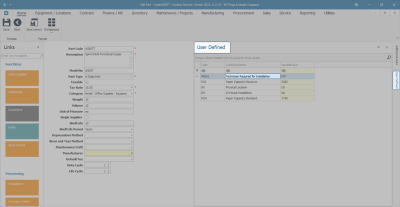
- In this example, the Description has been edited to include the text: "for Installation".
- When you have made the required changes, click on Save.
- You will return to the Edit Part screen.
- The Code Description has been updated in the User Defined panel.
Reminder: These custom elements are available to all part definitions in the Add new part and Edit Part screens. This update will reflect across all part definitions.
Free Input Text
- Right-click in the row of the custom field where you wish to make changes.
- Ensure that you have selected a custom field that has Input Type: Free Input Text.
- A Process menu will pop up.
- Click on Edit - Edit Custom Field.
- The Add new custom element screen will open.
- Even though the screen title is Add new custom element, you can edit the details from here.
Edit Code
- Click in this field and either add new text or remove text from the Code, as required.
Edit Description
- Click in this field and either add new text or remove text from the Description, as required.
Edit Input Type
In this exercise, the Input Type will be edited as an example.
Reminder: This update will reflect across all part definitions.
- Click on the drop-down arrow in this field
- The Input Type menu will display.
- Select the alternative Type you wish to link to this custom field.
- The selected Type will populate the Input Type field.
- Click on Save.
- You will return to the Edit Part screen.
- You may need to click in the Variable Value field to 'refresh' the panel and display the changes.
- In this example, the field has updated to a check box, inherent of the Yes or No value Input Type.
- Click away from the Variable Value field to prompt the system to display the Yes or No value in text form.
Note: This Input Type is not applicable to the linked custom fields but is for demonstration purposes only to show how the Input Type can be edited.
Yes or No Value
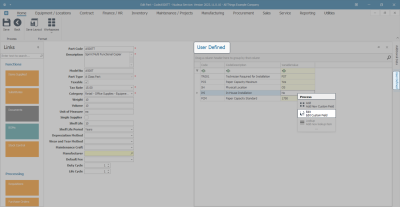
- Right-click in the row of the custom field where you wish to make changes.
- Ensure that you have selected a custom field that has Input Type: Yes or No value.
- A Process menu will pop up.
- Click on Edit - Edit Custom Field.
- The Add new custom element screen will open.
- Even though the screen title is Add new custom element, you can edit the details from here.
Edit Code
- Click in this field and either add new text or remove text from the Code, as required.
Edit Description
- Click in this field and either add new text or remove text from the Description, as required.
Edit Input Type
- You can click on the drop-down arrow in this field and select an alternative Input Type if required.
- In this example, the Code has been edited to: "I-H-I".
- When you have made the required changes, click on Save.
- Your changes will be saved and you will return to the Edit Part screen.
- If the User Defined panel is not already extended, click on the tab. to view the above edits.
Conclusion
Where the custom field Input Type is Lookup List, it is only possible to edit the Code Description of the custom field.
Where the custom field Input Type is either Free Input Text or Yes or No value, it is possible to edit the Code, Description and Input Type of the custom field.
MNU.026.046

