Inventory
Parts - Add Part Definition User Defined
A User Defined panel has been added to the Part Maintain screens: the Add new part screen and the Edit Part screen.
User defined fields in Nucleus Service enable the user to provide more information within a module so that work or associated processes can be carried out more efficiently.
These custom fields benefit the user in the following ways:
- They cut down the transition time between screens.
- They reduce the amount of screens open in order to find information.
In essence these fields serve as a shortcut, so that users do not have to leave the listing or maintain fields affected.
At present, these fields in the Inventory - Parts module can be used to add extra information relevant to the selected part definition.
The added fields will reflect in the User Defined panel in the Add new Part screen and the Edit Part screen across all part definitions on the system, but the Variable Values selected for each User Defined field will be unique to the selected part definition.
Follow the process below to add User Defined custom fields to a part definition.
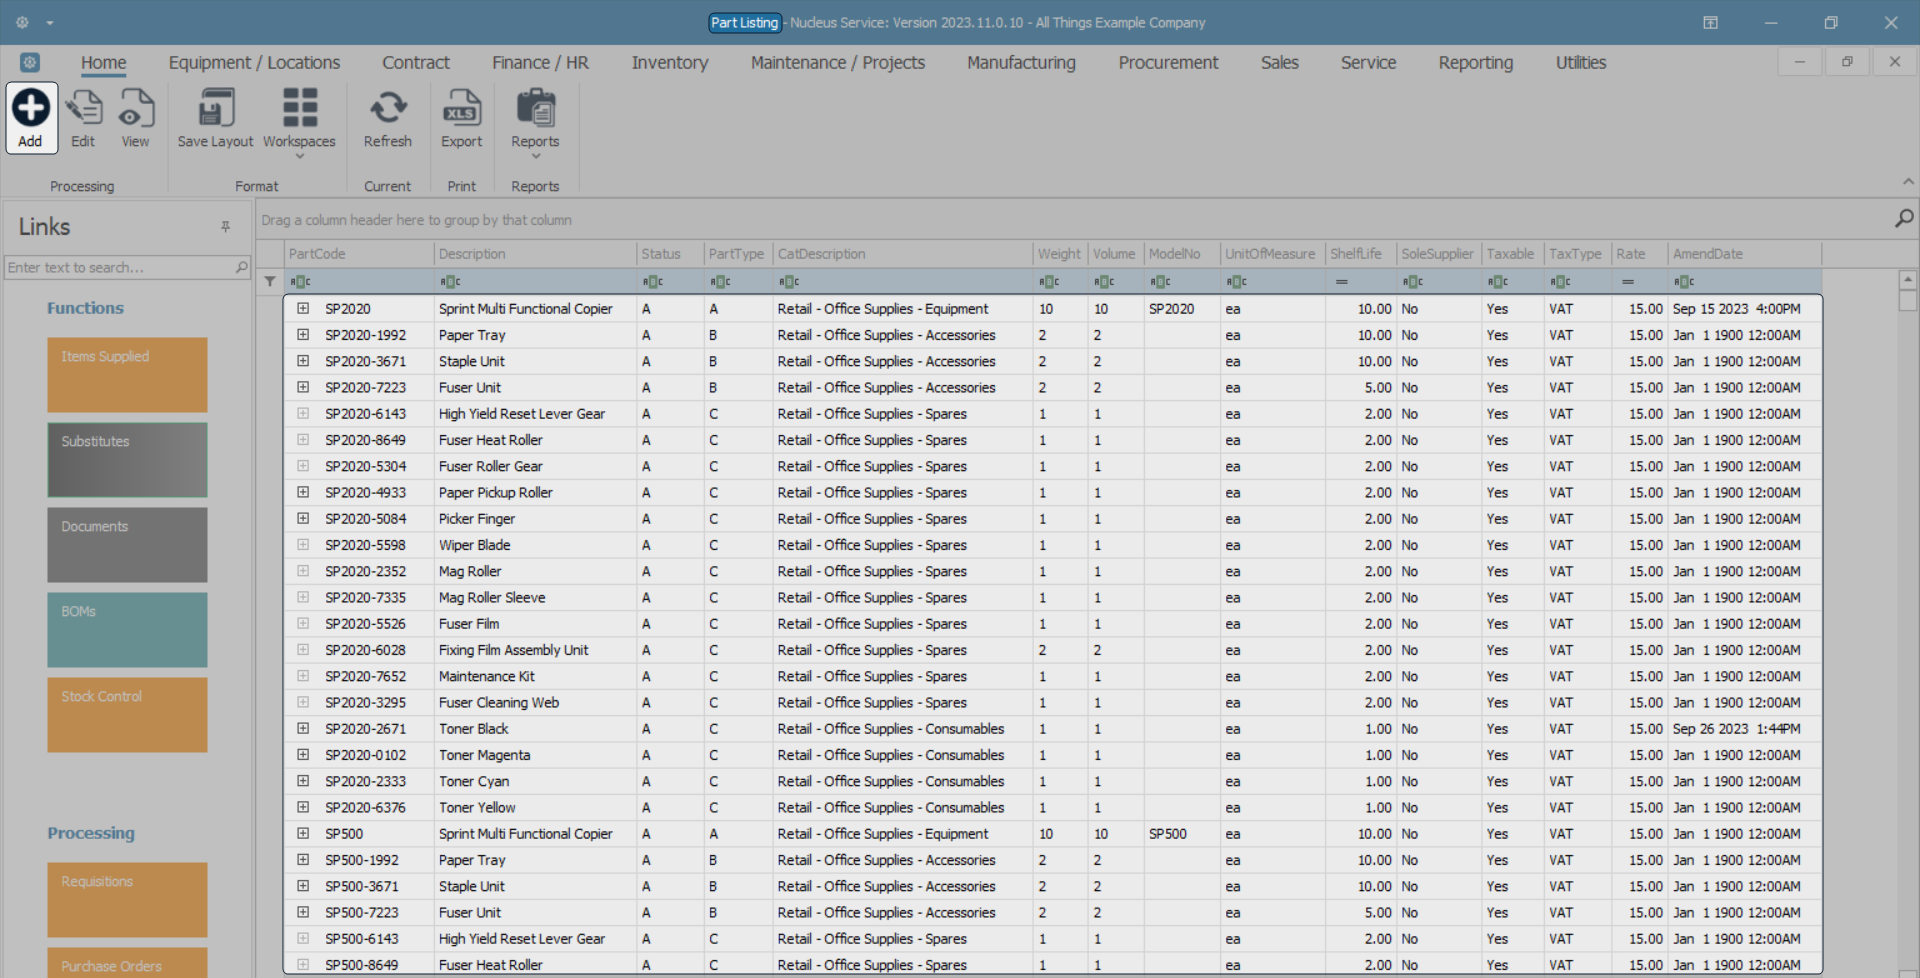
Ribbon Select Inventory > Parts

- The Part Listing screen will open.
- The data grid will display a list of all the part definitions currently on the system.
- Click on Add.
- The Add new Part screen will open.
- Once the following information has been added to this screen:
- Part Definition Details
- Part Definition Defaults
- Part Definition BOM Allocation (if applicable)
- Part Definition Part Meters (if applicable)
- Part Definition Yield Config (if applicable)
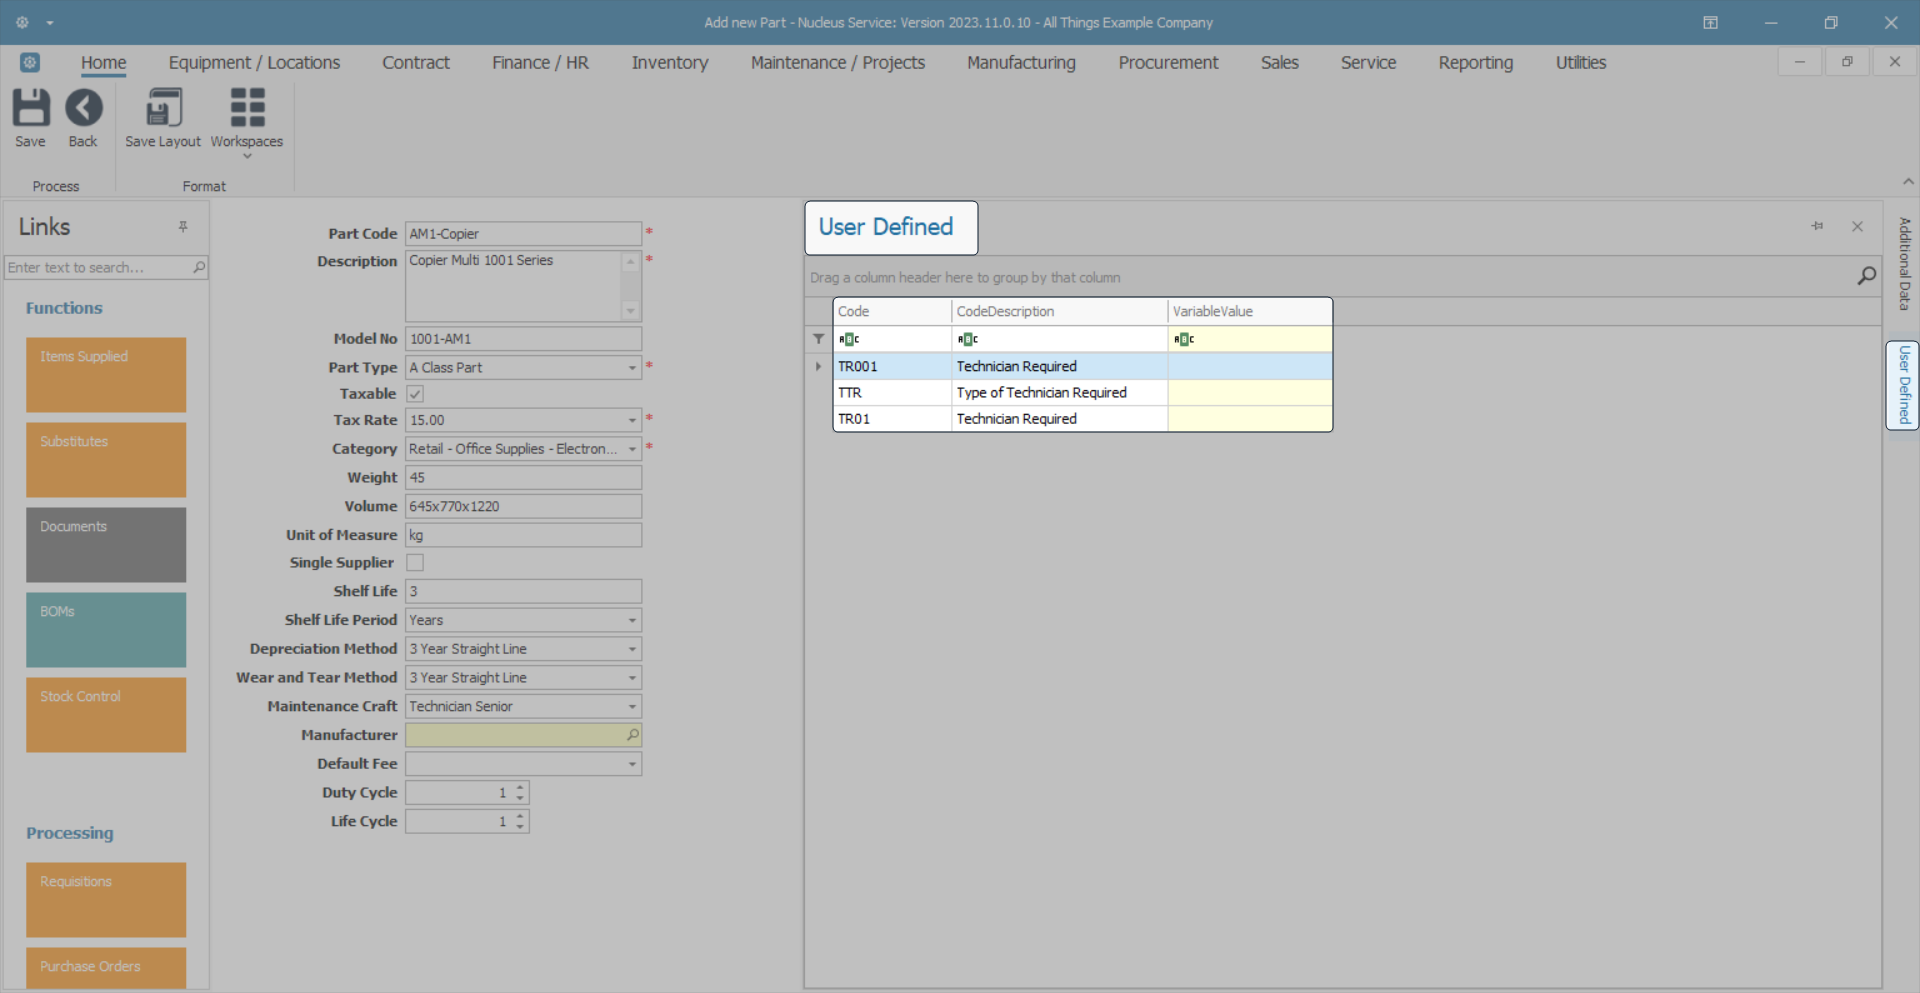
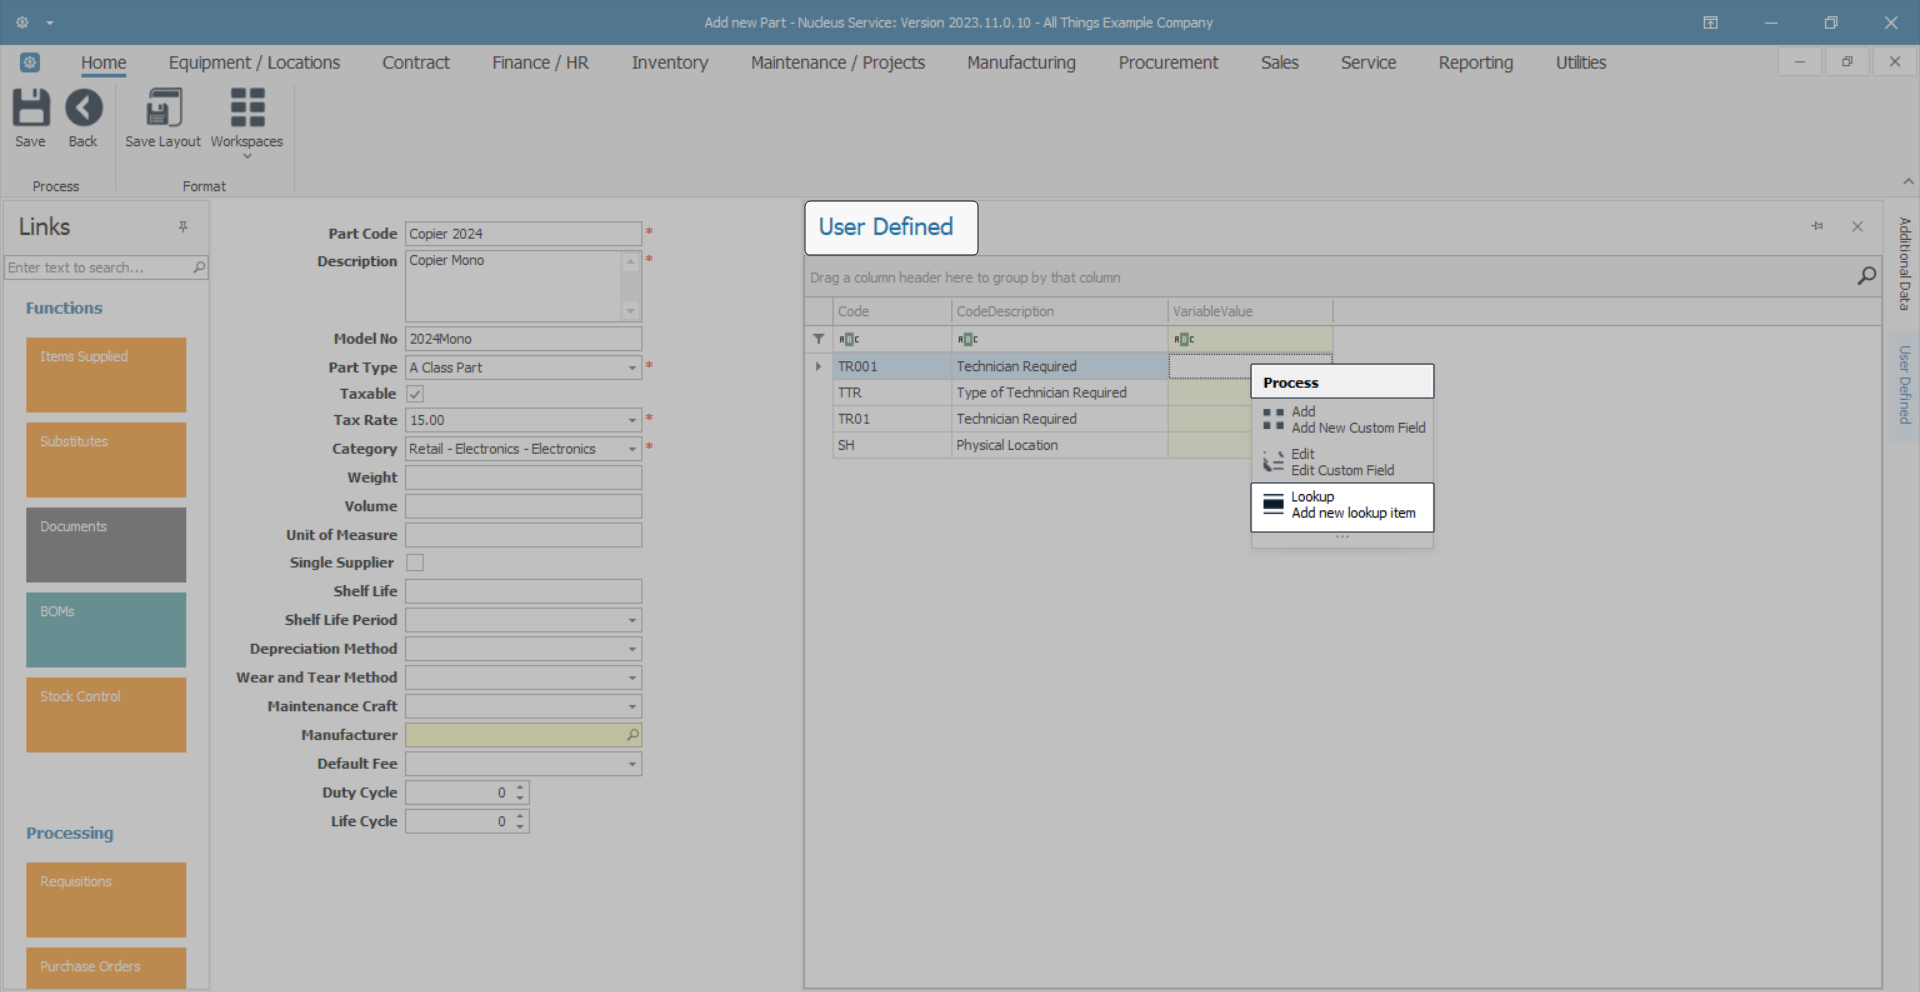
- Click on the User Defined tab.
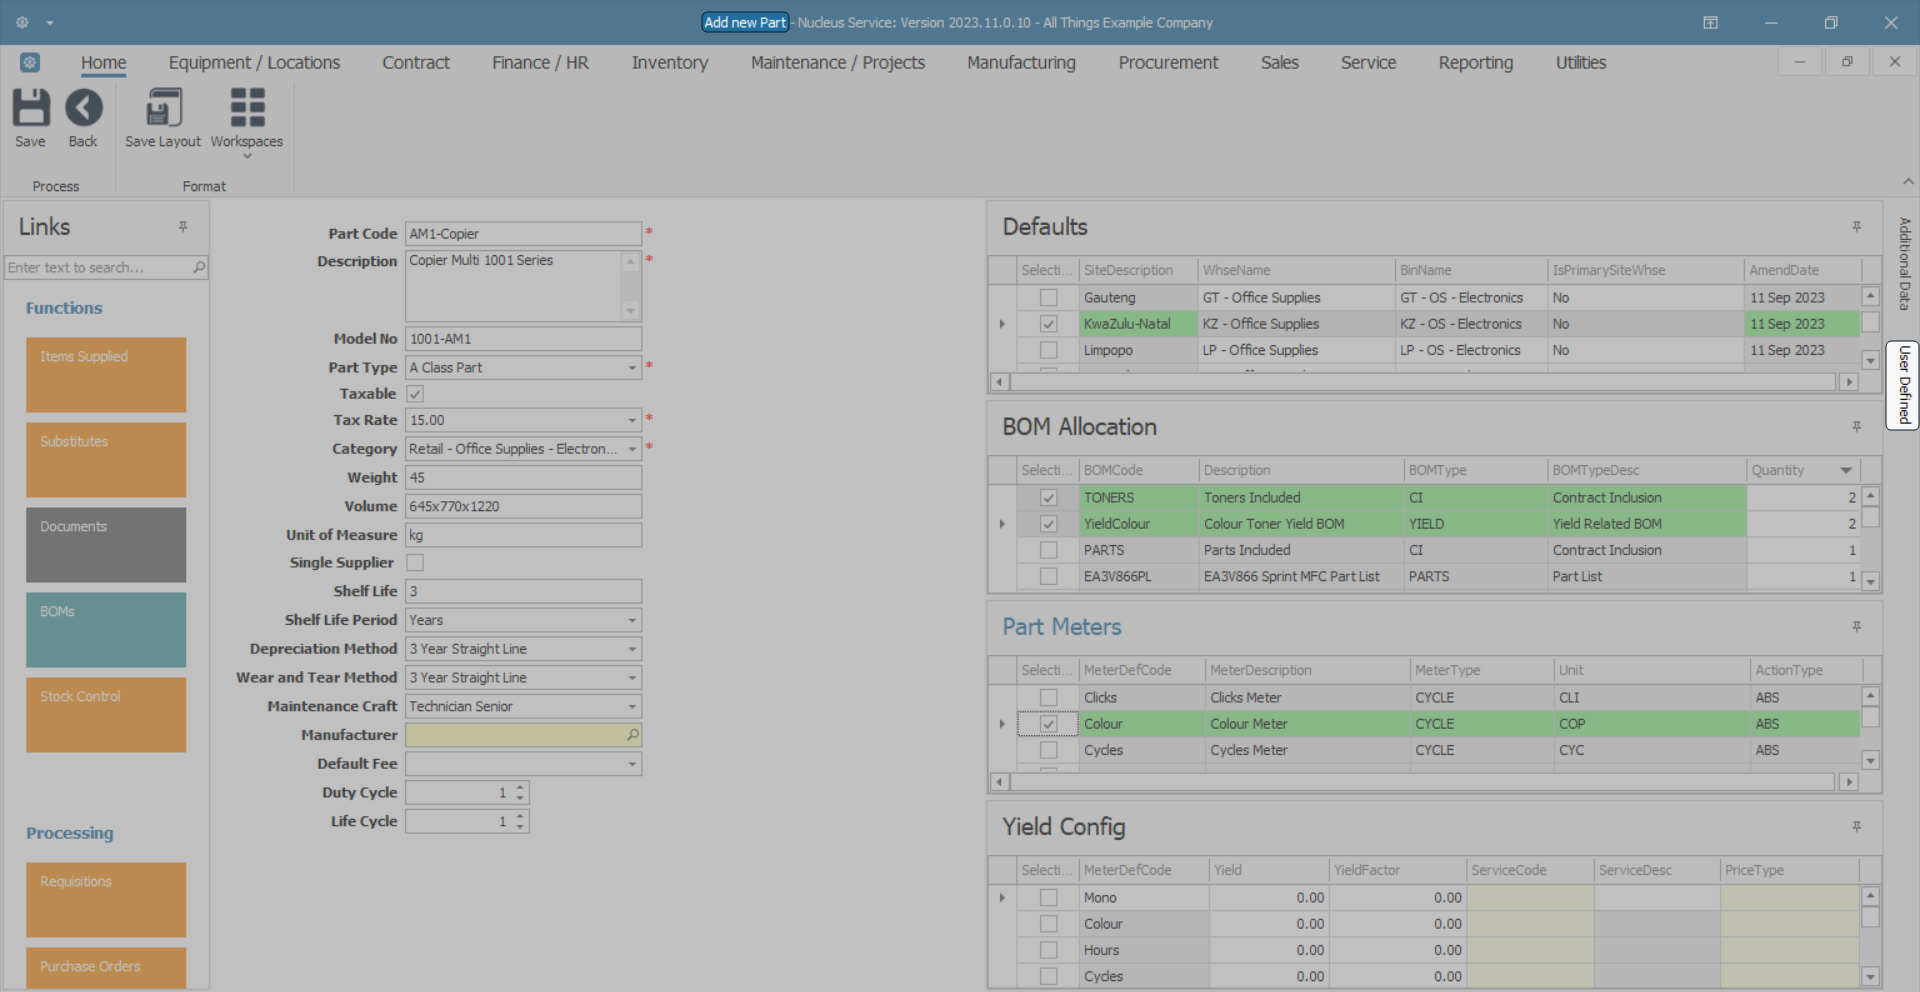
- The User Defined panel will expand.
- If there is an existing Code(s) in the data grid, then a User Defined custom field has already been added to another part definition in the system.
- The Code and Code Description are not specific to an individual part definition. When a Code and Description are entered and saved here, they are subsequently available in every part definition User Defined panel.
- The Variable Value is unique. These are set up per specific part definition.
Add New Custom Element
- Right-click anywhere in a row of the data grid.
- A Process menu will pop up.
- Click on Add - Add New Custom Field.
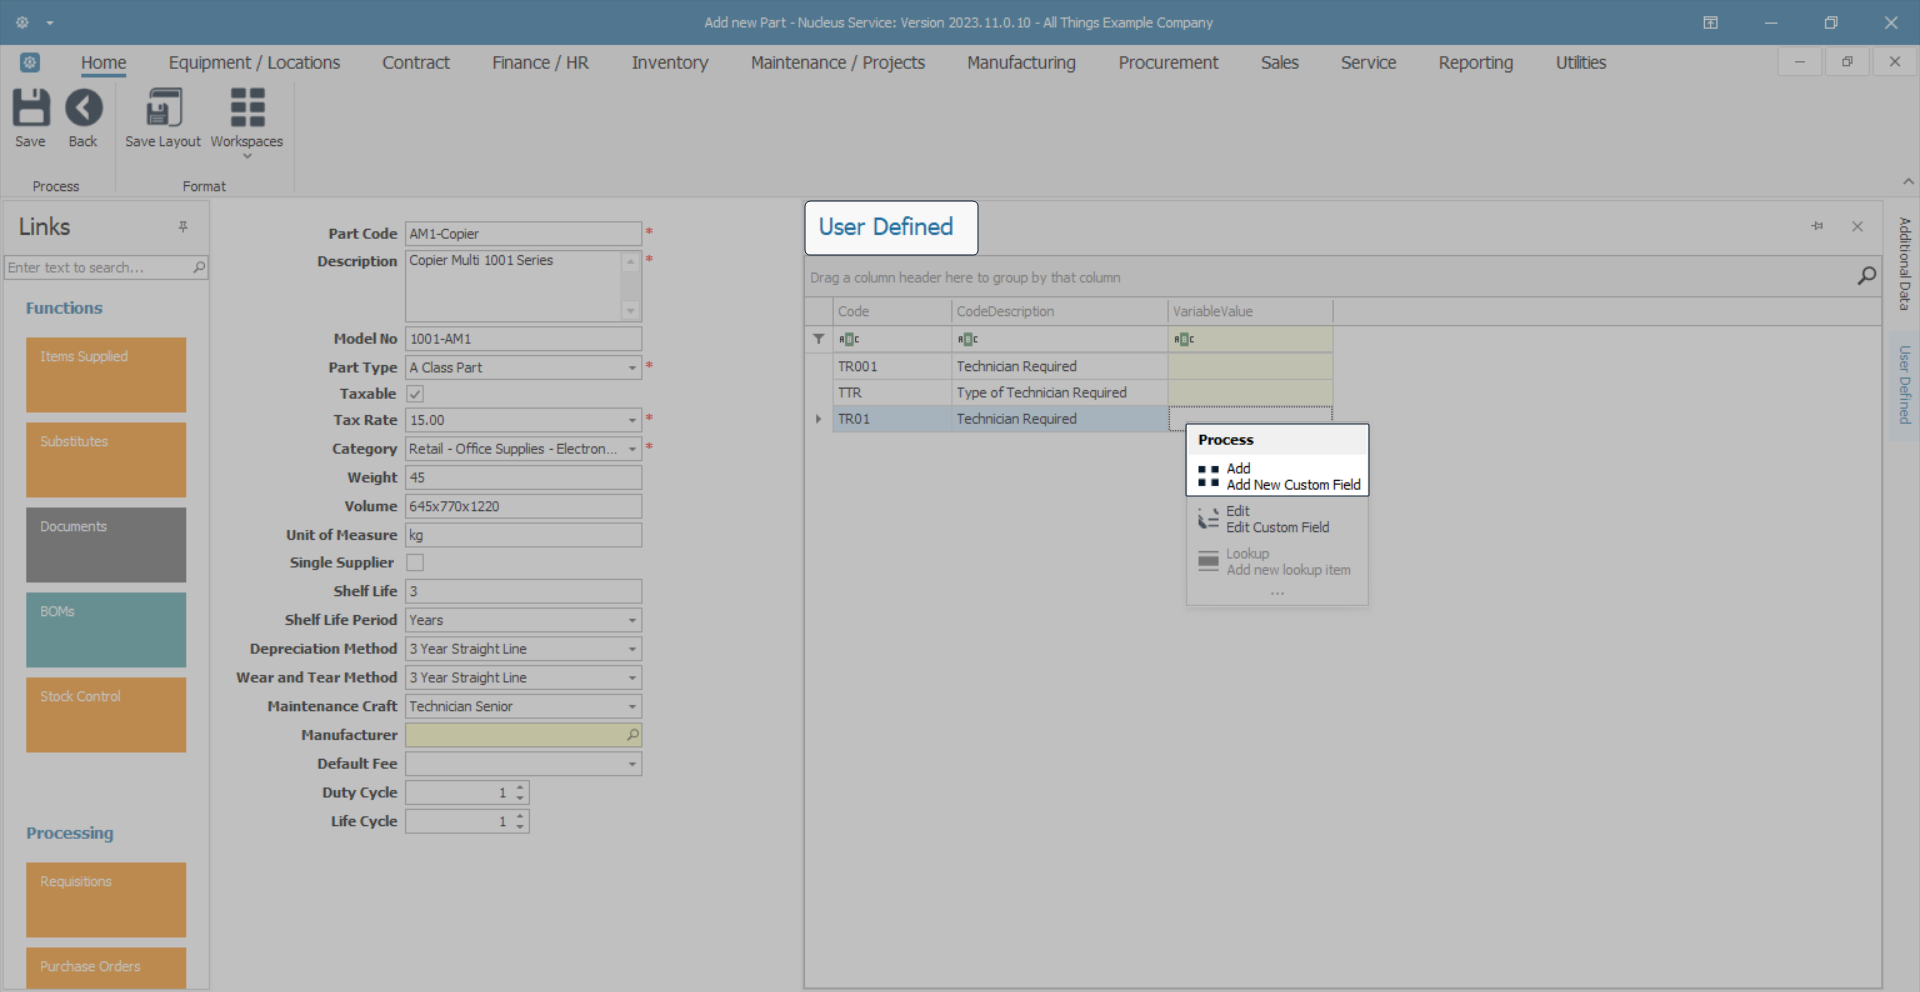
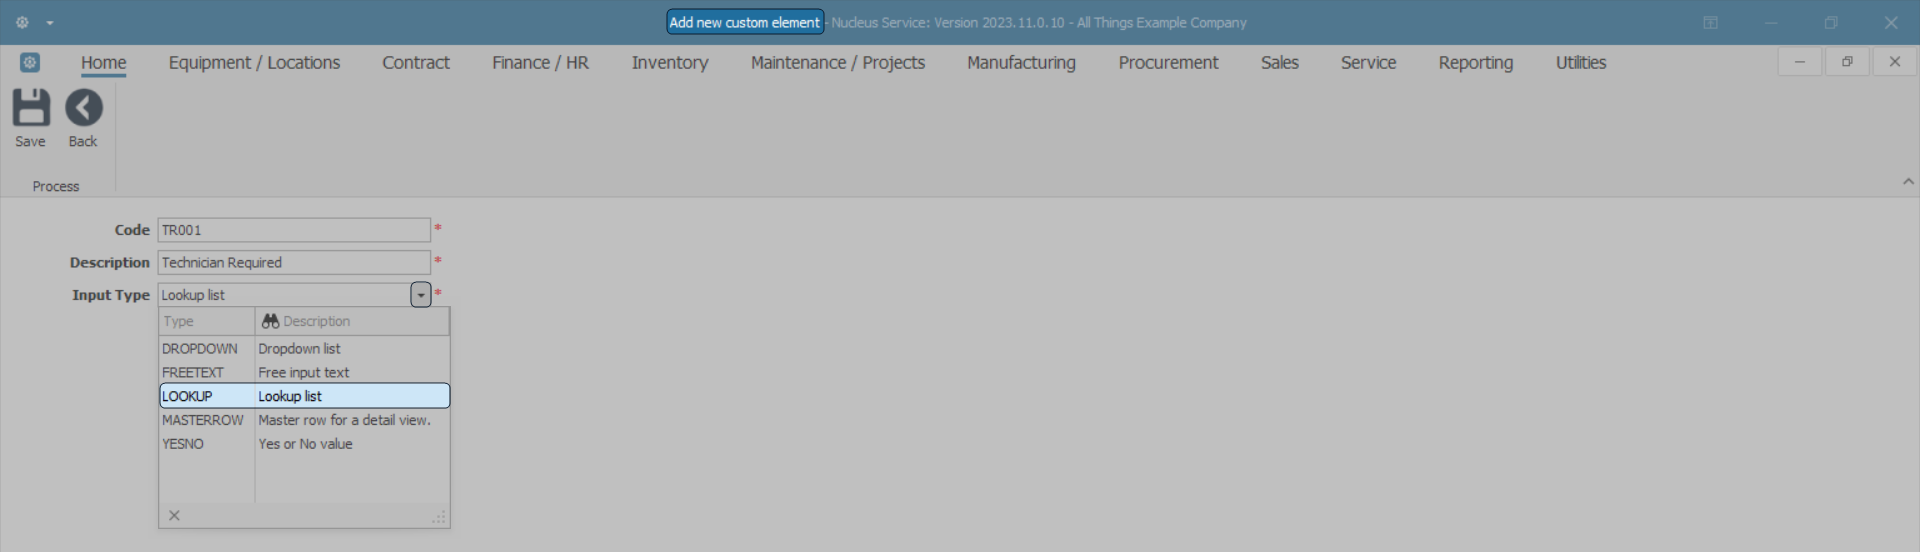
- The Add new custom element screen will open.
All of the fields in this screen are mandatory [*].
![]() Note: These fields can be populated according to individual company requirements. The example given here is pertinent to the system being demonstrated and is not universal.
Note: These fields can be populated according to individual company requirements. The example given here is pertinent to the system being demonstrated and is not universal.
Code and Description
- Code: Type in a unique code specific to the custom field you wish to add.
- Description: Type in the long, descriptive version of the code above.
Reminder: When saved, both of these fields will reflect in the User Defined panel in the Part Maintain screen across all part definitions on the system.

In this example we are documenting information relevant to a particular part definition: a copier machine. The data added to this screen will therefore be pertinent to the copier industry. However, any data relevant to this module for the specific user and their company can be added here.
- In this example, the Code and Description added are relevant to the database of the demonstrating system: TTR - Type of Technician Required.
Input Type
- Click on the drop-down arrow in the Input Type field.
- A Type menu will display.
- The options are :
- DROPDOWN - Dropdown list is solely used in Nucleus Accounts for Reports filtering.
- FREETEXT - Free input text: you can type data directly into the text box.
- LOOKUP - Lookup list: you can select the desired value from the list.
- MASTERROW - Master row for a detail view: is solely used in Nucleus Accounts for Reports filtering.
- YesNo - Yes or No value: this field is used to collect data with only a 'Yes' or 'No' answer. Until this field is answered one way or the other, the field’s value is considered to be missing.
- Select the Type that is most applicable to the custom element being added.
- In this example, the LOOKUP list selection seems the most congruous for the following reasons:
- YESNO does not give the right parameters needed for the user to select what type of technician is required to install and / or service this part.
- The FREETEXT selection could be used, but a lookup list would give a more restricted selection which in this case would help prevent the potential of human error.
Save New Custom Element
- When you have finished adding the information to these fields,
- Click on Save.

- You will return to the New Equipment screen.
- The newly created custom element will be added to the panel.
Add Lookup Fields to the Custom Element
If the Lookup Input Type was selected in the previous step, Lookup options will need to be added to a Lookup Item list.
- Right-click in the row of the new custom element.
- A Process menu will display.
- Select Lookup - Add new lookup item from the list.
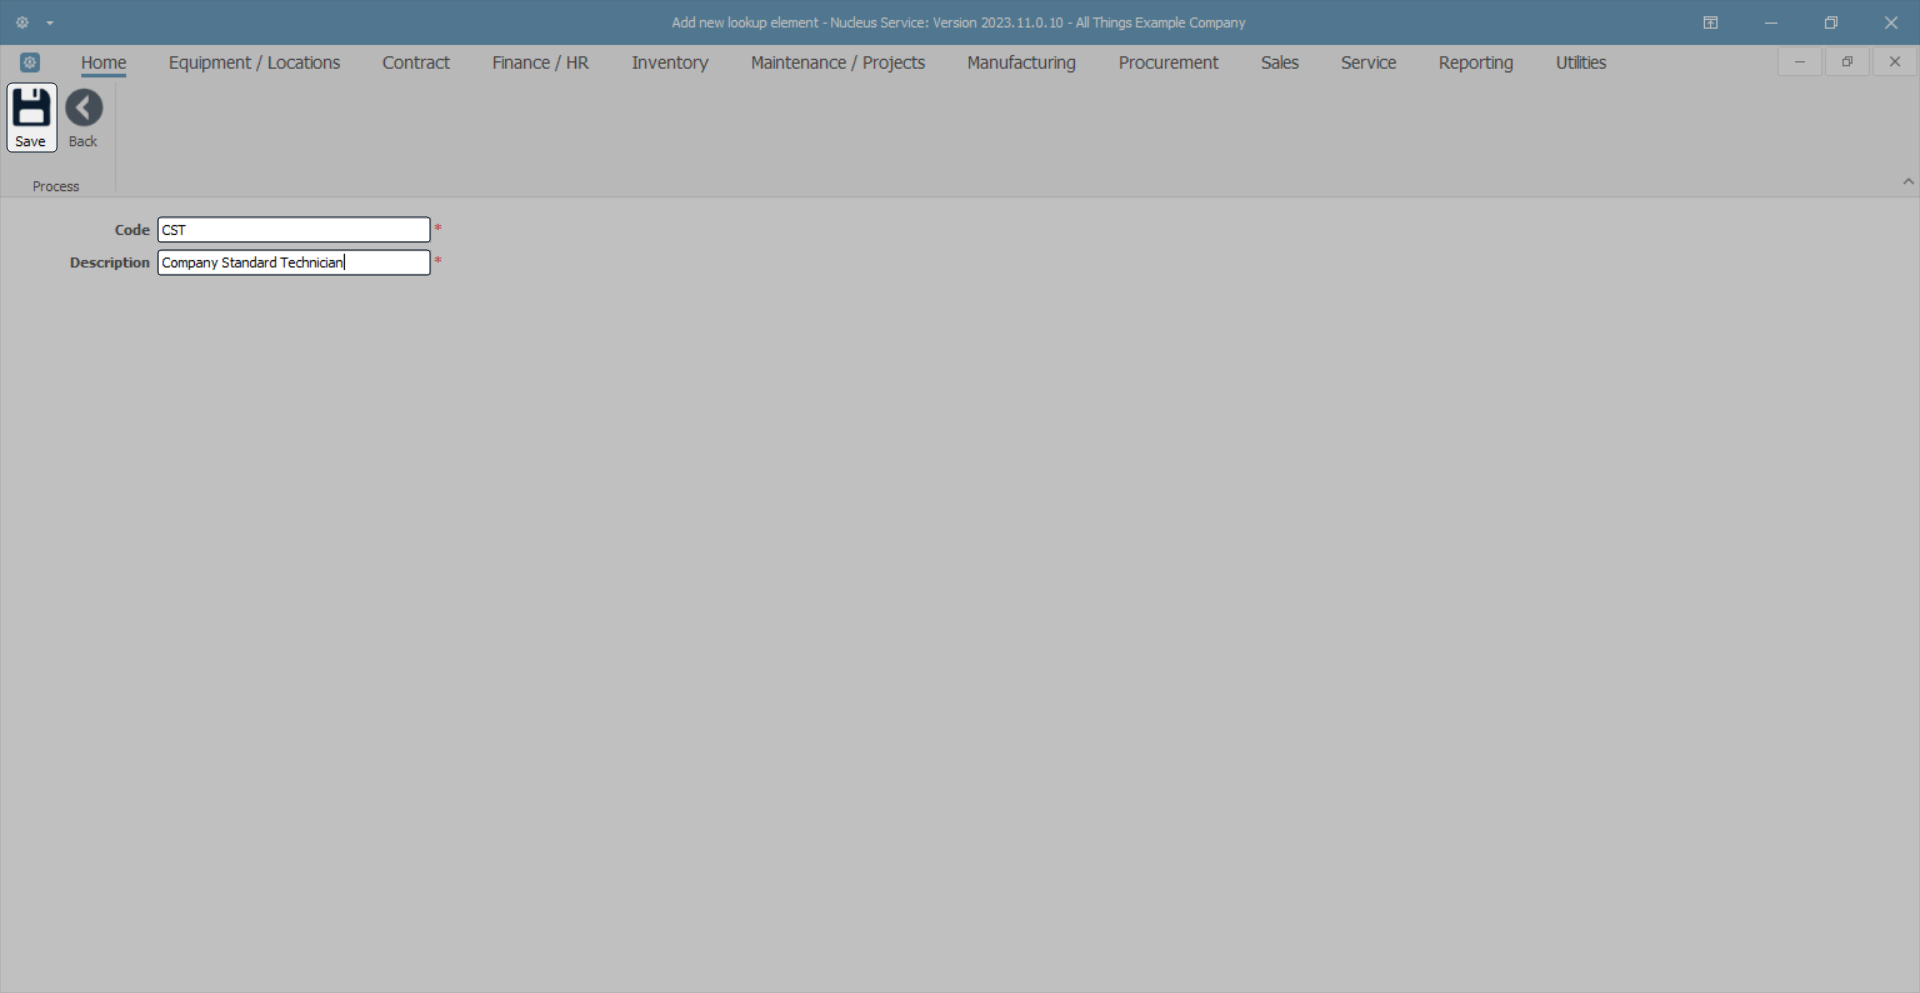
- The Add new lookup element screen will open.
- Code: Type in a unique code specific to the lookup element you wish to add.
- Description: Type in the long, descriptive version of the code above.

Reminder: In this example we are documenting information relevant to a particular part definition: a copier machine. The data added to this screen will therefore be pertinent to the copier industry. However, any data relevant to this module for the specific user and their company can be added here.
- In this example, the Code and Description added are relevant to the database of the demonstrating system: CST - Company Standard Technician.
- When you have finished adding the information to these fields, click on Save.
View Added Lookup Elements
- You will return to the Add new part screen.
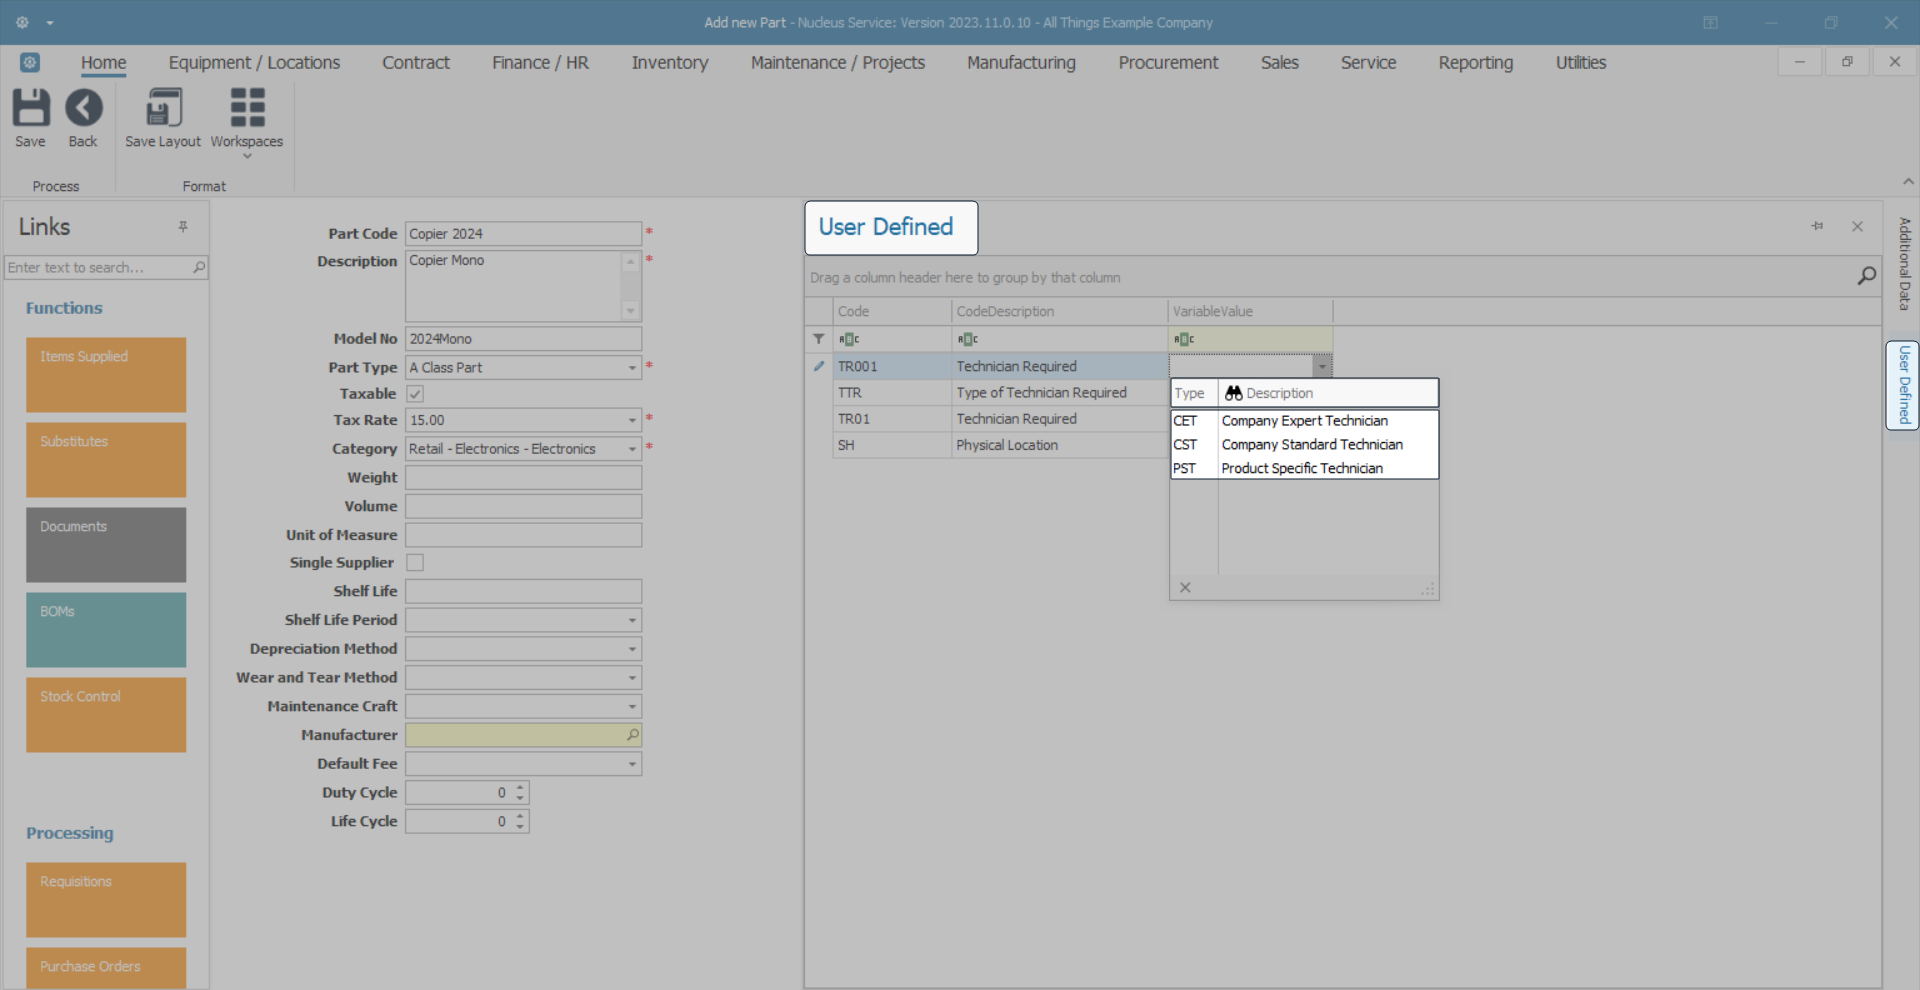
- Click in the Variable Value field of the new custom element row.
- A drop-down arrow will appear. Click on this arrow.
- A Type menu will display.
- The newly added Lookup list element will be available in the list.
- Follow the process above to add as many Lookup elements as required.
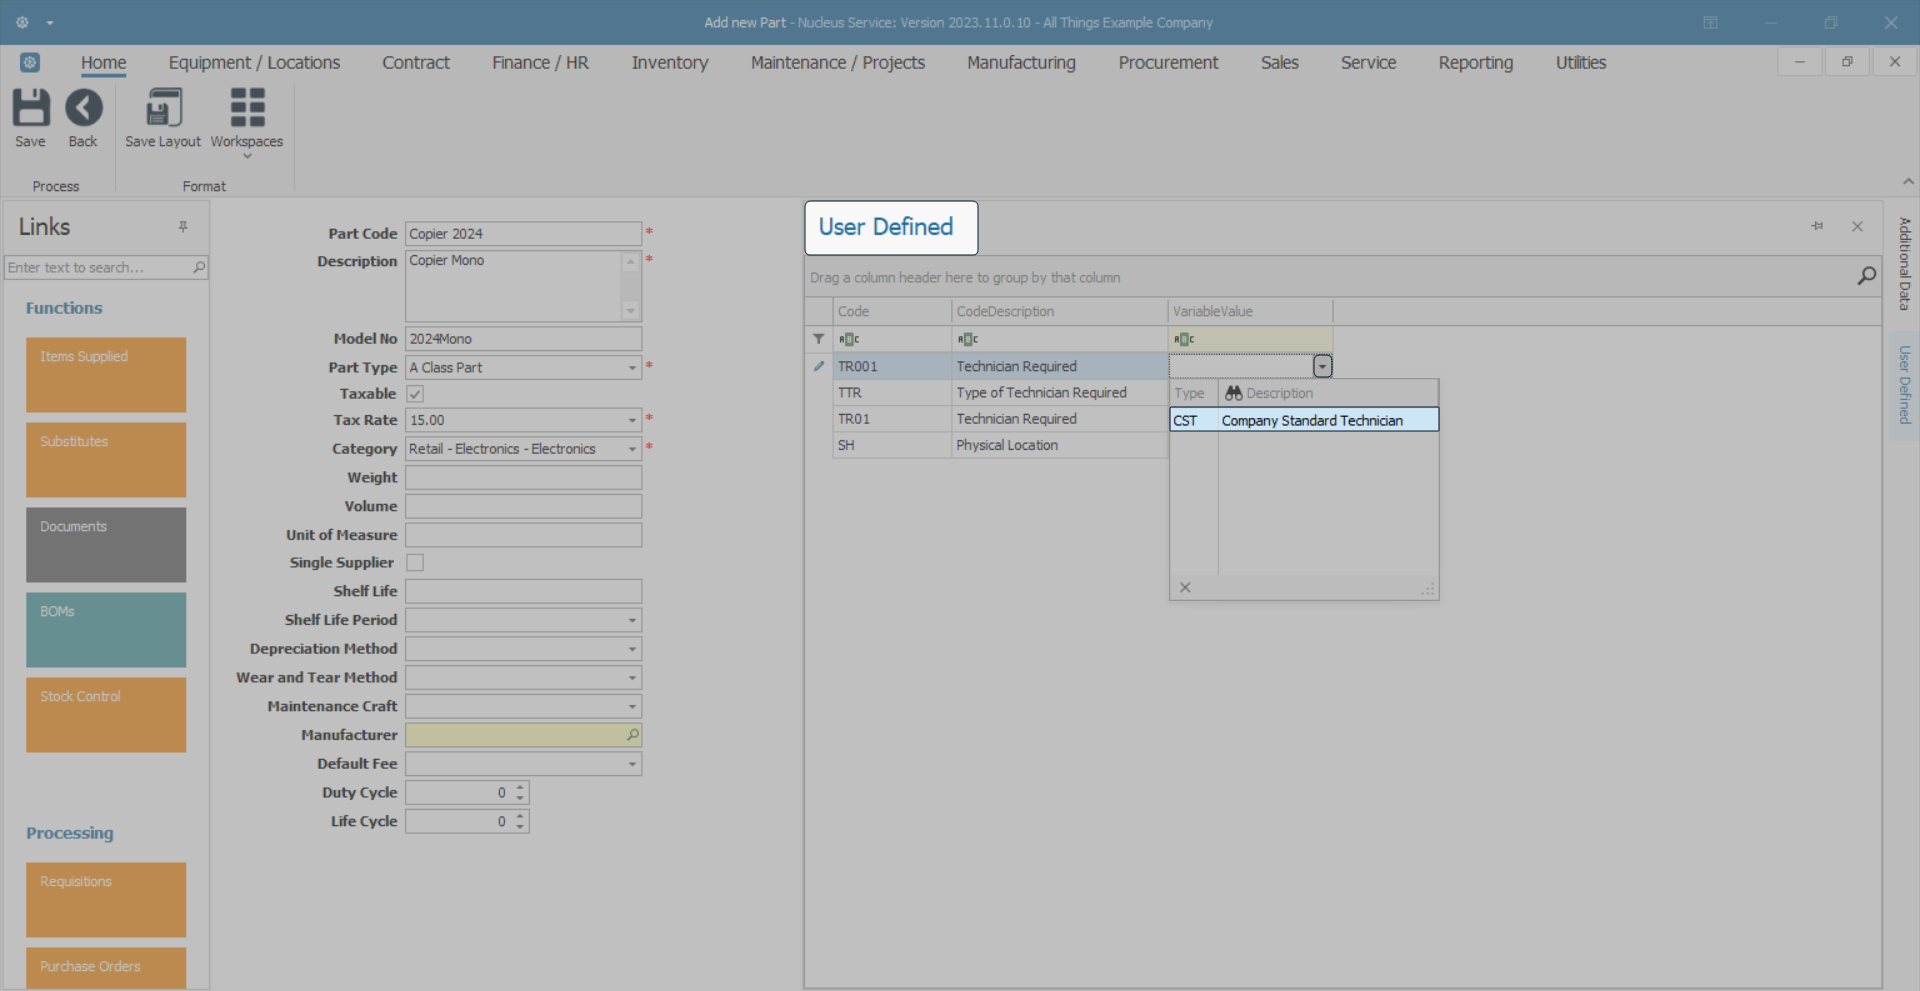
- In this example, a total of 3 lookup elements have been added to the list:
- CST: Company Expert Technician
- CET: Company Standard Technician
- PST: Product Specific Technician
Scenario: The selection made in this lookup Type list, would help the part screen monitor decide which type of technician should be assigned for an installation, repair or service.
Add Variable Value
- Click on the required Type of technician in the list. In this example, Product Specific Technician is selected.
Note: Although the Lookup Type list will be available to all part definitions on system, The actual Type selected and added to this Variable Value field is unique to the selected part definition and will not reflect in any other part or other module User Defined fields.
Save New Custom Element
- When you have finished adding the information to the User Defined fields,
- Click on Save.
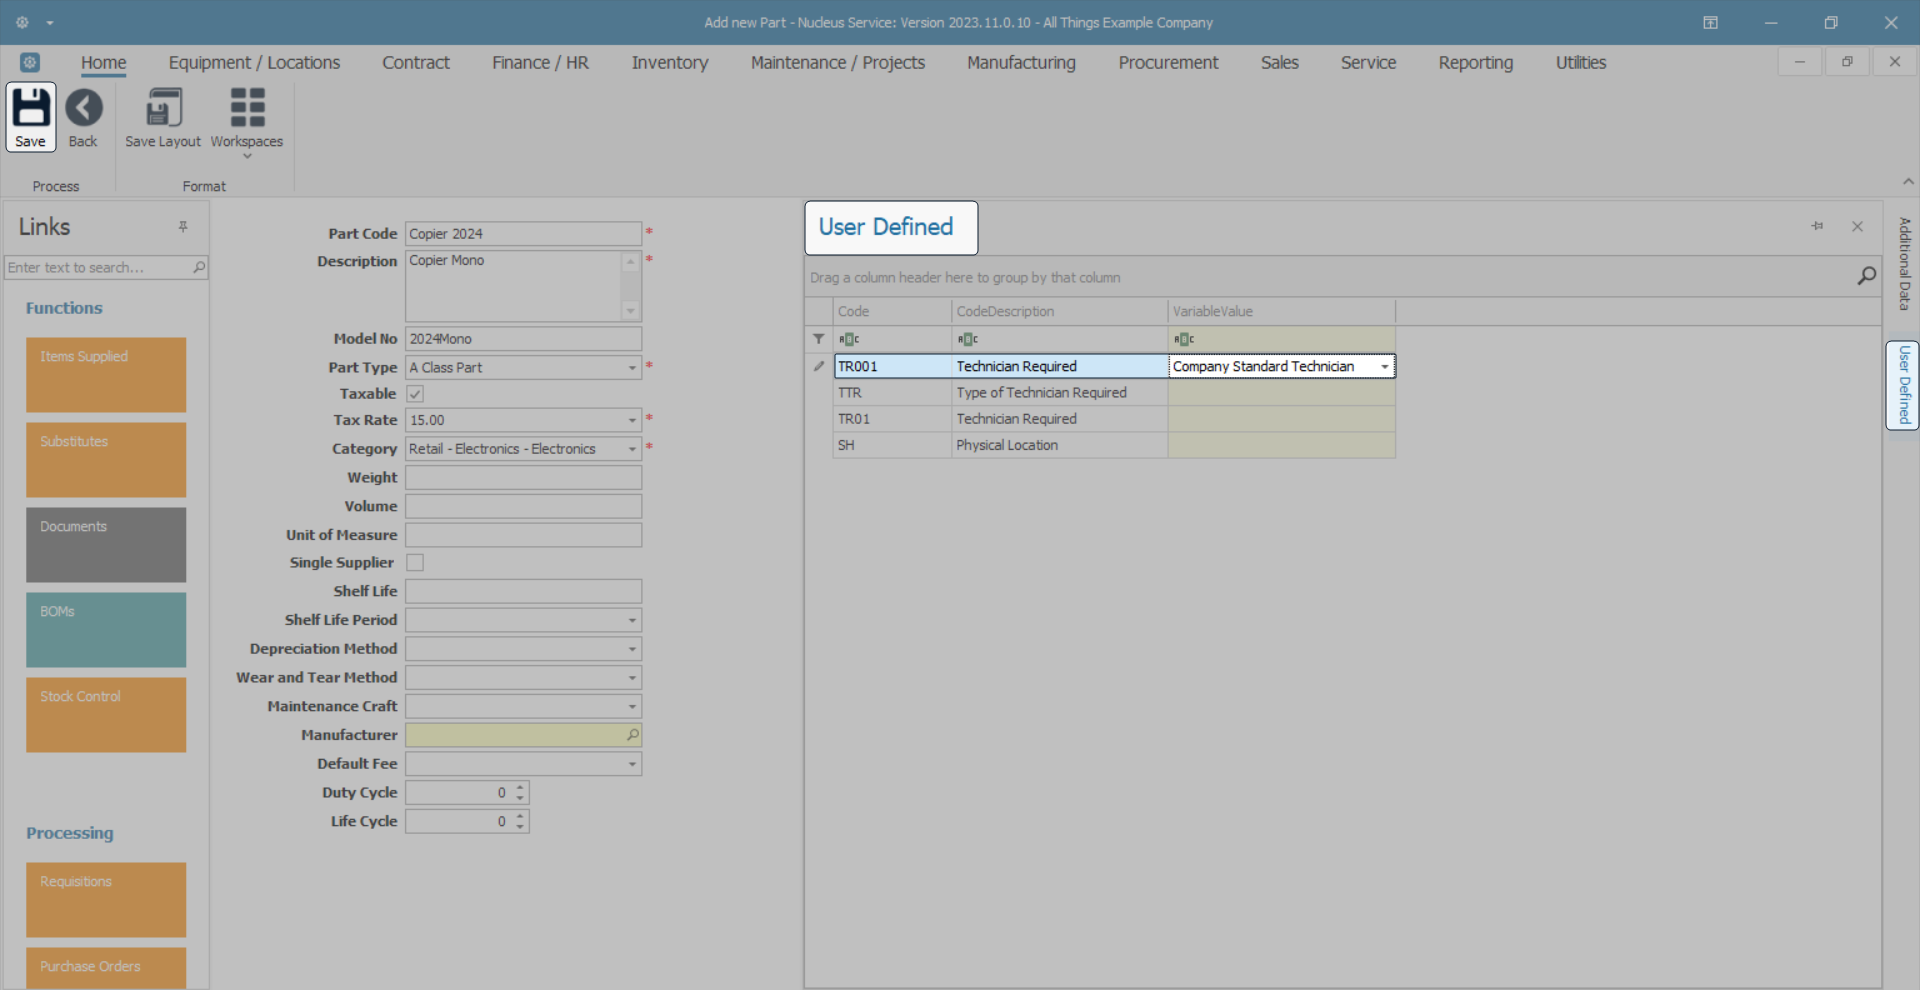
- The new custom element will be saved in the User Defined panel and you will return to the Part Listing screen.
- The newly added part definition with the new custom element will be indicated in the screen.
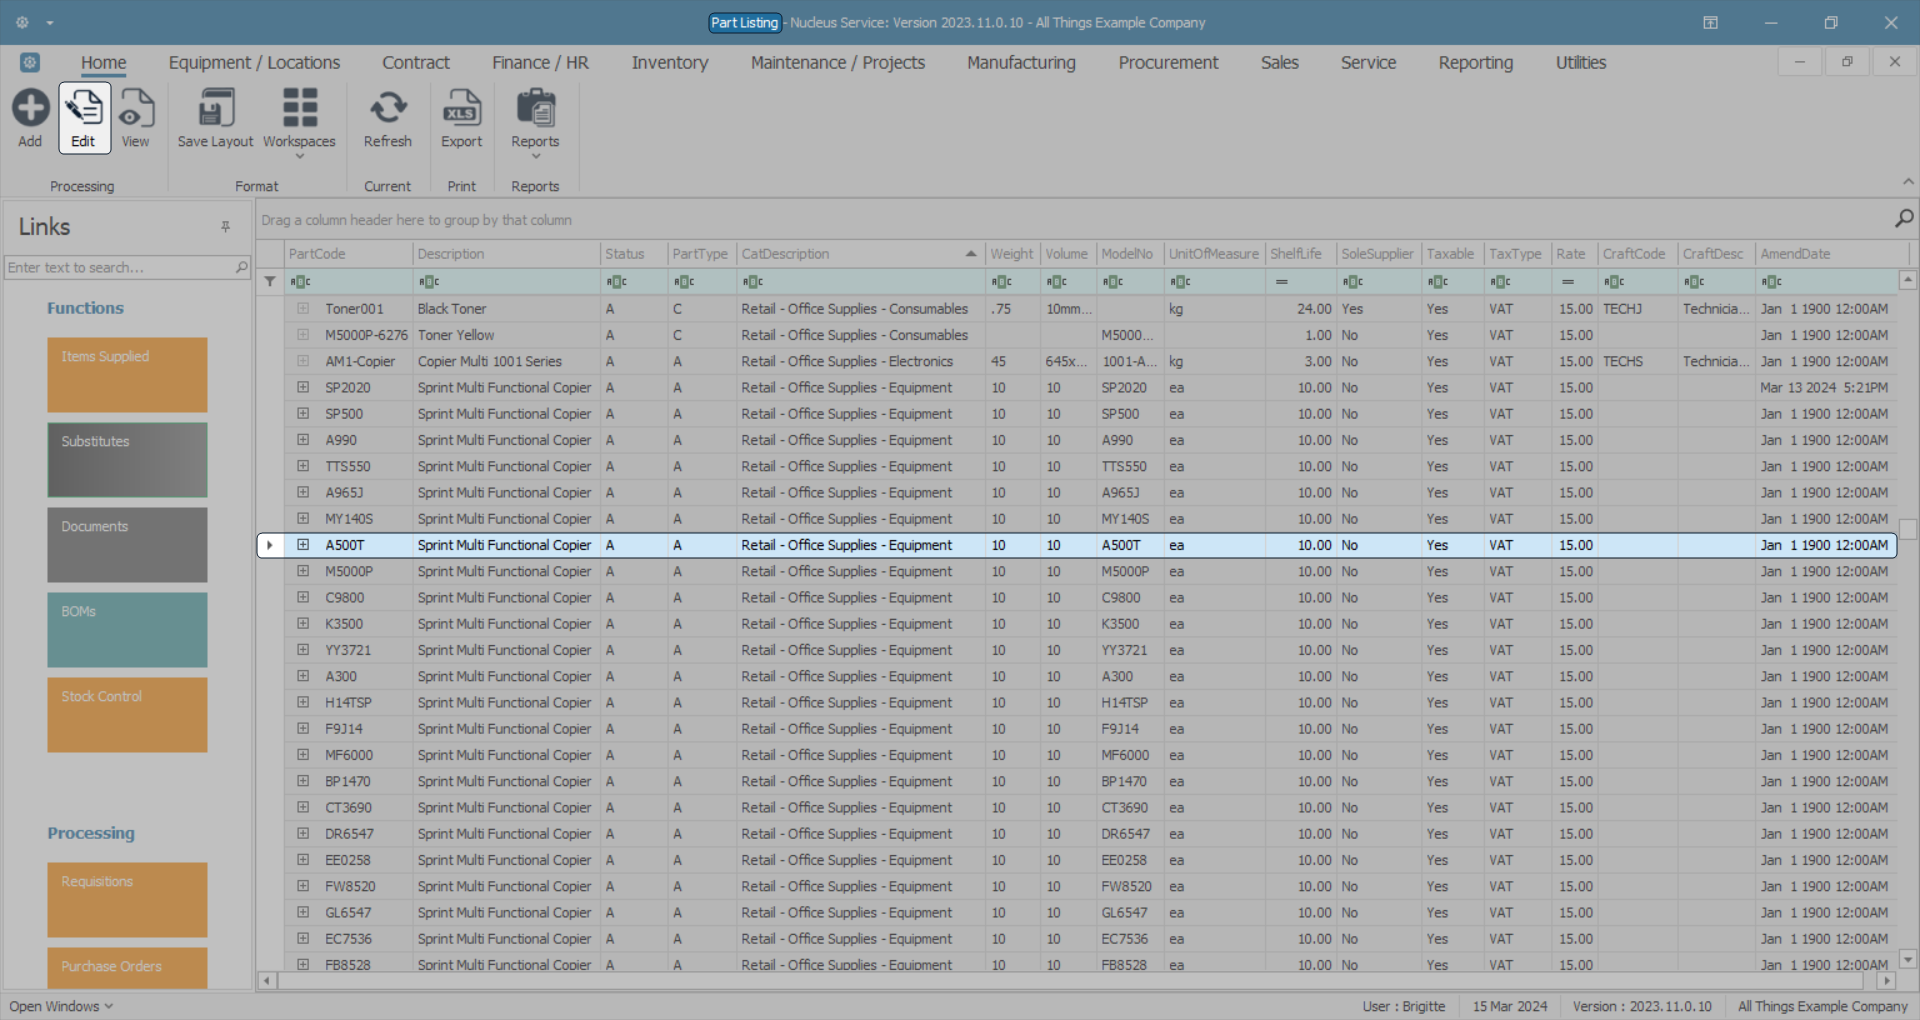
View New Custom Field Now Linked to All Parts
- Select the row of a different part in the data grid.
- Click on Edit.
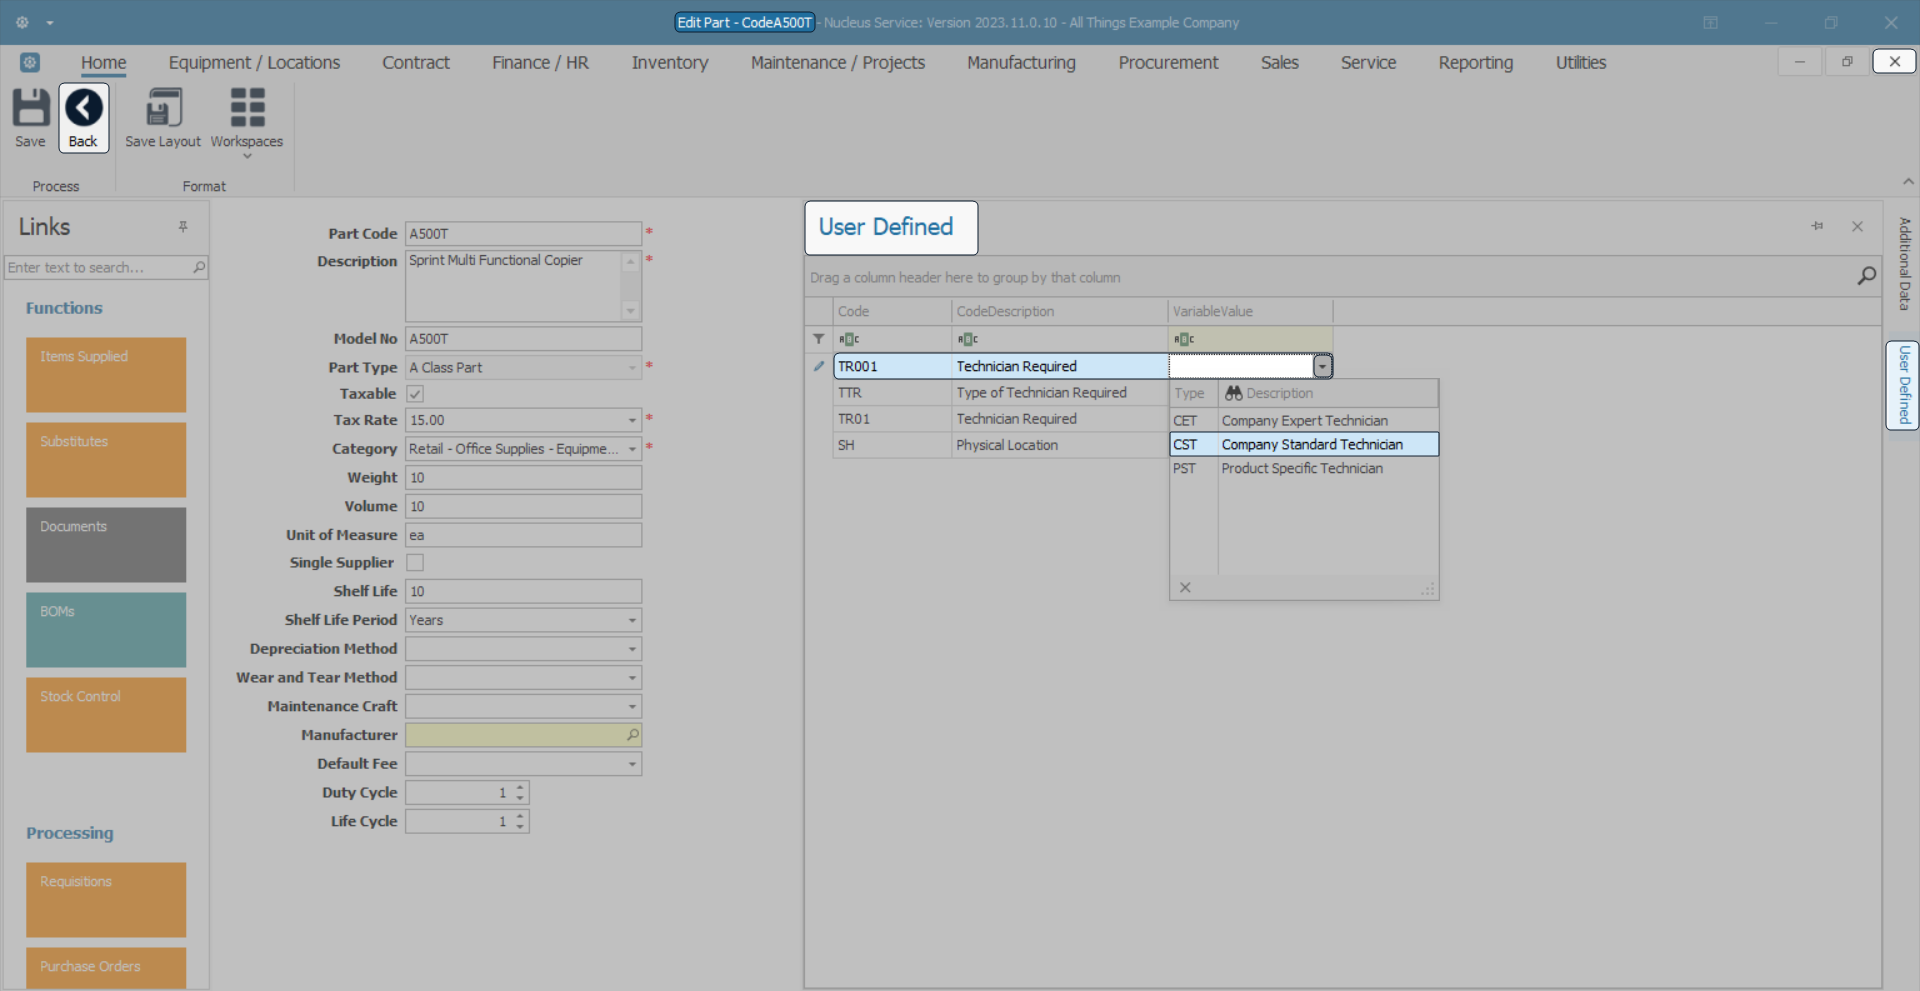
- The Edit Part - [ ] screen will open.
- If not already extended, click on the User Defined tab to open the panel.
- The custom element added to the previous part is now available to this part as is the Type drop-down list.
- Note that the Variable Value column is not populated.
Reminder: The data added to this Variable Value field is unique to the selected part and will not reflect in any other part or other module User Defined fields.
Note: For more information about Editing the Part User Defined fields, click on the link.
- Click on Back or Close the screen to return to the Part Listing screen.
MNU.026.036