Inventory
Parts - Add Part Definition Defaults
Once the part definition details have been added, at least one default site warehouse must be linked to the part definition.
More than one site warehouse can be added but only one warehouse per site can be selected as the primary one.
The primary site warehouse will be the default receiving warehouse when this part is GRN'd into store.
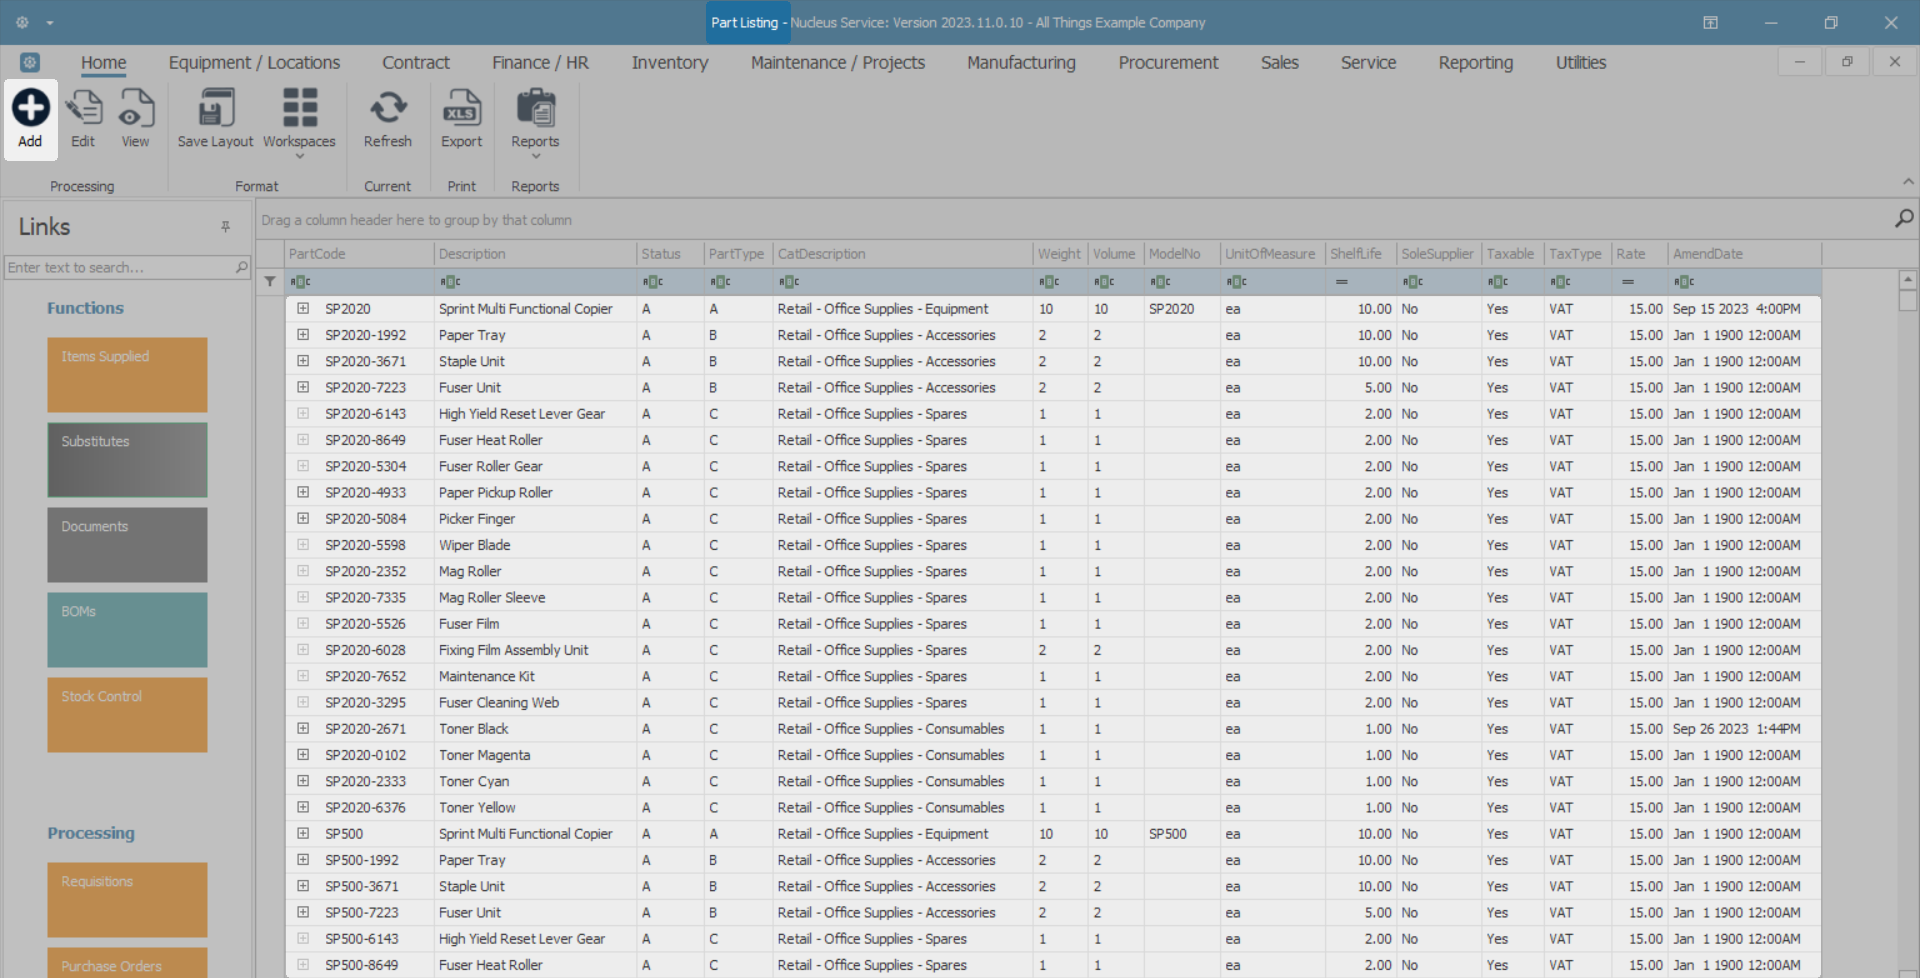
Ribbon Select Inventory > Parts

- The Part Listing screen will be displayed.
- The data grid will display a list of all the part definitions currently on the system.
- Click on Add.
Select the Part Site Warehouse
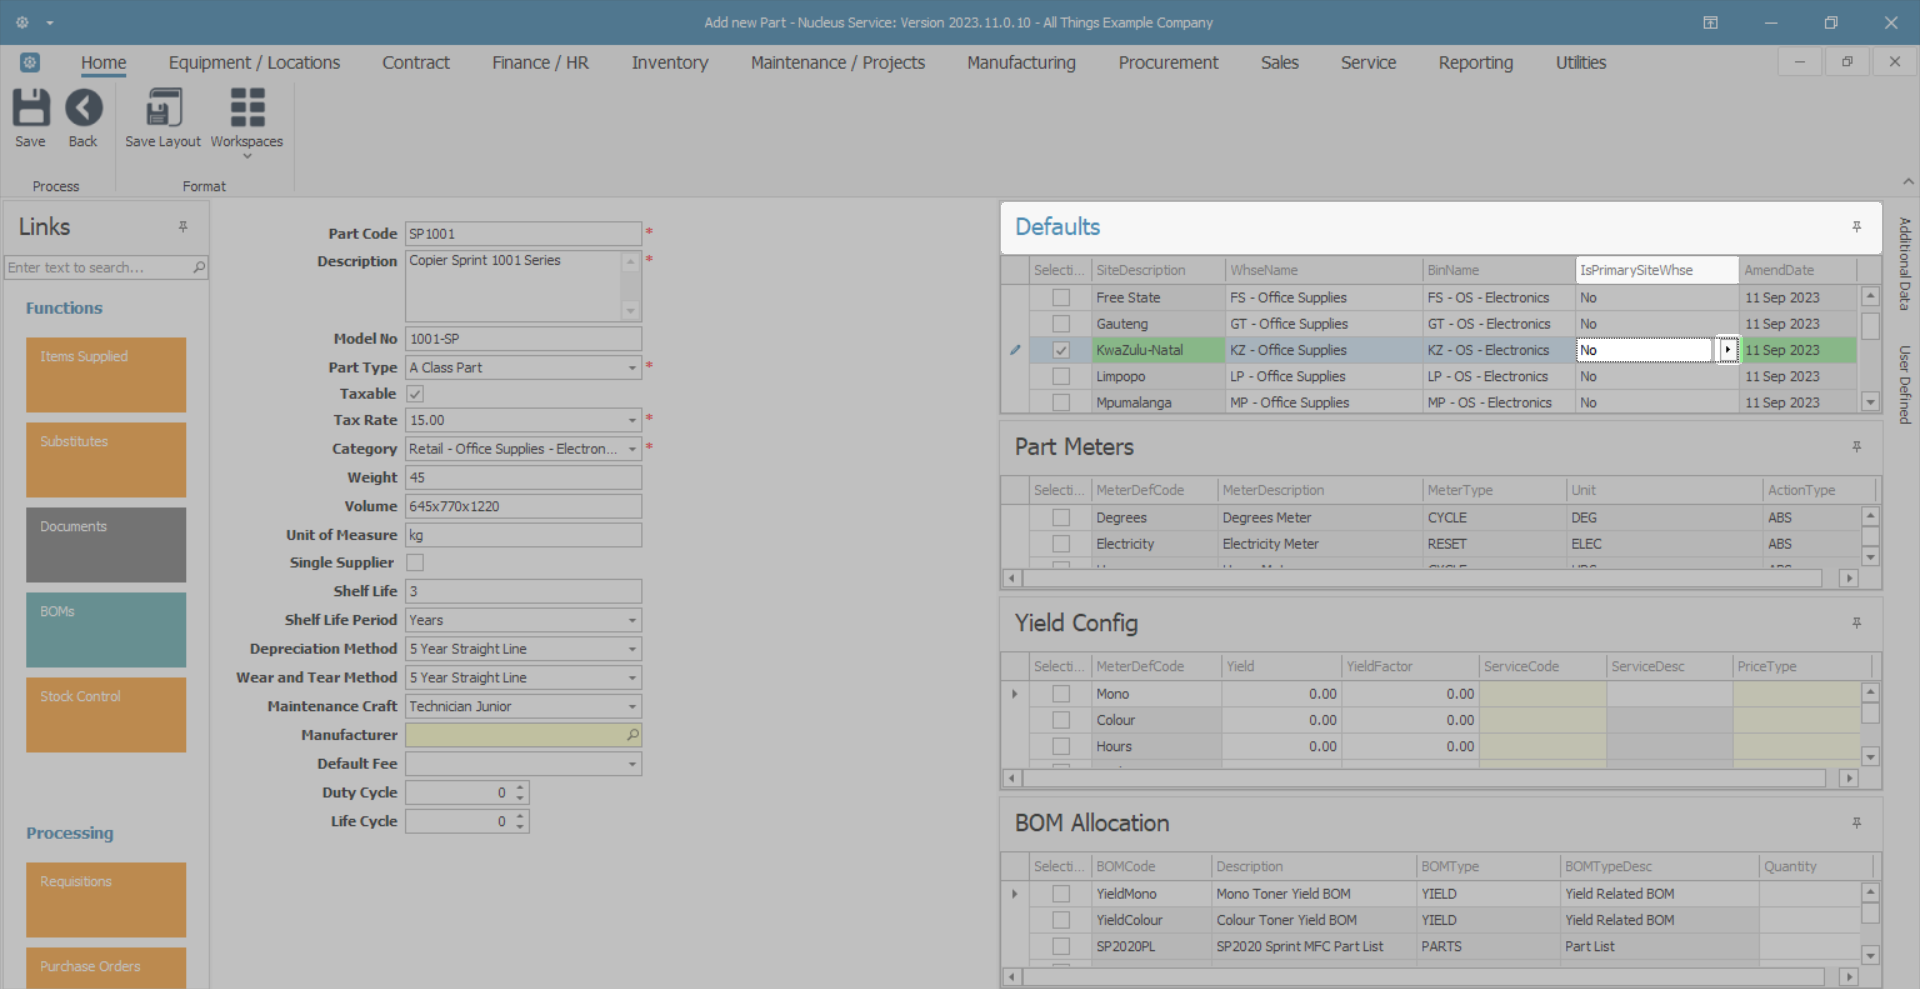
- The Add new part screen will open.
- Once the part definition details have been added, move across the screen to the Defaults panel.
- This panel will be populated with a list of all the site warehouses that are linked to the part category. (This category was selected when adding the part definition details.)
Note: You can amend this category at this stage, if required. Any amendment will refresh the Defaults panel to populate with the site warehouses linked to the amended category.
- There may be more than one warehouse listed per site.
- In this example, there are 3 warehouses linked to the Durban site.
- In the Selection column, select the check box in front of all the site warehouses that you wish to link to the part definition.
Note: You can select multiple part sites warehouses but only one primary part site default warehouse (see below).

Note: If the selected site Warehouse Name needs to be changed - refer to Edit Part Definition Defaults.
Select the Part Site Warehouse Bin
- Once the part site default warehouses have been selected, move across to the Bin Name column.
Default Bin
Each part site warehouse selected, must have a default bin allocated. This is the bin within the warehouse that will receive the part as it is GRN'd into store.
The BinName field will auto populate according to the linked part category that was selected when adding the part definition details.
- If the BinName of the selected part site warehouse needs to be changed, click in the BinName field to reveal an ellipsis button.
- Click on this button and select from the pop up screen, the default bin for this part site warehouse.
Note: If there is only one bin linked to the warehouse then the BinName field will auto populate with the name of that one bin and no Select screen will pop up.

Select the Part Site Primary Warehouse
Only one warehouse and bin can be selected as the primary site warehouse. This means that when GRN’ing this part into store, it will be received into the primary default site warehouse and bin set up here.
Note: There is an opportunity to select an alternative or secondary receiving warehouse (if there is one linked here) during the GRN process.
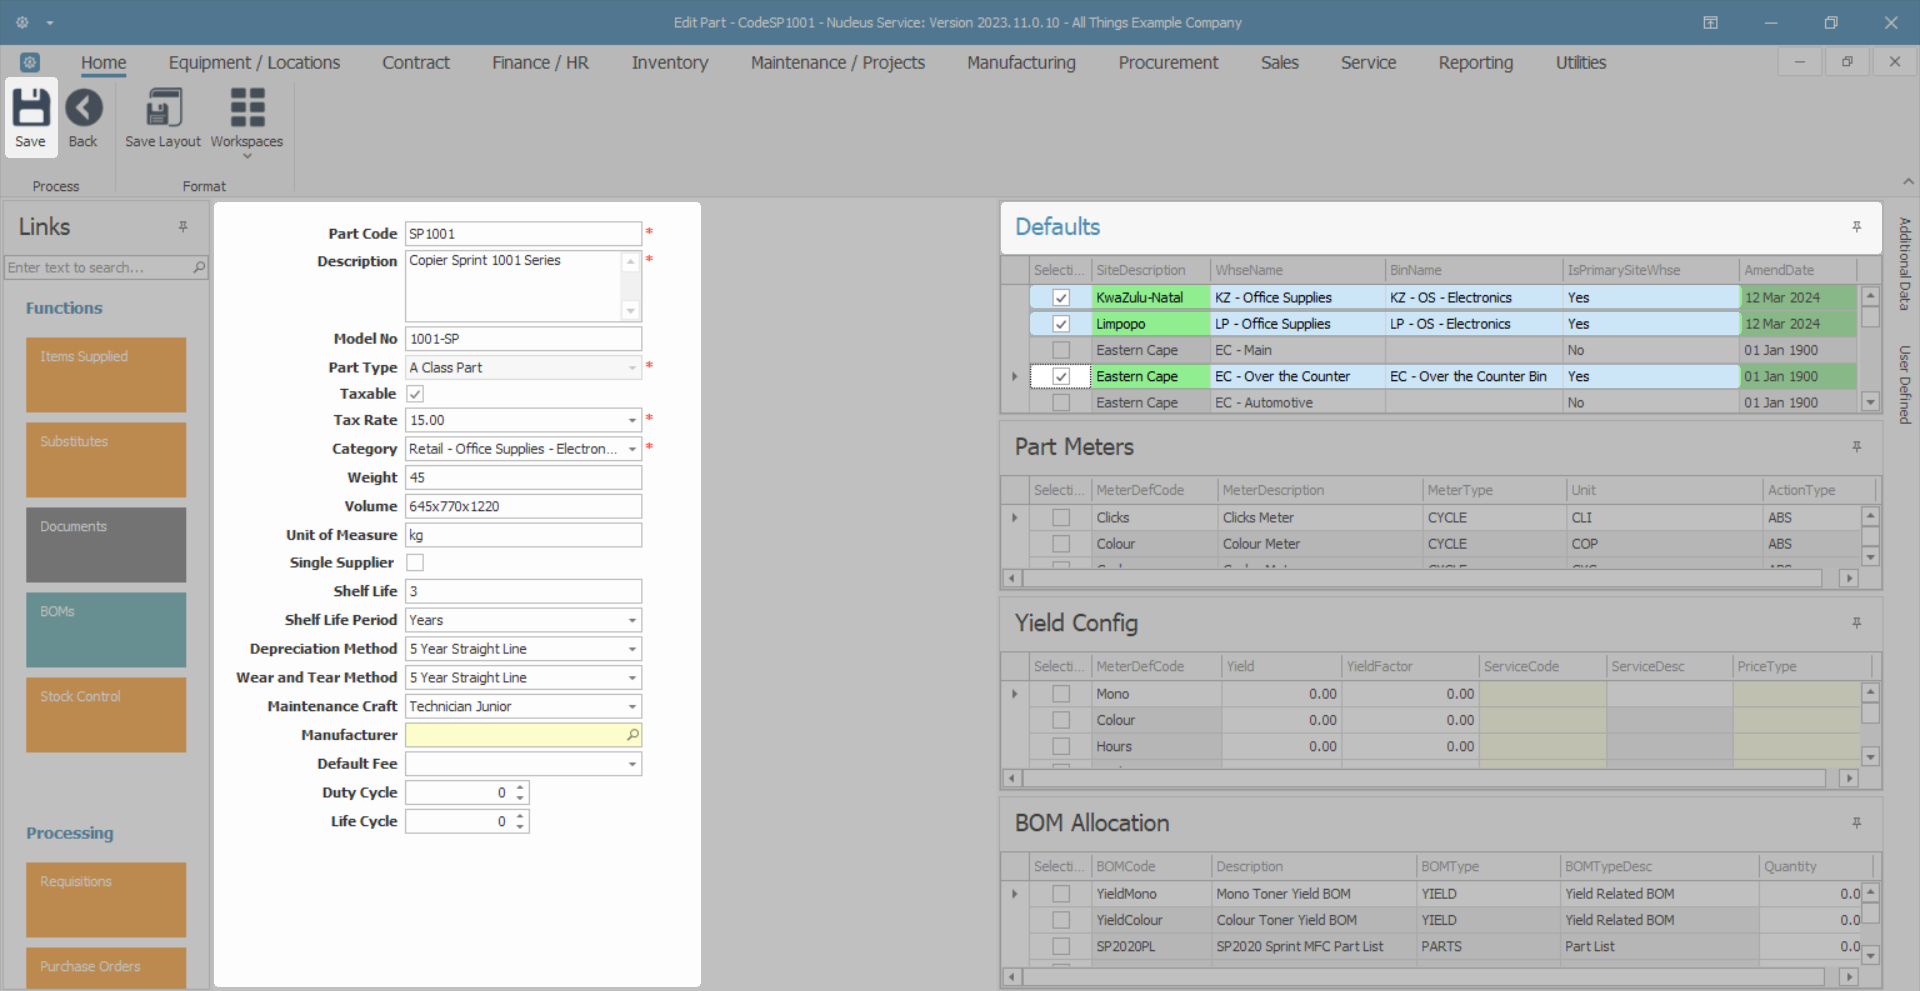
- Once the selected default bin has populated the BinName field, you can move across to the IsPrimarySiteWhse column. All the fields in this column are initially populated with 'No'.
Note: Any of the site warehouses selected in the previous steps can be chosen as the primary site warehouse. Ensure that the BinName field is populated first.
- Ensure that you are in the row of the warehouse that you wish to make the primary site warehouse and click in the IsPrimarySiteWhse field. An arrow button will appear. Click on this arrow button.
- The text in the field will change to Yes. This warehouse will now be the primary site warehouse and bin when this part is received into store.
- It is important to ensure that no other warehouses in the same site are selected as the primary site warehouse. The system will not allow you to save the changes if there is more than one IsPrimarySiteWhse field within the same site marked as 'Yes'.

Input Validation Error
- If you have not selected the bins for the other selected site warehouses and you try to Save at this point, you will receive an error message:
- The default warehouse/bin must be specified for the selected site [ ].
- Click on Ok and go back and specify the default bin for each selected site warehouse.

Save Part Definition Defaults
- Once the default bins have been selected, at this point you can either:
- Click on Save, or,
- Move down to the Add Part Definition Part Meters, Add Part Definition Yield Config, and Add Part Definition BOM Allocation panels, if applicable.
Note: If you click on Save at this point, you will return to the Part Listing screen.
MNU.026.031