Inventory
Quarantine - Revalue Goods
After goods have been received into the Quarantine warehouse, they will need to either be returned to the supplier if found to be faulty or incorrect, or revalued with the landed cost.
This will create a revaluation request that requires approval for the goods to be released into store.
If you are using the Stock Batch Tracking option, make sure you type in the Batch Number for C-Class (non-serialised) items when doing the GRN. For more details, refer to Inventory: Stock Batch Tracking.
Ribbon Select Inventory > Quarantine
- The Quarantine List for [ ] screen will be displayed.
- Select the Site that you wish to work in.
- Select the Document No that contains details of the goods that you wish to release from Quarantine.
- There may be more than 1 row with the same KGR.... no. This is because -
- For A and B-Class items there will be 1 receipt line per item.
- For C-Class items there will be 1 receipt line per item type.
- You can select any of the rows to pull through the whole document to be revalued.
- Important: Make a note of the serial/batch numbers of the items so that you can search for and View these released items in the receiving warehouse at the end of this process.
- Method 1
- Right click in the row of the item that you wish to revalue.
- A Process menu will pop up.
- Click on Revalue - Revalue the equipment.
- Method 2
- Select the row of the item that you wish to revalue, then click on Revalue.
Inbound Cost Revaluation Details
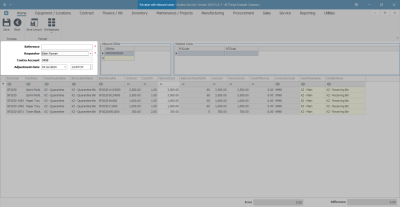
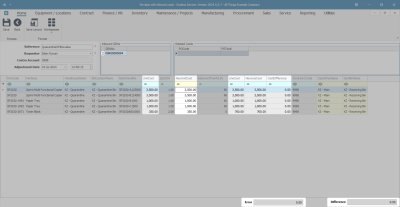
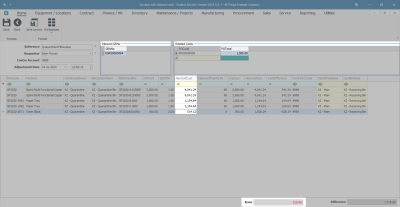
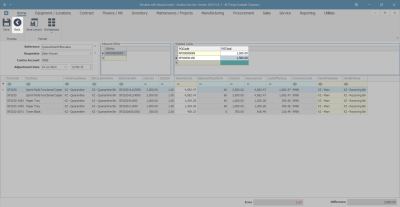
- The Revalue with inbound costs screen will be displayed.
- The Revaluation Details frame:
- Reference: Type in a reference number for this revaluation.
- Requestor: This will auto populate with the user currently logged on to the system. You can click on the drop-down arrow and select from the list an alternative user, if required.
- Contra Account: This will auto populate with the Contra Account number already set up in the system.
- Adjustment Date and Time: This will auto populate with the current date and time.
- Date: You can either type in or click on the drop-down arrow and use the calendar function to select an alternative date.
- Time: You can either type in or use the directional arrows to select an alternative time.
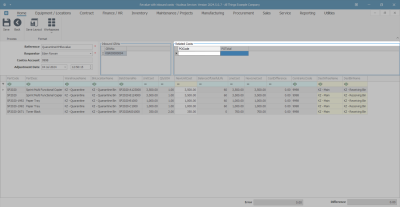
The Inbound GRNs frame
- The data grid in the Inbound GRNs: frame will be auto populated with the number of the GRN that you initially selected in the Quarantine List for [ ] screen. The corresponding items (part codes) linked to that GRN, will be listed in the Parts data grid.
Add another GRN to the Revaluation
- Click in the blank area in the Inbound GRNs frame - (outside of the GRN No data grid).
- A new row will be created.
- Click in this new row.
- An ellipsis button will appear, click on this button.
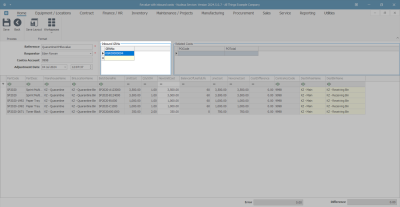
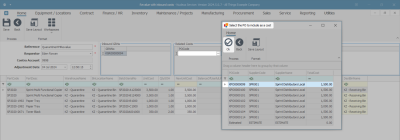
- The Select the GRN to revalue screen will pop up.
- The data grid will contain a list of all the other GRNs on the system, in Quarantine, awaiting revaluation.
- Select the GRN No. that you wish to add to the Inbound GRNs frame.
- Click on Ok.
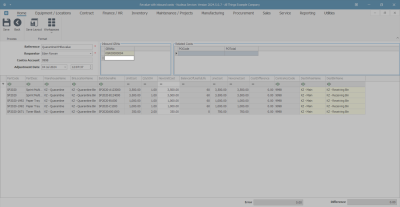
- The selected GRN will be added to the data grid in the Inbound GRNs frame and the Parts data grid will update to include the items listed on the newly added GRN.
Remove a GRN (added in error)
- If you have added an incorrect GRN by mistake - click on Back to return to the Quarantine List for [ ] screen and restart the process to Select the GRN to be released from Quarantine.
- In this example, the second GRN has been removed and only 1 GRN is being received.
Note the Cost Columns
Make note of the Cost columns for each item being received - (before the Purchase Order with shipping costs is added to the Related Costs frame)
- Note that the Unit Cost and New Unit Cost columns are currently the same.
- Note that the Line Cost and New Line Cost columns are currently the same.
- Note that the Cost Difference column currently contains 0 in all rows.
- Note that the Error field currently contains 0.00
- Note that the Difference field currently contains 0.00.
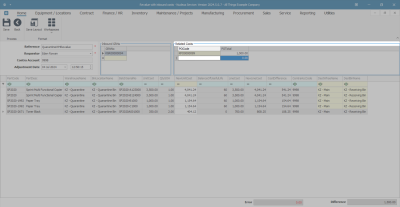
- Now move across to the Related Costs frame.
Related Costs frame
- Click in the PO Code field in this data grid.
- An ellipsis button will appear, click on this button.
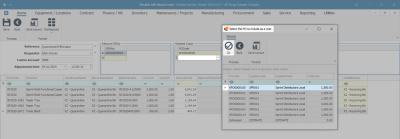
- The Select the PO to include as a cost screen will pop up.
- The data grid will contain a list of all the non-stock Purchase Orders on the system, waiting to be received.
- Select the shipping cost Purchase Order that you wish to add to this revaluation.
- Click on Ok.
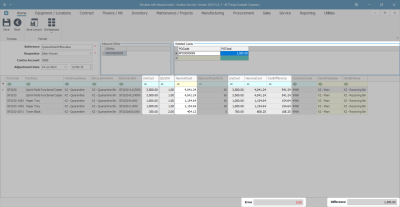
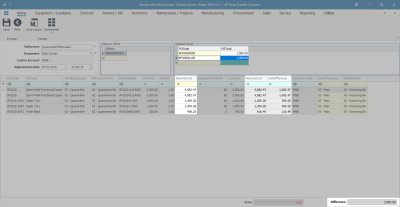
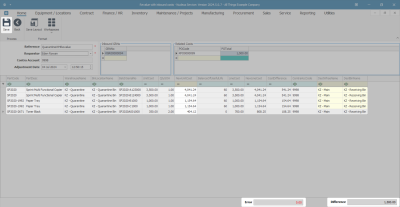
- The PO Code and PO Total column will populate with the selected PO number and amount.
Note the changes in the Cost Columns
Note the changes in the Cost Columns for each Item Being Received - (after the PO is now added to the Related Costs frame)
- The New Unit Cost column will update to include the linked shipping costs PO.
- New Unit Cost equals the Unit Cost plus the Cost Difference divided by the Quantity SOH of line items.
- The New Line Cost column will update to include the linked shipping costs PO.
- New Line Cost equals Line Cost plus Cost Difference.
- The Cost Difference column will update to include the linked shipping costs PO.
- Cost Difference equals Line Cost divided by the Sum of all the Line Costs multiplied by the Shipping Cost
- The Difference field will now contain the amount of the shipping costs (in this example 1500.00).
- There are no discrepancies in the values; therefore, the Error field is 0.
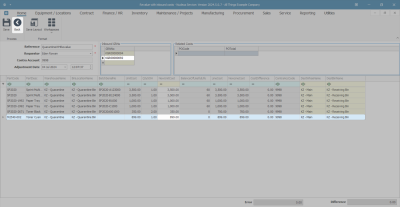
- For example, in this image, examine Item Line 5:
- Unit Cost = 350 Cost Difference = 108.25 Qty SOH = 2
- Therefore New Unit Cost for Item Line 5 is:
- 350 + (108.25 / 2) = 404.12
- Note: The Cost Difference is divided between the QtySOH of items in this line if there are multiple items. In this example there are 2 items in this line, the Cost Difference is 108.25 therefore each individual item will have 54.12 shipping costs added to their unit cost: 108.25/2 = 54.12
- For example, in this image, examine Item Line 5:
- Line Cost = 700 Cost Difference = 108.25
- Therefore the New Line Cost for Item Line 5 is:
- 700 + 108.25 = 808.25
- For example, in this image, examine Item Line 5:
- Line Cost = 700 the sum of all the Line Costs = 3500 + 3500 + 1000 + 1000 + 700 = 9700 Shipping Cost = 1500
- Therefore the Cost Difference for Item Line 5 is:
- (700/9700) x 1500 = 108.25
- Note: The Error field will display a value if the total of the NewUnitCost differs from the total value of all Inbound GRNs and all Related Costs.
Add Another Related Cost
You may wish to add a second Related Cost to the revaluation.
- Click in the PO Code column in the blank row of the Related Costs data grid.
- An ellipsis button will appear. Click on this button.
- The Select the PO to include as a cost screen will pop up again.
- Select the second PO you wish to add.
- Click on Ok.
- The PO Code and PO Total column will populate with the second PO number and amount.
- The New Unit Cost column will recalculate to include the second PO shipping costs (sum: unit cost + % of shipping cost = new unit cost).
- The New Line Cost column will recalculate to include the second PO shipping costs (sum: line cost + % of shipping cost = new line cost).
- The Cost Difference column will recalculate to include the second PO shipping costs (sum: new line cost - line cost = cost difference).
- The Difference field will recalculate to contain the amount of both shipping costs (in this example 1500.00 + 1500.00 = 3000.00).
- An incorrect PO may have been added to the Related Costs data grid, in which case it will need to be removed.
Remove a Related Cost (added in error)
- Click on Back to return to the Quarantine List for [ ] screen and restart the process to Select the GRN to be released from Quarantine.
Save the Revaluation Request
- For the purpose of this manual, only one GRN and one shipping cost have been included in this revaluation example.
- When you have finished adding Inbound GRNs and Related Costs as required, click on Save.
Print the Revaluation Request
- A Report Generation message box will pop up asking -
- Do you want to print the revaluation request [ ]?
- Click on Yes.
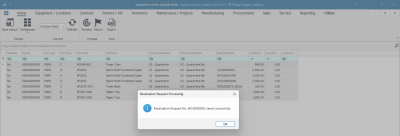
- A Revaluation Request Processing message box will pop up informing you that -
- Revaluation Request No. [ ] saved successfully.
- Click on OK.
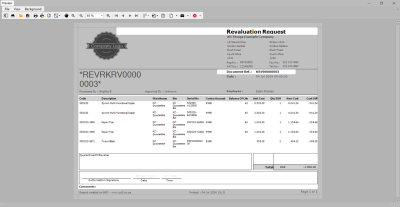
The Report Preview screen will be displayed.
- Here you can see the original Unit Cost and New Cost information.
- The Cost Difference column divides the shipping cost between items but the total sum of the difference is recorded in the Total field.
- The Reference number that you entered in the Revaluation Details frame will pull through to this document.
- From this screen you can View, Print, Email and Export the Revaluation Request.
- Close the Preview screen when you are done.
- You will return to the Quarantine List for [ ] screen.
- The released document will be removed from the data grid.
MNU.030.006


