We are currently updating our site; thank you for your patience.
Security
User and Group Security - Group Security Settings
In User and Group Security, you can create new users, assign users to groups, and set user group security, i.e. what a user may or may not have access to in Nucleus Service.
A user must be created for each employee who is required to log on to Nucleus Service.
Each user is placed in a security group and security rights are set for that group.
Here we will outline how to set those group rights.
| Ribbon Access: Configurator > Security > User and Group Security |
The User Rights screen will be displayed.
Select User Group
- Click on the drop-down arrow in the Find Group ribbon frame.
- A Group Name and Description drop-down list will be displayed.
- Select the Group Name that you wish to set the Access Level for.
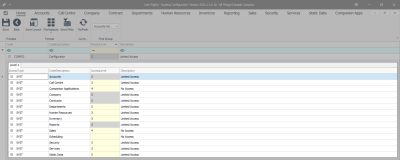
- In this image, Accounts Administration is selected.
- The Code and Access Level data grid will be displayed.
Access Types
- System: This sets the system functionality security (whether the user can perform the function).
- Menu Access: This access type sets the security for the ability to select the item in the Nucleus Service menu.
- All Other Access Types: This sets the security for each individual screen, and items within that screen.
Access Levels
- 1 - Unlimited Access: Access to all parts of the system.
- 2 - Full Access: Access to all parts of the system.
- 3 - Limited Access: Read Only.
- 4 - No Access: Not accessible in Nucleus Service.
Set Access Level
- Select the Code you wish to set the Access Level for.
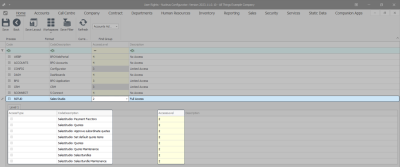
- In this image, Sales Studio is selected.
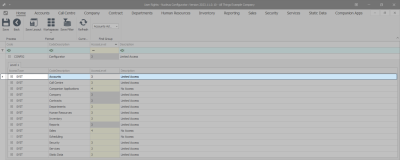
- Click on the expand button of the selected row.
- A drop-down data grid will appear showing the Access Level for each Access Type.
- This image shows Access Levels for Sales Studio are set at 2 - Full Access.
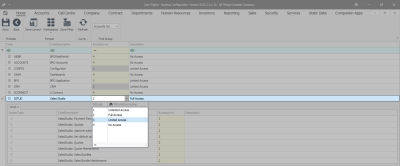
- Click on the Access Level field in the selected row.
- A drop-down menu will appear and you will select the relevant Access Level.
- In this image, the security access for the entire Sales Studio will be set to 3 - Limited Access.
- Click on Save.
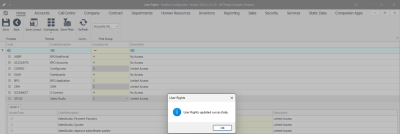
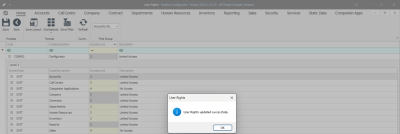
- A User Rights message will pop up saying -
- User Rights updated successfully.
- Click on OK.
- Click Refresh to update the saved changes.
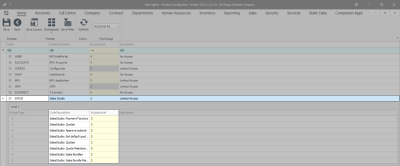
- You will return to the User Rights screen showing the updated Access Level.
- This image shows Sales Studio Access Level updated from 2 - Full Access to 3 - Limited Access.
Set Access Levels on Sub Codes
- Click on the drop-down arrow in the Find Group ribbon frame.
- A Group Name and Description drop-down list will be displayed.
- Select the Group Name that you wish to set the Access Level for.
- In this image, Accounts Administration is selected.
- The Code and Access Level data grid will be displayed.
- Select the Code you wish to set the Access Level for.
- In this image, Configurator is selected.
- Click on the expand button of the selected row.
- A drop-down data grid will appear showing Level 1.
- Select the Code you wish to set the Access Level for.
- In this image, SYST - Accounts is selected.
- Click on the expand button of the selected row.
- A drop-down data grid will appear showing Level 2
- Select the Code you wish to set the Access Level for.
- In this image, SYST - Chart of Accounts is selected.
- Click on the expand button of the selected row.
- A drop-down data grid will appear showing Level 3
- Click on the Access Level field in the selected row.
- A drop-down menu will appear and you will select the relevant Access Level.
- In this image, 4 - No Access is selected.
- Click on Save.
- A User Rights message will pop up saying -
- User Rights updated successfully.
- Click on OK.
- Click Refresh to update the saved changes.
- You will return to the User Rights screen.
- This image shows the updated Access Level of SYST - Chart of Accounts Maintain from 3 - Limited Access to 4 - No Access.
Important Notes
- If you are setting up a new group from scratch, it is a good idea to set the 'Company Modules: Site' Access first, otherwise you cannot assign a user to this group you have created, and the user will not be able to log into Nucleus Service.
- Set the Site (Branch) security dependant on which Sites the user may have access to.
MNU.085.004


